We've been getting requests for a version of our father's day diy templates updated for 2015. We aim to please, so here they are! Download the links below and print these puppies up for your favorite father figure!
DIY STAMP KIT + GIVEAWAY!
was kind enough to let us pick out a little somethin’ for a DIY project! Naturally we were drawn to SF local- Yellow Owl Workshop’s stamp-carving kit, though it was a tough call since they offer a ton of great DIY kits. We decided we wanted to do a bandana using a neon color palette, our most recent obsession. Follow the instructions below to create your own stamped bandana. In addition we will offer up $40 gift cards to UncommonGoods to TWO lucky winners. Find contest guidelines below!
Happy crafting!
created this genius Carve-A-Stamp Kit that contains everything you need to master the art of stamp carving.
The kit comes equipped with: • 2 rubber blocks mounted on wood for carving • 1 brilliant red ink pad • 1 pencil • 1 wood carving knife with five tips & a tip remover • 1 template featuring different designs • 1 piece of tracing vellum • 1 muslin bag
What you will need in addition for this project: • 1 yard of muslin • washable/ fabric friendly neon ink pads • scissors • neon thread (optional) • a sewing machine (optional) • one extra block of rubber (optional)
*All of these items can be found at Michaels, or the craft store of your choice. STEP ONE:
Carving the dot pattern stamp-
We used the semi circle tip in order to cut out our dots for our reversed dot stamp. First use your pencil to draw scattered dots. Then push the semi-circle into the rubber, rotate 360 degrees, and pop the rubber out. Repeat until your pattern is complete.
STEP TWO:
Carving the star pattern stamps-
Draw the star onto the rubber with your pencil. Then use the flat knife to trace the outline of your star. After, use that same tool to remove ¼ inch of the entire surrounding area. In order to achieve only the outline of the star, you will then use the wide “V” carving tool to remove the rubber from the inside of the star.
*note: If you wish to create another star stamp, repeat the steps listed above with your extra rubber pad.
STEP THREE:
Cutting out your bandana- Cut a 23 inch square out of your muslin. This allows for a ½ seam allowance on each side. Using your neon thread, iron, pin, & sew the edges in.
*note: if you would not like to sew the edges, cut out a 22 inch square & leave it raw!
STEP FOUR:
Stamping your bandana- Using the dot stamp you have created, line up the block along the edge and make a border all the way around. Then fill the center with your star stamps as seen above.
STEP FIVE:
Protect your fabric- Wait until the ink has dried (a few hours). Place a piece of muslin over your pattern and iron each side without water/steam. Allow for a week or so before washing, then hand wash or machine wash alone for first rinse.
STEP SIX:
Strut around in your new bandana.
We made two bandanas, one for our pen pal, and another tiny one for Imogen because we couldn’t resist, duh.
Jump the gun and make one for mom for Mothers day! Get your own kit here! Or check out more great mom day ideas here.
CONTEST GUIDELINES:
Enter to win a $40 gift card to UncommonGoods to snag your own stamp carving kit and then some!
All you gotta do is like UncommonGoods on facebook & comment on this post! Don’t have a facebook? Join their newsletter instead!
Our winner's will be announced Friday the 21st!
DIY Animal Envelope Valentine
We got super into this animal envelope DIY by Mer Mag Blog. Super easy, cheap, & adorable. Stuff them with candy for the kids, or fill it with a card for your sweetie! Head to Mer Mag for the full tutorial!
DIY: I Lava you pop-up card
We wanted to create a simple & fun (and gender neutral) Valentines Day card the kids would be excited about! Using few materials, our free printables, and following the steps below, you can create an I lava You Pop-up Card of your own! Mess around with different color card stock & glitter to make it unique! Happy crafting! MATERIALS
- 8.5 x 11 sheet of blue or green card stock
- 8.5 x 11 sheet brown card stock
- 8.5 x 11 sheet white card stock
- Printer
- Scissors, or a craft knife, ruler and cutting mat
- Gluestick
- Liquid glue & brush
- Bone folder (optional)
- Pink and orange glitter (optional)
HOW TO
1. Print the background template on the green cardstock, the volcano on brown cardstock, and the cloud template on white cardstock.
Note: you only need one volcano, & one cloud per card. We included multiples in case you would like to make more than one, in which case you will need to print additional background templates
2. Cut out and fold the blue cardstock: cut off 1/2 inch along the solid grey line; cut out the circle and around the palm trees. Fold along the light grey lines (use a bone folder if desired) to form a diamond shape with a glue tab. Glue & add glitter to the asteroid (we used orange).
3. Cut out the volcano, crossbar, and the cloud. Fold the glue tabs as indicated by the light grey lines and cut small slits in the volcano and cross bar along the solid black lines. Glue & add glitter to the top of the volcano to represent lava (we used pink). 4. Glue the cloud to the back of volcano. 5. Slot the cross tab into the volcano and glue the tabs to the background. 6. Glue the volcanos tabs matching the letters as shown in the diagram.
Note: line cut out card with diagram from original print-out. 7. Glue the tab of the background template to complete the diamond shape. 8. Flatten & press down firmly until glue dries. And there you have it!
Looking for more DIY projects and free downloads? Head over to our site here.
Shine On This New Years Eve
We recently collaborated with West Elm and Style Me Pretty to create a NYE party tablescape. Naturally we were thrilled to partake in this project. This resulted in DIY projects galore! We created coasters, fringe numbers, and a table runner all dipped in gold! Head to Style Me Pretty for our full DIY break down.
Happy New Years Eve!
Photos by Blake Bronstad
DIY Dino Tee
Sabrina's twins James and Alex wanted matching dinosaur tees based off their favorite Byron Barton book Dinosaurs, Dinosaurs, so she drew a few up! All you need is a blank tee, a sharpie, and your kids favorite illustration! Quick tips to avoid fading after wash: Soak overnight in a quart of cool water with a cup of white vinegar. Always turn the tee inside out before washing.
Halloween Wreath
Welcome your guests with a glow in the dark creepy crawler wreath! Follow the steps below... Find your materials at your local craft store. We chose Michaels! And there you have it, a warm welcome. There's only one thing you're missing to complete your Halloween party decor... attendees! And we have the invites. We are offering 20% off Halloween cards until Oct. 22nd. Enter code SPOOKY at checkout. Halloween cards here.
Free Halloween Printables
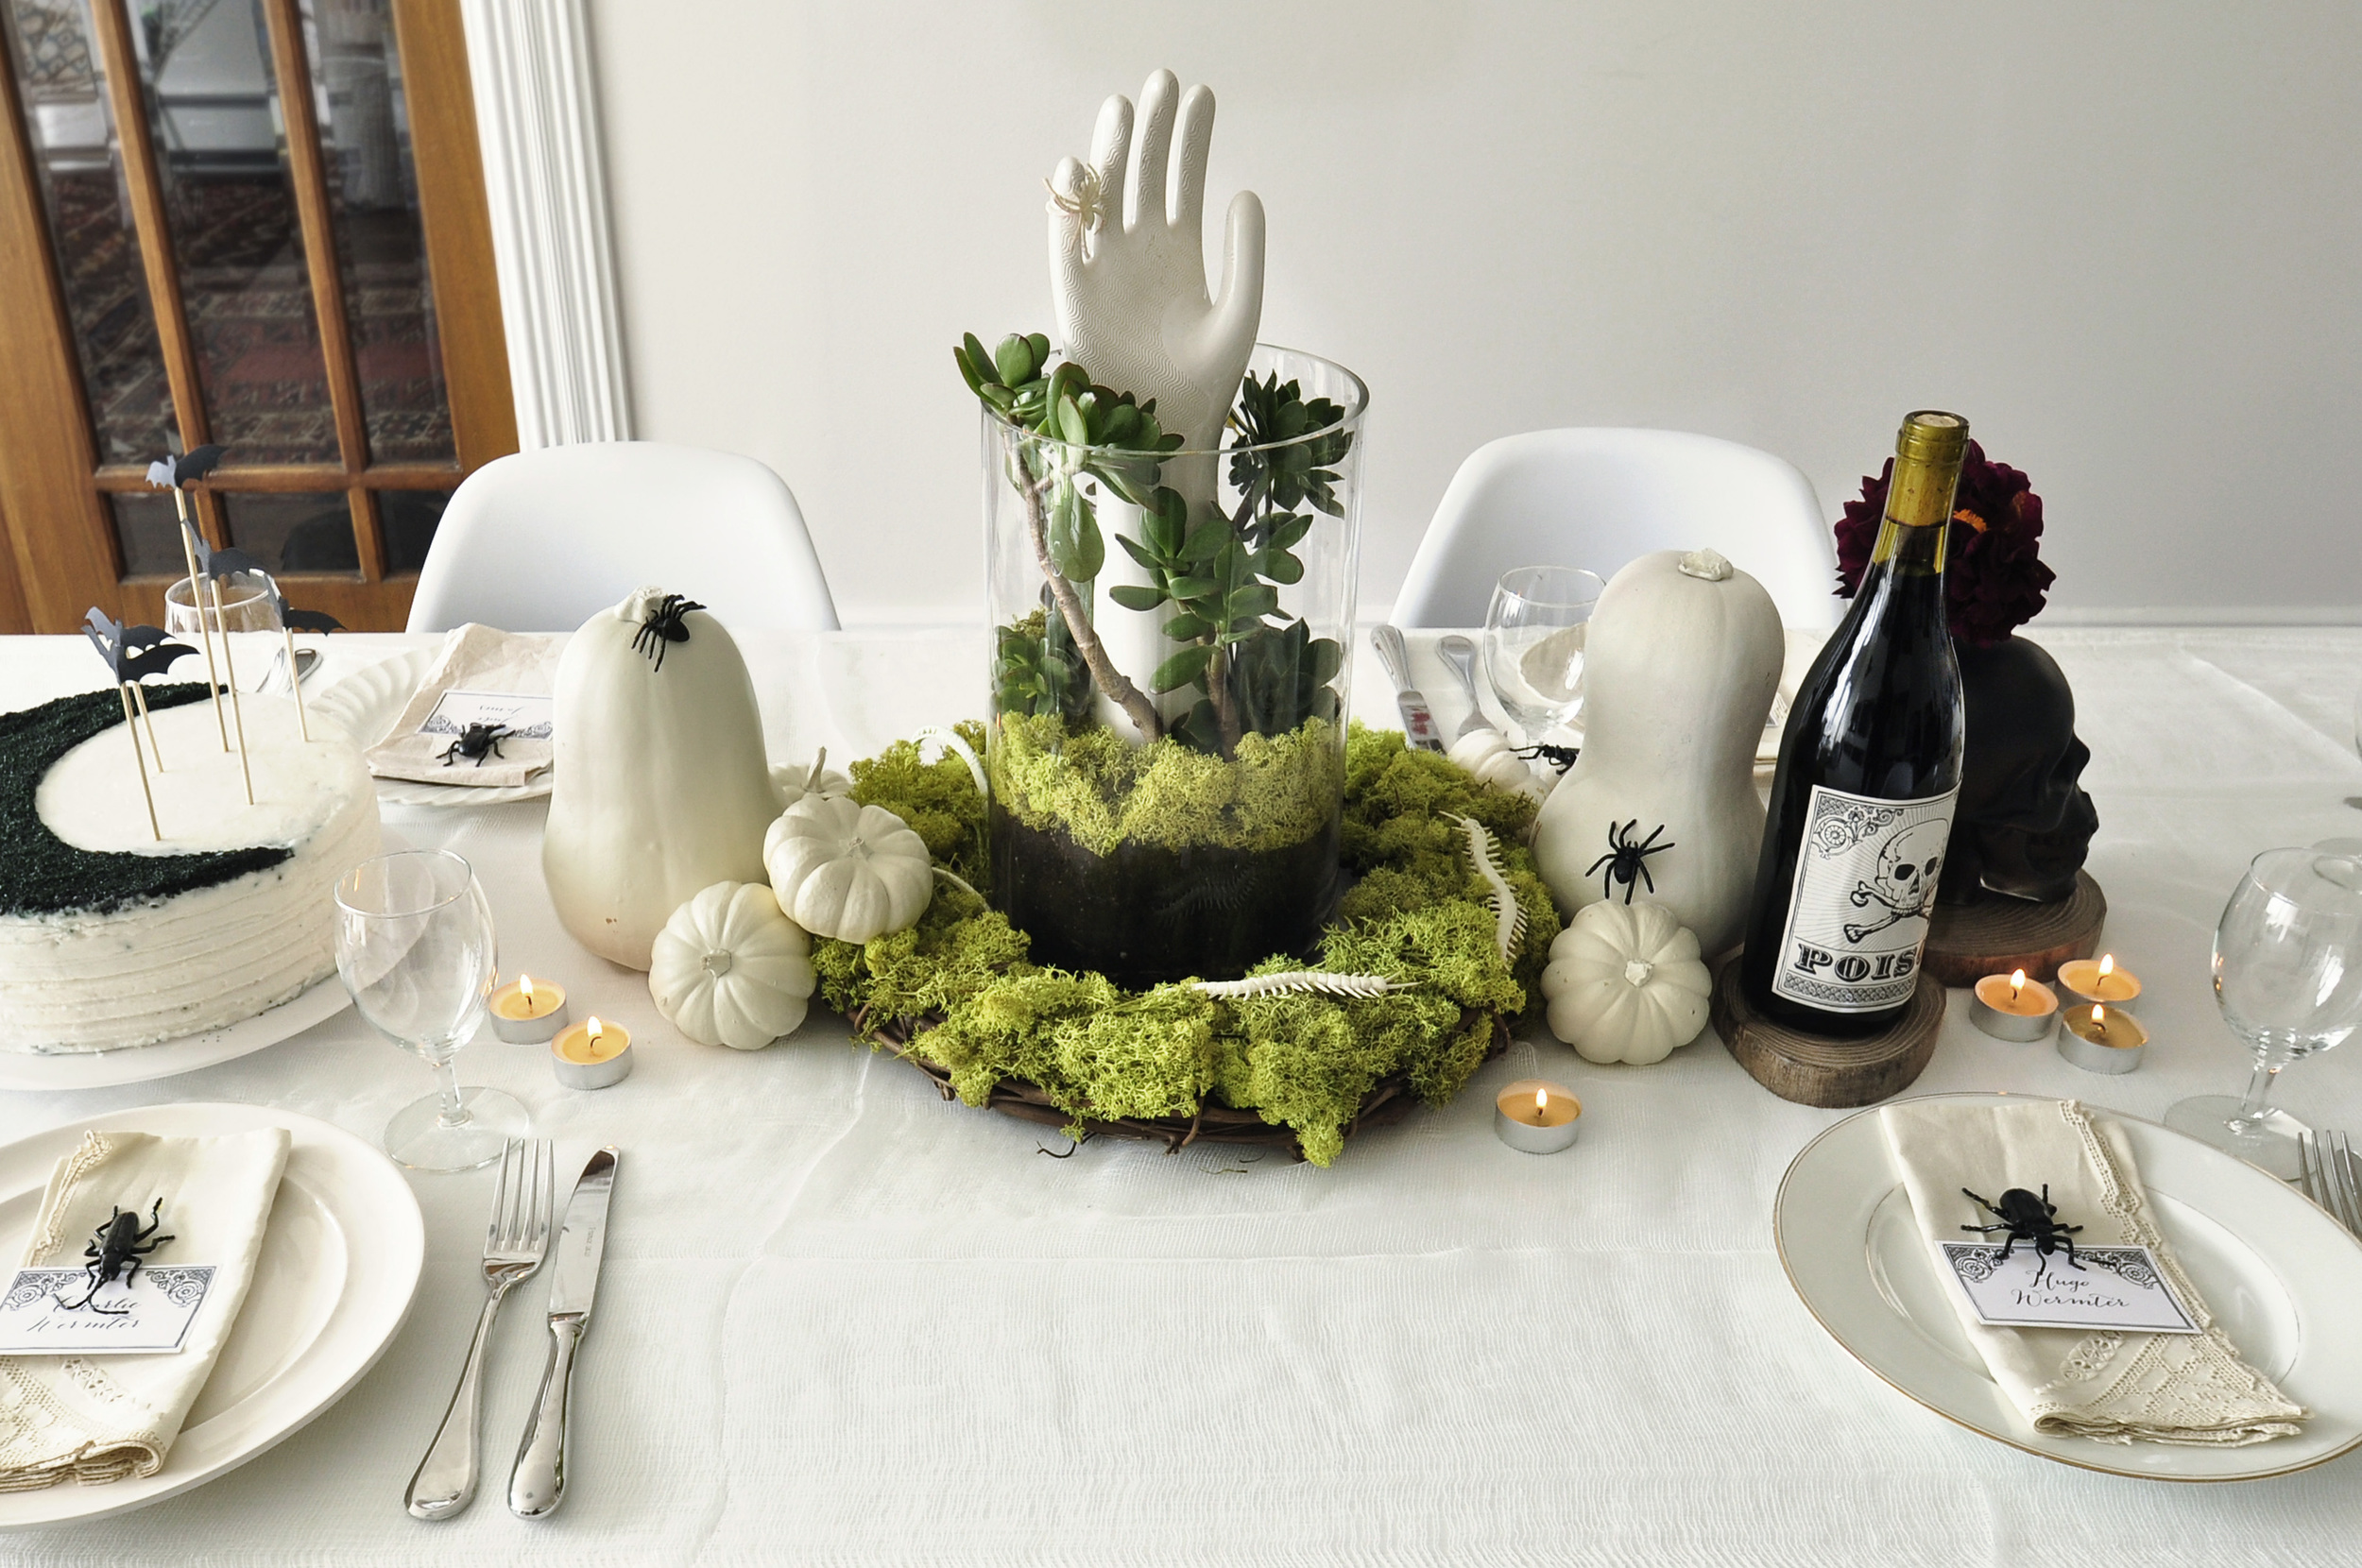
Take your table to the next level by adding place cards and poison wine labels! We created free downloadable templates so you can print your own matching cards and labels!
Try using a plastic bug as a place card holder. We spray painted ours black, but you can also find them black to cut out a step!
We recommend you print your wine labels on sticker paper found at most craft stores, or simply cut out using the markers and stick on using double stick tape!
Print your free place cards here!
Print your free wine labels here!
Bat Cake Topper DIY
Try this sweet and spooky cake/ cupcake topper DIY using our free printable template! Materials + Template + Printer + Black cardstock + Craft knife + Cutting mat/ magazine + Tape + 5 bamboo skewers + Hot glue gun & glue + Scissors 1. Print out template here 2. Tape the template to your piece of cardstock so it doesn't move around. 3. Cut out each bat with craft/ exacto knife. 4. Cut each skewer at a different height. 5. Using your hot glue gun, glue the back of each bat to top of skewer 6. Place in cake and voila! Enjoy!
DIY Halloween Centerpiece
A table is never complete without a captivating centerpiece! Follow these steps for the perfect Halloween themed décor. What you will need:+ Glass cylinder vase/ terrarium- Michaels or Amazon + Moss- Home depot + Sand, bark, or rocks + Succulents- Home depot + Potting soil- Home depot + Ceramic hand- Etsy (This is an investment, but they make for amazing jewelry holders). + White spray paint (optional)- Home Depot + Black spray paint (optional)- Home depot + Pumpkins/ squash- Home depot + Toy spiders- Amazon or Michaels Spray paint pumpkins white and spiders black (if not purchased that way) & allow for overnight drying.1. Fill the bottom of your glass vase with 2-3 inches of bark, sand or rocks, this is so the water has somewhere to drain. 2. Place your purchased ceramic hand in the center of the vase. 3. Surround hand in potting soil and pack tight so the hand is stable. 4. Place succulents around the hand, gently pushing roots into the soil. Sprinkle an extra layer of potting soil around base of succulents. 5. Cover the top layer of soil in moss.
Halloween Tablescape
Charm your dinner party guests this Halloween with a themed tablescape. With easy and affordable creepy crawler place card holders, printable poison wine labels, and a corpsy succulent centerpiece, your table will be the talk of the town.
This week we will be posting DIY’s and free printables so you can create a spooky tablescape of your own!
Stay tuned for these DIY’s and printables:
+ Glow in the dark serpent wreath- DIY
+ Lend me a hand centerpiece- DIY
+ Bats cake topper- Printable
+ Poison wine bottle label- Printable
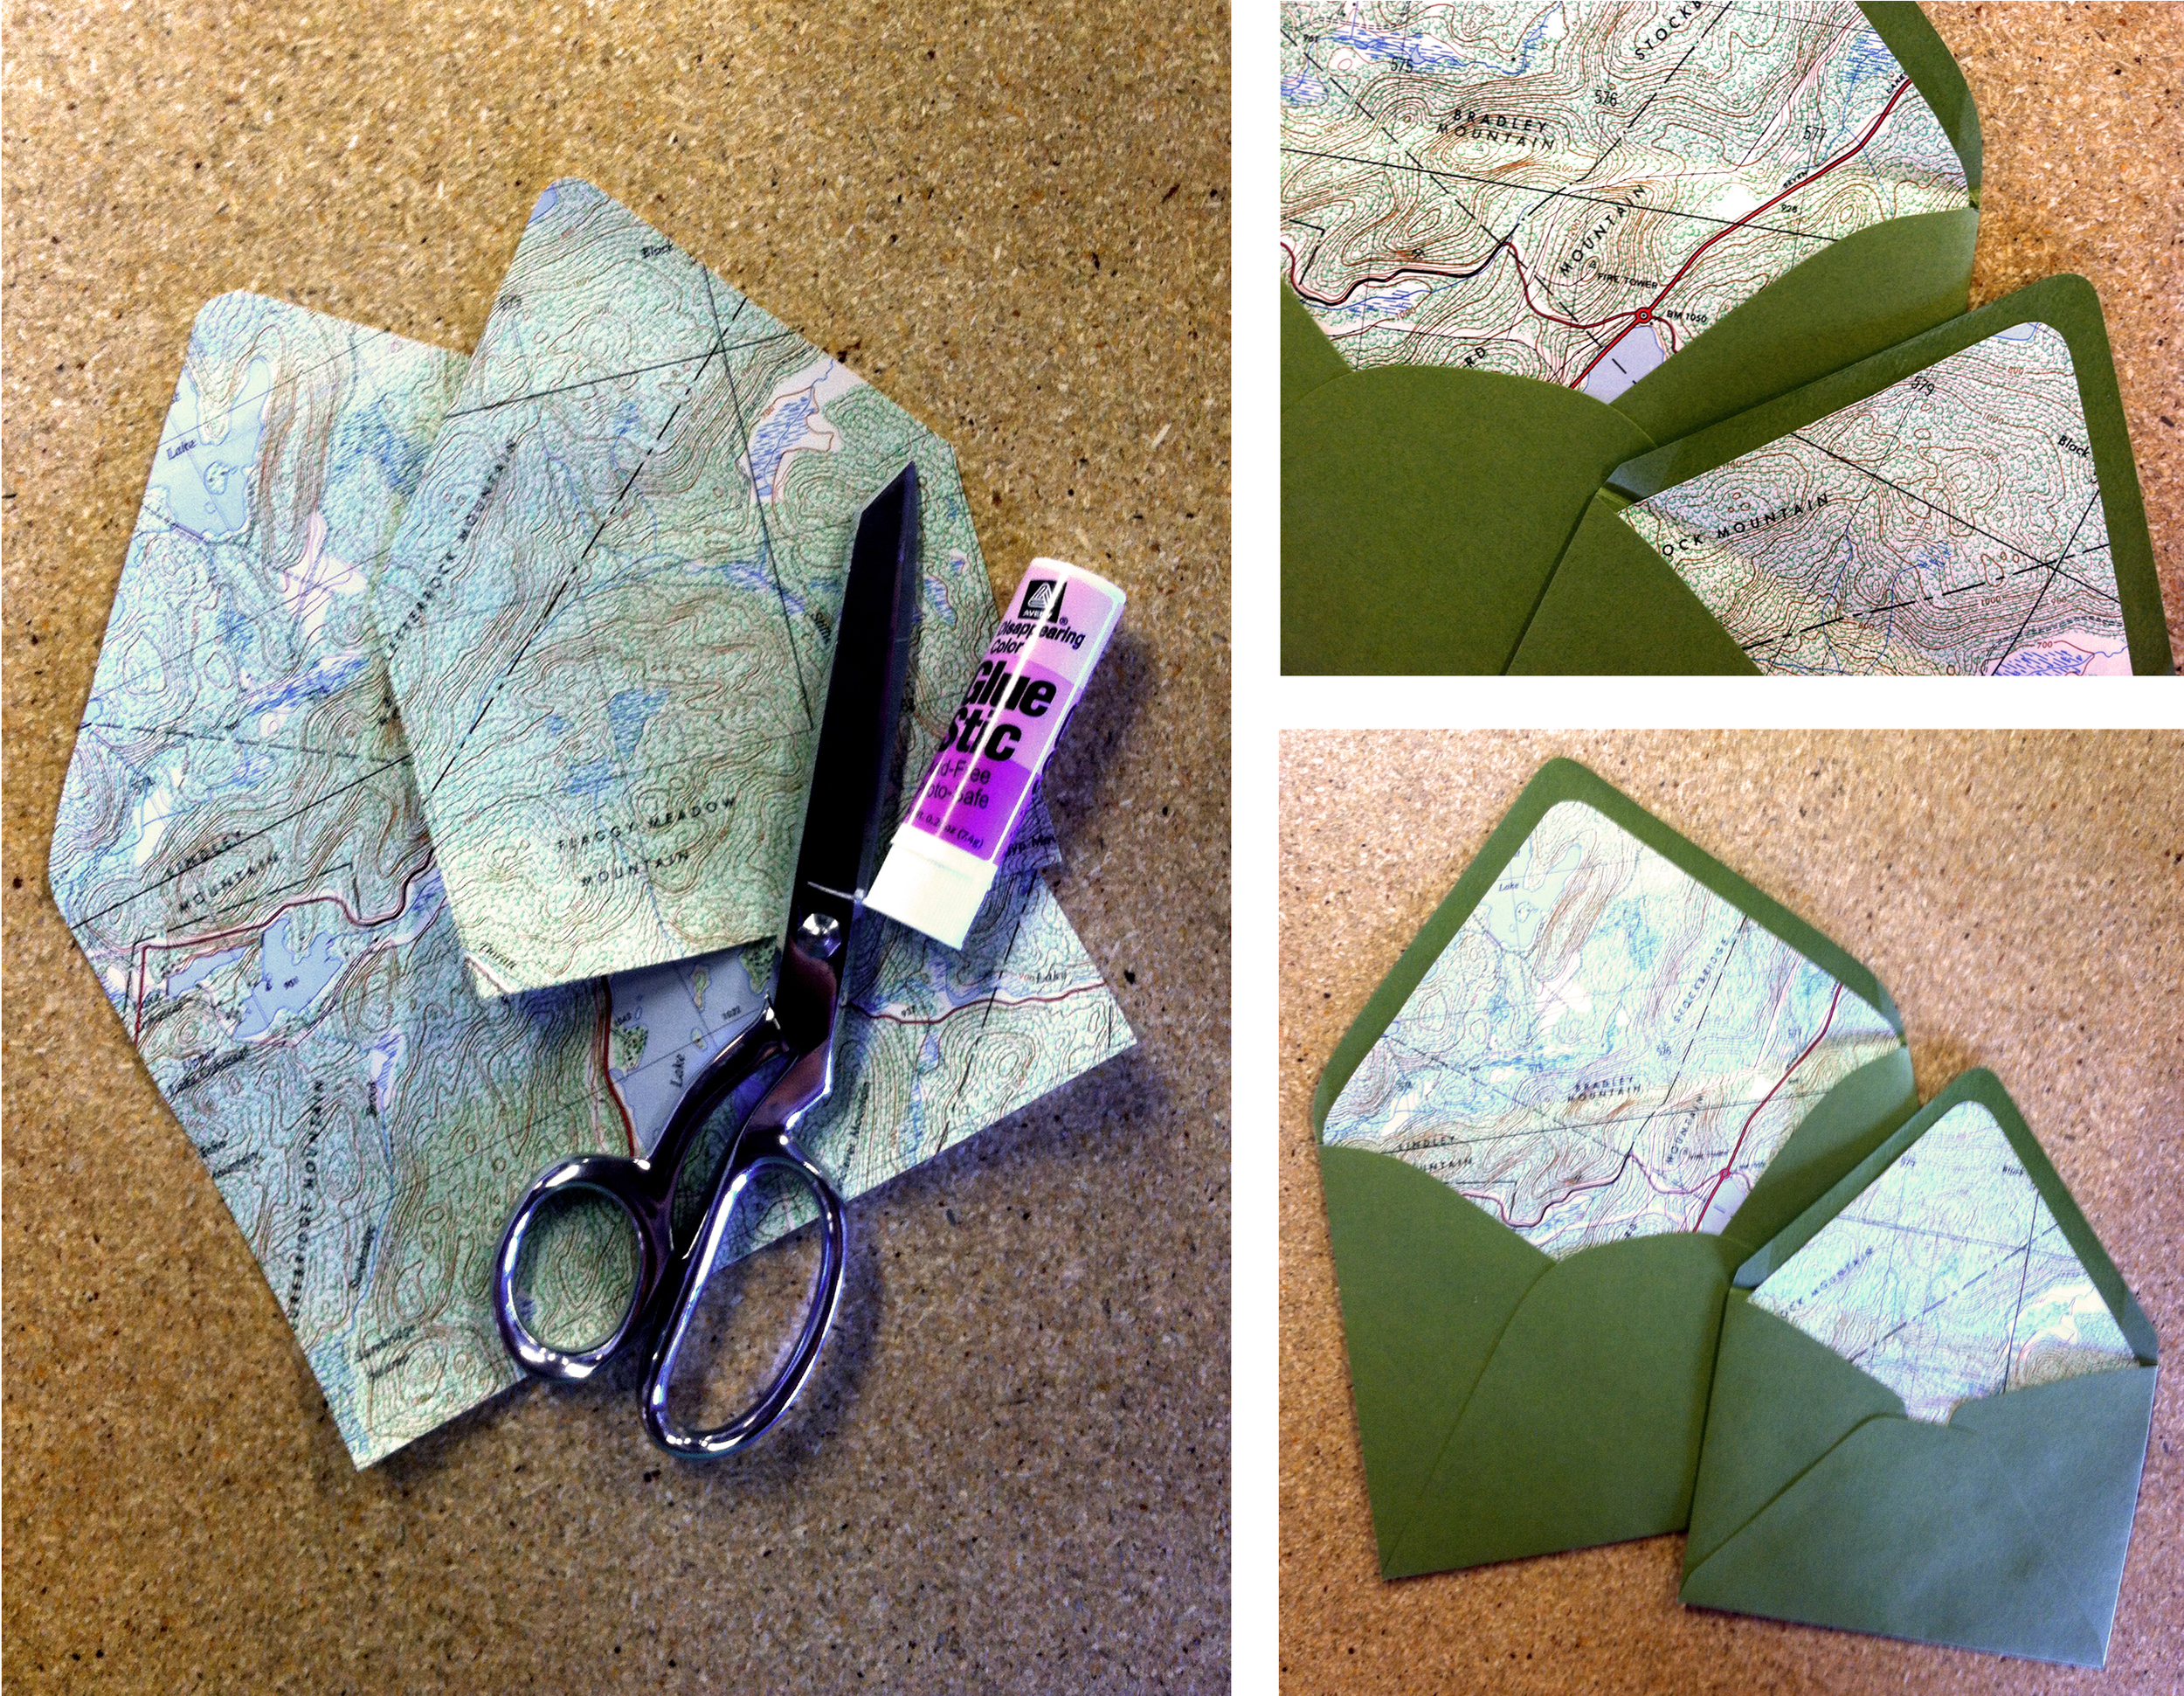
Wild & Free: Vintage Map Envelope Liners
As summer comes to a close, we can't help but reflect on all the adventures that have filled our days for the past few months. In that spirit of adventure, we decided to put some old maps to good use and make envelope liners. Liners are a great way to utilize old magazine pages, scraps of gift wrap or calendars that have served their time.
DIY Envelope Liners (Check out our handy how-to video!)
Supplies needed:
Envelopes Paper Templates Scissors Glue stick Bone folder
Book Review: Modern Calligraphy
A little over a year ago we did a blog post on some of the most beautiful calligraphy we've seen in a while, which was created by Molly of Plurabelle Calligraphy. You can imagine how thrilled we were when we found out Molly was coming out with a book, now available and called Modern Calligraphy.
Molly's publisher sent us a copy of her book, which is just as lovely as her calligraphy. The book is the perfect primer on how to master this fresh modern lettering style. It includes 20 DIY projects where you can apply your new talent.
We love how Molly's book breaks the calligraphy process down into simple steps so anyone can learn to create their own wedding invitations, thank you cards, gift tags, and more. She starts with an overview of the supplies—from paper to ink to pens—you will learn how to form letters, words, and then phrases by following Molly’s clear step-by-step instructions, and by practicing with the provided templates.
You can purchase a copy of Modern Calligraphy here. Congratulations on your beautiful new book Molly!
Chronicle Eye Candy
Chronicle Books is celebrating Sewing Month in September with special prices on some of their crafty e-books, including our book Handmade Weddings. See all the deals at Chronicle Eye Candy or head directly over to amazon and pick up a digital copy for only $2.99! Happy crafting!
Real Wedding: Jeska and Brad
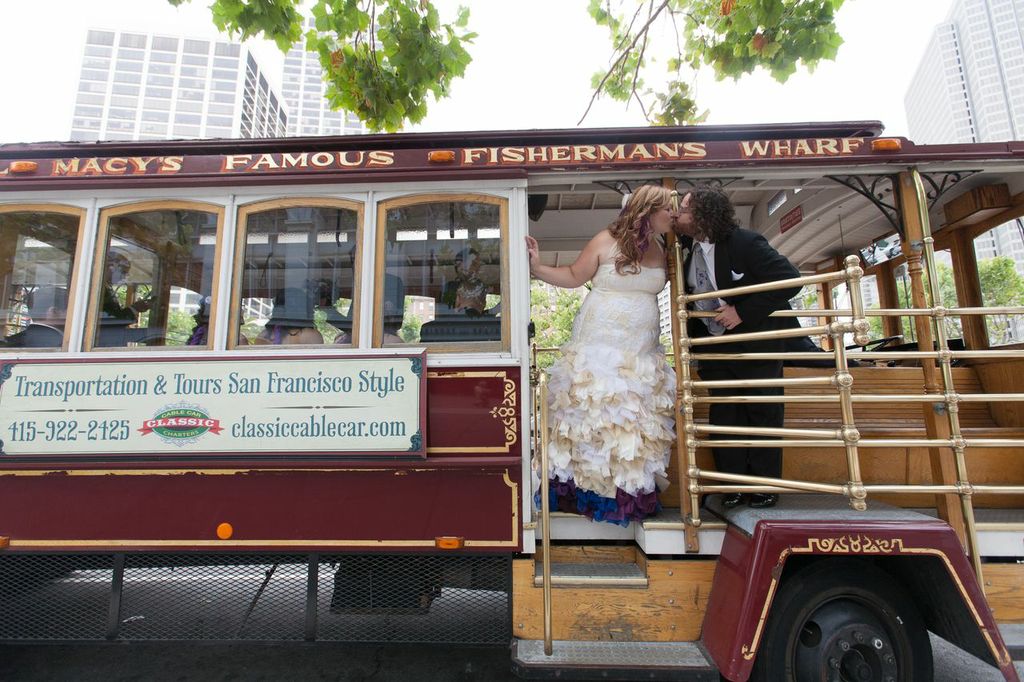
We absolutely love it when we get to work with clients who think outside the box and aren't afraid to veer away from tradition and get creative with their weddings. This was absolutely the case with Jeska and Brad, who had one of the most unique celebrations we've seen in a long time.
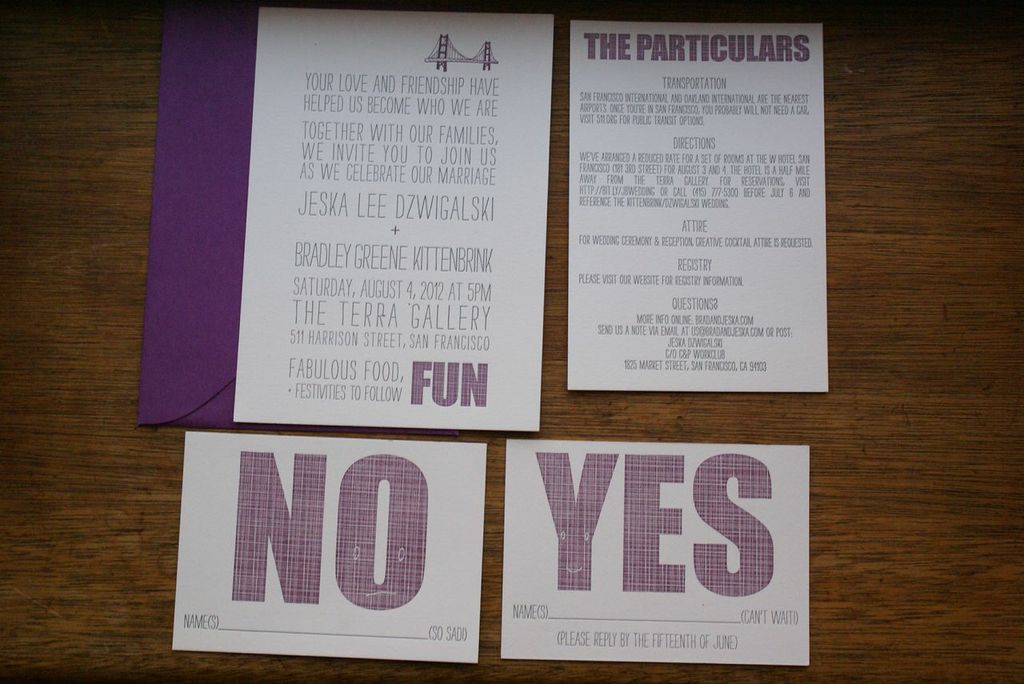
Jeska and Brad chose our Big Day suite in letterpress. We loved the pop of purple in their invites, which was definitely a running theme throughout the wedding -- from the brides hair, to the flowers, to the purple layer at the bottom of her gorgeous custom made dress.
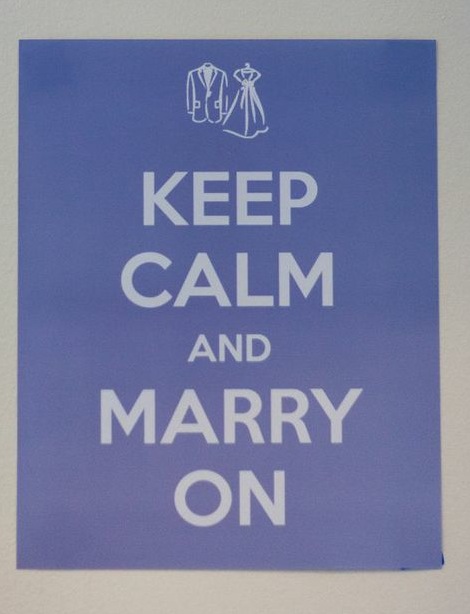
A good reminder for everyone's big day!
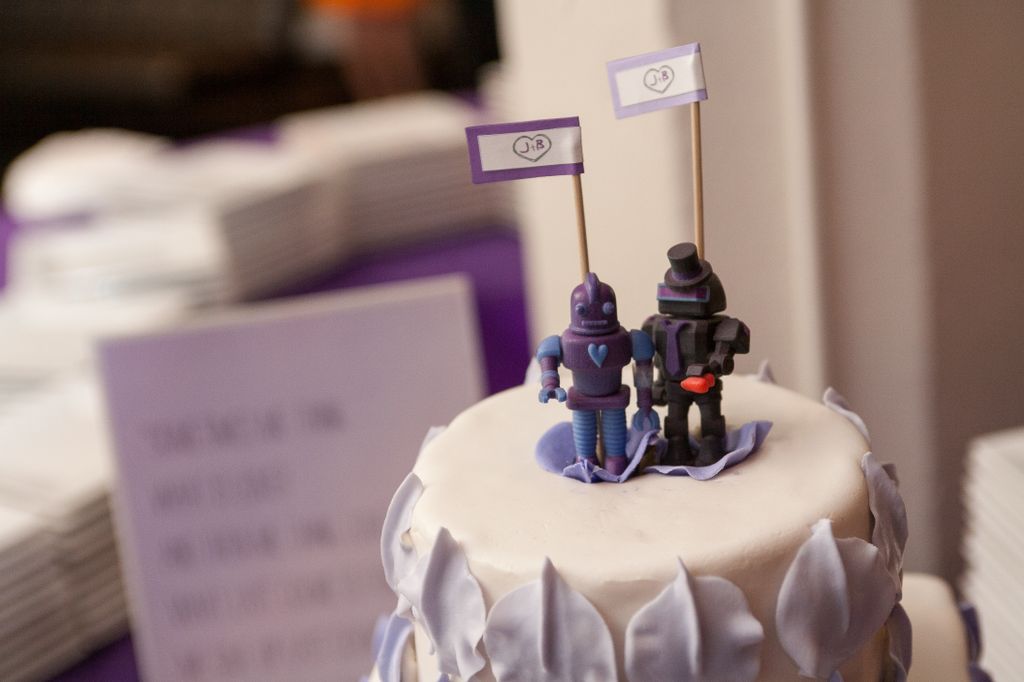
These robot cake toppers are pretty amazing, we're especially loving the paper flags with their initials.
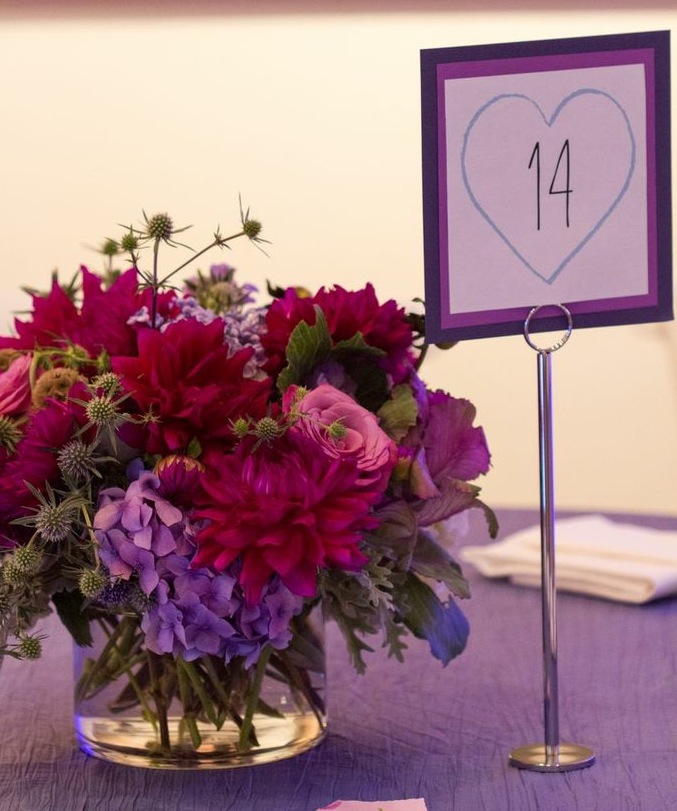
Jeska and Brad printed out our free Big Day table numbers and mounted them on purple paper of course. How pretty are those flowers?
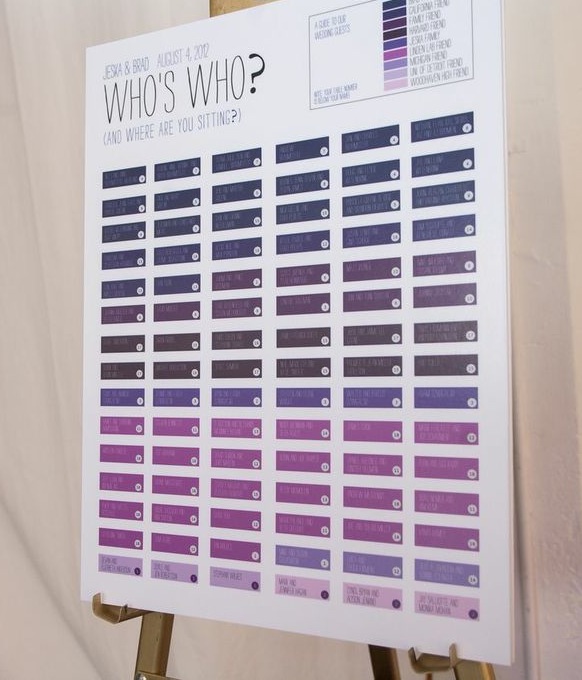
Genius seating chart which let's people know where they are sitting and also explains who everyone is.
Congratulations Jeska & Brad! Thanks for being such a fun couple to work with!
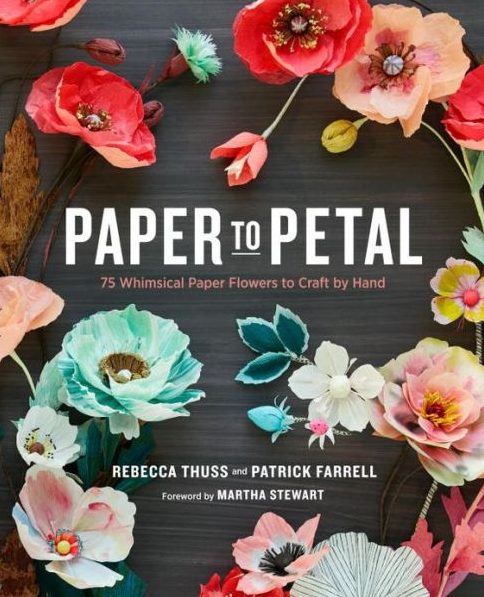
Inspired by: Rebecca Thus, Paper to Petal
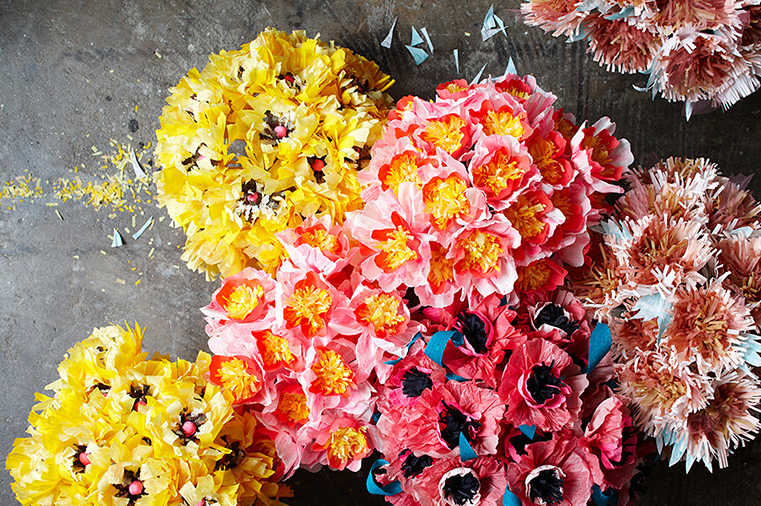
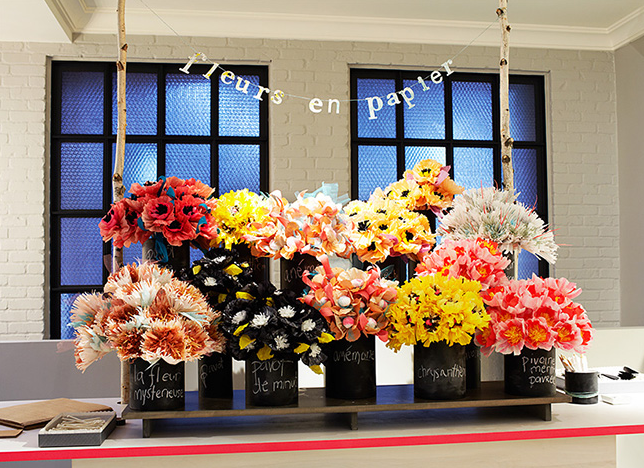
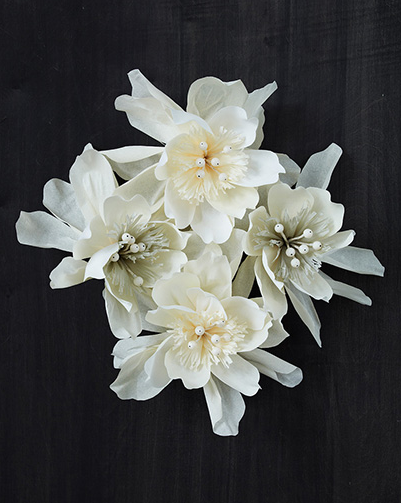
We can not wait to get our hands on Rebecca Thus's new book, Paper to Petal. Rebecca's book features 75 projects to create with paper flowers. There are craft recipes for everything you can imagine from party decorations, bouquets, to floral centerpieces. Even if you've made paper flowers before -- as we have many times, this books looks like it has some sweet new takes on turning ordinary paper into gorgeous flowers.
Buy Paper to Petal here.
Head to Rebecca's blog for constant inspiration.
Happy Independence Day!
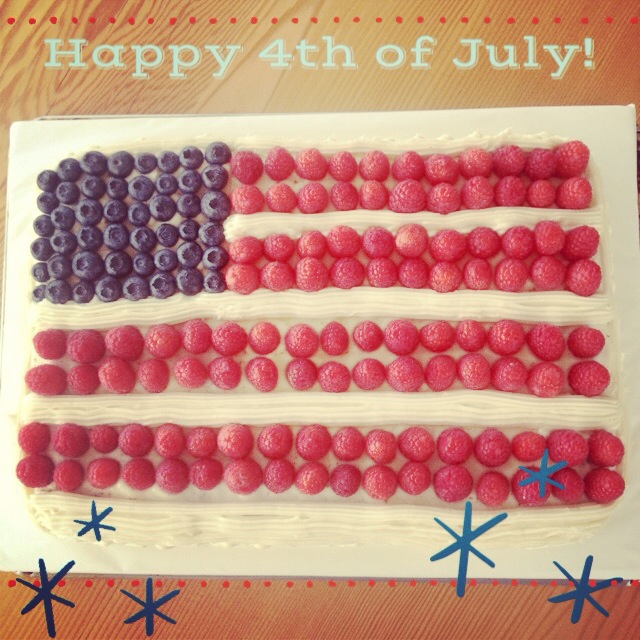
Sabrina had a great time making this cake with her kids to get ready for the holiday. We love that it uses fresh summer berries instead of colored frosting as decoration. And the best part -- it's chocolate cake inside! For the complete recipe head over to Epicurious.
We hope you have a fantastic holiday weekend! We'll be taking off on Friday as well just to squeeze a little more sunshine out of summer.
Happy fourth of July!
Crafty Projects for your 4th of July Weekend
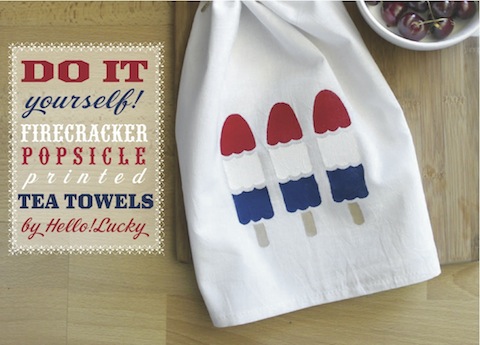
While we don't have a brand new DIY for your this 4th of July, we have plenty of craft projects in our arsenal that are perfect for celebrating the holiday and the long weekend ahead (we hope you have off or are taking off this Friday)! Last July we brought you this tea towel stencil DIY - this adorable design can be stenciled onto a table cloth, a pillow case or a plain white t-shirt.
We're guessing you'll be sipping something delicious this weekend-- these drink flags will turn any ordinary beverage into a party and can easily be made with some wooden dowels and scraps of paper. Even if you don't make them our stop motion how-to video is pretty fun to watch.
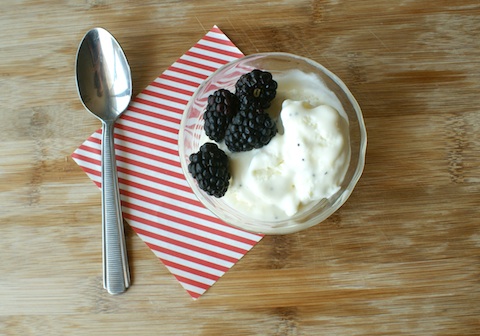
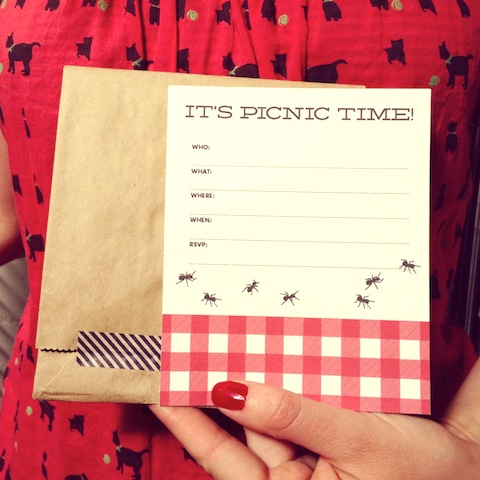
Here's a recipe for a super simple but delicious lemon poppy seed ice cream. You can bring it to your picnic in the park! Invite download available here.
Whatever you do this holiday weekend we hope you get plenty of sunshine and relaxation!
Free Mother's Day Printables
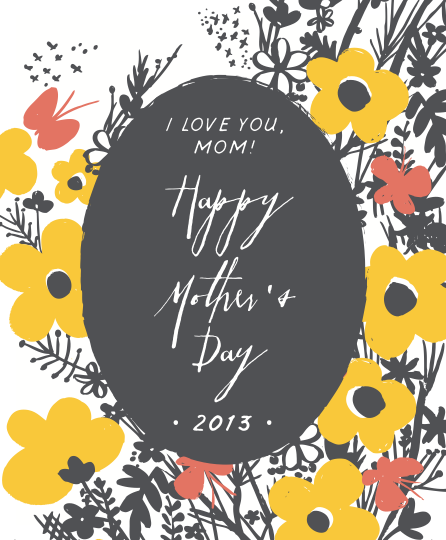
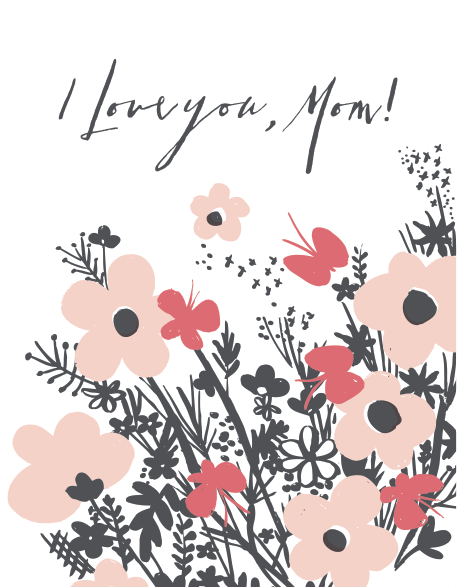
Mother's Day is right around the corner and we're so excited to share these free printables designed by our creative director and co-founder, Eunice Moyle. All you need to do is click the links below and print at home. We recommend printing the wine label on sticker paper if possible, but printing on regular paper and glueing or taping to the bottle should work just fine. Mother's Day Wine Labels
As always we love seeing our printables in action – so send us pics or leave your URL in the comments below if you post any photos of these printables on your blog.
And don't forget you can still receive 20% off all cards on our site with the code DearMom.
Happy Mother’s Day!
Easter Craft Projects
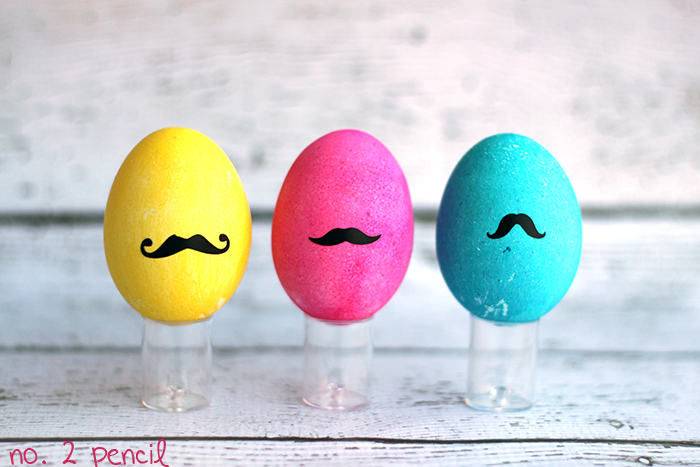
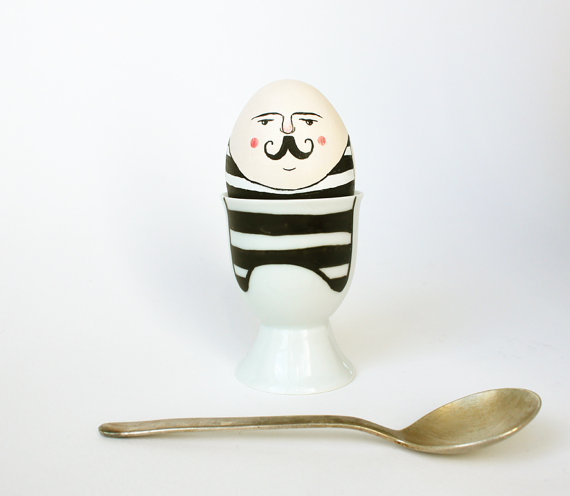
While we haven't had a chance to come up with a fun craft project for Easter yet we love seeing everyone else's projects popping up online. To celebrate the season here are some of our favorite Spring projects from around the web. Shown above are Moustache Easter Eggs from the blog No.2 Pencil. She uses a craft cutting machine to make the vinyl moustaches, but it would be just as fun for kids to draw them on the eggs with a Sharpie. Adding eyes and some hair would give these eggs even more personality.
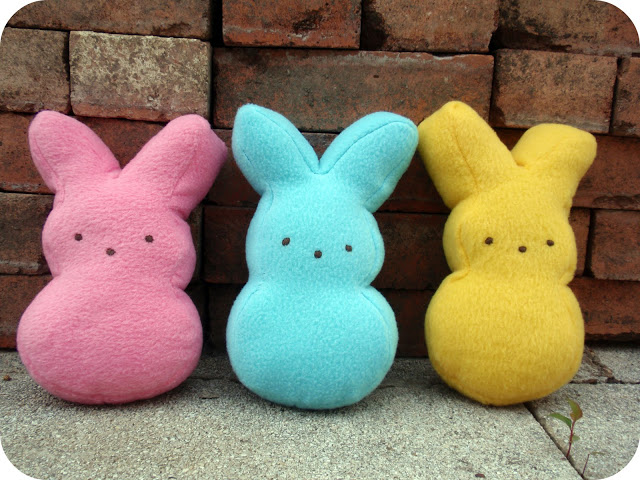
How sweet are these marshmallow plush bunnies? They're like giant bunny peeps! You can find the full tutorial over at Dandelions & Lace.
You probably noticed we have a thing for circus characters around here. So we fell in love when we spotted this guy over on Etsy. Who wouldn't love this illustrated cup and matching wooden egg? He can be found in Sweet Bestiary's shop here.
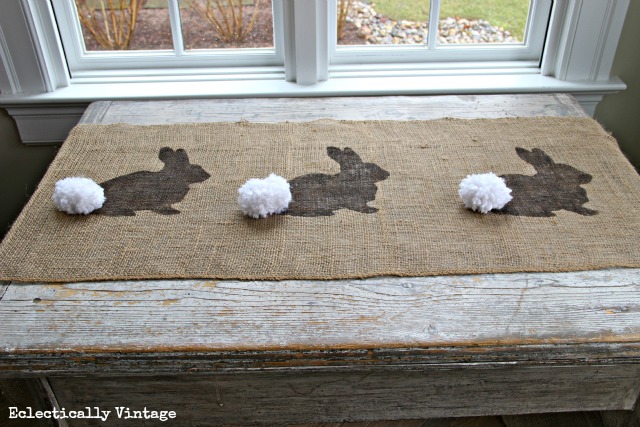
How adorable is this burlap bunny table runner? We love the little bunny silhouette and the yarn cotton tail. You can find the instructions to make this sweet table runner over at Eclectically Vintage.
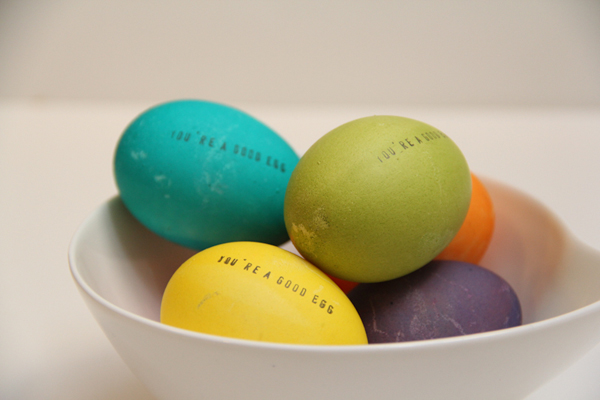
How could you go wrong with old school egg dying and stamping? We love the way these eggs look and it's such a simple project. Read more over on Lovely Indeed.
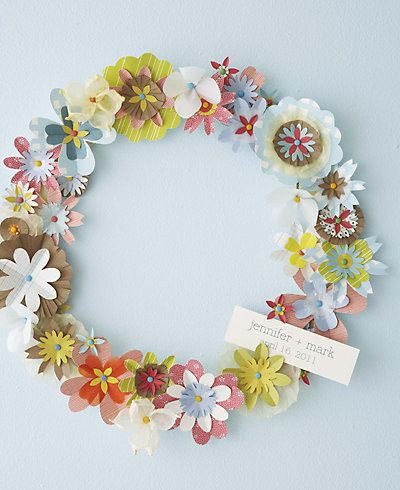
And finally we had to share one of our own projects. This is from our book Handmade Weddings, but it's the perfect project for Spring. You can download the template to make this spring wreath here.
Do you have any fun Easter craft projects you want to share? Leave us a link in the comments!