Free Halloween Printables


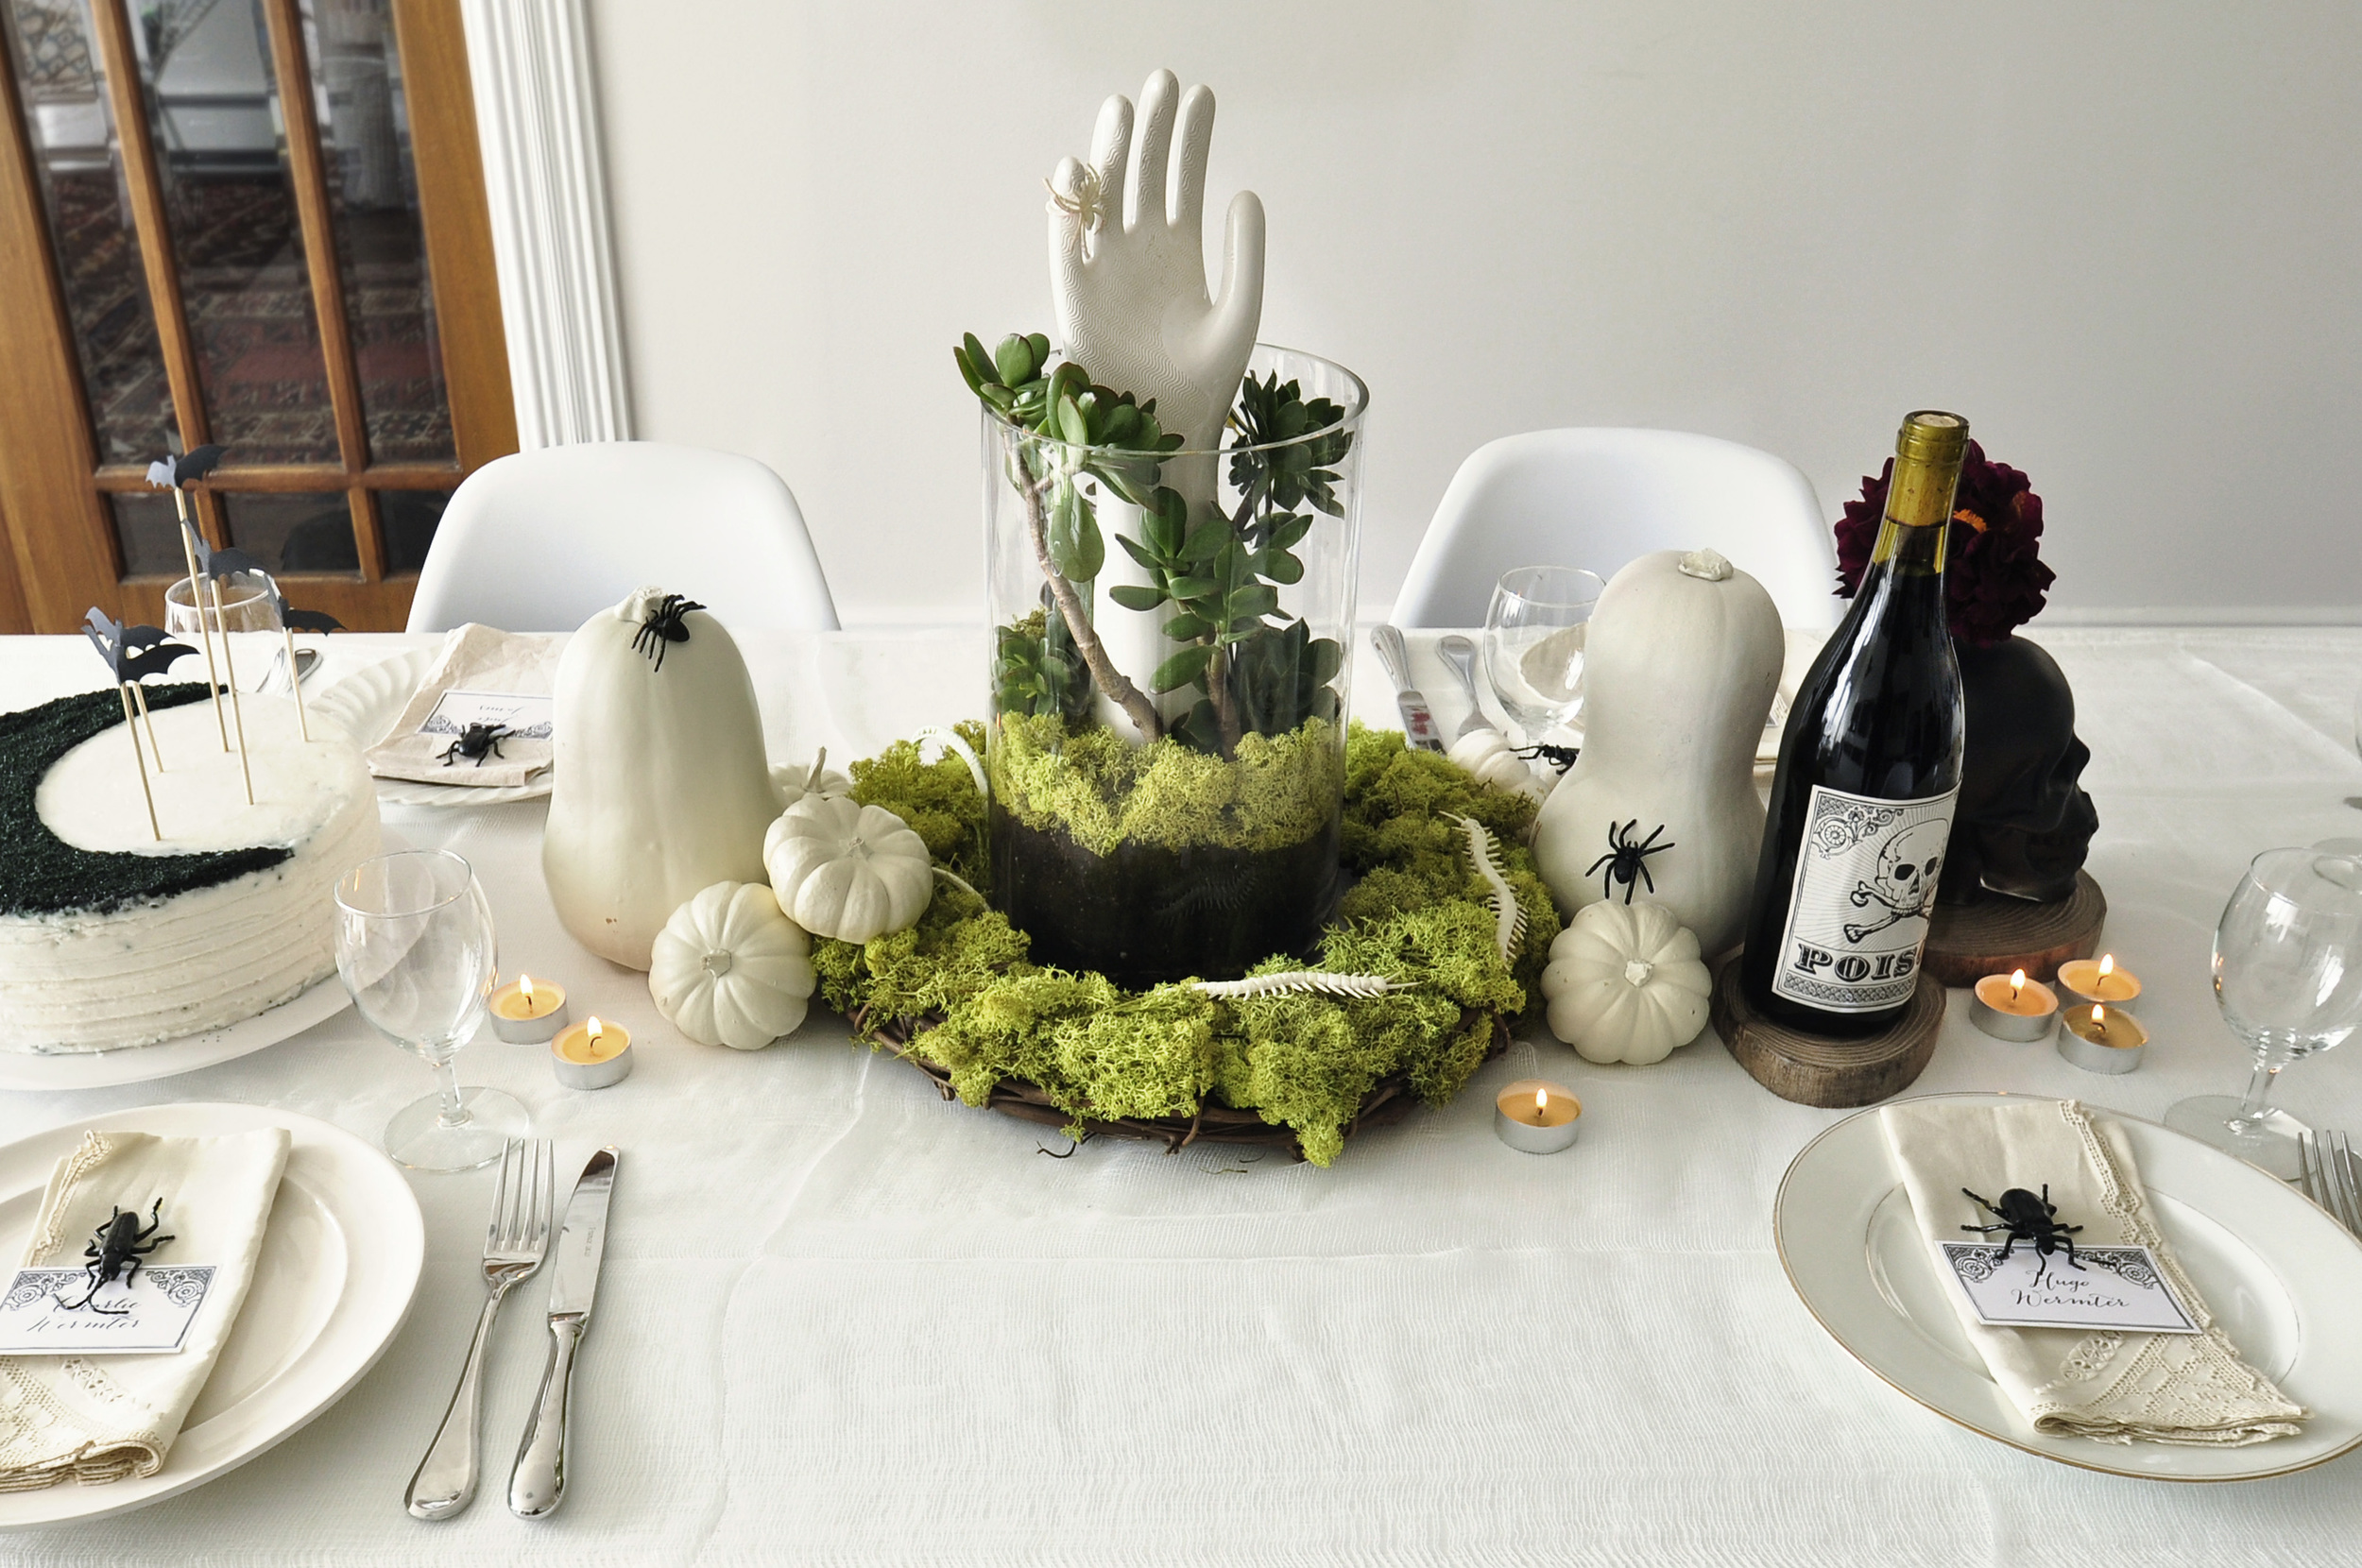
Take your table to the next level by adding place cards and poison wine labels! We created free downloadable templates so you can print your own matching cards and labels!


Try using a plastic bug as a place card holder. We spray painted ours black, but you can also find them black to cut out a step!

We recommend you print your wine labels on sticker paper found at most craft stores, or simply cut out using the markers and stick on using double stick tape!

Print your free place cards here!

Print your free wine labels here!

DIY Halloween Centerpiece


A table is never complete without a captivating centerpiece! Follow these steps for the perfect Halloween themed décor. What you will need:+ Glass cylinder vase/ terrarium- Michaels or Amazon + Moss- Home depot + Sand, bark, or rocks + Succulents- Home depot + Potting soil- Home depot + Ceramic hand- Etsy (This is an investment, but they make for amazing jewelry holders). + White spray paint (optional)- Home Depot + Black spray paint (optional)- Home depot + Pumpkins/ squash- Home depot + Toy spiders- Amazon or Michaels Spray paint pumpkins white and spiders black (if not purchased that way) & allow for overnight drying.1. Fill the bottom of your glass vase with 2-3 inches of bark, sand or rocks, this is so the water has somewhere to drain. 2. Place your purchased ceramic hand in the center of the vase. 3. Surround hand in potting soil and pack tight so the hand is stable. 4. Place succulents around the hand, gently pushing roots into the soil. Sprinkle an extra layer of potting soil around base of succulents. 5. Cover the top layer of soil in moss.

Halloween Tablescape


Charm your dinner party guests this Halloween with a themed tablescape. With easy and affordable creepy crawler place card holders, printable poison wine labels, and a corpsy succulent centerpiece, your table will be the talk of the town.

This week we will be posting DIY’s and free printables so you can create a spooky tablescape of your own!

Stay tuned for these DIY’s and printables:

+ Glow in the dark serpent wreath- DIY

+ Lend me a hand centerpiece- DIY

+ Bats cake topper- Printable

+ Poison wine bottle label- Printable

Stuff We Love: Crane & Canopy

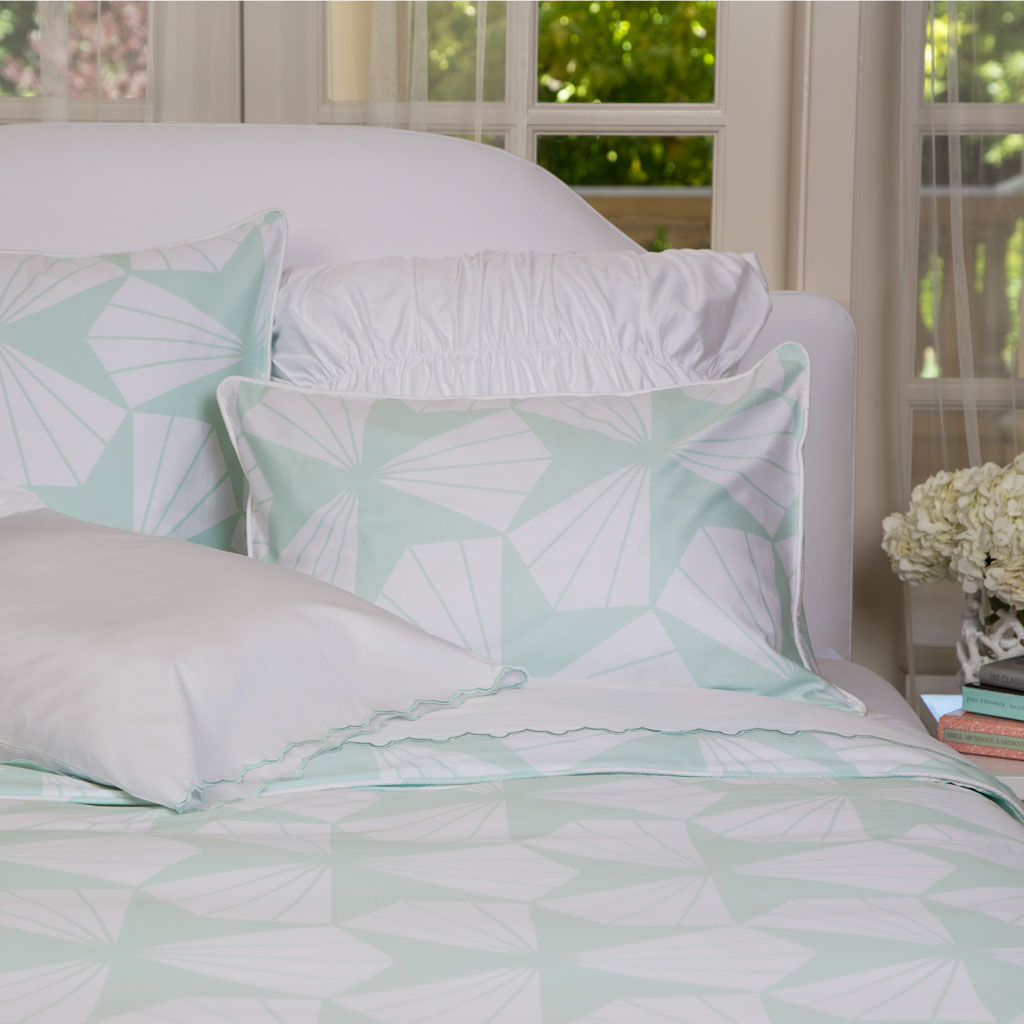
mint-taylor-zoom-bigimage0

Lately we've been obsessing over the beautiful bedding and pretty home goods from Crane & Canopy. Besides coveting their lovely products we're also big fans of their story. Like so many great founders Karin Sheih created Crane & Canopy when she was looking for something she couldn't find. Shortly after purchasing her first house she was so excited to start decorating but quickly got frustrated when she couldn’t find exactly what she was looking for without breaking the bank. So she did what most sensible people do when they can't find what they need, she started a company that produces exactly what she was looking for -- high quality, innovative bedding and home goods, all available at a great price.

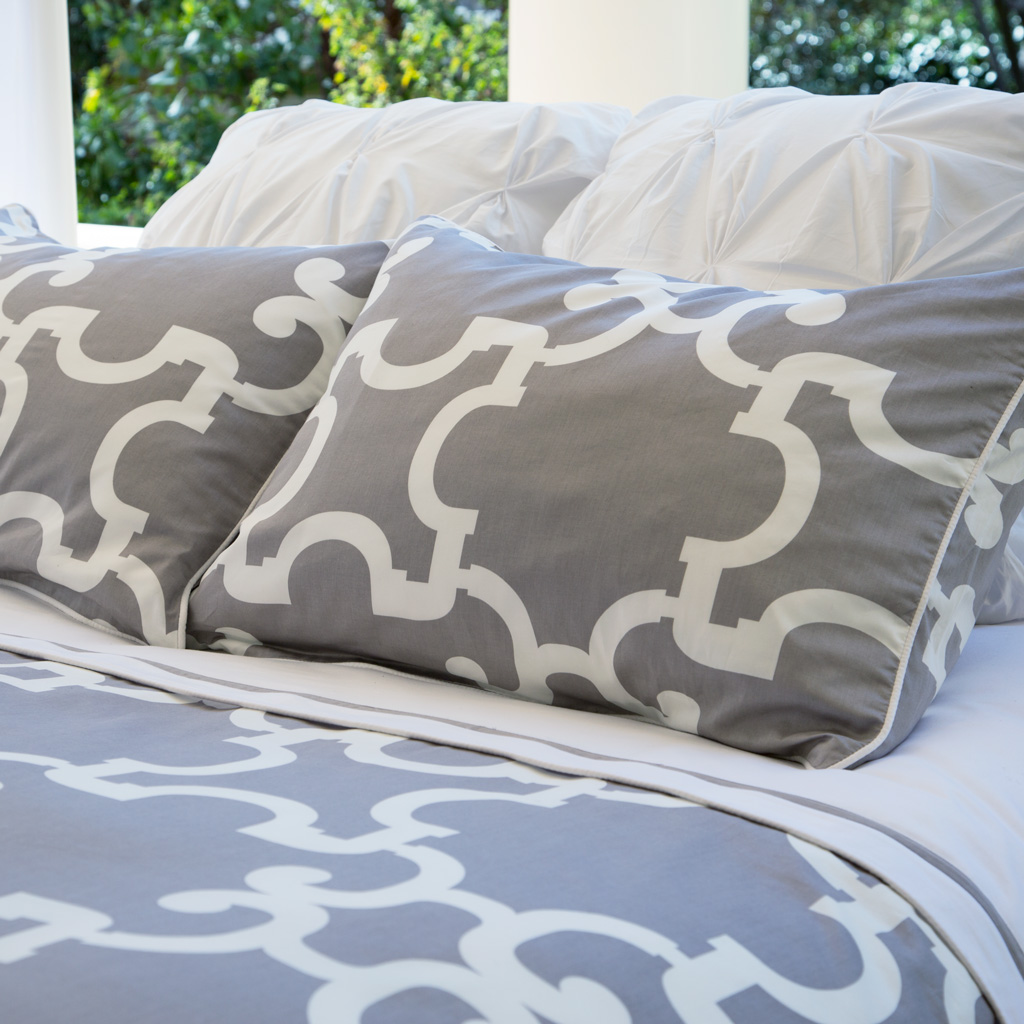
noe-gray-sig-bigimage0

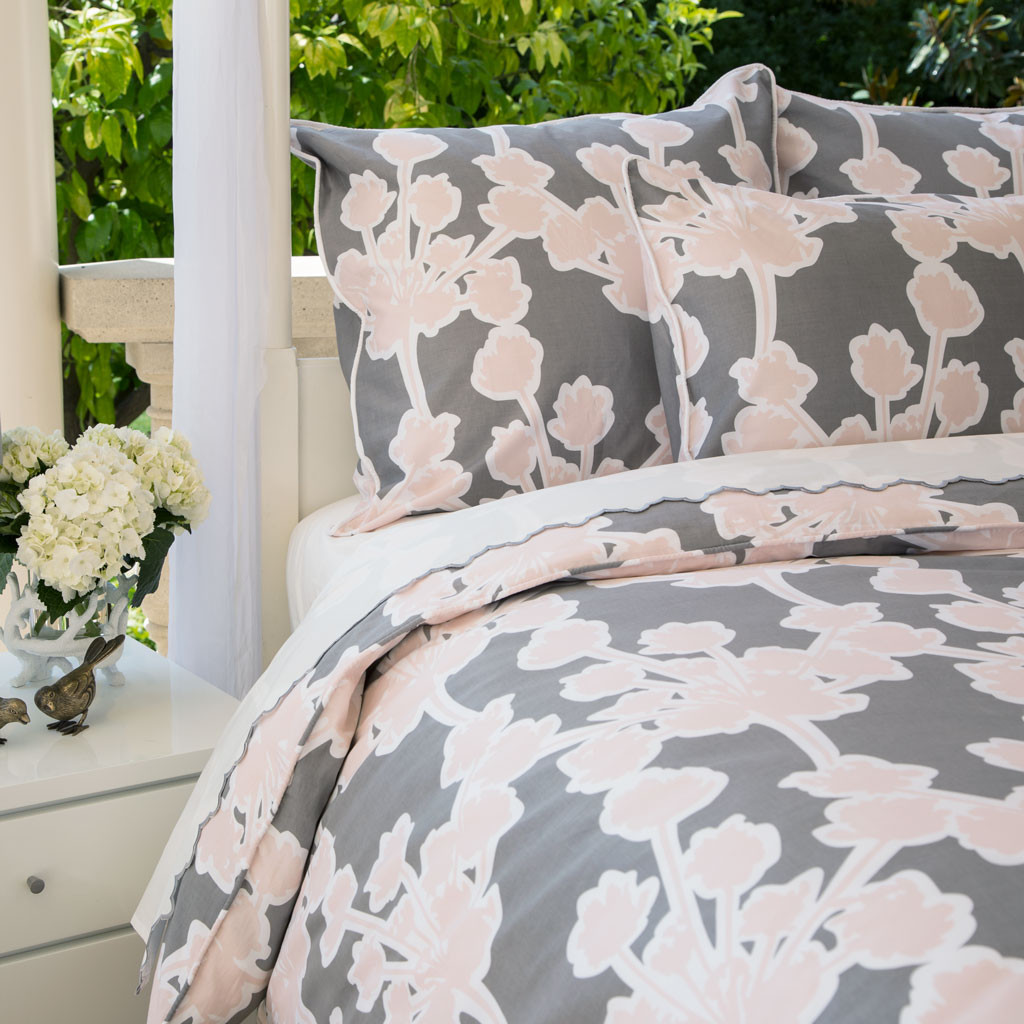
How pretty are these designs? We also love that many of their collections are named after San Francisco neighborhoods. Below is the Ashbury Pink, great name and great color palette.

crane and canopy bedding

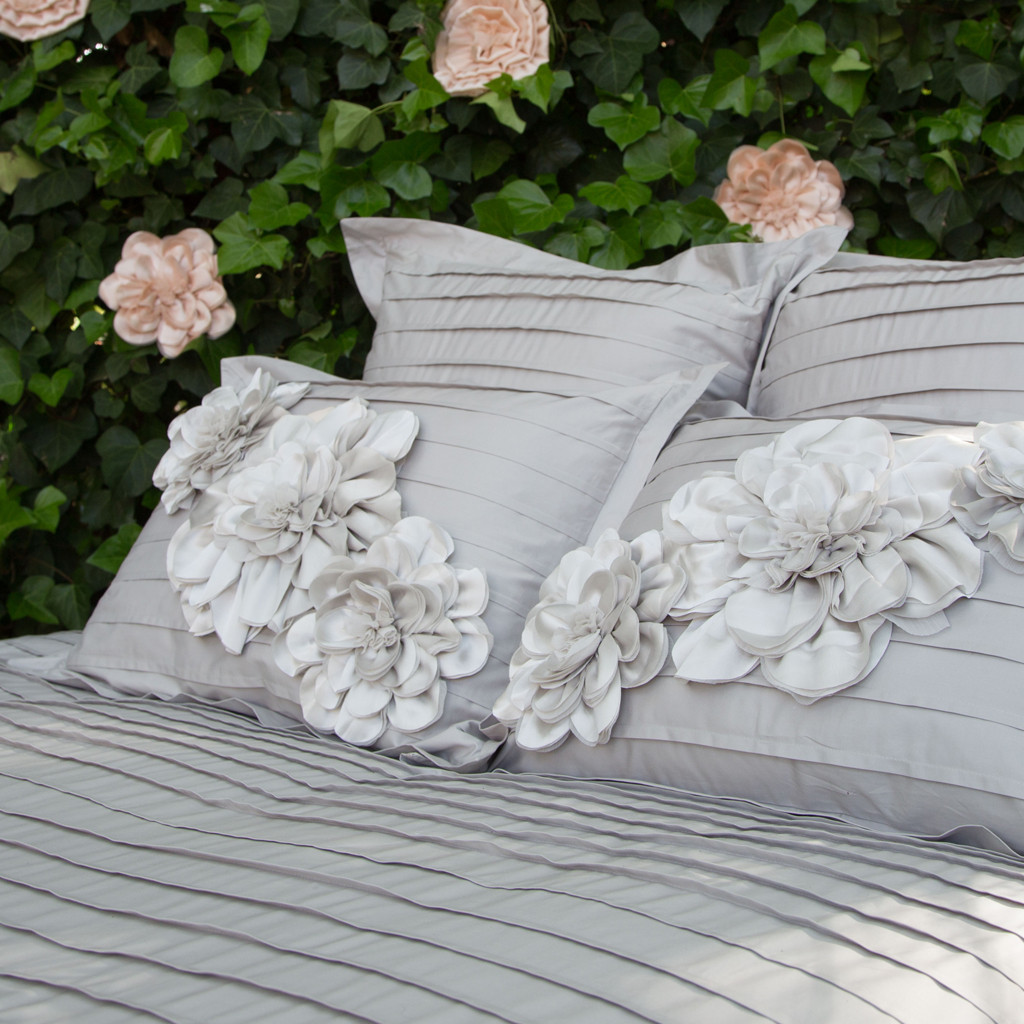
We're smitten with their new collection called Floral Belles, which allows you to mix and match with detachable flowers-- perfect for people who get bored quickly with their bedding, and a really fun way to freshen up bedroom decor.

floral-belles-bigimage0

If you haven't had a chance to check out their collections head to their site now!

They're also extending a discount to all Hello!Lucky friends, enter the code CRANEANDCANOPY+HELLOLUCKY for 10% off all orders over $150.


Flower Fairy themed party from Vanessa Mason

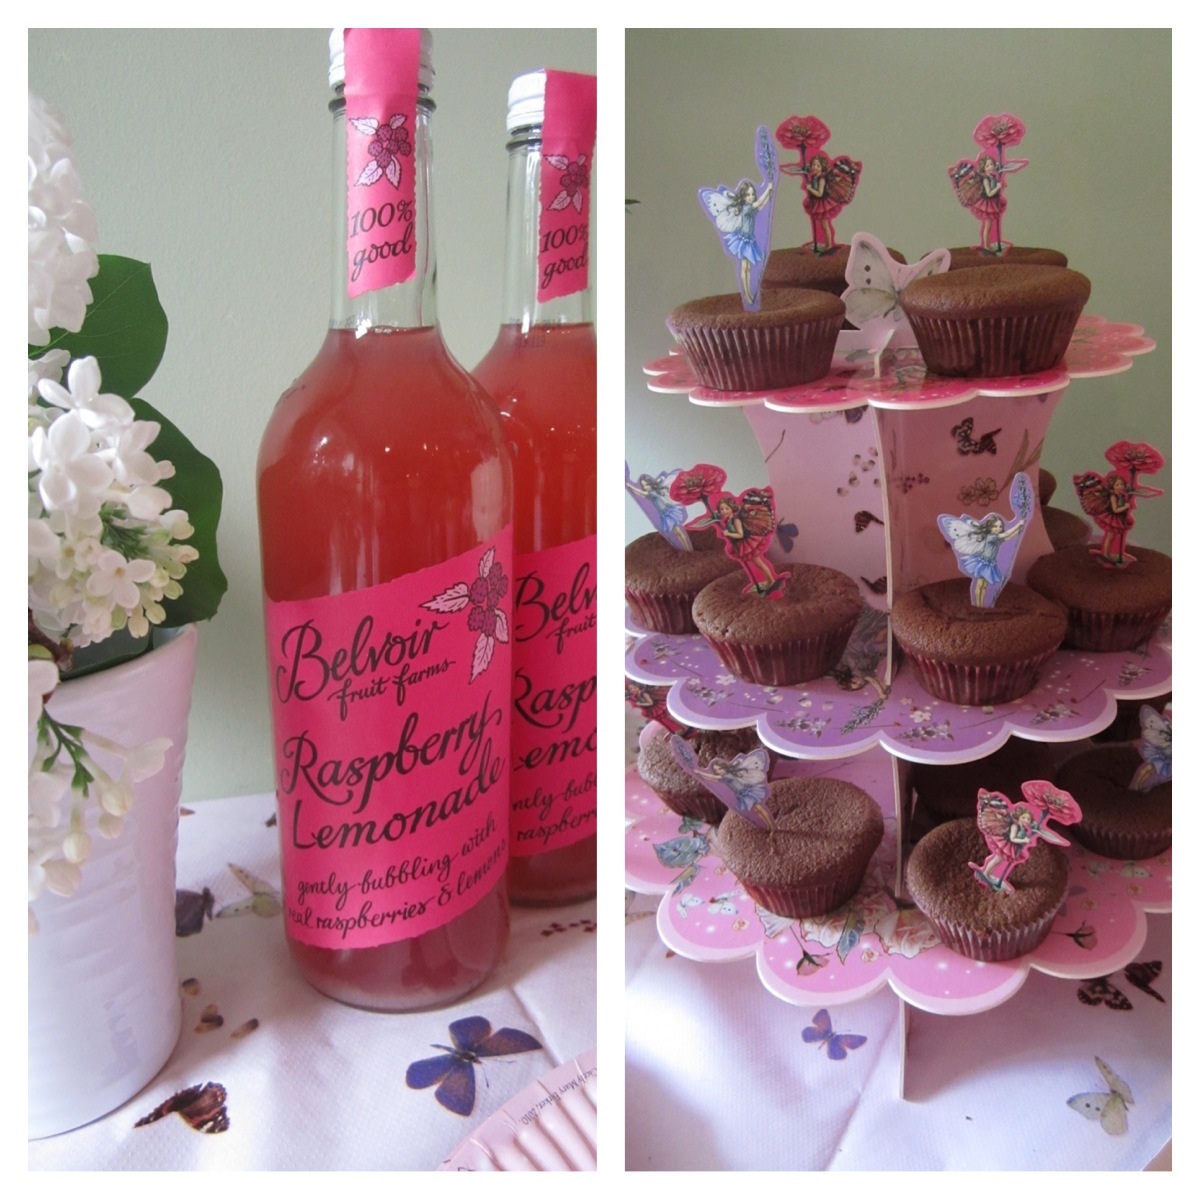
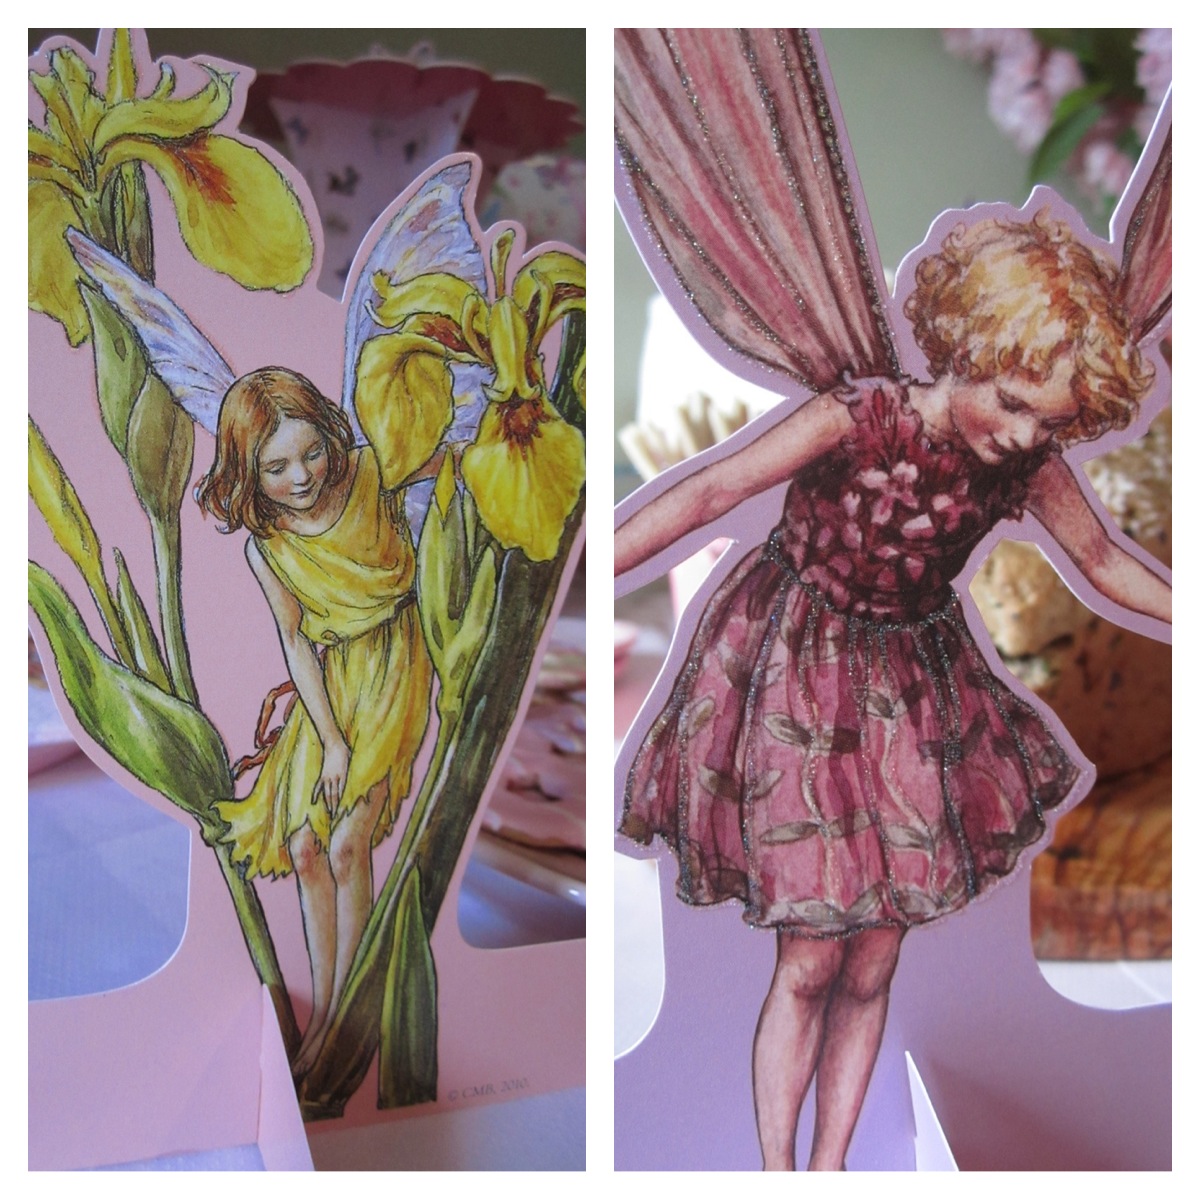
My daughter Sienna was 1-year-old last month and “girl” what a bash we had! We had a guest list of 12 children ranging from 1 to 8 years old and I had decided on a flower fairies theme, which worked out beautifully. The girls all arrived wearing fairy wings and Scott and Sienna wore theirs. The delicious chocolate cupcakes, perched on a cardboard themed stand, were decorated with little flower fairy figures and the table was adorned with mini fairy stands depicting magical flower fairy girls. The mood of the party was happy, fun and innocent! The main eye-candy was a homemade-layered rainbow cake, which I had made the night before. Sadly, I ran out of steam to do the seventh layer to be true to the rainbow, but nobody noticed a part from me.

The floral centerpiece was made up of a selection of vases carrying fragrant white lilac, baby pink cherry blossom and fresh mint. We served our guests with pink raspberry lemonade and Italian Prosecco, depending on their mood. English classic pastel party rings and pink wafers were also served as part of the buffet. And Sienna’s godmother Grace surprised us by bringing a huge box of pink gloss Krispy Kreme doughnuts, yummy. Halfway through the party, a children’s entertainer named Barry from Loopy’s Laughter Show put on a needed distraction, whilst the grown-ups chattered away in peace.

If you’re looking for the same innocence and return to nature for your wedding or party invitations, check out Hello!Lucky’s Floral or Vintage wedding invites, all of which can be customized and changed into birthday party invites as well! Table decorations by Talking Tables.

In Good Company

We have so loved being a part of Good Company, a wedding studio based here in San Francisco. Our co-partners in the studio include photographer Lisa Lefkowitz, the dynamic wedding planners at Downey Street Events, florist Sharla Flock Designs, and hair/makeup artist Meaganne McCandess. As you can imagine, it really is the perfect one-stop studio for all of your wedding needs.

We were so excited to also be a part of a feature on Style Me Pretty Living that went live today. There are some beautiful photos of the studio accompanied by fun q&a's with each of the studio members, you can read it in full here.

Photos by Lisa Lefkowitz

Planning the perfect baby shower

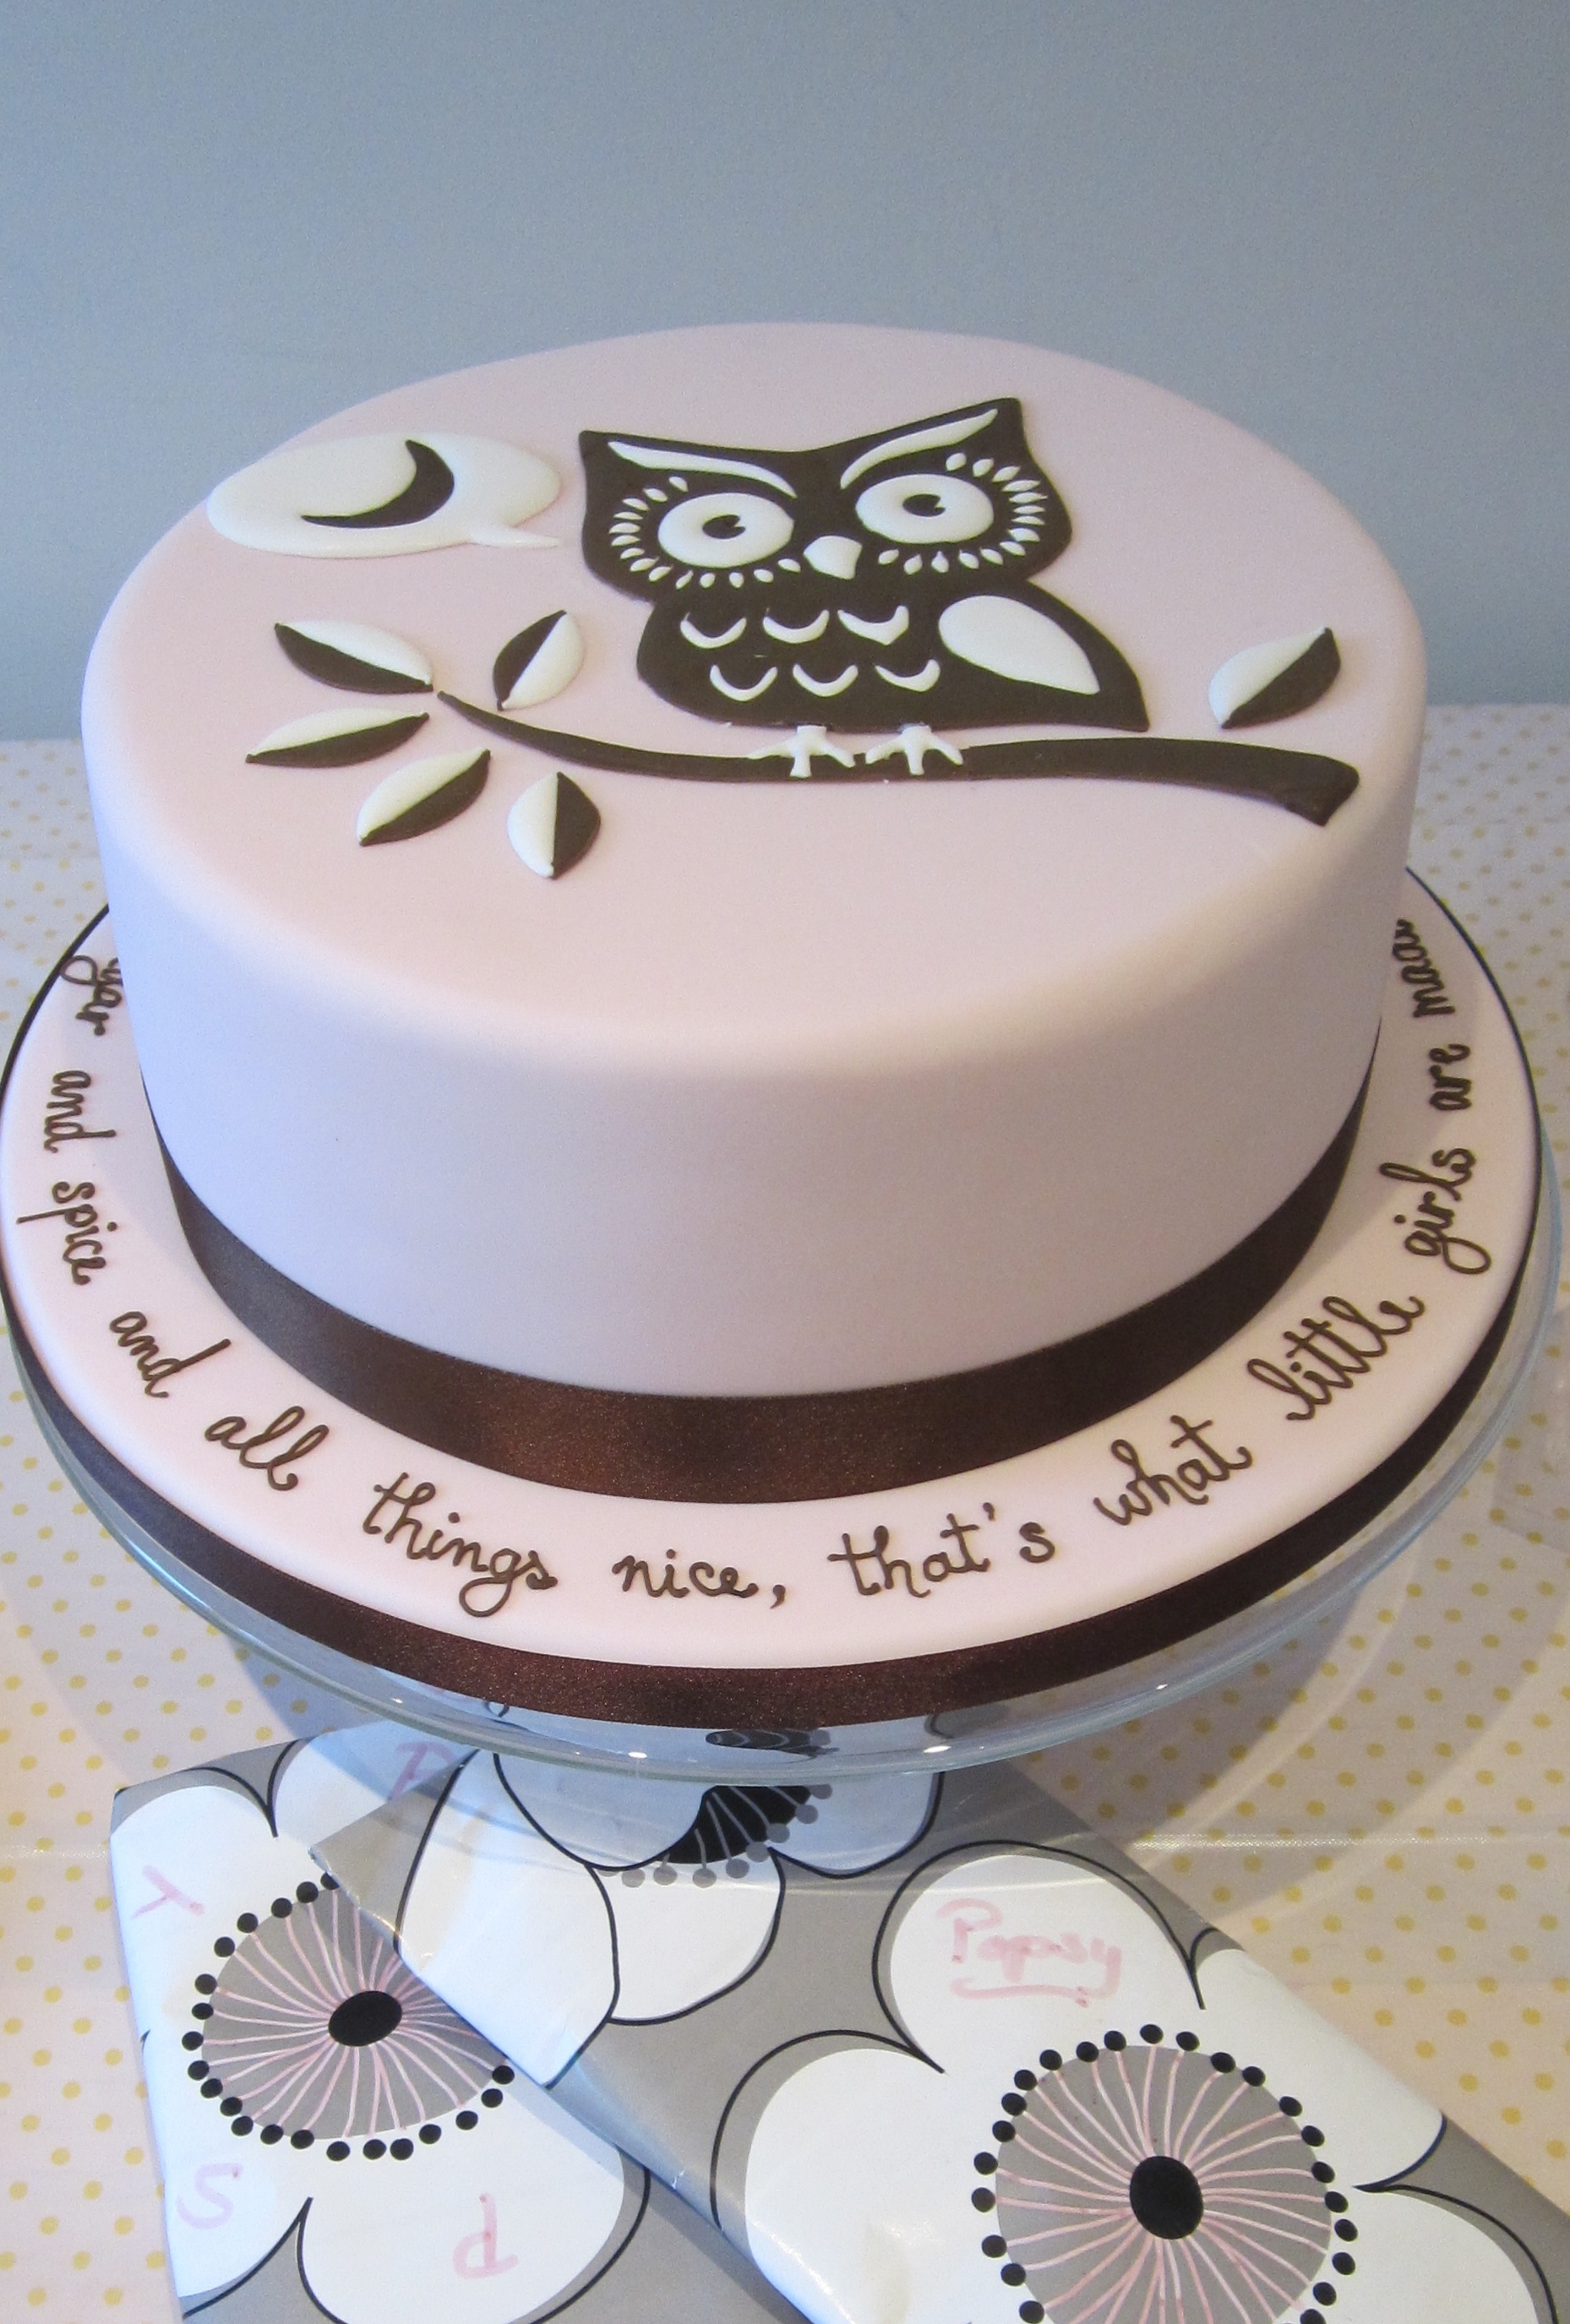
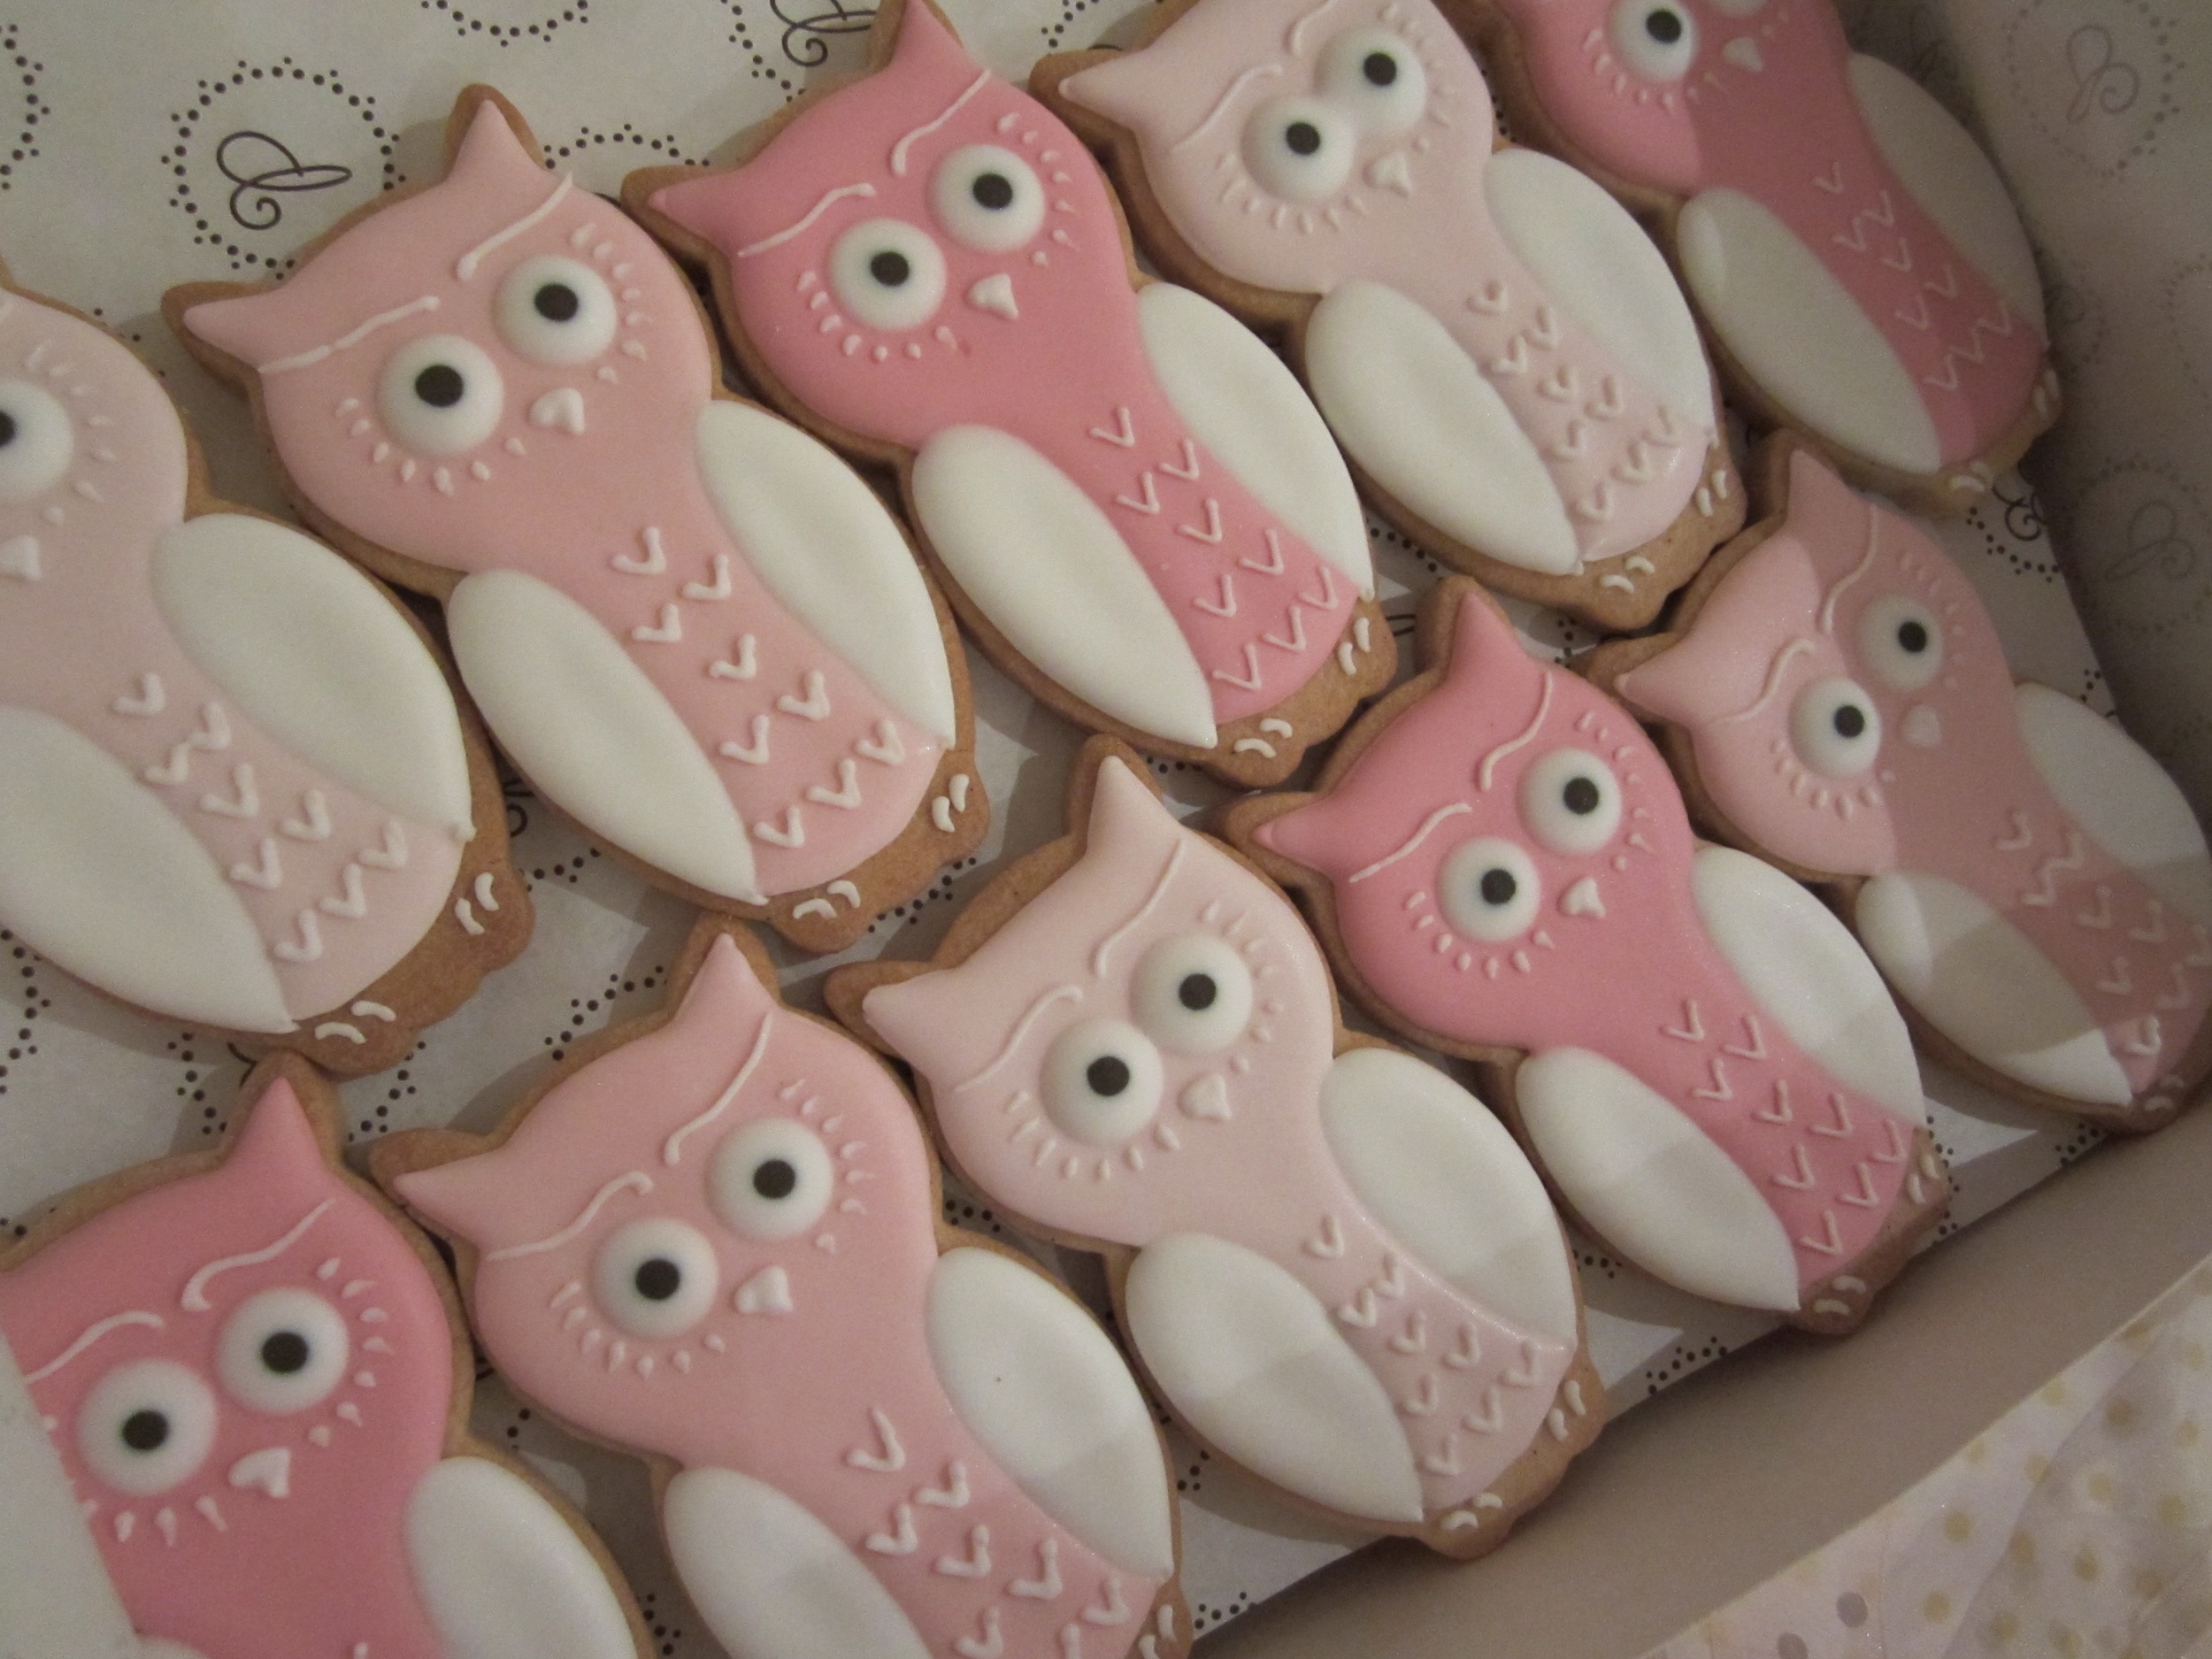
There’s a lot of speculation around what the Duchess of Cambridge will plan for her pregnancy, birth and beyond. When it came to planning my own baby shower for my daughter Sienna last year, I decided to splash out and get cake and cookie expert Peggy Porschen to create some cookies and a cake in my chosen theme, which was owls. The results were adorable as you can see from these snapshots. I furthered the colour theme with pink balloons and was lucky to receive the cutest gifts including three Jellycat soft toy owls!

If you’re looking for ideas for your baby shower, take a look at what Hello!Lucky have on offer: super cute printable invitations and free (yes free) DIY template and instructions for creating your own pom-poms made out of cupcake liners! Your house or venue is sure to look cute with these hanging up for any type of celebration.

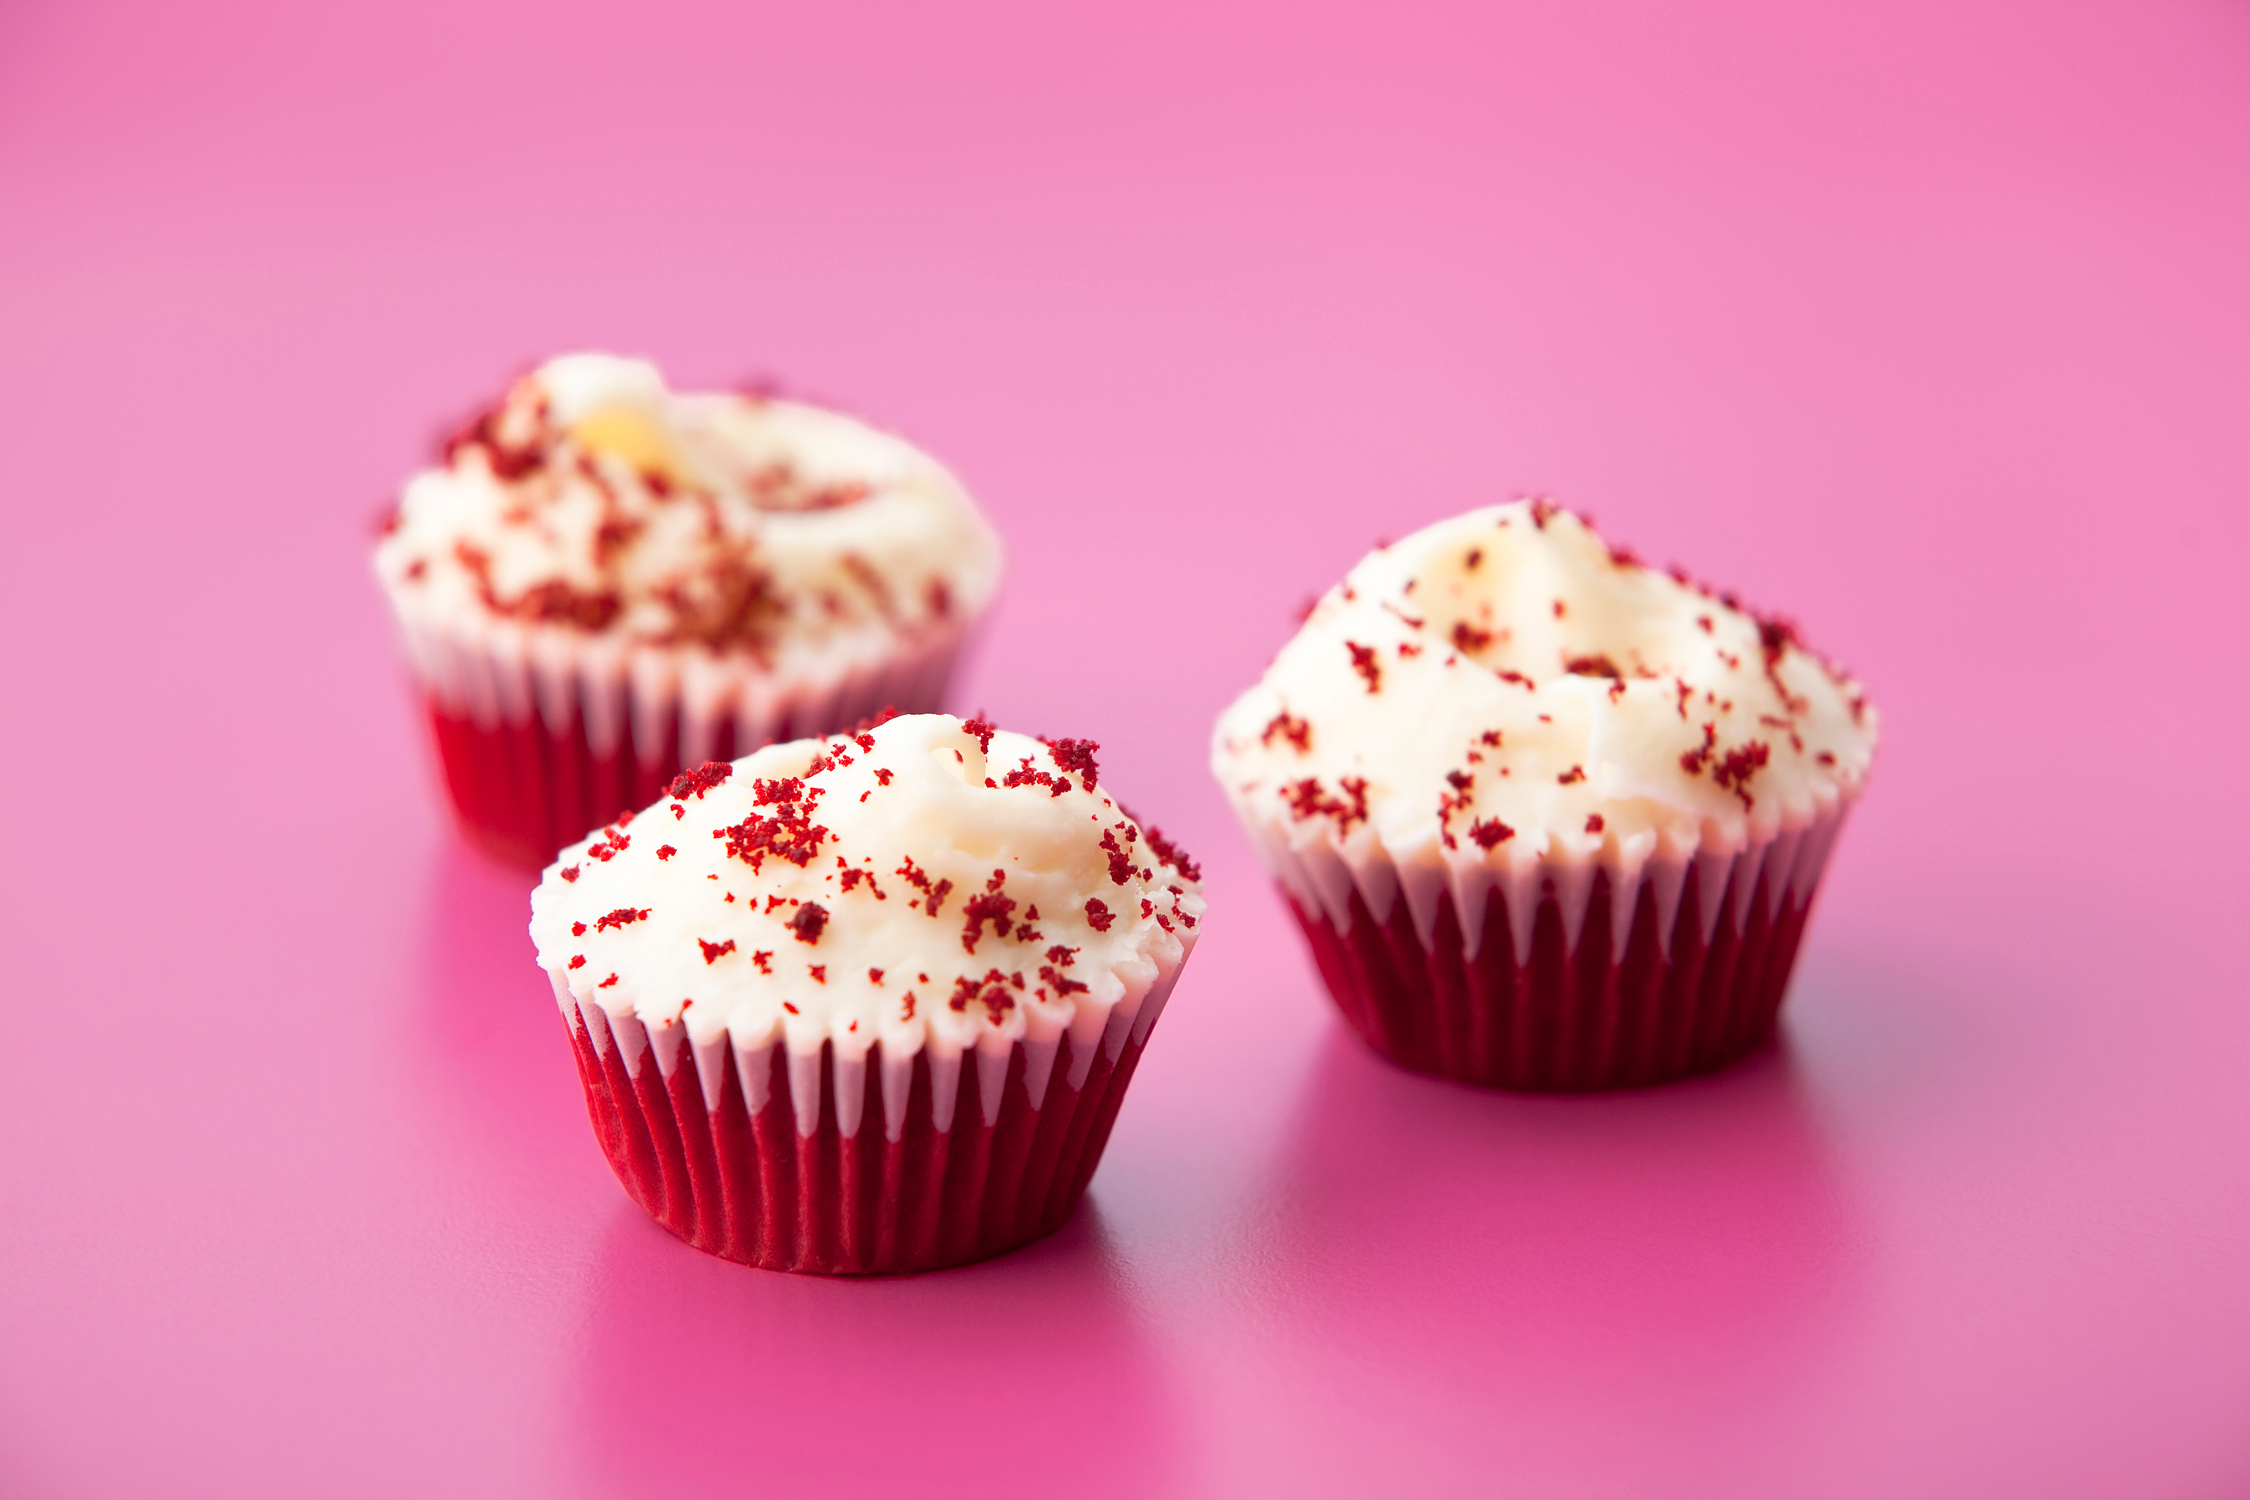
 Coming back to Kate and an imaginary baby shower for her, if I was sister Pippa, I would have a tea party in the garden at Kensington palace, I’d fill it with pretty vintage tea sets from Idyllic Days and funky flowers by Wild at Heart. Catherine’s friends would eat strawberries and cream flavoured mini red velvet cupcakes from The Hummingbird bakery and walk away with goodie bags filled with personalized cookies from Biscuiteers and smellies from the Cowshed.

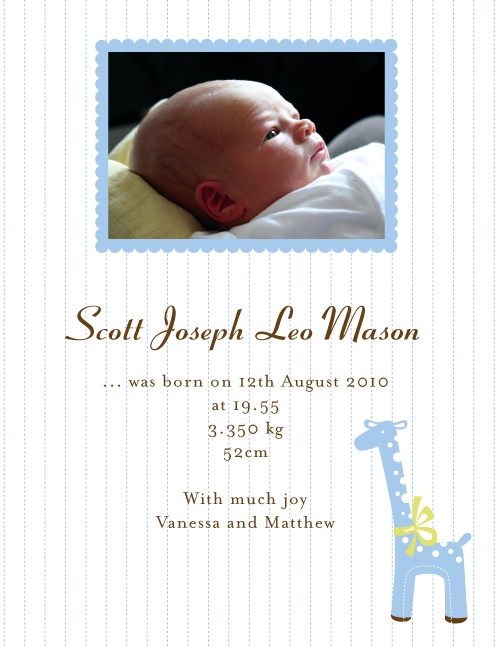
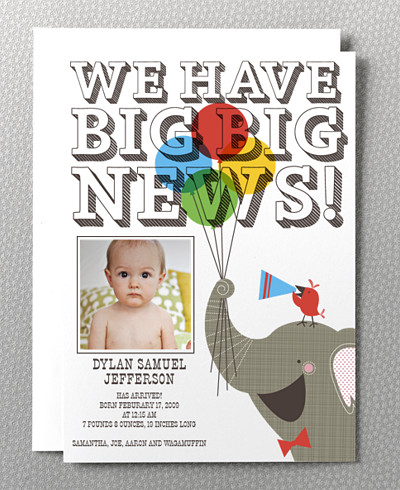
Also, once the baby arrives be sure to check out Hello!Lucky’s birth announcements, they’re so sweet. Scott’s giraffe design was from their main collection and Sienna’s owl was a special custom design that Eunice Moyle was kind enough to create for us.

Happy birth and celebrations to you all!

 Vanessa Mason x


Inspired By: Coral & Tusk

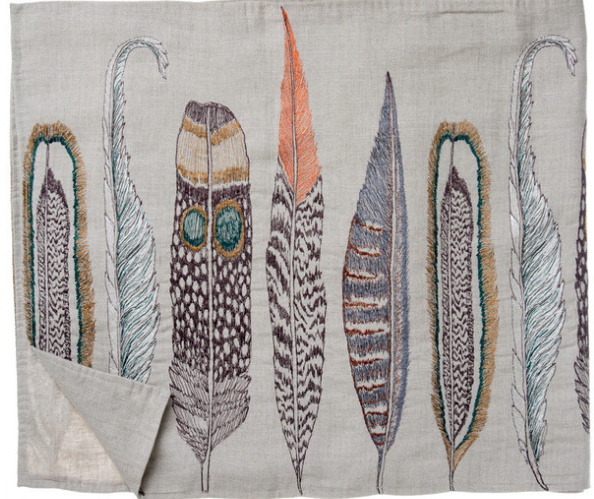
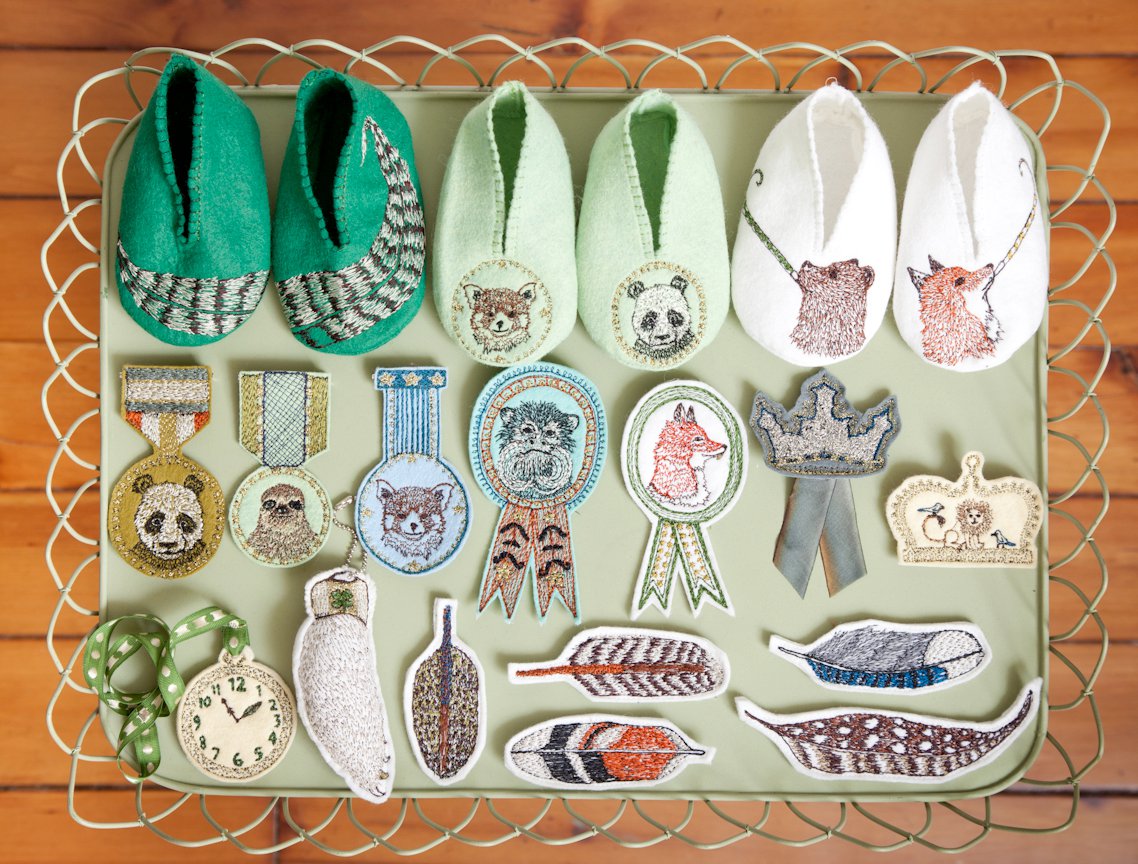
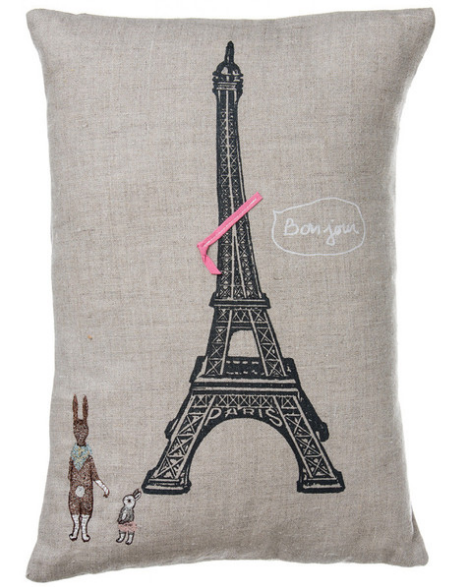
We first discovered the embroidered work of Coral & Tusk at a local wedding fair where a vendor had a beautifully stitched table runner on display. We loved the detailed feathers and immediately sought out more of their work online.

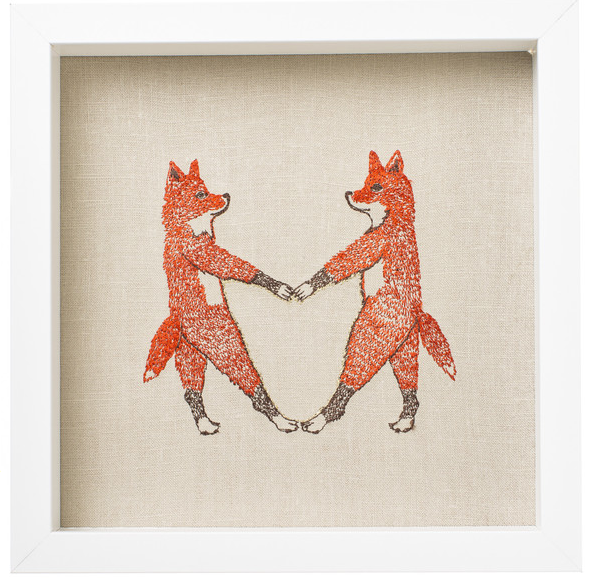
Founded in 2007 by Stephanie Housley together with her husband Chris Lacinak, Coral & Tusk creates work inspired by their travels all over the globe. Their love of animals, adventure, and the natural world are reflected in every piece they create. We're especially fond of their stitched animals who always seem to be celebrating.

A RISD-trained textile designer, Stephanie creates all of her scenes and irreverent characters as original pencil drawings before she redraws them stitch by stitch using special computer software. Finished by hand in Coral and Tusk's Brooklyn loft, every machine-embroidered pillow, doll, napkin and artwork retains the story-telling spirit and hand-drawn allure of the original illustration. A mix of smart design, magic and mischief is at the heart of every Coral & Tusk embroidery.

View & shop Coral & Tusk here.

See if they are in a store near you here.

Follow along with their latest here.

Third Birthday Party -- Rainbows & Unicorns!

Jude, James, Alex and a whole band of kids just celebrated their big birthday number 3 and the theme for this years party was rainbows and a unicorn. The Unicorn was the only member in the group who was turning one. Beatrice had a special unicorn outfit just for the party. It wasn't easy to top last years amazing neon bash but Eunice, Sabrina, and their friends outdid themselves and managed to make this years celebration even more memorable than the last one.

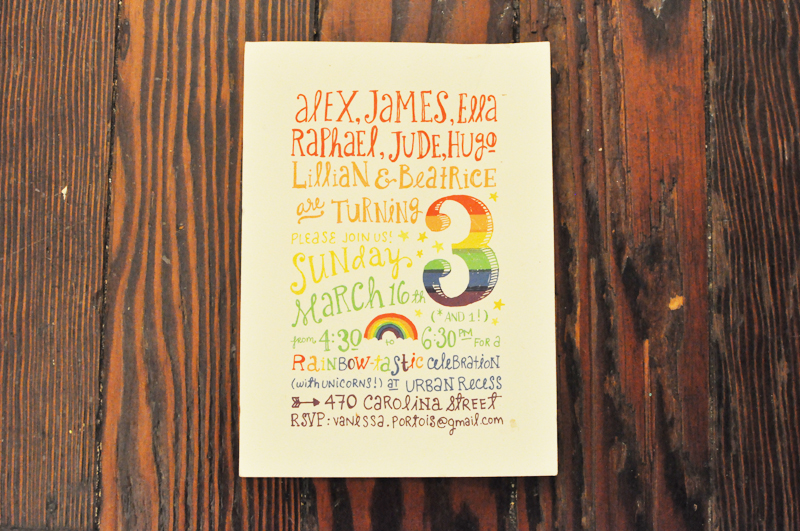
Eunice designed the rainbow themed invitations complete with custom rainbow liners. Each kid was assigned a color of the rainbow and as you can see from this photo the parents matched!

This years party was held at Urban Recess in San Francisco on a Saturday evening. Urban Recess proved to be the perfect space since there are already so many built in activities for kids including train sets - which Jude loved-- slides, a climbing wall, and even a giant swing.

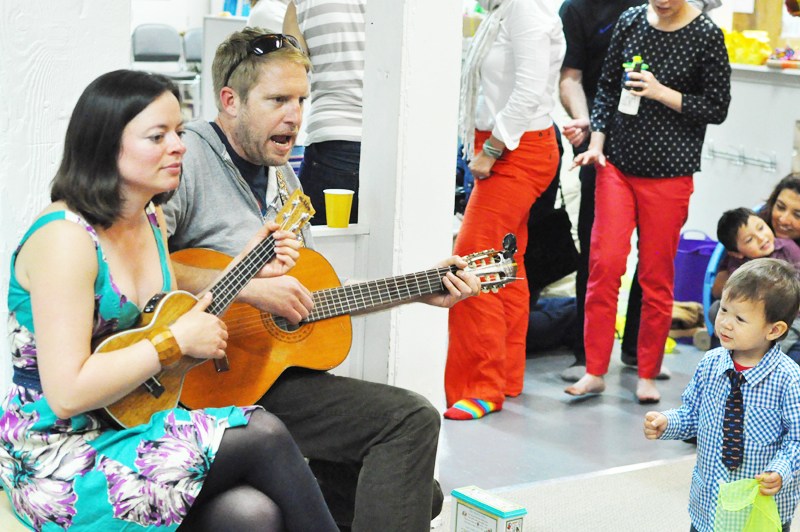
As a surprise the parents brought in a musical act this year and the kids loved dancing and singing along to the band Your Song My Song. Jaime Lee Currier and Eric Hart sing classic kids' songs, Beatles, originals, family favorites and lots of sing-a-longs.

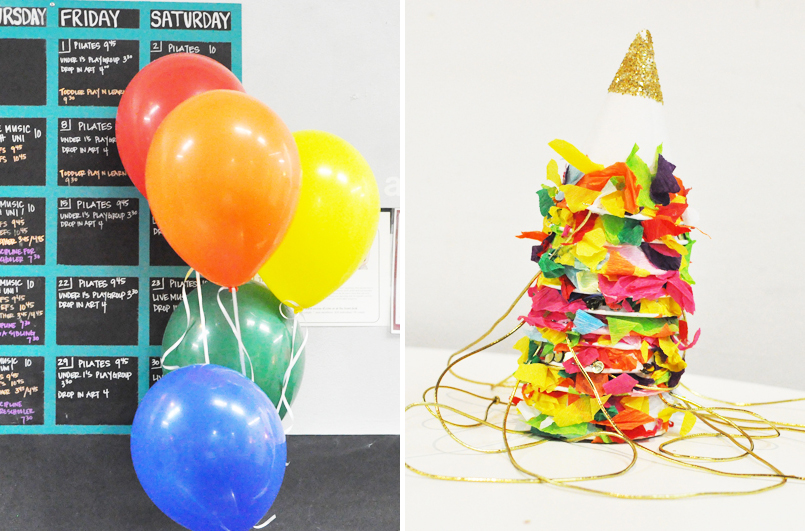
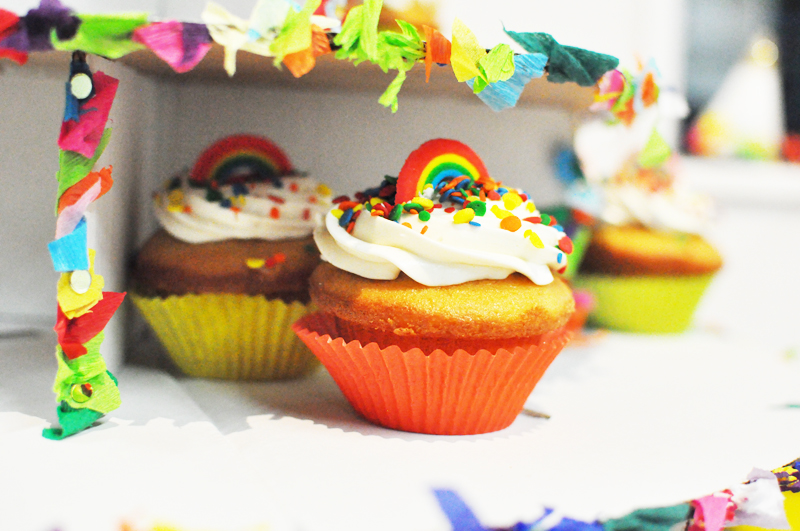
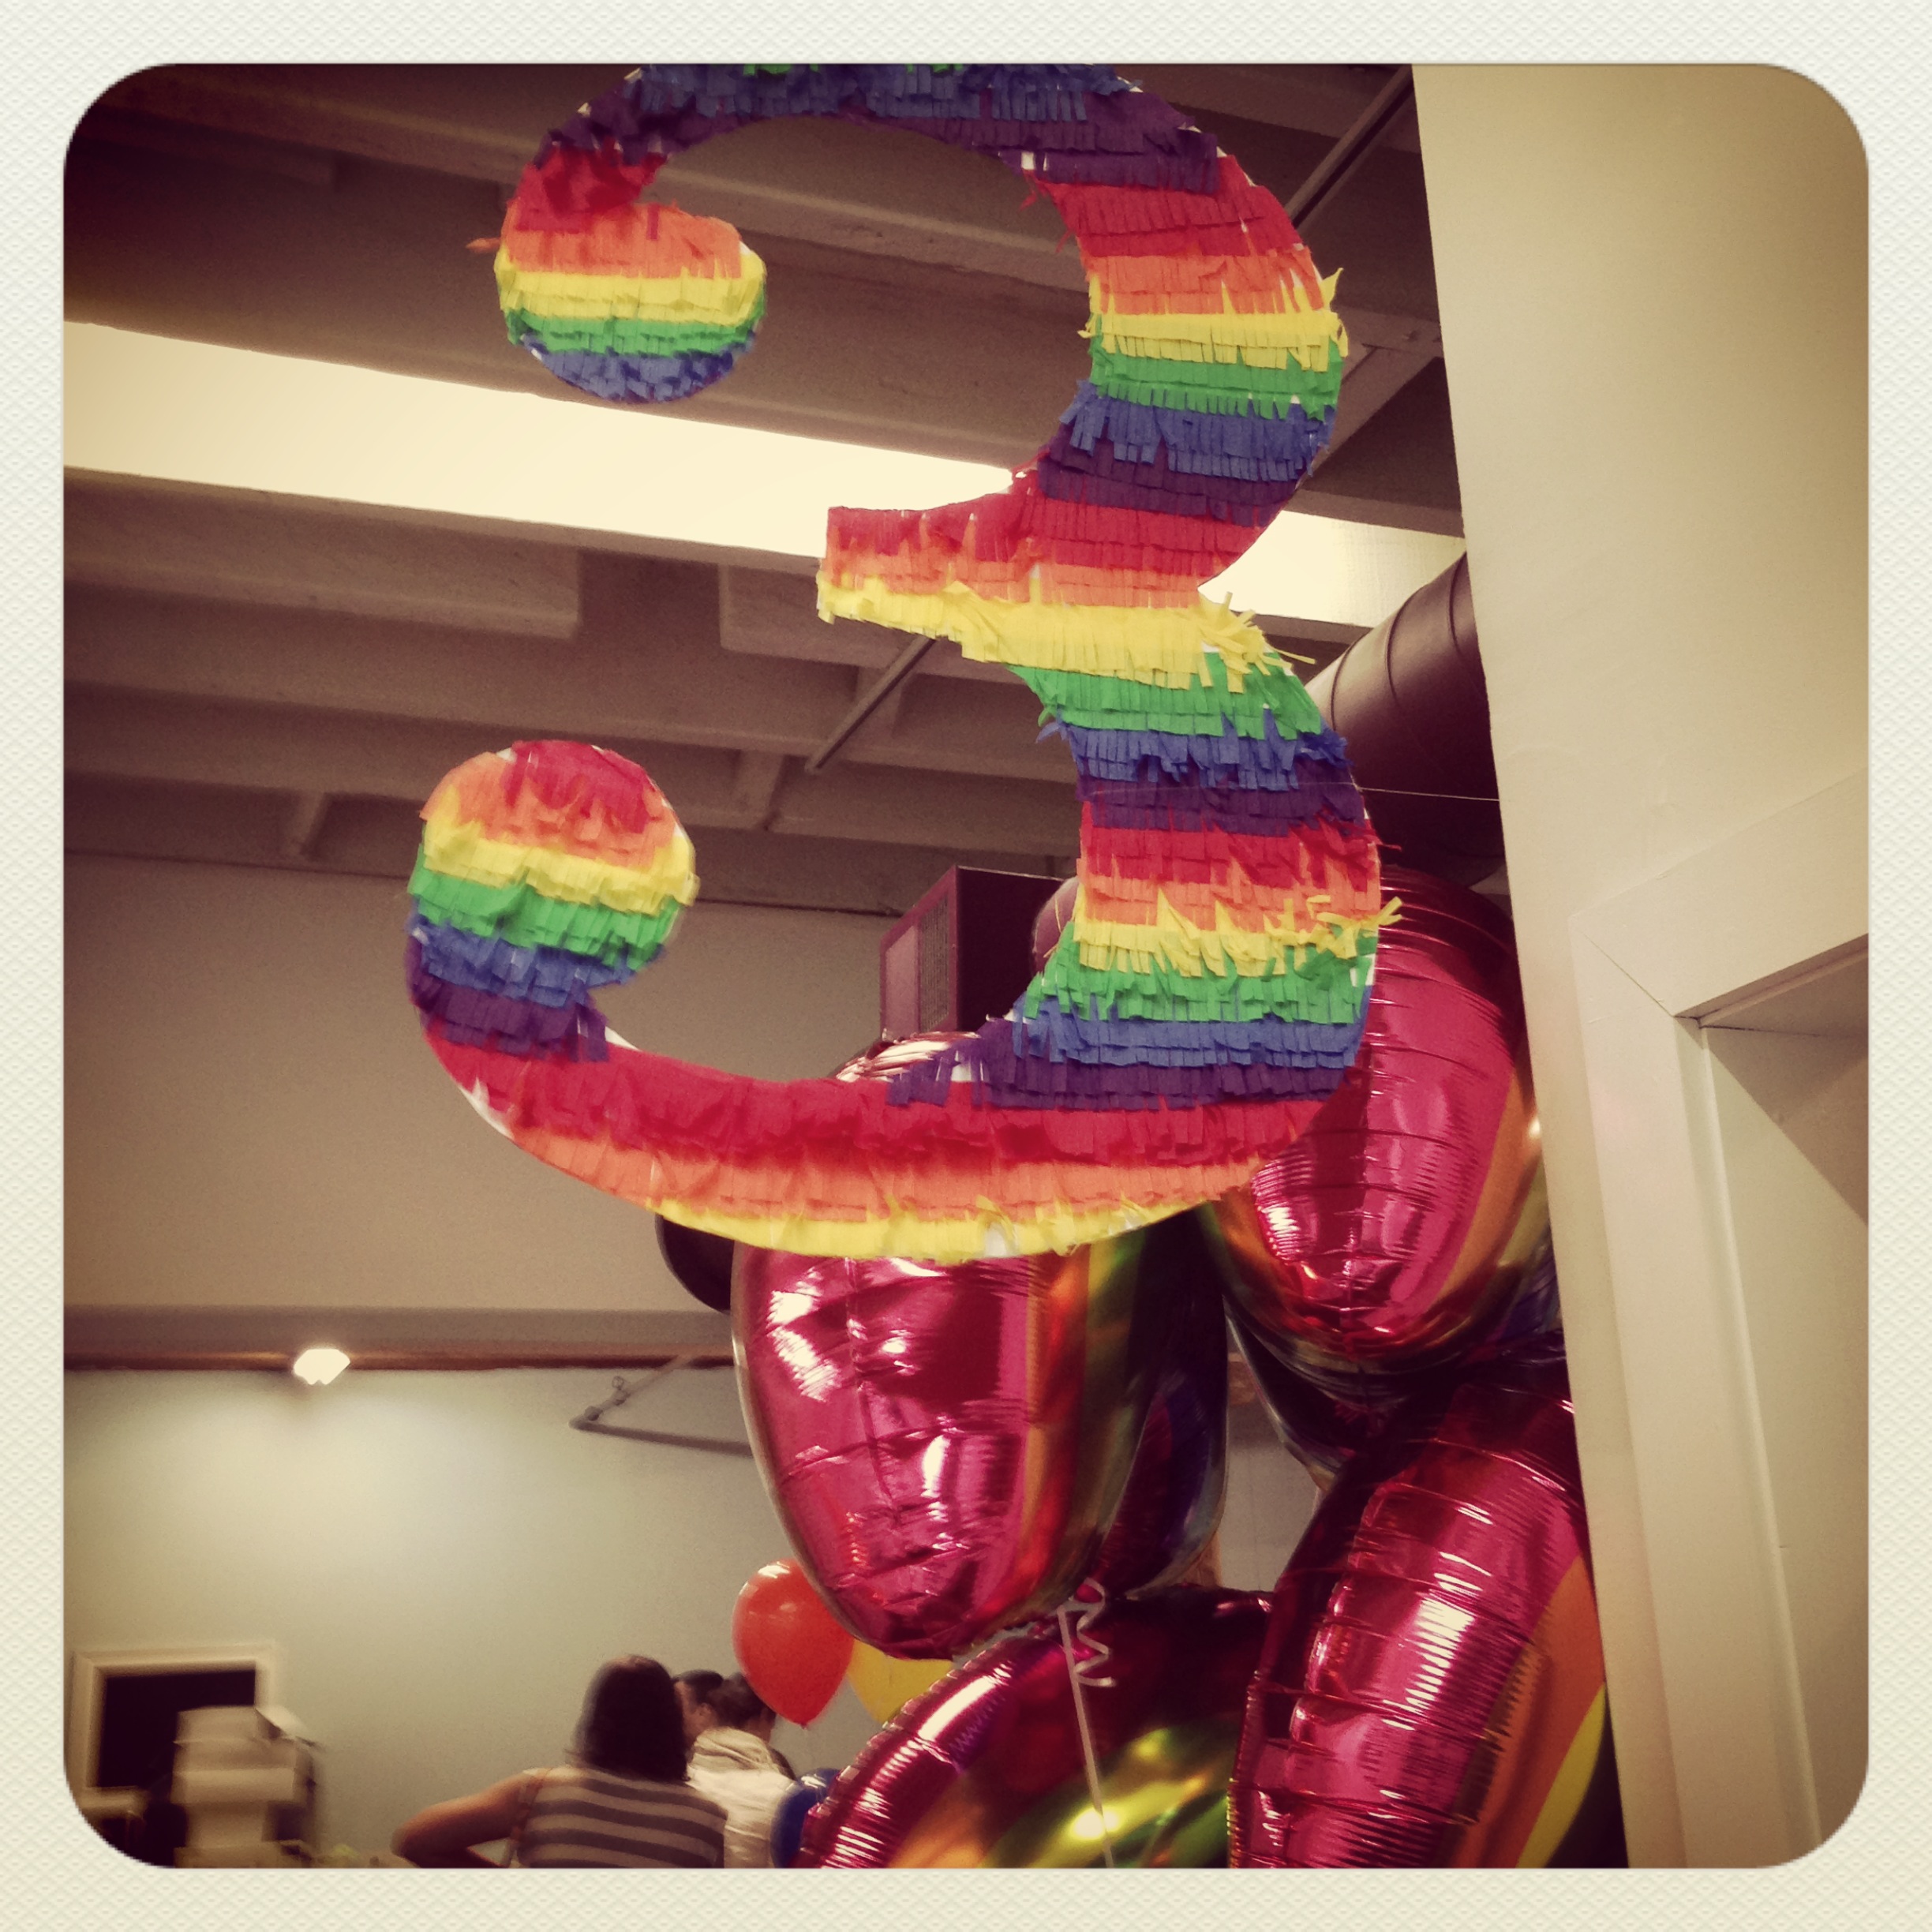
The preparation for this years party of course involved lots of crafting. Together the parents made sweet little party hats (inspired by hats made by Jihan of Geronimo), a giant number 3 covered in rainbow streamers, t-shirts with the number three on them for the birthday kids, colorful cupcake liners and rainbow toppers, rainbow balloons from Sparky's, and of course a giant number 1 so Beatrice wasn't left out.

Happy Birthday to Jude, James, Alex, Ella, Raphael, Hugo, Lillian, & Beatrice! We can't wait to see what your 4th birthday party looks like!

All photos (excluding the giant number 3) taken by Sandra of Happy Morning

The Fabulous Mr. Finch

We just stumbled across the work of Mr. Finch, a textile artist from Leeds in Yorkshire, and were immediately enamored by his ethereal and whimsical creations.

Finch says he is inspired by British folklore, shape shifting witches, and moon gazing hares. We love that he believes the animals he creates come to life at night when everyone is sleeping.  It's no surprise that his creatures feel so magical.

He has had no formal training which is completely inspiring.


Love this sea horse...

This charming hare reminds us of the Velveteen Rabbit.

Check out more of his work here and here. You can pick up some of his pieces at his Etsy shop.


Easter Craft Projects

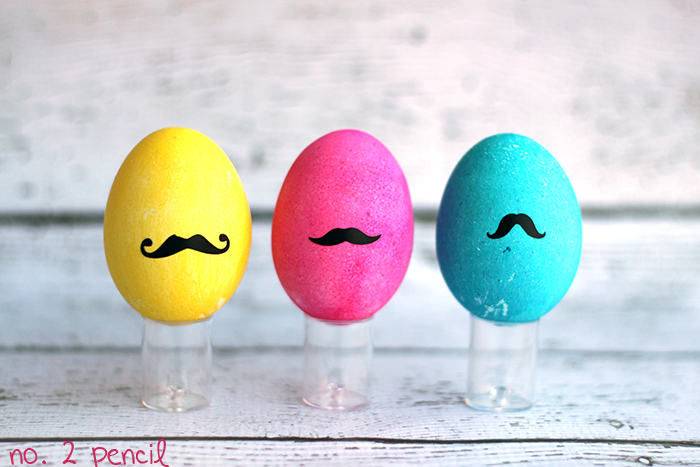
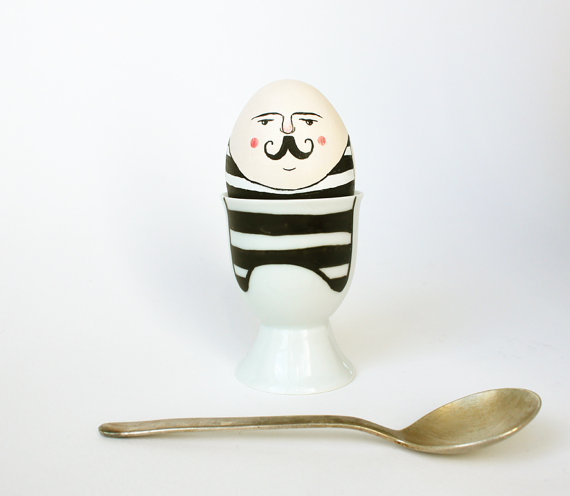
While we haven't had a chance to come up with a fun craft project for Easter yet we love seeing everyone else's projects popping up online. To celebrate the season here are some of our favorite Spring projects from around the web. Shown above are Moustache Easter Eggs from the blog No.2 Pencil. She uses a craft cutting machine to make the vinyl moustaches, but it would be just as fun for kids to draw them on the eggs with a Sharpie. Adding eyes and some hair would give these eggs even more personality.

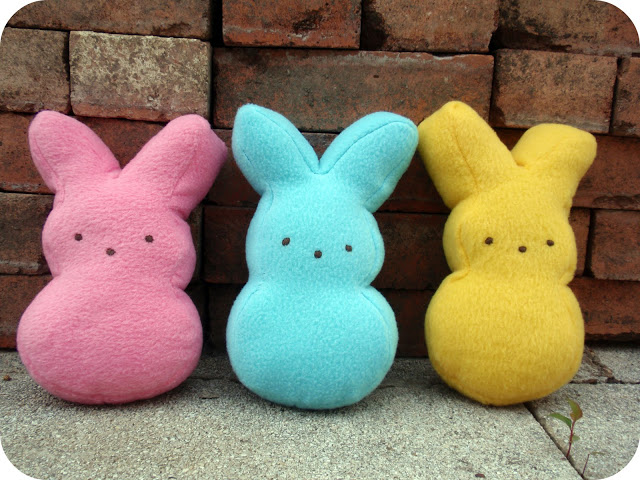
How sweet are these marshmallow plush bunnies? They're like giant bunny peeps! You can find the full tutorial over at Dandelions & Lace.

You probably noticed we have a thing for circus characters around here. So we fell in love when we spotted this guy over on Etsy. Who wouldn't love this illustrated cup and matching wooden egg? He can be found in Sweet Bestiary's shop here.

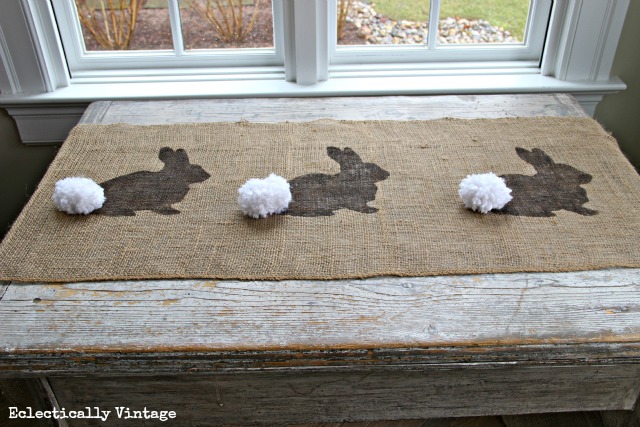
How adorable is this burlap bunny table runner? We love the little bunny silhouette and the yarn cotton tail. You can find the instructions to make this sweet table runner over at Eclectically Vintage.

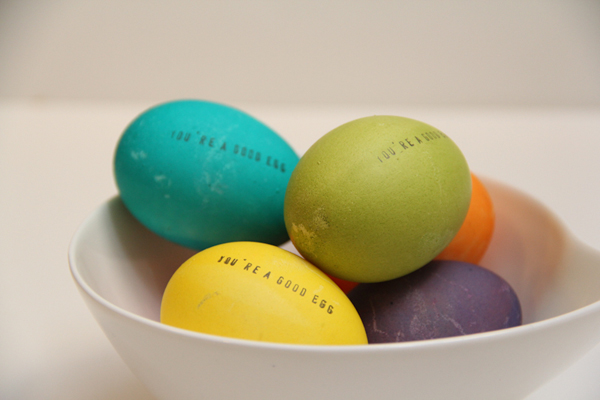
How could you go wrong with old school egg dying and stamping? We love the way these eggs look and it's such a simple project. Read more over on Lovely Indeed.

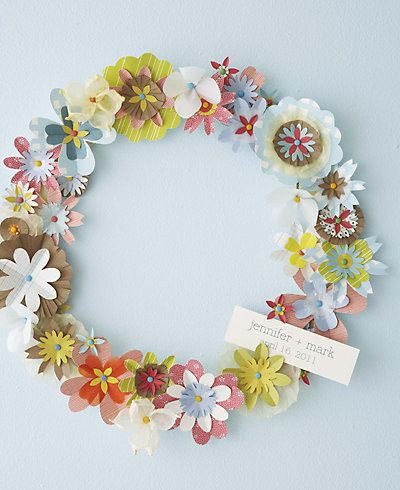
And finally we had to share one of our own projects. This is from our book Handmade Weddings, but it's the perfect project for Spring. You can download the template to make this spring wreath here.

Do you have any fun Easter craft projects you want to share? Leave us a link in the comments!

Filex & Milou

I have two dogs and thus can tell you, with some authority, that a truly fabulous dog bed (and by that I mean one that isn't varying shades of neutral or plain ol' preppy striped) is tough to find.  Needless to say, I was super excited to discover Felix & Milou, a brand new dog bed line by Tove Jakobsson -huzzah!  Finally, something with a little style!

Her cushions are all made by hand from lovely graphic Swedish fabrics. They're sized for a cat or small dog, hopefully soon, a bigger size to come! I fear poor Indy is getting the shaft, being more in the medium to large range. But wouldn't they make great floor cushions around a low table as well?

This is the one I purchased - a fabric by Cecilia Hall Åhlens that has a lovely Josef Frank vibe - beautifully made and adorable in person!

All the cushion covers are removable and washable.  Check out the rest of her products here.


Chloé Fleury Studio Visit

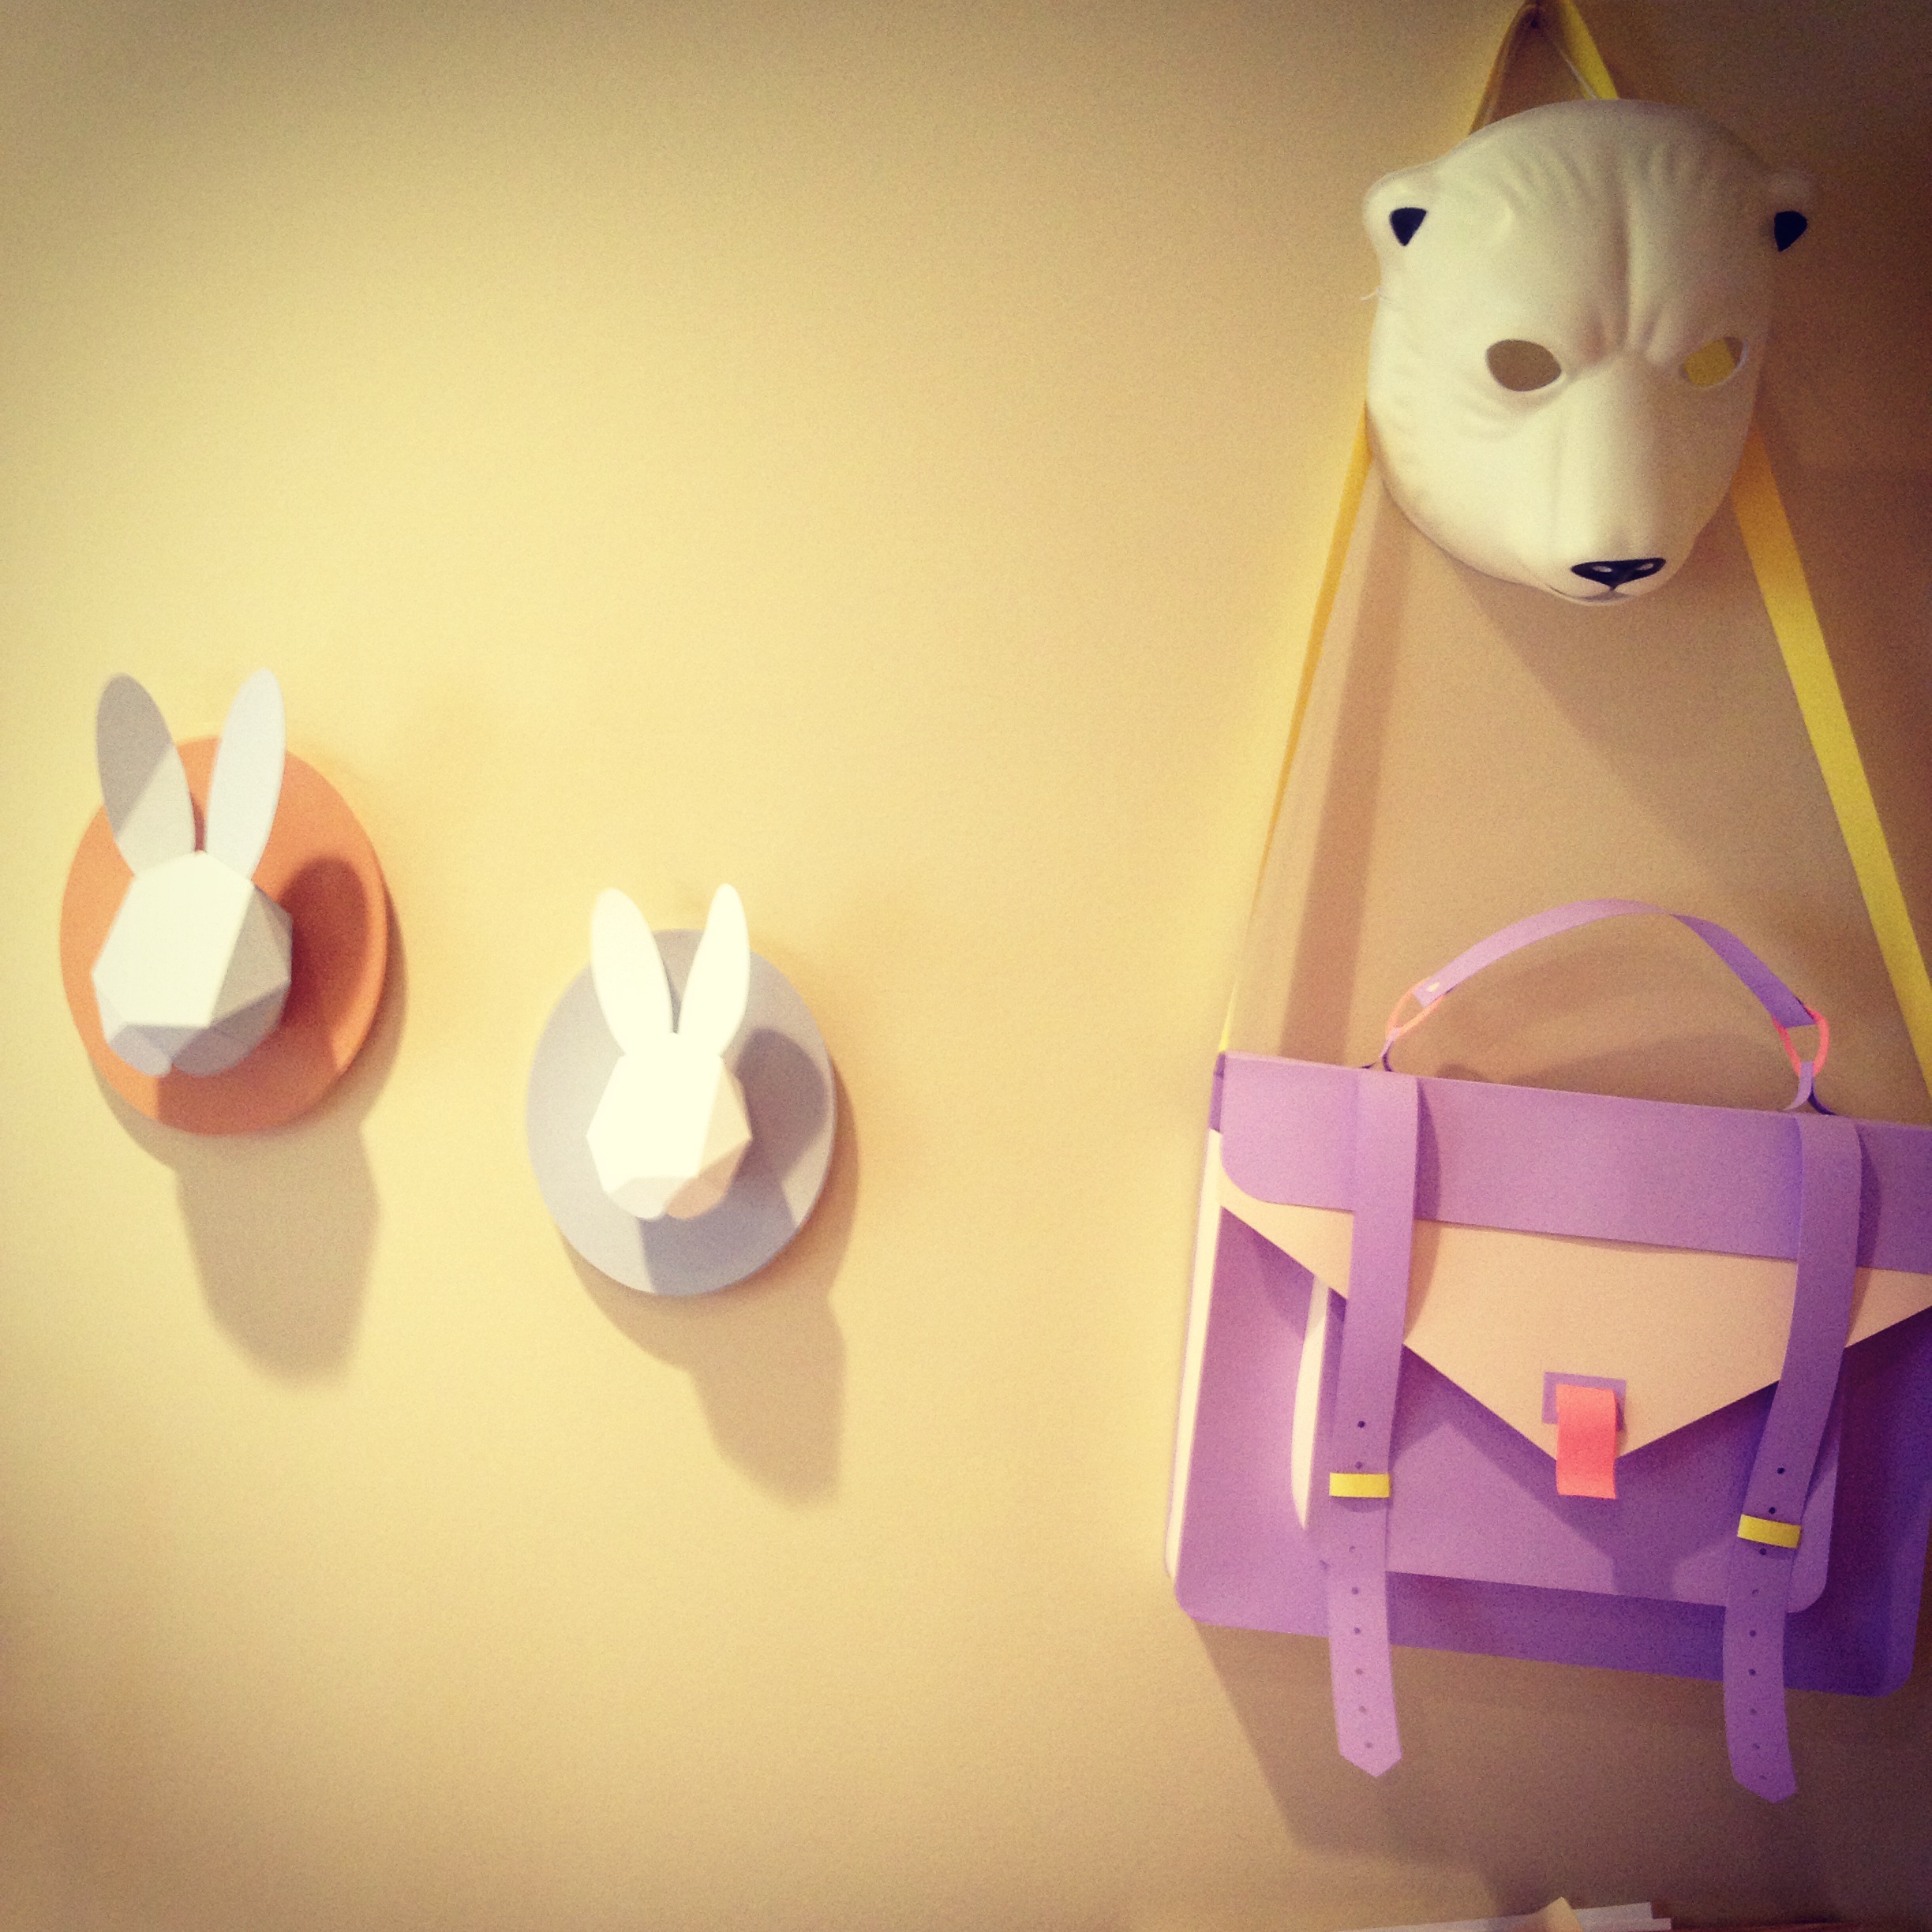
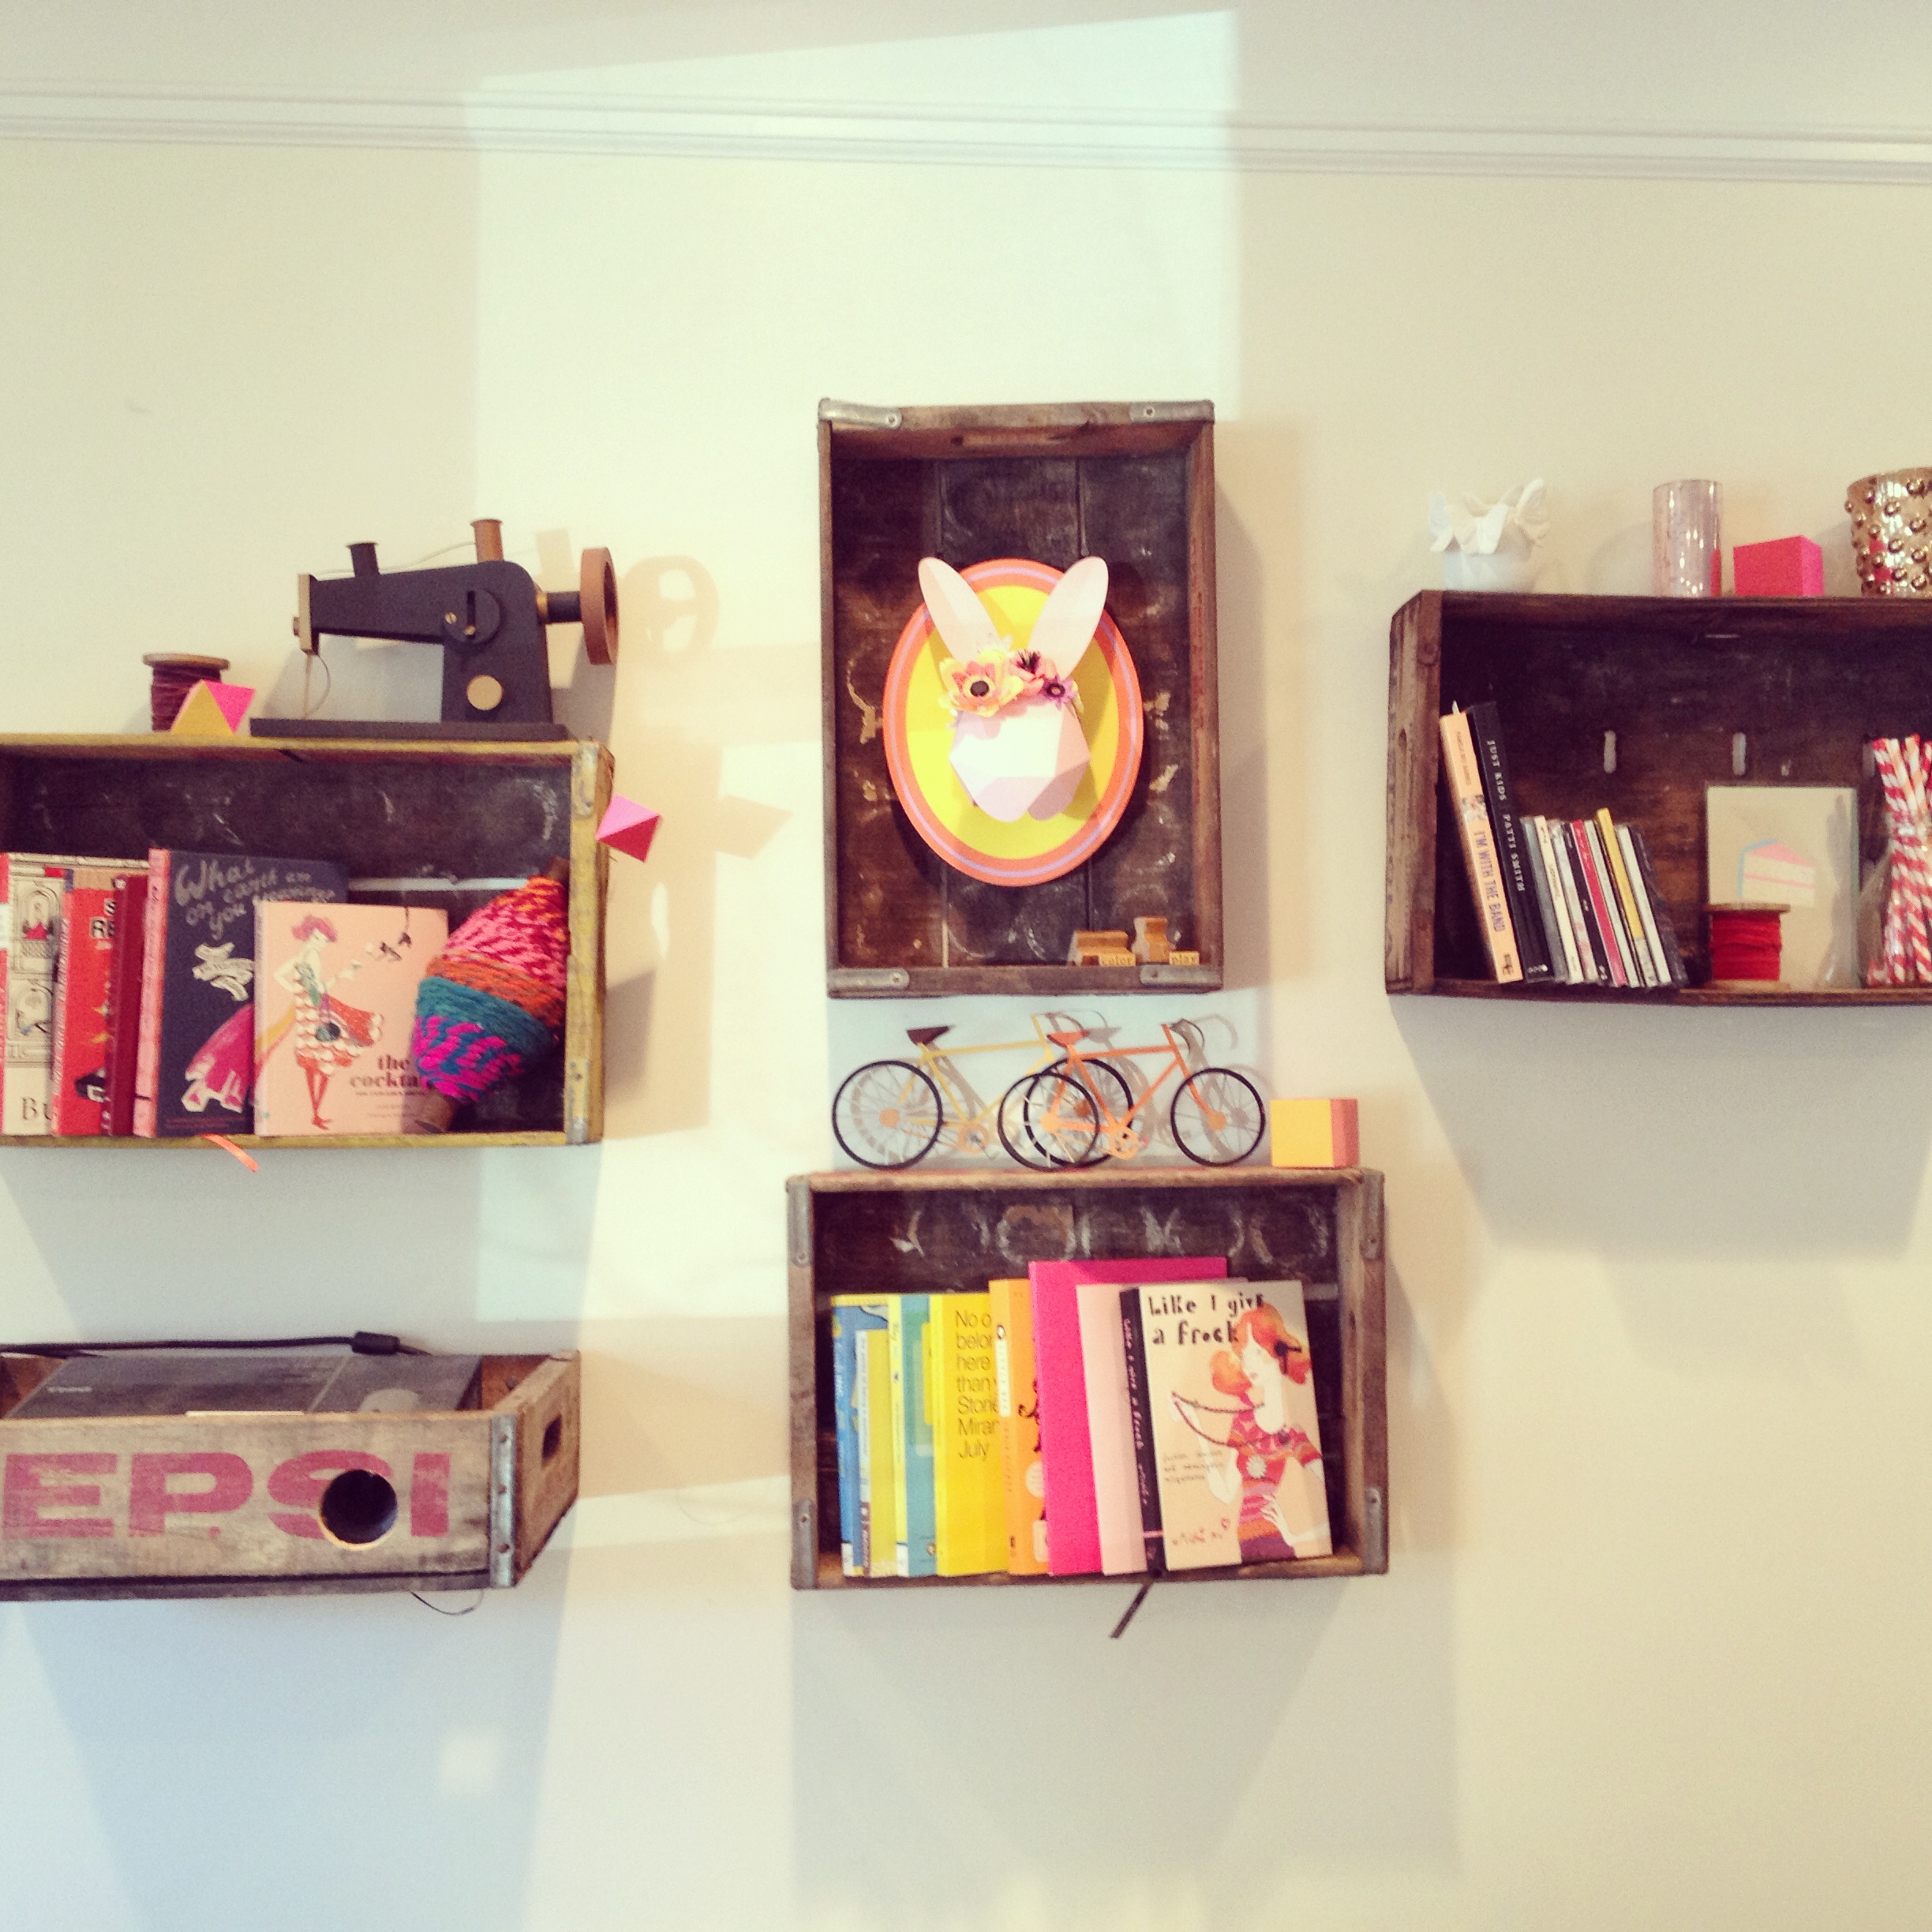
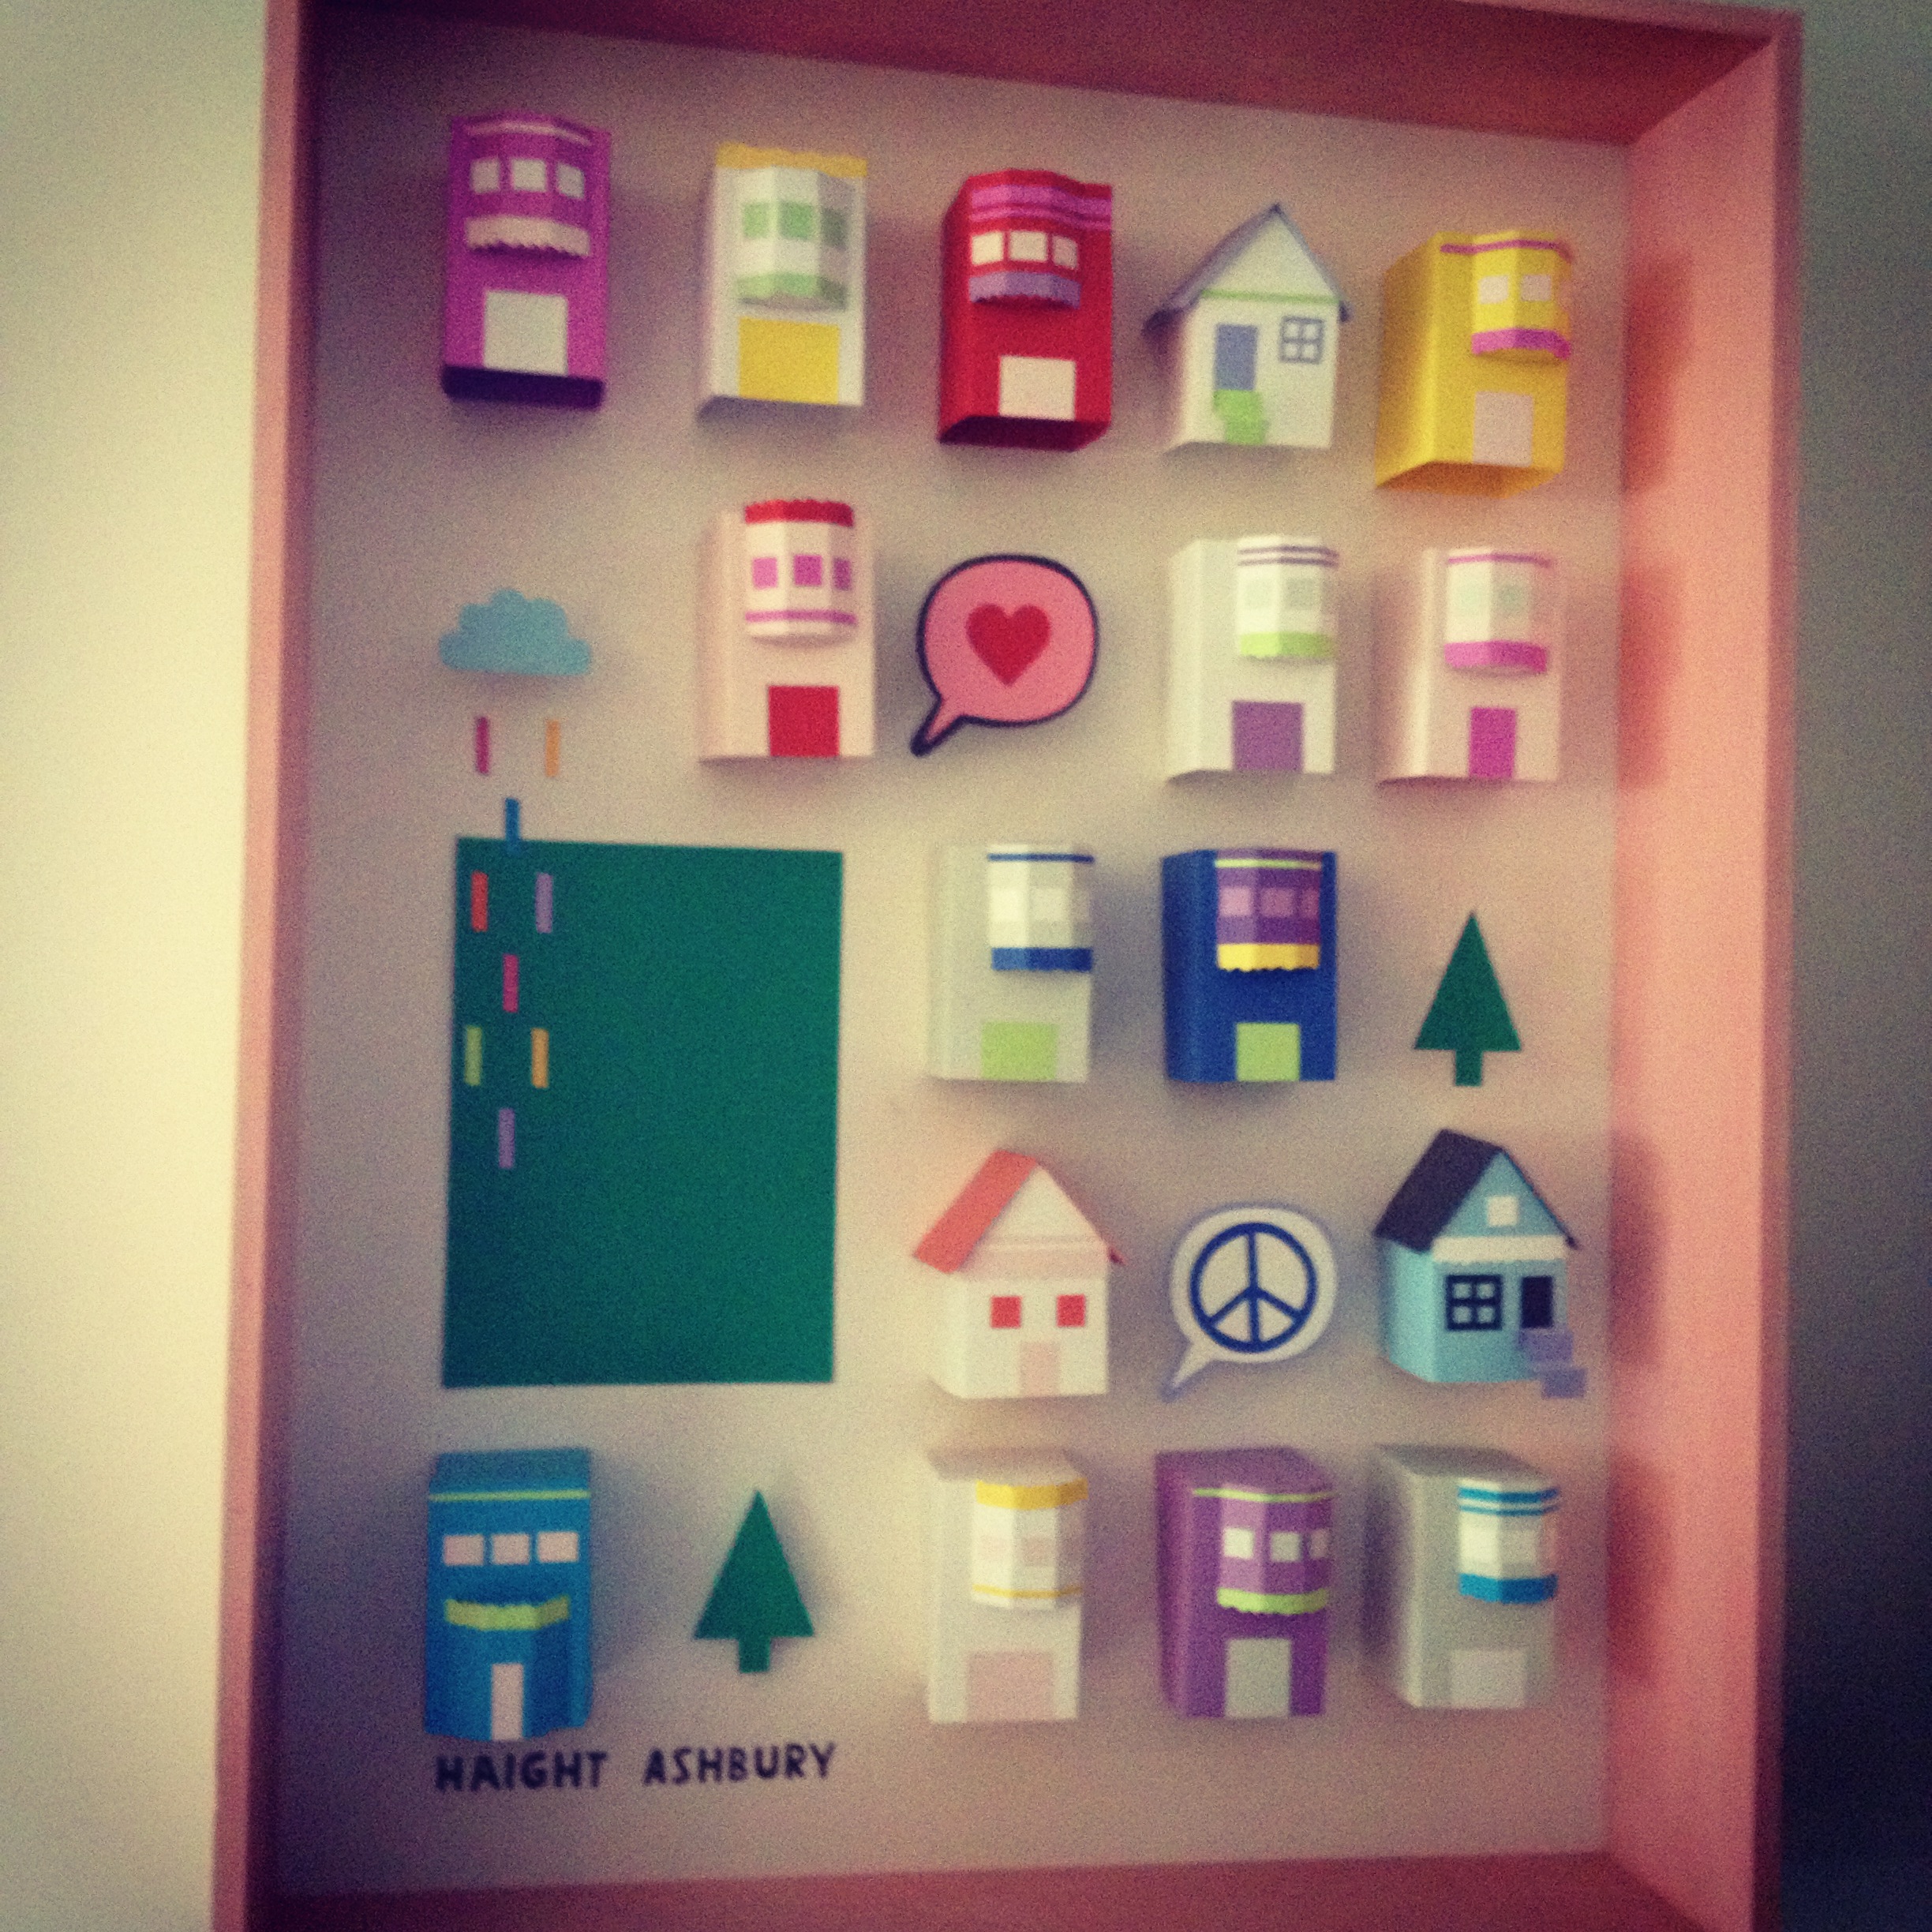
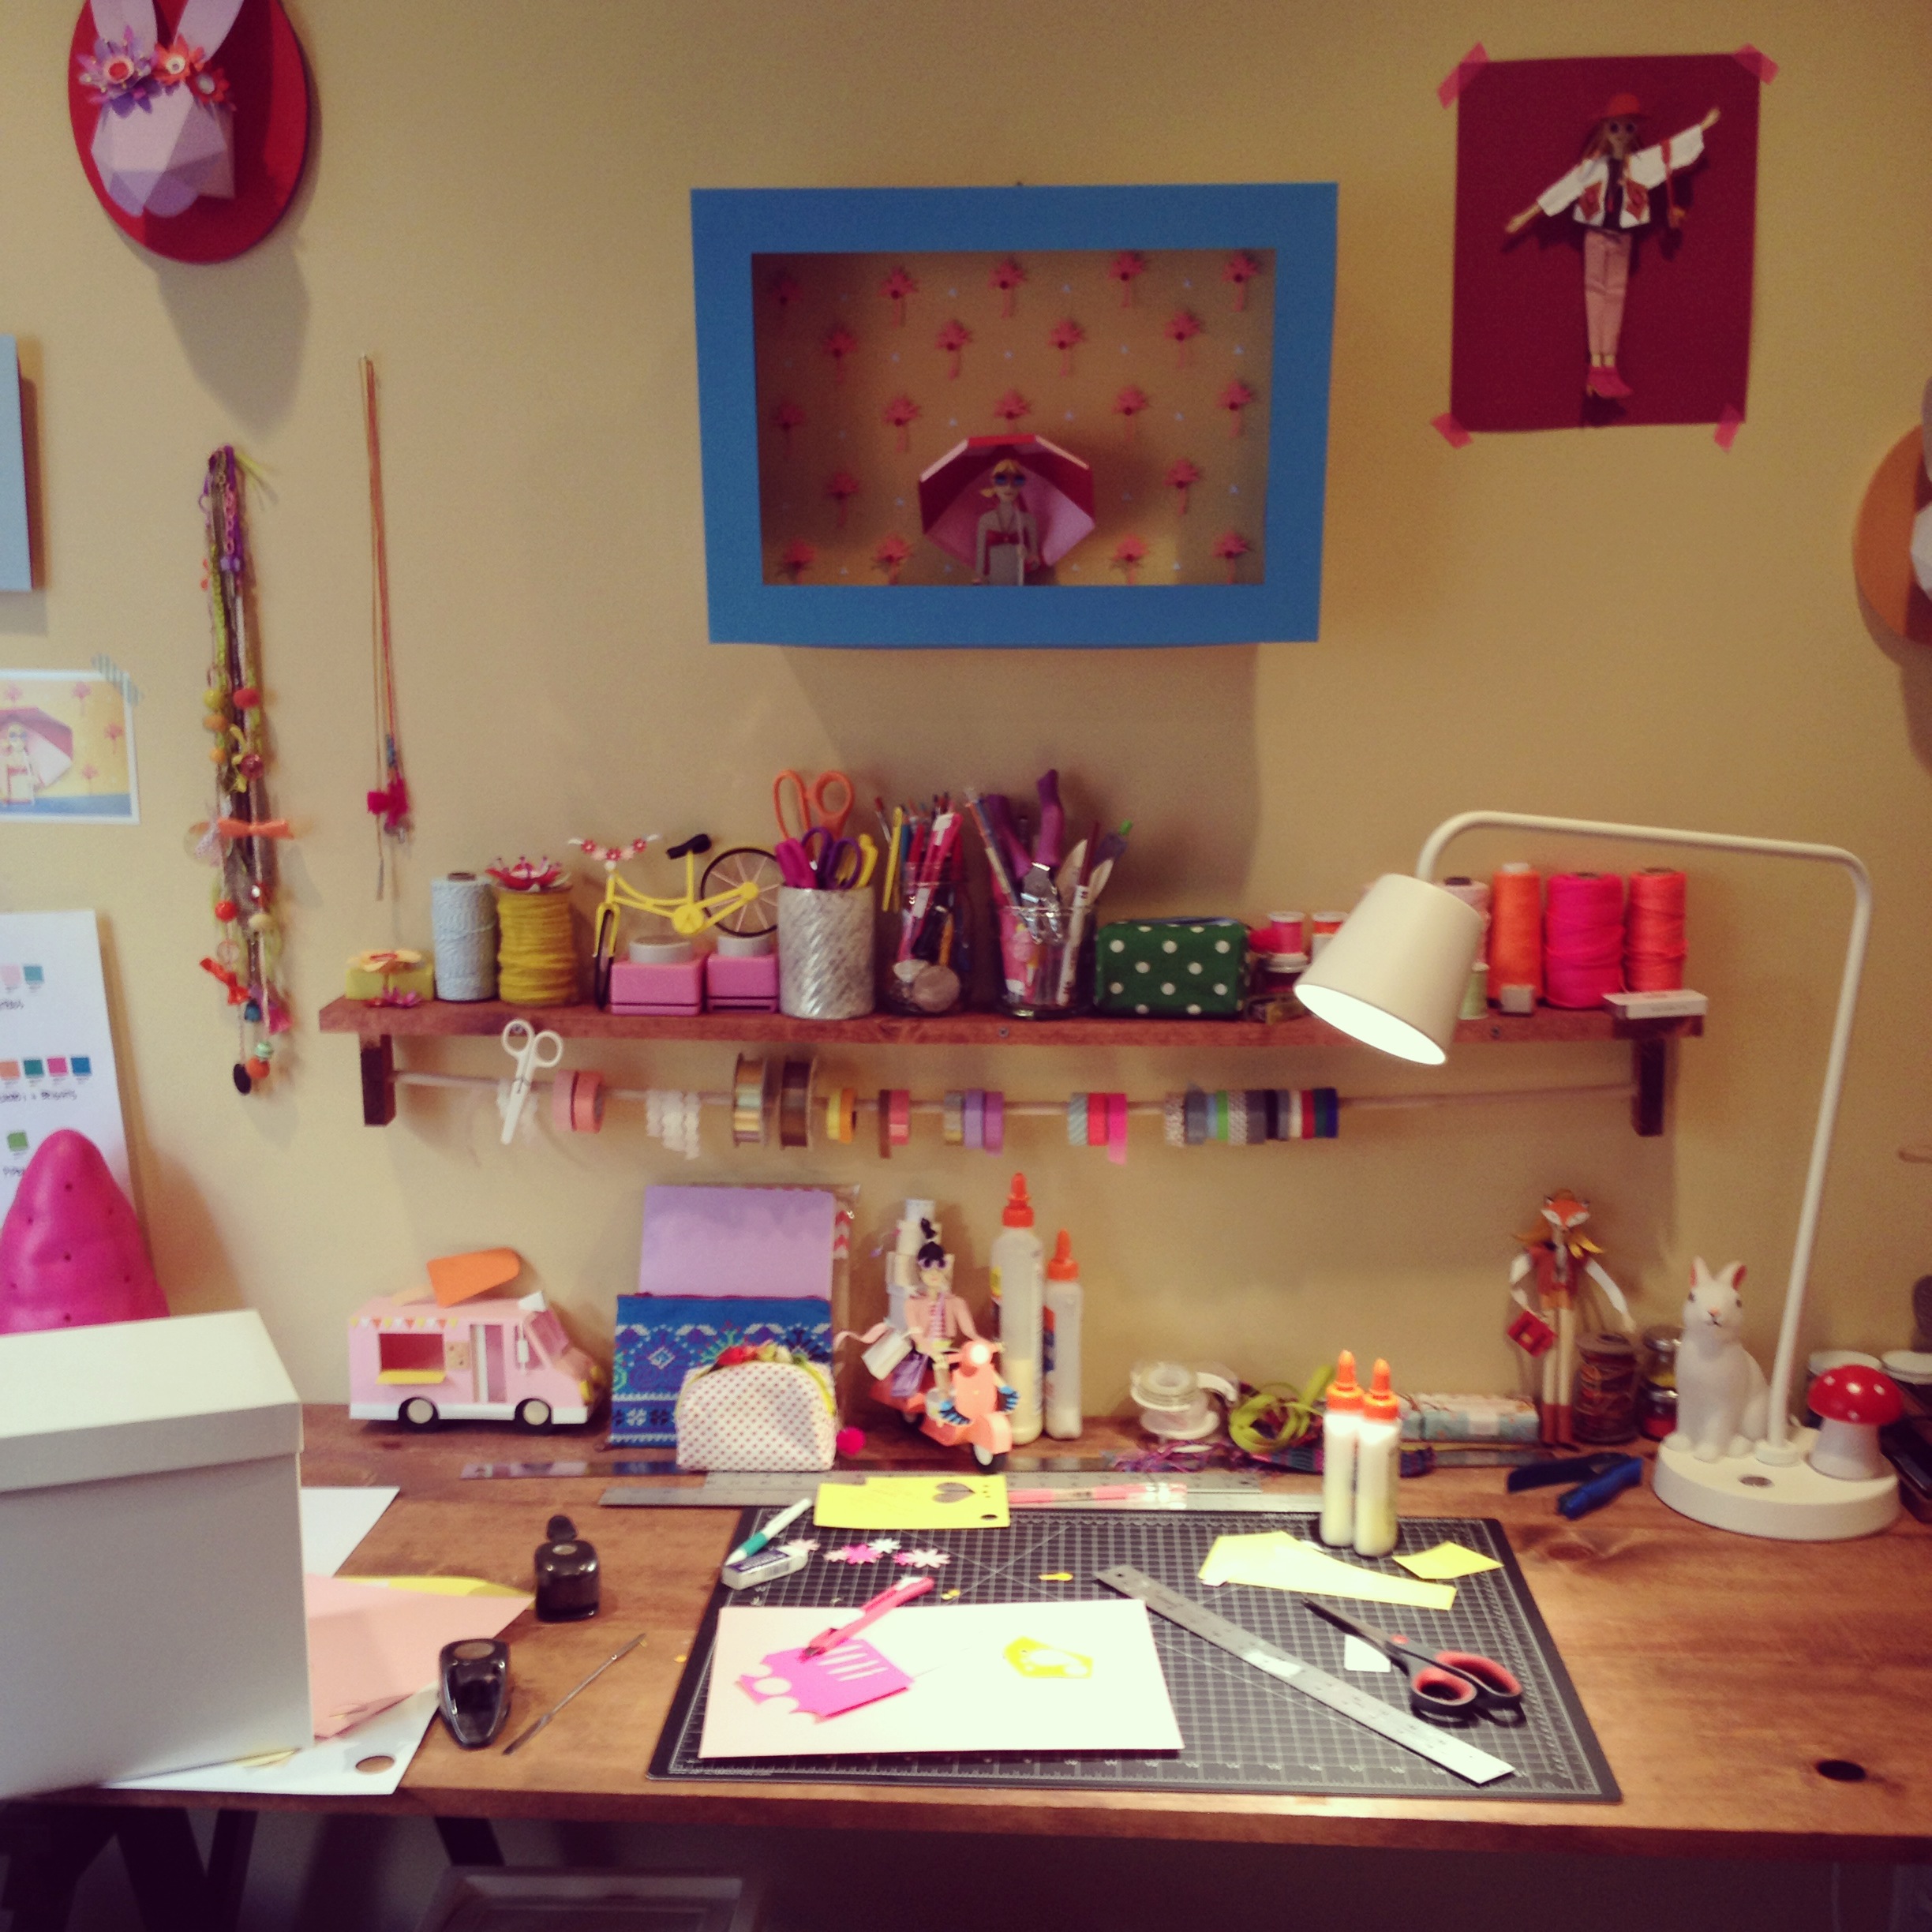
Last Friday a few of us were lucky enough to visit Chloé Fleury in her studio in San Francisco's Mission District. Chloé's studio is in her apartment and we found inspiration in every corner of her home. Her space was full of light, colorful, and modern. We could have stayed there for hours and all left feeling inspired to go home and work on art projects.

(everything in this photo except the bear mask is made from paper) 

If you aren't already familiar with Chloé's work this will be a fun look into her world. She creates amazing sculptures and illustrations with paper and it was so much fun to see her work scattered throughout her home. We snapped quite a few photos so you can see the loveliness yourself. Enjoy!

(a shot from Chloe's living room)

(we were even inspired by her chairs and pillows)

(paper lady with fox mask & an ice cream truck made from paper)

Chloé moved to San Francisco from France and told us she didn't start making her paper sculptures until she arrived here four years ago. One of her main inspirations? San Francisco's color and architecture. This piece is from her first show which was at the (recently closed) Curiosity Shoppe.

(Chloé's workspace) 

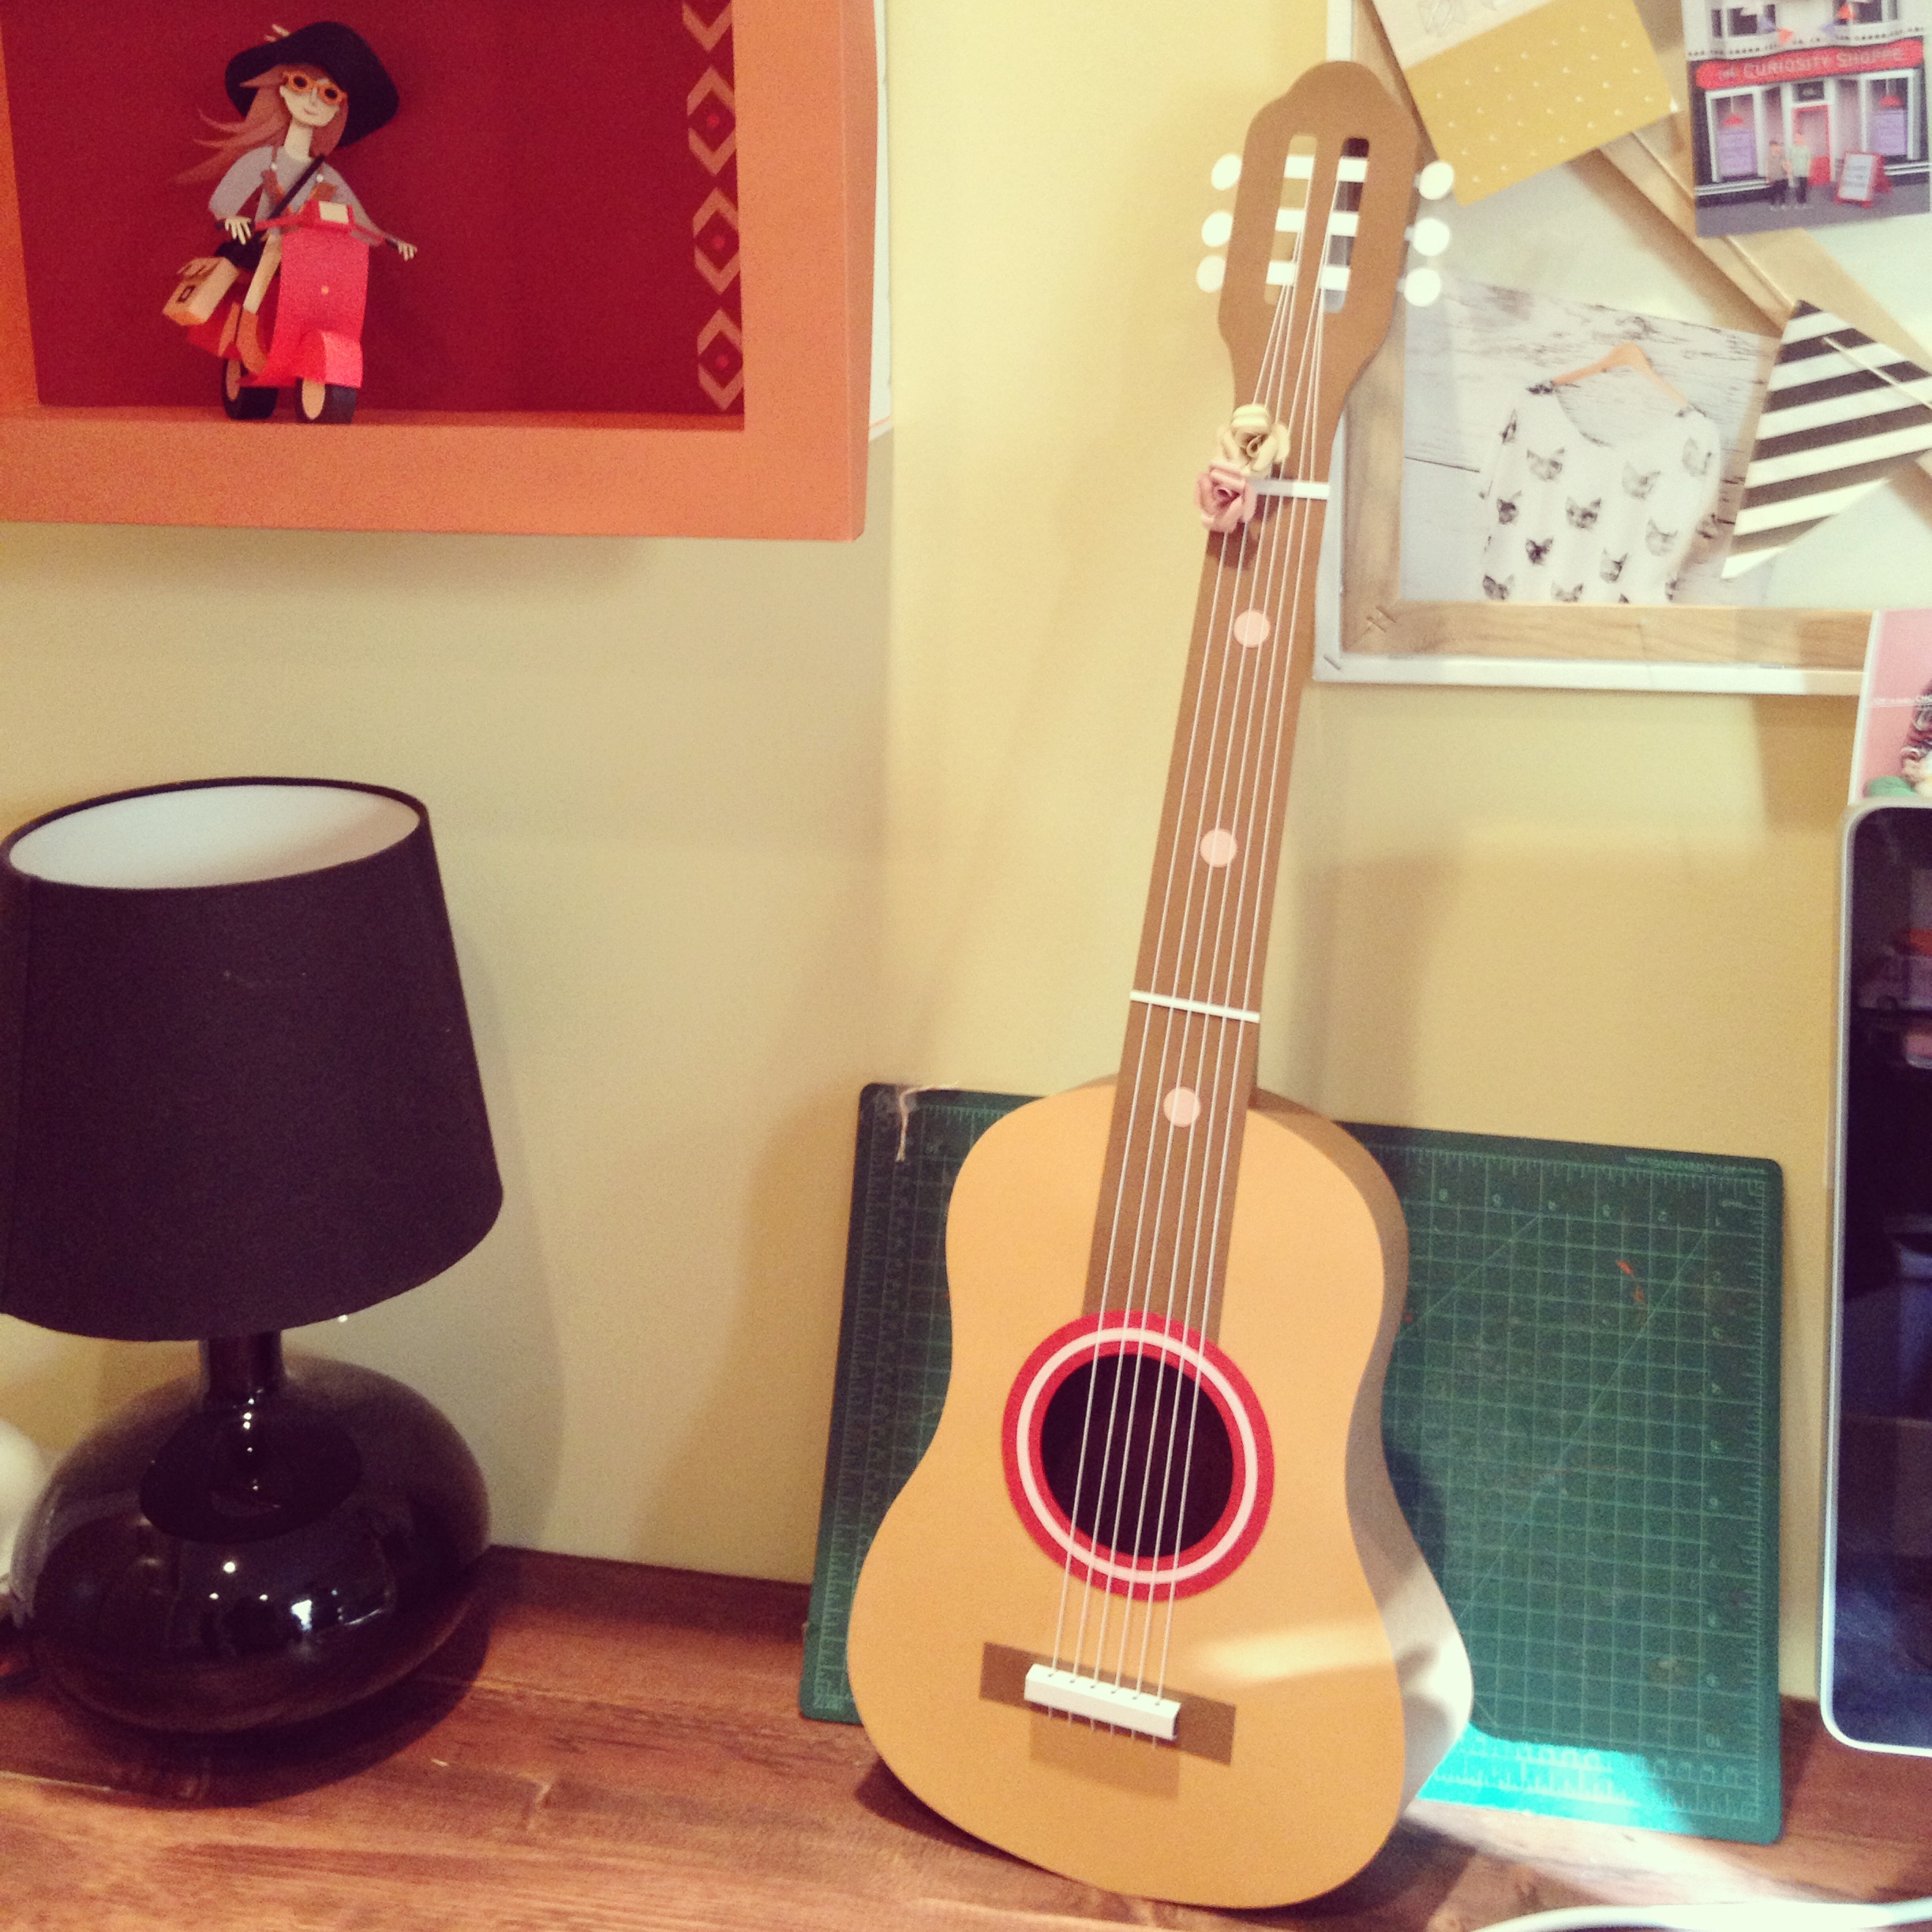
(amazing paper guitar sculpture) 

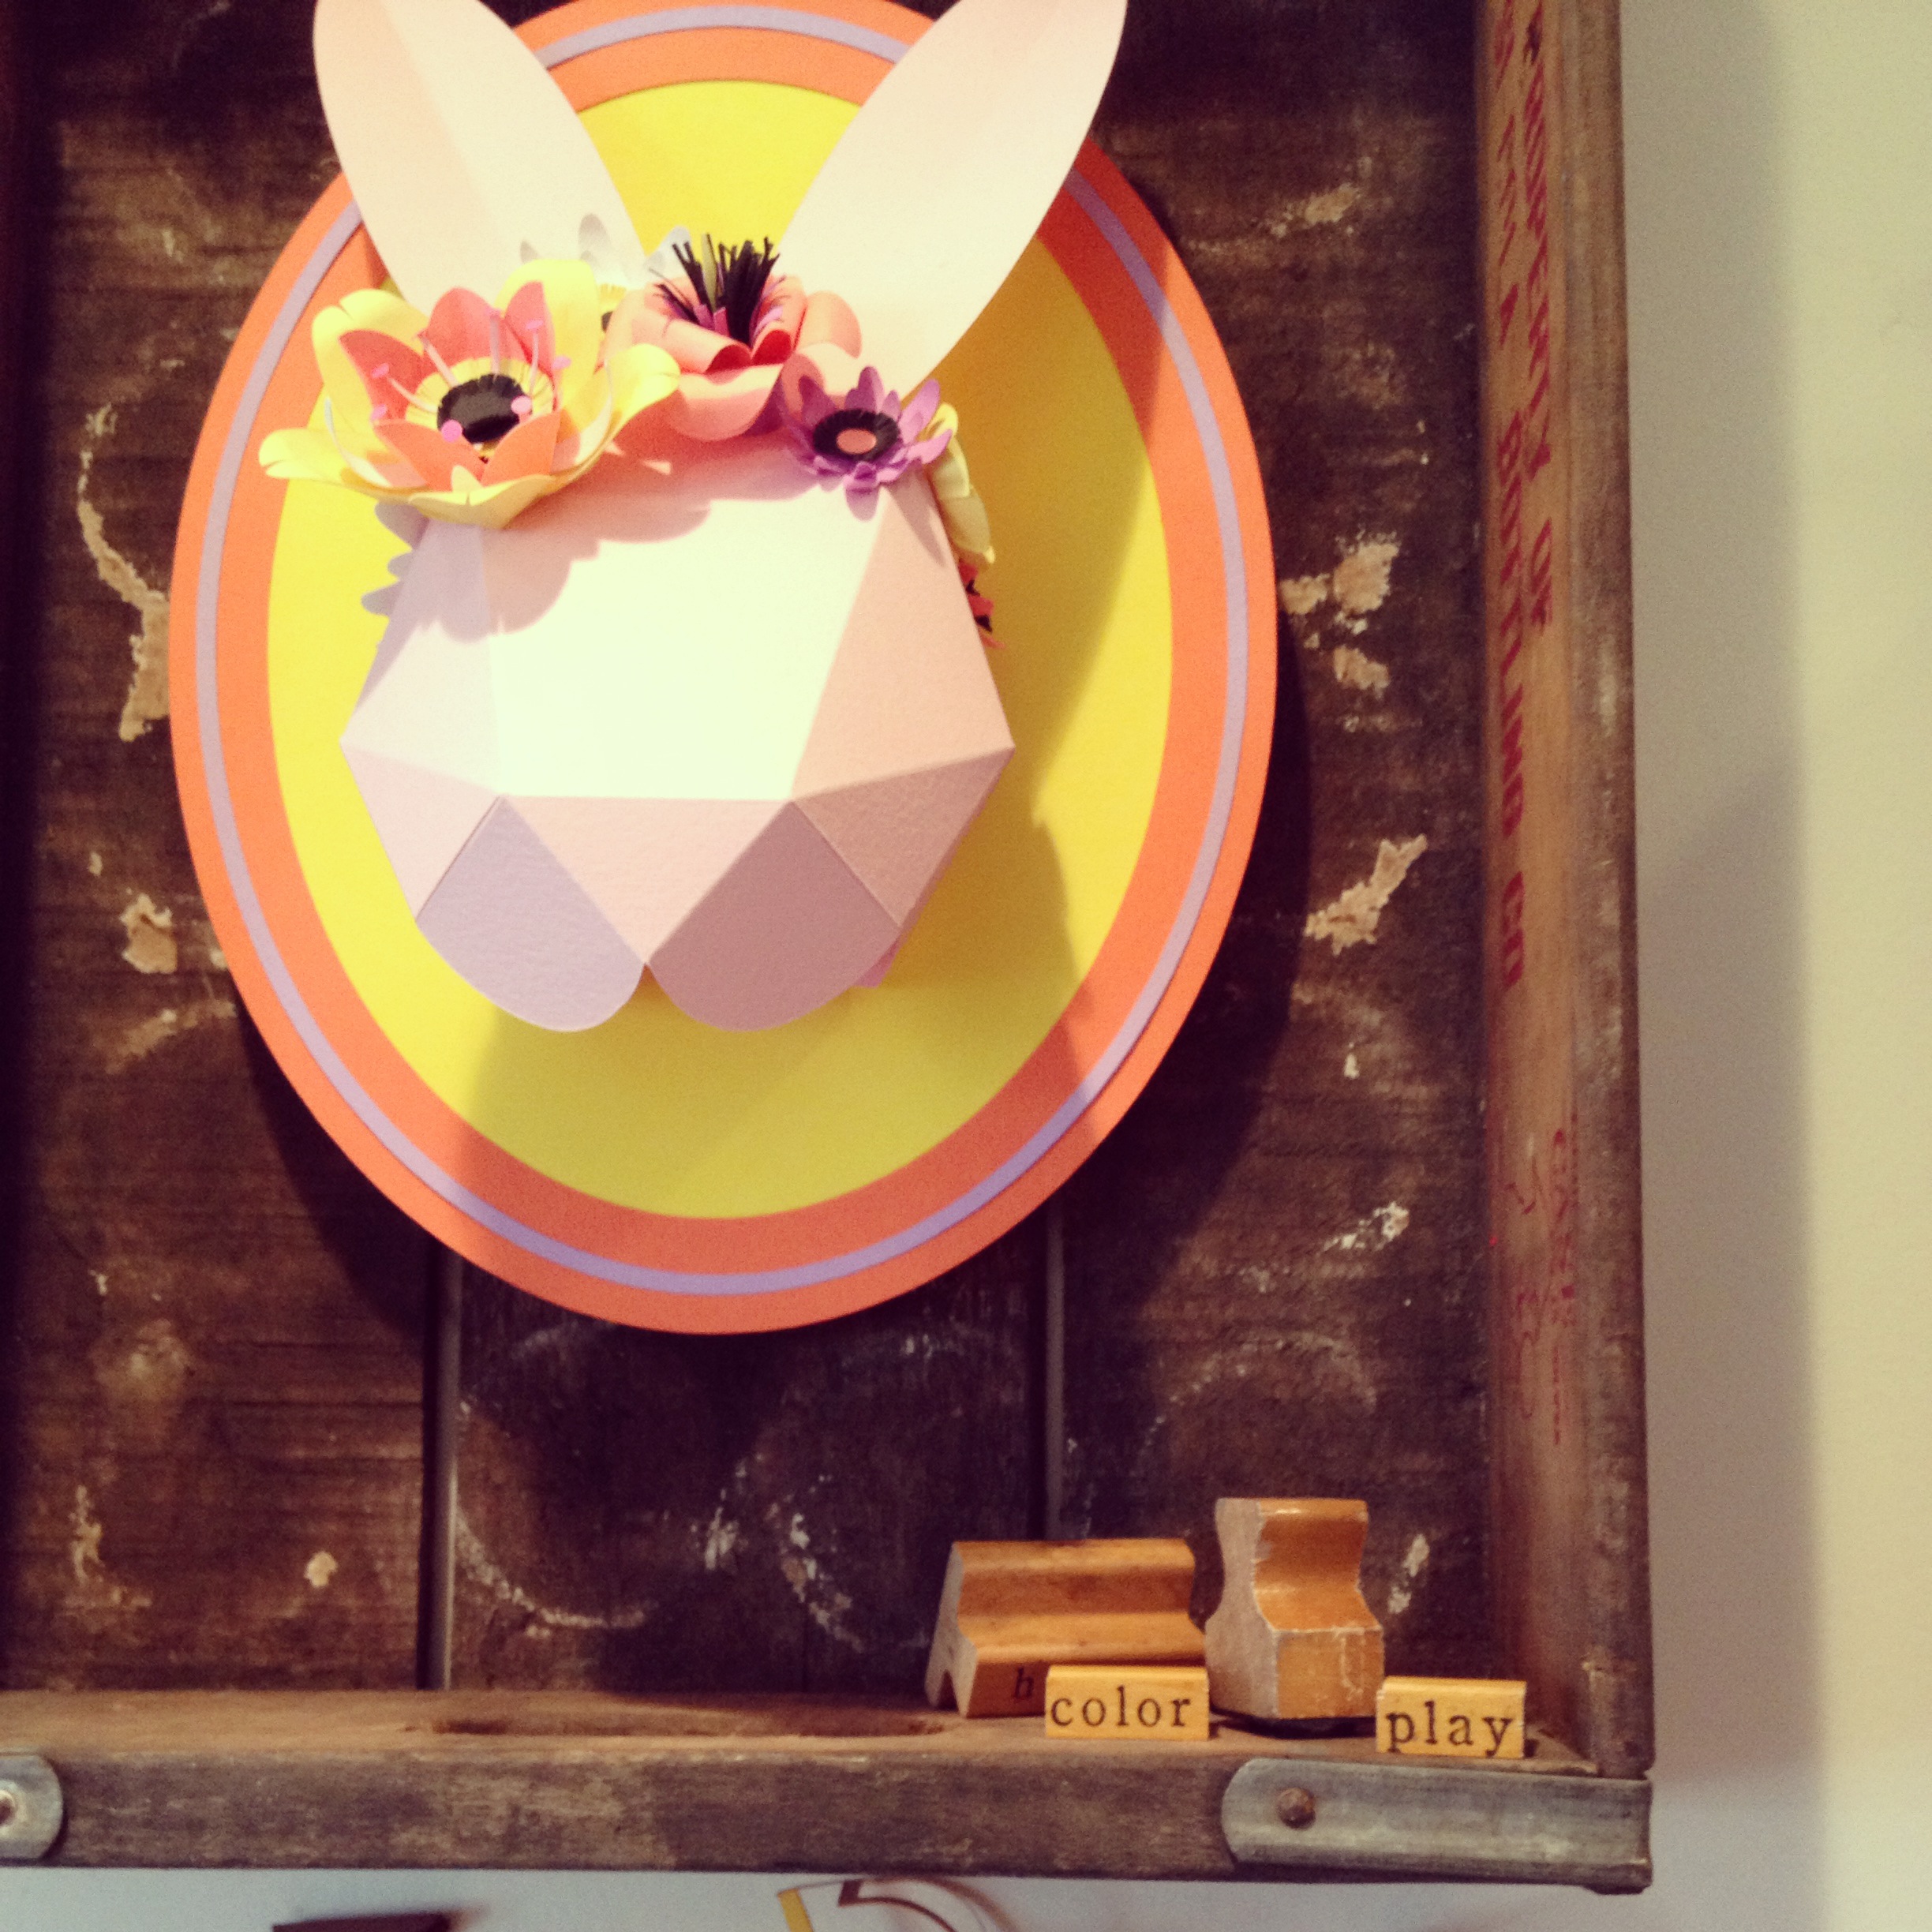
(one of Chloé's iconic paper bunny heads) 

(paper bikes and a look at Chloe's library)

(there was beautiful paper every where we turned) 

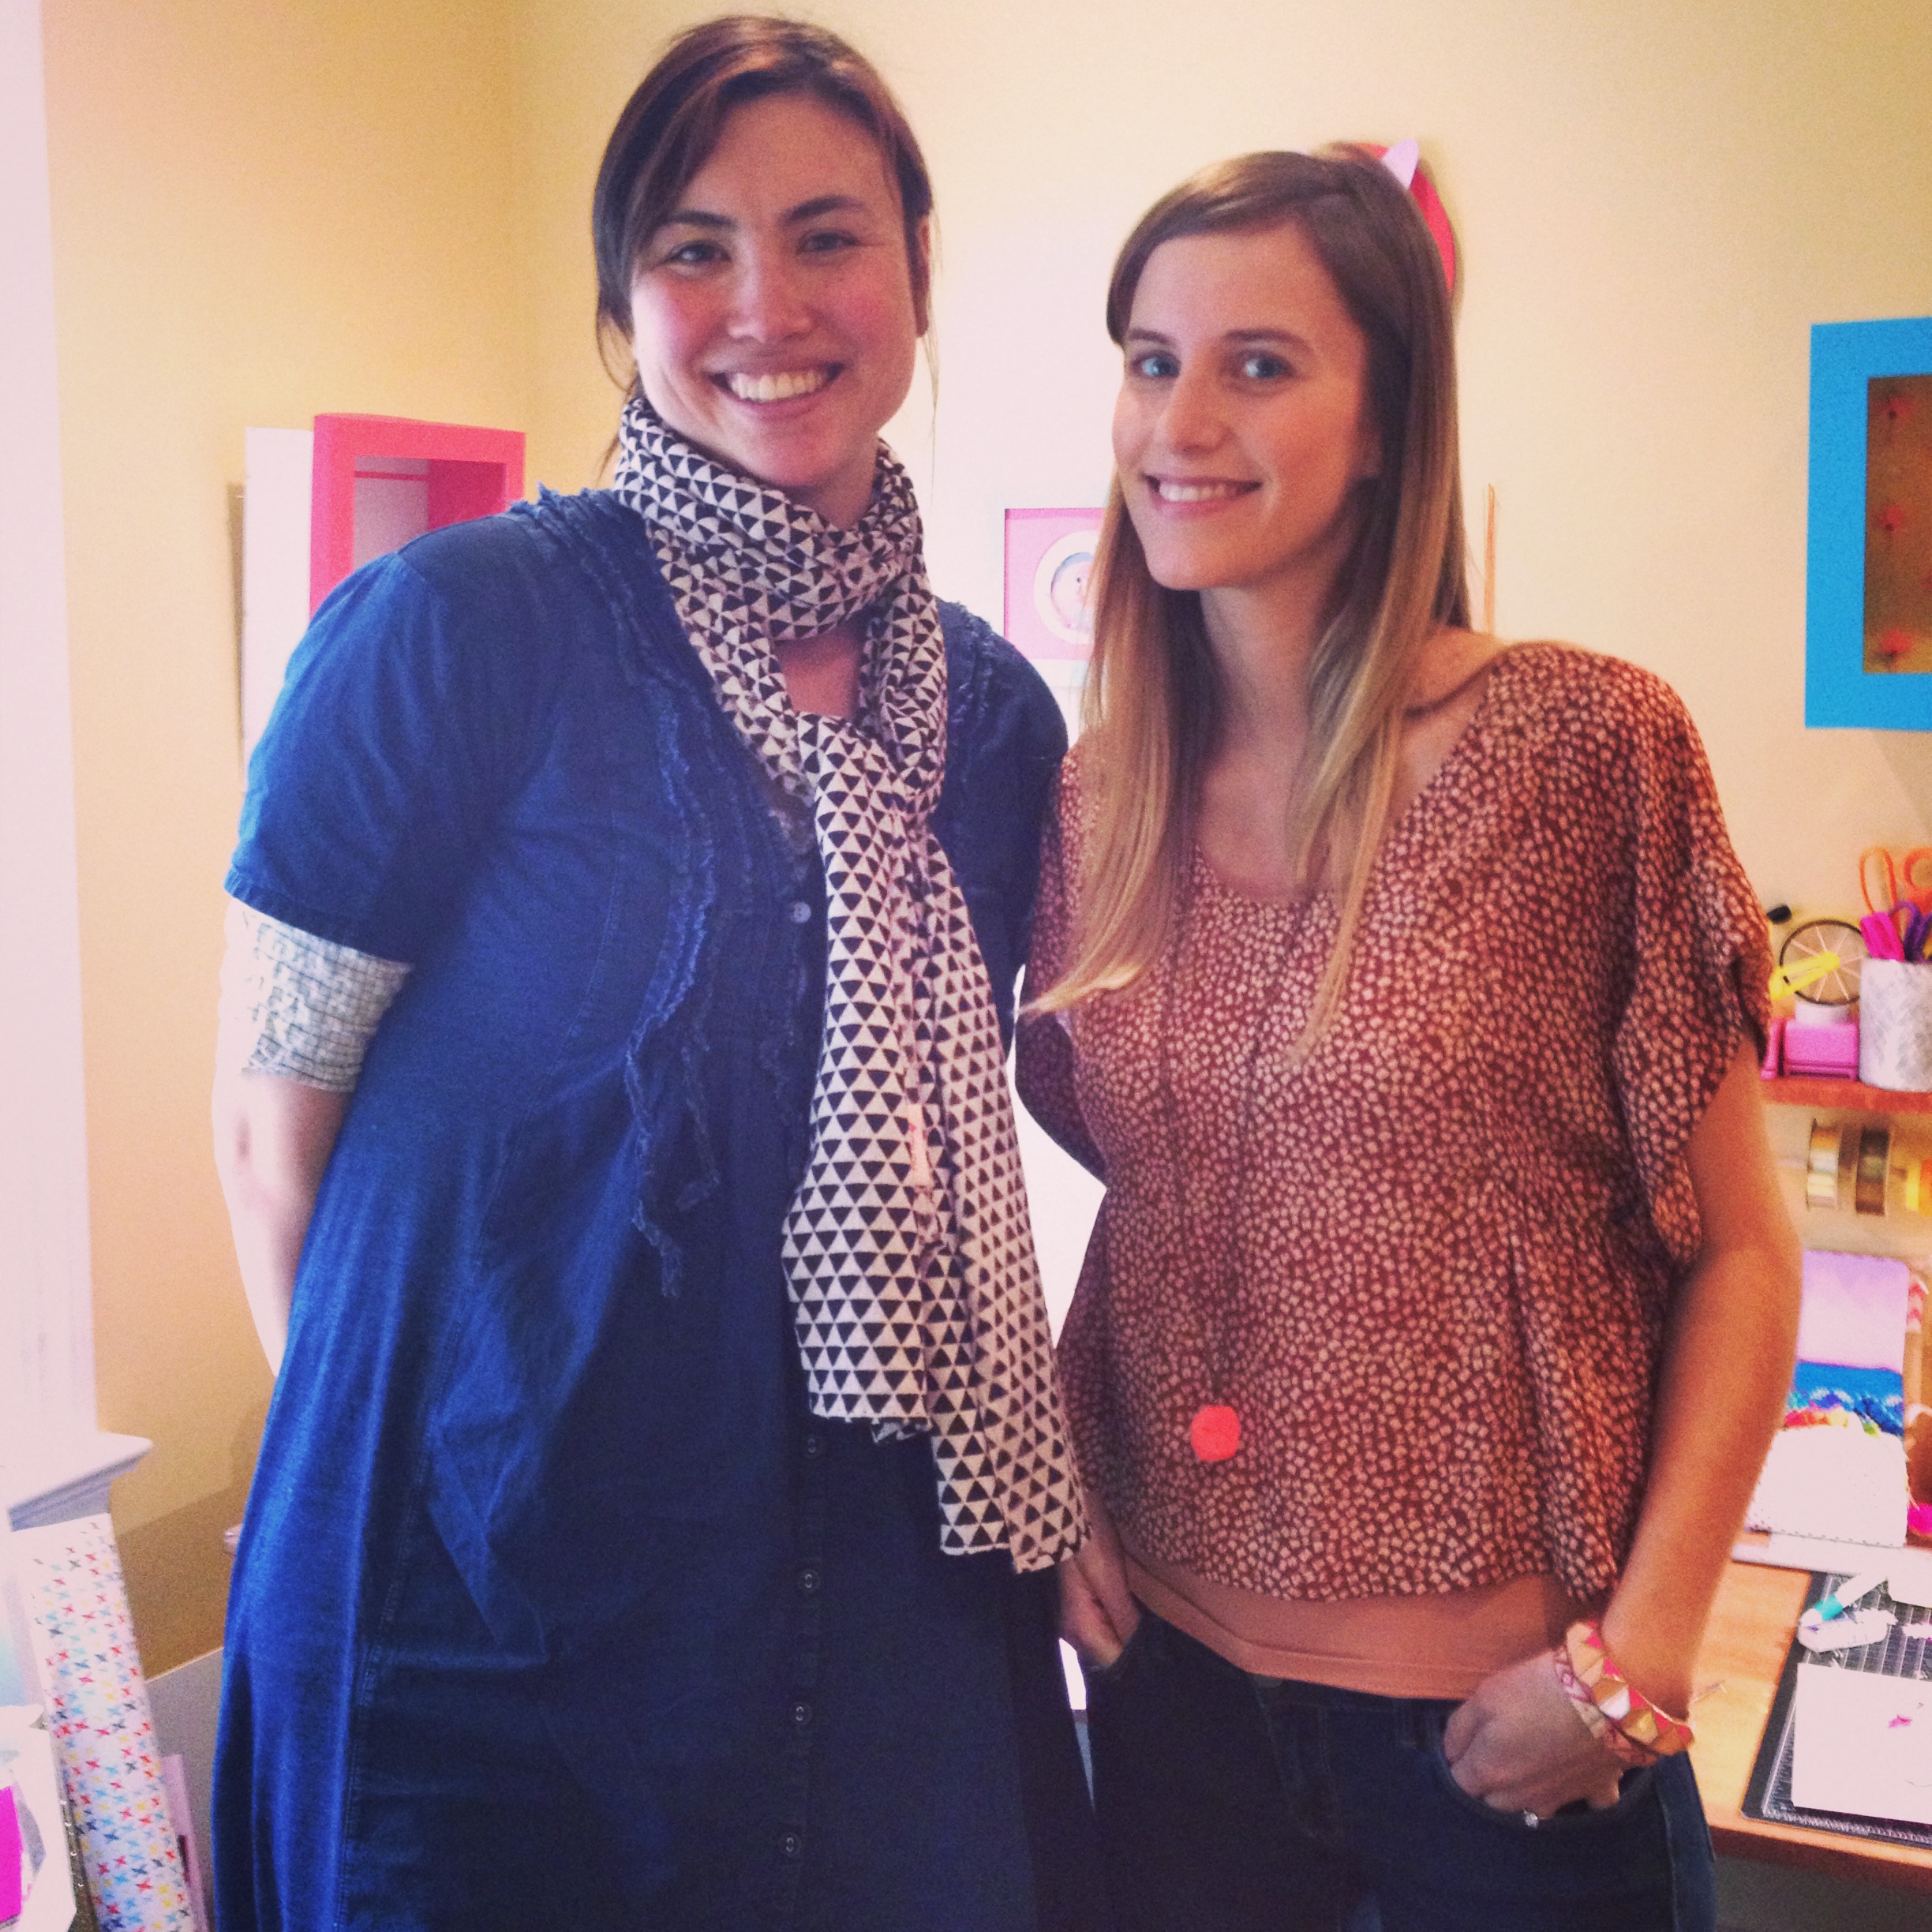
(Eunice & Chloe) 

Thank you so much for letting us visit your studio & your home Chloé! We're still feeling inspired from the visit.

See more of Chloé's work in her Etsy shop and follow along with her daily inspiration on her blog.

Real Wedding: Maria and Craig

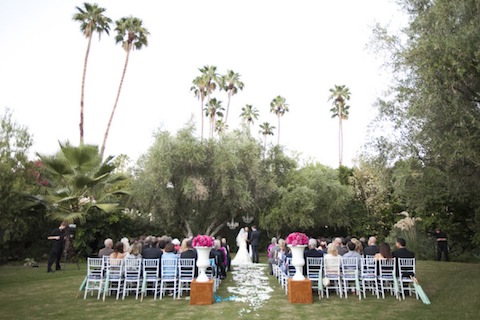
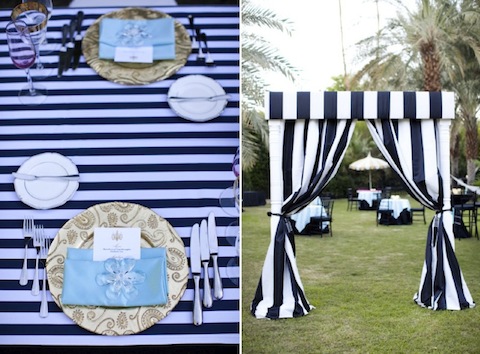
If you're wedding is inspired by old Hollywood glamor, it's a sure sign it should take place in Palm Springs. Maria and Craig's wedding at the Parker Palm Springs showcases the couple's luxurious taste and fashionable lifestyle. Maria, CEO of SimplyShe wanted her guests to feel comfortable throughout the weekend celebration while still embracing the stylish accents of a grand event. The bold color palette of black, white, pool blue and fuchsia caught our eye when she came to our studio with plans of a custom wedding suite. We're loving the striped table linens and decor.

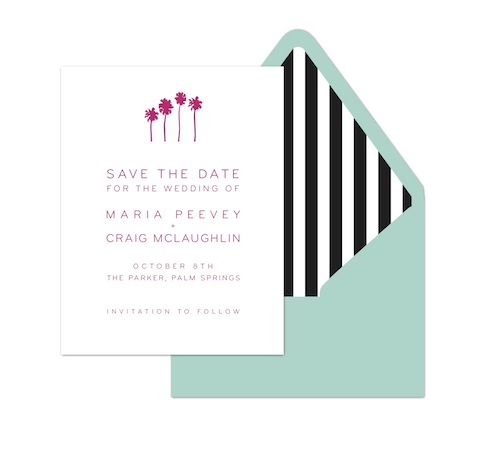
The Los Angeles Skyline save the dates were letterpress printed in fuchsia ink, and paired with a custom black and white striped liner and pool envelope.

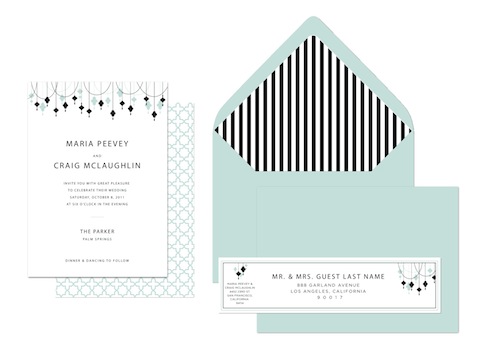
For a more custom invitation, we transformed our horizontal Chandelier wedding invitation into a vertical, double-sided modern glamor piece. The invitations were also paired with a black and white striped liner and customized guest labels.

It doesn't really get much more glamorous than this. The reception room filled with fluorescent pink lighting is just dying for a dance party.

What a beautiful weekend for a beautiful couple. Congratulations Maria and Craig! For more photos head over to Style Me Pretty here!

Photos by Jesse Leake Photography

Hello!Lucky Holiday Party

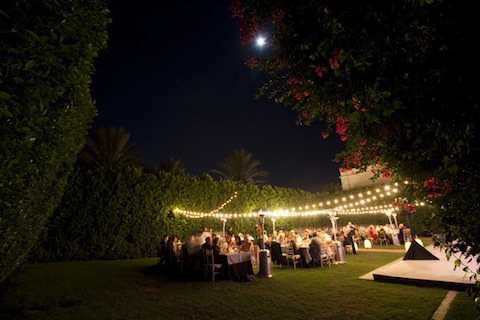
Our annual Hello!Lucky employee holiday party was a big success! We try to get creative with our gift-giving and this year we did just that - got creative! Everyone handmade each of their gifts and we exchanged them at Lyndsey's Twin Peaks apartment above the glowing city lights. We knew everyone had hidden talents but we were blown away with the final product! All our employees went above and beyond and the night was one to remember.

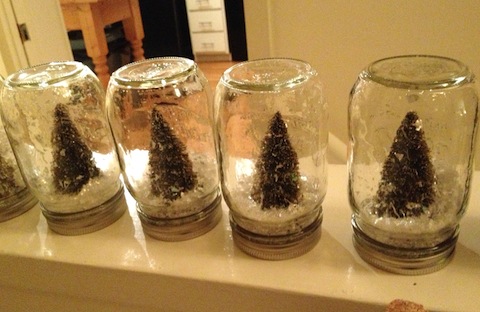
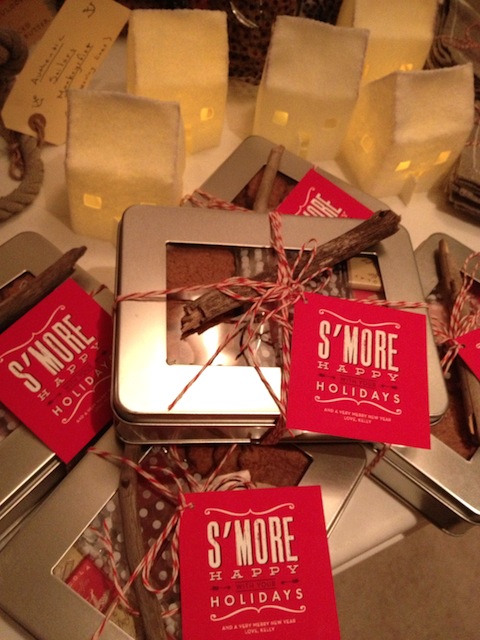
Jon, our house brewer, brewed a winter beer and even created his own labels! Heather also made up a special batch of pumpkin liqueur - and it was delicious with all the treats from the night! Kelly C. made adorable s'more kits, and Lyndsey made homemade cookie butter! Stewey made his famous Stewey's Cheweys and also his famous knit coasters! (Did you see them on the Huffington Post?) Holly made amazing snow globes, James tied some awesome rope door stops, and Shayna handmade her winter scented candles!

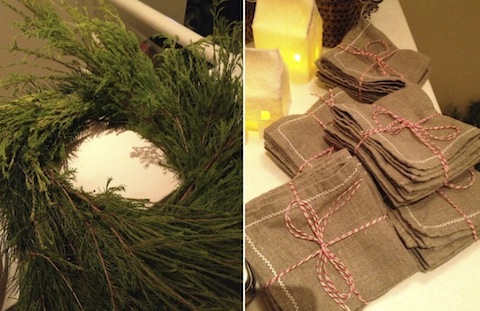
Laura made gorgeous pine wreathes and Lillian sewed individual cocktail napkins. Below you can see Lia's adorable felt houses, all lit up with mini lights. It's the perfect decor!

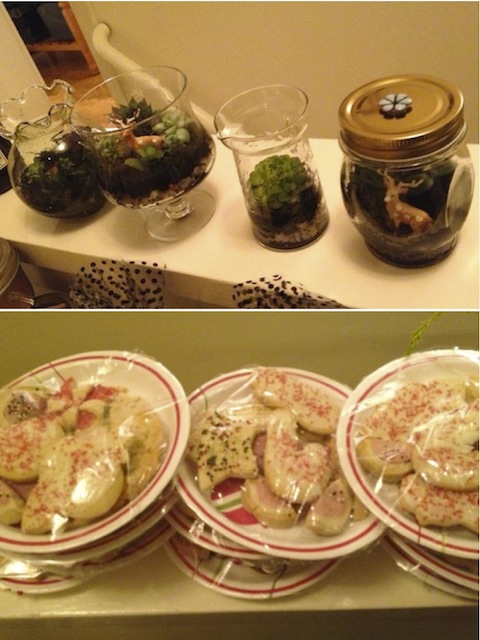
Christina got crafty with her mini terrariums, and spruced them up with some festive holiday deer! The room was overflowing with holiday spirit, and everyone couldn't wait to exchange.

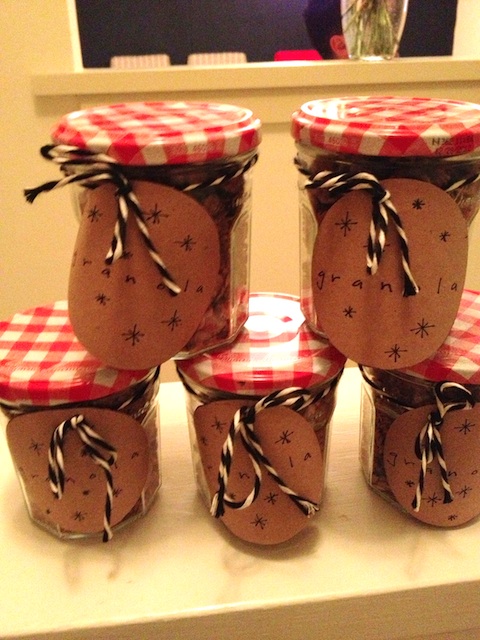
Even more delicious snacks from Eunice and Sabrina's holiday cookies, and Leslie made homemade granola in these sweet little jars.

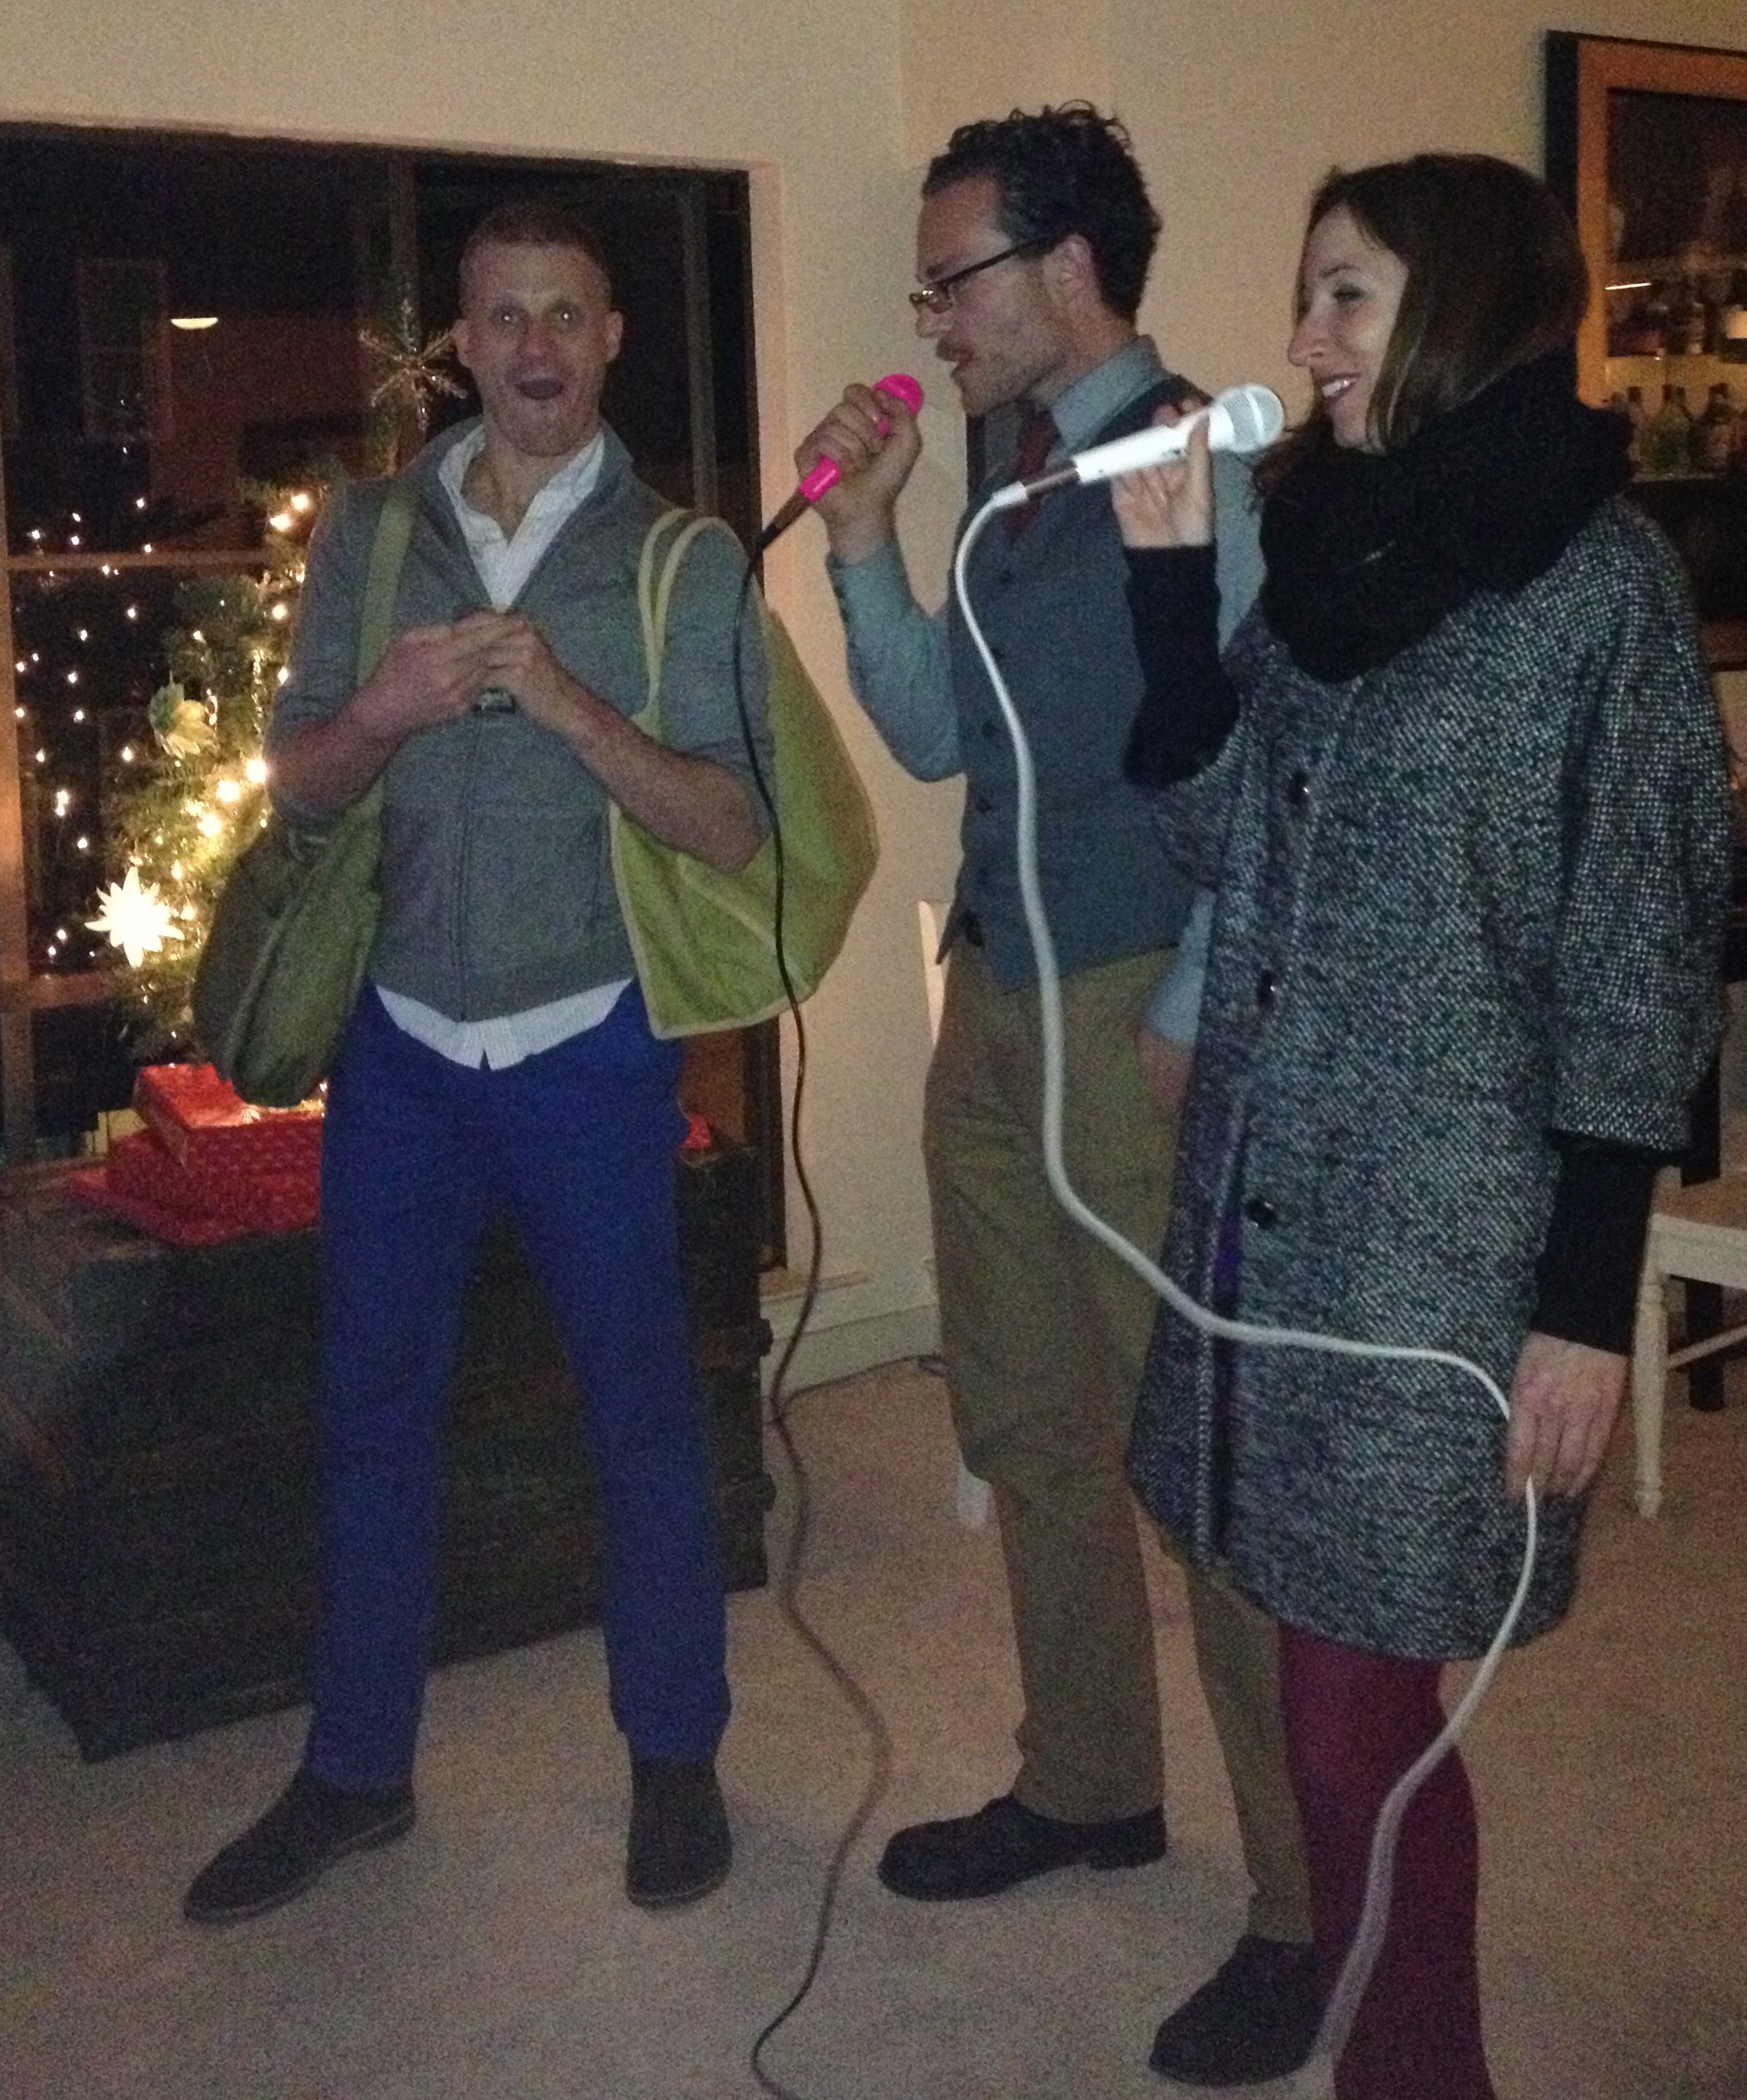
Each person brought five gifts and each person left with five. As the night went on, surprise Karaoke evolved and we all had a grand ol' time.

Thanks Lyndsey for hosting and the entire HL crew for celebrating such a wonderful year! Here's to 2013!

DIY Holiday Tassel Garland

We pretty much love all holiday decor, but when it comes to our favorite, it's gotta come on a string. Garland is the best way to spruce up any room, especially during the holidays. With plaid fabrics popping up more and more this time of year, we couldn't wait to get crafty with it. This DIY does require a bit of handywork, but materials are very inexpensive. Instead of heading out to your local craft store, look in your own home for materials first! You might have an old flannel pillowcase that's missing it's match, or a plaid shirt you've outgrown from last year. And the twine can be replaced with ribbon or fishing line. The best part about this DIY holiday tassel garland? There's no-sewing required!

Drape these tiny tassels over your apartment-sized Christmas tree, or gather them up for a front seat on the mantle. Here's the how-to below!

Materials:

1/2 yard plaid fabric (or an old shirt or pillowcase), 1/8" gold ribbon, jute twine, scissors, ruler (optional)

How to:

Step 1. Cut your fabric into 4" x 6" pieces (This DIY can easily be made bigger! Just cut bigger rectangles of fabric)

Step 2. Cut your ribbon ahead of time. 5" strips is plenty to work with. Set the ribbon aside for later.

Step 3. From each end, cut 5 even slits, 2" long. This part doesn't have to be exact. It just gets rolled up, anyway.

Step 4. Pinch the bottom where the slits on both sides end and roll up.

Step 5. After rolling, pinch the ends of the fringe and fold together.

Step 6. Hold the tassel with one hand while grabbing the ribbon with another. Tie the ribbon around the neck of the tassel in a double knot, leaving a 3/4" loop. Cut any excess ribbon. (Friendly help encouraged here!)

Step 7. String your twine through the loops of your tassels and display!

These mini tassels can be made with any pattern, and can be hung just about anywhere! For more festive DIY ideas, visit our website!

DIY Thanksgiving: 5 Uses for Patterned Papers

Thanksgiving happens to be one of the favorite holidays among our team. Something about the cold air, gathering of families, and cooking together warms our hearts. While it's meant to be a time to reflect and give thanks, sometimes the preoccupation with the perfect holiday decor takes its toll. We're flooded with images of the fanciest table tops and gourmet recipes, but not all of us have the time (or budget!) to go all-out for the big feast. If you are the lucky one hosting Thanksgiving this year and are looking for affordable, simple, and festive decor, our patterned papers are a great go-to. We've come up with 5 uses for patterned papers that you can make in no time, and just in time for your guests to arrive. Shown here is our classic Marquee pattern, but there are lots to choose from!

1. Patterned Paper Jar Lids: You may have to fight for the leftovers, but sending friends and family members home with equal portions is a great way to share. Or, send them home with a hand-made treat as a thanks-for-coming favor. Simply cut a 4.5" square (or 5.5" square for wide-mouth jars) of patterned paper. Place the metal lid cover over the jar, then set your paper square on top. Twist the screw-on cap over the paper and lid to ensure closure. You may need to press hard!

2. Patterned Paper Napkin Rings: The possibilities are endless here. With a starter shape of 1.5" x 7" you can double the napkin ring as a personalized place card by gluing a .5" x 2" piece of paper on top. Or, take a 2.5" x 8" strip, cut out a leaf shape on one end, and trim the other end to 1" wide. Apply glue to 1/2" of one side and seal under the other.

3. Patterned Paper Thankful Chain: Keep the kids busy or adults guessing with this paper Thankful Chain! It's a new twist on the Christmas paper chain, with a whole new meaning. Cut 1.5" x 7" strips of paper and ask your guests write a few things they are thankful for on one side. Glue one end of the strip under the other end and repeat, looping the next strip through your first chain. When assembled, hang above the table for decor or spread around the table. Throughout the meal you (or the kids) can read each strip and reflect - make it a game and guess who said what!

4. Patterned Paper drink flags/stirrers: Every party needs some of these. Celebrate the autumn weather by cutting your flags into leaf shapes. Start with a 1.5" x 5" strip and fold in half. Open it back up, draw your shape on one half of the blank side of the paper, fold in half again, then cut out. Reverse the fold, apply glue to one side, place a skewer or straw in the center then hold to adhere.

5. Patterned Paper Place Card Holders: Thanks to Martha Stewart for this idea, keep things simple with a folded paper place card holder. We scaled ours down to a 3" x 3.75" piece of paper, folded in half, then folded in half again, creating three 3/4" folds. Unfold the paper, and reverse one fold, making an "M" shape. Place your place card inside and voila!

For more pretty patterned paper ideas and DIY crafts, visit our website here!


Sunday in Color

I love, love, love beautiful children's design, especially lovely French things, so needless to say I was super excited for the launch of my super fabulous friend Sonia's new shop, Sunday in Color.

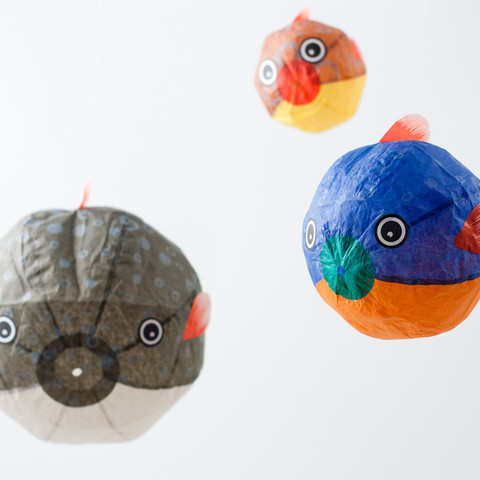
The site features collections of her favorite gorgeous toys, decor, and stationery from different countries - France, Thailand, Japan, Belgium, the Netherlands...how adorable are these Japanese globefish paper balloons?

and this adorable little mouse in a box by the Danish lifestyle design company, Maileg? So sweet.

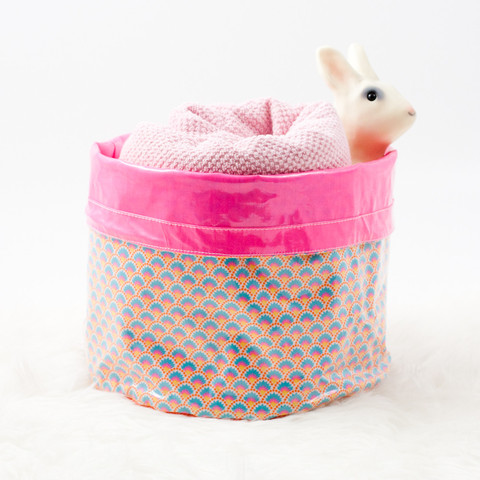
Or this basket by Petit Pan, one of my favorite shops in Paris - so excited to be able to buy some of their things here!

We're super excited to be able to offer our lovely readers a 15% discount on everything in the shop until October 31st.  Just use the coupon code "hellolucky" at checkout.

Studio Craft Night!

We try to use our stock pile of crafting supplies as often as we can around here. And we love it when our employees stay after work to get some crafting done.

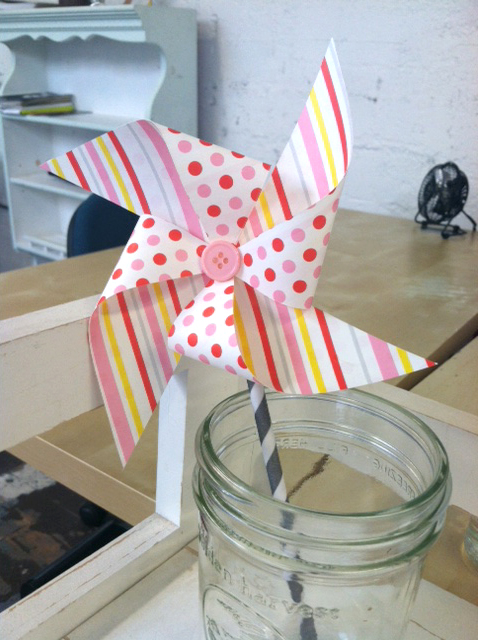
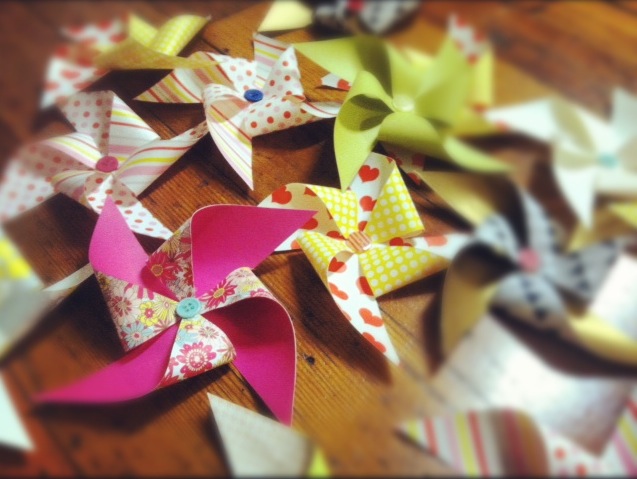
This week designers Shayna and Kelly made some amazing paper crafts to decorate our white walls. We're especially loving these paper pinwheels. Our team hot glued buttons to the centers for an extra pop of color. Cute! Want to try your own? Smock has a handy tutorial for making paper pinwheels with patterned paper. They make great table decor or aisle markers at a wedding, too. Match the patterned papers to your invites and you'll have a dream decor.
 

Edyta's Blowout Birthday Bash

Last week we helped celebrate the 30th birthday of our favorite photographer Edyta Szyszlo! When she came to us months ago with the idea for her party invitations, she had us at "Physical." The wording, all created by the birthday girl herself, was a mashup of lyrics throughout three awesome decades. Her duplex paper fluorescent white and fuchsia letterpress printed beauties were also edged in a tie-dye style and hand painted with bold strips of colorful acrylic. They sure set the tone for a good time ahead.

The party took place at Workshop in San Francisco. Workshop is an amazing studio space dedicated to DIY projects for the public, and they offer classes from printmaking to canning. Check out their class schedule here.

This may be hard to believe, but Edyta handmade all her crepe paper decorations and party hats. How did she have the time? Nobody knows, but this girl can do it all.

The cake pop display was two-tiered and matched her decor. Scrumptious and stylish!

As the night went on, hungry guests got to snack on popcorn in cute personal sized grab-bags.

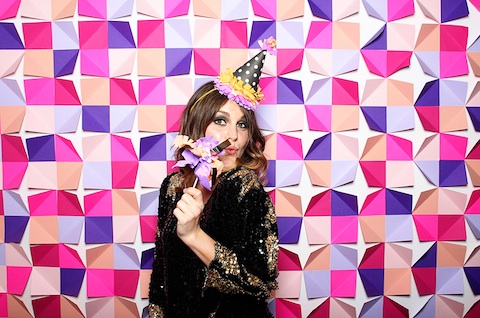
And it wouldn't be Edyta's party without the amazing new Tomfoolery Photobooth. This bold and colorful backdrop and open-air photobooth made for hilarious mementos from the night.

Where did she get those awesome photobooth props you ask? Hello!Lucky of course! And we've reduced the price so now you can get them for a steal. The Word Bubbles (set of 2) are $25 and Mustaches (set of 4) are only $35!
Happy happy birthday Edyta! Thanks again for hosting such a fabulous party. Can't wait to see what you come up with next! Xo, the H!L team.