Real Wedding: Jeska and Brad

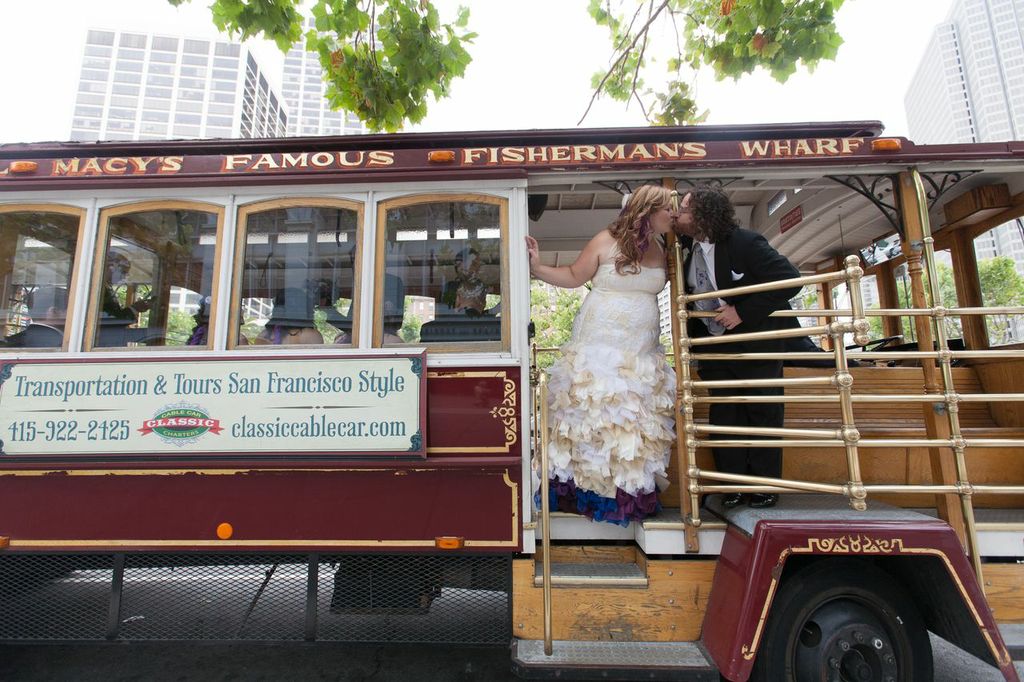
Cable Car Jeska Brad

We absolutely love it when we get to work with clients who think outside the box and aren't afraid to veer away from tradition and get creative with their weddings. This was absolutely the case with Jeska and Brad, who had one of the most unique celebrations we've seen in a long time.

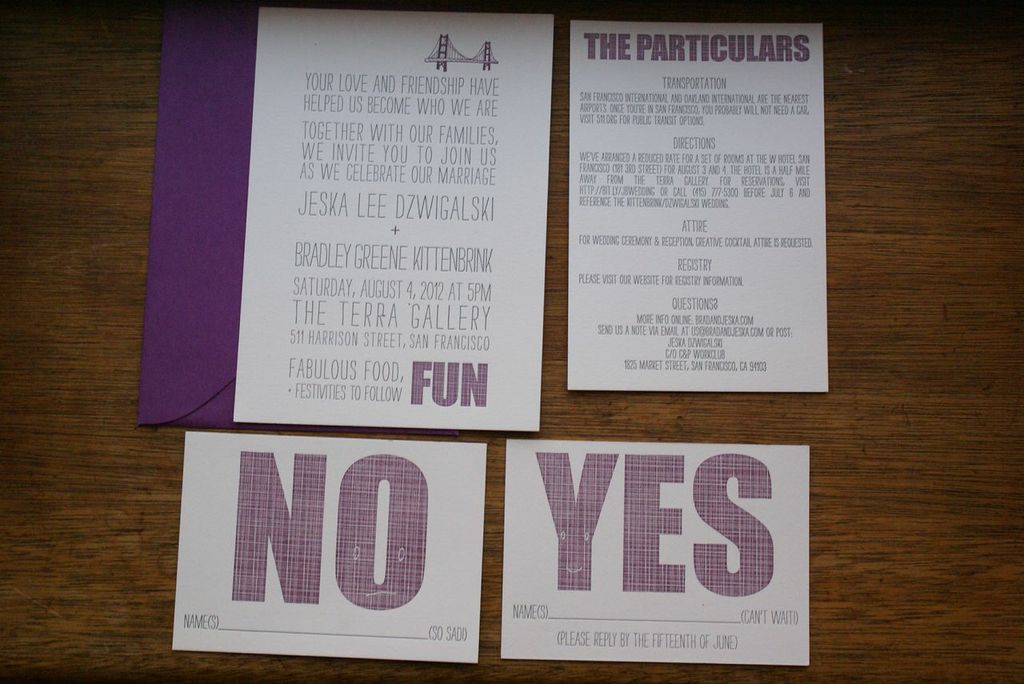
Big Day Wedding Suite Purple

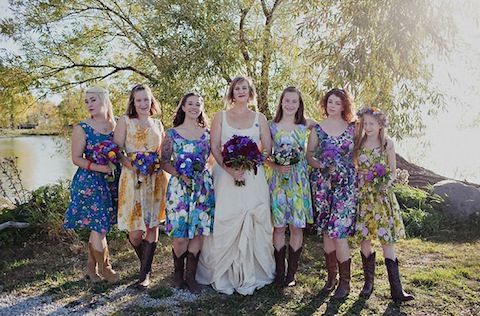
Jeska and Brad chose our Big Day suite in letterpress. We loved the pop of purple in their invites, which was definitely a running theme throughout the wedding -- from the brides hair, to the flowers, to the purple layer at the bottom of her gorgeous custom made dress.

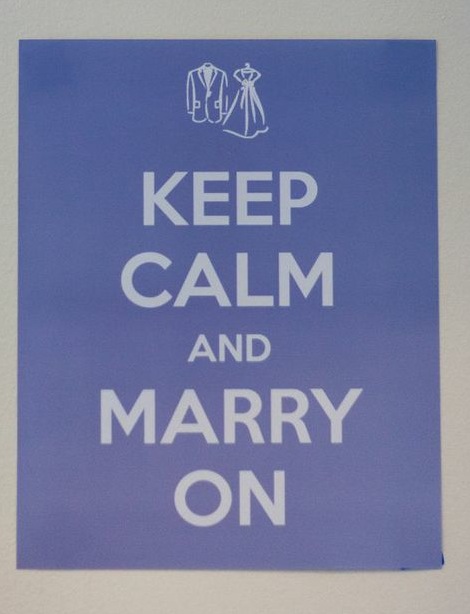
Keep Calm and Marry On

A good reminder for everyone's big day!

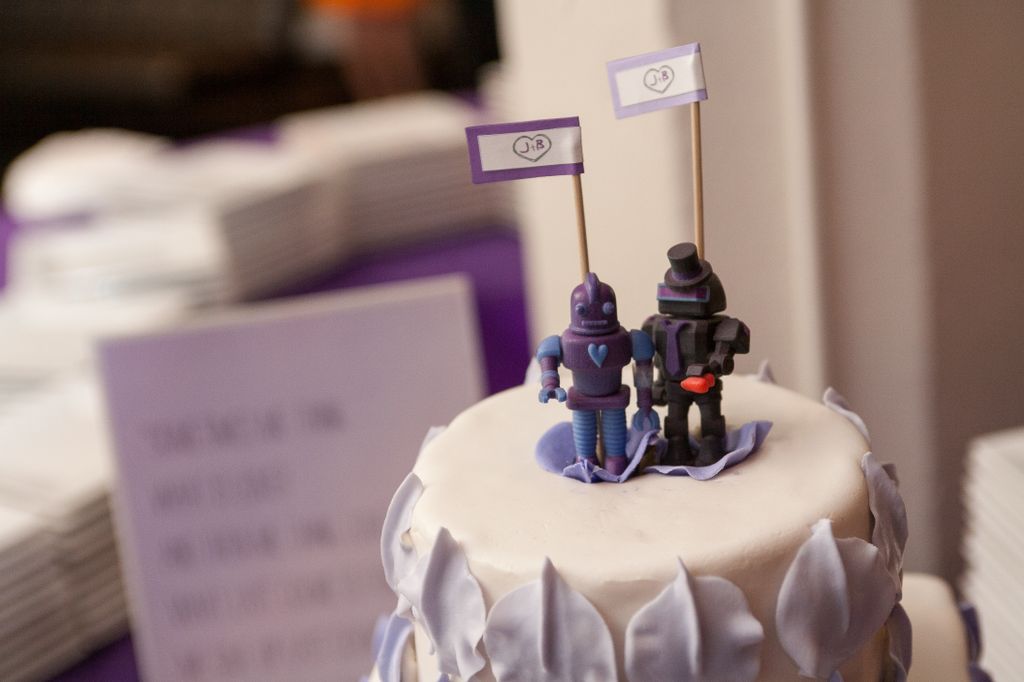
Robot Cake Toppers

These robot cake toppers are pretty amazing, we're especially loving the paper flags with their initials.

Big Day Table Numbers

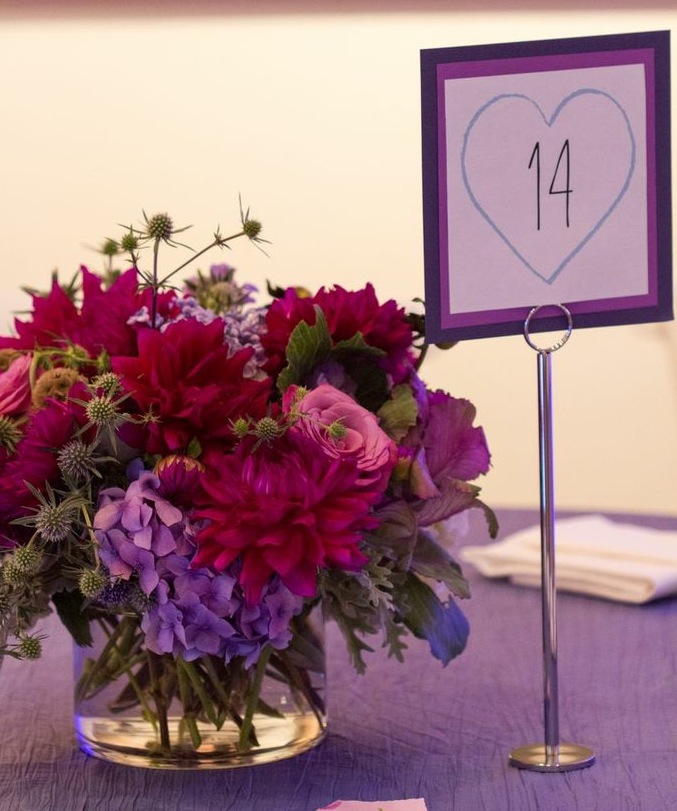
Jeska and Brad printed out our free Big Day table numbers and mounted them on purple paper of course. How pretty are those flowers?

Seating Chart

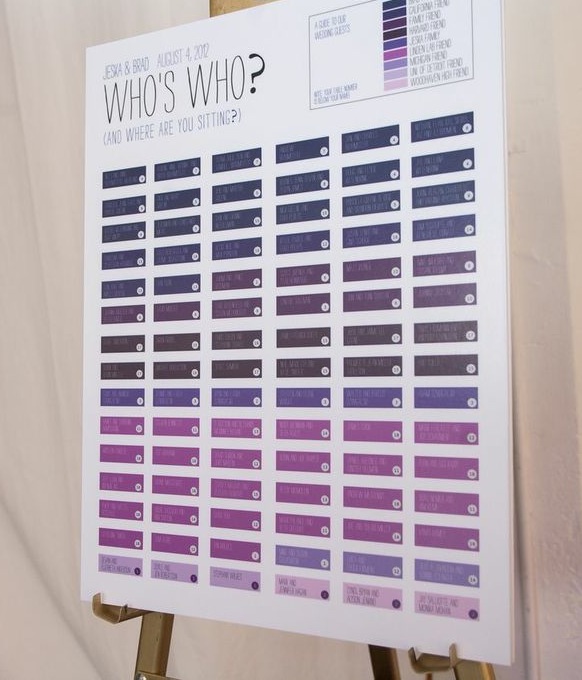
Genius seating chart which let's people know where they are sitting and also explains who everyone is.

Jeska & Brad

Congratulations Jeska & Brad! Thanks for being such a fun couple to work with!

Green Wedding Style

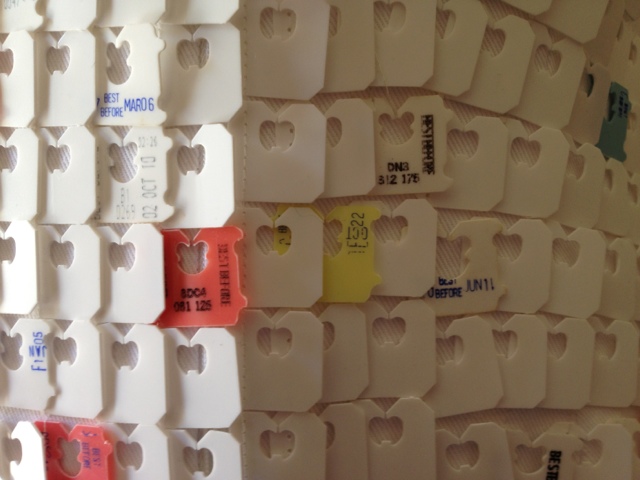
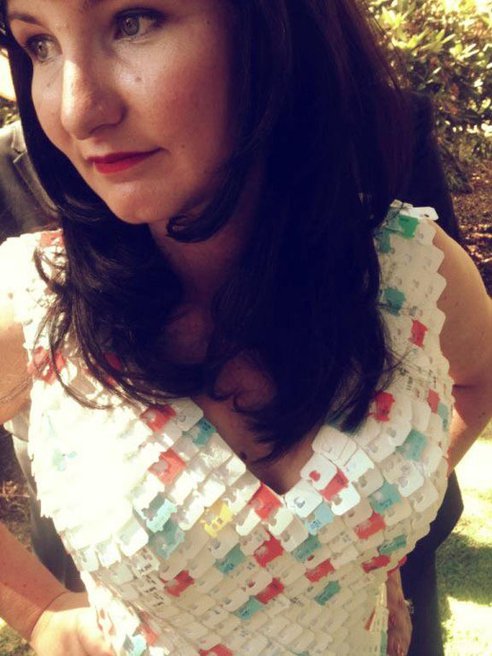
To celebrate this green holiday we thought we would bring you quite possibly the most eco-friendly wedding dress we have ever seen. We found this story via treehugger and just had to share. Australian fashion designer Stephanie Watson created her wedding gown entirely out of recycled bread clips. A job that took her years to finish and totaled 10,000 recycled bread bag clips. The final cost of materials was only AUD $36.

We love that Stephanie created a blog dedicated to chronicling the construction of this amazing wedding gown. The name of the gown? Nadine. And the blog of course was called Constructing Nadine. It's fun to read through her journey of creating this unique dress.

Want more green wedding inspiration? Huffington Post Weddings has a great post on ten ways to make your wedding day greener.

Happy Earth Day!

Real Wedding: Anna and Andrew

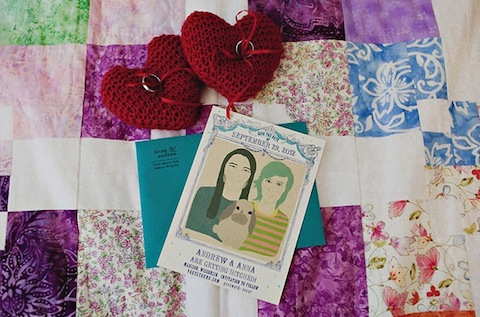
This dream DIY wedding takes homemade details to a whole new level. Anna and Andrew, both creative (and both musicians!), wanted to incorporate rich jewel tones and patterns into their Madison, Wisconsin wedding. With the help of some talented artists and some playful ideas, their save the dates and invitations were adorable and personal. Our Baroque Frame save the date card was the perfect amount of whimsy, and paired with a custom portrait by Ashley Goldberg it set the tone for the big event.

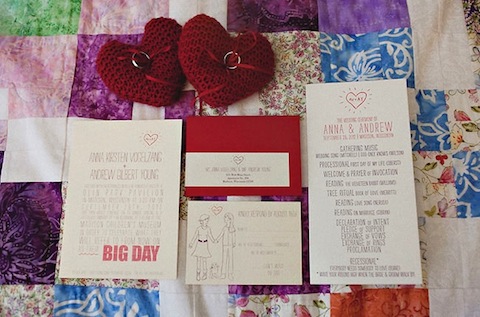
It's easy to customize our Big Day invitation! Anna and Andrew loved their custom portrait so much, they asked a friend to design the illustrations for their wedding suite. We love the initials inside the heart, and their bold red color palette.

All the floral bridesmaids dresses were customized to each lady, too. Each one was hand-picked by Soho Mode and matched the decor perfectly.

Even our Big Day programs were paired with a handmade ribbon baton!

They really went above and beyond with their decor. It's colorful, lively, and looks like a grand ol' time.

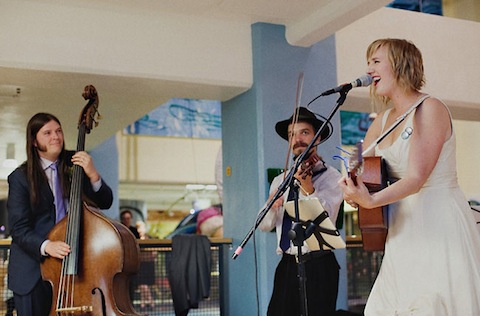
And what's a wedding for musicians without a little jam session?! The couple performed for the first time as husband and wife in front of family and friends and it was a great success.

Congratulations Anna and Andrew! For more photos, head over to Green Wedding Shoes!

Photos by Anda Marie Photography

Real Wedding: Haley and James

This real wedding was introduced to us by our wholesale manager, Heather. She shared these images of her friends Haley and James' California wedding and we were immediately overcome with giddy wedding bliss. From all the perfect DIY details to the pure beauty of the bride and groom, this wedding is simply magical.

We must start off with the colorful photography by multi-talented Kate Miss. Her blog is a great source of inspiration so we were excited to hear she was the photographer at this wedding. Next, how about these amazing life sized tissue flowers? It sets the perfect backdrop for an already beautiful venue (Northstar in Tahoe, CA). Full instructions can be found over at Design Sponge.

One of our favorite details has to be the yarn wrapped vases that the bride and her bridesmaids made from our Handmade Weddings book. Since Haley and James' wedding day was all about color, they fit in nicely amongst the rest of the display.

Isn't this a good looking group of women? All the bridesmaids dresses are vintage. Love how the colors of the dresses coordinate with the decor!

The brides beautiful dress was custom made by San Francisco based designer Kajan Padraig. We love the delicate lace sleeves!

This is what weddings are all about. Having fun with your loved ones.

Thanks to Heather for sharing these photos and thanks to the bride and groom for representing our yarn wrapped vases! We truly love to see our projects come to life. For more photos, head over to Kate Miss' blog For Me, For You.

Photography by Kate Miss

Creativebug Video Shoot

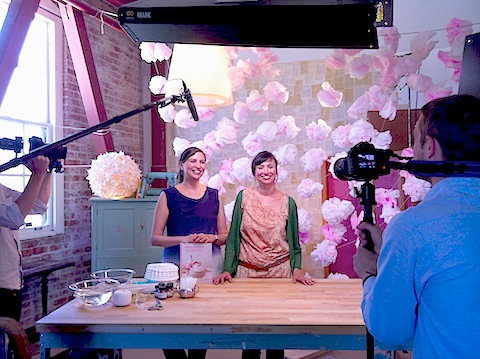
Earlier this summer we were in and out of the Creativebug studios shooting four different craft video tutorials, the first of which debuts on their site today!

Creativebug is a new website dedicated to online art and craft instruction. They offer high quality video workshops on almost any topic - from pottery to bookbinding. They have some amazing crafty superstars in their lineup already and we're totally honored to have been asked to be instructors. Right now you can take classes from people like Diana Fayt, Natalie Chanin, Debbie Stoller, and others - check out the complete list of instructors here. They're constantly adding new videos and teachers to the site so be sure to check back often.

 Our videos are focused on crafts to make for parties and can be adapted for any size event from a big wedding to a small birthday gathering. We had lots of fun shooting them and we hope you check them out! You can view our trailer and tutorials here.

Thanks to the amazing team at Creativebug for making the experience such a great one. We can't wait to shoot more!

DIY Cotton Boutonnieres by Mrs. Vintage

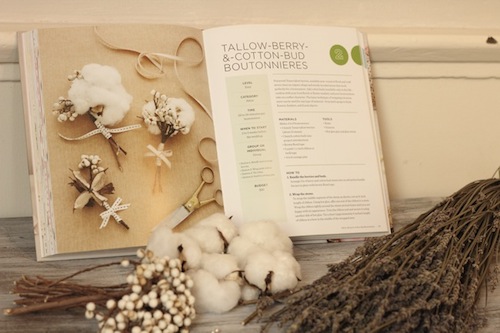
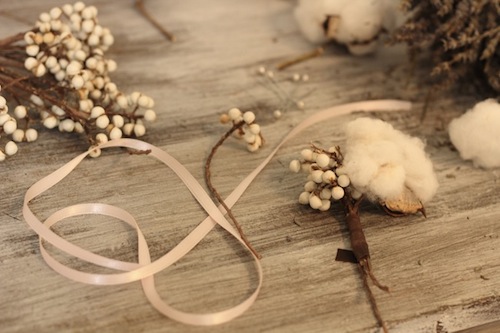
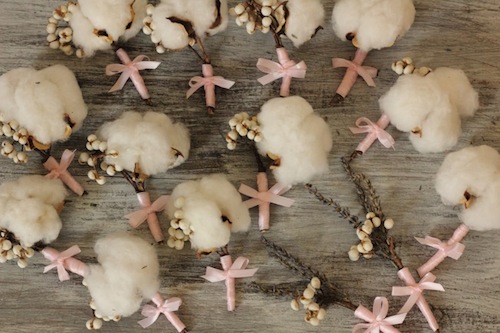
It's always such a treat to see projects from our Handmade Weddings book come to life in real weddings. One of our favorite wedding inspiration blogs and gorgeous rental boutiques Mrs. Vintage recently crafted the sweet tallow berry and cotton bud boutonnieres for her big day and we'd say they turned out flawlessly.

Although creating your own floral bouquet or arrangement may seem complicated at first, this three-step process is quite simple! Mrs. Vintage tells that with the right materials and some trusty hot glue your boutonnieres can be DIY'ed just like that.

We love the adorable lavender pins for her ring bearers, and the pink ribbons tie it all together just right. Props to Mrs. Vintage for mastering this DIY! To see the step-by-step tutorial along with endless bridal inspiration, click here!

Our Poms in Martha Stewart Weddings

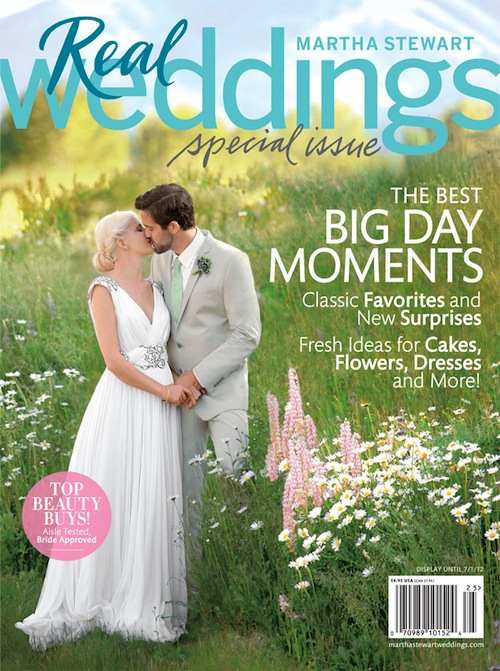
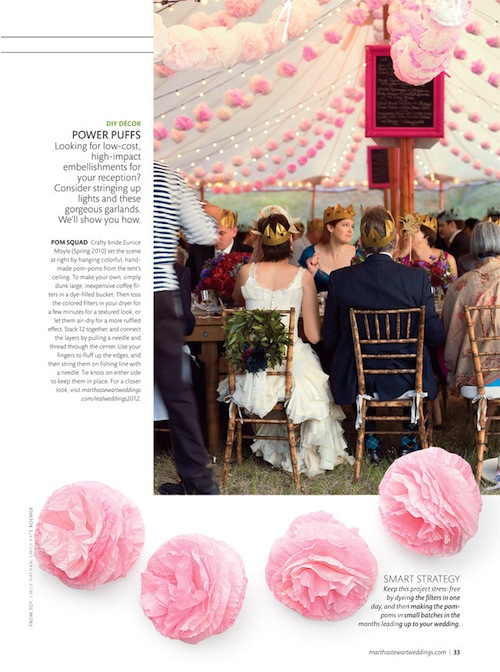
Our signature pink poms are featured in Martha Stewart Weddings Special Issue! Back when Eunice and Daniel got married they handmade each of these coffee filter poms and dyed them various shades of pink. They were a huge hit strung along the top of their reception tent, and since then we've found lots of ways to reuse them.

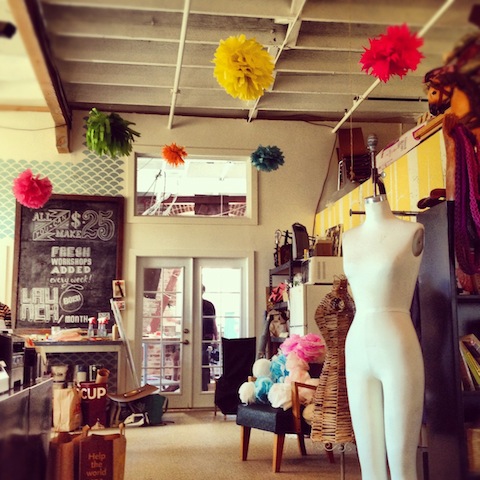
We keep them in the studio to brighten up our blank white walls. They are easy to store, too! Just re-fluff the paper filters each time you've got a new decor project and dust with some fresh paint or glitter.

Spring DIY: Paper Flower Wreath

Spring may be a time to get organized, but we think it's a great time to bust out the dusty craft bins and get creative! There's no better feeling than recycling something disposable and transforming it into something worth saving. We know you're left with all those leftover holiday cards and wrapping papers, so this is the perfect opportunity to put them to good use! This lovely wreath from our book Handmade Weddings (published by Chronicle Books) uses a variety of found papers, including patterned paper scraps, kraft paper, glassine, tracing paper, and graph paper. This colorful wreath is perfect as a welcome sign at a wedding or party, or to adorn your front door as a welcome sign for Spring!

Materials

Makes 1 wreath

• 15 to 20 sheets assorted scarp papers e.g., construction paper, kraft paper, graph paper, tissue paper

• 30 to 40 colorful 1/4-inch brads

• Four 18-inch pieces floral wire (optional)

• One roll floral tape (optional)

• 1/4 yard scrap fabric

• 18-inch cardboard or particleboard wreath form

• Paper clip (optional)

• 1 to 2 pieces scrap cardboard or foam core

• 1 sheet text-weight paper (optional)

 Tools

• Paper Flower templates (available here)

• Pencil

• Scissors

• Small flower punches

• 1/8-inch hole punch

• Hot glue gun and glue sticks

• One 1 1/2-inch Styrofoam ball (optional)

• Inkjet printer, with extra ink cartridges (optional)

 How to

1. Make your flowers.

For flat flowers: Cut out the Paper Flower templates. Trace them onto patterned scrap paper, and cut out with scissors. Fold the flowers along the center axis of the petals to add dimension. You can also fringe the petals or crinkle flowers made of tissue to add depth. Punch small flower shapes for the flower centers. Stack several flower designs on top of each other, and punch a hole in the center. Insert a brad into the center and flatten the ends. Repeat to make as many flowers as desired.

 For cupped petal flowers: Cut out the Petal template. For each flower, trace the template four times onto graph paper or another text-weight paper. Cut the petals out. Slide a 6-inch length of floral wire into an unopened brad so that the brad grips firmly and the round end faces up. Fold the base of the petal into an M shape, position on the wire, and affix with a dab of hot glue. Place the next petal, and repeat until all four petals are in place. Wrap the petal bases with a strip of floral tape. Repeat to make as many flowers as desired.

 For tissue paper flowers: For each flower, cut four 1 1/2-×-4-inch strips of tracing paper or tissue paper. Place a piece of tissue, long side facing you, on your work surface. Center the Styrofoam ball on the paper, wrap the long ends up, and twist the ends to hold them in place. Trim the twisted ends with scissors and remove the ball, creating a cupped petal. Repeat to create four petals per flower. Slide a 6-inch length of floral wire into an unopened brad so that the brad grips firmly and the round end faces up. Position a petal on the wire, and tape it in place with a strip of floral tape, wrapping it around the wire a few times. Place the next petal and repeat until all four petals are in place. Repeat to make as many flowers as desired.

2. Prepare your wreath form. Cut your fabric into 3-inch-wide strips. Hot glue one end of a strip to the wreath form, and wrap it around the wreath until you run out of fabric. Glue the fabric end down and continue with a new strip until the wreath is completely covered. Avoid covering the hole in the wreath (for hanging). If desired, flatten a paper clip into an S shape and insert it into the hole, to be used as a hook when you are ready to hang your wreath.

3. Attach your flowers. Arrange your flowers in a wreath shape on your work surface. When you are happy with their placement, begin hot-gluing them to the form. To create depth, cut out several 1/2-inch squares of cardboard or foam core and affix these to the wreath form before gluing a flower on top, so that these flowers are slightly raised.

4. Add a sign (optional). If desired, lay out a sign such as “Welcome!” or your names and wedding date using a wordprocessing program and printing on text-weight paper, or write the sign by hand. Attach to the wreath using a dab of hot glue.

For more fun DIY ideas, visit our website here!

Inspired by: Meadow

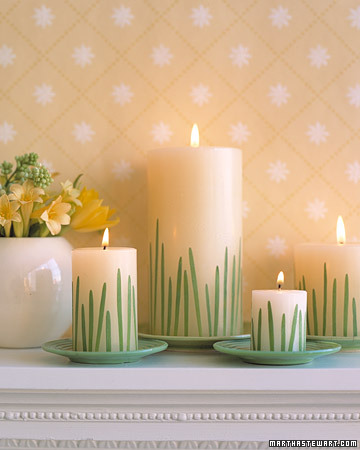
If you are looking for springtime wedding details, look no further! We've collected various projects and images of wedding decor and paper goods that will fit perfectly with the cheerful season about to bloom. The source for our inspiration is of course our Meadow wedding invitation designed for Hello!Lucky by EIEIO. The simple grassy illustration looks great in shades of green or yellow, and is a stunner letterpress printed. When browsing the Martha Stewart website for Easter craft ideas, we stumbled upon this adorable candle DIY and thought it would make a fantastic centerpiece at a Meadow inspired wedding. All it takes are some blades of grass, a strong adhesive, and some dollar store candles and you've got an inexpensive yet totally chic table display.

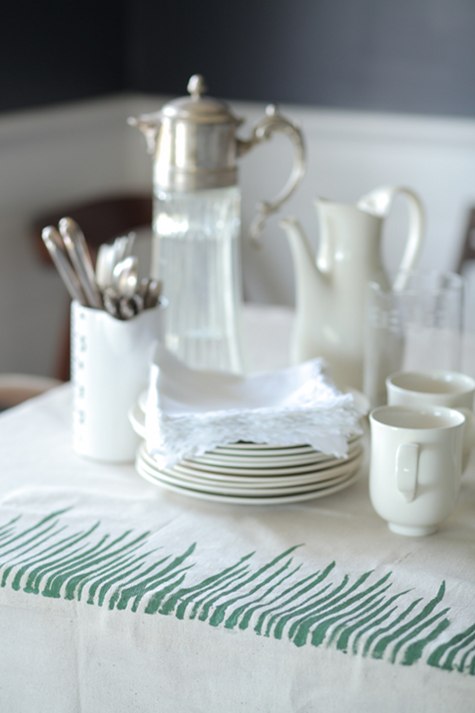
We also love these botanical stenciled tablecloths featured on Design*Sponge.

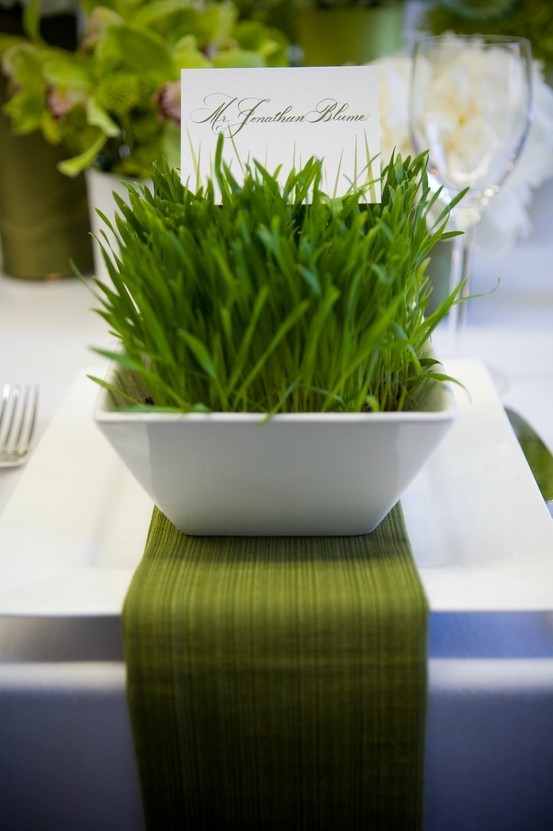
This wheat grass table setting with printed place cards makes for a classic and clean display. We found this one on Pinterest, among tons of other ideas!

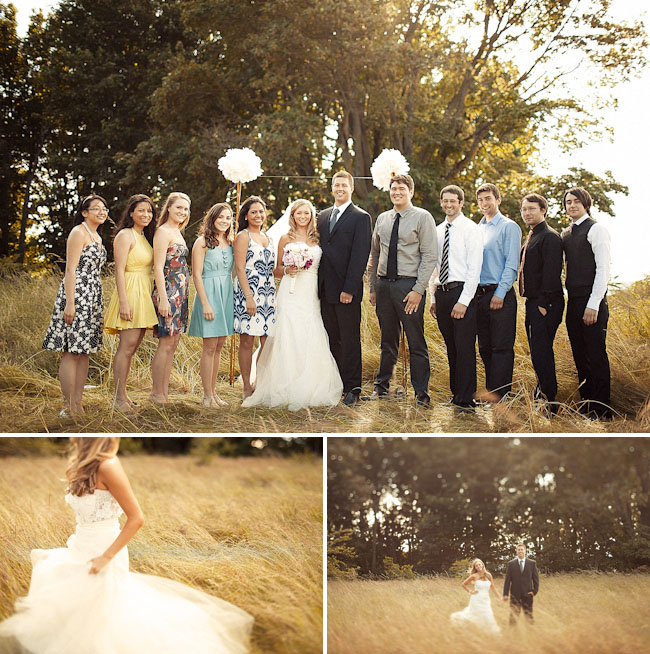
This wedding found on Green Wedding Shoes doesn't have tons of fancy decor, but the simple nature of the location still matches the theme perfectly.

Can't wait for spring to arrive! To view our Meadow wedding invitation, click here.

Wedding DIY: Cupcake Liner Pom-Poms

These pretty patterned cupcake liner pom-poms featured in our book Handmade Weddings (published by Chronicle Books) are perfect for a wedding celebration or casual party at home. Just a bit of glue and string will transform your ordinary cupcake liners into festive pom-pom strands. Mix and match colors and patterns to compliment your party palette and your decor will be a huge hit. Hang them in your living room, over your reception tables, or in your cocktail area for instant DIY delight!

Materials

Makes six 12-foot strands

• 720 cupcake liners, approximately 120 per strand

• Six 12-foot lengths white kitchen string

Tools

• Bone folder (or popsicle sticks work, too!)

• Rubber bands (optional)

• Glue sticks

• Clear tape

How to

1. Flatten and fold your cupcake liners. Using a bone folder, flatten each cupcake liner into a circle. Fold in half, wrong-side out. Repeat for all of your liners. You will need 10 identical liners per pom-pom. If you are using a variety of patterns and colors, stack or rubber band them by pattern. If your cupcake liners have scalloped edges, be sure to fold them along the same axis every time. This will ensure that the segments that make up each pom-pom are all symmetrical, making for a pleasing whole.

2. Make the pom-poms. Place 10 folded cupcake liners, of the same pattern and color, on your work surface. Using a glue stick, spread glue over one-half of a cupcake liner. Align it to the corresponding half of a second cupcake liner. Press down and smooth with your bone folder (figure 1, page 29). Let dry. Continue attaching the cupcake liner halves, smoothing each segment as you go to ensure a secure bond. Do not glue the last segment. When complete, the pom-pom will form an accordion-like sphere with one open segment, which allows you to flatten the pom-pom into a circle (figure 2). Let dry completely. Continue making pom-poms.

3. Attach the pom-poms to the string. Leaving about 2 feet on either end of the garland for hanging, attach the pom-poms along the string, at 2-inch intervals (or greater if desired). To attach, lay a flattened pom-pom on your work surface and align the string along its central axis (i.e., along the crease). Secure the string with two small pieces of clear tape, one on each end of the pom-pom. Spread glue over one half of the circle, as well as on the string, and sandwich the two halves of the open segment together, trapping the string (figure 3). Let dry. When all the pom-poms are attached and dry, hang the garland. “Fluff” the pom-pom segments by hand to create full circles.

Get your own copy of Handmade Weddings here. Happy crafting!

Gorgeous Paper Wedding Details

This paper wall decor spotted on Green Wedding Shoes stopped us dead in our tracks. We definitely have a sweet spot for paper wedding details, but this bride's DIY wall art just topped the charts! Inspired by the always extraordinary Anthropologie window displays, this bride used tons of rolled paper strips to create an enormous abstract backdrop for her reception. Stunning!


Real Wedding: Tara and Ryker

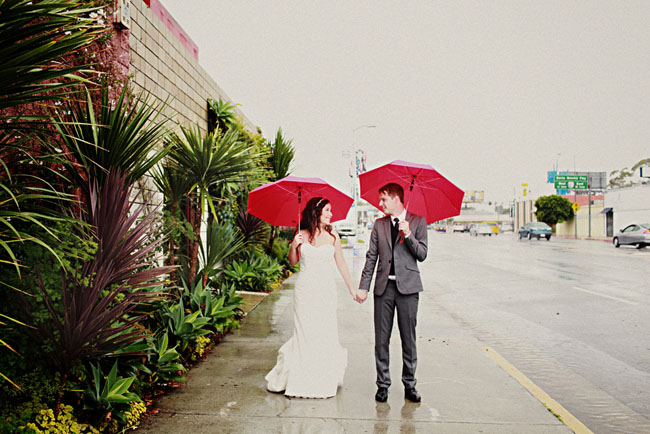
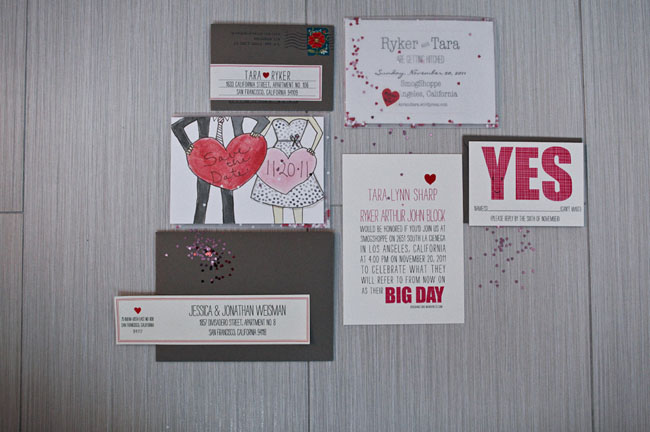
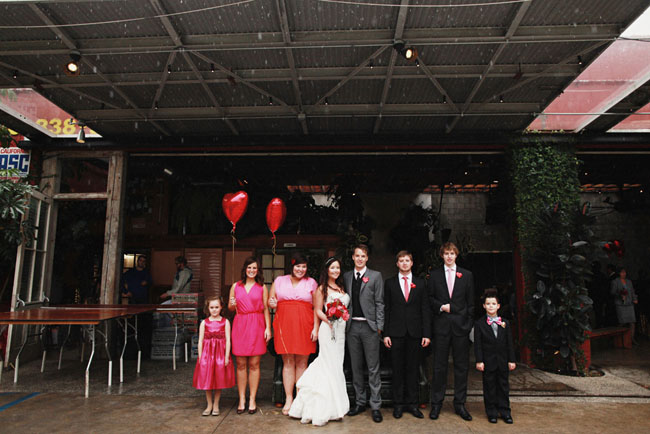
Valentine's Day isn't over yet! This wedding, featured on Green Wedding Shoes, is the ultimate heart inspired celebration. Tara and Ryker wed on a rainy day in Los Angeles, but the downpour definitely didn't dampen their hearts. The couple chose to use our Big Day invitations, but swapped the bridge icon for a little heart, matching their wedding details perfectly. Along with some custom hand drawn save the dates by a friend, their stationery set a playful mood right from the beginning.

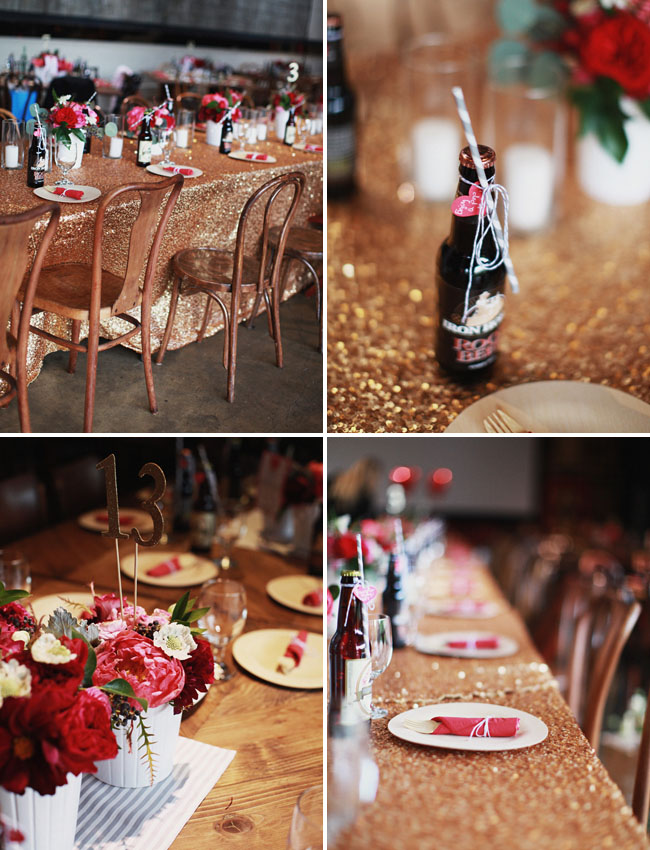
 It's always fun to see a bride and groom carry on their theme in creative ways. The bride said she looked to Pinterest for ideas and mixed various DIY projects with splurge items to pull off her look. We'd say she did a fantastic job!

Are you thinking what we're thinking? That gold sequin table cloth by la tavola is aaaamazing!

There's no doubt we'll be adding these images to our Big Day Inspiration Board on Pinterest. It's just too fitting!

Congratulations Tara and Ryker!

Photography by Michèle M. Waite

Event and Floral Design by Carter and Cook Event Co.

Wedding DIY: Heart Shaped Programs

Add a sweet handmade element to your wedding with these heart shaped programs from our book Handmade Weddings published by Chronicle Books. These adorable programs double as fans for an outdoor summer wedding. They're also the perfect compliment to the Big Day wedding suite!

Materials

Makes 100 programs

• Two hundred twenty-two 8 1/2-×-11-inch sheets red card stock

• 100 wood fan handles

Tools

• Heart-Shaped Program template (available online here)

• Font: Strangelove Text

• Laser or inkjet printer, with extra ink cartridges

• Scissors

• Pencil

• Double-sided tape gun and extra tape (we recommend the 3M Scotch ATG 700 Transfer Tape Dispenser), or glue sticks

How to

1. Customize and print your programs. Customize your program text using the online template. Print 110 copies onto red card stock using a laser or inkjet printer (10 copies are for inevitable mistakes when cutting). Using scissors, cut each program into a heart shape, following the outline on the template and being careful to cut inside the line so the outline doesn’t show.

2. Assemble your programs. Place your hearts back-to-back. Try to pair up hearts that match each other as closely as possible, as there will be some inconsistencies due to the hand cutting. Once you are happy with your pairings, take the first two hearts and lay them side-by-side, right-sides down, on your work surface. Center a fan handle on one of the hearts, left to right, and position it vertically so that the top 6 inches of the handle lie inside the heart, and the bottom 3 inches lie outside of it, forming the handle. Dispense glue or double-sided tape on one side of the top 6 inches of the handle and press into place (figure 1). Dispense glue or double-sided tape along the heart-shaped areas of the same heart as well as the second side of the handle. Align the second heart, right-side up, over the glued side and press down firmly (figure 2). Repeat for all programs.

Variations

Paddle fans, as these types of fans are known, can be made in any shape—a circle, oval, square, rounded square, egg, leaf, or traditional fan shape (resembling a quarter circle). If you have a longer ceremony, you can print on both sides of the fan, adding a bit of decorative flourish along the borders.

Gaga for Gingham

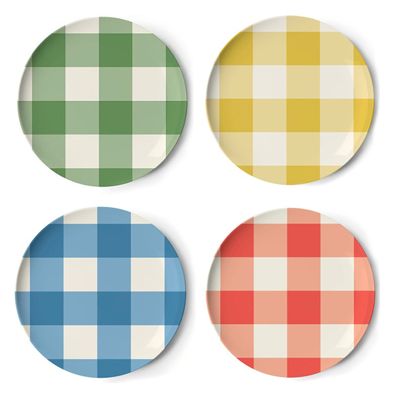
In celebration of Rustic Farm week, we're channeling all the details that make us love country weddings. One of the most recognizable patterns has to be gingham, and we're going gaga for it! At the first glance of these gingham patterned plates we envisioned a large picnic style table setting with lots of fresh fruits and garden flowers. Paired with simple white linens or vintage lace, these dishes would be downright adorable.

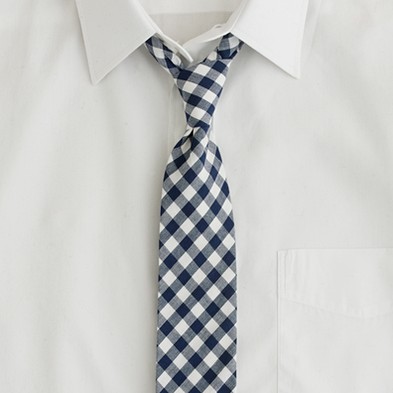
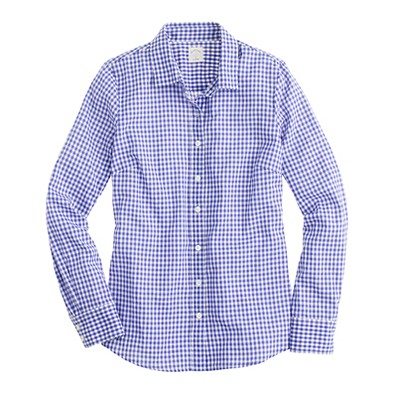
Jcrew knows how to pull off patterns the right way. Matching your fiance might seem cheesy at first, but these gingham patterned getups could definitely dazzle in a photo save the date.

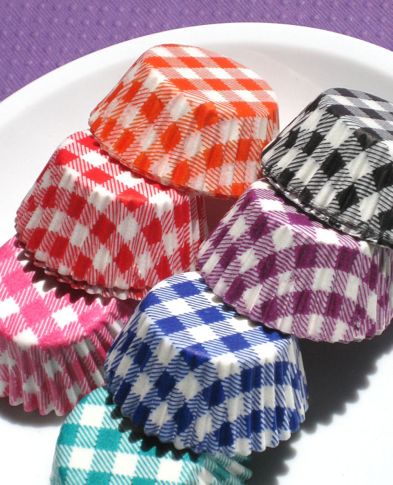
We absolutely need these gingham cupcake liners!

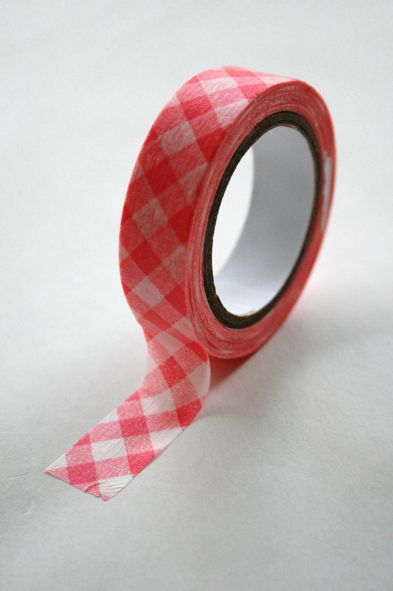
Can't you see this gingham washi tape as the ultimate decor accessory? There are endless ways to spruce up a simple setup by adding a little patterned tape. We can't get enough of it!


UK Shout Outs!

Your London Wedding Fall2011

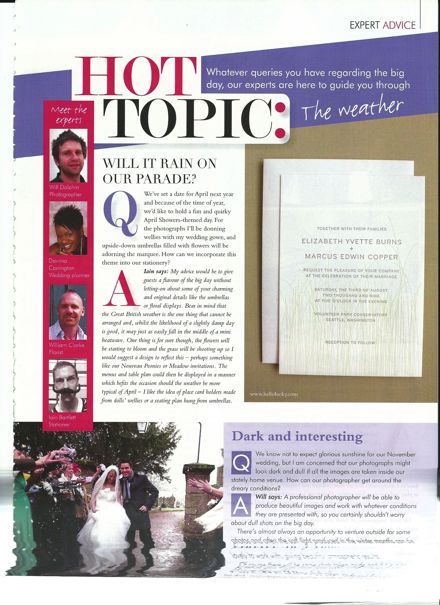
For all of our overseas readers, we have some delightful news! Our very own UK General Manager Iain Bartlett has been busy in the magazine world! He was recently quoted in Your London Wedding giving some helpful advice should rain fall on your wedding day. He's always had great ideas for quick fixes! And when you live in an area where the weather does not always cooperate, you must be ready for a plan B!

Your London Wedding Fall2011-1

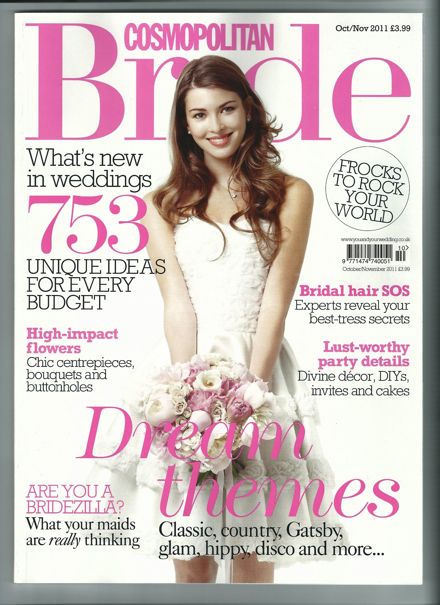
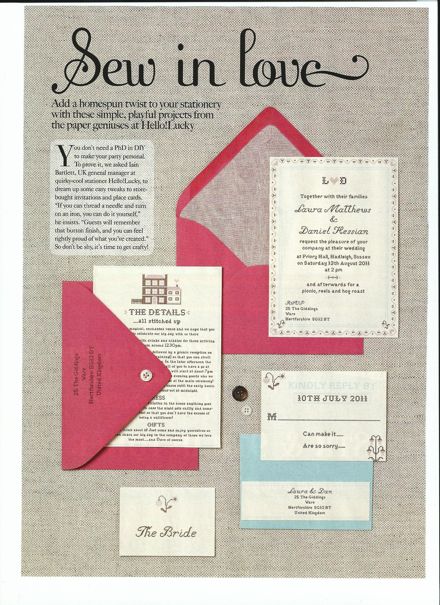
Iain also wrote a wonderful and creative spread for Cosmopolitan Bride about how to add a crafty detail to any invitation set. We love the idea of including a handmade touch to your invitations, even if it's simply a ribbon or button!

Oct 2011-1

Oct 2011-2

If you're in the UK don't forget to pick up your own copies! Cheers Iain!

Pomp & Plumage visits H!L

il_570xN

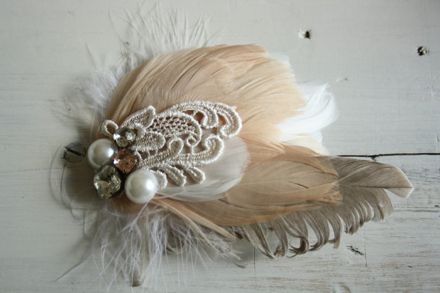
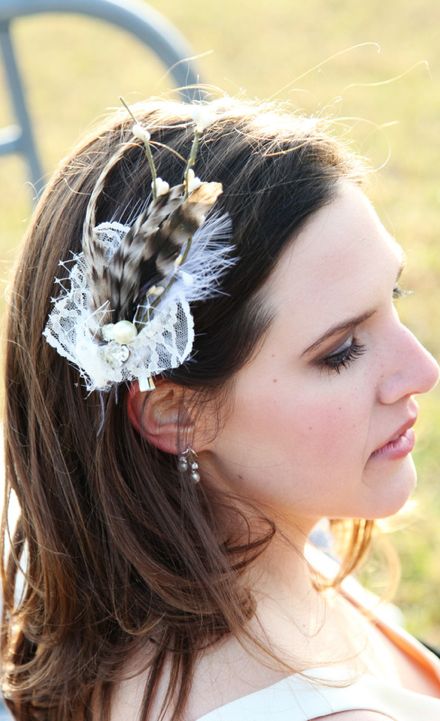
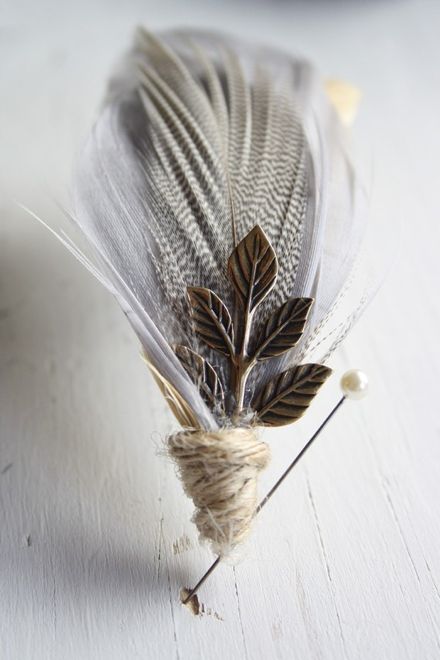
Happy Monday everyone!  We've been busily rearranging and organizing our storefront lately and we're so excited to have a place to show off new products and really welcome guests into our studio and shop.  As luck would have it, our window caught the eye of Denise and Ian, a remarkably talented couple from Canada who popped by on their vacation.  They own the gorgeous etsy shop Pomp & Plumage and we instantly fell in love with their handmade hair accessories and boutonnieres.

9701384_orig

bouton

We LOVE the rustic twines and feathers mixed with bits of dainty lace and other romantic embellishments and we're already imagining them paired oh so nicely with a Naturalist themed wedding.  Be sure to check their website and Etsy shop for more fabulous creations - they even can be customized to suit any fancy!

New Uses for Paint Swatches

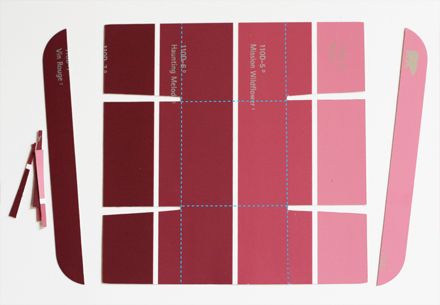
paint-chip-boxes-stack

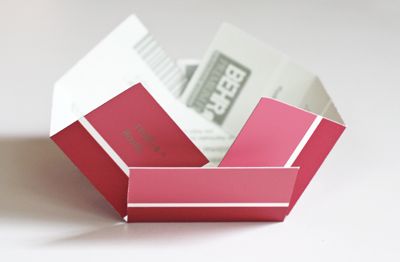
If you haven't seen them scattered around design blogs yet, check out these paint swatch boxes from How About Orange! What a perfect wedding favor box!

cut-out-box-bottom

You can customize them to match your wedding colors! Oh, the possibilities...

fold-flaps-inward

Take a peek at their other tutorial projects here.

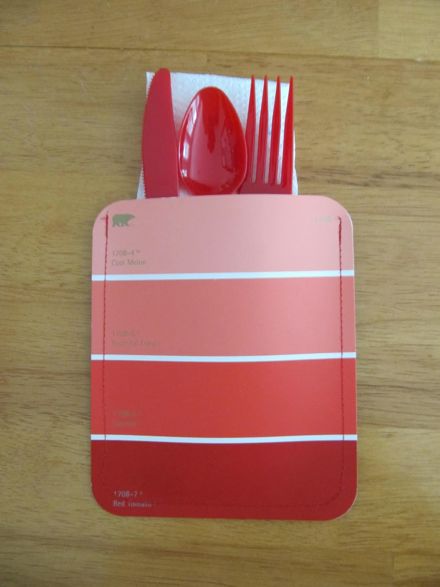
blog 3 415

Sewn paint swatches as napkin/silverware holders from Sew Many Ways. These would make for an adorable table setting.

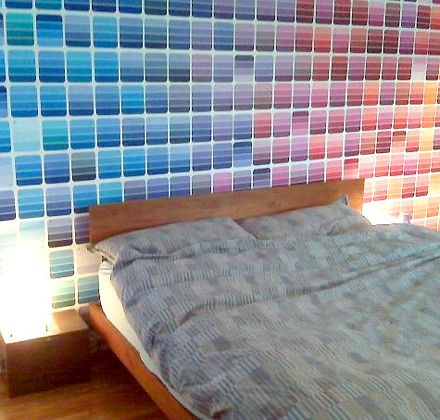
paint strip wall

If you're really up for a challenge, try this Paint Swatch Wall Decoration from Design*Sponge! It's sure to impress!

Happy crafting!

Pottery Barn Decorating Workshop

Romantic Table Accessories

Last weekend, we got to teach a special event decorating workshop at Pottery Barn at Stanford Mall and at Chestnut Street in San Francisco!  We shared DIY craft ideas from Handmade Weddings, along with party & wedding decorating tips. I, for one, had been clueless about Pottery Barn's awesome entertaining selection before the workshop -- turns out the have fabulous glass drink dispensers, cake stands, linen-wrapped candles, and mercury glass votives -- all great accent pieces that make a table scape feel polished and stylish!

Table Setting

We showed the class how to decorate a table in two different styles: Romantic (left) and Happy Graphic (right), using similar projects in different palettes to show just how easy it is to create a unique look. The flowers were picked out by our friend, florist Nancy Liu Chin (we did a DIY arrangement -- Nancy, hope we did your flowers justice!).

Fabric Wrapped Containers

We started with recycled glass jars, which we wrapped in linen and stretch denim and stenciled with table numbers - the same project gets a totally different look just by choice of materials.

Romantic Fabric Wrapped Container

We finished each wrap with a simple row of stitched "X"s. They slip on and off easily, and you can reuse the containers -- no special sewing skills needed!  We wrapped books in papers matching each palette to use as risers, adding height to the table (helped achieve a pleasing pyramid composition. And who doesn't have some books lying around? So easy!).

Happy Graphic Table Setting

The Happy Graphic side featured a palette of reds, yellows, and blues plus kraft and denim accent textures. We incorporated patterns with fabric-wrapped favors and DIY bread basket liner.

Button Napkin Ring

We added graphic pop with an easy fabric-covered button napkin ring and striped dollar store party favors (who knows what these things are called?! please tell us!).

Ribbon Drink Flags

Drink flags are one of our favorite party details.  All you need are bamboo skewers (available at most super markets) and ribbon or paper. We did a simple satin ribbon flag for the Romantic side...

Pennant Drink Flags ...and a paper pennant for the Happy Graphic side.

Thanks to Pottery Barn for hosting us, and to all the wonderful folks who attended the workshops - it was great meeting you!