Inspired by Easter

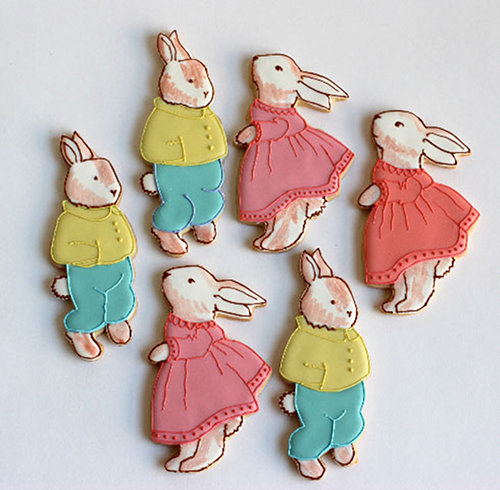
It's almost Easter and we are definitely feeling inspired by all the spring craft projects, delicious brunch recipes, and adorable bunny things popping up all over the place. Here are a few of our favorites from around the web. These bunny cookies created by Baked Ideas are unbelievable. Who knew easter cookies could turn into works of art! They also sell the cookie cutters so you can make these beauties at home. (via Design Sponge)

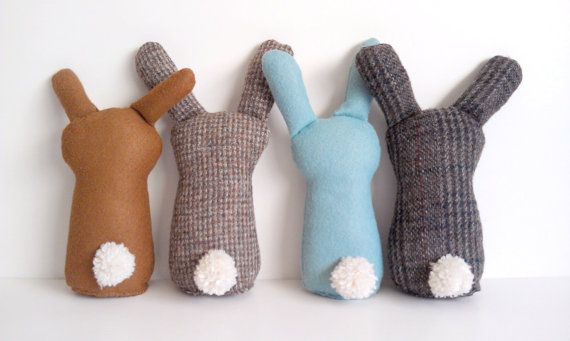
How adorable are these handmade woodland bunnies? (Especially their backsides!) Etsy seller Sleepyking knows how to keep things festive and rustic chic.

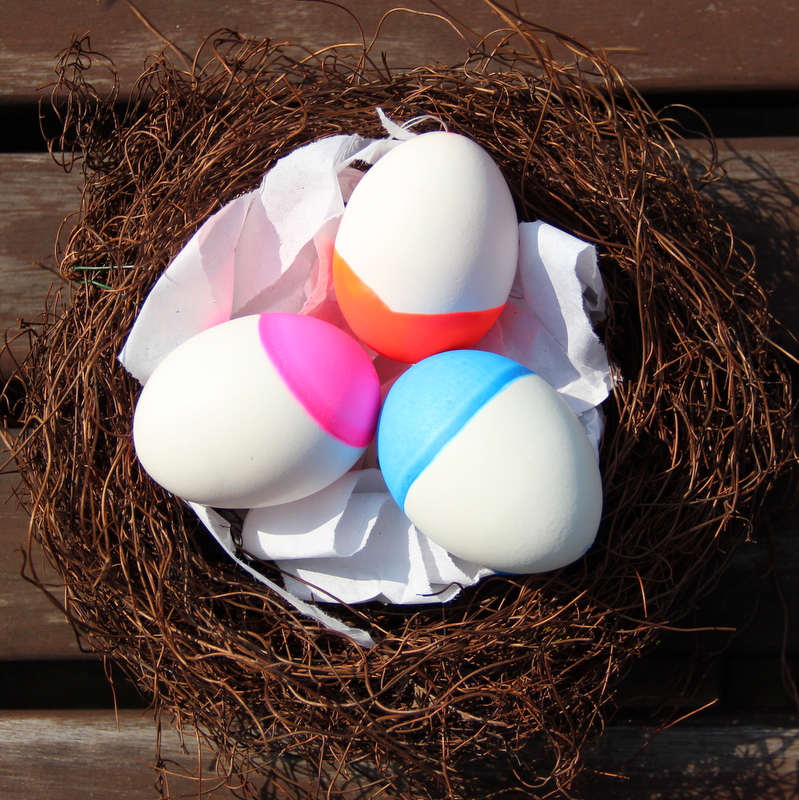
Neon dip-dyed eggs are a fresh take on an old tradition. Instructions can be found here.

We're still swooning over these amazing glitter confetti eggs from Oh Happy Day. The full tutorial can be found here.

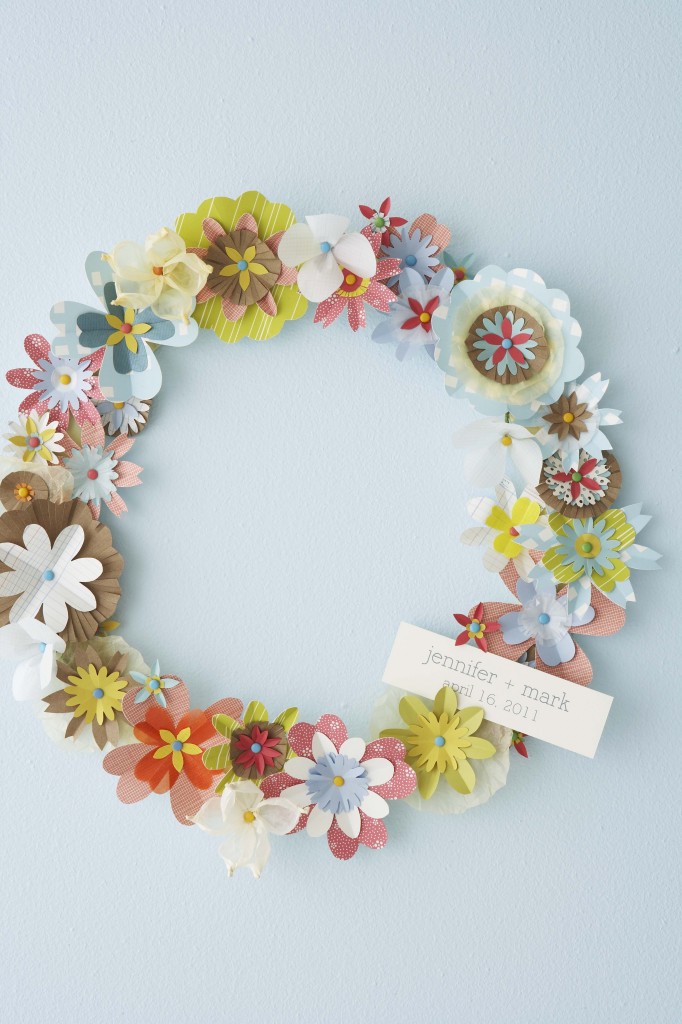
And don't forget about the Paper Flower Wreath instructions we posted a few weeks ago! It's the perfect project to spruce up your front door, just in time for Spring!

Real Wedding: Katie & Justin

Think pink! We were thrilled to be part of Katie & Justin's wedding, featured today on Green Wedding Shoes. We had so much fun designing this custom suite, which included a few of our current obsessions - neon and edging. We worked with the couple's navy and fuchsia palate to create a modern yet elegant design (calligraphy by Michele Papineau).

The couple selected the Majestic Halls, located in the heart of downtown Los Angeles. Built in 1921 as the former Los Angeles Bank of America, the building retains many of its original historic and ornate details. Katie and Justin fell in love with these architectural elements that made the space feel unique to downtown Los Angeles.

Aren't the flowers stunning? Katie and Justin wanted a pink ombre effect and The Little Branch executed their vision perfectly. Each table had various distressed bronze buckets filled with fuchsia, pink or blush flowers. The bride’s bouquet was comprised of a variety of deep pink flowers, including roses, and tied with a navy ribbon.

Katie's dress was Halston Heritage, her shoes were RED Valentino and her stole was vintage, purchased from a local flea market. Justin's suit was from Hugo Boss.

The ring pillow was made by Katie's mom using our how to guide! We love the addition of the pom pom border.

In addition to the invitation suite, we also created matching day of materials: menus, place cards, table numbers and programs.

Congratulations Katie and Justin! To see more of this gorgeous wedding, please click here.

All photos by Erin Hearts Court. Wedding coordination by Kristeen LeBrot.

Today's Bride

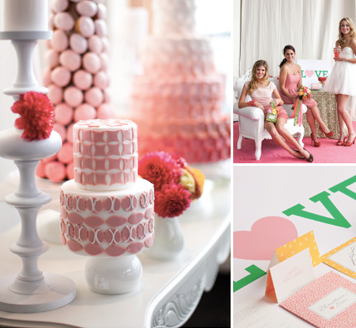
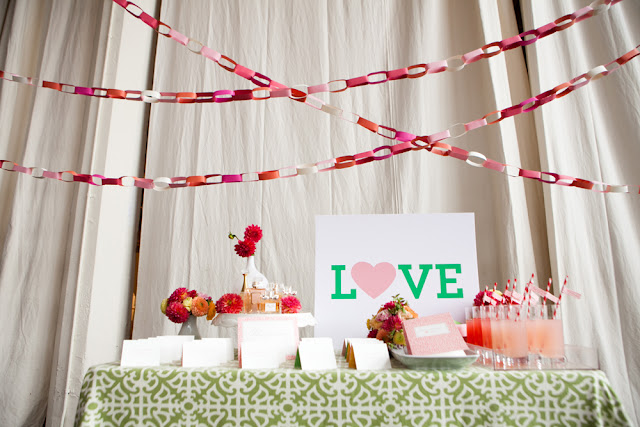
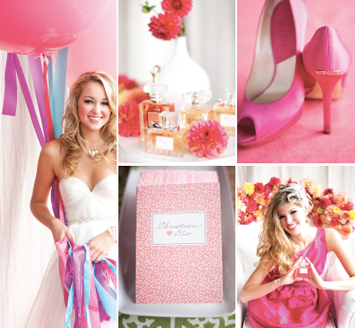
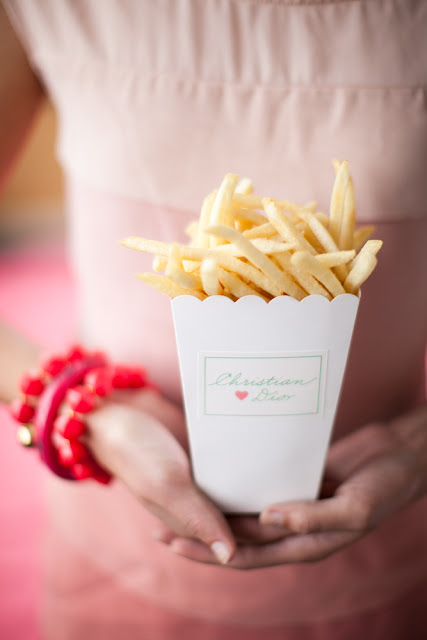
These photos from Nancy Liu Chin's Anatomy of Today's Bride for Today's Bride SF are to die for! We were approached by Nancy awhile ago in efforts to come up with a classic and whimsical invitation and day-of paper suite for her ultra-sweet photo shoot. It was a piece of cake once she shared her inspiration with us, and knowing which amazing vendors were also on board, we knew it would be a hit.

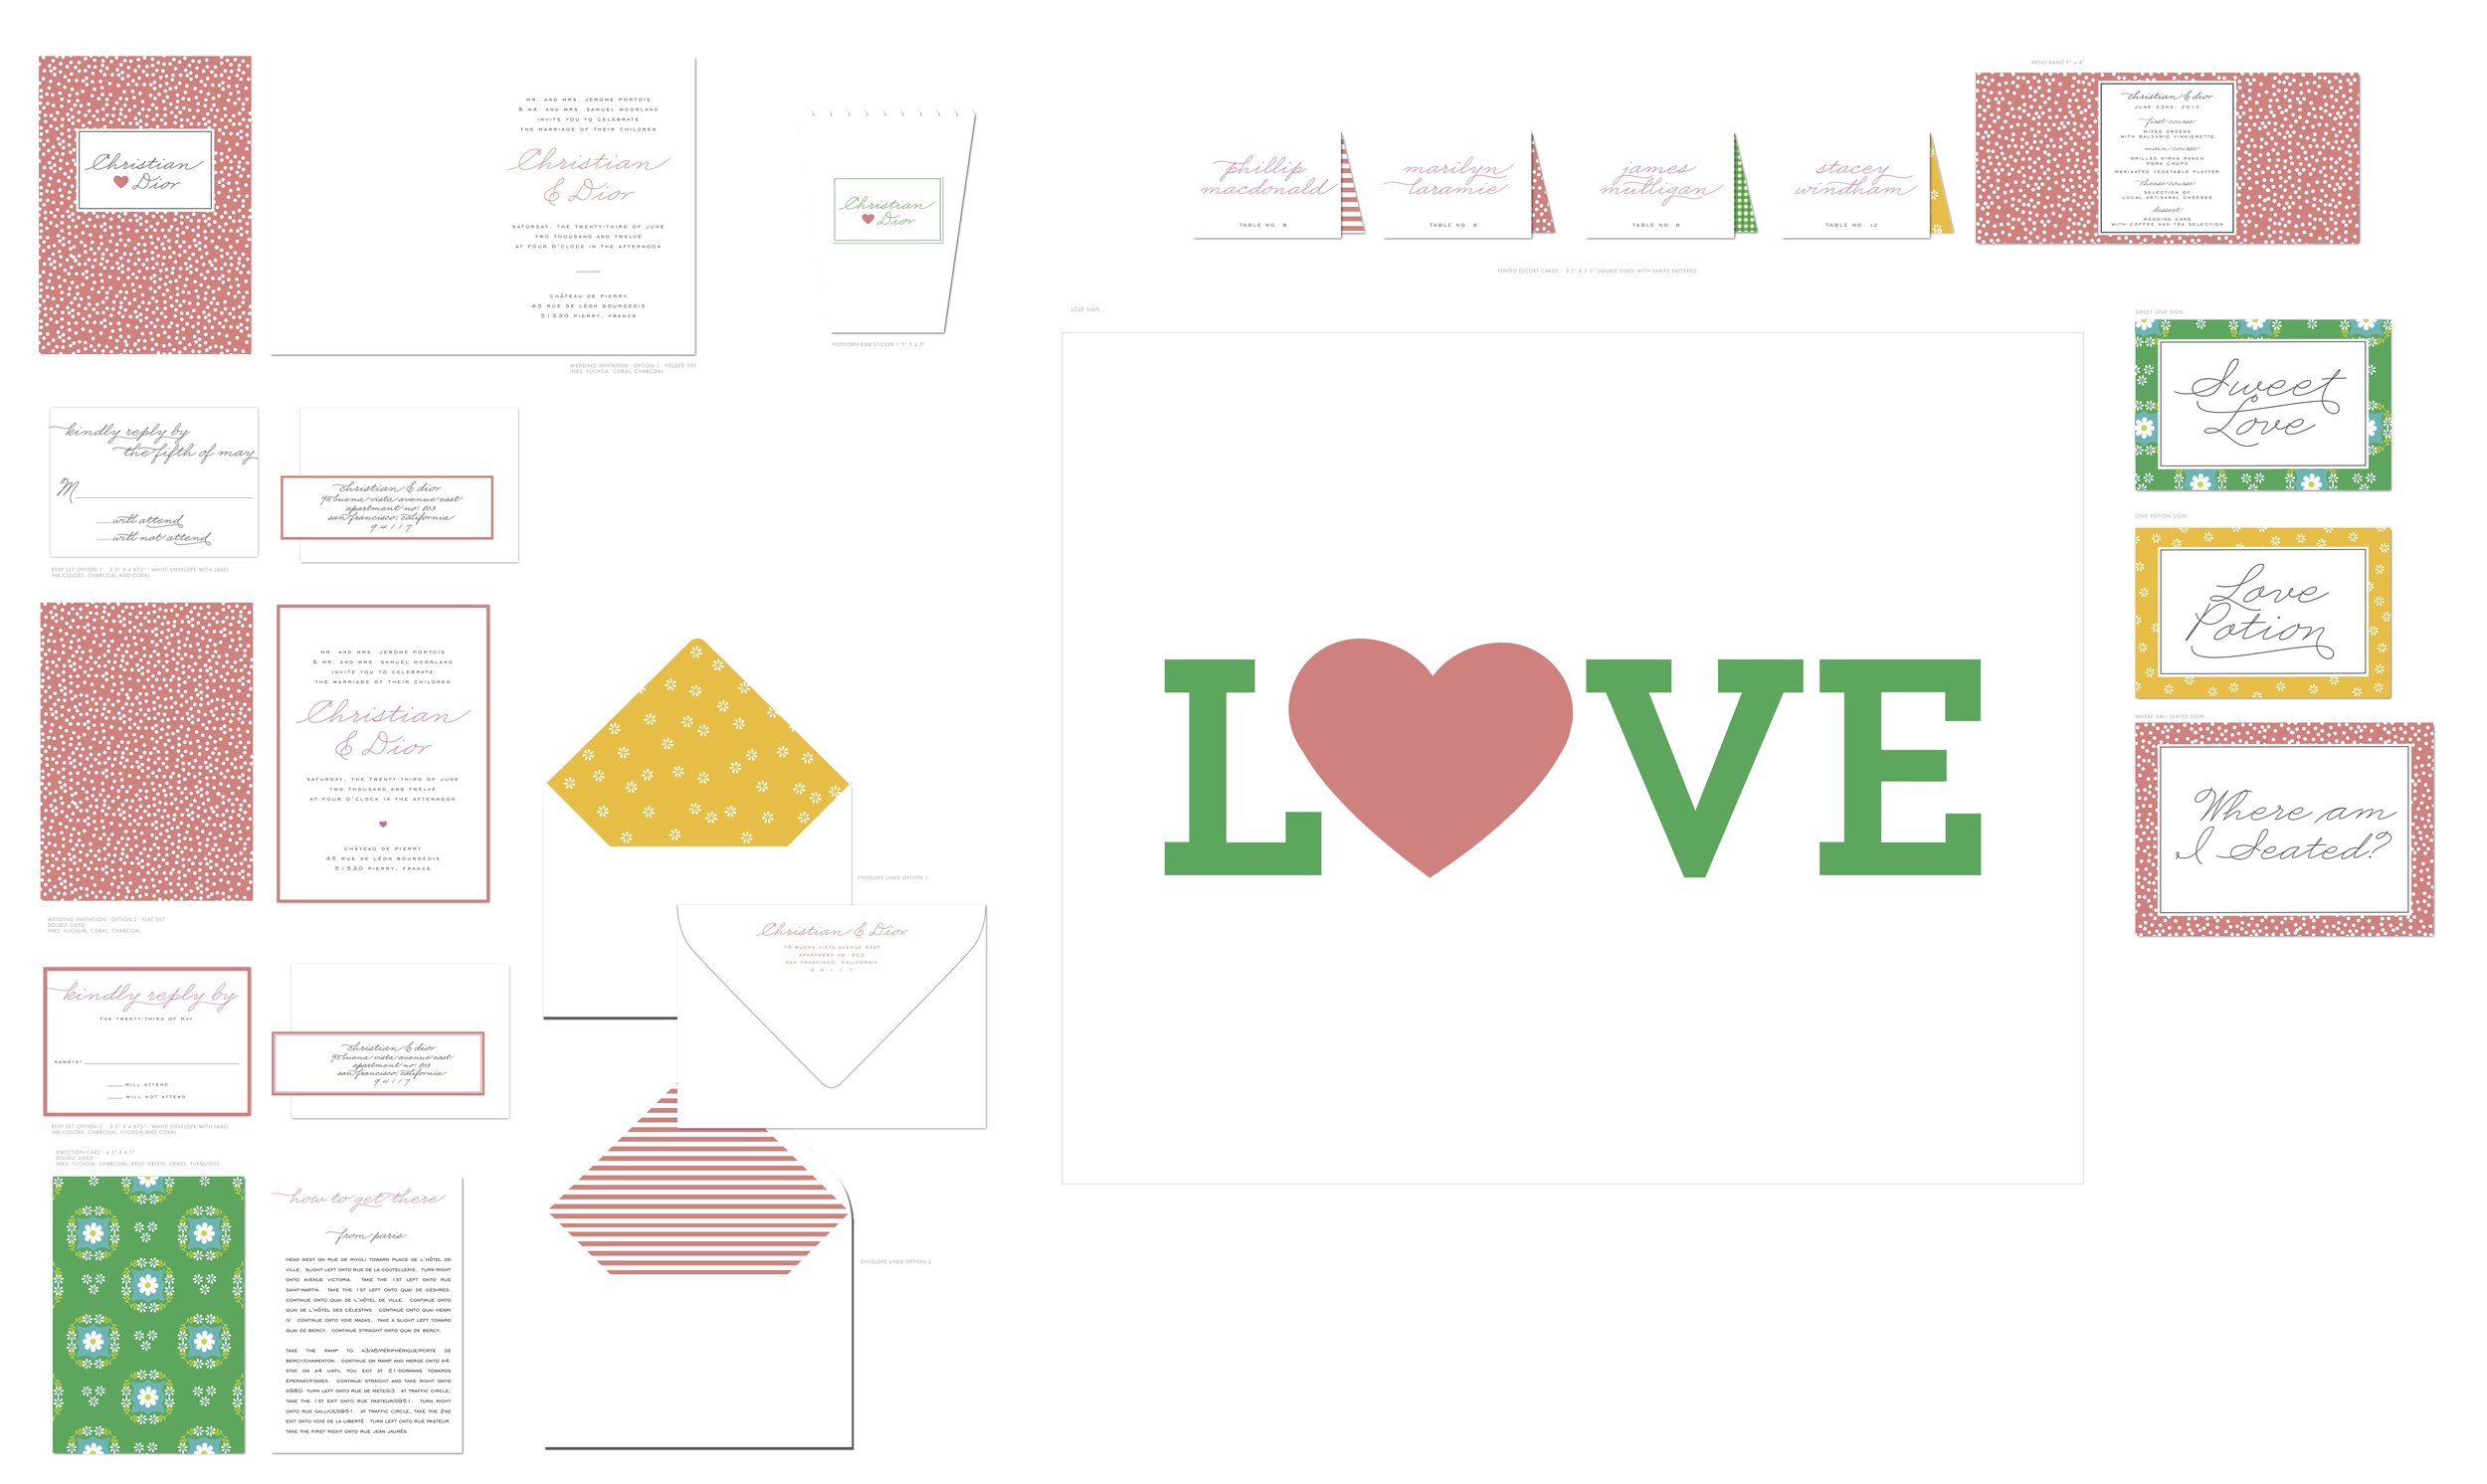
You can see our working files below. We were really into mismatched patterns and folded cards. If you look closely, the invitation reads Christian & Dior, tres chic!

Visit Nancy's Brown Bag to view Anatomy of Today's Bride Part I and Part II, and watch the amazing video by Luke Goodman here!

Photography by Kevin Chin

Spring DIY: Paper Flower Wreath

Spring may be a time to get organized, but we think it's a great time to bust out the dusty craft bins and get creative! There's no better feeling than recycling something disposable and transforming it into something worth saving. We know you're left with all those leftover holiday cards and wrapping papers, so this is the perfect opportunity to put them to good use! This lovely wreath from our book Handmade Weddings (published by Chronicle Books) uses a variety of found papers, including patterned paper scraps, kraft paper, glassine, tracing paper, and graph paper. This colorful wreath is perfect as a welcome sign at a wedding or party, or to adorn your front door as a welcome sign for Spring!

Materials

Makes 1 wreath

• 15 to 20 sheets assorted scarp papers e.g., construction paper, kraft paper, graph paper, tissue paper

• 30 to 40 colorful 1/4-inch brads

• Four 18-inch pieces floral wire (optional)

• One roll floral tape (optional)

• 1/4 yard scrap fabric

• 18-inch cardboard or particleboard wreath form

• Paper clip (optional)

• 1 to 2 pieces scrap cardboard or foam core

• 1 sheet text-weight paper (optional)

 Tools

• Paper Flower templates (available here)

• Pencil

• Scissors

• Small flower punches

• 1/8-inch hole punch

• Hot glue gun and glue sticks

• One 1 1/2-inch Styrofoam ball (optional)

• Inkjet printer, with extra ink cartridges (optional)

 How to

1. Make your flowers.

For flat flowers: Cut out the Paper Flower templates. Trace them onto patterned scrap paper, and cut out with scissors. Fold the flowers along the center axis of the petals to add dimension. You can also fringe the petals or crinkle flowers made of tissue to add depth. Punch small flower shapes for the flower centers. Stack several flower designs on top of each other, and punch a hole in the center. Insert a brad into the center and flatten the ends. Repeat to make as many flowers as desired.

 For cupped petal flowers: Cut out the Petal template. For each flower, trace the template four times onto graph paper or another text-weight paper. Cut the petals out. Slide a 6-inch length of floral wire into an unopened brad so that the brad grips firmly and the round end faces up. Fold the base of the petal into an M shape, position on the wire, and affix with a dab of hot glue. Place the next petal, and repeat until all four petals are in place. Wrap the petal bases with a strip of floral tape. Repeat to make as many flowers as desired.

 For tissue paper flowers: For each flower, cut four 1 1/2-×-4-inch strips of tracing paper or tissue paper. Place a piece of tissue, long side facing you, on your work surface. Center the Styrofoam ball on the paper, wrap the long ends up, and twist the ends to hold them in place. Trim the twisted ends with scissors and remove the ball, creating a cupped petal. Repeat to create four petals per flower. Slide a 6-inch length of floral wire into an unopened brad so that the brad grips firmly and the round end faces up. Position a petal on the wire, and tape it in place with a strip of floral tape, wrapping it around the wire a few times. Place the next petal and repeat until all four petals are in place. Repeat to make as many flowers as desired.

2. Prepare your wreath form. Cut your fabric into 3-inch-wide strips. Hot glue one end of a strip to the wreath form, and wrap it around the wreath until you run out of fabric. Glue the fabric end down and continue with a new strip until the wreath is completely covered. Avoid covering the hole in the wreath (for hanging). If desired, flatten a paper clip into an S shape and insert it into the hole, to be used as a hook when you are ready to hang your wreath.

3. Attach your flowers. Arrange your flowers in a wreath shape on your work surface. When you are happy with their placement, begin hot-gluing them to the form. To create depth, cut out several 1/2-inch squares of cardboard or foam core and affix these to the wreath form before gluing a flower on top, so that these flowers are slightly raised.

4. Add a sign (optional). If desired, lay out a sign such as “Welcome!” or your names and wedding date using a wordprocessing program and printing on text-weight paper, or write the sign by hand. Attach to the wreath using a dab of hot glue.

For more fun DIY ideas, visit our website here!

Inspired by: Meadow

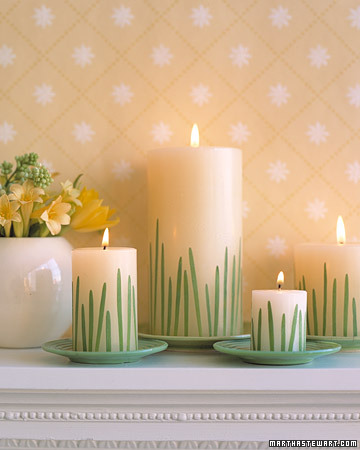
If you are looking for springtime wedding details, look no further! We've collected various projects and images of wedding decor and paper goods that will fit perfectly with the cheerful season about to bloom. The source for our inspiration is of course our Meadow wedding invitation designed for Hello!Lucky by EIEIO. The simple grassy illustration looks great in shades of green or yellow, and is a stunner letterpress printed. When browsing the Martha Stewart website for Easter craft ideas, we stumbled upon this adorable candle DIY and thought it would make a fantastic centerpiece at a Meadow inspired wedding. All it takes are some blades of grass, a strong adhesive, and some dollar store candles and you've got an inexpensive yet totally chic table display.

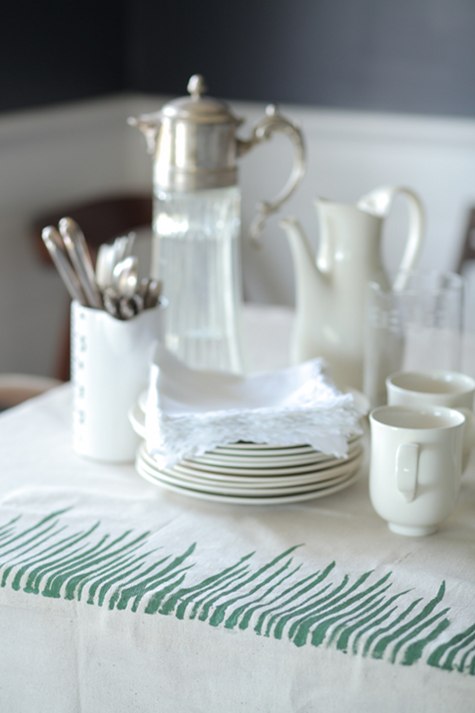
We also love these botanical stenciled tablecloths featured on Design*Sponge.

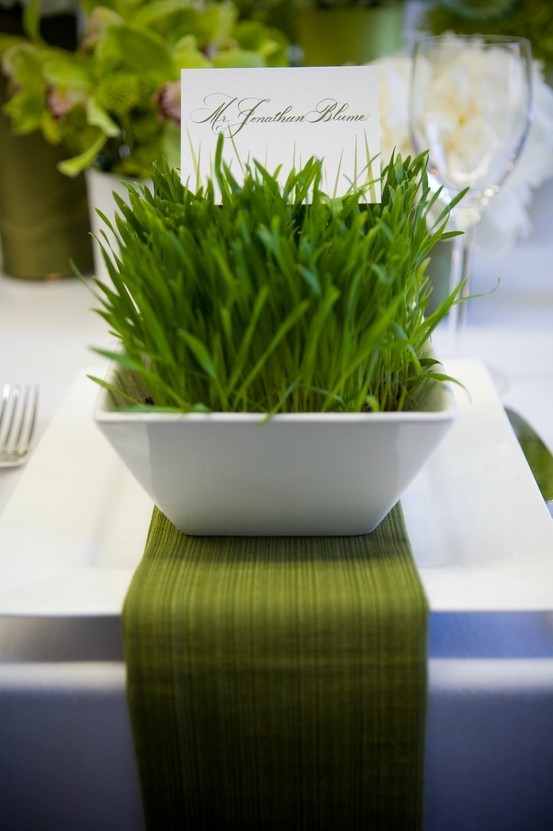
This wheat grass table setting with printed place cards makes for a classic and clean display. We found this one on Pinterest, among tons of other ideas!

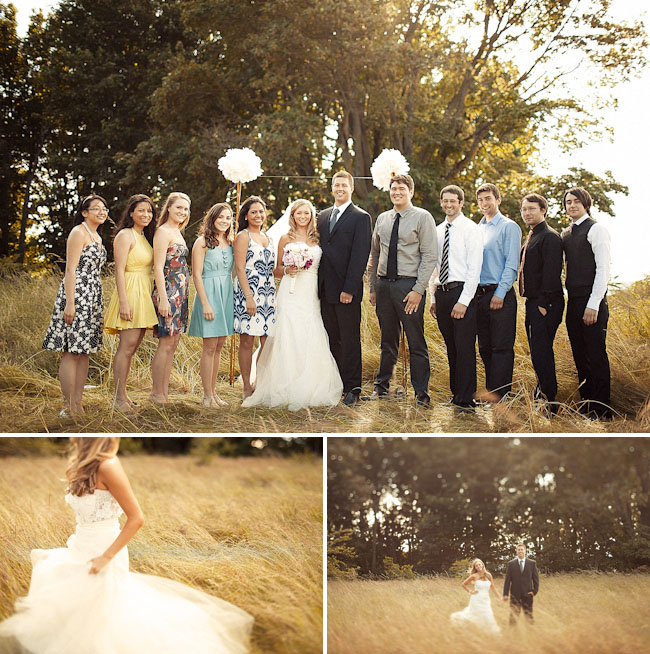
This wedding found on Green Wedding Shoes doesn't have tons of fancy decor, but the simple nature of the location still matches the theme perfectly.

Can't wait for spring to arrive! To view our Meadow wedding invitation, click here.

How to Assemble your Wedding Invitations Video

How to Assemble Your Wedding Invitations from Hello!Lucky on Vimeo.

And now for a feature presentation! We're over the moon about this next installment of DIY videos and the first to debut is "How to Assemble Your Wedding Invitations." This short film gives detailed instructions about how to put your paper materials together tastefully and efficiently. You'll know just what to do once you receive your pretty blue boxes in the mail. Check out all of our feature films on Vimeo and stay tuned for more DIY to come!

Wedding DIY: Cupcake Liner Pom-Poms

These pretty patterned cupcake liner pom-poms featured in our book Handmade Weddings (published by Chronicle Books) are perfect for a wedding celebration or casual party at home. Just a bit of glue and string will transform your ordinary cupcake liners into festive pom-pom strands. Mix and match colors and patterns to compliment your party palette and your decor will be a huge hit. Hang them in your living room, over your reception tables, or in your cocktail area for instant DIY delight!

Materials

Makes six 12-foot strands

• 720 cupcake liners, approximately 120 per strand

• Six 12-foot lengths white kitchen string

Tools

• Bone folder (or popsicle sticks work, too!)

• Rubber bands (optional)

• Glue sticks

• Clear tape

How to

1. Flatten and fold your cupcake liners. Using a bone folder, flatten each cupcake liner into a circle. Fold in half, wrong-side out. Repeat for all of your liners. You will need 10 identical liners per pom-pom. If you are using a variety of patterns and colors, stack or rubber band them by pattern. If your cupcake liners have scalloped edges, be sure to fold them along the same axis every time. This will ensure that the segments that make up each pom-pom are all symmetrical, making for a pleasing whole.

2. Make the pom-poms. Place 10 folded cupcake liners, of the same pattern and color, on your work surface. Using a glue stick, spread glue over one-half of a cupcake liner. Align it to the corresponding half of a second cupcake liner. Press down and smooth with your bone folder (figure 1, page 29). Let dry. Continue attaching the cupcake liner halves, smoothing each segment as you go to ensure a secure bond. Do not glue the last segment. When complete, the pom-pom will form an accordion-like sphere with one open segment, which allows you to flatten the pom-pom into a circle (figure 2). Let dry completely. Continue making pom-poms.

3. Attach the pom-poms to the string. Leaving about 2 feet on either end of the garland for hanging, attach the pom-poms along the string, at 2-inch intervals (or greater if desired). To attach, lay a flattened pom-pom on your work surface and align the string along its central axis (i.e., along the crease). Secure the string with two small pieces of clear tape, one on each end of the pom-pom. Spread glue over one half of the circle, as well as on the string, and sandwich the two halves of the open segment together, trapping the string (figure 3). Let dry. When all the pom-poms are attached and dry, hang the garland. “Fluff” the pom-pom segments by hand to create full circles.

Get your own copy of Handmade Weddings here. Happy crafting!

Gorgeous Paper Wedding Details

This paper wall decor spotted on Green Wedding Shoes stopped us dead in our tracks. We definitely have a sweet spot for paper wedding details, but this bride's DIY wall art just topped the charts! Inspired by the always extraordinary Anthropologie window displays, this bride used tons of rolled paper strips to create an enormous abstract backdrop for her reception. Stunning!


Studio Valentine's Day Craft Night

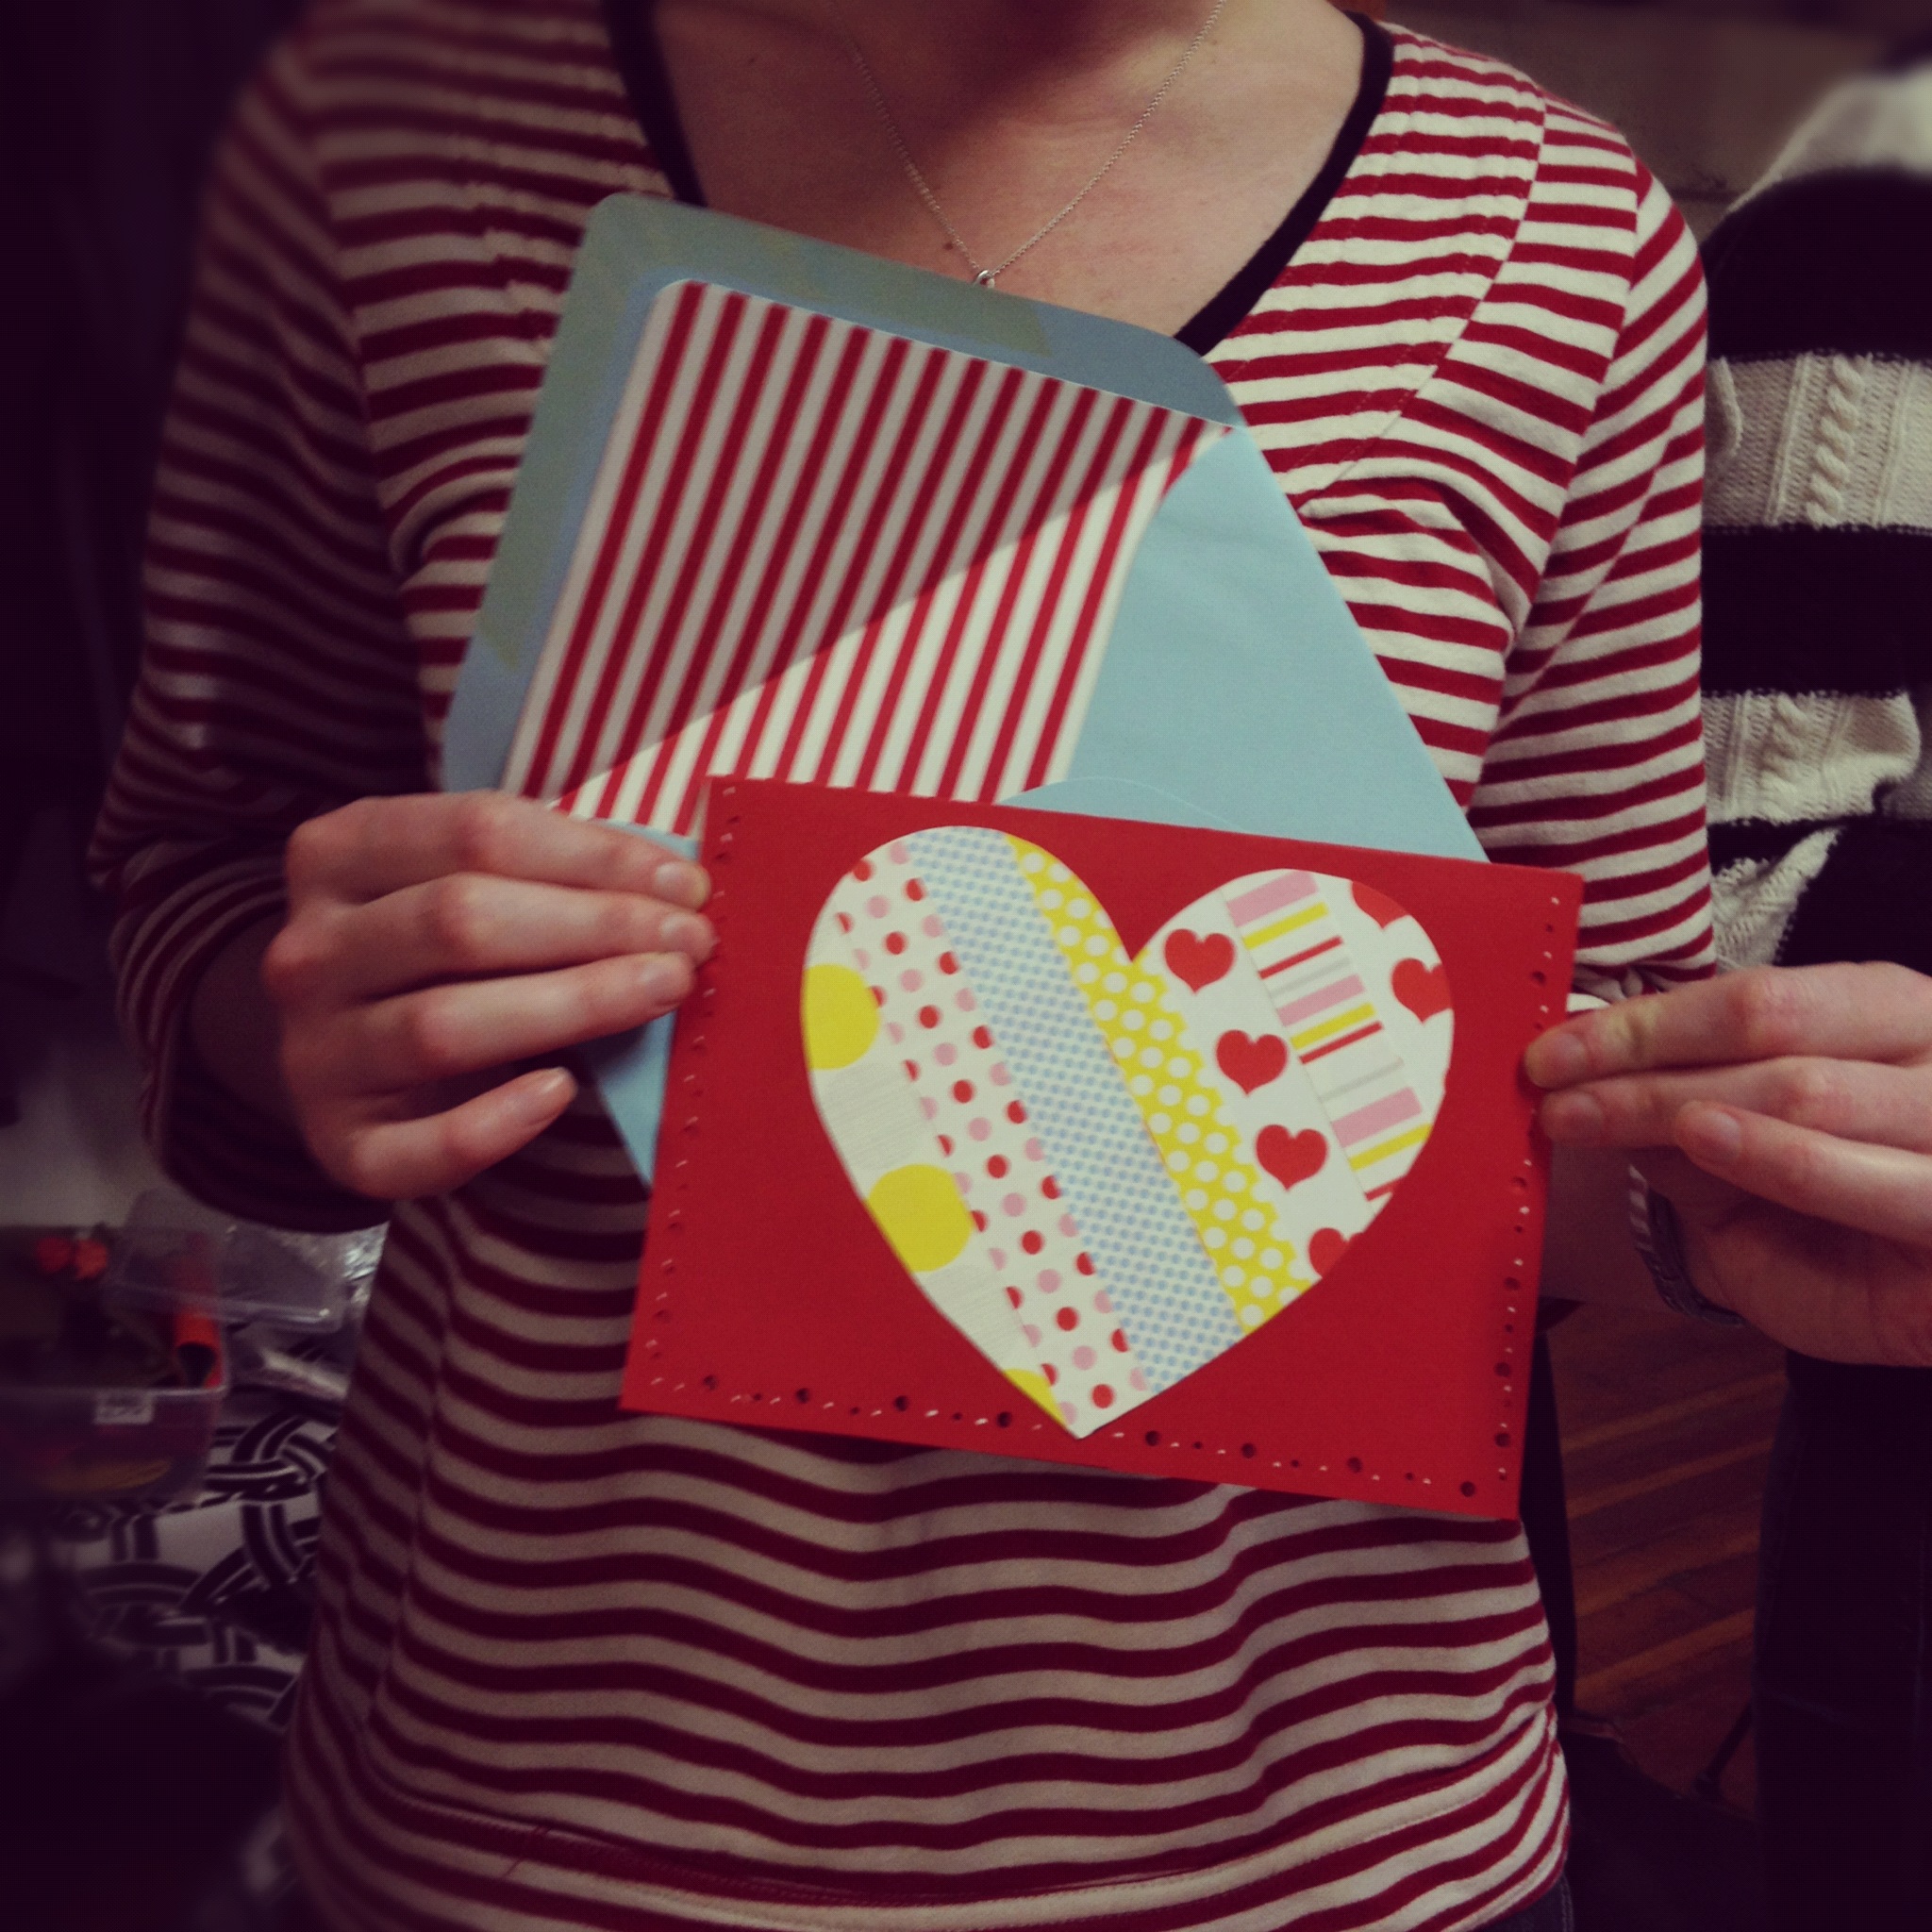
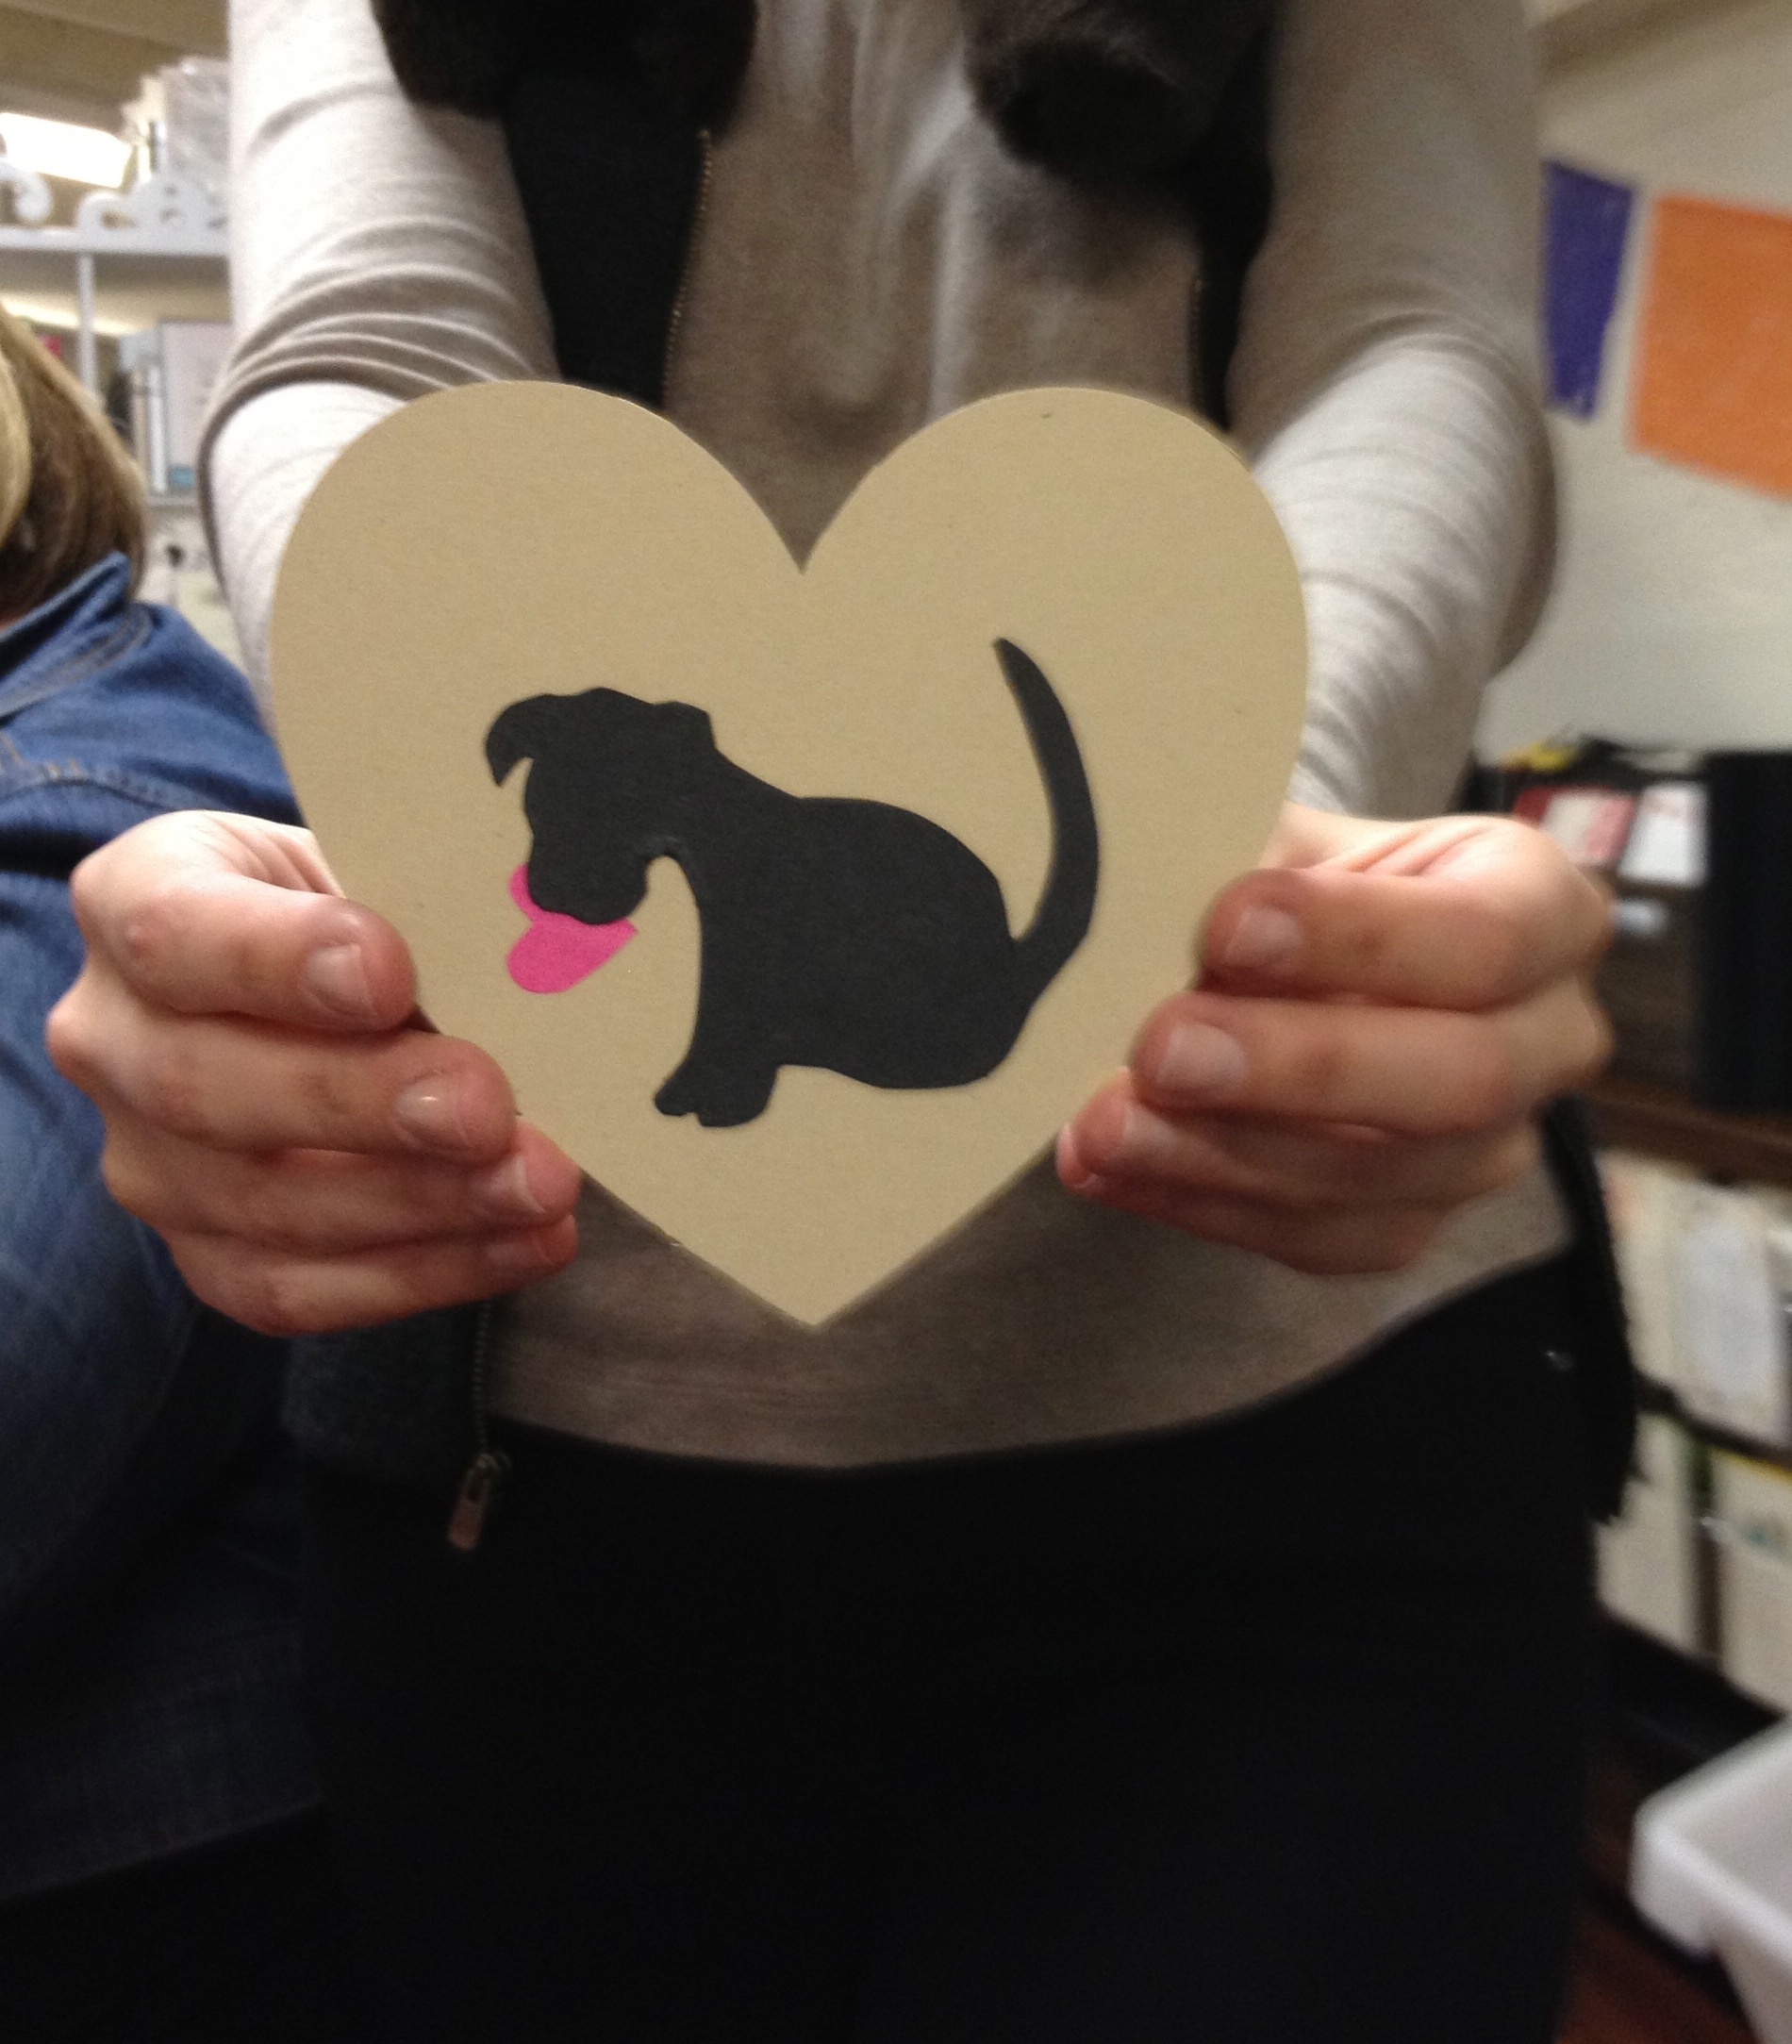
We love crafting up a storm around here and Valentine's Day offers a great excuse for us to pull out all of the paper, washi tape, heart stamps, and other craft supplies we have laying around the studio. We were joined by the fabulous ladies from Alison Events and our new friend, wedding photographer Allan Zepeda. Here are a few shots from the crafting extravaganza!

Lia's valentine matched her outfit.

Anna B.'s sweet dog silhouette valentine.

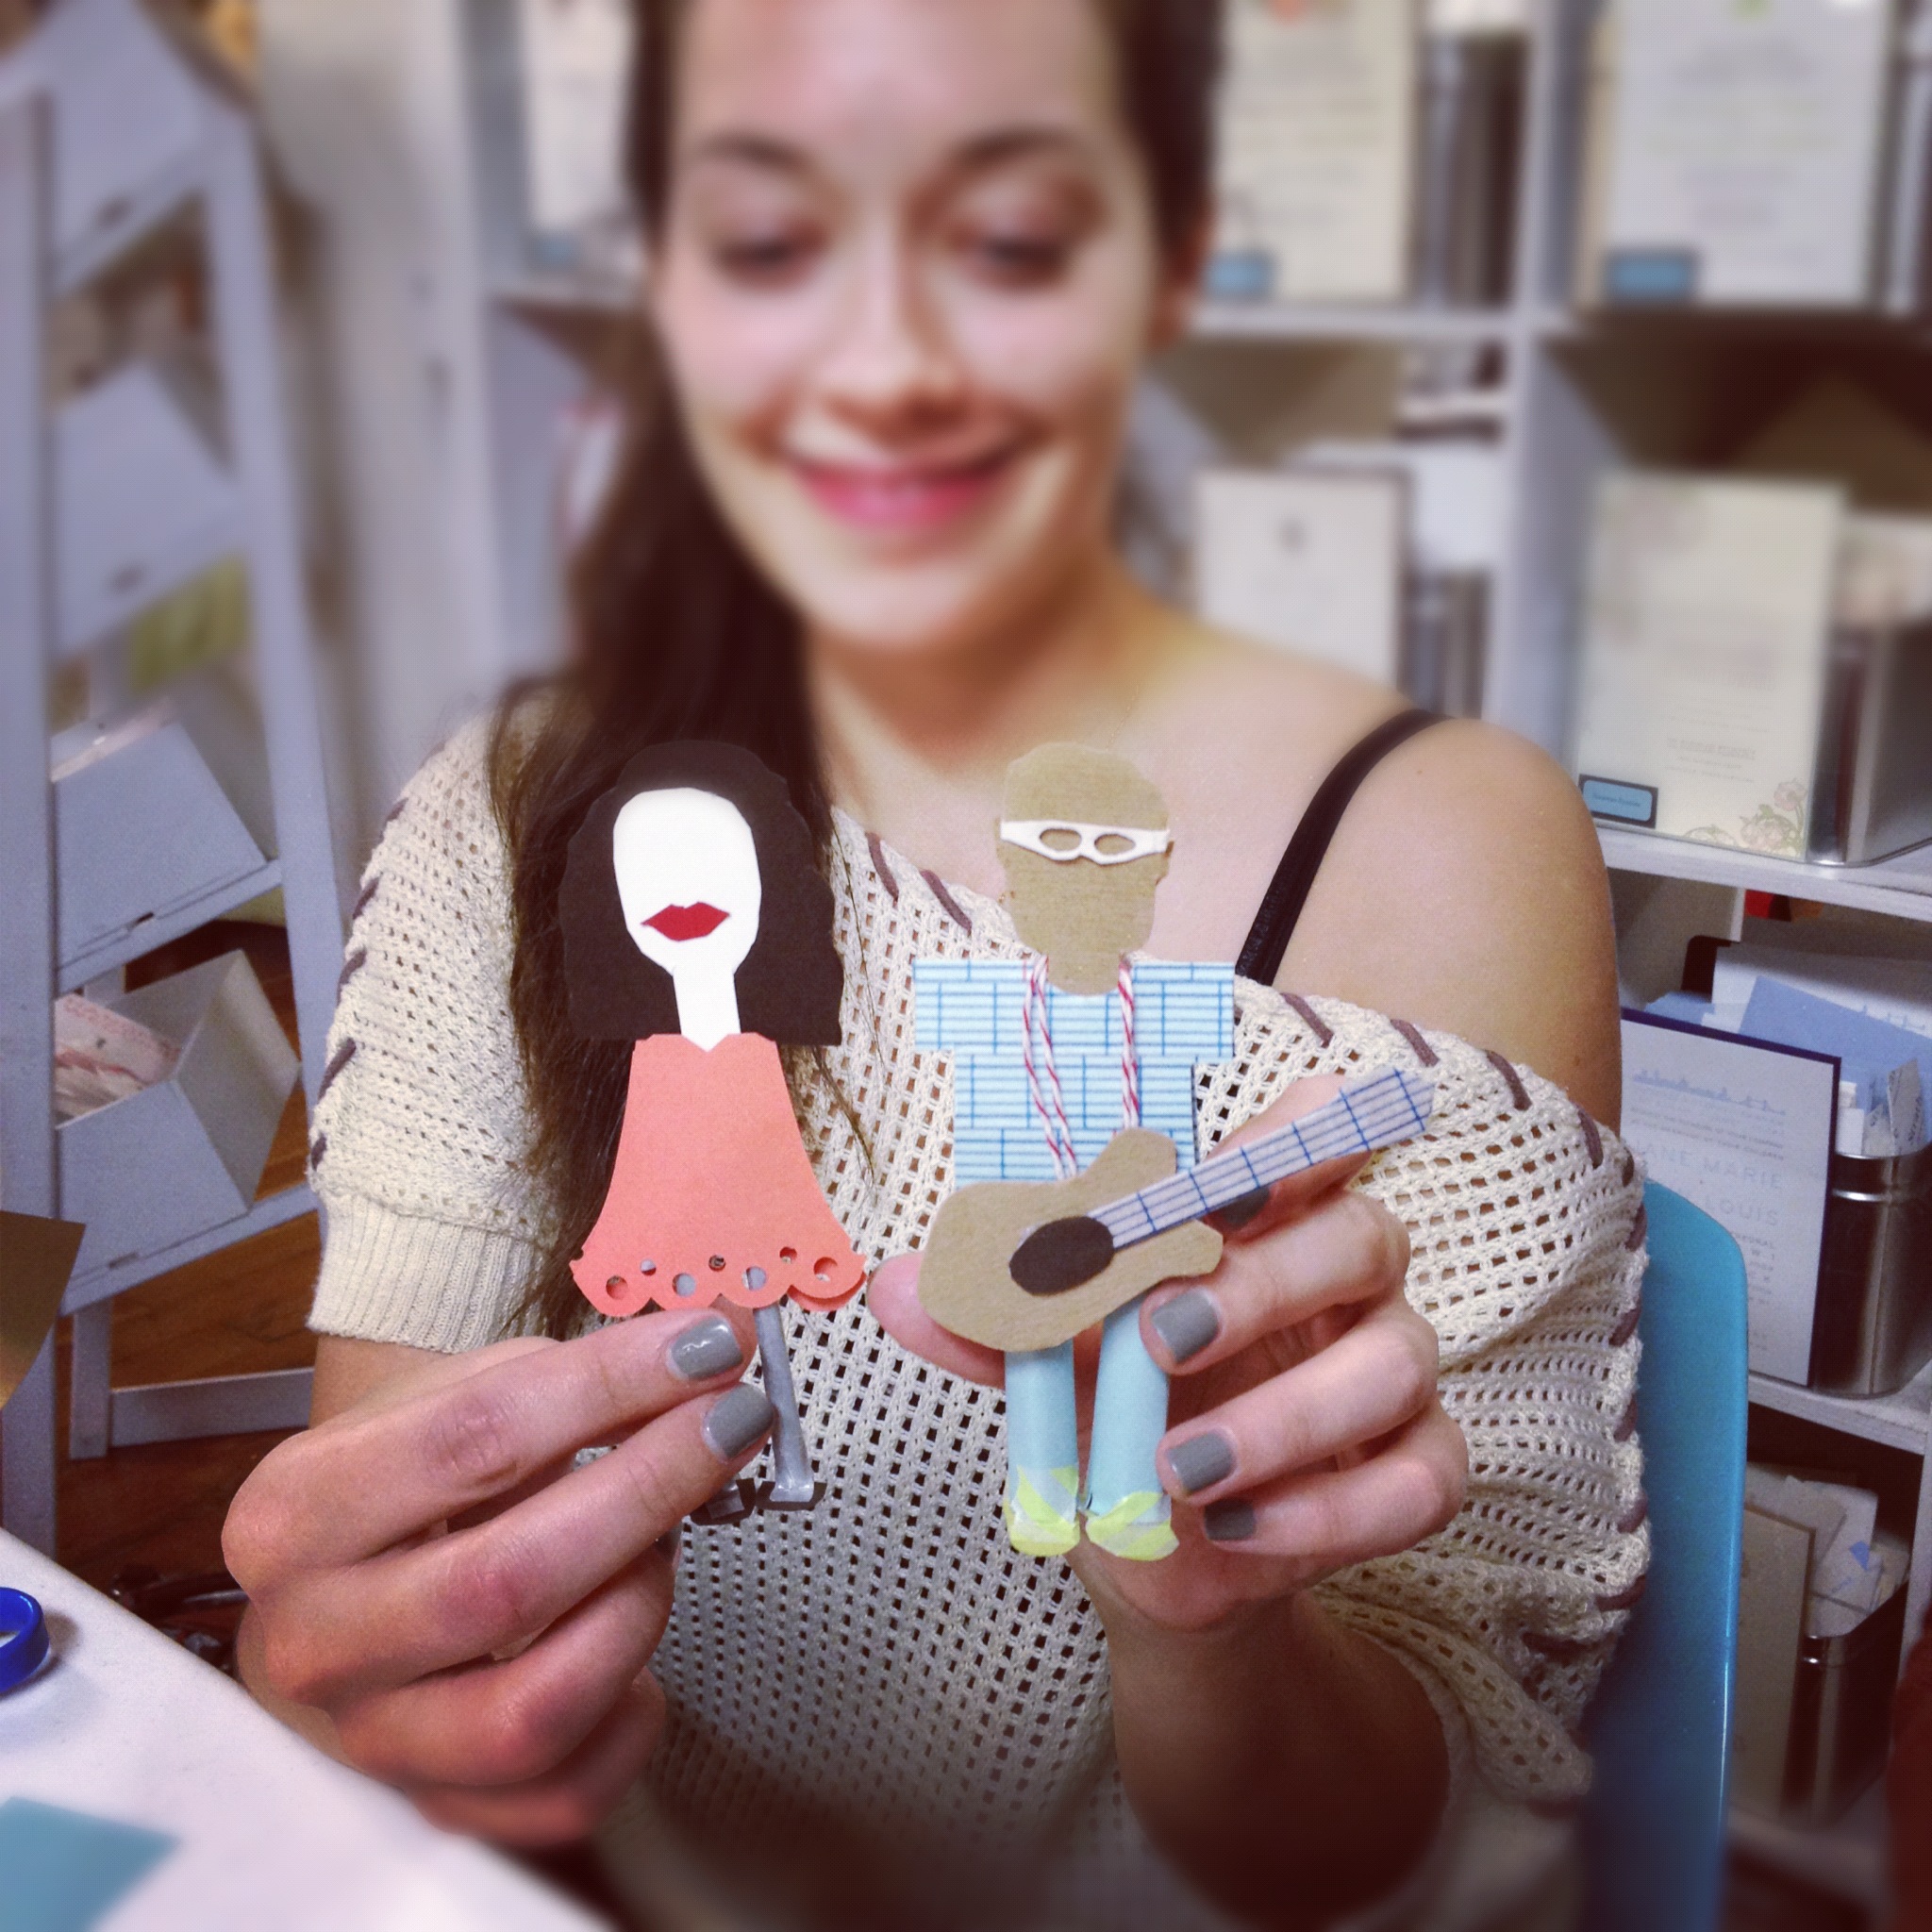
Alyssa from Alison Events made a sweet paper couple.

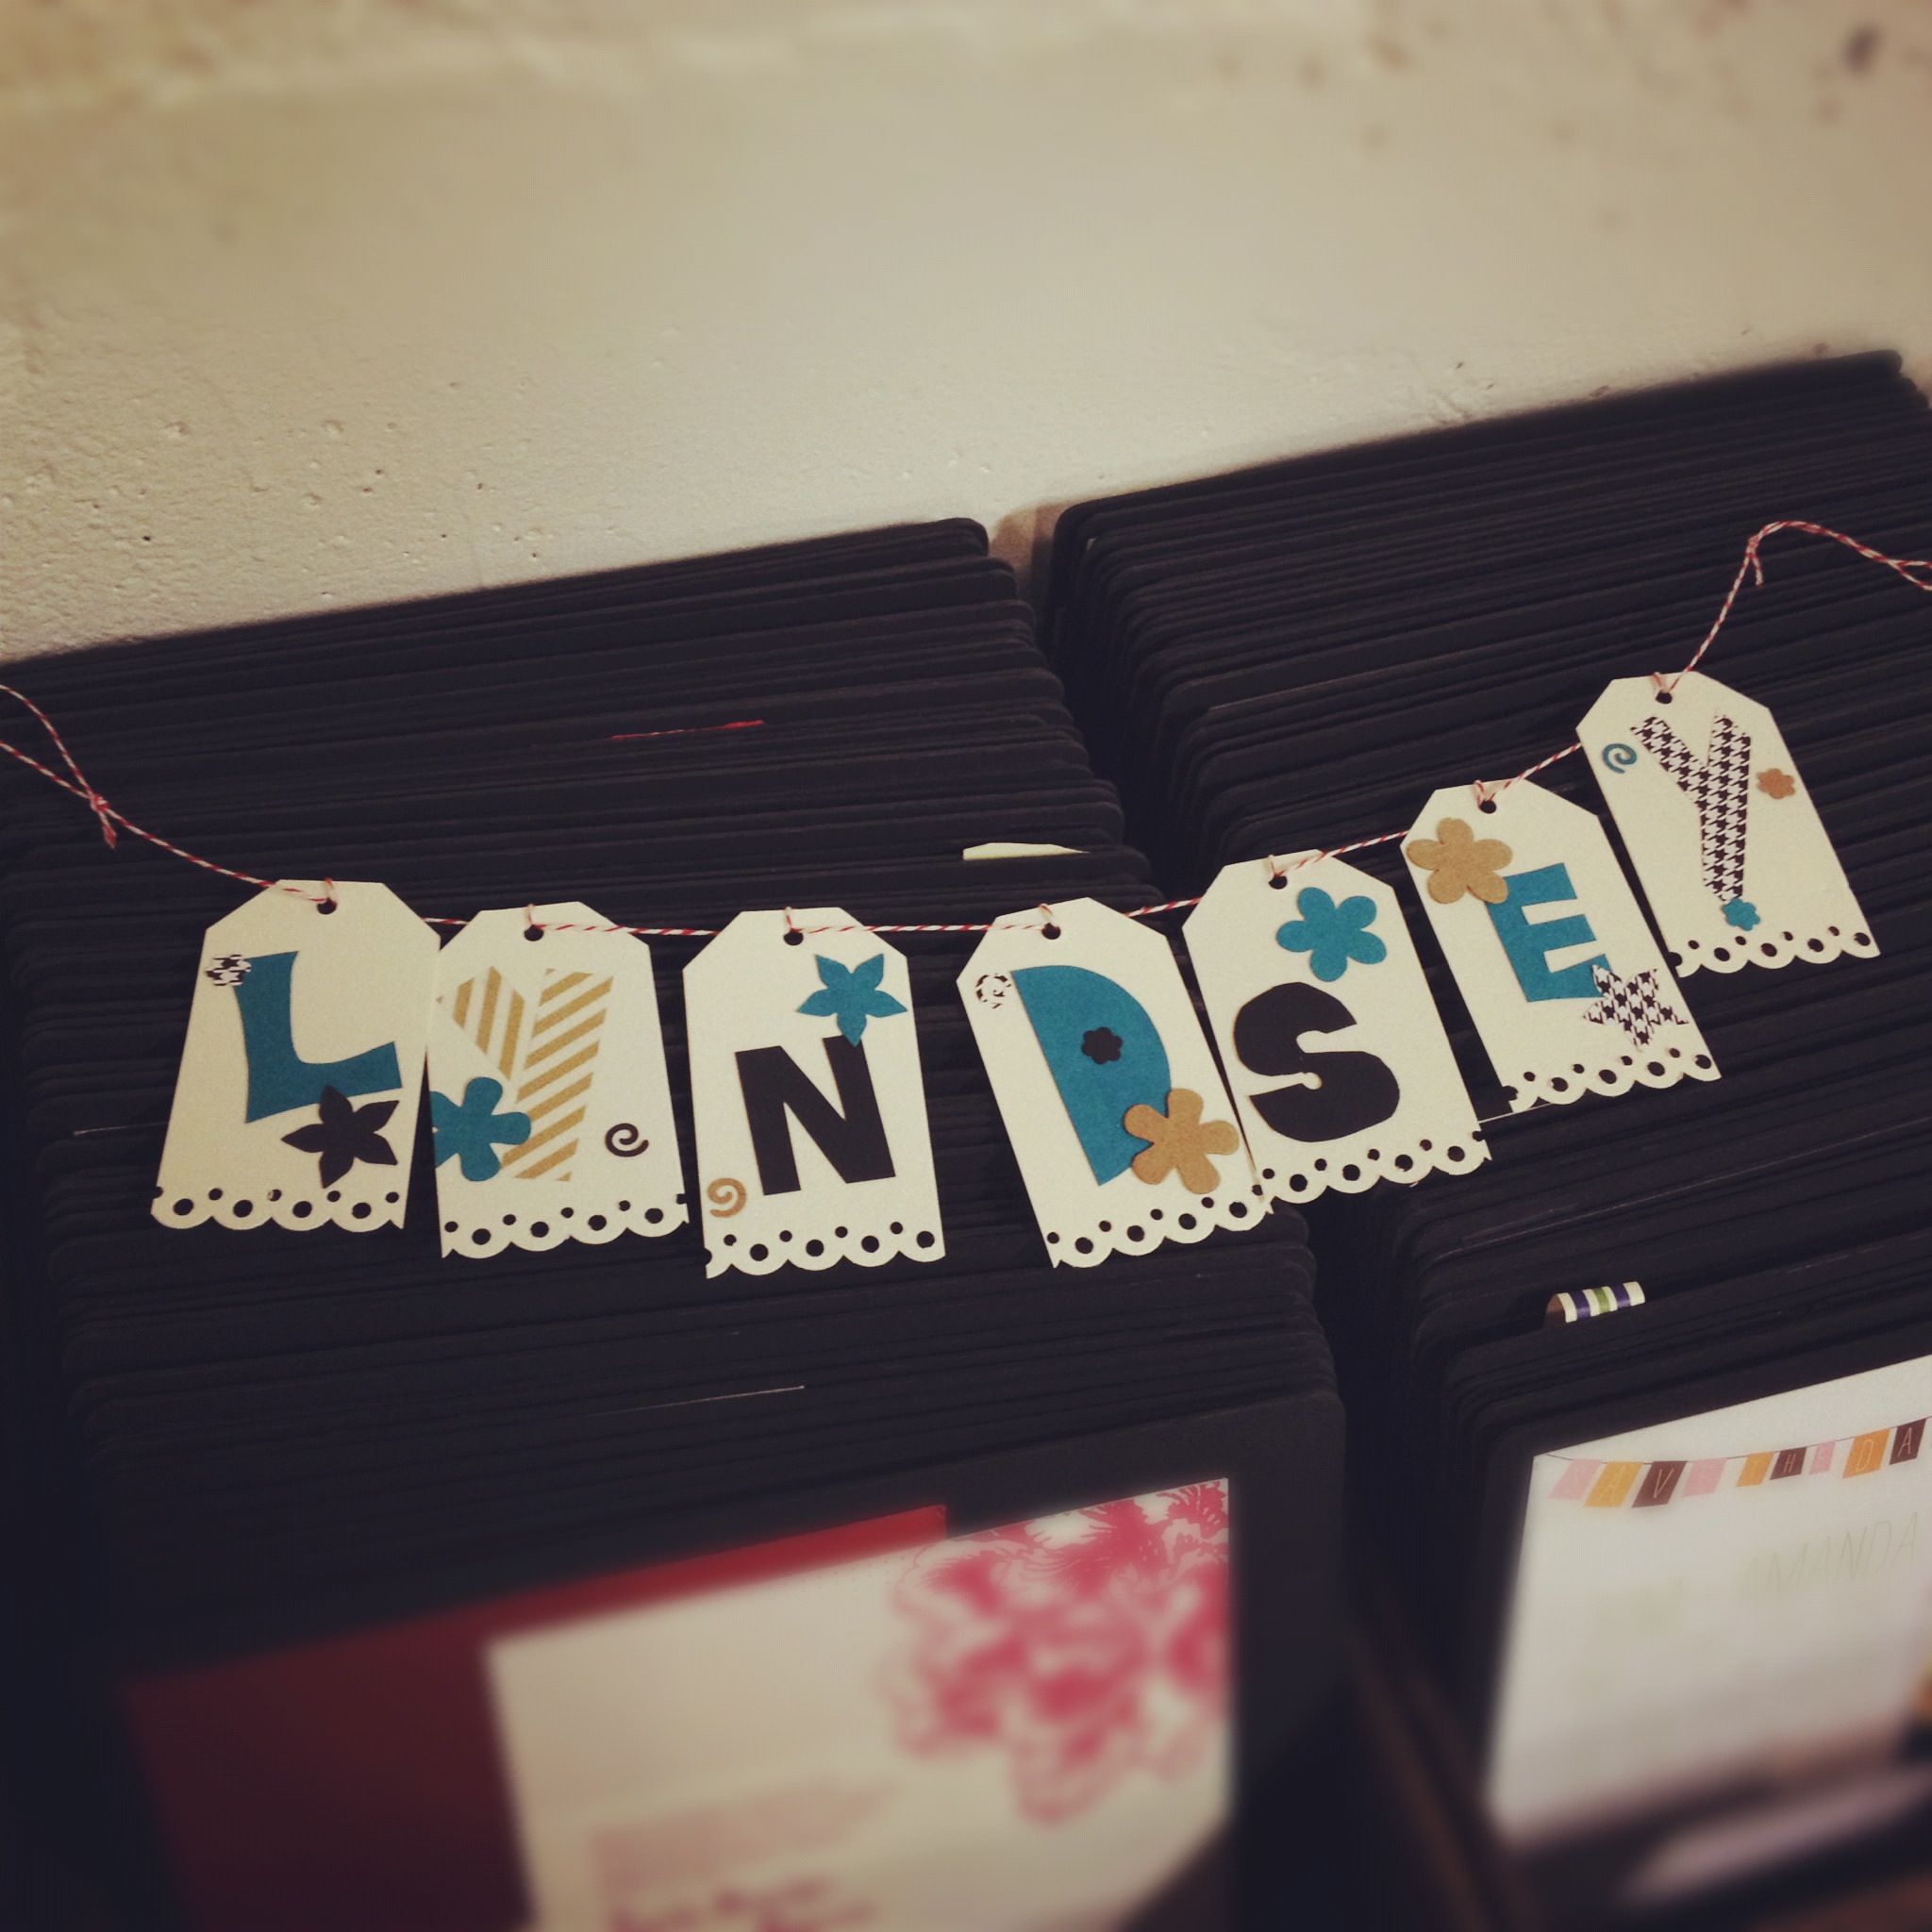
Lyndsey's adorable banner.

We hope you have a sweet Valentine's Day!!

Wedding DIY: Heart Shaped Programs

Add a sweet handmade element to your wedding with these heart shaped programs from our book Handmade Weddings published by Chronicle Books. These adorable programs double as fans for an outdoor summer wedding. They're also the perfect compliment to the Big Day wedding suite!

Materials

Makes 100 programs

• Two hundred twenty-two 8 1/2-×-11-inch sheets red card stock

• 100 wood fan handles

Tools

• Heart-Shaped Program template (available online here)

• Font: Strangelove Text

• Laser or inkjet printer, with extra ink cartridges

• Scissors

• Pencil

• Double-sided tape gun and extra tape (we recommend the 3M Scotch ATG 700 Transfer Tape Dispenser), or glue sticks

How to

1. Customize and print your programs. Customize your program text using the online template. Print 110 copies onto red card stock using a laser or inkjet printer (10 copies are for inevitable mistakes when cutting). Using scissors, cut each program into a heart shape, following the outline on the template and being careful to cut inside the line so the outline doesn’t show.

2. Assemble your programs. Place your hearts back-to-back. Try to pair up hearts that match each other as closely as possible, as there will be some inconsistencies due to the hand cutting. Once you are happy with your pairings, take the first two hearts and lay them side-by-side, right-sides down, on your work surface. Center a fan handle on one of the hearts, left to right, and position it vertically so that the top 6 inches of the handle lie inside the heart, and the bottom 3 inches lie outside of it, forming the handle. Dispense glue or double-sided tape on one side of the top 6 inches of the handle and press into place (figure 1). Dispense glue or double-sided tape along the heart-shaped areas of the same heart as well as the second side of the handle. Align the second heart, right-side up, over the glued side and press down firmly (figure 2). Repeat for all programs.

Variations

Paddle fans, as these types of fans are known, can be made in any shape—a circle, oval, square, rounded square, egg, leaf, or traditional fan shape (resembling a quarter circle). If you have a longer ceremony, you can print on both sides of the fan, adding a bit of decorative flourish along the borders.

Valentine's Day Craft Round Up

Whether you’re a fan of Valentine’s Day or not, there’s no denying it presents a great excuse to get crafting. Every year at Hello!Lucky we gather for a craft night in the studio a few days before Valentine's Day. We have found a few fabulous projects we've got our eyes on for this years craft night, and can't wait to get our hands on some paper and glue!

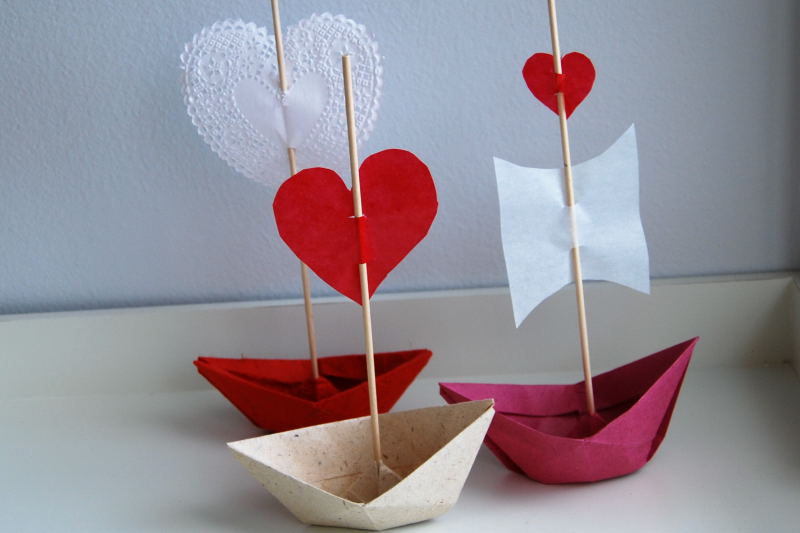
Valentine Love Boats (above) Fill the boat with some conversation hearts and let it set sail to your loved ones! Found via Green Jello

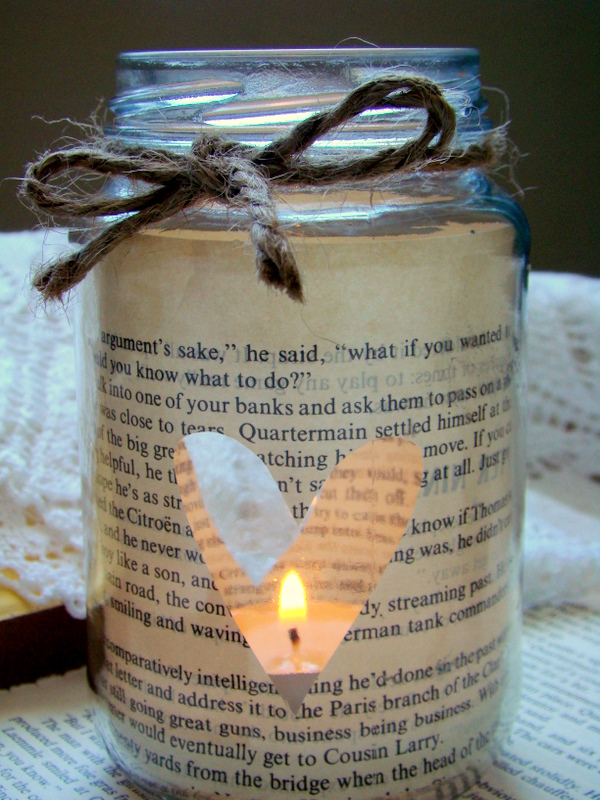
Heart Votive We love that this candle holder is made with pages from an old book. It doesn’t scream Valentine’s Day but would definitely set the mood for a romantic evening. You can even use it all year round! Found via i love this

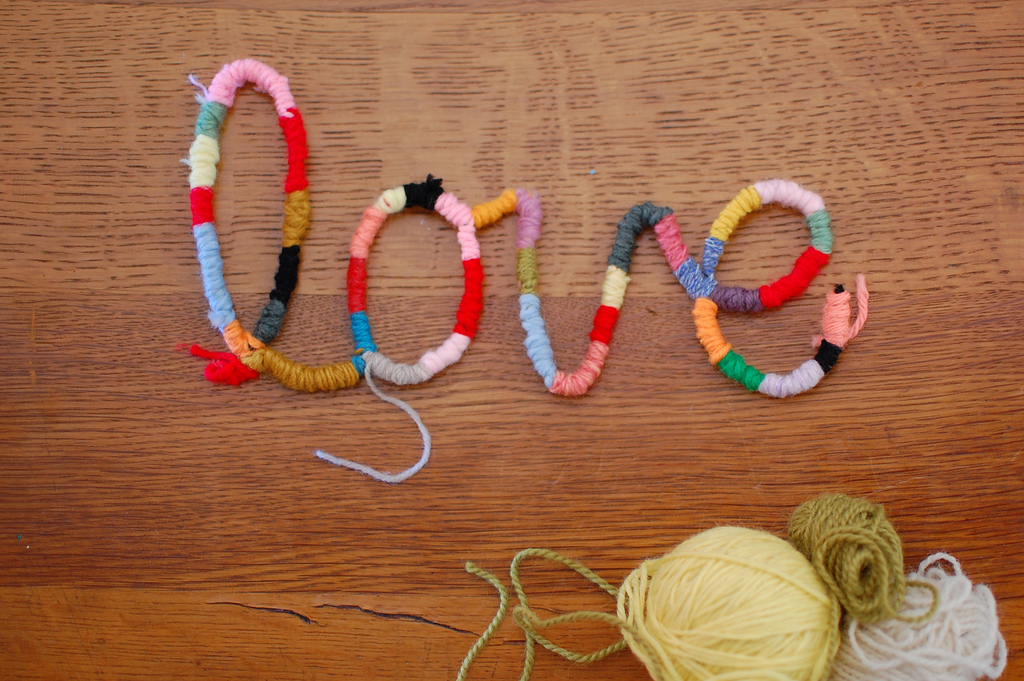
DIY Yarn Font Spell it out with pipe cleaners and yarn. Seems simple enough for kids and those of us less craft-inclined. Found via The Journals of Giddy Giddy

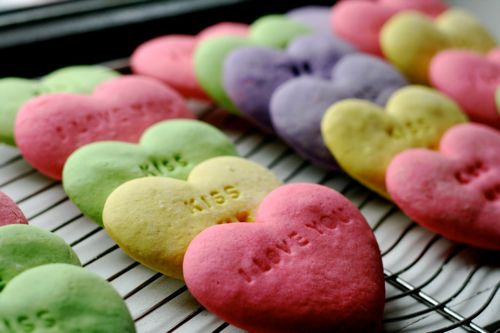
Conversation Heart Sugar Cookies Surely these sugar conversation heart cookies are tastier than the classic candies, and who wouldn't love a homemade "Kiss Me?" These bite sized valentines are little more involved but we always love trying out new recipes! Found via Food For Thought

Do you have a go-to craft project for Valentine’s Day or a suggestion for our studio craft night? Leave a link or let us know your faves in the comments! 

Gaga for Gingham

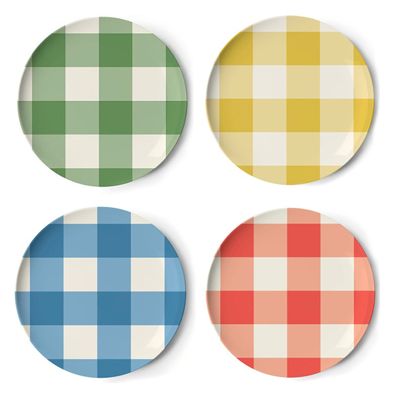
In celebration of Rustic Farm week, we're channeling all the details that make us love country weddings. One of the most recognizable patterns has to be gingham, and we're going gaga for it! At the first glance of these gingham patterned plates we envisioned a large picnic style table setting with lots of fresh fruits and garden flowers. Paired with simple white linens or vintage lace, these dishes would be downright adorable.

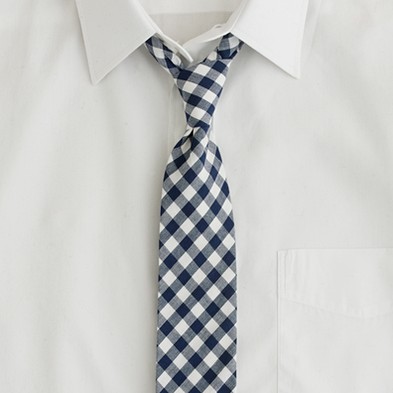
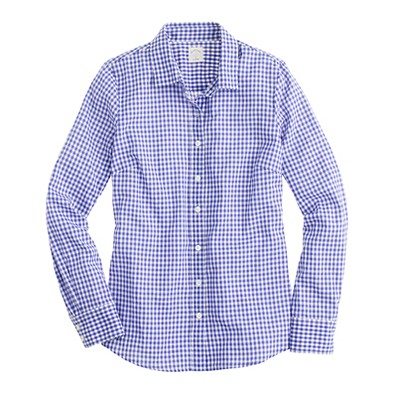
Jcrew knows how to pull off patterns the right way. Matching your fiance might seem cheesy at first, but these gingham patterned getups could definitely dazzle in a photo save the date.

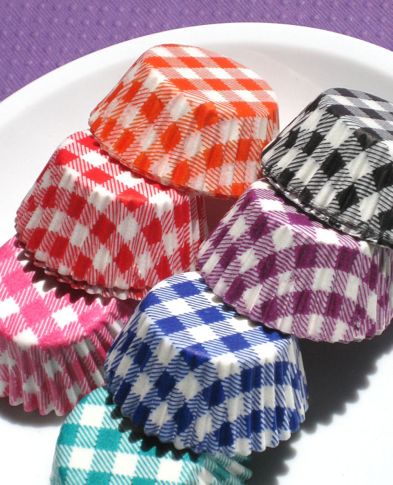
We absolutely need these gingham cupcake liners!

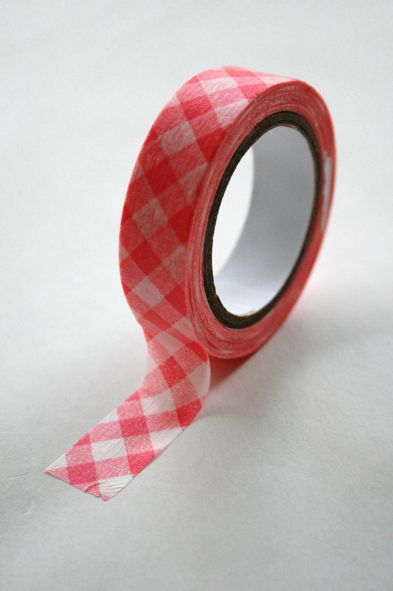
Can't you see this gingham washi tape as the ultimate decor accessory? There are endless ways to spruce up a simple setup by adding a little patterned tape. We can't get enough of it!


Free! Printable Valentine's Day Cards

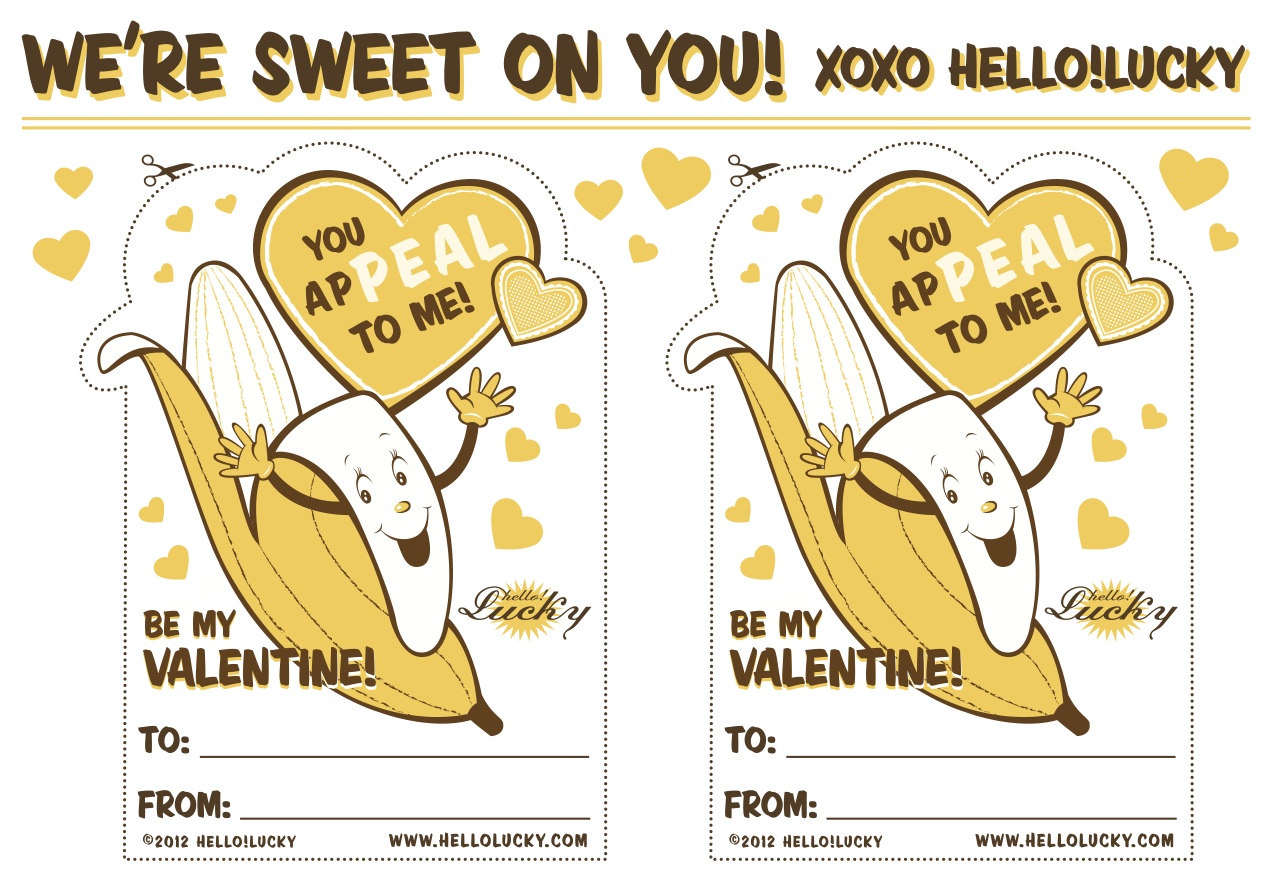
Hello!Lucky_Valentines_Banana

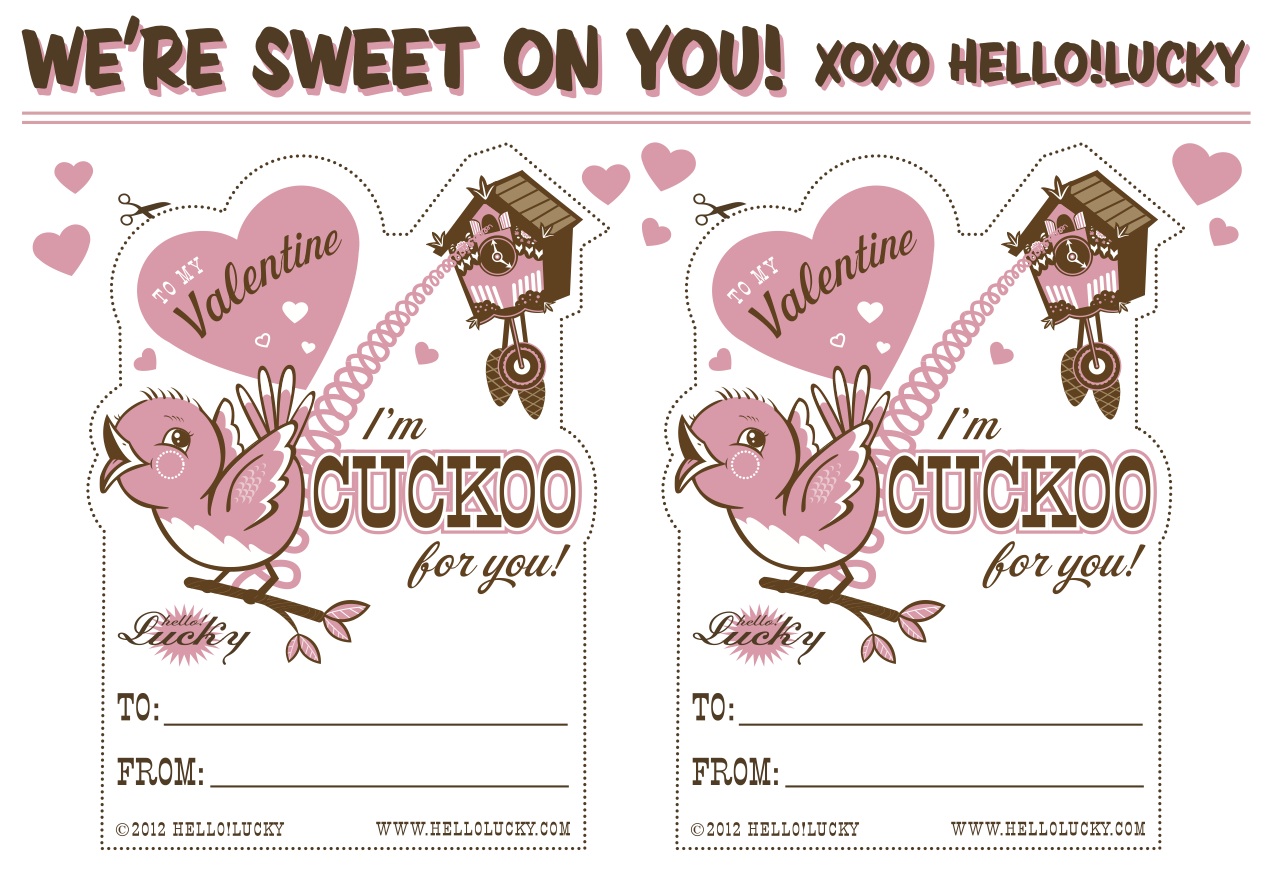
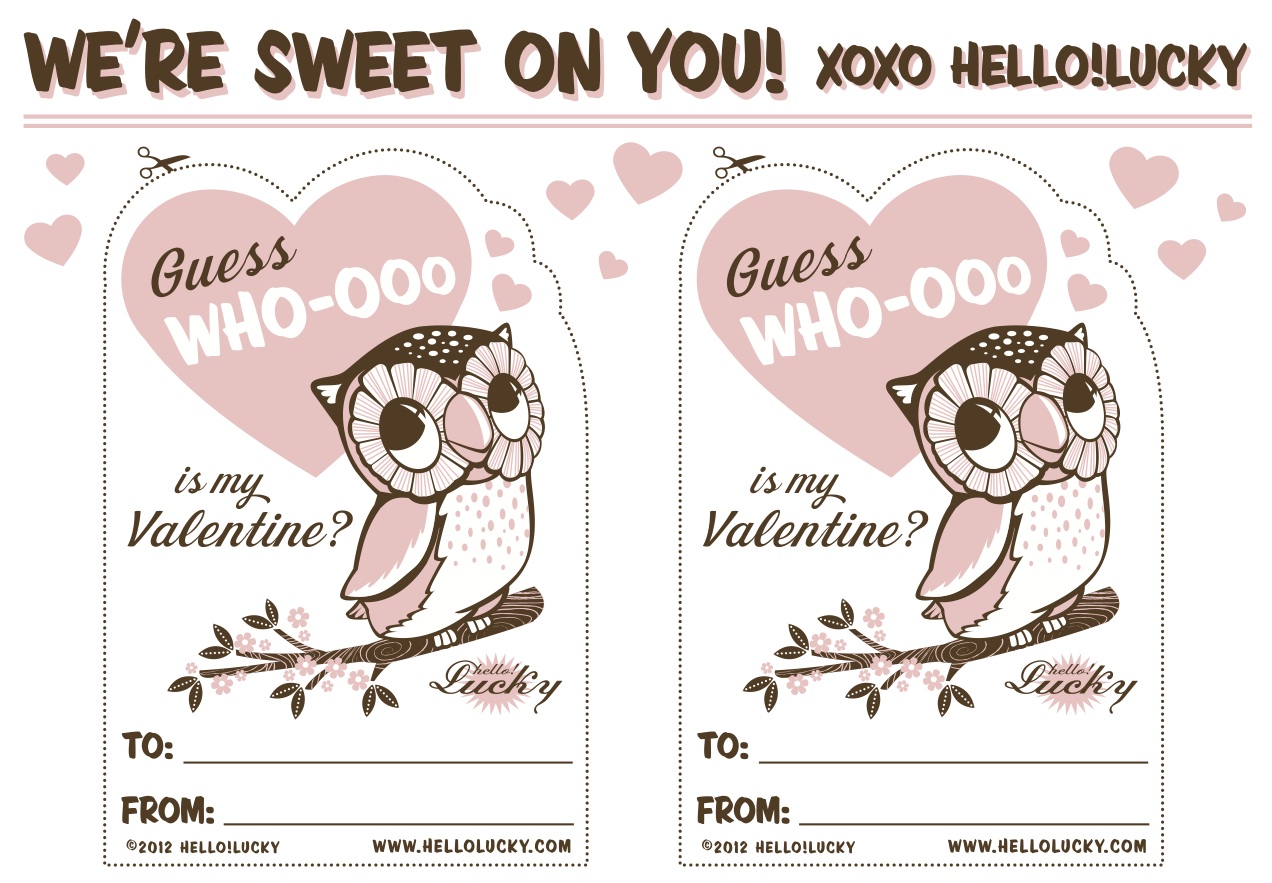
It's time to channel the elementary schooler in you! Valentine's Day was such an exciting festivity for all of us in our early years (It may be because of our intrinsic enthusiasm for stationery and love notes!) However, we still feel a thrill when the big February 14 comes around. This year we wanted to do something extra special for our fans and loved ones. We created four free printable Valentine's Day cards just for you! Perfect for any age, these printable are inspired by our very favorite love cards, plus a little something new. You can download them here!


Hello!Lucky_Valentines_CuckooHello!Lucky_Valentines_MonkeyHello!Lucky_Valentines_Whoo

Crepe paper aisle markers

msw-DIY-crepepaperflowers

We were recently going through our archives and came across our DIY guide to crepe paper flower aisle markers from Eunice & Daniel's wedding. Crepe paper flowers have so many fabulous uses, that we thought you might like for us to re-post our instructions and templates here.  As always, the quality of the project is only as good as the materials you use - we recommend German crepe paper, and our favorite source is Castle in the Air!

fans

Basic Guide to Making Crepe Paper Flower Aisle Markers

The Grain of Crepe Paper The grain of crepe paper runs along the short side (following the creases). Generally, cut your petals so that they run with the grain of the paper so that they hold their form and can be stretched properly. That being said, sometimes you want a floppier response (for example, with some types of fringe for flower centers).

The grain direction is indicated on each template with arrows.

Making the Petals Note: Crepe paper flowers are very forgiving. Petal and leaf shapes do not need to be exact - the templates are a guide, but for the sake of speed you might consider cutting freehand, using the templates as a general guide to size and shape. Additionally, size the templates up or down, depending on the size of the flower you would like to create.

Paste the template onto a bit of card (cereal boxes or heavy weight card stock work well) and cut it out.

Never cut a single leaf or petal. Cut a few at a time. Cut a strip across the grain about 1/2" wider than the depth of the pattern you are using. Unfold the strip of crepe paper and, starting with the two ends together, refold three times for single crepe (you'll end up with eight thicknesses) or twice for duplex (4 thicknesses). Pin the template (with grain indication aligned to the grain of the paper) onto your paper and cut it out, cutting through all layers of the paper with sharp scissors.

Shaping the Petals

Fluting the Edges If you stretch the edge of the crepe paper, you will get a ruffled effect. Hold the edge of the petal between the thumbs and forefingers (your fingers will be close together, as you will be stretching several times along the edge of the petal) of both hands. Stretch the paper widthwise along the edge of the petal. Repeat as necessary.

Cupping to Shape Petals Hold either side of a petal with your thumbs and forefingers. Gradually stretch the entire width of the petal with both hands, using the thumbs to push into and cup the petal and the forefingers to stretch the paper away from the thumbs. This will give the petal a more dimensional shape - as you would see on a real rose petal. Experiment with cupping at the top, base or half way down.

Curling You can curl the crepe paper with the edge of a pair of scissors (as if you were curling ribbon) - drag the blade of the scissors along the grain to accomplish this.

Making Flower Centers

There are several techniques for making flower centers, depending on the look you are trying to achieve.

All flowers start with a ball center for something for the petals to attach to. Start with a small ball of scrap paper (size depends on the size of the flower you are making, but in general about the size of a spitball on up) and a square of crepe paper (around 1 1/2" or so - somewhat bigger for a larger flower). Apply a generous amount of white glue to one side (the wrong side, if there is one) of the crepe paper square). Bend the end of a piece of florist's wire, cut to your desired length.to form a small loop. Place the ball of paper at the end of the wire. Center the crepe paper square on the top of the ball, glue side down. Pull all four sides down to meet at the base of the ball and twist the paper around the wire stem.Cut a short (approx. 2") length of your 1/2" green strips (see Wrapping the Wire Stems) . Apply a bit of glue to the wrong side at one end. Attach to the base of the ball you have created at the end of your wire at wrap around the twisted base, straight around to begin with and then continuing down the wire at a slight diagonal. Continue past the base of the flower center for about 3/4". Cut the strip and apply glue to the inside of the end and attach securely to the florist's wire.

From here you can expand on the center by wrapping a strip of fringed paper or a calyx shape around the center (in the same way you attached the green strip) or adding sheath shapes cut from templates. To add sheath shapes, simply apply a bit of glue at the bottom of each sheath, and attach around the base of the center ball.

Fringing For a fringed center (as for a Poppy) cut the crepe paper into a strip across the grain at the required width. Stretch the strip fully for a fine fringe and less so for a coarse one. Fold the strip in half and cut with the grain, making the cuts as close together and as deep as necessary but always leaving 1/2" or more at the opposite end uncut.

Putting it all together To make a flower, first construct a flower center.

Pick a style of petal and attach your first petal by applying glue to the inside bottom edge and pressing it into place along the base of your flower center (the level at which you place the petal will determine how much of the center is showing. Attach the next petal so that it slightly overlaps the first. Continue this way until you are happy with the look of your flower.

With a little glue and a 1/2" strip of green crepe paper, wrap the base of the flower to cover any raw edges (see Wrapping the Wire Stems for technique).

Add some sheath shapes (optional) for a realistic base for your flower.

Wrapping the Wire Stems Additionally, have on hand 1/2" strips of green crepe paper cut across the grain. They should be strips long enough to wrap the length of your stems.

Stems are wrapped with these strips. Start the wrapping by putting a bit of glue over the flower base. Wrap the end of a strip around it 2 or 3 times very tightly. Then, with the long end of the strip in one hand and the wire in the other (held just above the winding strip), twirl the stem wire around and around while stretching the strip, guiding it diagonally and downward. When the end of the wire is reached, put a bit of glue on the end and continue to twist tightly. Cut off the end and affix with glue.

Note: In lieu of green crepe paper strips, you can also use green floral tape.

II. Crepe Paper Flower Aisle Markers

You'll need:

Crepe paper in various colors (for the flowers) that work with your palette and some crepe paper in green or floral tape for covering stems. Quantities depend on how many you are making, but one packet goes quite a long way. Duplex is my favorite (it is thicker and often two toned) for most flowers, but standard crepe paper works as well for a more delicate, unstructured flower. Mixing the two adds a nice depth.

  • Scissors
  • White glue
  • Glue brush
  • Florist's Wire
  • 1 1/2" - 2" ribbon - about 18" per marker (we used vintage velvet ribbon)

How to: Using the templates, make a large quantity of flowers (this is a great project to do with friends). You will need 10-15 flowers per marker, three large and a variety of medium and small sizes. We mixed and matched centers and petal styles as well as scaling the templates up and down to get a mix of flower sizes.

Start with three larger flowers. Twist the stems together, then fold the stems out to the left and right and twist to create two "arms" that will later be joined in a loop that will give structure to your arrangement. Angle the flowers to create a nice central focal point. Add more large and small flowers to your arrangement, twisting their stems around the two arms. Use small flowers to fill in any gaps. When you are happy with your arrangement, make a loop with the arms, twist the ends together, and flatten so that they are hidden behind the flowers. Don't worry about how the back looks - no one will see it.

Cut an 18" piece of ribbon and trim ends at a diagonal or in a dragon tongue shape to prevent fraying. Fold the ribbon in half to form an inverted "V" shape. Position the ribbon behind your crepe paper flowers and pierce a small finishing nail through the wires of the flowers and then through ribbon. Nail into the end of a bench (be sure to get your vendor's permission in advance).

If attaching to the back of a chair, we've a length of 2" ribbon through the wires at the back of your flowers and then through the railing on the back of the chair; tie off using a square knot.

Download the templates here.

Lisa and Rory, Behind the Scenes!

IMG_4249

Now that you've all seen the stunning photos of Lisa and Rory's wedding, we wanted to show you some exclusive behind-the-scenes images of our team putting it all together!

070111_ferneyhough_balloon

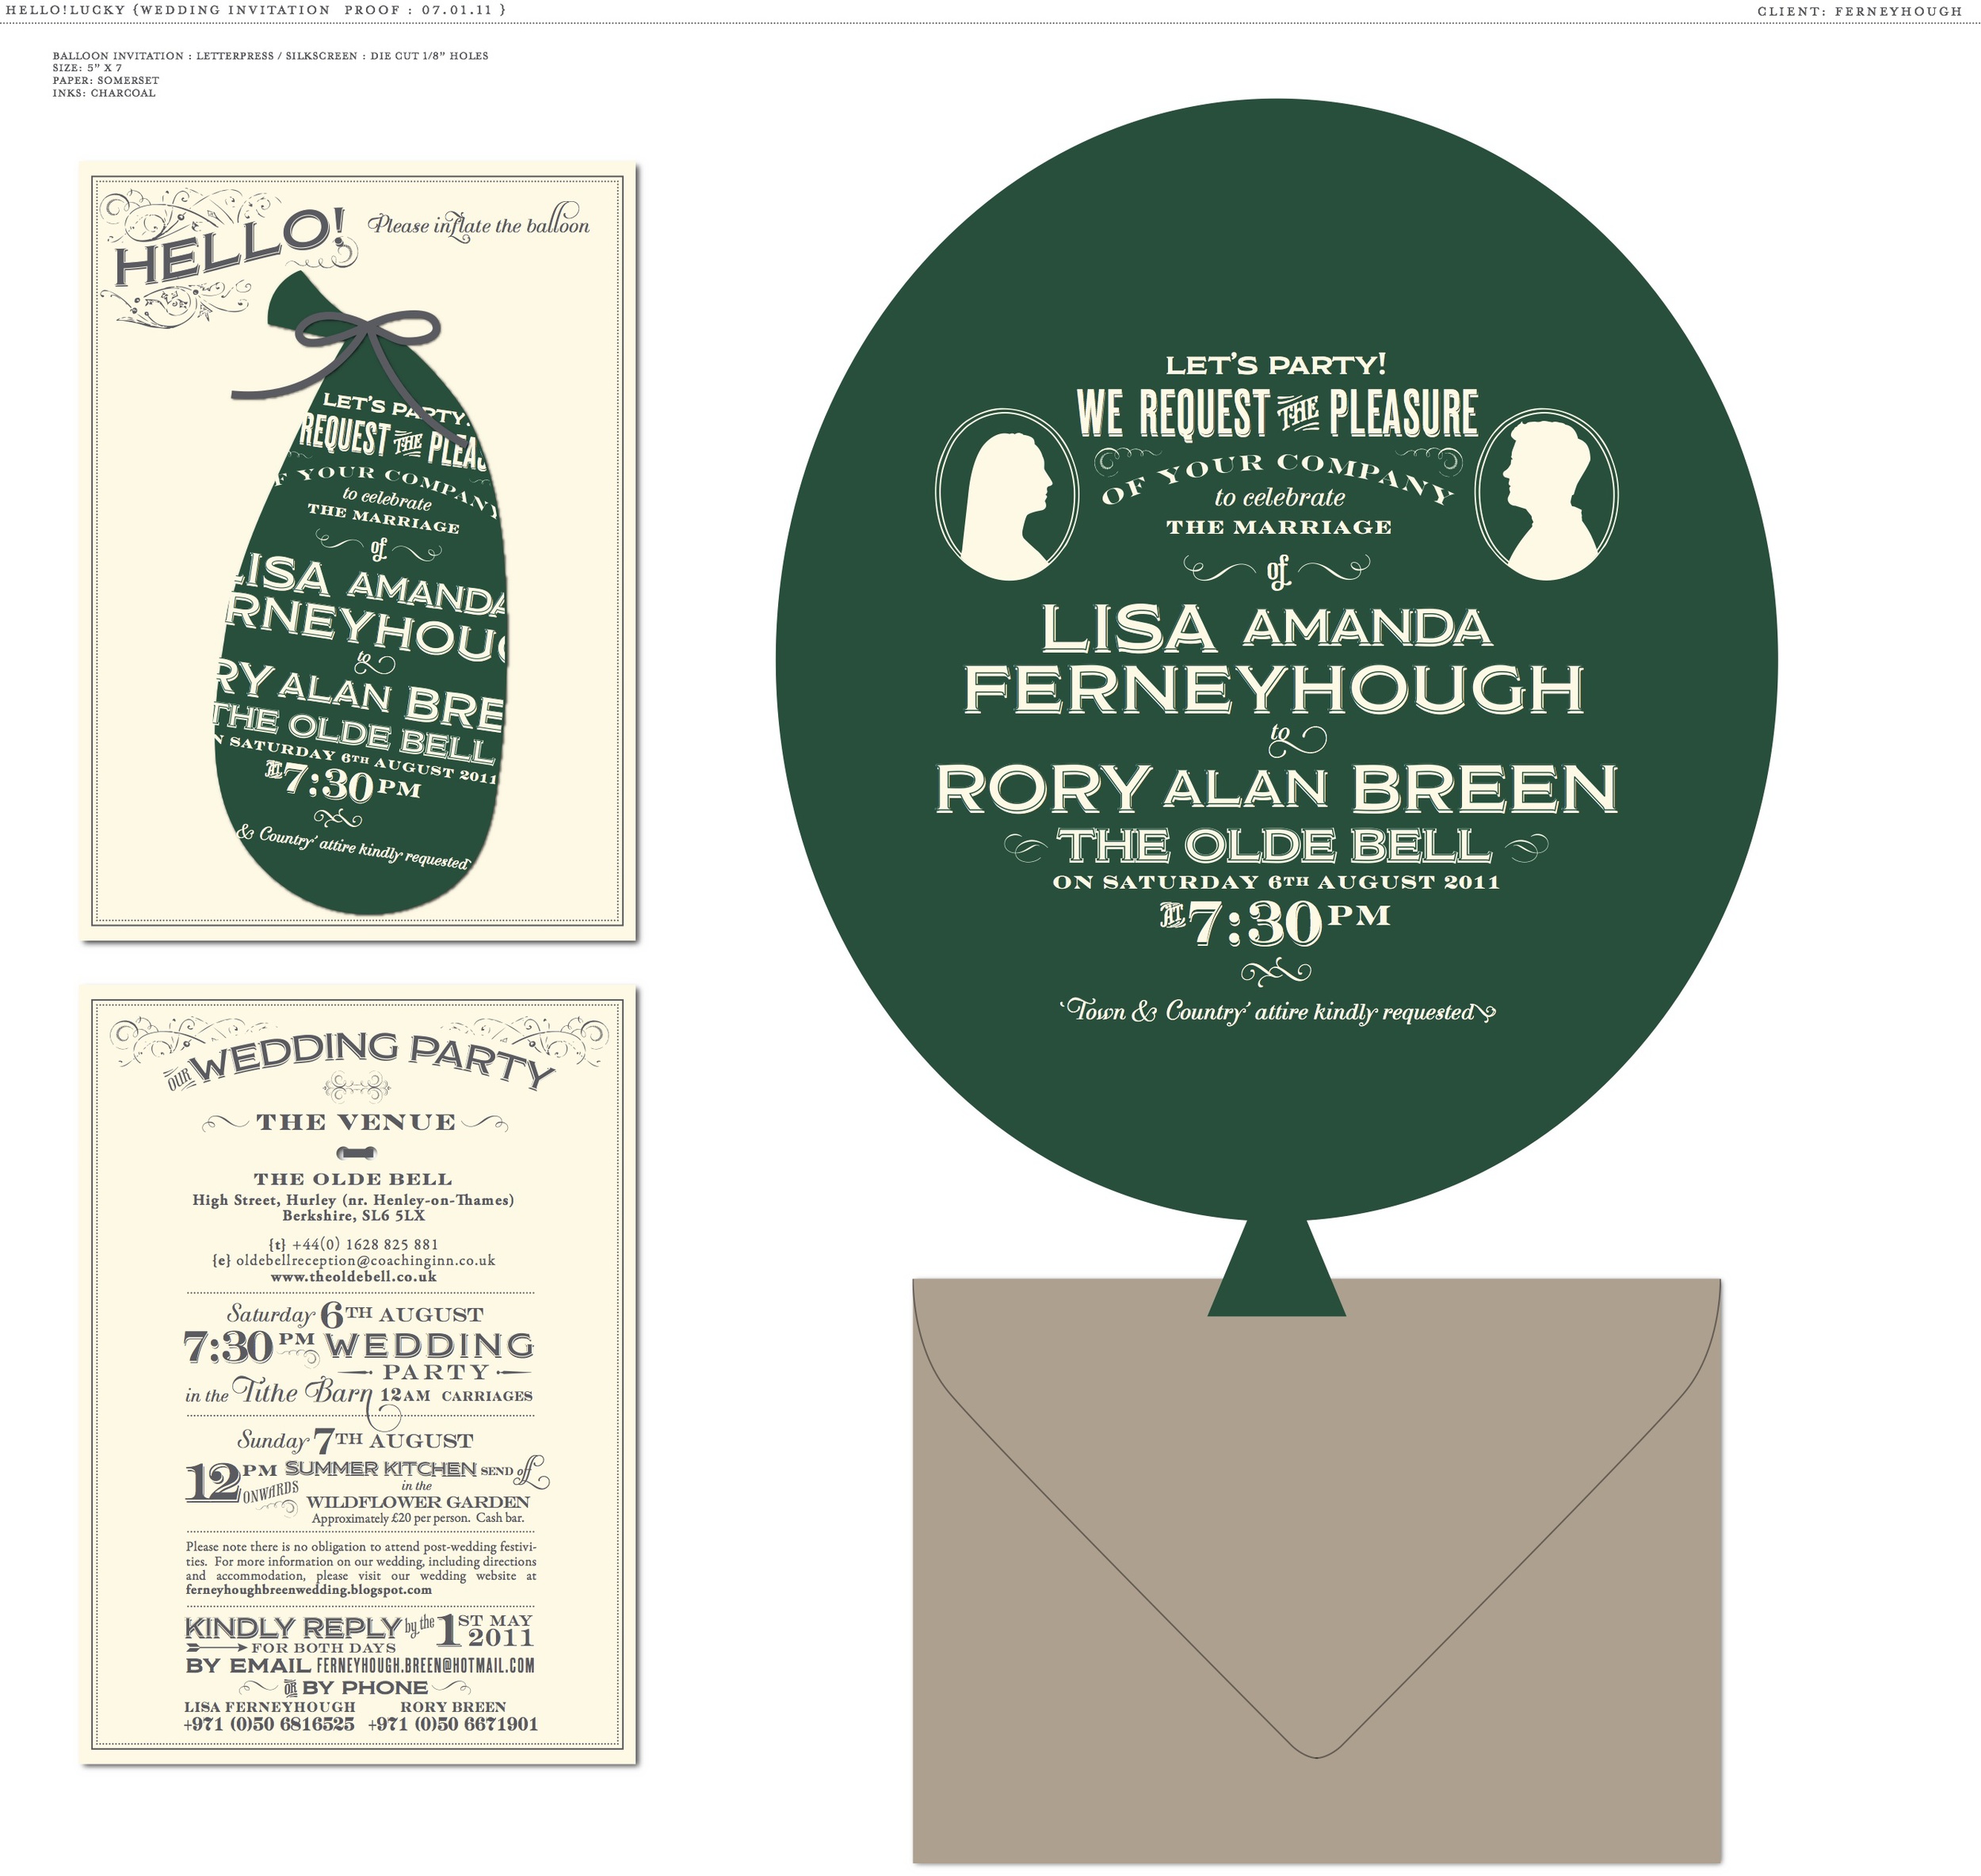
Above is the original proof that we created for Lisa and Rory's reception invitation. The two-sided letterpress invitations were printed on duplex paper (220lb) and hole-drilled for the balloon and ribbon attachments. Because Lisa and Rory already had such brilliant ideas, working with them was a cinch!

IMG_4284

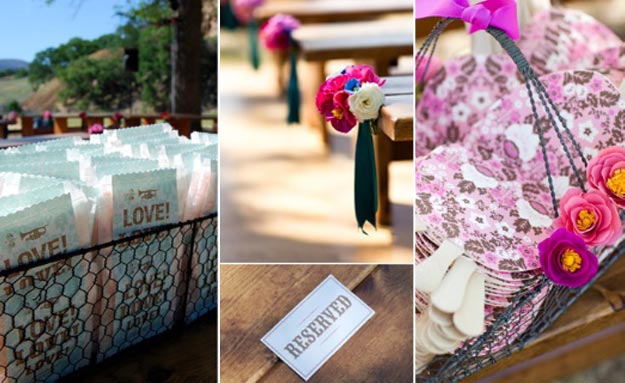
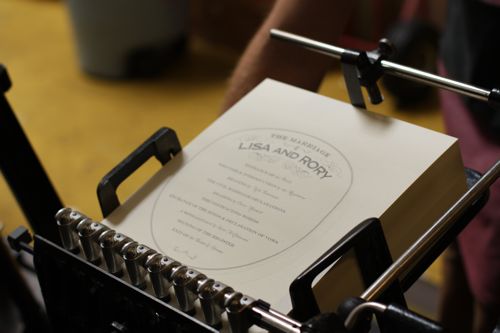
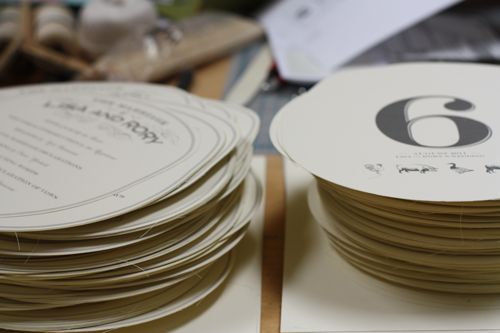
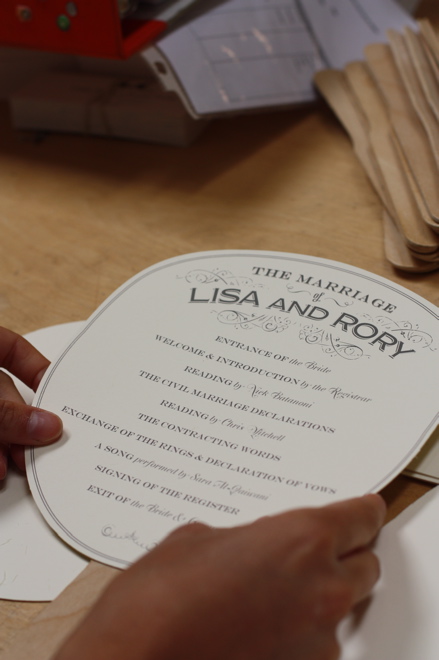
Their day-of materials were just as fun to assemble as their wedding invitations. The paddle program fans were die cut on our antique Heidelberg press, then attached one-by-one with wooden handles.

IMG_4293

IMG_4292-1

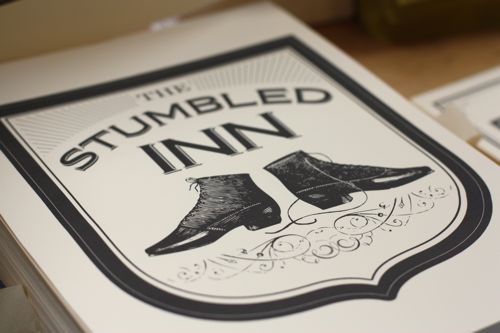
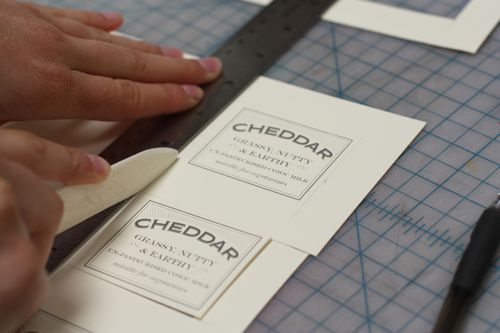
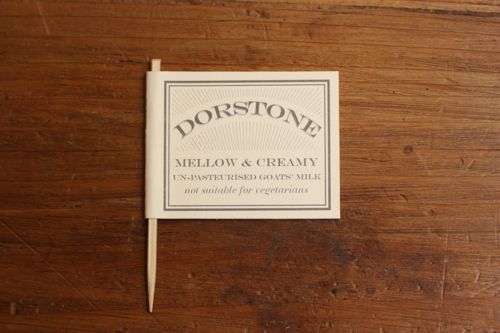
The pub sign table numbers and cheese markers were each cut out by hand, given tremendous care and patience! The tiny cheese markers looked dashing atop their cheese wheel cake. We see a new trend approaching!
IMG_4264

IMG_4237

IMG_4228

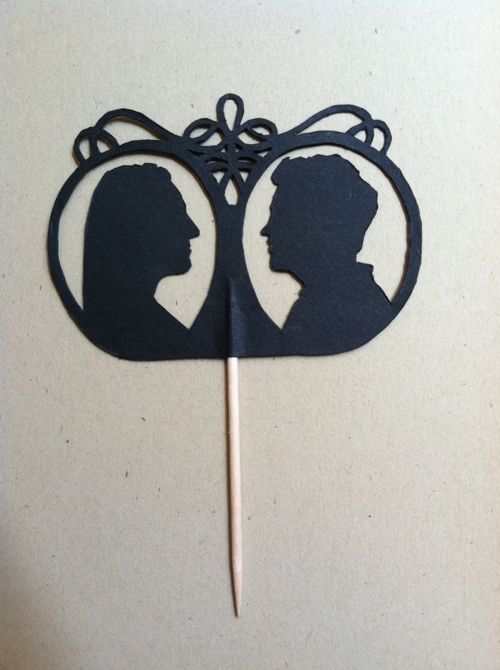
Perhaps the most intricate and delicate piece we've created is the tiny silhouette "cake" topper, also cut out of paper by hand. And yes, it fit on a toothpick! It's the little details like this that make us love working on custom weddings.
photo

DIY Holiday Cards

youaregifted_card

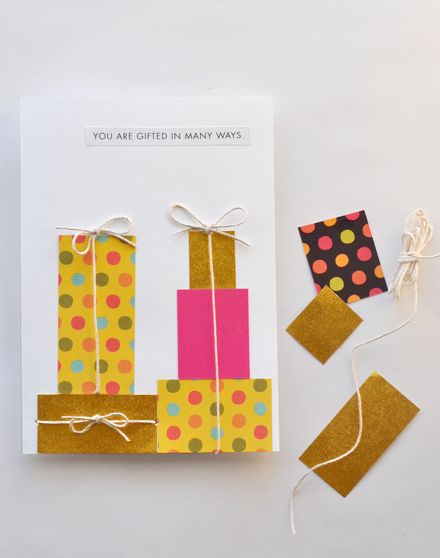
If you've got a crafty thumb - or let's admit, if you have time to hand-assemble your holiday cards - you should definitely head over to The Inside Source for their DIY Holiday Greetings feature! You'll find various ways to bust out all of your holiday paper needs, including a paper box! You even get detailed instructions on how to make this adorable card by yours truly! Inspired by the accordion photo card, Gifted (illustrated by Susy Jack), this card is a one-of-a-kind gift in itself!

stationery2011pic7

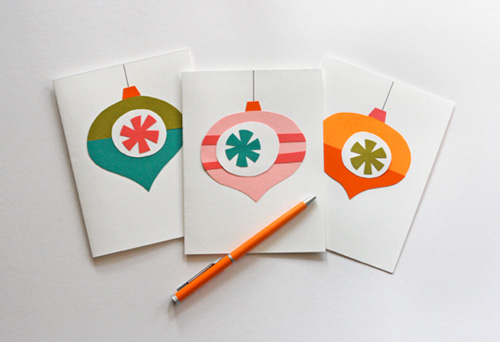
We love the vibrant colors and retro-inspired ornaments in these cards by How About Orange...

stationery2011pic2

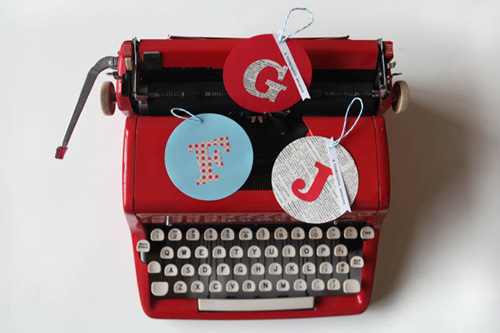
...and these typographic gift tags from Uppercase! They are perfect for gifts year-round, and are great for recycling your holiday cards from last year!

Be sure to check out the whole feature here, happy crafting!

Destination: Craftgawker

craftgawker

How fantastic is the website Craftgawker?! If you haven't visited the site yet, you must! Craftgawker is a visual web gallery of craft tutorials and DIY projects composed by user submissions. It's the ultimate destination for endless hands-on activities of all types, and we can't get enough. From perfect holiday how-to's to accessorizing your everyday wardrobe, you'll find yourself digging through closets and bins and busting out your scissors and glue! Above are some of our favorites, and are on the top our list for the holidays. Happy crafting!

From top left, clockwise: Gothic Ring, Wire Tree, Holly Pillow, Scarf Flats

Anthology DIY Cook's Kit

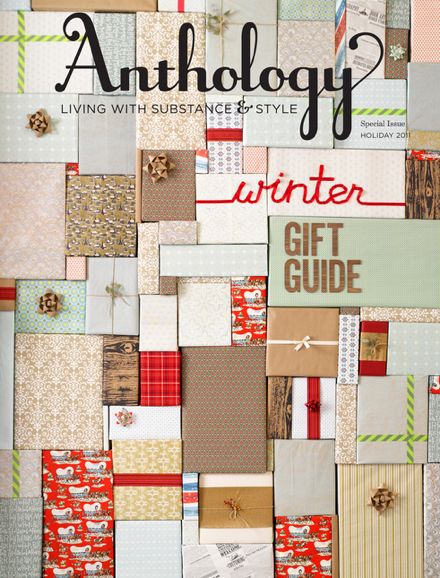
Anthology_Cover

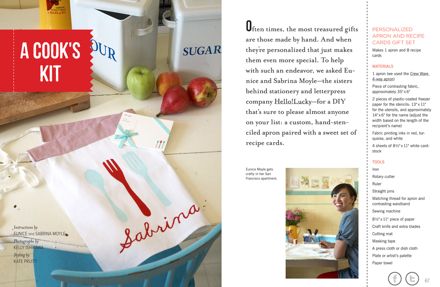
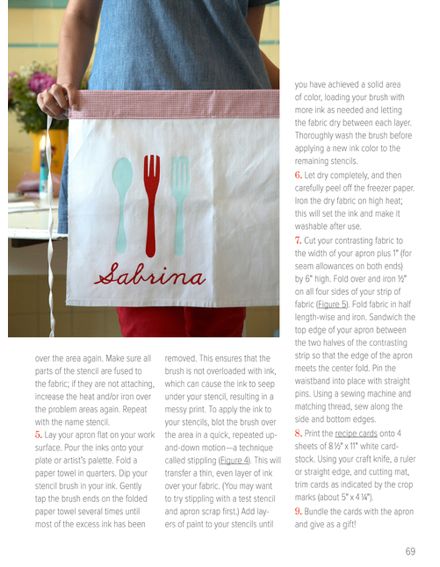
Have you all had a chance to flip through the holiday issue of Anthology Magazine? It's filled with fabulous gift guides and festive features to get you in the mood for sleigh bells and snow! Eunice designed a retro chef's kit as a gift for her sister Sabrina, and there's a detailed tutorial about how you can make one yourself! Complete with guidelines for printmaking and sewing, your handmade gifts are sure to make a lasting impression.

Anthology_Chef

Anthology_Chef2Head over to Anthology to see the whole story!

2011 Holiday Catalog!

[issuu width=490 height=356 backgroundColor=%23222222 documentId=111021000619-a8fda50b7a2f41be8475a0027fc90681 name=holiday-2011 username=hellolucky tag=catalog unit=px id=b824706f-6dea-36dd-8027-f97c98e13751 v=2]

Now you can browse through all of our 2011 Holiday designs in one place! Thanks to Edyta Szyszlo for her amazing photography!

DIY Paper Quilt!

paperquilt_seaside3-1

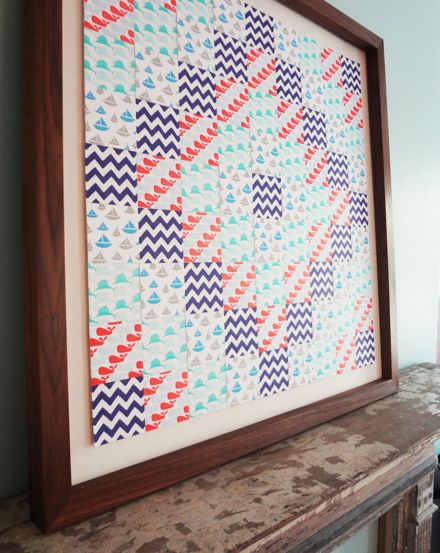
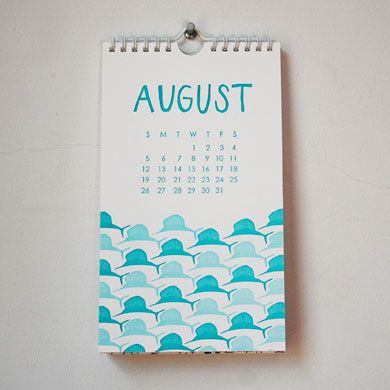
We can't believe this beautiful paper quilt was crafted entirely out of misprints and unsellable papers from Linda & Harriett's deliciously patterned calendars.  Gorgeous and green!

LetterpressCal-1

We're always looking for new ways to use scraps of paper and old letterpress samples (too pretty to toss away!) and this just might be in the mix for our next craft night.