Handmade Jewelry by Rare Indeed

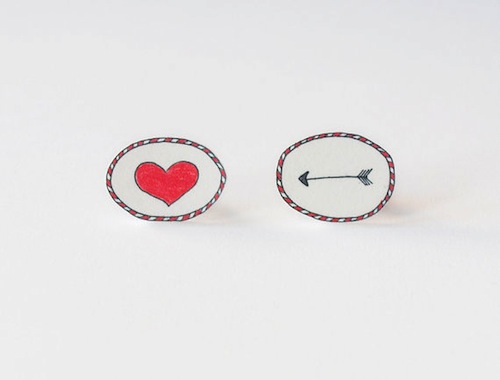
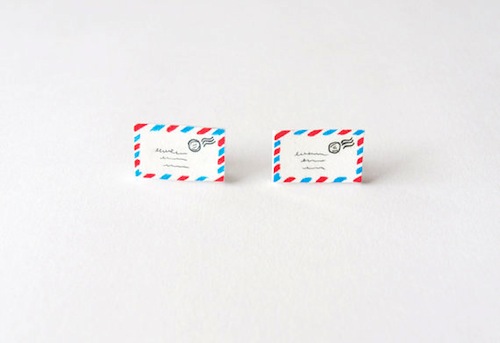
These hand crafted accessories by Rare Indeed are in fact, rare indeed! It's always exciting to stumble upon one-of-a-kind pieces by artists on Etsy, and we're feeling particularly fond of these illustrative items as they remind us of some of our favorite designs.

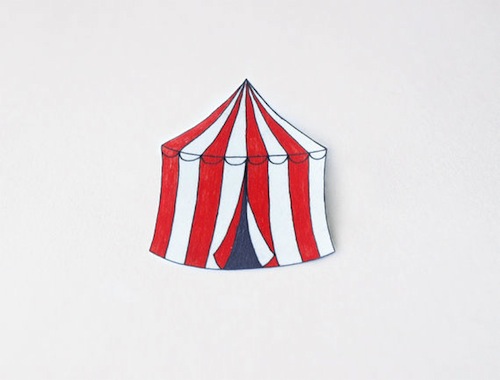
This striped circus tent brooch would liven up any outfit, especially if attending a circus-themed party (see our new Big Top kids birthday party invitation!)

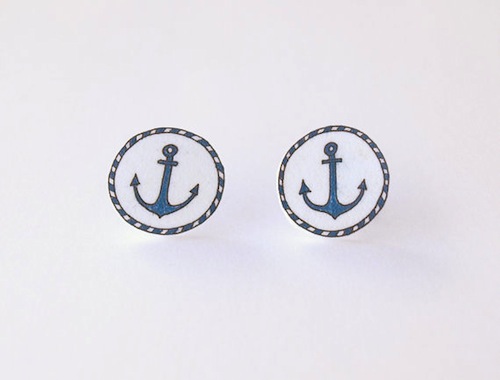
No summer vacation is complete without a trip to the beach and these anchor stud earrings would be the ultimate accessory. Or, for all you Cape Cod brides, these studs might make the perfect gift for bridesmaids!

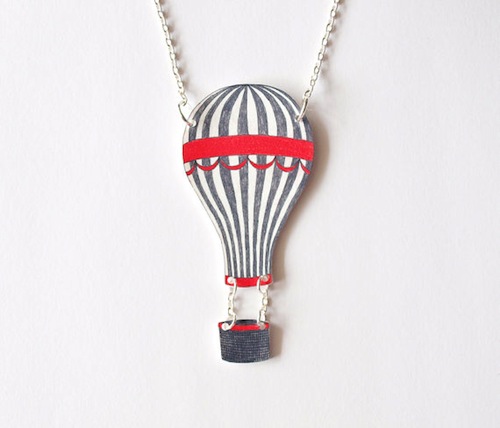
Our new Adventure wedding invitation has been a popular addition to our collection, so we can definitely see this hot air balloon necklace making a splash.

To view the entire Rare Indeed collection, click here!


Inspired by Chloe Fleury

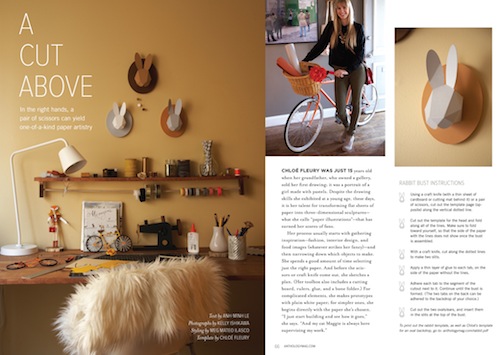
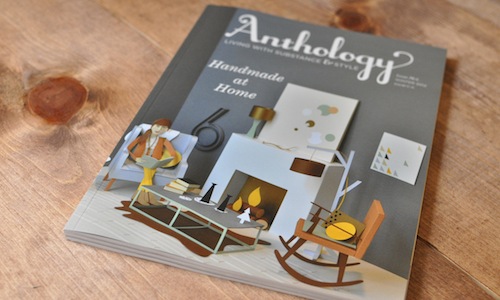
As artisan printers and paper enthusiasts we feel an instant connection with artists who share similar interests. The incredibly talented paper aficionado Chloe Fleury has literally blown us away with her paper constructions. Recently featured in Anthology Magazine, the French born and now San Francisco based artist creates one of a kind paper sculptures. If you haven't visited her website by now, you must.

She even created a stop animation video trailer for issue no. 6, highlighting up-close details about each paper piece. Check it out here.

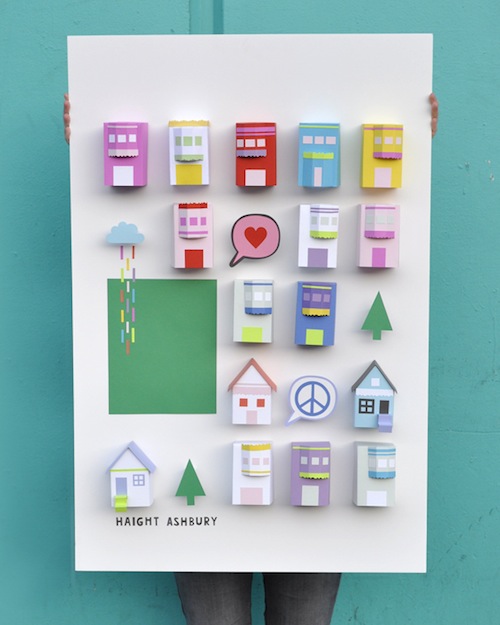
Her San Francisco neighborhood posters are definitely a favorite.

La Boutique in San Francisco is hosting a solo exhibition of Chloe's work! If your're in SF be sure to stop by the gallery and check it out, it's located at 414 Jackson Street, Suite 101.

To see more of Chloe's work, click here!

SFCB Earth Day Extravaganza

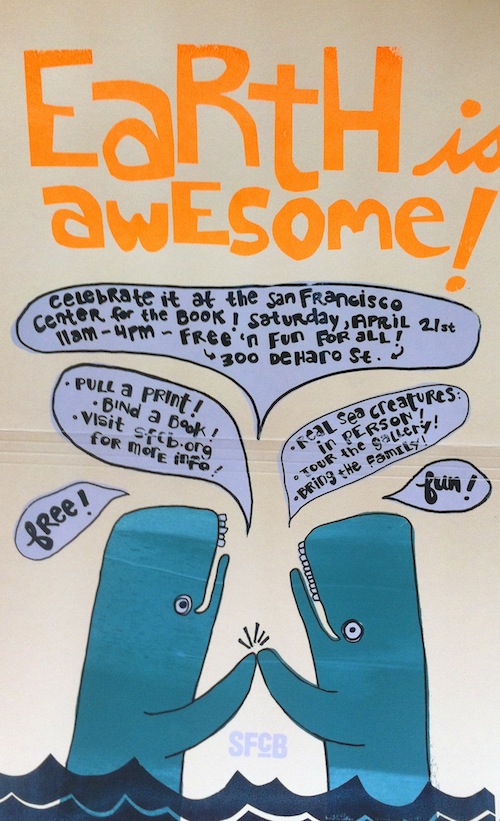
The San Francisco Center for the Book is hosting an awesome Earth Day Extravaganza in celebration of this year's Earth Day! On Saturday April 21st you can try your own hand at printmaking, bookbinding, and lots of other fun activities. The best part is that it's totally FREE! Bring your friends, families and kids and be a part of something great.

The SFCB is located at 300 De Haro Street Suite 334, San Francisco, CA, 94103 (The entrance is on the 16th Street side of the building, under the red awning in the bright blue building).

Stewey's Knitted Coasters

Do you have extra yarn laying around from unfinished craft projects? Take a tip from Stewey who turns his yarn scraps into colorful coasters for the cast of Hello!Lucky. Knitting is a bit daunting for Stewey, so to get practice and keep things manageable he whips out these small practice squares. It's a great way to use up extra yarn while preventing coffee and other drinks from making a mess on any pretty H!L stationery. And we love all the pops of color these sweet coasters bring to our desks!

DIY: Silk-Screened Place Mats

For today's Handmade Weddings DIY project we're bringing you detailed instructions for our popular silk screened place mats! Whimsical and totally customizable, these kraft paper place mats work for both buffet-style or plated service. Place a charger and napkin on the mat (as shown) or have it double as a place card by writing guests’ names in the middle of the plate. If silk-screening feels out of your league, consider just photocopying them in black/white or on bright colored paper. The pattern is easy to make for a big wedding reception or even for a small dinner party.

Materials

• Custom screens • One hundred fifty 12-×-18-inch sheets kraft paper, such as Borden & Riley #840 Kraft Pad

ToolsPlace Mat template • Newsprint • Set of 2 hinge clamps • A wood board at least 1/2-inch thick and several inches wider and longer than the silk-screen frame • Four 1/2-inch long screw • Screwdriver • A small prop, such as an art eraser • 2-inch wide masking tape • Water-based screen-printing ink in white • Squeegee • Chipboard or cardboard scraps

How to 1. Make your screens. Send the Place Mat template files to a screen printer to have screens made, or make them with a home screen-making kit, following the manufacturer’s instructions.

2. Prepare your silk-screening station (figure 1), but do not outline your screen frame with a Sharpie. Position your test paper; use a spare sheet from your kraft pad.

3. Make a test print. With the frame in the down position, squeeze or spoon a line of the printing ink (approximately 1 tablespoon) along the top edge of the screen (figure 2). Take your squeegee and drag the ink from the top edge toward you, across the design area, applying pressure as you pull (figure 3). Carefully raise the frame to the up position and view the print. Make any adjustments to the placement of the paper (moving your registration tape accordingly) and amount of ink. Using your spoon, scrape excess ink from the squeegee back onto the top area of the screen, adding ink if necessary. Make additional test prints until you are happy with the quality and placement of the print. Build up the masking-tape marks with chipboard or cardboard scraps so that the paper won’t shift when you are printing (figure 4).

4. Print the rest of your place mats. Lay them out to dry completely.

Happy crafting!

For more DIY ideas, visit our website here!

Spring DIY: Paper Flower Wreath

Spring may be a time to get organized, but we think it's a great time to bust out the dusty craft bins and get creative! There's no better feeling than recycling something disposable and transforming it into something worth saving. We know you're left with all those leftover holiday cards and wrapping papers, so this is the perfect opportunity to put them to good use! This lovely wreath from our book Handmade Weddings (published by Chronicle Books) uses a variety of found papers, including patterned paper scraps, kraft paper, glassine, tracing paper, and graph paper. This colorful wreath is perfect as a welcome sign at a wedding or party, or to adorn your front door as a welcome sign for Spring!

Materials

Makes 1 wreath

• 15 to 20 sheets assorted scarp papers e.g., construction paper, kraft paper, graph paper, tissue paper

• 30 to 40 colorful 1/4-inch brads

• Four 18-inch pieces floral wire (optional)

• One roll floral tape (optional)

• 1/4 yard scrap fabric

• 18-inch cardboard or particleboard wreath form

• Paper clip (optional)

• 1 to 2 pieces scrap cardboard or foam core

• 1 sheet text-weight paper (optional)

 Tools

• Paper Flower templates (available here)

• Pencil

• Scissors

• Small flower punches

• 1/8-inch hole punch

• Hot glue gun and glue sticks

• One 1 1/2-inch Styrofoam ball (optional)

• Inkjet printer, with extra ink cartridges (optional)

 How to

1. Make your flowers.

For flat flowers: Cut out the Paper Flower templates. Trace them onto patterned scrap paper, and cut out with scissors. Fold the flowers along the center axis of the petals to add dimension. You can also fringe the petals or crinkle flowers made of tissue to add depth. Punch small flower shapes for the flower centers. Stack several flower designs on top of each other, and punch a hole in the center. Insert a brad into the center and flatten the ends. Repeat to make as many flowers as desired.

 For cupped petal flowers: Cut out the Petal template. For each flower, trace the template four times onto graph paper or another text-weight paper. Cut the petals out. Slide a 6-inch length of floral wire into an unopened brad so that the brad grips firmly and the round end faces up. Fold the base of the petal into an M shape, position on the wire, and affix with a dab of hot glue. Place the next petal, and repeat until all four petals are in place. Wrap the petal bases with a strip of floral tape. Repeat to make as many flowers as desired.

 For tissue paper flowers: For each flower, cut four 1 1/2-×-4-inch strips of tracing paper or tissue paper. Place a piece of tissue, long side facing you, on your work surface. Center the Styrofoam ball on the paper, wrap the long ends up, and twist the ends to hold them in place. Trim the twisted ends with scissors and remove the ball, creating a cupped petal. Repeat to create four petals per flower. Slide a 6-inch length of floral wire into an unopened brad so that the brad grips firmly and the round end faces up. Position a petal on the wire, and tape it in place with a strip of floral tape, wrapping it around the wire a few times. Place the next petal and repeat until all four petals are in place. Repeat to make as many flowers as desired.

2. Prepare your wreath form. Cut your fabric into 3-inch-wide strips. Hot glue one end of a strip to the wreath form, and wrap it around the wreath until you run out of fabric. Glue the fabric end down and continue with a new strip until the wreath is completely covered. Avoid covering the hole in the wreath (for hanging). If desired, flatten a paper clip into an S shape and insert it into the hole, to be used as a hook when you are ready to hang your wreath.

3. Attach your flowers. Arrange your flowers in a wreath shape on your work surface. When you are happy with their placement, begin hot-gluing them to the form. To create depth, cut out several 1/2-inch squares of cardboard or foam core and affix these to the wreath form before gluing a flower on top, so that these flowers are slightly raised.

4. Add a sign (optional). If desired, lay out a sign such as “Welcome!” or your names and wedding date using a wordprocessing program and printing on text-weight paper, or write the sign by hand. Attach to the wreath using a dab of hot glue.

For more fun DIY ideas, visit our website here!

How to Assemble your Wedding Invitations Video

How to Assemble Your Wedding Invitations from Hello!Lucky on Vimeo.

And now for a feature presentation! We're over the moon about this next installment of DIY videos and the first to debut is "How to Assemble Your Wedding Invitations." This short film gives detailed instructions about how to put your paper materials together tastefully and efficiently. You'll know just what to do once you receive your pretty blue boxes in the mail. Check out all of our feature films on Vimeo and stay tuned for more DIY to come!

Wedding DIY: Cupcake Liner Pom-Poms

These pretty patterned cupcake liner pom-poms featured in our book Handmade Weddings (published by Chronicle Books) are perfect for a wedding celebration or casual party at home. Just a bit of glue and string will transform your ordinary cupcake liners into festive pom-pom strands. Mix and match colors and patterns to compliment your party palette and your decor will be a huge hit. Hang them in your living room, over your reception tables, or in your cocktail area for instant DIY delight!

Materials

Makes six 12-foot strands

• 720 cupcake liners, approximately 120 per strand

• Six 12-foot lengths white kitchen string

Tools

• Bone folder (or popsicle sticks work, too!)

• Rubber bands (optional)

• Glue sticks

• Clear tape

How to

1. Flatten and fold your cupcake liners. Using a bone folder, flatten each cupcake liner into a circle. Fold in half, wrong-side out. Repeat for all of your liners. You will need 10 identical liners per pom-pom. If you are using a variety of patterns and colors, stack or rubber band them by pattern. If your cupcake liners have scalloped edges, be sure to fold them along the same axis every time. This will ensure that the segments that make up each pom-pom are all symmetrical, making for a pleasing whole.

2. Make the pom-poms. Place 10 folded cupcake liners, of the same pattern and color, on your work surface. Using a glue stick, spread glue over one-half of a cupcake liner. Align it to the corresponding half of a second cupcake liner. Press down and smooth with your bone folder (figure 1, page 29). Let dry. Continue attaching the cupcake liner halves, smoothing each segment as you go to ensure a secure bond. Do not glue the last segment. When complete, the pom-pom will form an accordion-like sphere with one open segment, which allows you to flatten the pom-pom into a circle (figure 2). Let dry completely. Continue making pom-poms.

3. Attach the pom-poms to the string. Leaving about 2 feet on either end of the garland for hanging, attach the pom-poms along the string, at 2-inch intervals (or greater if desired). To attach, lay a flattened pom-pom on your work surface and align the string along its central axis (i.e., along the crease). Secure the string with two small pieces of clear tape, one on each end of the pom-pom. Spread glue over one half of the circle, as well as on the string, and sandwich the two halves of the open segment together, trapping the string (figure 3). Let dry. When all the pom-poms are attached and dry, hang the garland. “Fluff” the pom-pom segments by hand to create full circles.

Get your own copy of Handmade Weddings here. Happy crafting!

Gorgeous Paper Wedding Details

This paper wall decor spotted on Green Wedding Shoes stopped us dead in our tracks. We definitely have a sweet spot for paper wedding details, but this bride's DIY wall art just topped the charts! Inspired by the always extraordinary Anthropologie window displays, this bride used tons of rolled paper strips to create an enormous abstract backdrop for her reception. Stunning!


Studio Valentine's Day Craft Night

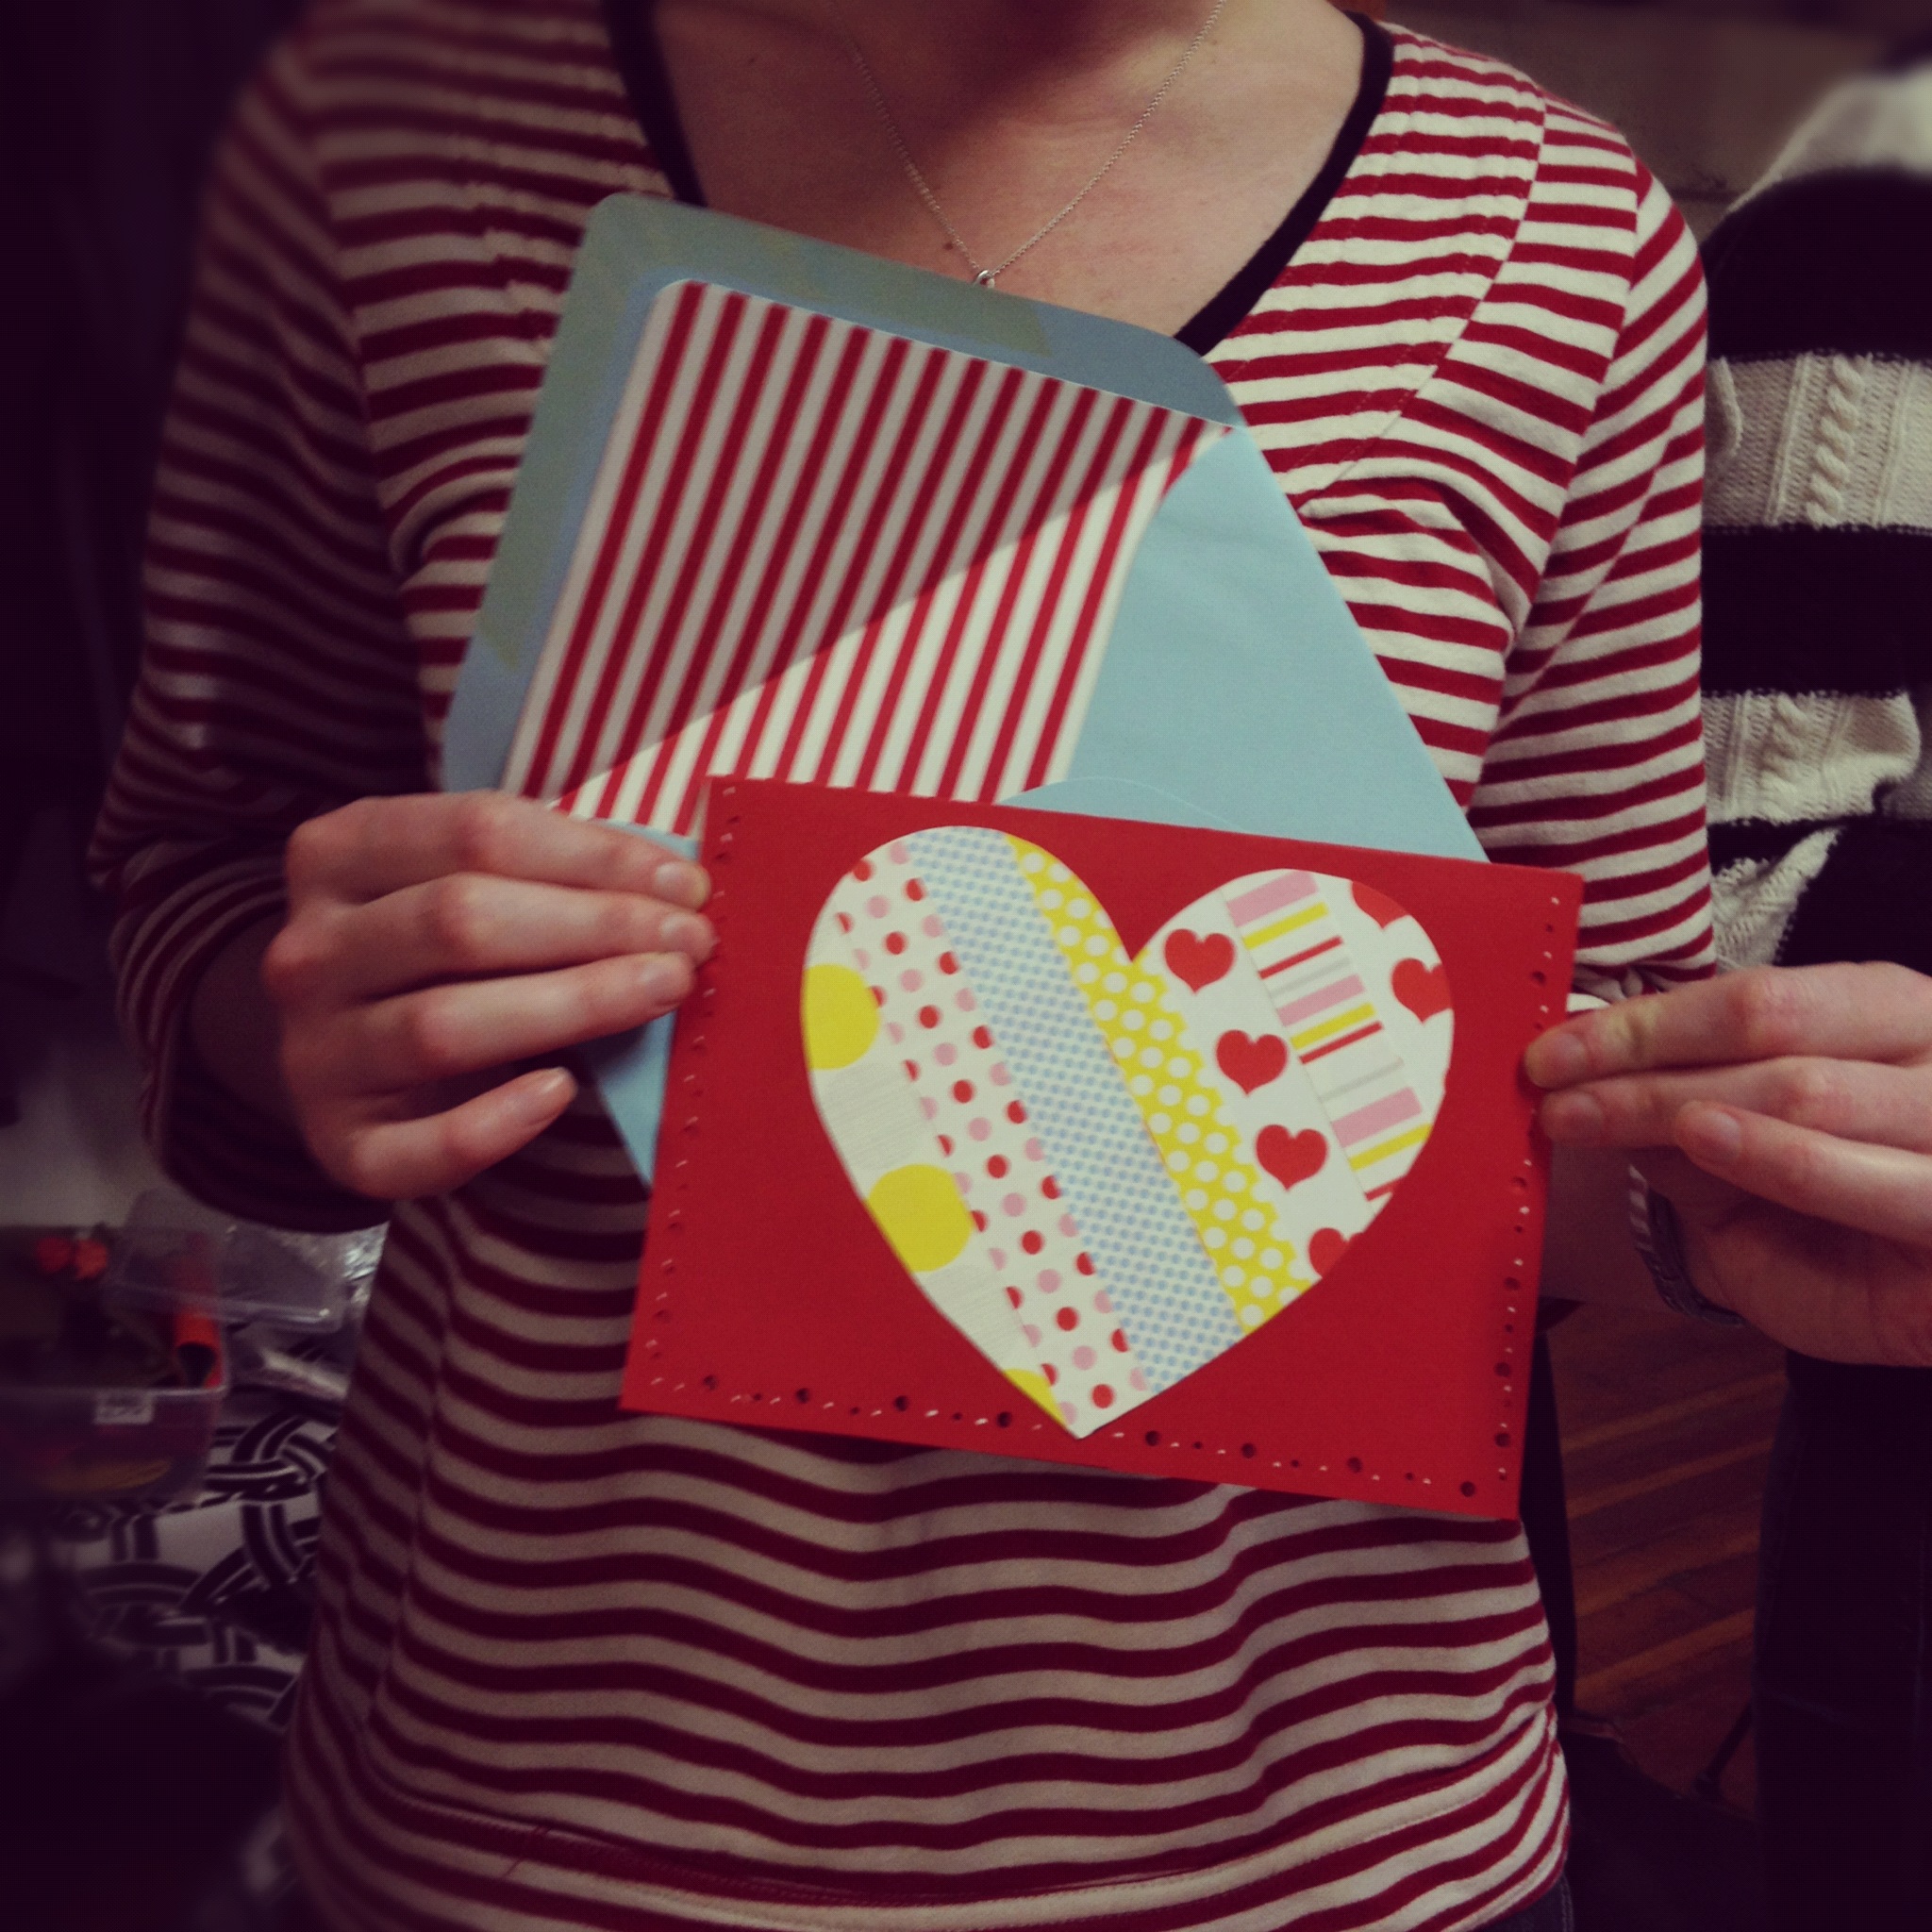
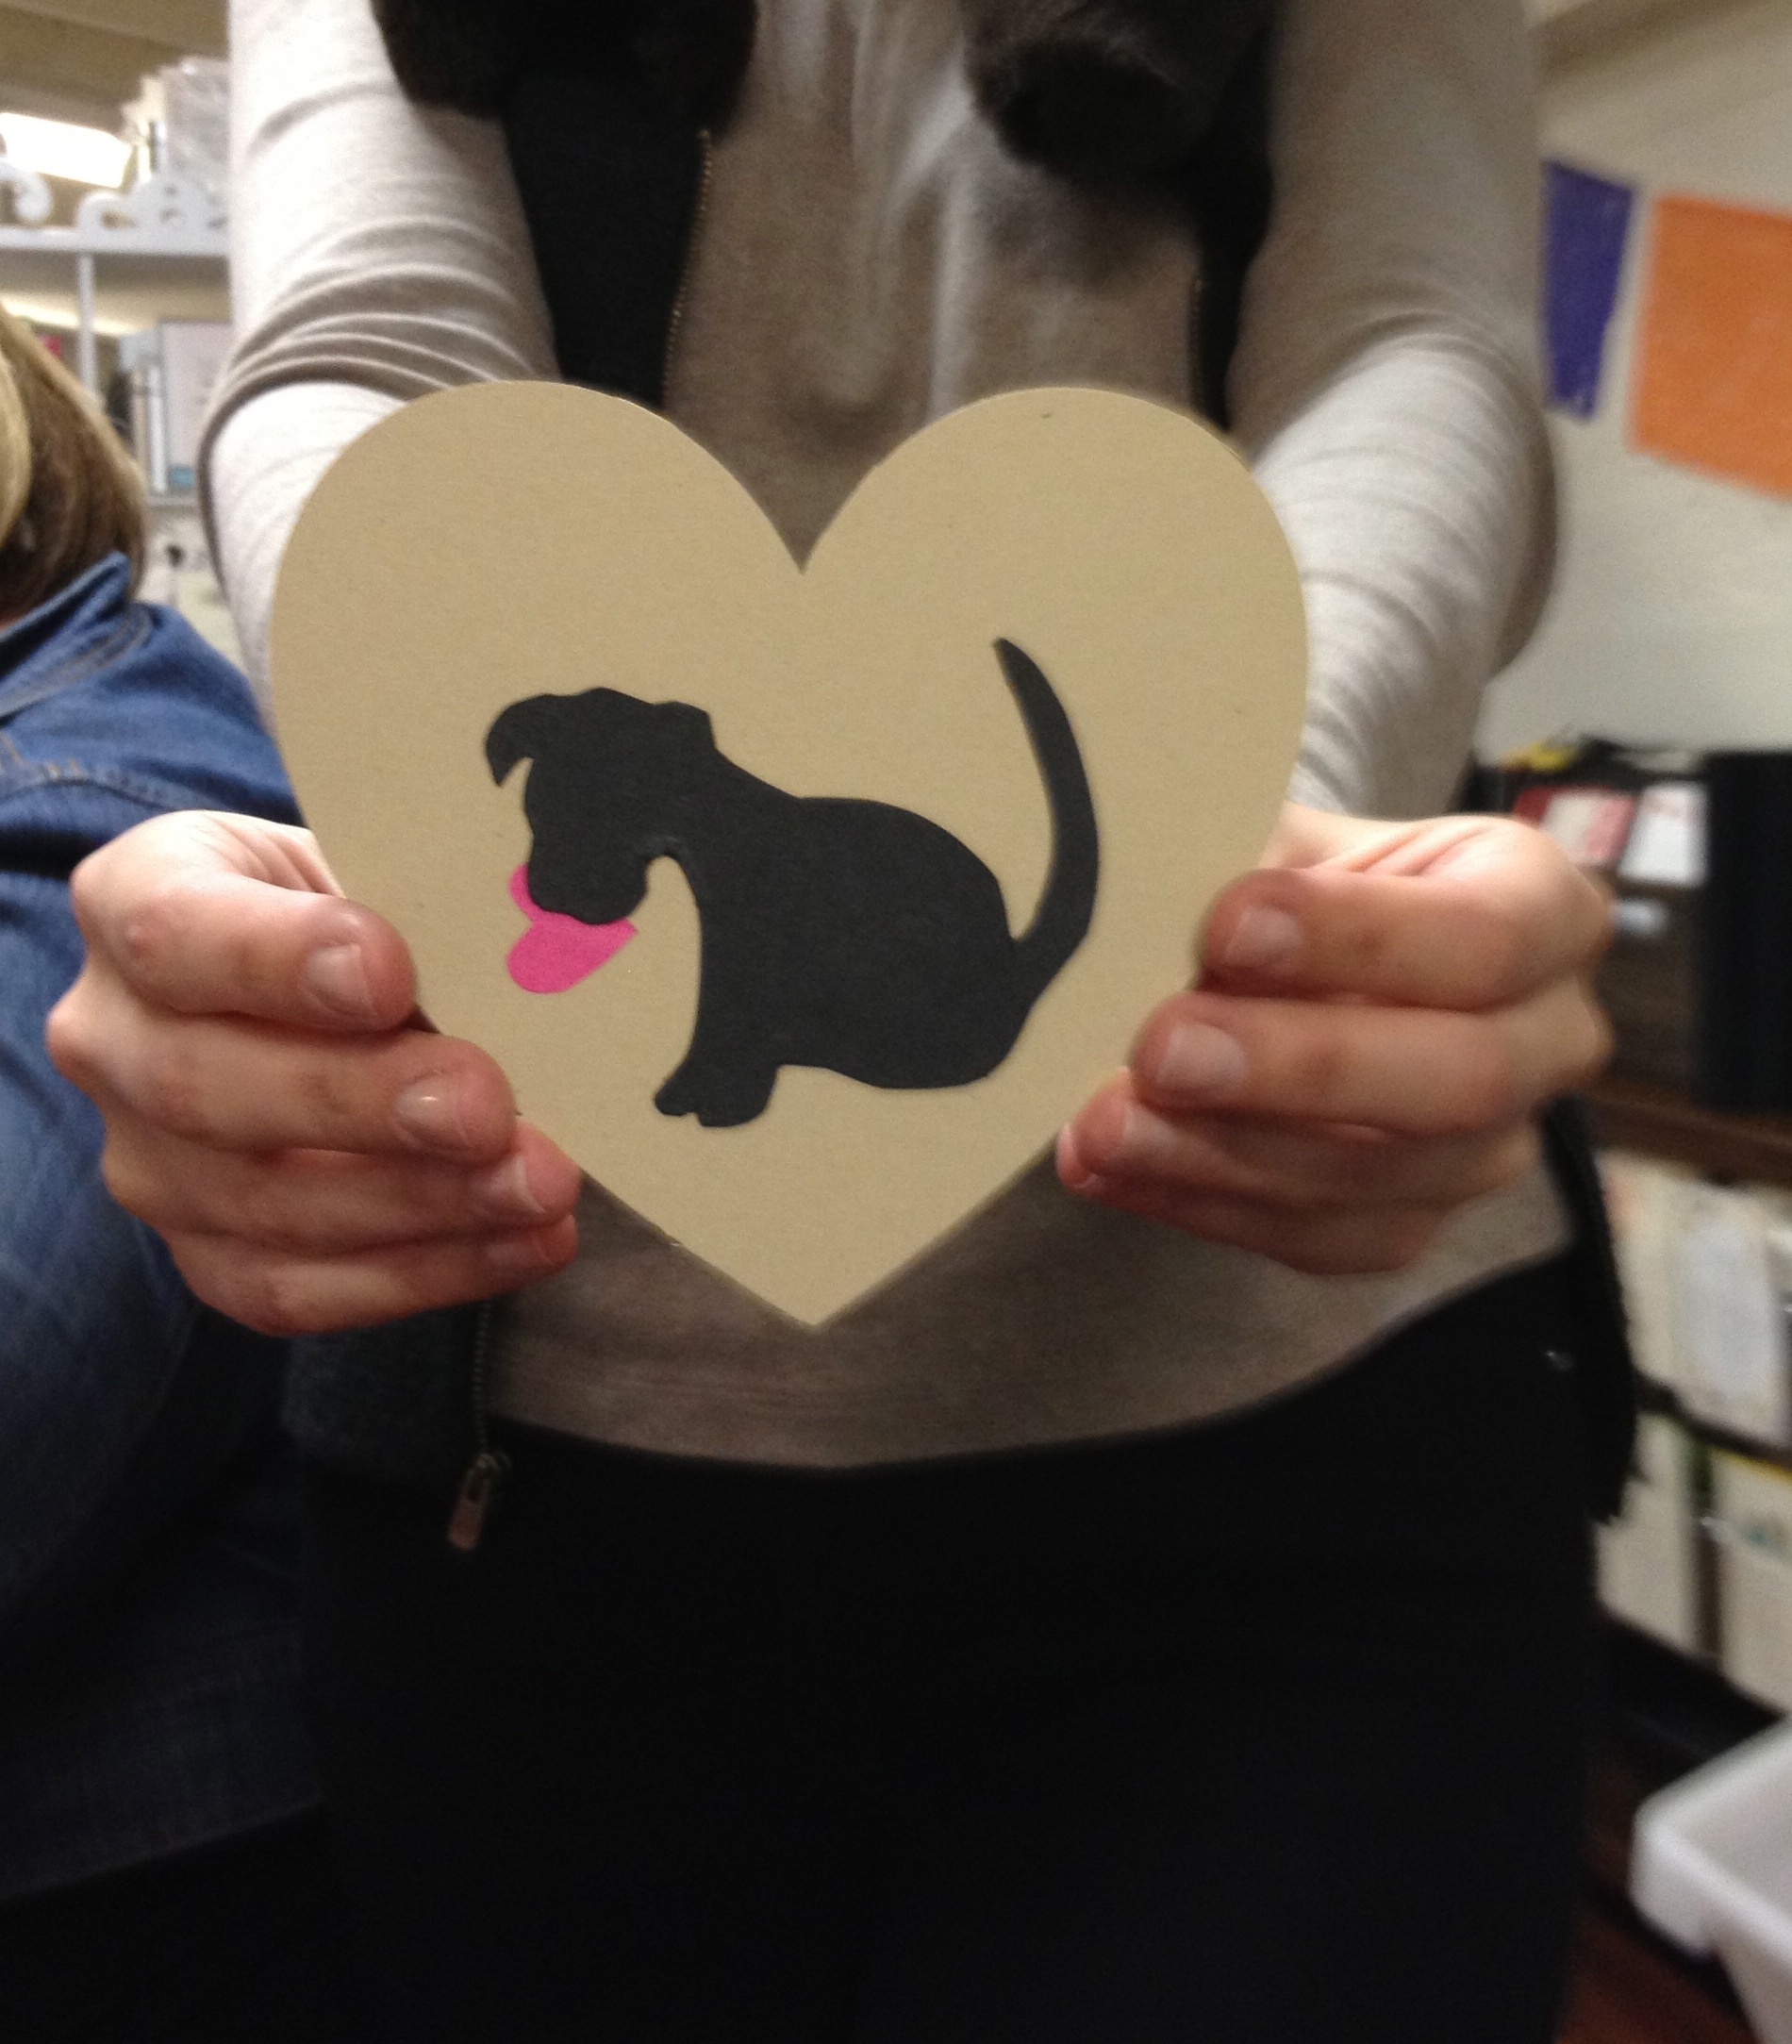
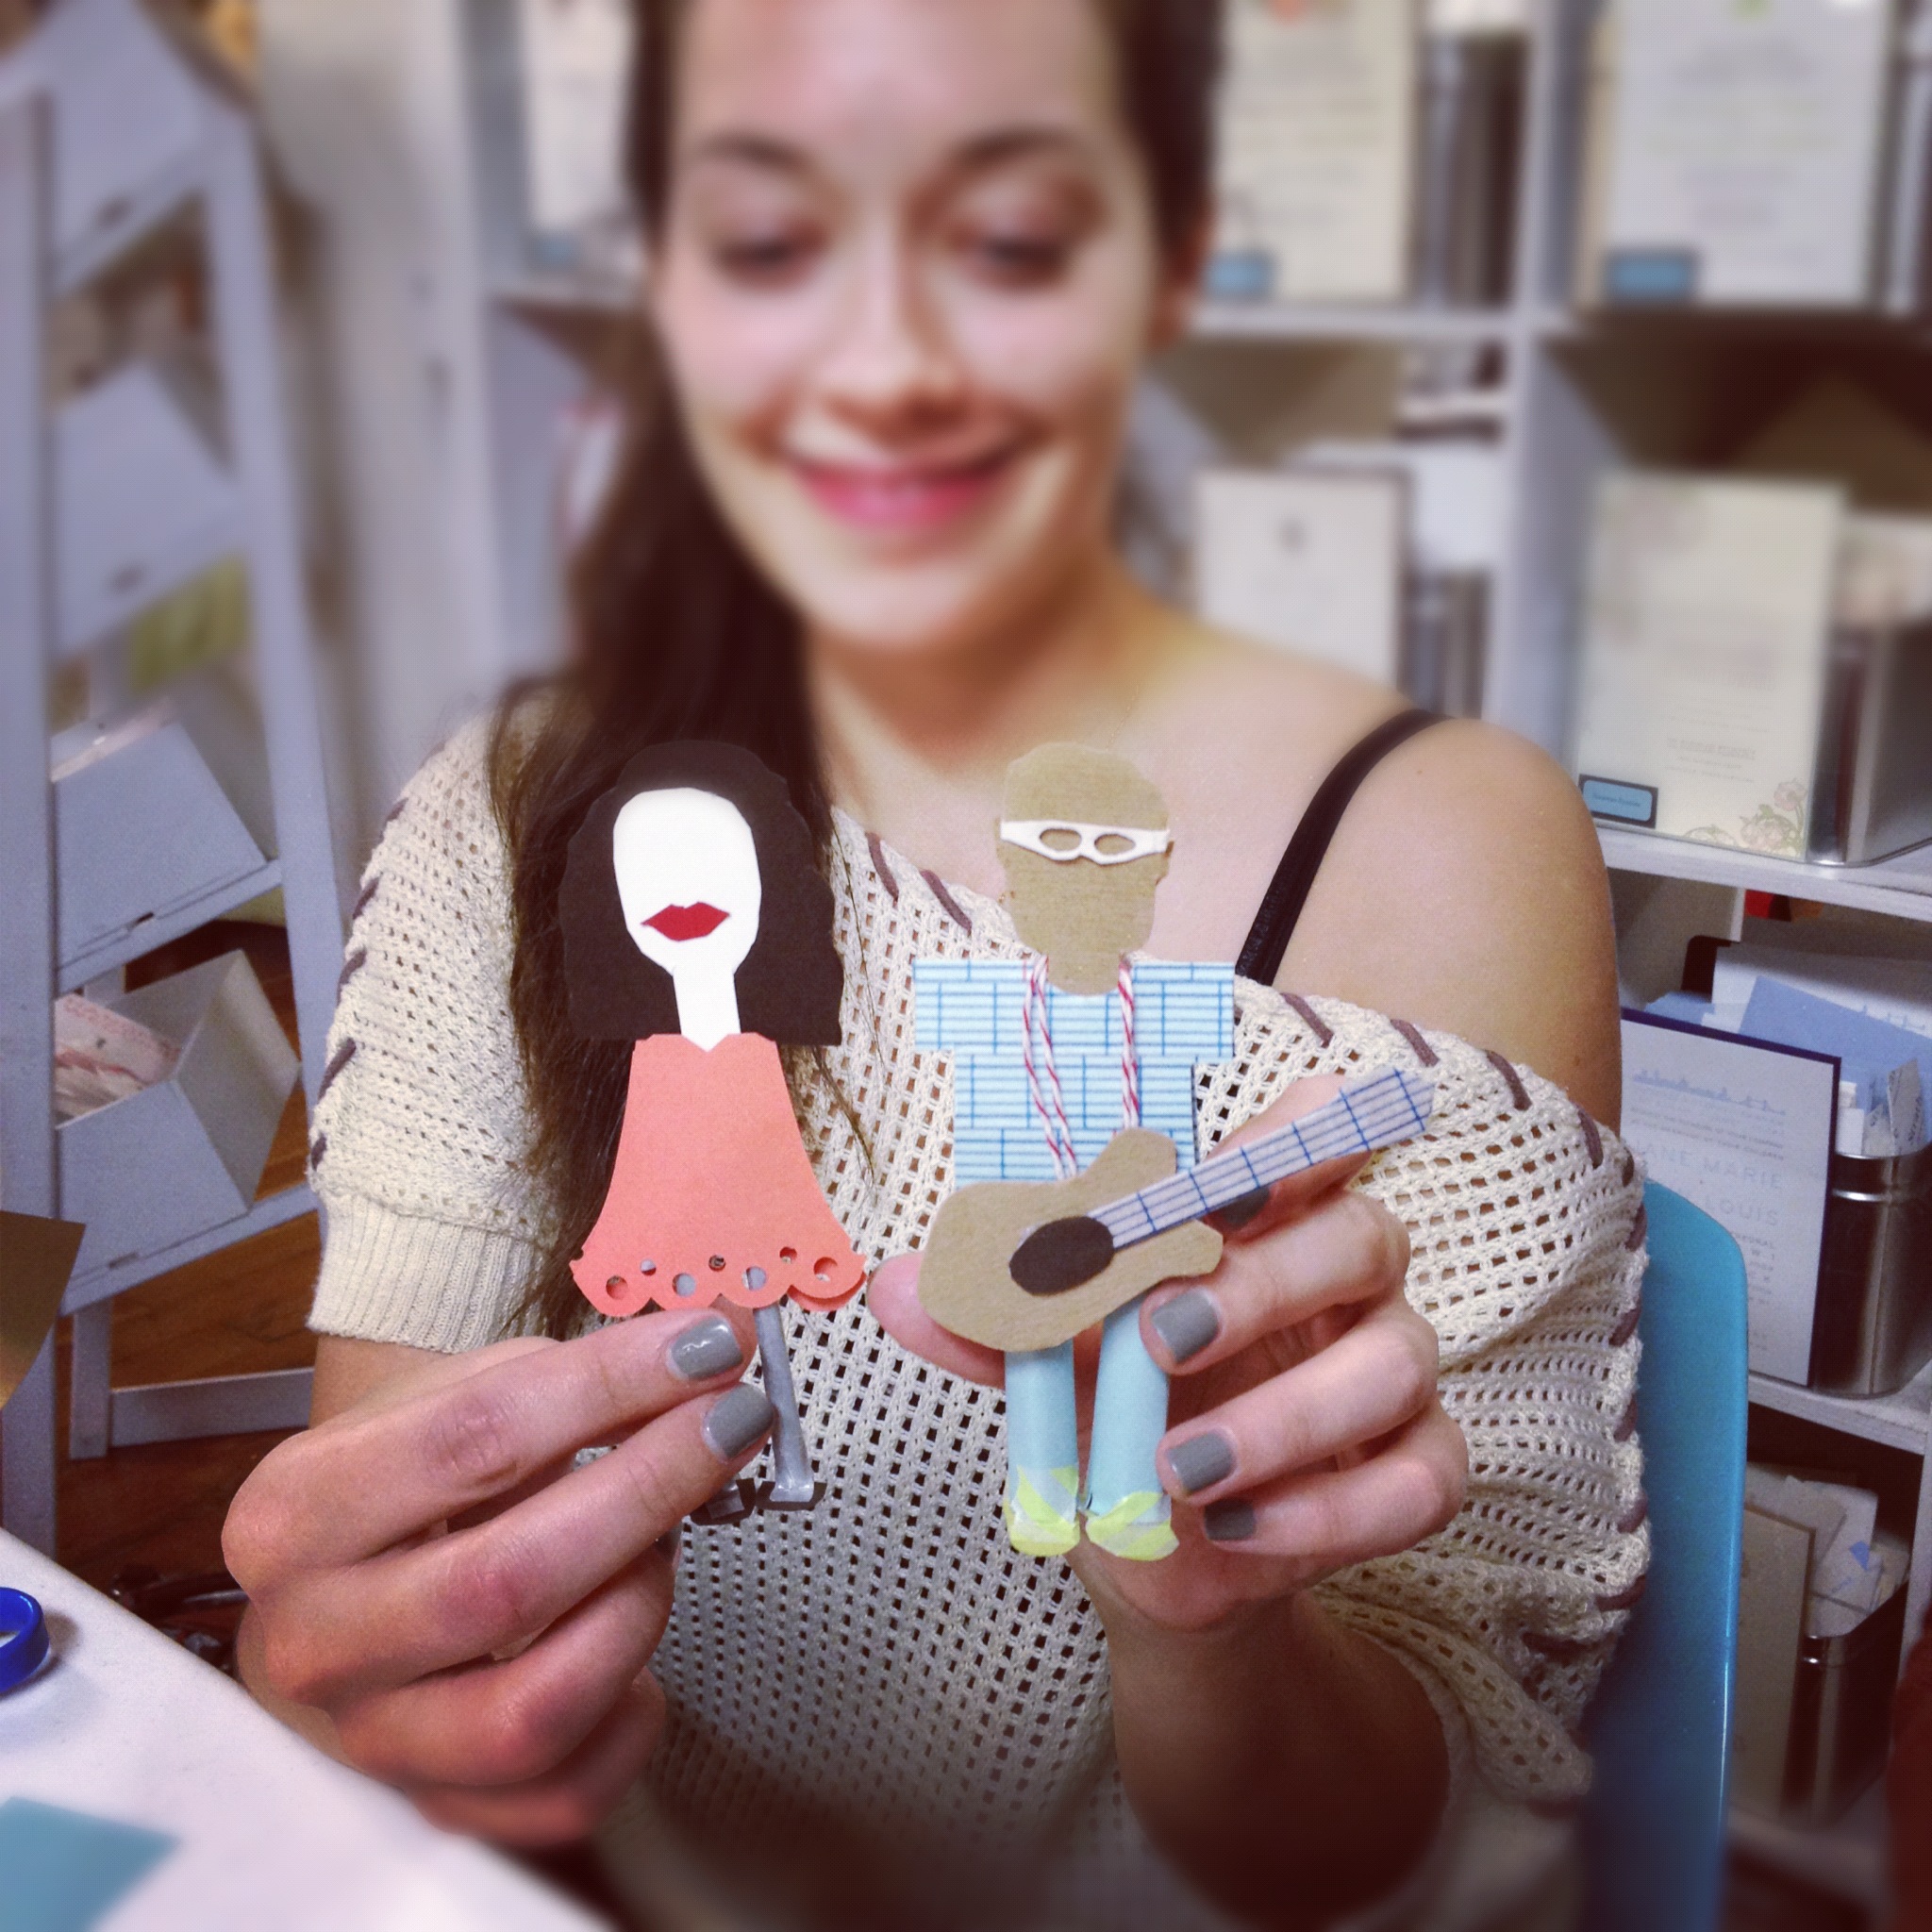
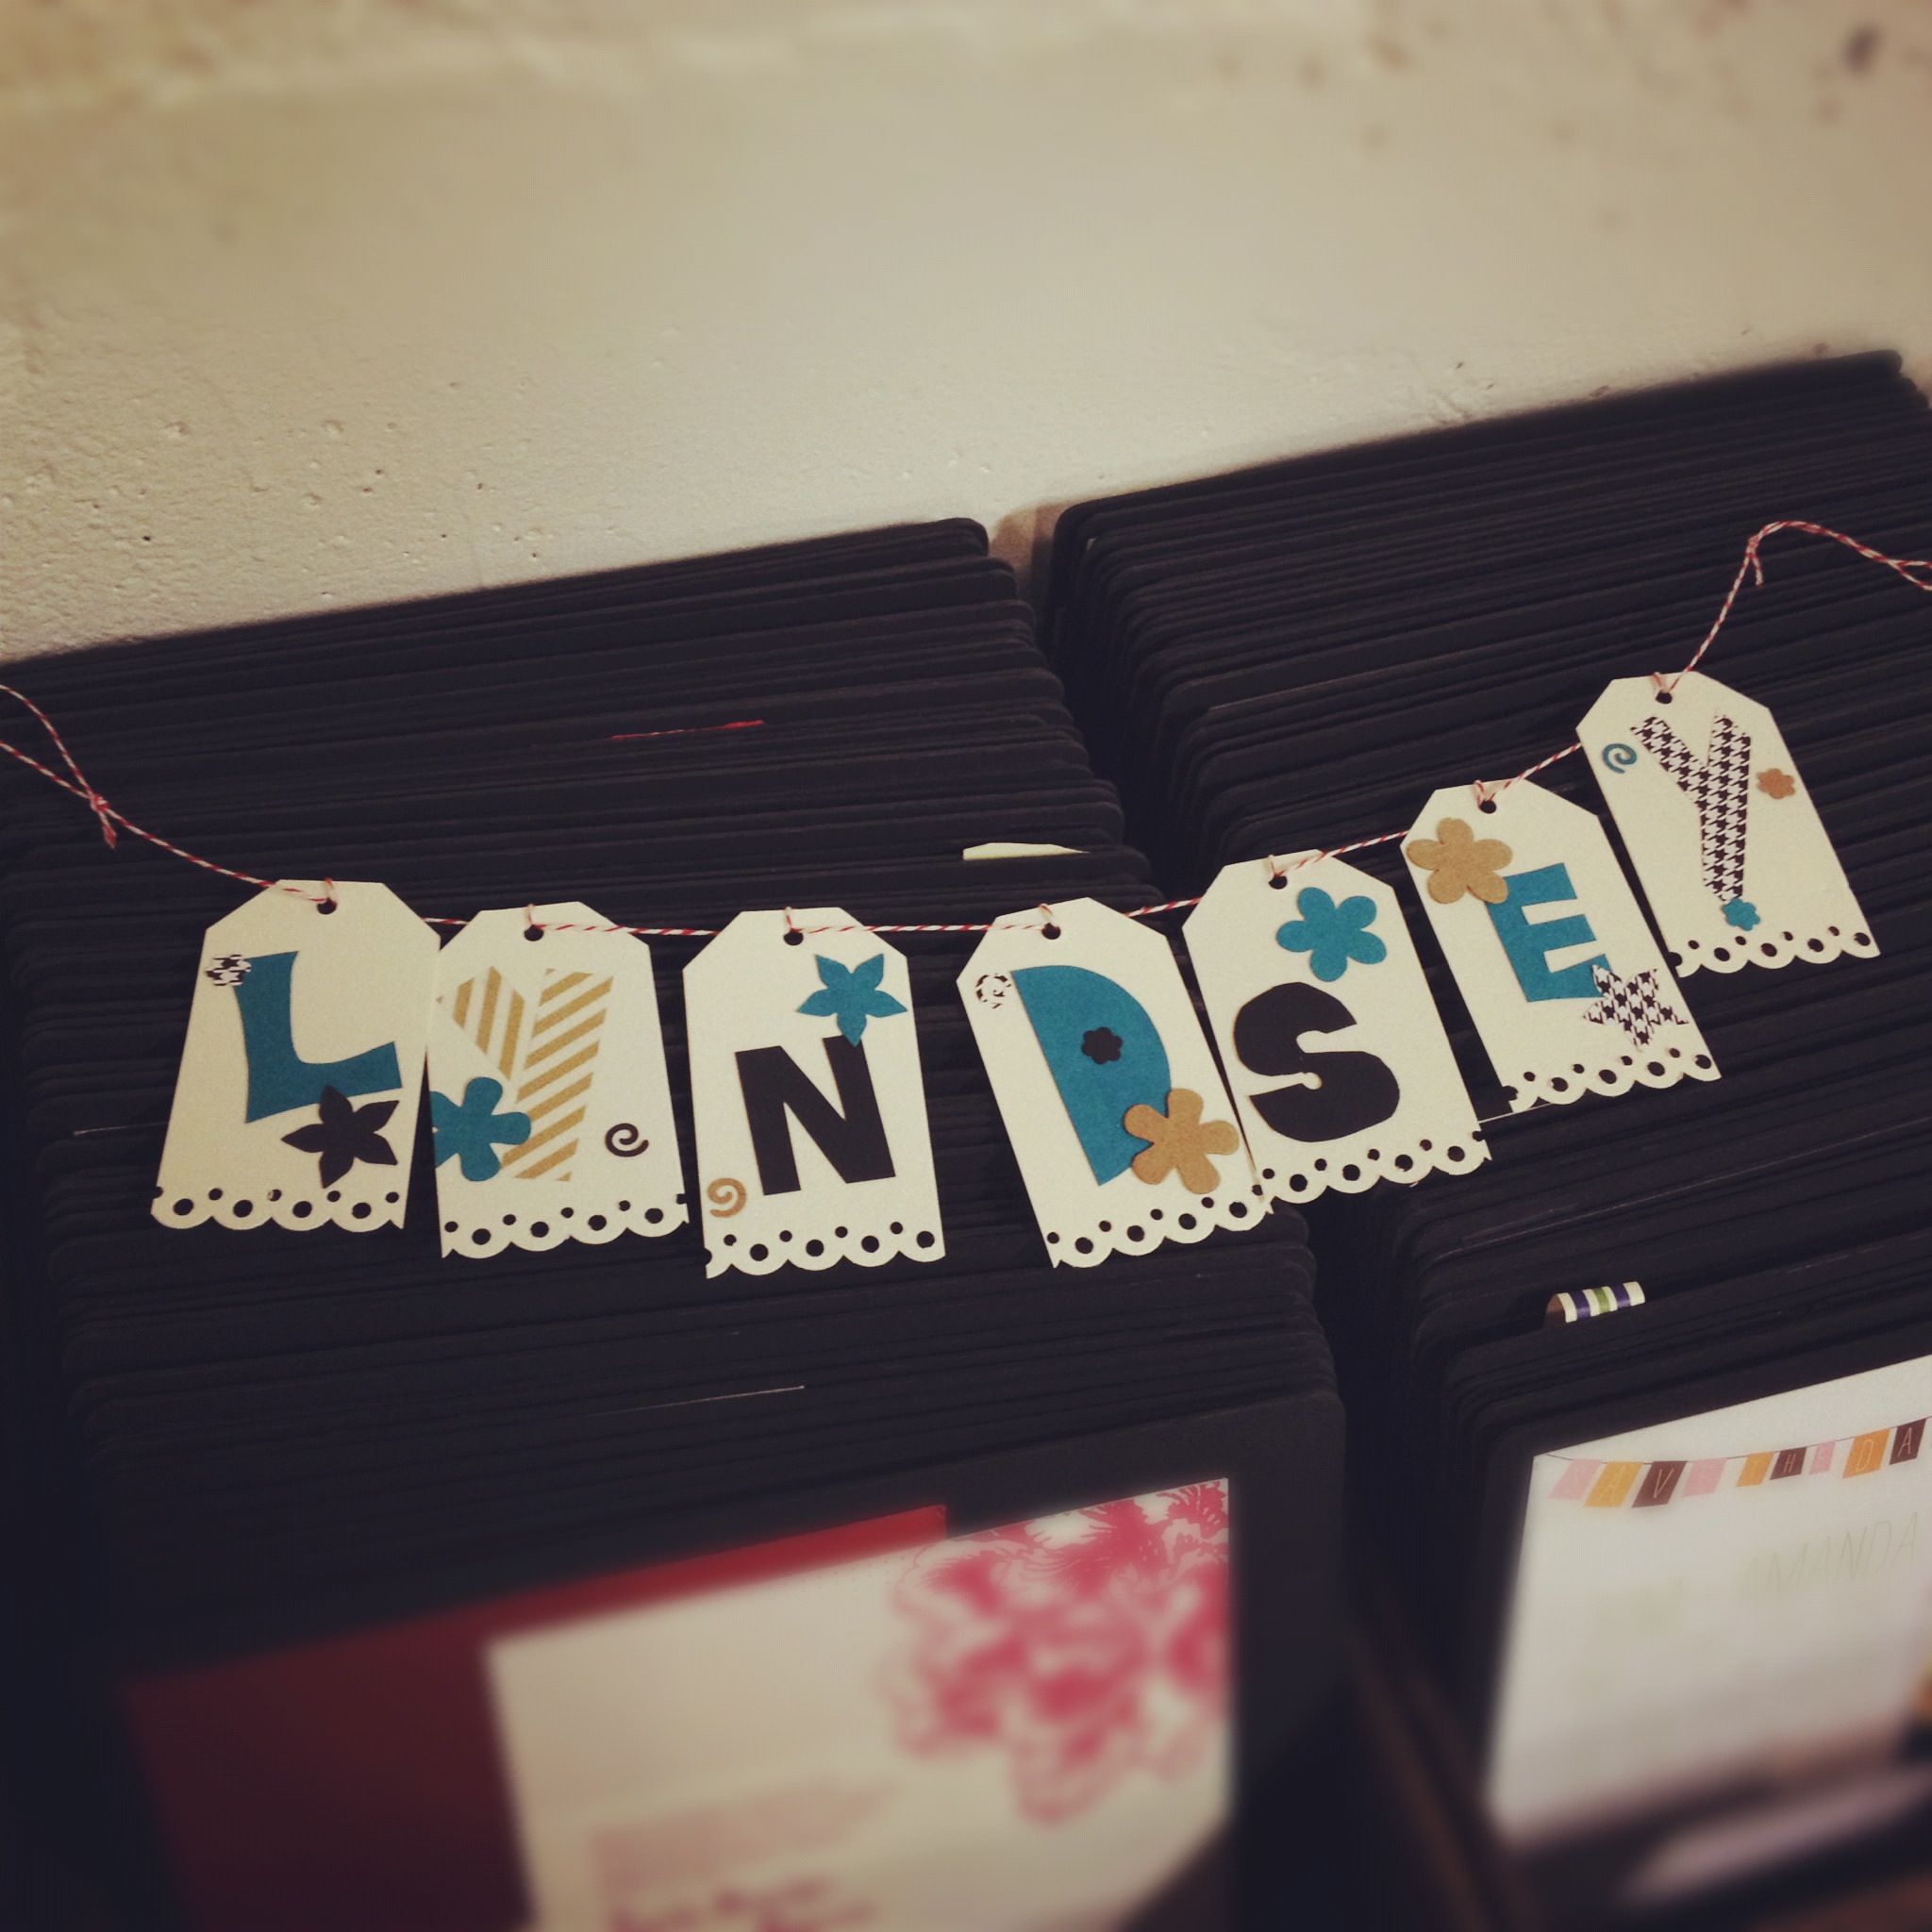
We love crafting up a storm around here and Valentine's Day offers a great excuse for us to pull out all of the paper, washi tape, heart stamps, and other craft supplies we have laying around the studio. We were joined by the fabulous ladies from Alison Events and our new friend, wedding photographer Allan Zepeda. Here are a few shots from the crafting extravaganza!

Lia's valentine matched her outfit.

Anna B.'s sweet dog silhouette valentine.

Alyssa from Alison Events made a sweet paper couple.

Lyndsey's adorable banner.

We hope you have a sweet Valentine's Day!!

Wedding DIY: Heart Shaped Programs

Add a sweet handmade element to your wedding with these heart shaped programs from our book Handmade Weddings published by Chronicle Books. These adorable programs double as fans for an outdoor summer wedding. They're also the perfect compliment to the Big Day wedding suite!

Materials

Makes 100 programs

• Two hundred twenty-two 8 1/2-×-11-inch sheets red card stock

• 100 wood fan handles

Tools

• Heart-Shaped Program template (available online here)

• Font: Strangelove Text

• Laser or inkjet printer, with extra ink cartridges

• Scissors

• Pencil

• Double-sided tape gun and extra tape (we recommend the 3M Scotch ATG 700 Transfer Tape Dispenser), or glue sticks

How to

1. Customize and print your programs. Customize your program text using the online template. Print 110 copies onto red card stock using a laser or inkjet printer (10 copies are for inevitable mistakes when cutting). Using scissors, cut each program into a heart shape, following the outline on the template and being careful to cut inside the line so the outline doesn’t show.

2. Assemble your programs. Place your hearts back-to-back. Try to pair up hearts that match each other as closely as possible, as there will be some inconsistencies due to the hand cutting. Once you are happy with your pairings, take the first two hearts and lay them side-by-side, right-sides down, on your work surface. Center a fan handle on one of the hearts, left to right, and position it vertically so that the top 6 inches of the handle lie inside the heart, and the bottom 3 inches lie outside of it, forming the handle. Dispense glue or double-sided tape on one side of the top 6 inches of the handle and press into place (figure 1). Dispense glue or double-sided tape along the heart-shaped areas of the same heart as well as the second side of the handle. Align the second heart, right-side up, over the glued side and press down firmly (figure 2). Repeat for all programs.

Variations

Paddle fans, as these types of fans are known, can be made in any shape—a circle, oval, square, rounded square, egg, leaf, or traditional fan shape (resembling a quarter circle). If you have a longer ceremony, you can print on both sides of the fan, adding a bit of decorative flourish along the borders.

Valentine's Day Craft Round Up

Whether you’re a fan of Valentine’s Day or not, there’s no denying it presents a great excuse to get crafting. Every year at Hello!Lucky we gather for a craft night in the studio a few days before Valentine's Day. We have found a few fabulous projects we've got our eyes on for this years craft night, and can't wait to get our hands on some paper and glue!

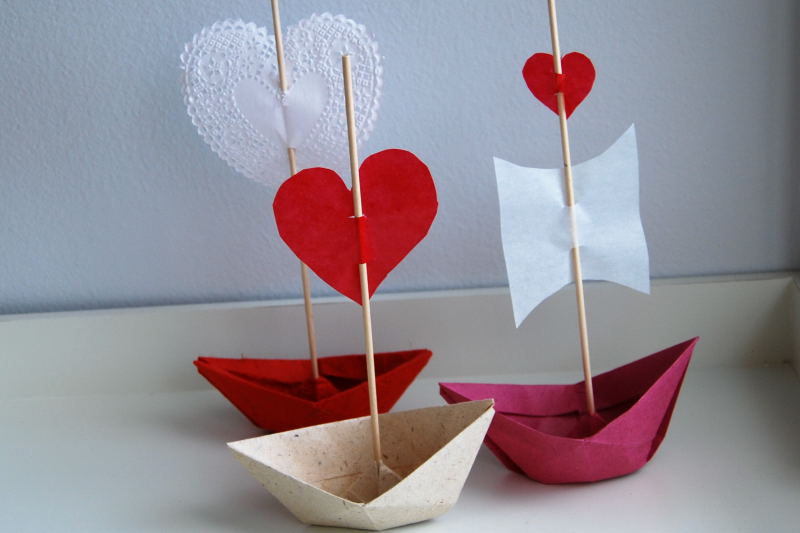
Valentine Love Boats (above) Fill the boat with some conversation hearts and let it set sail to your loved ones! Found via Green Jello

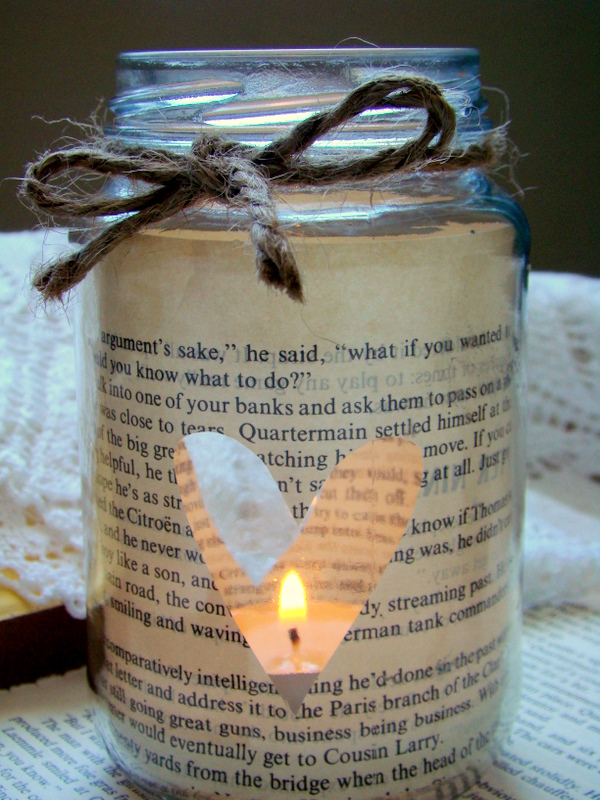
Heart Votive We love that this candle holder is made with pages from an old book. It doesn’t scream Valentine’s Day but would definitely set the mood for a romantic evening. You can even use it all year round! Found via i love this

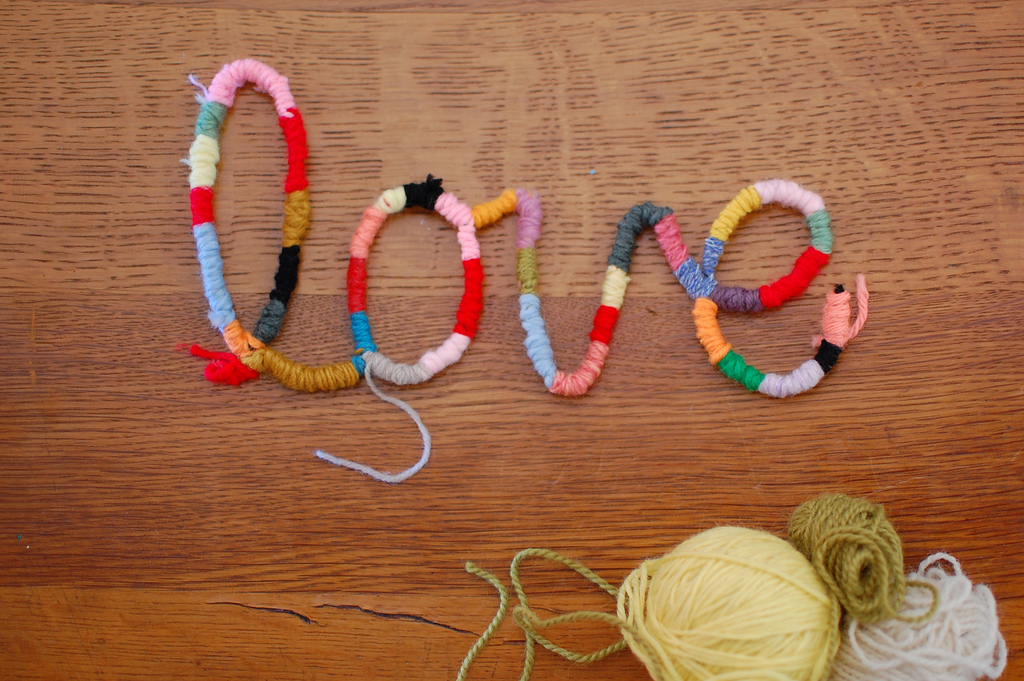
DIY Yarn Font Spell it out with pipe cleaners and yarn. Seems simple enough for kids and those of us less craft-inclined. Found via The Journals of Giddy Giddy

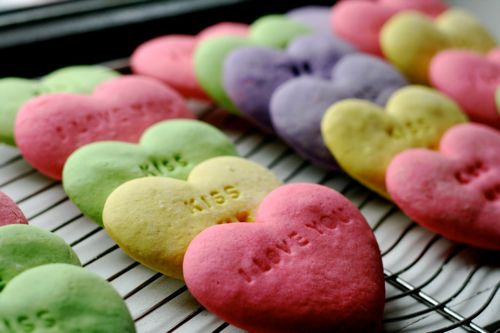
Conversation Heart Sugar Cookies Surely these sugar conversation heart cookies are tastier than the classic candies, and who wouldn't love a homemade "Kiss Me?" These bite sized valentines are little more involved but we always love trying out new recipes! Found via Food For Thought

Do you have a go-to craft project for Valentine’s Day or a suggestion for our studio craft night? Leave a link or let us know your faves in the comments! 

Porcelain Valentines


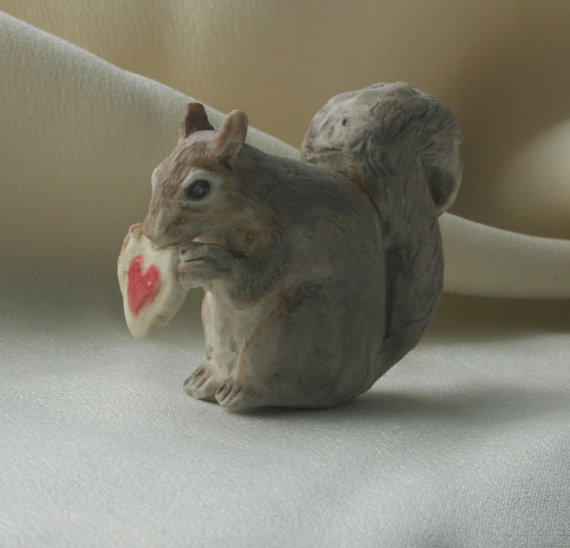
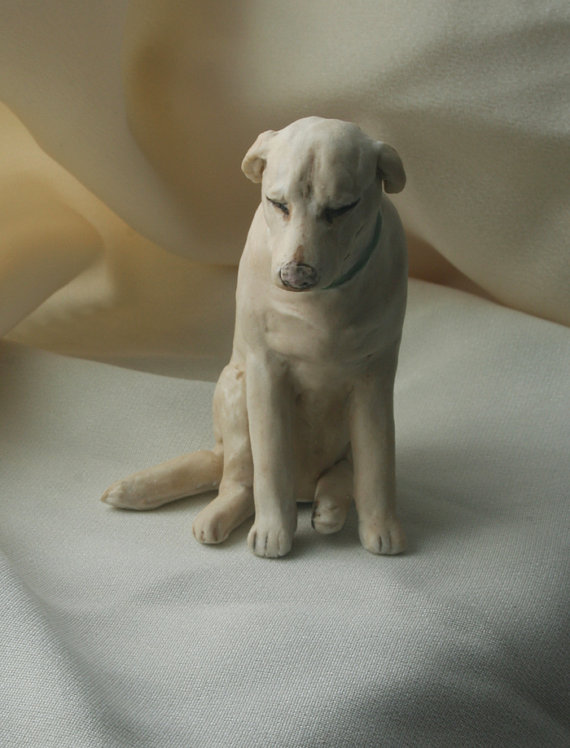
Happy Rustic Farm week everyone! To wrap up the end of our country chic themed posts, we want to share the artistic creations by our friend and colleague Corie. Every week we look forward to her Lucky Friday posts, and always get a kick out of her cheeky greeting card descriptions. Corie carries on her humor in her own art, too! Her etsy shop coriejcole is filled with miniature porcelain figurines, that are equally as hilarious as her posts. We're loving her Gray Squirrel Eating Heart-Shaped Cookie, especially because Valentine's Day is right around the corner!

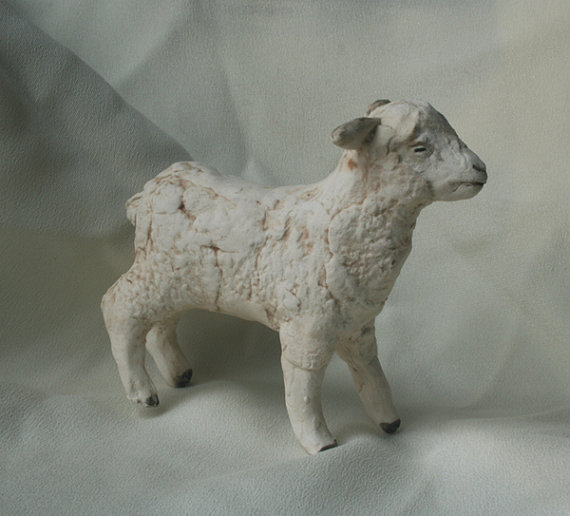
Porcelain Lamb (above) and Denver the Guilty Dog (below)

Check out Corie's etsy shop here!
Gaga for Gingham

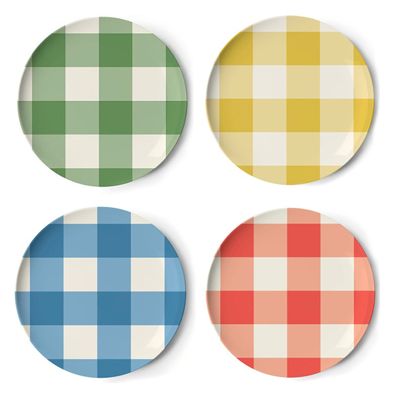
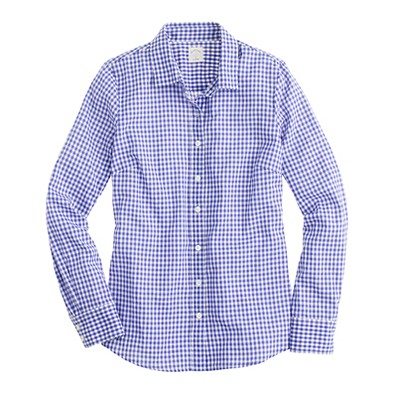
In celebration of Rustic Farm week, we're channeling all the details that make us love country weddings. One of the most recognizable patterns has to be gingham, and we're going gaga for it! At the first glance of these gingham patterned plates we envisioned a large picnic style table setting with lots of fresh fruits and garden flowers. Paired with simple white linens or vintage lace, these dishes would be downright adorable.

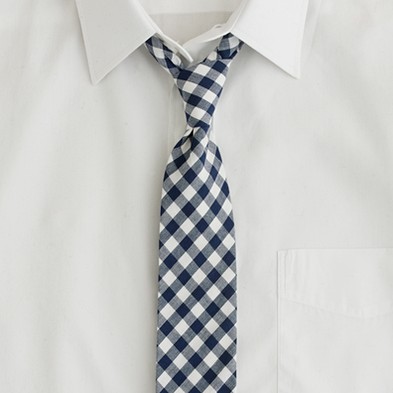
Jcrew knows how to pull off patterns the right way. Matching your fiance might seem cheesy at first, but these gingham patterned getups could definitely dazzle in a photo save the date.

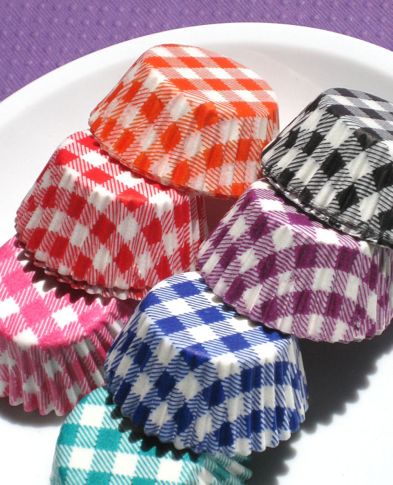
We absolutely need these gingham cupcake liners!

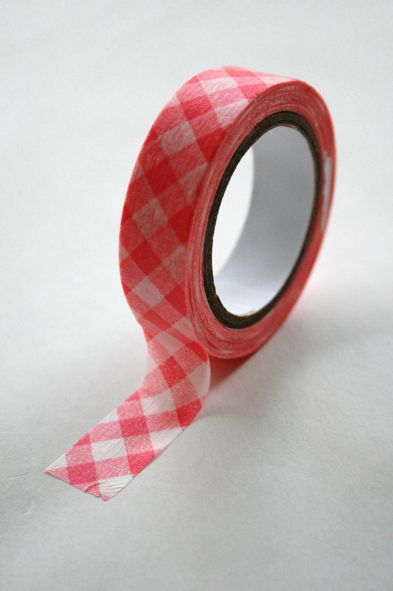
Can't you see this gingham washi tape as the ultimate decor accessory? There are endless ways to spruce up a simple setup by adding a little patterned tape. We can't get enough of it!


Must Have! Letterpress Cookie Cutters

ref=as_li_ss_tl

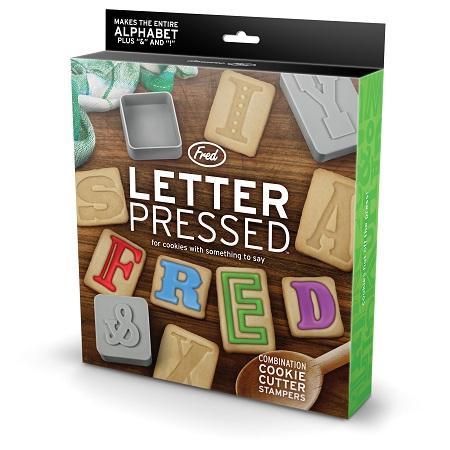
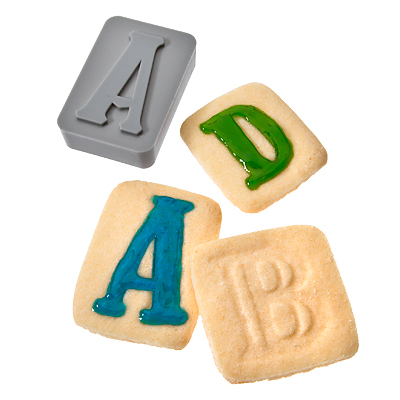
When we spotted these Letter Pressed Cookie Cutter Stamps on Swissmiss we immediately started scheming on reasons to order them.  Who could refuse "will you marry me" spelled out in sweet treats?  And wedding guests would love to nibble on monogrammed favor cookies post-party.  A giant letterpressed cookie invitation might be going a bit too far but we're sure creative minds will find endless uses for these darling type tools!ref=as_li_ss_tl-1

DIY Holiday Cards

youaregifted_card

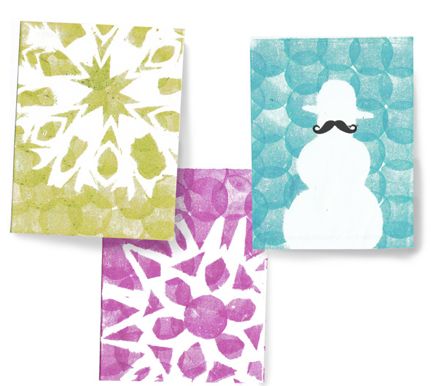
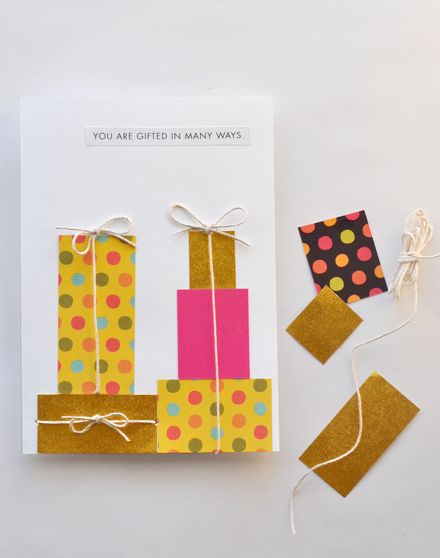
If you've got a crafty thumb - or let's admit, if you have time to hand-assemble your holiday cards - you should definitely head over to The Inside Source for their DIY Holiday Greetings feature! You'll find various ways to bust out all of your holiday paper needs, including a paper box! You even get detailed instructions on how to make this adorable card by yours truly! Inspired by the accordion photo card, Gifted (illustrated by Susy Jack), this card is a one-of-a-kind gift in itself!
stationery2011pic7

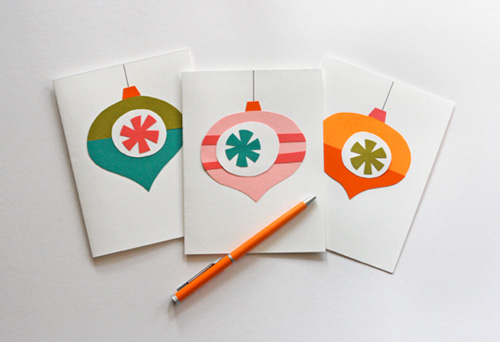
We love the vibrant colors and retro-inspired ornaments in these cards by How About Orange...

stationery2011pic2

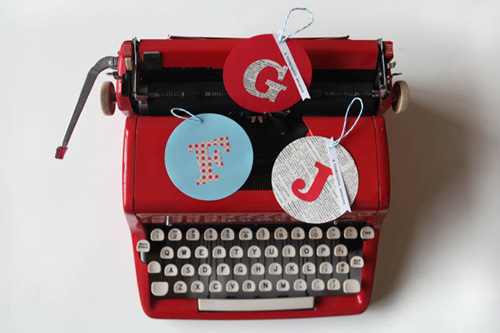
...and these typographic gift tags from Uppercase! They are perfect for gifts year-round, and are great for recycling your holiday cards from last year!
Be sure to check out the whole feature here, happy crafting!

Destination: Craftgawker

craftgawker

How fantastic is the website Craftgawker?! If you haven't visited the site yet, you must! Craftgawker is a visual web gallery of craft tutorials and DIY projects composed by user submissions. It's the ultimate destination for endless hands-on activities of all types, and we can't get enough. From perfect holiday how-to's to accessorizing your everyday wardrobe, you'll find yourself digging through closets and bins and busting out your scissors and glue! Above are some of our favorites, and are on the top our list for the holidays. Happy crafting!

From top left, clockwise: Gothic Ring, Wire Tree, Holly Pillow, Scarf Flats

Craft Bar Event at MOCFA

penguin

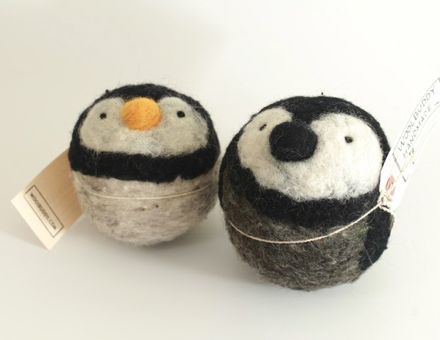
Tonight's Craft Bar event at The Museum of Craft and Folk Art is going to be a total blast! Every first Thursday of the month the MOCFA invites local Etsy artists to come participate in a craft night - complete with materials, tutorials, and beer! For just $10 you can go home with some adorable felted wool penguin buddies and handmade holiday cards! Artists Jackie Huang and Rigel Stuhmiller will be there offering hands-on help to all of you first timers. It's completely kid friendly so bring the family!

cards

The event lasts from 6-8pm and is located at 51 Yerba Buena Lane in San Francisco. Don't miss it!

Anthology DIY Cook's Kit

Anthology_Cover

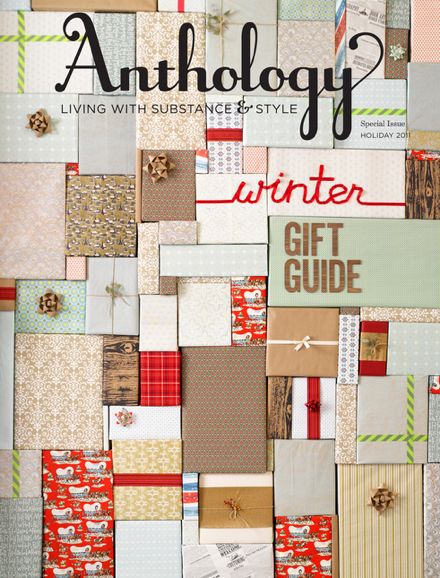
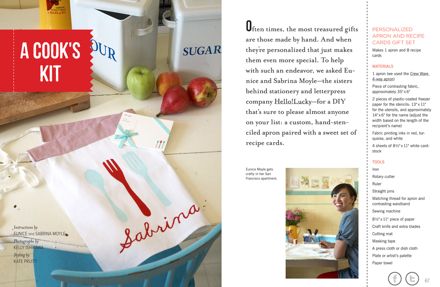
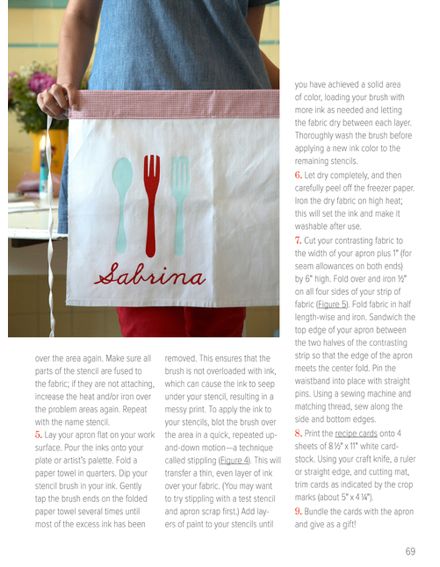
Have you all had a chance to flip through the holiday issue of Anthology Magazine? It's filled with fabulous gift guides and festive features to get you in the mood for sleigh bells and snow! Eunice designed a retro chef's kit as a gift for her sister Sabrina, and there's a detailed tutorial about how you can make one yourself! Complete with guidelines for printmaking and sewing, your handmade gifts are sure to make a lasting impression.

Anthology_Chef

Anthology_Chef2Head over to Anthology to see the whole story!

James Tucker in Uppercase Magazine!

110311-james-in-uppercasemag

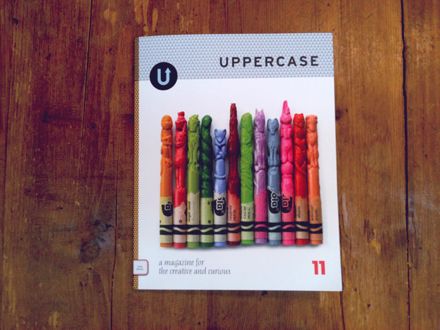
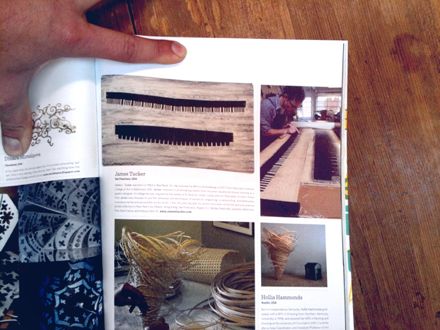
The fall UPPERCASE magazine is out and features our very own letterpress printer, James Tucker! The issue is all about sharp objects like hooks, knives, and other cutting tools. Check out the "Labor Intensive" section to see James's gorgeous wood-cut print! Congrats James!

110311-james-in-uppercasemag2