DIY Gold Leaf Notepads

Lately we've been following a new craze popping up around the web. Gold leaf, historically used as an art medium, has now turned into one of the trendiest decor accessories this year. We've seen it on picture frames, furniture, fingernails, and jewelry, and once we saw Eat Sleep Cuddle use it for handmade notebooks we knew we had to give it a shot. Naturally our taste for nautical design comes into play when coming up with a new project, so these DIY Gold Leaf Notepads fit right in. Inspired by traditional nautical flags, we felt the pop of gold would compliment the classic color palettes seen in the flags. Since school is back in session and notes are to be taken, this DIY project is perfect for daily to-do lists and is the ultimate stylish campus accessory. Read the full instructions below!

Materials:

4" x 6" note cards, Elmer's Glue, Craft Knife, Paint Brush, Gold Leaf Kit, Painters Tape, Foam Brush, Card Stock Paper, Ruler, Bone Folder, Pencil

*Tip - We don't recommend the "peel and stick" gold leaf, as it isn't a guaranteed success. The original sheets are much more reliable. Most kits will include the gold leaf sheets, adhesive, and sealer, but you can also purchase each item separately. We bought ours at Michaels, but they are sold in most craft stores.

How To:

Step 1. Stack your note cards so the edges are even. Score one end of the stack of cards with a craft knife, making small indentations on the paper. This will ensure your glue will stick strongly to the stack of cards.

Step 2. Apply a layer of Elmer's glue to the scored edge of your cards. We recommend using a bulldog clip or rubber band to help keep the paper in place.

Step 3. Once the first layer of glue is dry, add two more layers. Set aside.

Step 4. While the glue is drying, cut your card stock paper to size. You will need to measure the thickness of your stack of note cards. For most sets of 4" x 6" cards, the stack is 3/4" thick. In this case, cut your paper to 12 3/4" long by 4" wide.

Step 5. Measure 6" from each end. Using a ruler and bone folder, create two score lines 6" from each end, creating a center strip which will act as the binding for your notepad.

Step 6. Apply two strips of painters tape to your card stock. We placed ours along the back score line and 1.5" down from the top.

Step 7. Apply a thin layer of metal leaf adhesive using a paintbrush. Avoid any puddles, as this may cause your paper to ripple. Allow to dry at least 2 minutes, or until it feels dry but sticky to the touch. If the adhesive is still wet, the gold leaf will not stick properly.

Step 8. Gently lay a layer of gold leaf on top of the adhesive. Most kits will have detailed directions, and should come with small sheets of wax paper to help smooth the gold leaf down. Then use your foam brush to smooth.

Step 9. Once the gold leaf is set and dried to the adhesive, use your foam brush to wipe away any excess pieces. Save large pieces for later. Trust us, you'll want to do this again!

Step 10. Apply a thin layer of sealer on top of the gold leaf to prevent scratching. Allow to dry.

Step 11. Carefully remove the painters tape from the card stock.

Step 12. Cut triangles out of your card stock to create a flag shape. Or, leave as is!

Step 13. Apply Elmer's glue to the center strip of your card stock. It should already be scored from Step 5. Set your stack of note cards (the side you already glued and dried) on top of the center strip and hold to seal. Voila! You have instant modern notepads that you'll be dying to show off in class or at the office. Happy crafting!

For more paper DIY projects, head over to the DIY section of our website here!

Jude's Picks: Cookies, Tunes & Reads!

In today's post, Jude offers up some cookie, music & book recommendations. We tested out this chocolate chip cookie recipe from the New York Times over weekend - they were delish, though tough to call whether the dough or the finished cookie was the most tempting...

Jude has always been big into singing and dancing (circle time goes against his rebellious nature, but throw on a good tune and he's there, with bells on!). Current favorites include I Was Made for Sunny Days by the Weepies (favorite dance move with this one is the alternating shoulder shrug)...

Rihanna's (also known as "Ri-Na-Na") What's My Name and Rude Boy are often a favorite for post-bath dancing and in car sing-alongs...

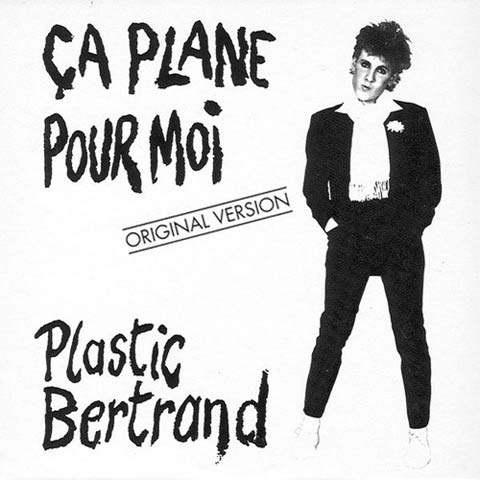
Ça Plane Pour Moi - awesome punk rock tune from the 70's by Plastic Betrand (accompanied by 80's metal-style head thrashing and occasional fist pumps)...

Another huge favorite is Price Tag by Jessie J featuring BoB - also an excellent karaoke number...

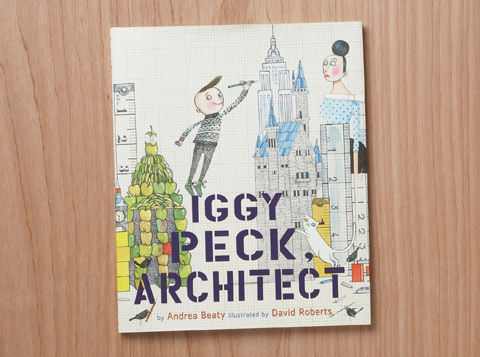
Jude's top story time story these days is Iggy Peck, Architect by Andrea Beaty, a hilarious, irreverent book about doing your own thing...

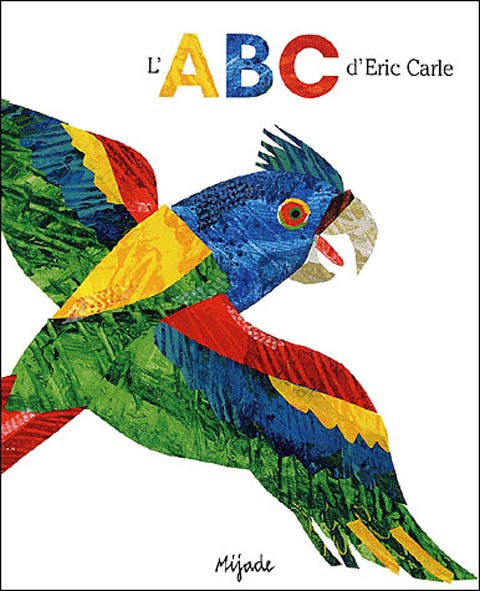
Other faves include Eric Carle's ABC (to date read about 1,538,585,192 times)

"Leo", by Robert Kraus (also available in English as "Leo, the Late Bloomer") - this was one of my favorites as a kid too...

And, of course, "Les Oeuf Verts au Jambon" otherwise known as "Green Eggs and Ham" by Dr. Seuss.  I'm hoping if we read this one enough times he might start eating something other than apples, blueberries and pasta - or, at the very least, might contemplate eating something, anything green.

Mendocino Boho Wedding Shoot

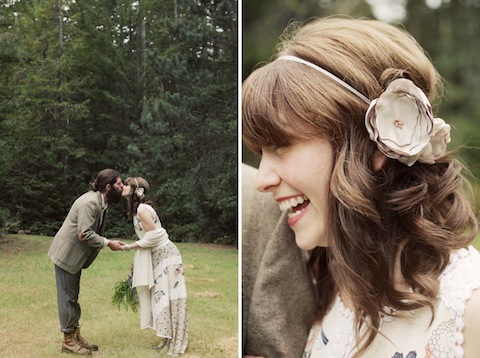
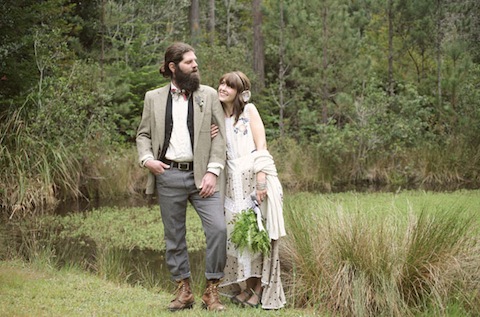
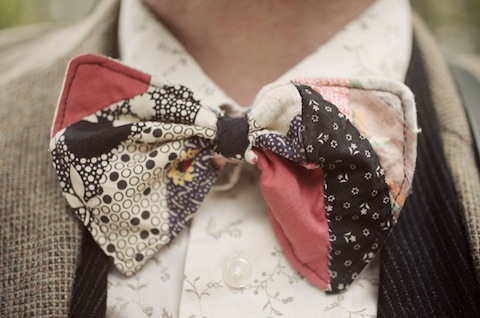
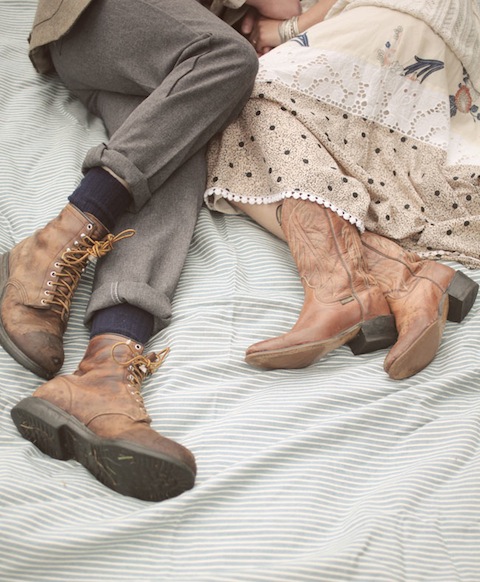
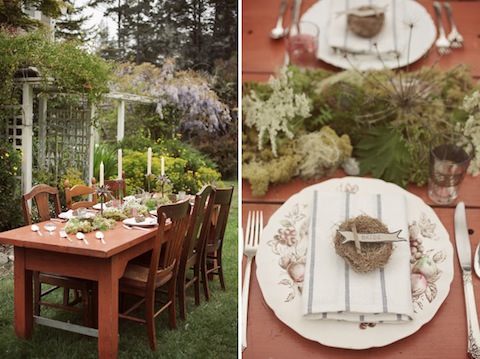
Did you see this charming boho wedding shoot on Green Wedding Shoes? It was styled by Karin Kamb of Clever Girl Consulting and photographed by none other than Edyta Szyszlo. The sultry green backdrop of the Mendocino Farmhouse paired with the neutral organic elements of the clothing and decor made for a comfortable and romantic setting. The models are local folk singers, too, which made their connection seem so perfect.

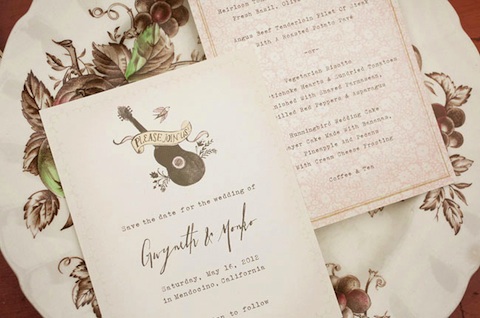
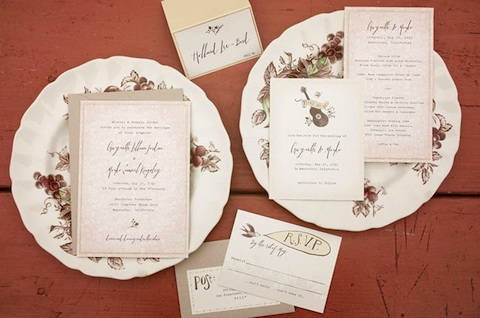
Eunice designed a brand new wedding suite for the shoot, appropriately titled Bluegrass. It's still in the works but will be available on our website soon!

To see more photos from the shoot head over to Green Wedding Shoes!

Photography by Edyta Szyszlo

Hello Weekend!

This week on the blog... We share a patterned paper DIY on how to make drink flags.

Celebrated a lovely floral wedding.

Hosted a giveaway for some sweet clothes. (You can still enter!)

Picked out the perfect guest book.

Shared some fun news about one of our birth announcements.

Gave away a favorite Julia Rothman card. (You can still enter that too!)

Have a great weekend whatever you do!

Hello Weekend!

This week on the blog:

We considered bridal pantsuits.

Took another trip to Carmel with Sabrina.

Debuted our latest stop motion video all about patterned papers.

Dreamed about a Brazilian wedding.

Partnered with Betabrand for a sweet giveaway (which you can still enter!).

Shared a gorgeous DIY bouquet from Madeline Trait.

Went a little hog wild. 

We also wanted to share this amazing video created by the brother of our very own Anna Boswell, whose fantastic blog writing and Martha Stewartesque crafting skills have been gracing us for over a year. We're not surprised her brother is just as talented as she is.

Happy Friday everyone!


DIY Floral Bouquets by Madeline Trait

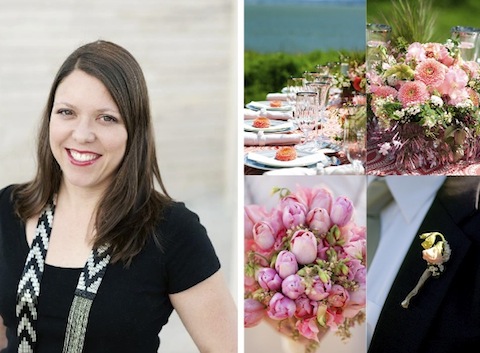
You may remember Madeline Trait by her amazing cake toppers, but today we're excited to feature her for her more prominent role as floral designer. Madeline creates beautiful bouquets that reflect the character and style of each event. As a San Francisco artist, she chooses locally grown plants and flowers for her displays. Madeline is also the official floral designer for Locally Grown Weddings, a team of San Francisco-based small business owners with an emphasis on green business practices. We asked Madeline to write a guest post on our blog with tips for making your own bouquets or arrangements and we love what she came up with. Take it away Madeline!

Flowers are a decorative element that not only add to the decor of your event but also add to the importance, and that is why it is such an integral part of a wedding or party. Whether you DIY or have a florist do your flowers, it is that finishing touch that you don’t want to skip.

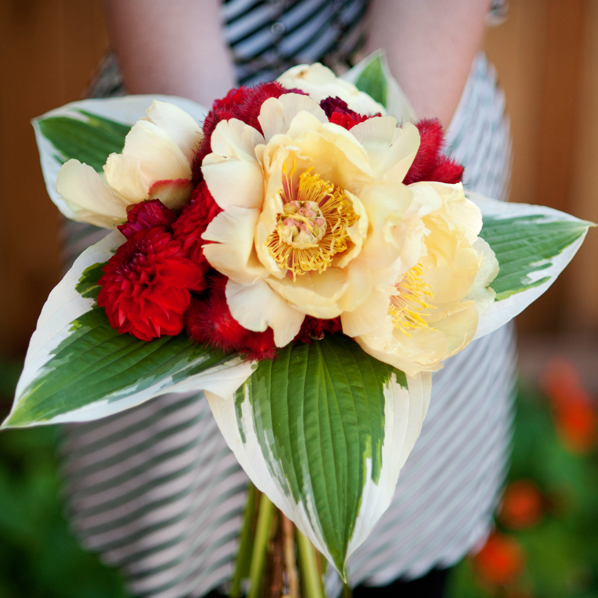
Today, I have a fresh modern look to a wedding bouquet using Hello!Lucky’s wedding stationery as my inspiration. Many times, the invitation is the first thing your guest will see to introduce them to your special day so it’s only fitting to have that the guide for the design of your event as you move forward. I selected the Big Day suite as my inspiration as I like the bold colors and modern look it has with it’s big bold text. Red being the main color was perfect guide for selecting summer seasonal flowers.

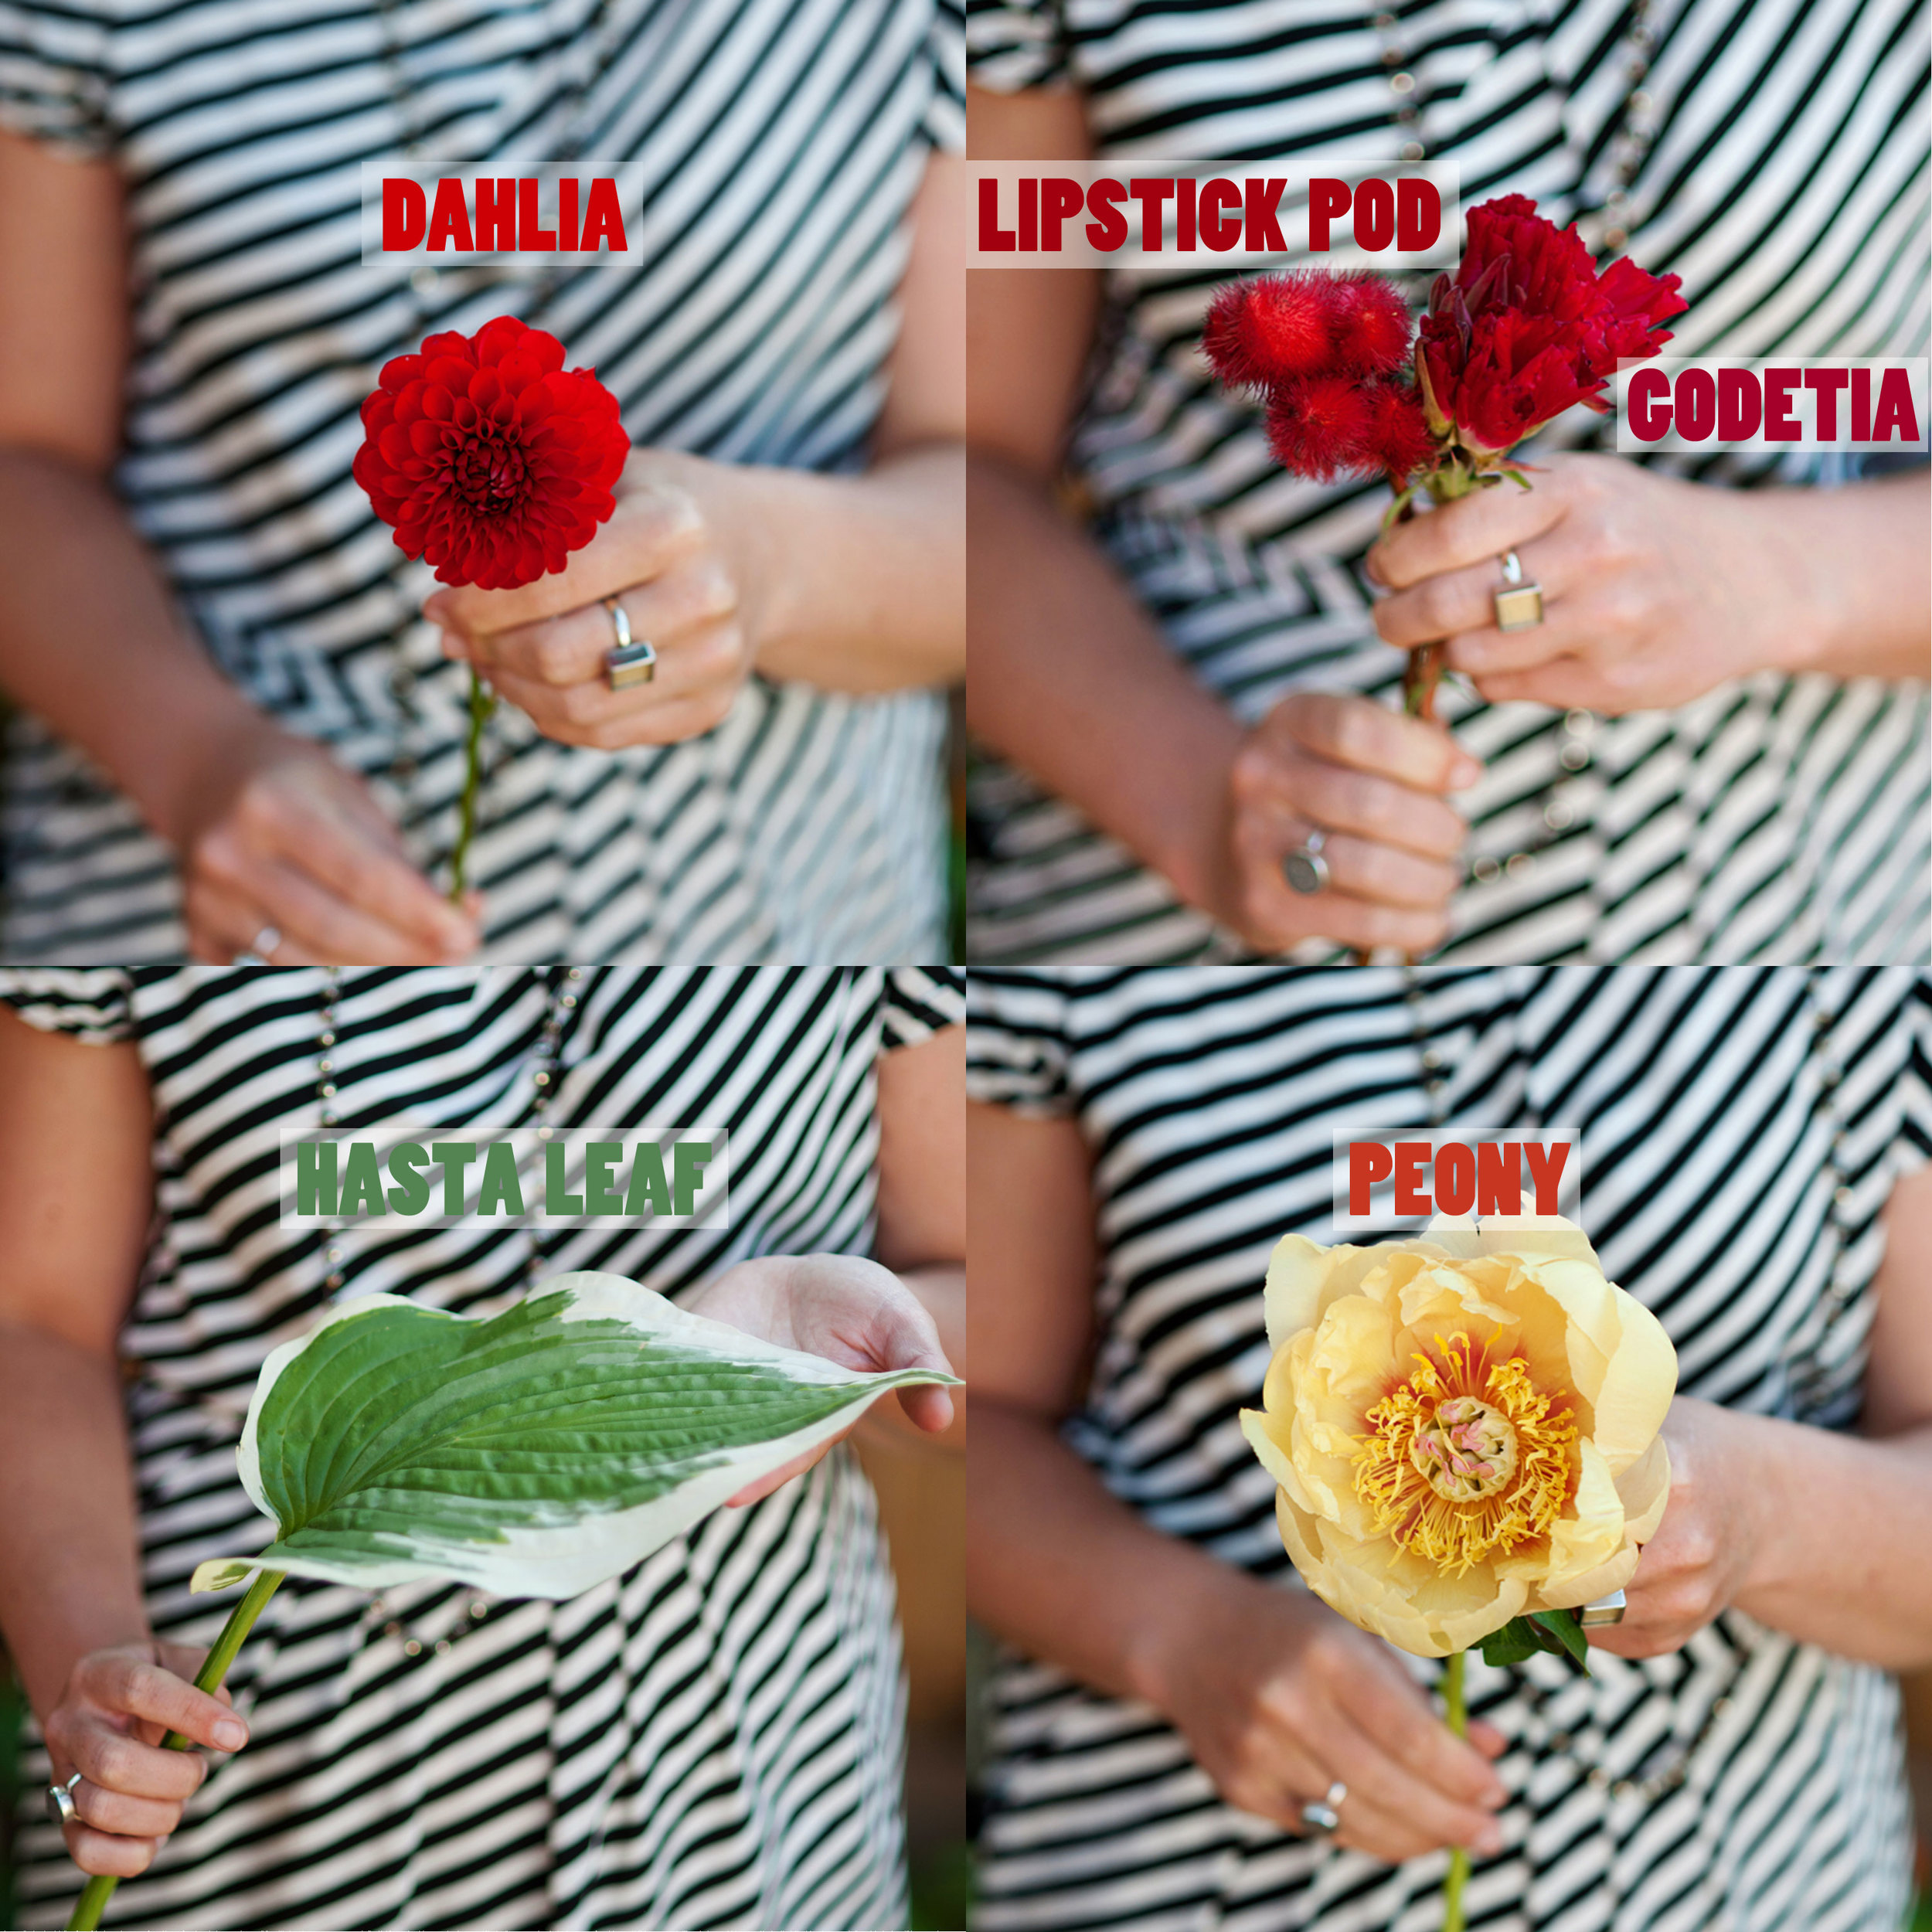
The red flowers that I chose were Dahlia’s, Lipstick Pods and Godetia. I chose these not only for their color but for the diversity in their shapes and textures. Yellow peonies were then added to the mix due to their red/orange centers and that added splash of yellow, plus, you can’t go wrong with peonies. Hasta leaves were used as a the final trimming to the bouquet creating a backdrop of green and pale yellow to set the other flowers off.

Looking to create your own? Here are some quick tips to consider for a bright, modern and bold bouquet:

Use bright colors.

Choose a mixture of textures such as the soft petals of a rose with the hard structure of a poppy pod.

Choose flowers that contrast in color and or shape and texture.

Finish the look with a bold stroke such as an interesting ribbon or leaves.

Photos by Aurora Meneghello Productions

Real Wedding: Jennifer and Rishi

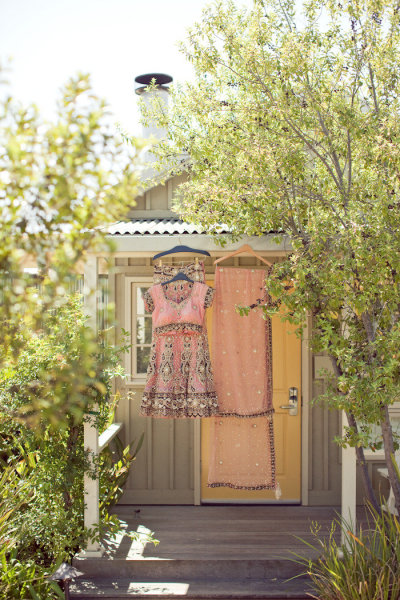
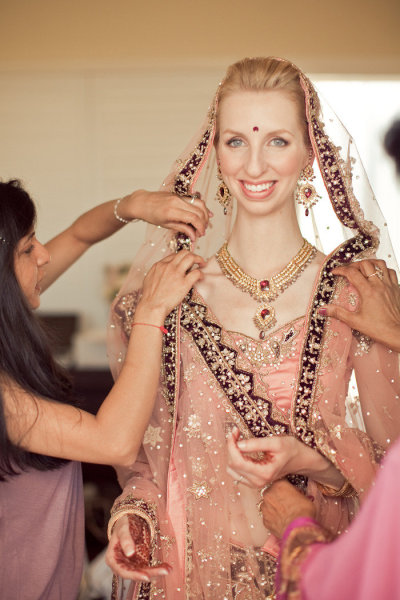
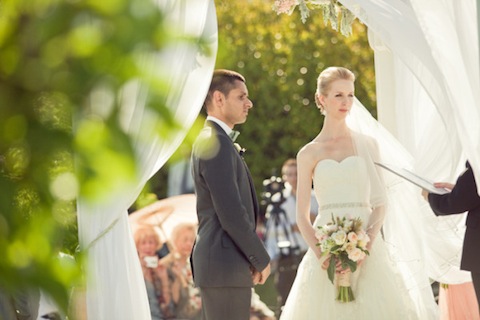
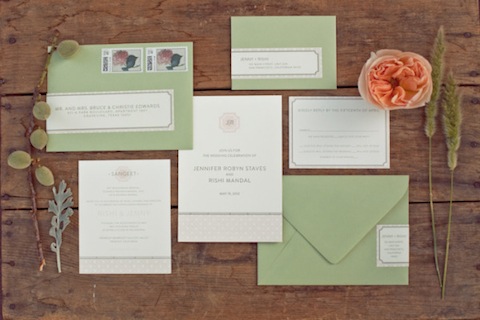
Finding the right words to describe this real wedding is a bit of a challenge because every image takes our breath away. Jennifer and Rishi celebrated their marriage at the stunning Carneros Inn in Napa Valley and truly embraced their cultural heritage with a Hindu/Christian hybrid wedding. Along with their talented event designer Laurel Anderson of Esla Events the couple put together one of the most heartwarming events we've ever seen. The combination of Hindu and Christian traditional garments, the soft blossom and sage color palette, the incredible scenery and delicious local wine and foods make up one spectacular celebration. One that we're sure will inspire many future brides.

We recreated one of our archived designs into a modern invitation that would flatter both the Hindu and Christian ceremonies. The invitations matched the scenery of the location and the gorgeous floral arrangements by Crimson Horticulture Rarities.

To view more photos, head over to Style Me Pretty!

Photos by Carlie Statsky Photography

Colorful Crocheted Playground

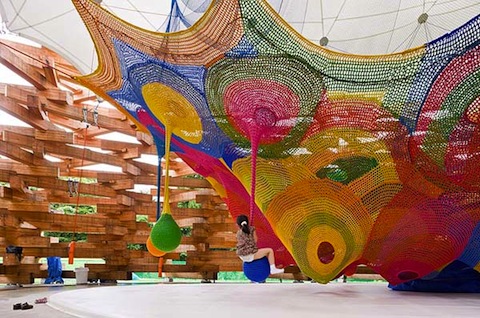
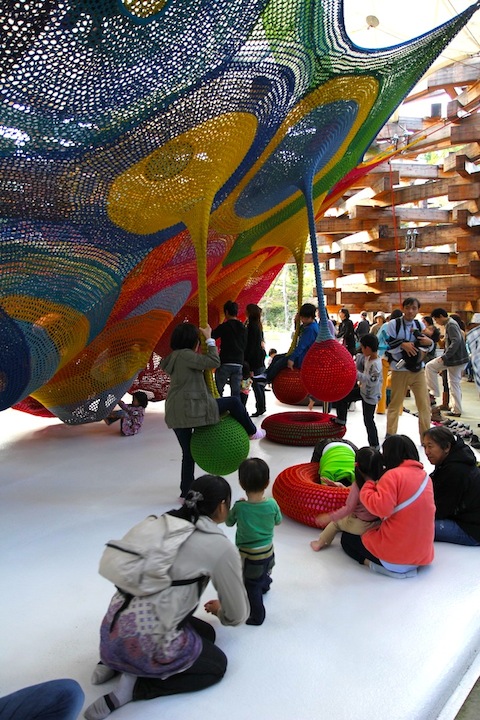
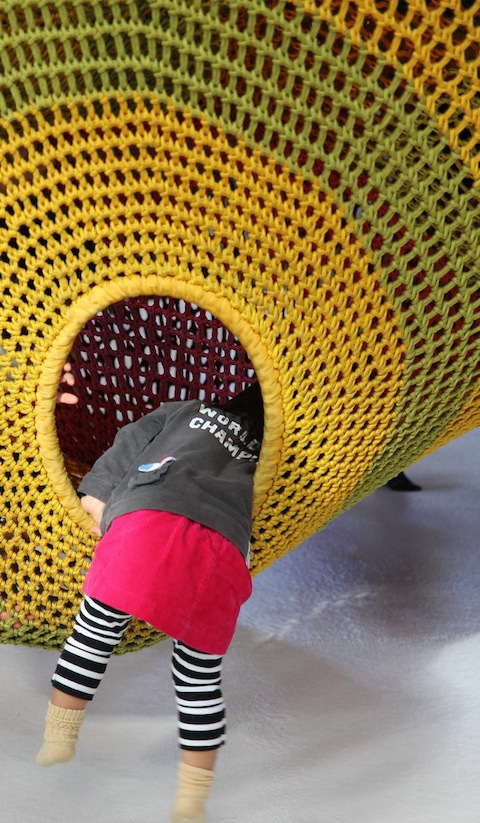
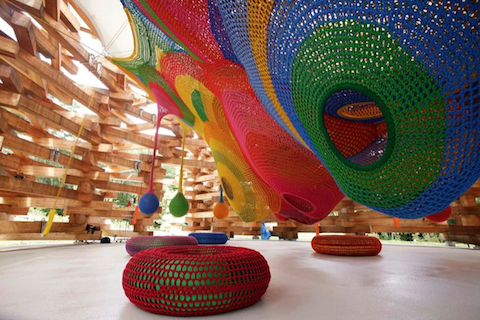
It's hard to imagine a place like this exists, especially because for most of us playgrounds were made up of wooden swings and plastic slides. Japanese artist Toshiko Horiuchi-MacAdam has created a larger-than-life crocheted playground at the Hakone Open Air Museum in Hakone, Japan, and just blew any other playground out of this world. The fiber artist describes her most treasured moments hearing the "undisguised delight of children exploring a new play space." It is truly remarkable that an artist would devote his/her time to create a space where people can interact and feel pure joy. Outstanding work!

Found via My Modern Met.

Sabrina's Weekend Snapshots

This weekend we enjoyed the sunshine by spending lots of time outside. The Yerba Buena Gardens are a delightful place to hang out on a sunny day. There's tons of fun things to do with kids or adults, but one of our favorites is to ride the Charles Looff Carousel.

 We went to the Farmers Market at the Ferry Building on Saturday and picked up some of our favorite snacks - peas!

 The market was bustling with visitors and bursting with fresh produce and fruit. I loved how the colors of these carrots blended together so I had to snap a picture.

After the market we rode the ferry to Sausalito. It was the perfect way to wind down after such a busy morning and the boys loved being on board the big boat.

Hope you all had a nice weekend!


Cake Toppers by Madeline Trait

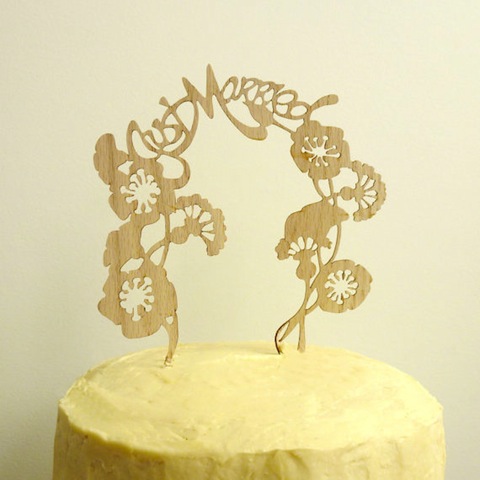
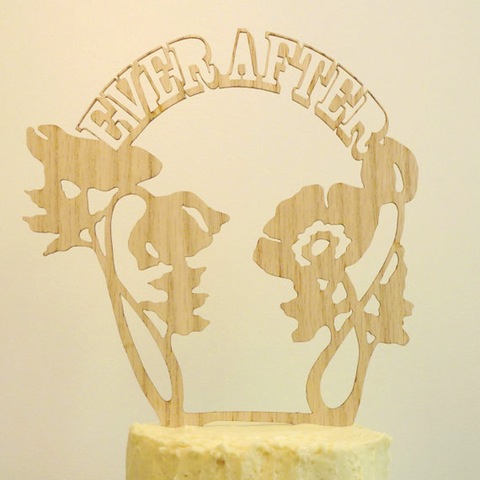
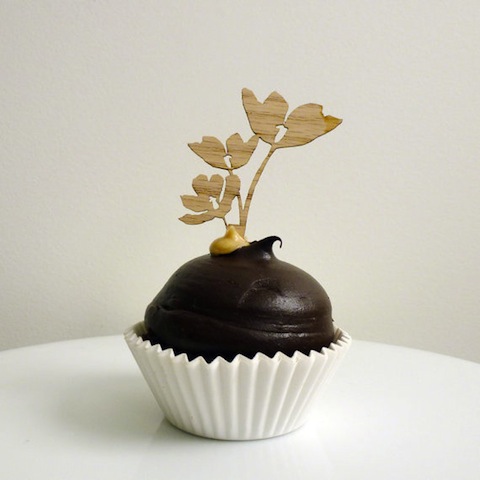
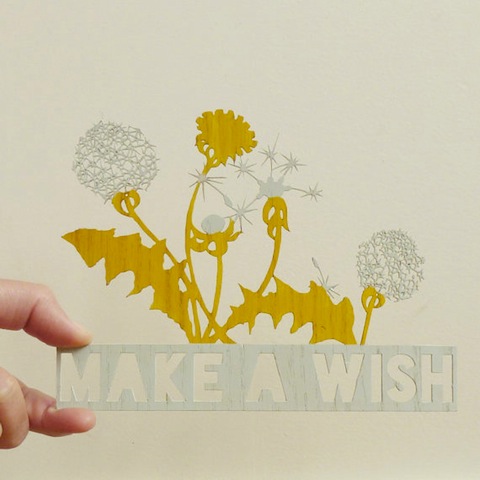
We're really enjoying the new trend of stylish cake toppers, especially when they're made by local artists. The multi-talented Madeline Trait not only carries these one-of-a-kind laser cut cake toppers on her Etsy site, she also runs a successful business in event and floral design in San Francisco. The toppers are all designed by Madeline in a gorgeous wood veneer and come in all shapes and sizes. We love that you can paint them to match your wedding or event details, but Madeline also has custom painted cake toppers for your convenience!

To view the entire Etsy collection, click here!
Eunice's Weekend Snapshots

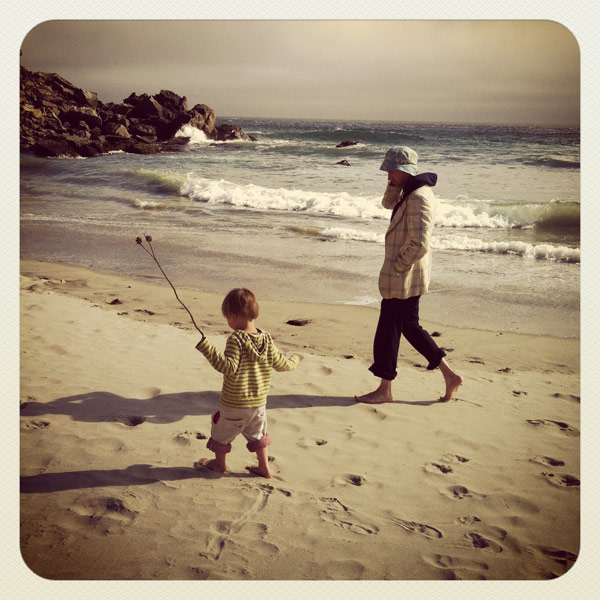
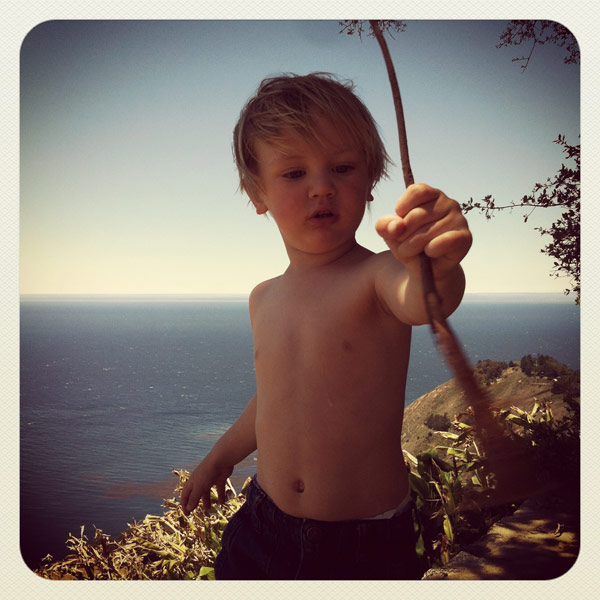
We took off for Big Sur this weekend, staying at a house we rent every year for the 4th of July weekend.  We hang out with some of our favorite friends for a weekend full of dinners under the backyard tree, beach trips, and general loafing about.

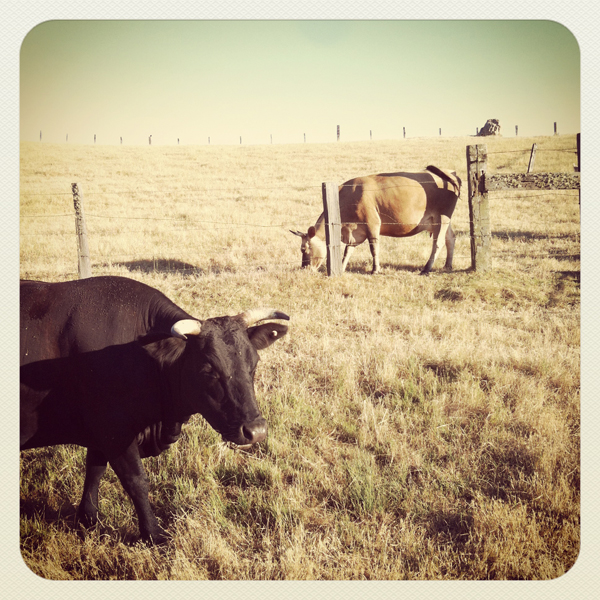
The house is one of several on a family ranch - Jude was really into the cows - he and his buddy, Hugo, learned how to say "caca de vache" - they both found it very amusing to poke cow patties with sticks while shrieking and shouting "eeeeeewwww!!"

Twirling sticks in the backyard.

A crab we found at the beach.

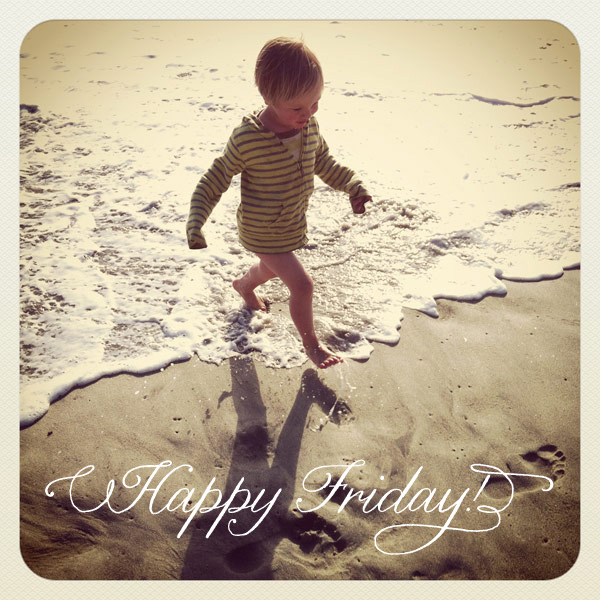
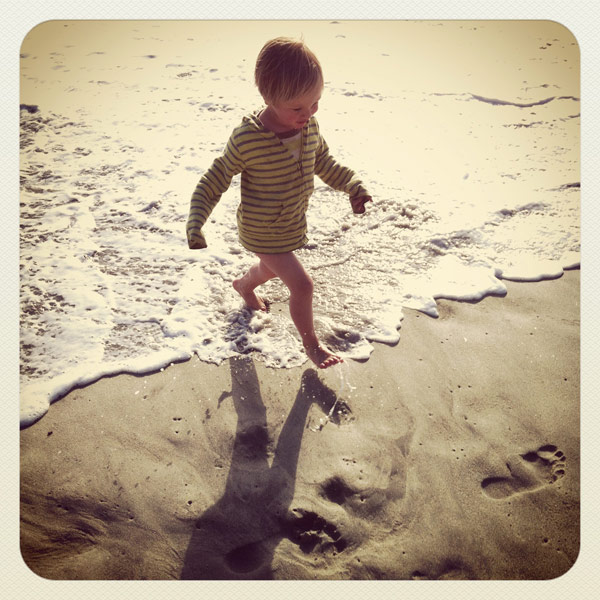
Running from waves.

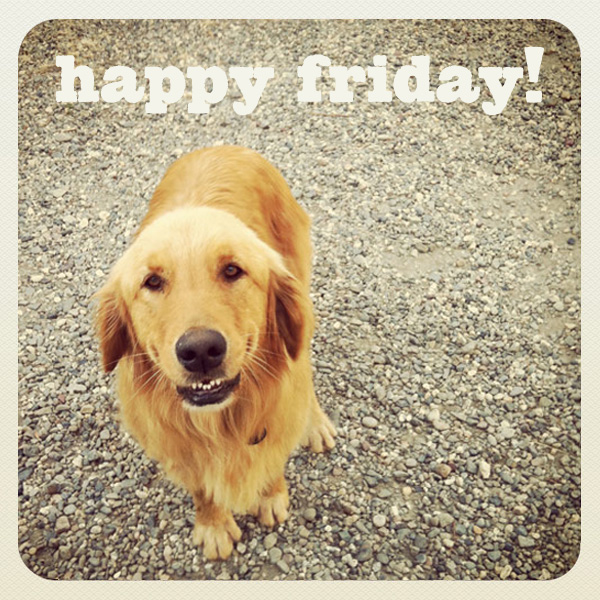
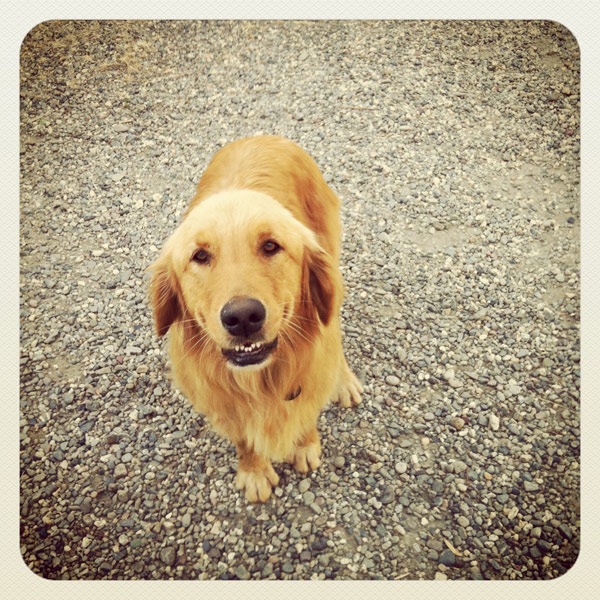
Bodi, the family dog, giving us a goodbye grin at the end of the weekend.   Hope you have a fantastic fourth!

Style Me Pretty's Bridal Fashion & Beauty Mag

Yesterday was an exciting day for one of our favorite bridal sites Style Me Pretty! They just released their brand-spankin-new bridal fashion and beauty e-magazine and it's gorgeous. The talented and bridal savvy ladies over at SMP curated a lovely 171 pages of pure bridal bliss. From DIY projects to real weddings, the online publication is the ultimate online destination for wedding inspiration. It includes a beautiful feature on Jennifer Behr's stunning headpieces and style guides by our favorite bloggers. Congratulations to SMP! We can't wait to see more!

Check out the e-mag here!
Bicycle Weddings

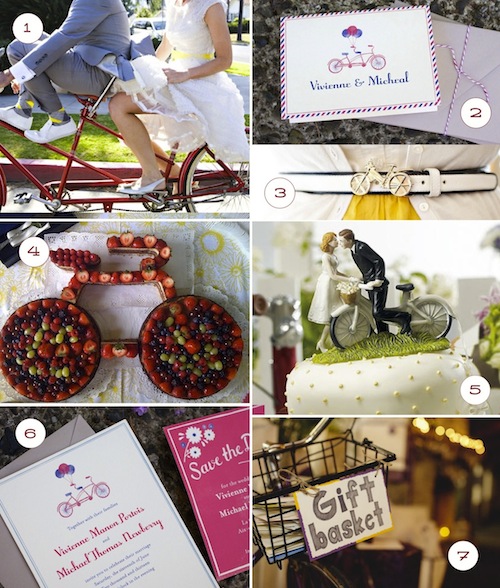
If there's one thing we're really into this summer, it's gotta be a good bicycle wedding. It may be because we live in a bike-friendly city (despite all the hills!) or that we melt in the charm of the rusty tires and cute carrying baskets. A good bicycle wedding consists of your standard adorable tandem bike photo, the flower basket above the handle bars, and our favorite - the printed bicycle stationery. Our new French Bicycle wedding invitation designed by Jacqui Lee has all the summery details we love: balloons, bikes, and red, white, and blue. Here's a little collection of some of our favorite bicycle weddings we've seen around the web.

1. Best bicycle wedding...ever - Green Wedding Shoes 2. French Bicycle folded thank you card designed by Jacqui Lee - Hello!Lucky 3. Killer belt buckle - The Knotty Bride 4. Amazing bicycle fruit cake - Rocket Fuel 5. Kissing bride and groom cake topper - Wedding Star 6. French Bicycle wedding invitation designed by Jacqui Lee - Hello!Lucky 7. Great idea for a gift basket - Style Me Pretty

Wedding Invitation Pin Boards

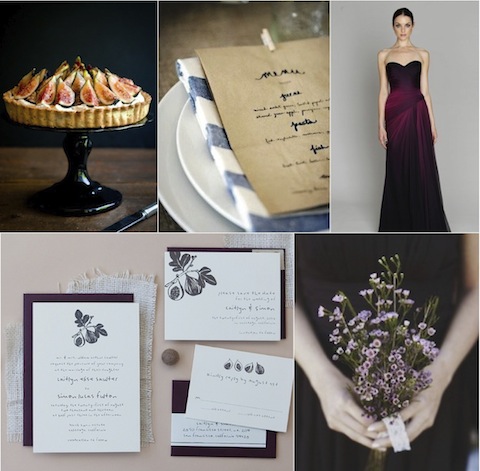
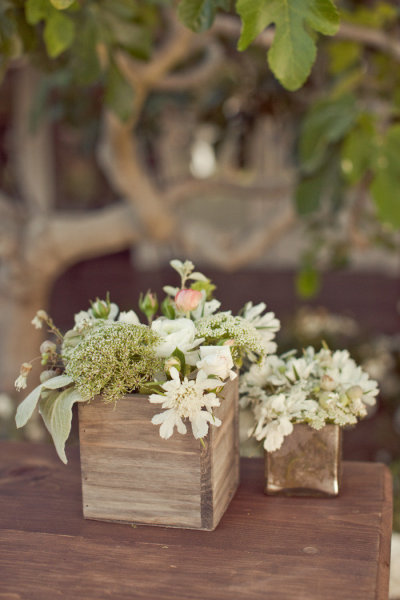
 By now Pinterest has become the most inspirational search engine and idea web on the internet, and we're still amazed by all the style and design popping up every day. We use Pinterest to not only gather inspiration for our own work, but to also give our followers a place to gather ideas for your own use. We've taken our favorite and most popular wedding invitations and curated a collection of inspiration pieces that match the aesthetic of our designs. The best way to start planning a theme for your wedding is to start with paper products - and we've got you covered. Figs is the perfect design for a casual outdoor event, and for all you brides having a cozy, rustic wedding, the Figs Inspiration Board might be the ideal place to gather tips for table displays or floral arrangements. You'll find everything from neutral color palettes to delicious looking treats.

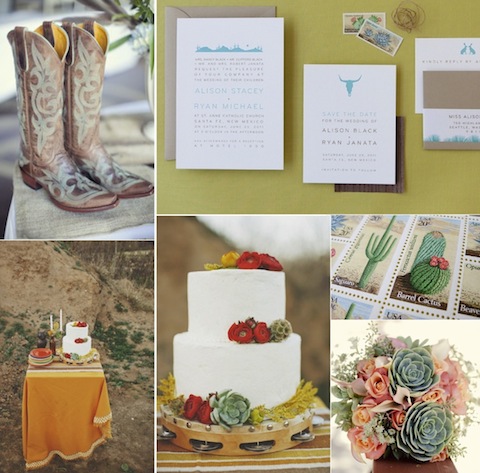
If bright colors are more your style - or if you're planning a desert wedding - check out our Desert Skyline Inspiration Board. We've taken our classic Desert Skyline design and transformed it into a bright and festive picture palette. Here you will certainly feel at home by all the warm sandy backdrops and gorgeous succulent bouquets. Visit us on Pinterest to view more inspiration boards and to find links to all the images above!
Lotta Jansdotter Collection

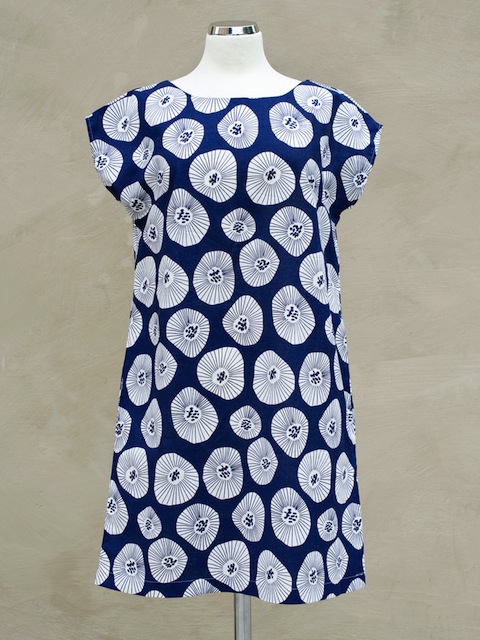
Lotta Jansdotter is unstoppable. Her books have made printmaking at home a cinch and her modern patterns and fabrics have taught us that simplicity is everything. Sadly her shop is being put on hold to welcome new adventures but this is [somewhat] happy news for us because her genius collection of clothing and accessories is on sale! Why not help Lotta with some spring cleaning and make room for new and improved awesomeness. But don't hesitate cause this amazing sale is only lasting until June 22.
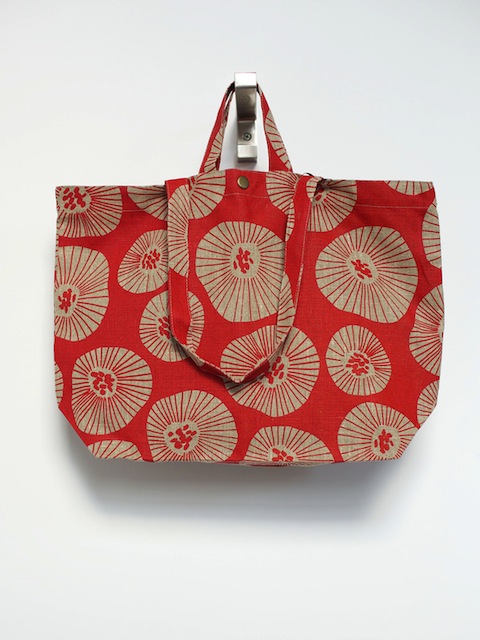
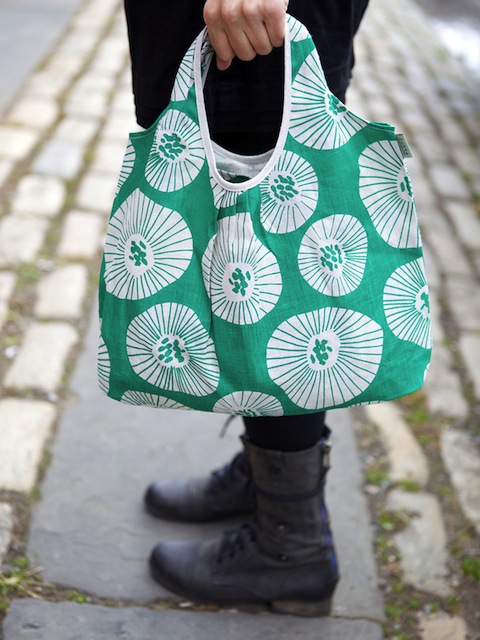
These 100% linen tote bags are sure to make a statement. Our favorite is this anemone pattern but there are more to choose from.

Is it too early to make a holiday wish list? This skirt would sit right at the top!

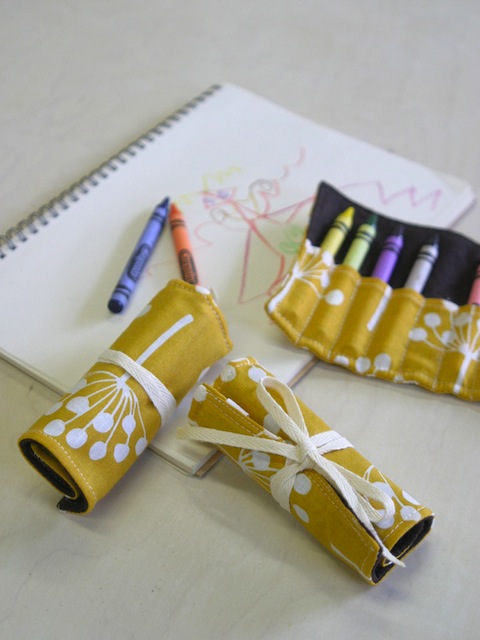
These crayon rolls would make for a darling children's gift, or if you're the creative type use it to carry your favorite pencils/pens!

Keep up the lovely work, Lotta. Can't wait to see what you come up with next! View the entire shop here.


DIY Card Stands

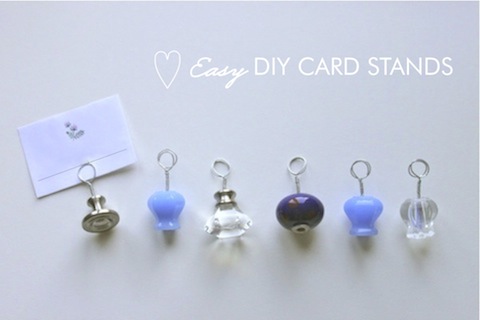
These super simple and easy to make card stands are the perfect pick-me-up to any table display. We love the quirky drawer knobs found at local antique shops or the ornate ones for sale at Anthropologie. You can even buy wooden knobs at your local hardware store and paint them any color you like! The possibilities are endless with these little fellows. We'd definitely use them as place card holders at a reception or dinner party, but they could also be used to prop photos on a mantle, keep to-do notes on a desk, or even hold up a new recipe in the kitchen. Full instructions below!

 Materials:

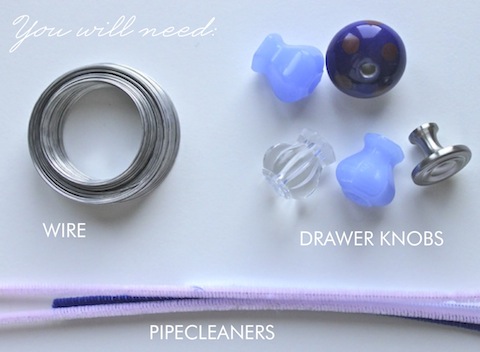
Used or new knobs preferably without set screws (browse your local antique shop for fun shapes and colors, or visit Anthropologie), wire (we used 20 gauge for better strength), pipecleaners (any color will do, but try to match the colors of your knobs), wire cutters or scissors and some craft glue - if necessary.

How To: 

Step 1. Remove the screws and any washers from the knobs.

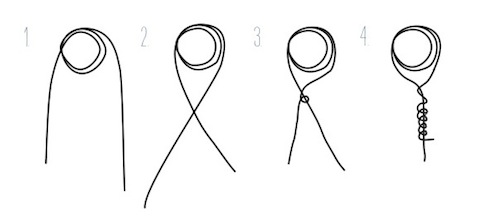
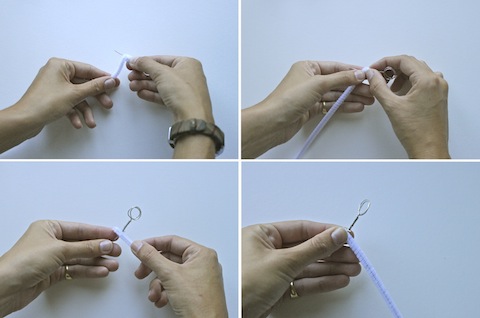
Step 2. Prepare your wire. Cut about 8" - 10" strips and fold at the center. Wrap the wire around your index finger twice creating a spiral loop.

Step 3. Cross both ends and spin to hold in place.

Step 4. Carefully wrap one end of the wire around the other side, leaving as little space as possible between each loop.

Step 5. Wrap your pipecleaner around the bottom part of your wire (underneath the hook). Cut off any remaining pipecleaner.

*The thickness of your pipecleaner will depend on the width of the hole in your knob

Step 6. Place the wire and pipecleaner inside the hole of the knob. It should fit pretty snug - if not, add more pipecleaner and a dab of craft glue to be sure.

Step 7. Insert place card between wire loops and display!


Visit our website for more fun DIY ideas!