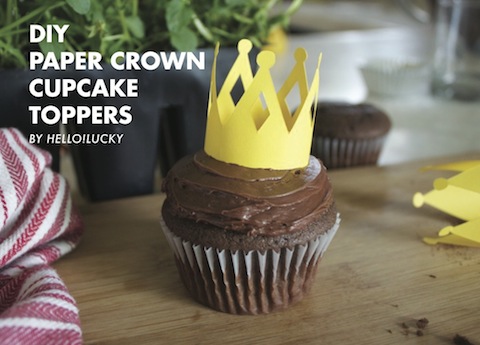
DIY Father's Day Cupcake Toppers

Good Monday morning to all of our favorite readers! We want to start off on this week ahead with a new (and remarkably easy) Father's Day craft. These mini DIY paper crown cupcake toppers are the royal icing on the [cup]cake for your dad's day this year. Show him how much he means to you by customizing his crown with precious jewels, a photo, or even a personal note. Make him feel like the king he is!

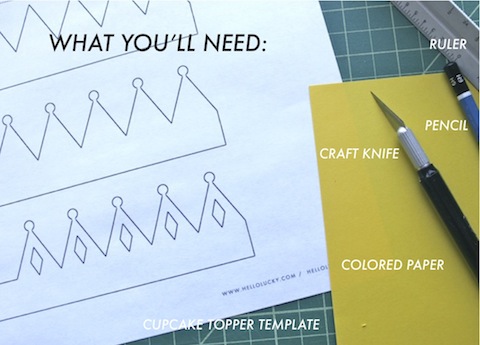
Materials:

Colored Paper, craft knife, ruler, pencil, craft glue or tape (whatever you have around) and the cupcake topper template. Download below!

Cupcake Topper Template

How to:

Step 1. Print out the cupcake topper template.

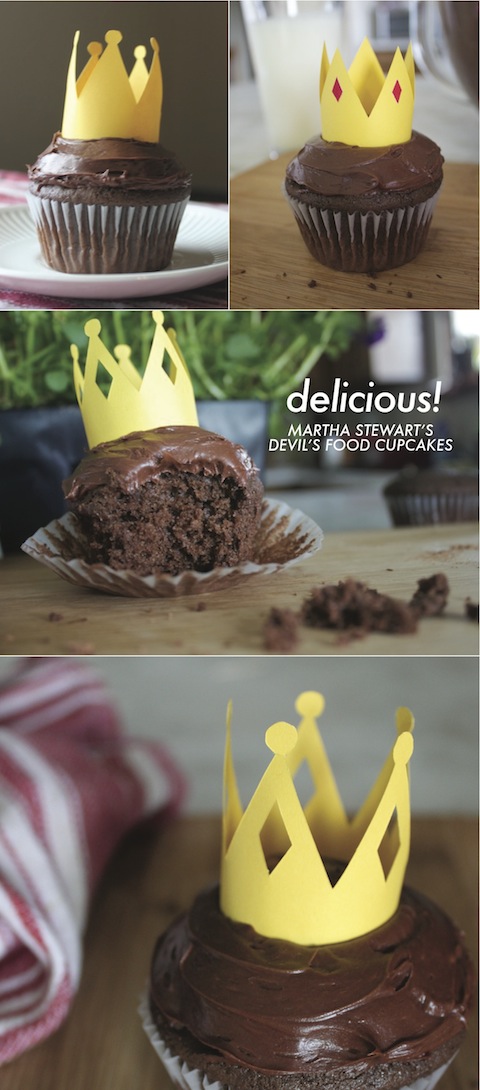
Step 2. Trace the outline onto your colored paper. We've created three different designs - fit for all types of kings.

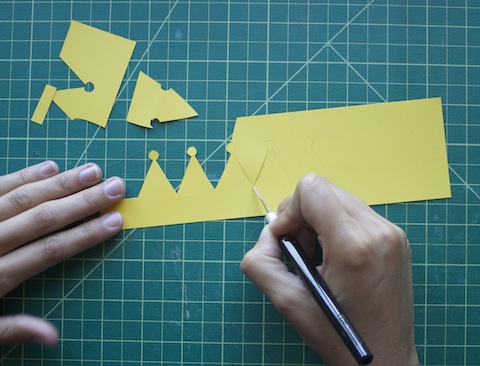
Step 3. Cut out your crown with a craft knife and ruler. This part takes time and patience!

Step 4. Place glue on the outside of the tab and secure to the inside of the crown.

Step 5. Display! We chose Martha Stewart's Devil's Food Cupcake recipe for a rich, flavorful treat. What dad doesn't love chocolate??

 Happy crafting!

For more great paper DIY ideas, visit our website here!

DIY Card Stands

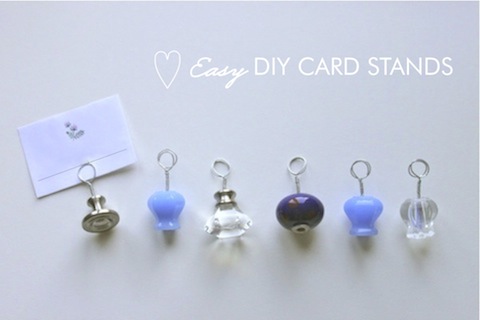
These super simple and easy to make card stands are the perfect pick-me-up to any table display. We love the quirky drawer knobs found at local antique shops or the ornate ones for sale at Anthropologie. You can even buy wooden knobs at your local hardware store and paint them any color you like! The possibilities are endless with these little fellows. We'd definitely use them as place card holders at a reception or dinner party, but they could also be used to prop photos on a mantle, keep to-do notes on a desk, or even hold up a new recipe in the kitchen. Full instructions below!

 Materials:

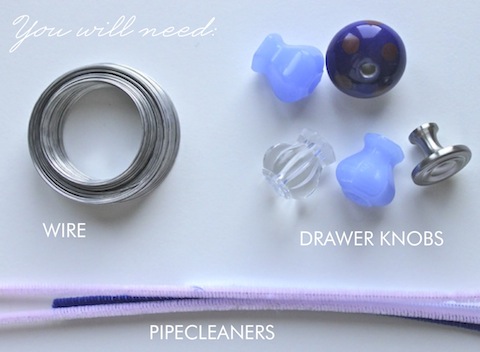
Used or new knobs preferably without set screws (browse your local antique shop for fun shapes and colors, or visit Anthropologie), wire (we used 20 gauge for better strength), pipecleaners (any color will do, but try to match the colors of your knobs), wire cutters or scissors and some craft glue - if necessary.

How To: 

Step 1. Remove the screws and any washers from the knobs.

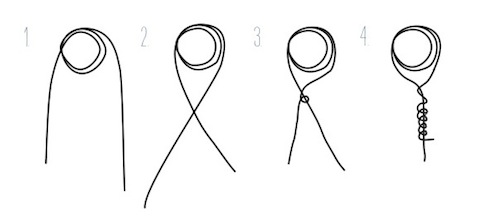
Step 2. Prepare your wire. Cut about 8" - 10" strips and fold at the center. Wrap the wire around your index finger twice creating a spiral loop.

Step 3. Cross both ends and spin to hold in place.

Step 4. Carefully wrap one end of the wire around the other side, leaving as little space as possible between each loop.

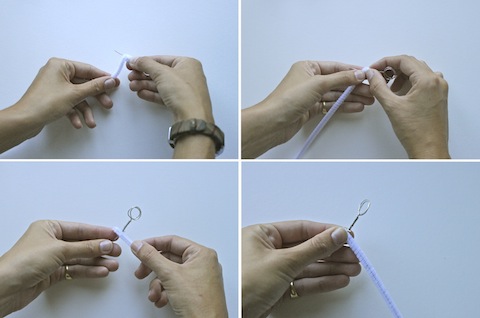
Step 5. Wrap your pipecleaner around the bottom part of your wire (underneath the hook). Cut off any remaining pipecleaner.

*The thickness of your pipecleaner will depend on the width of the hole in your knob

Step 6. Place the wire and pipecleaner inside the hole of the knob. It should fit pretty snug - if not, add more pipecleaner and a dab of craft glue to be sure.

Step 7. Insert place card between wire loops and display!


Visit our website for more fun DIY ideas!

The Best of NSS, Part 3

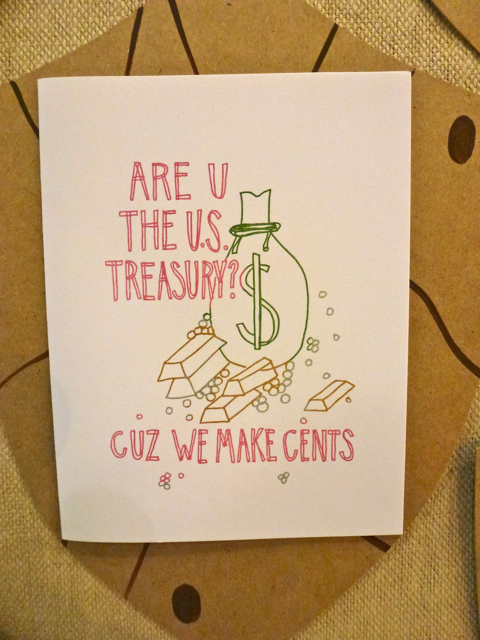
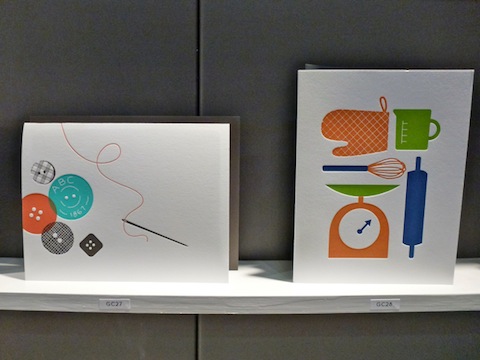
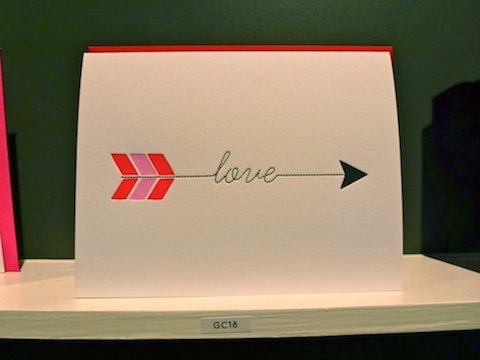
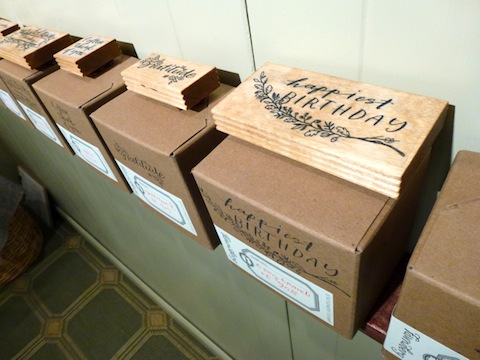
There was so much good work at NSS this year that it was hard to keep it to just two posts. So here is my third and final post, but really I could have done about three more! Rose from The Great Lakes Goods always has a strong showing and this year was no exception (above and below).

Newcomer Pei Designs featured some super cute illustrations - all letterpressed (above and below)!

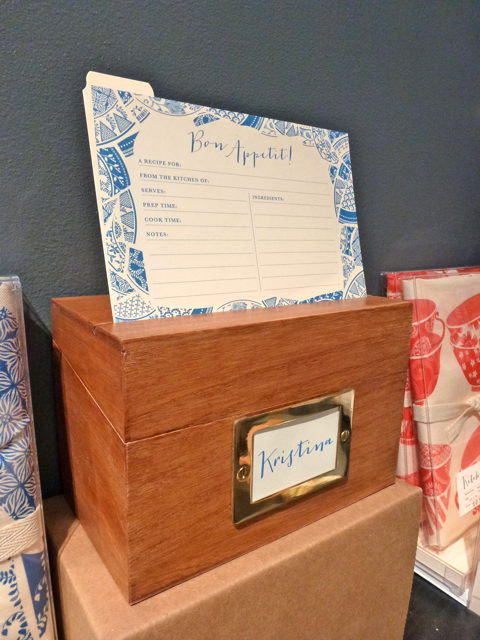
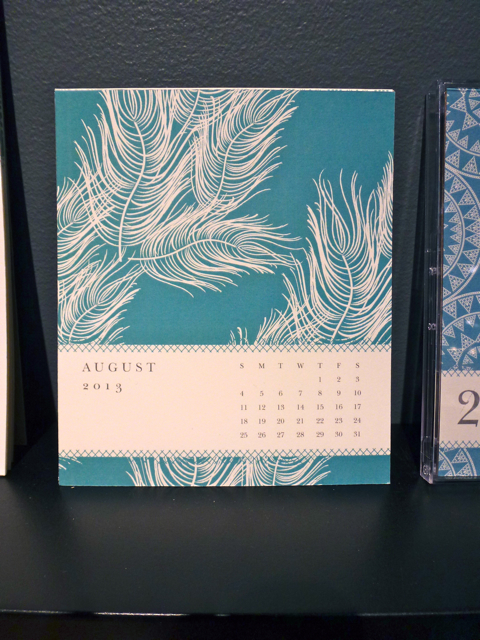
Our buddy Susy (from Susy Jack) really knocked it out of the park this year with her awesome recipes boxes, paperweights and calendars (above and below).

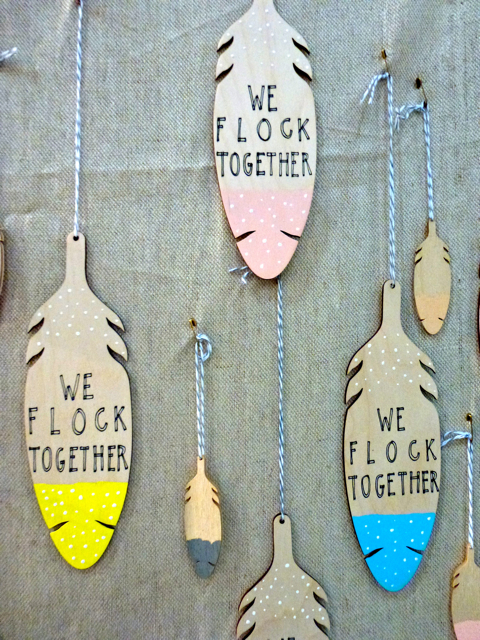
Do you recognize the feather illustration?

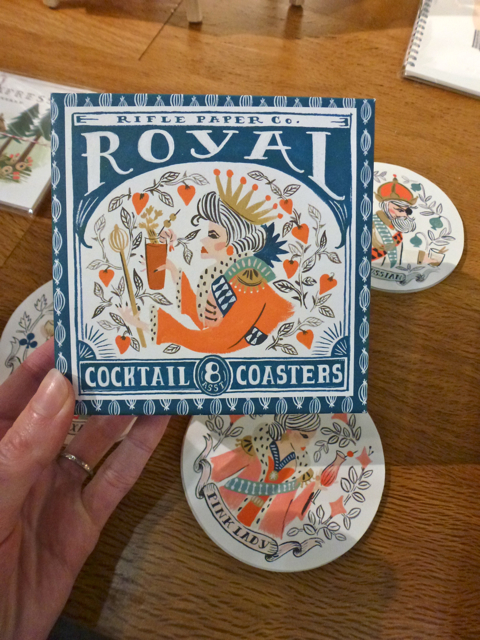
The always amazing Rifle Paper debuted these ridiculously adorable cocktail coasters:

Fawnsberg is run by two sisters, and features sweet illustrations on their cards and rubber stamps (above and below).

Finally, Atlanta-based Alee and Press really nailed it with their ombre style:

Whew! It was a great show and I loved checking out all the beautiful new work. Let us know in the comments if you discovered anyone new and amazing at the show this year!

The Best of NSS, Part 2

Hey peeps! It's time for more goodies from this years National Stationery Show (click here to see Part 1). First up is the amazing work from 1 Canoe 2 (above and below): 3 talented girls who draw, design and letterpress print in a barn in Missouri. Living the dream.

Making their NSS debut this year was Los Angeles based The Social Type (below). I love how the same sentiment can be interpreted in many different ways!

Another favorite of mine was Banquet Atelier & Workshop, based in Vancouver. Our mutual love of neon was obvious:

How incredible is their guest sign (below)? I'm loving their prints also.

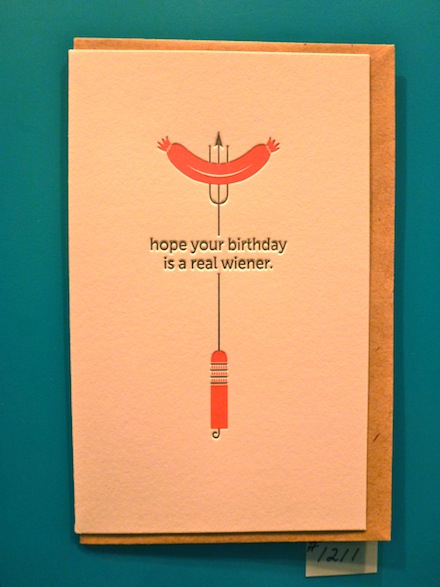
My favorite birthday card of the show came from Anemone Letterpress (below). So clever!

Stay tuned for part 3!

The Best of NSS, Part 1

This year we didn't have a booth at the National Stationery Show but our New York satellite office (aka Design Director Shauna Leytus) was there visiting some of our favorite artists and making new friends. She'll be doing a series of posts recapping what she saw and loved. Here's her first post!

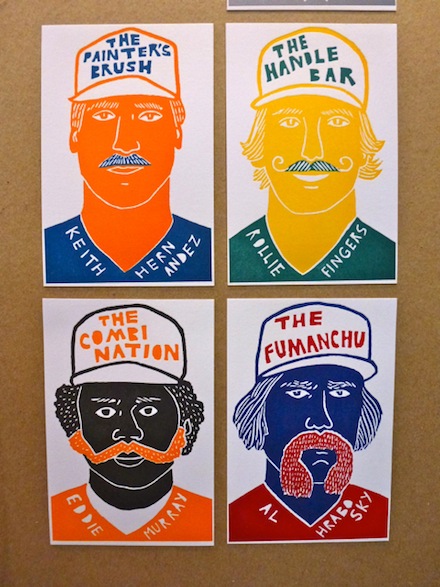
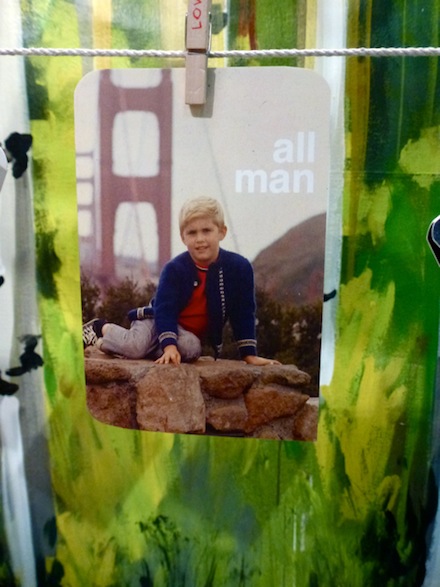
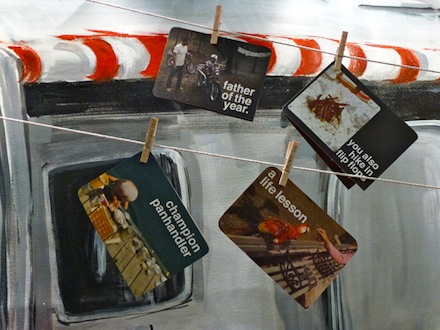
Where do I begin?! There was so much amazing work at the National Stationery Show this year from new comers and old favorites. Making her NSS debut, Left Field cards (above) showcased nine letterpressed "baseball cards" complete with mustaches, edibles and bizarre injuries. Collect them all!

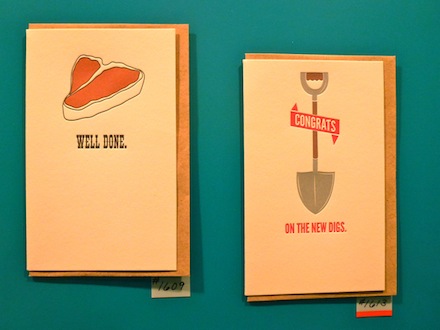
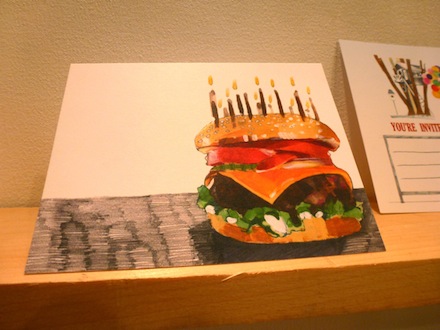
One of my favorite cards of the entire show belonged to Red Camper (above and below). Need I say more?

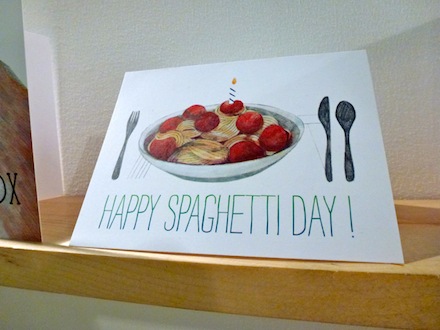
A fellow card maker sharing a love of food-themed imagery was Fox Tail Press (above and below). When I asked when "national spaghetti day" actually was, Danielle rightly answered "everyday". Duh.

Design*Sponge declared Linda & Harriet's over-sized Quilt Calender the best thing she saw at the show and I couldn't agree more. My photos do not do it justice - this is a work of art and it is amazing.

More coverage of the show to come!

Free Download: Table Numbers

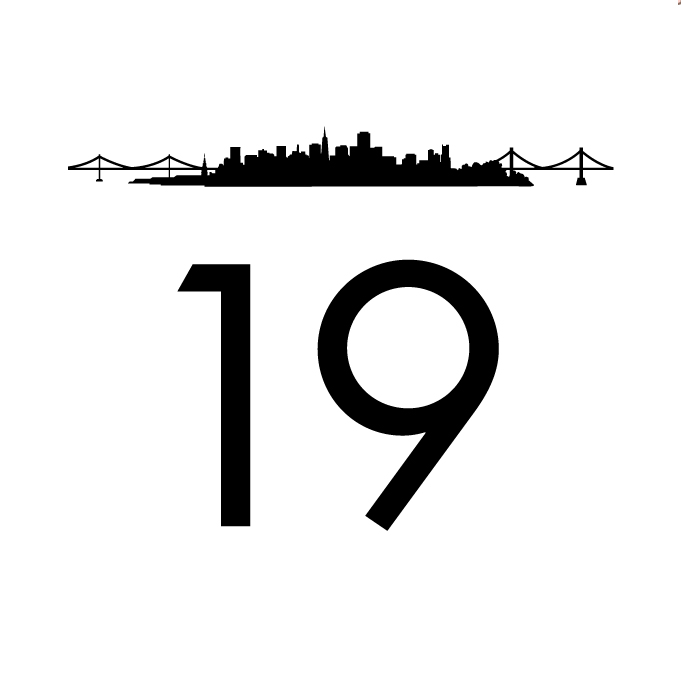
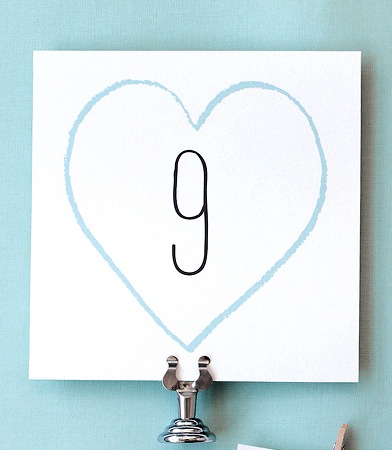
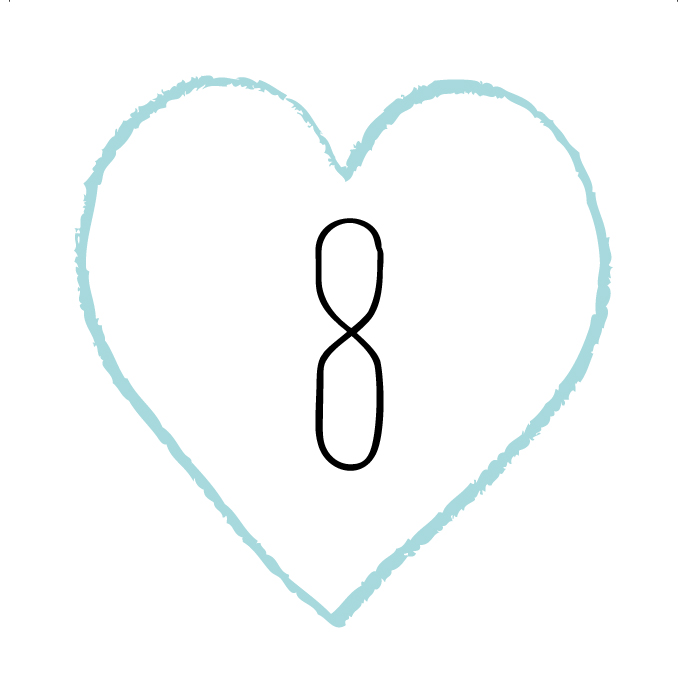
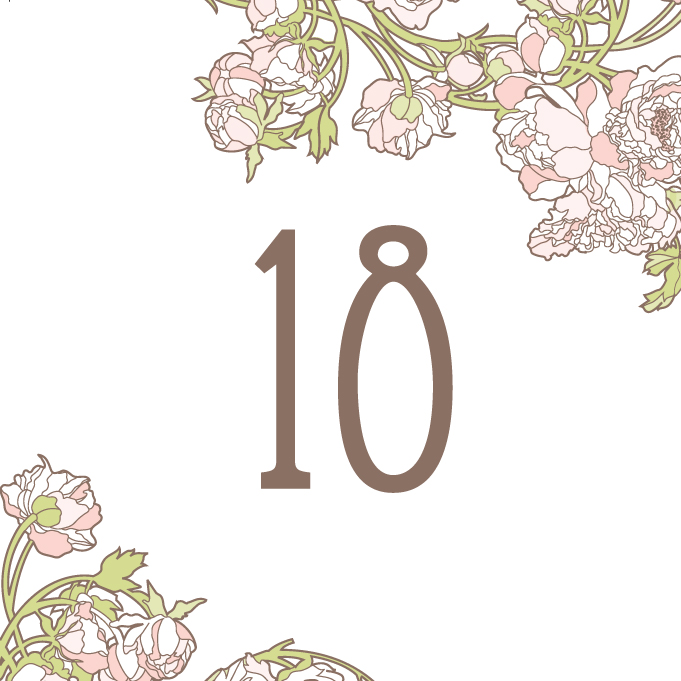
Last week we posted about all of the extras we can print and design for your wedding day. And today we're so excited to offer up some free downloadable templates to make your big day more special. We've created table number templates for three of our most popular suites -- Big Day, Nouveau Peonies, and San Francisco Skyline - and did we mention they are completely free?! All you need is paper, a printer, and scissors.

Just click on the style you'd like to print. Each PDF has 25 designed table numbers.

Download Big Day 

Download Nouveau Peonies

Download San Francisco Skyline 

We'd love to see photos if you use these templates. Email us or post them to our Facebook page.

Enjoy!

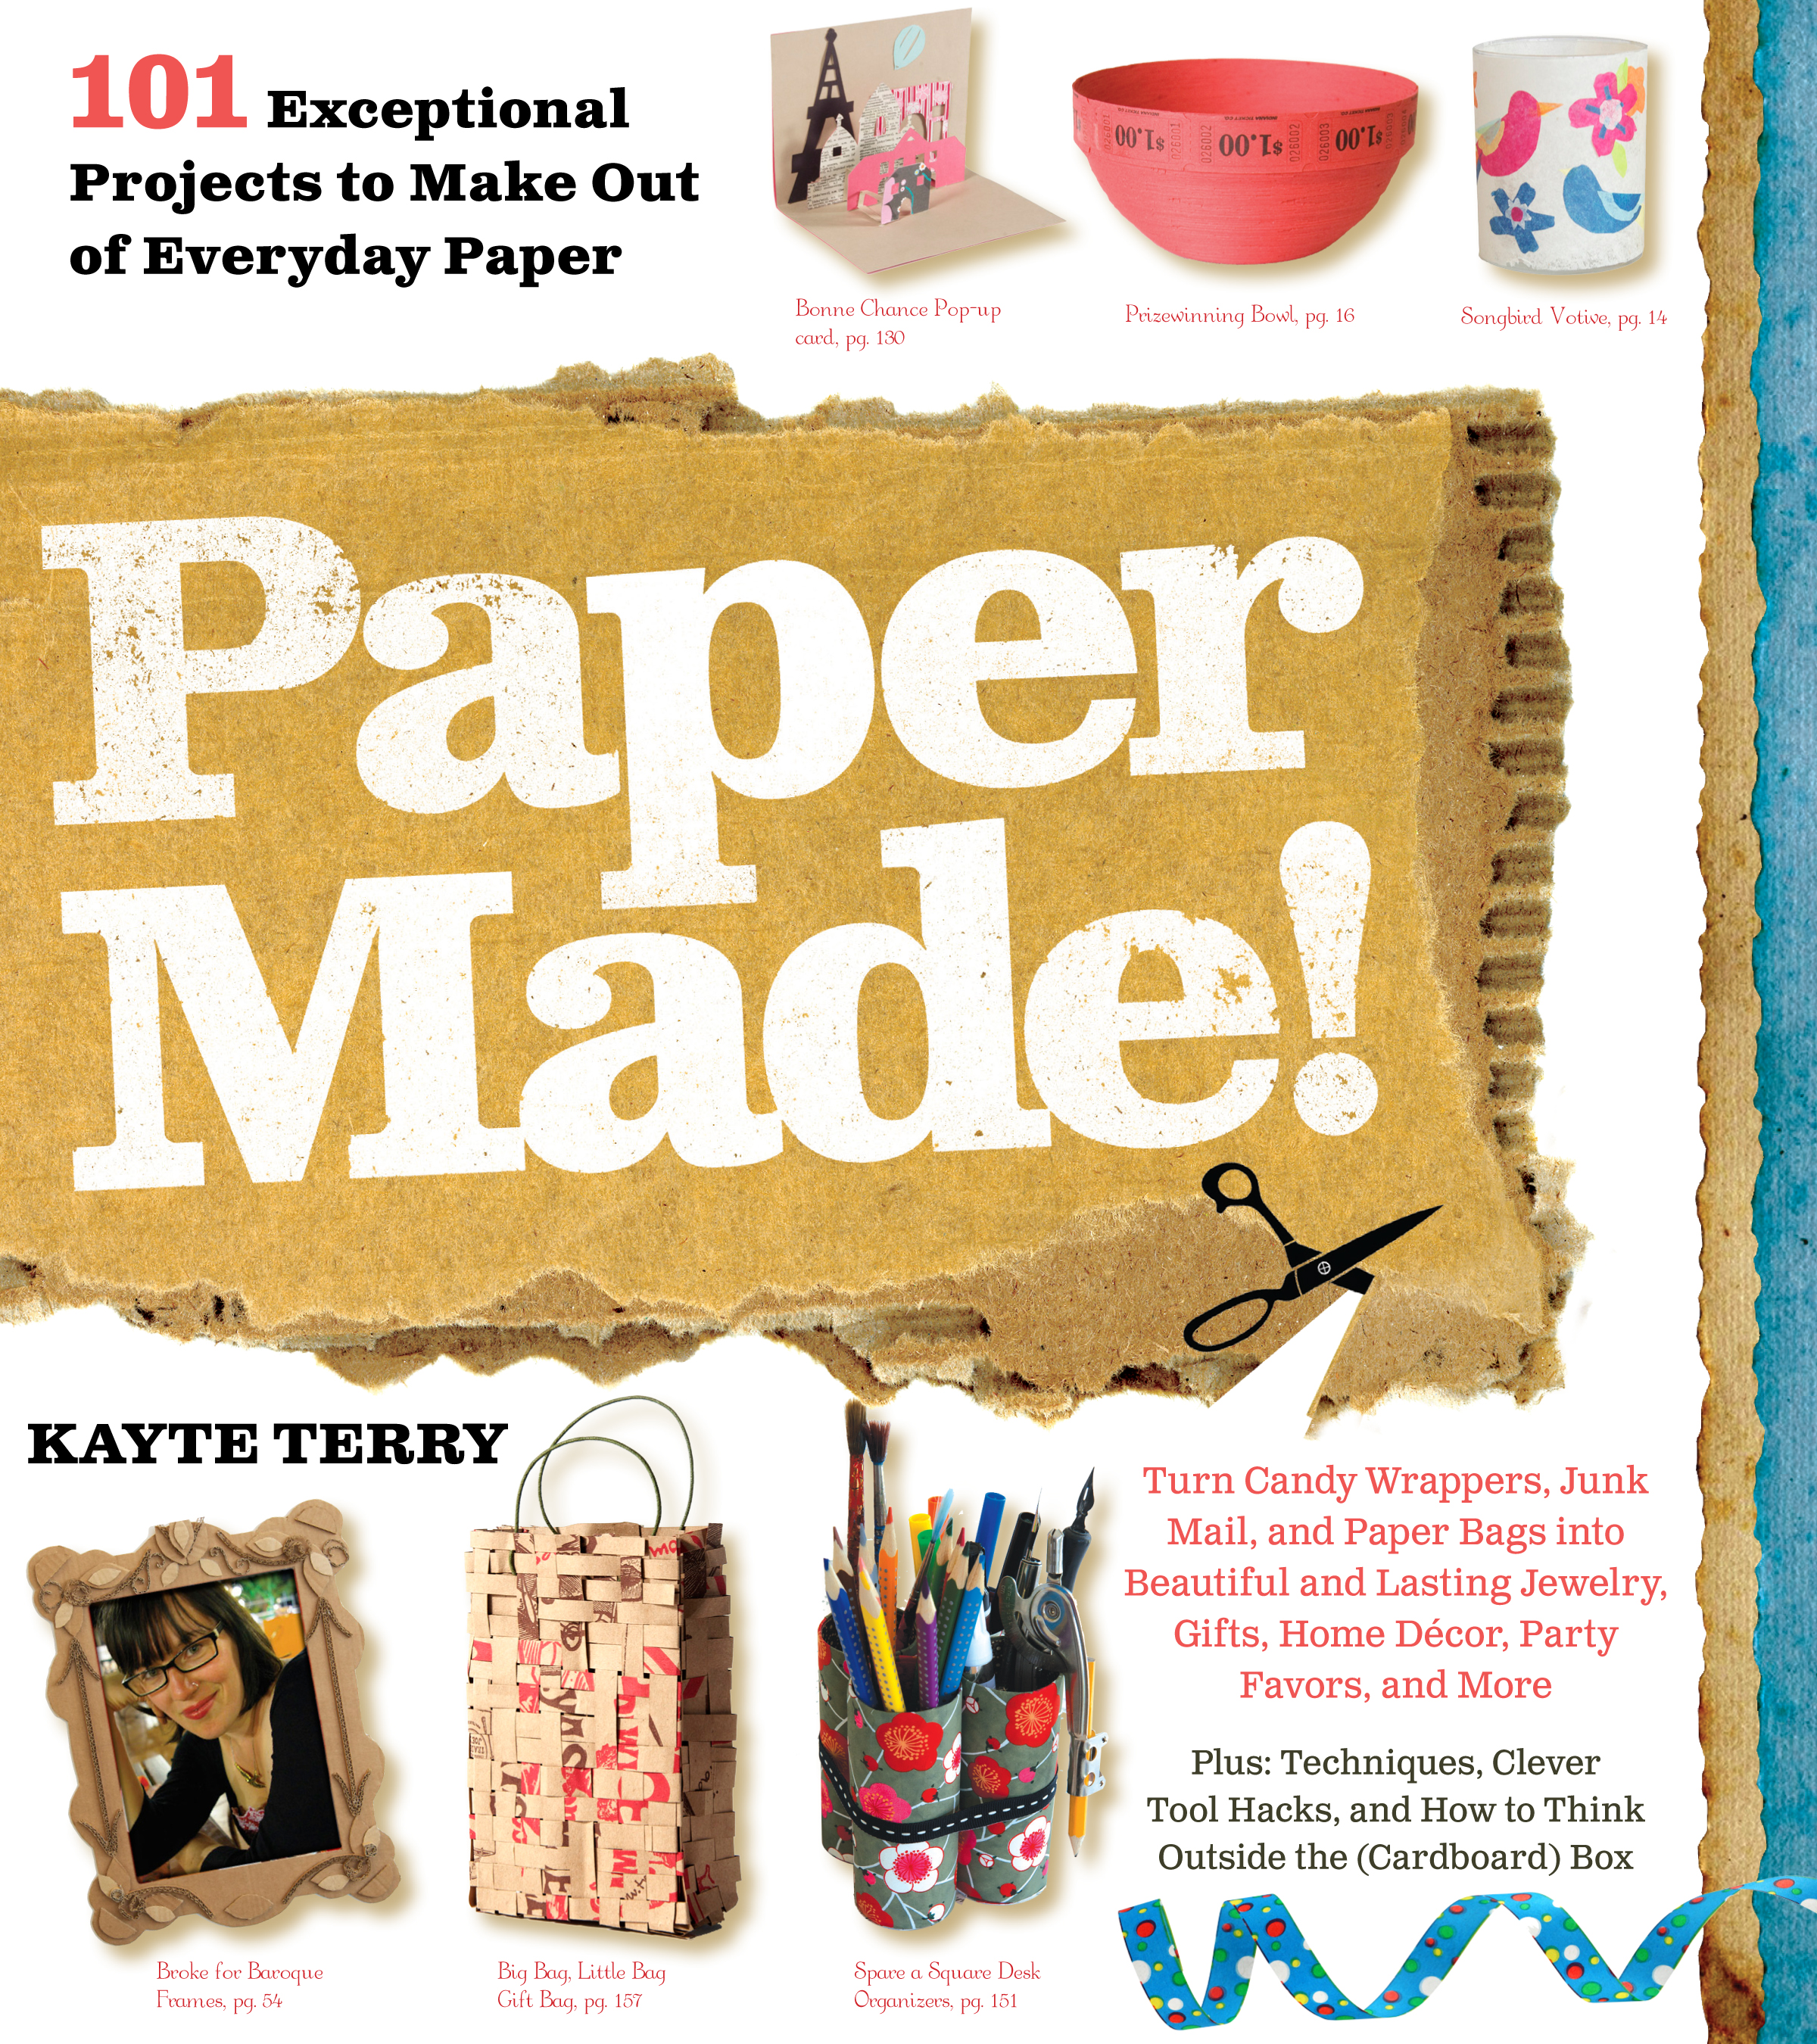
Kayte Terry and Paper Made!

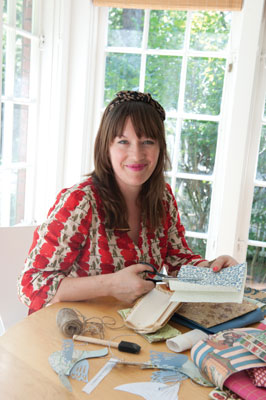
We're thrilled that one of our favorite artists and authors will be visiting the bay area this week for a stop on her book tour. Kayte Terry will be at the Contemporary Jewish Museum this Thursday, May 24th to lead one of the museum's Rit Lab events. At this Rit Lab Kayte will be leading people through some paper crafts from her new book Paper Made!

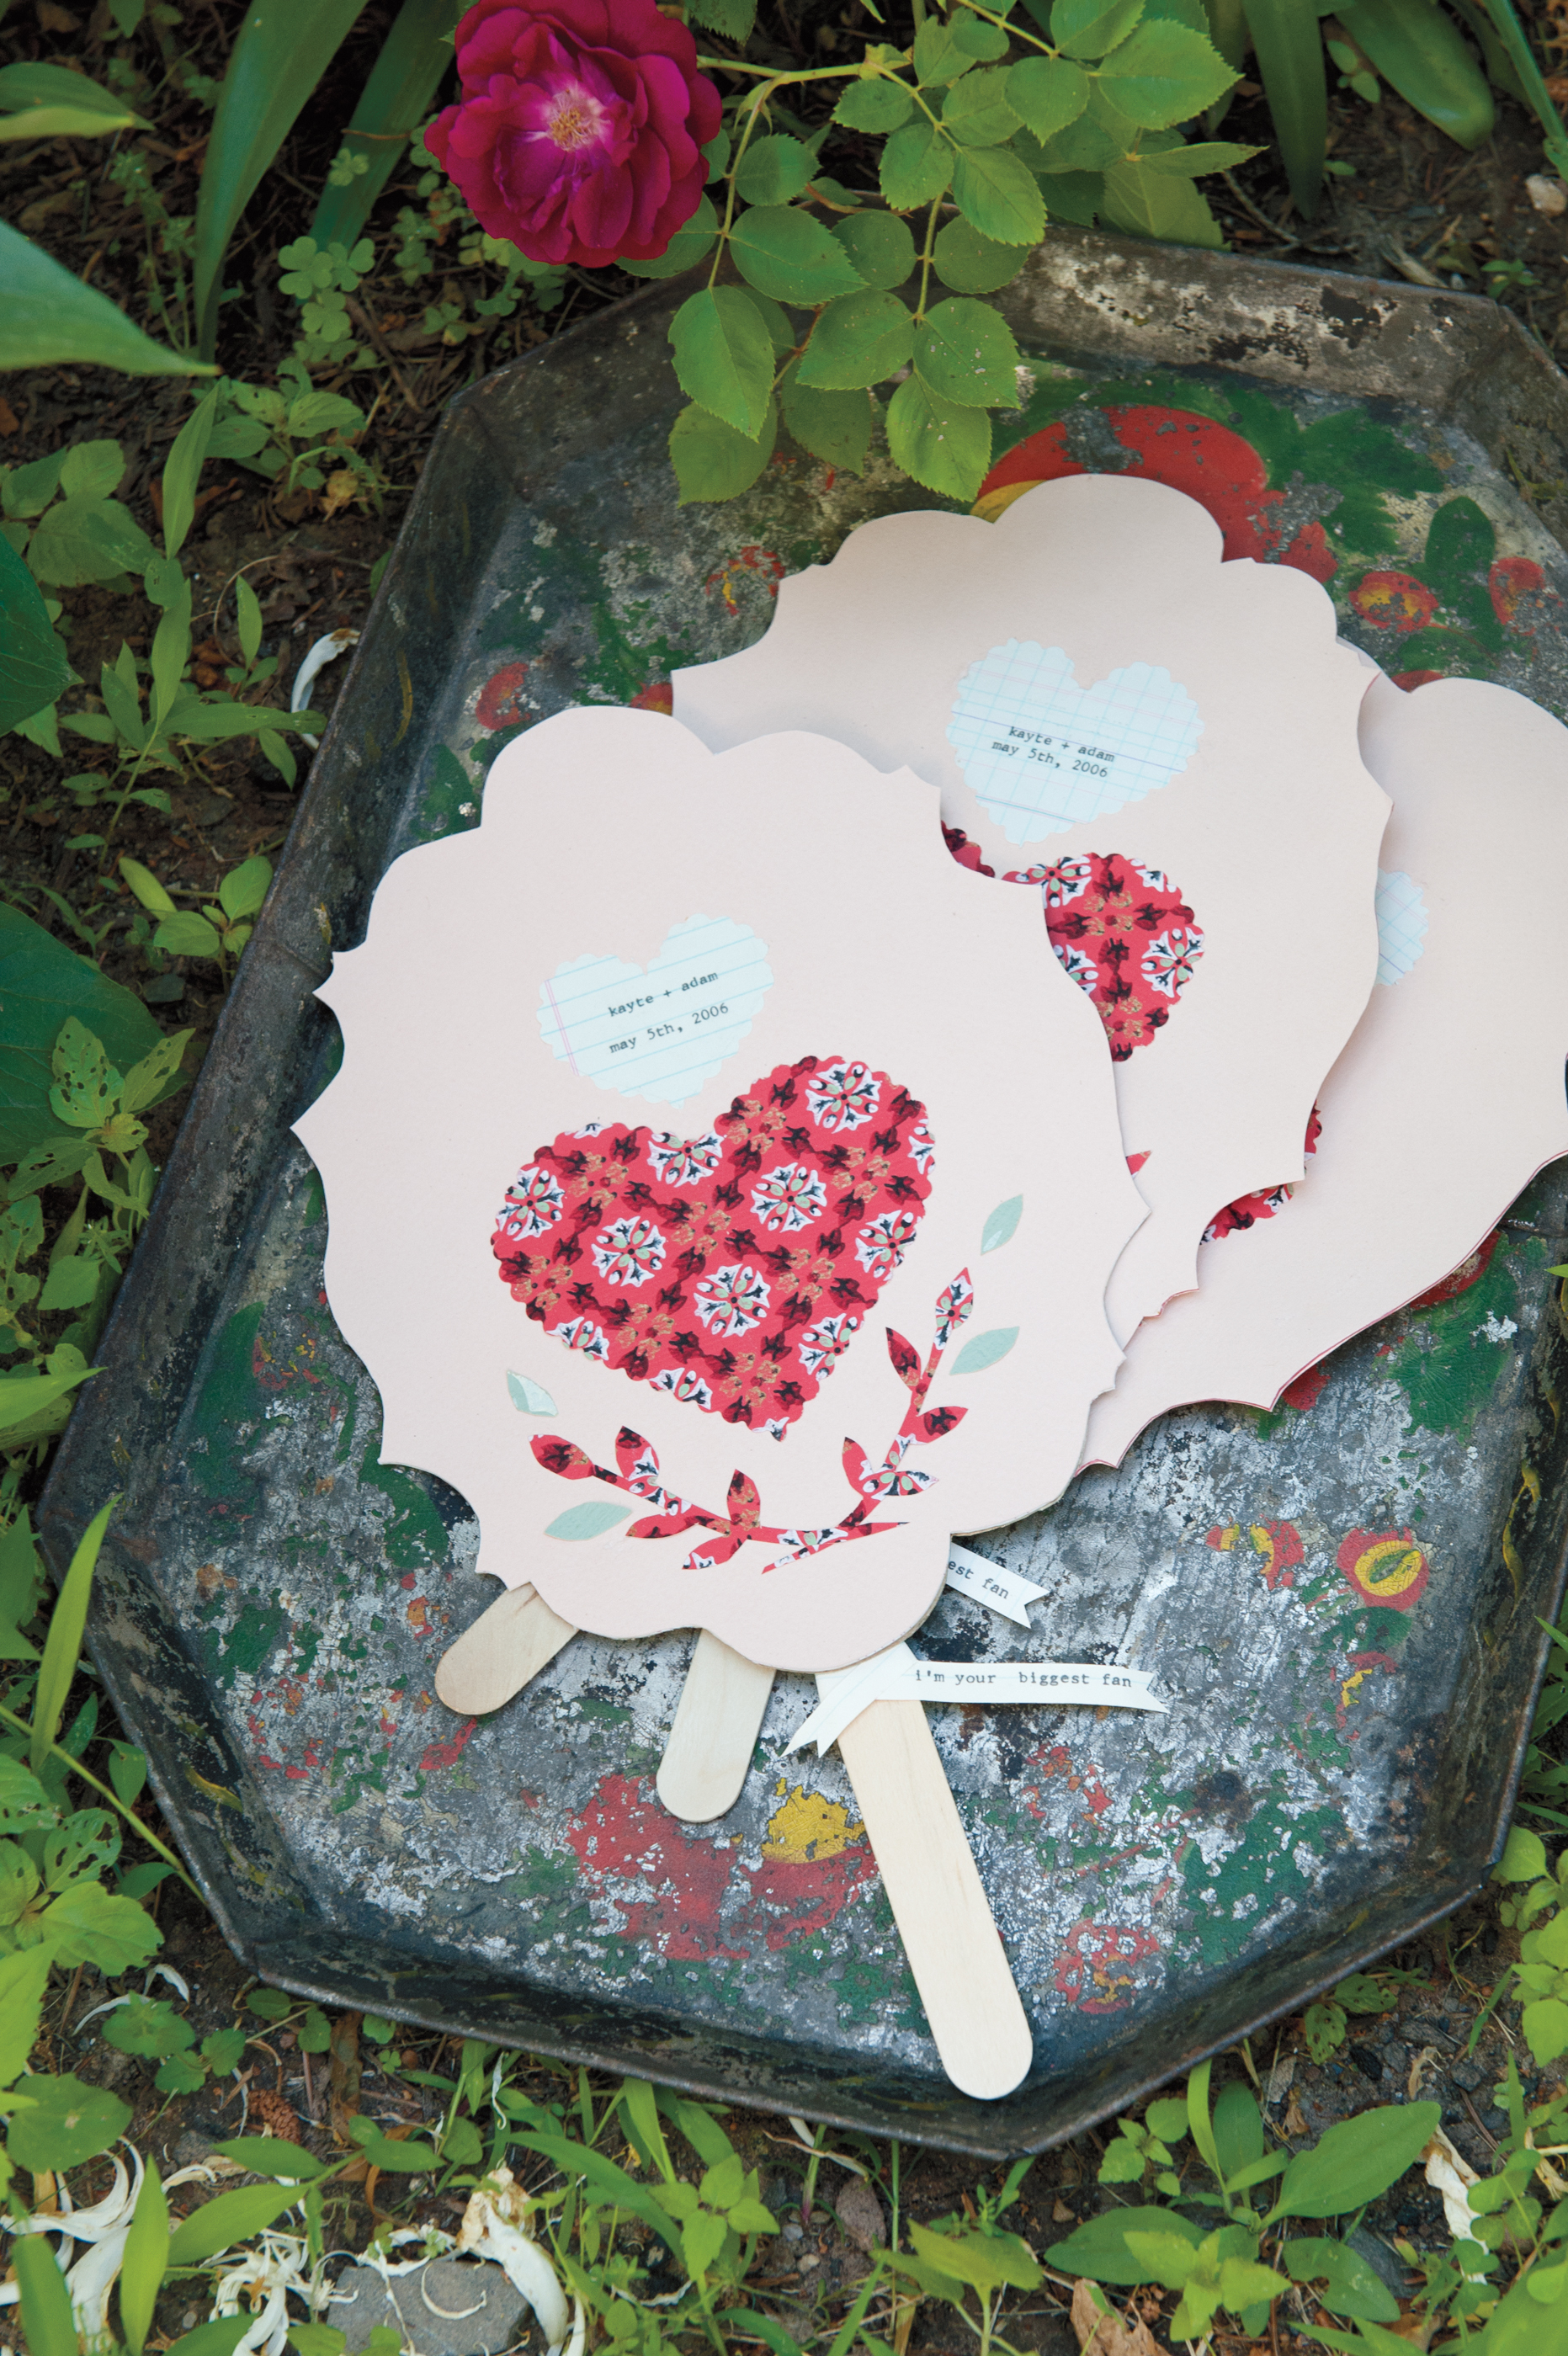
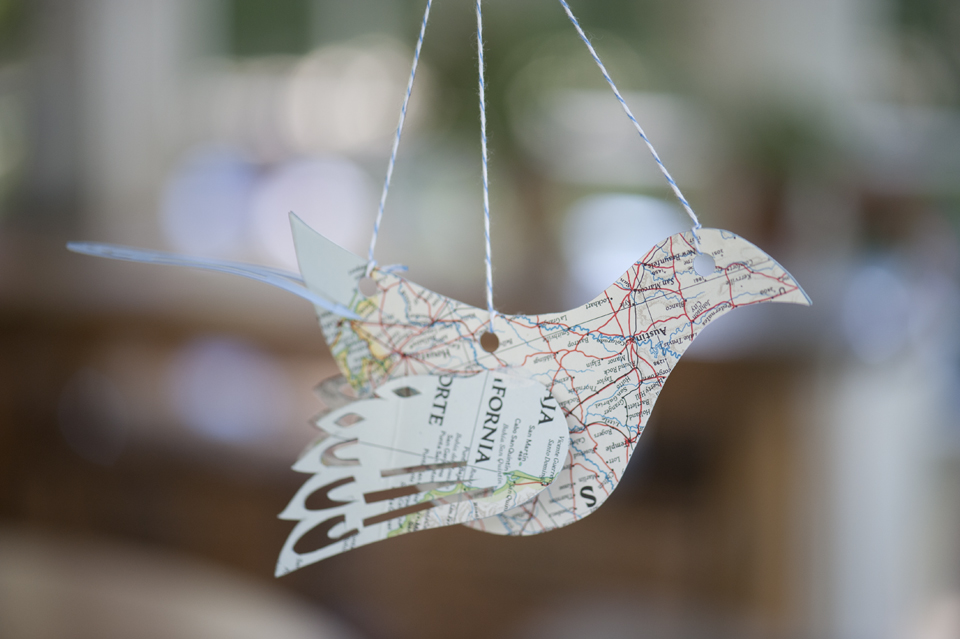
Just look at these adorable projects.

These fans would be perfect for summer weddings and programs.

Did we mention Kayte also works for Anthropologie and is responsible for some of those beautiful window displays you've no doubt stared at in wonder.

Meet Kayte, check out her new book, eat some cheese, and craft. Sounds like a perfect Thursday evening to us. Details and tickets can be found here.

Don't live in the Bay Area? Check out Kayte's schedule here to see if she'll be in your city soon.

Schools Out!

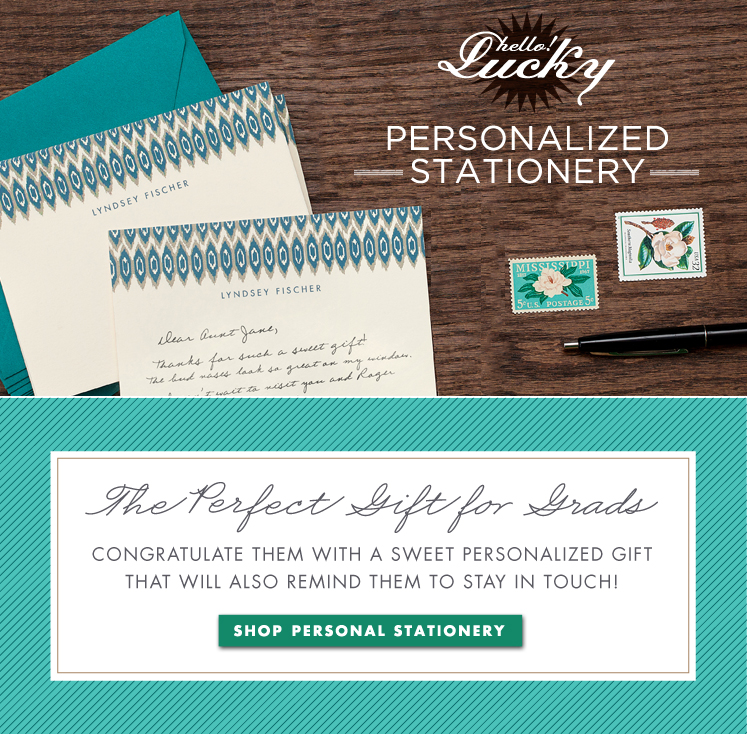
Call us old school but we think the art of letter writing is not dead. What better way to keep the post office in business than gifting a grad you know with some sweet personalized stationery? A thoughtful gift that will welcome them to the next chapter of adulthood. And maybe it will be a good reminder for them to send a note home once in a while!

We've recently added new personalized stationery designs, check them out here.

Inspired by Chloe Fleury

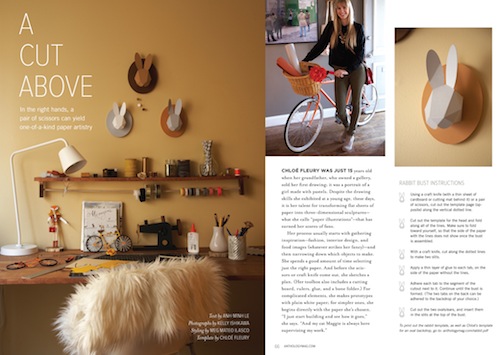
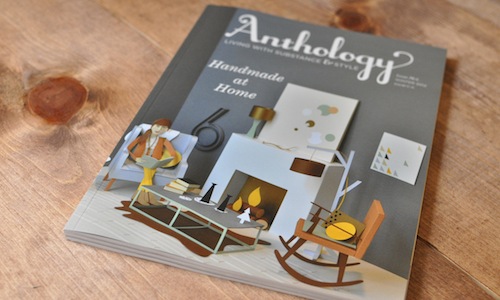
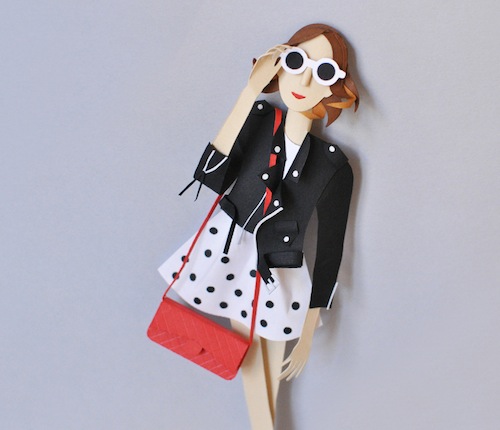
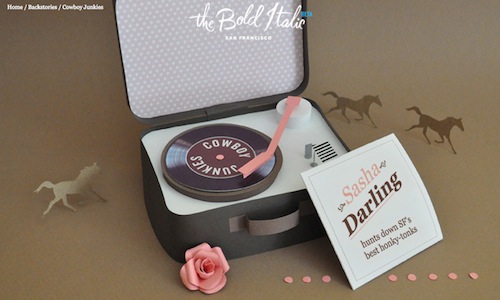
As artisan printers and paper enthusiasts we feel an instant connection with artists who share similar interests. The incredibly talented paper aficionado Chloe Fleury has literally blown us away with her paper constructions. Recently featured in Anthology Magazine, the French born and now San Francisco based artist creates one of a kind paper sculptures. If you haven't visited her website by now, you must.

She even created a stop animation video trailer for issue no. 6, highlighting up-close details about each paper piece. Check it out here.

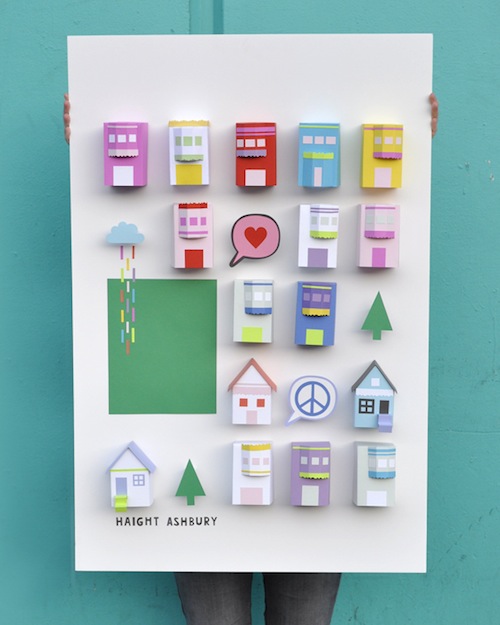
Her San Francisco neighborhood posters are definitely a favorite.

La Boutique in San Francisco is hosting a solo exhibition of Chloe's work! If your're in SF be sure to stop by the gallery and check it out, it's located at 414 Jackson Street, Suite 101.

To see more of Chloe's work, click here!

Store Feature: ink & peat

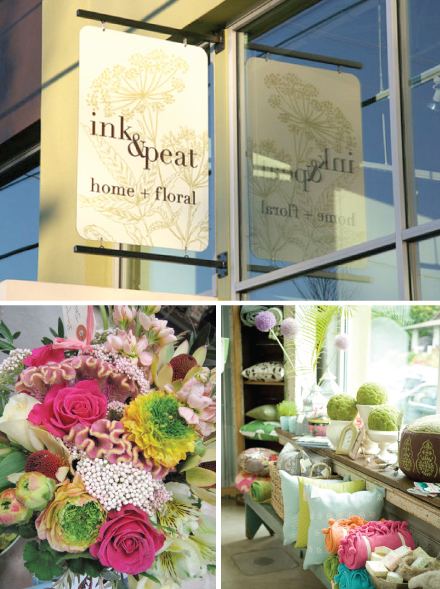
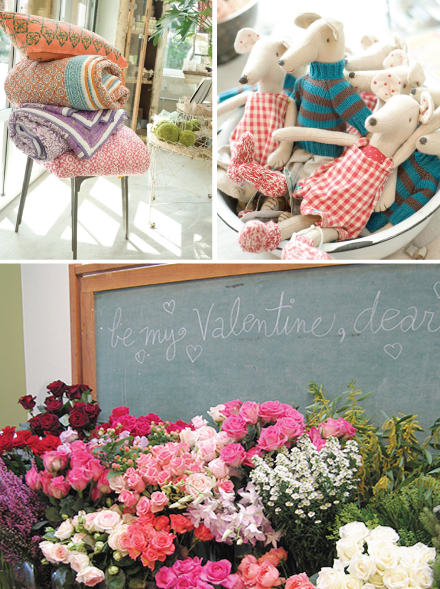
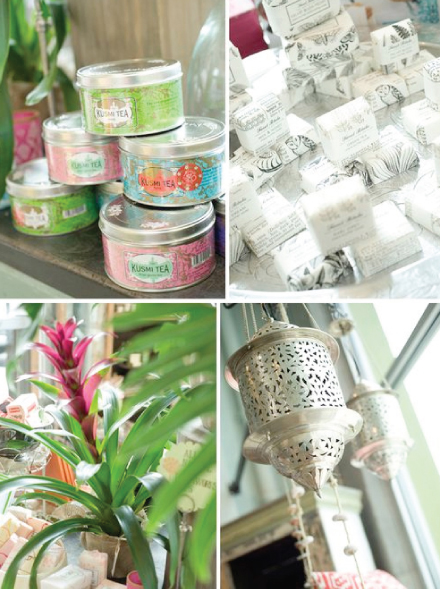
This week we’re continuing with our vendor feature series and highlighting the lovely indie shop ink & peat. ink & peat is both a retail store and a floral design shop based in Portland, Oregon. It opened in 2009 by Pamela Zsori, who spent 15 years as a designer in the fashion industry before deciding to open up shop. As you can see from these photos her thoughtful displays and bright beautiful products make for a stylish and welcoming space. We asked Pamela some questions about how this unique shop got its start and what makes it so special...

How long have you been in business? 

We have been open for 3 1/2 years.

Can you tell us a little bit about the neighborhood where ink & peat is located?  ink &  peat is in an up-an-coming section of the Boise-Eliot neighborhood in North Portland. Many of the shops and restaurants were built in old warehouses.

What inspired you to open ink & peat?

I was a textile designer for many years. My boyfriend and I wanted to move to Portland from San Francisco and I started thinking of ways to re-invent myself. I had an "a-ha moment" at 5 in the morning while I was shopping on the east coast for antiques. I started thinking about what I would be willing to get up early for - I loved antiques, home decor, and flowers. I soon started taking night classes in floral design and thinking of ways to incorporate all the things I love into one career. It ended up being this lifestyle store called ink & peat!

How long have you been carrying H!L cards? 

We have been carrying Hello Lucky! cards for 1 1/2 years. I love the sense of whimsy and seeing people smile when they pick them up.

Do you have a favorite or best selling card from us?  

The Spring Chicken card sells well - Portland is definitely a chicken town - so many folks raise them in their yard. I always love Julia Rothman's unicorn card - maybe because I grew up in the 70's!

From what's selling in your store right now what do you think is the next big trend?

I'm not sure about the NEXT big paper trend - but right now people can't get enough whales! In home decor, there is definitely inspiration from Native American handcrafts and there is a lot of color coming on strong. I think people are ready to climb out of this tough economy and need some bright inspiration and a return to handmade goods.

Pikku

When we spotted these silk screened cotton ribbons by Pikku on Parcel Post we stopped right in our tracks. Pikku has an entire collection of pillows, office accessories, ribbons, and wrapping paper! What a perfect coincidence it is that our custom birth announcements by Pikku go hand in hand with these accessories. We personalized our Mums birth announcement to match their lemony color scheme, and it's truly a match made from heaven.

Check out the entire Pikku shop here, and our Pikku birth announcements here!

Spring DIY: Paper Flower Wreath

Spring may be a time to get organized, but we think it's a great time to bust out the dusty craft bins and get creative! There's no better feeling than recycling something disposable and transforming it into something worth saving. We know you're left with all those leftover holiday cards and wrapping papers, so this is the perfect opportunity to put them to good use! This lovely wreath from our book Handmade Weddings (published by Chronicle Books) uses a variety of found papers, including patterned paper scraps, kraft paper, glassine, tracing paper, and graph paper. This colorful wreath is perfect as a welcome sign at a wedding or party, or to adorn your front door as a welcome sign for Spring!

Materials

Makes 1 wreath

• 15 to 20 sheets assorted scarp papers e.g., construction paper, kraft paper, graph paper, tissue paper

• 30 to 40 colorful 1/4-inch brads

• Four 18-inch pieces floral wire (optional)

• One roll floral tape (optional)

• 1/4 yard scrap fabric

• 18-inch cardboard or particleboard wreath form

• Paper clip (optional)

• 1 to 2 pieces scrap cardboard or foam core

• 1 sheet text-weight paper (optional)

 Tools

• Paper Flower templates (available here)

• Pencil

• Scissors

• Small flower punches

• 1/8-inch hole punch

• Hot glue gun and glue sticks

• One 1 1/2-inch Styrofoam ball (optional)

• Inkjet printer, with extra ink cartridges (optional)

 How to

1. Make your flowers.

For flat flowers: Cut out the Paper Flower templates. Trace them onto patterned scrap paper, and cut out with scissors. Fold the flowers along the center axis of the petals to add dimension. You can also fringe the petals or crinkle flowers made of tissue to add depth. Punch small flower shapes for the flower centers. Stack several flower designs on top of each other, and punch a hole in the center. Insert a brad into the center and flatten the ends. Repeat to make as many flowers as desired.

 For cupped petal flowers: Cut out the Petal template. For each flower, trace the template four times onto graph paper or another text-weight paper. Cut the petals out. Slide a 6-inch length of floral wire into an unopened brad so that the brad grips firmly and the round end faces up. Fold the base of the petal into an M shape, position on the wire, and affix with a dab of hot glue. Place the next petal, and repeat until all four petals are in place. Wrap the petal bases with a strip of floral tape. Repeat to make as many flowers as desired.

 For tissue paper flowers: For each flower, cut four 1 1/2-×-4-inch strips of tracing paper or tissue paper. Place a piece of tissue, long side facing you, on your work surface. Center the Styrofoam ball on the paper, wrap the long ends up, and twist the ends to hold them in place. Trim the twisted ends with scissors and remove the ball, creating a cupped petal. Repeat to create four petals per flower. Slide a 6-inch length of floral wire into an unopened brad so that the brad grips firmly and the round end faces up. Position a petal on the wire, and tape it in place with a strip of floral tape, wrapping it around the wire a few times. Place the next petal and repeat until all four petals are in place. Repeat to make as many flowers as desired.

2. Prepare your wreath form. Cut your fabric into 3-inch-wide strips. Hot glue one end of a strip to the wreath form, and wrap it around the wreath until you run out of fabric. Glue the fabric end down and continue with a new strip until the wreath is completely covered. Avoid covering the hole in the wreath (for hanging). If desired, flatten a paper clip into an S shape and insert it into the hole, to be used as a hook when you are ready to hang your wreath.

3. Attach your flowers. Arrange your flowers in a wreath shape on your work surface. When you are happy with their placement, begin hot-gluing them to the form. To create depth, cut out several 1/2-inch squares of cardboard or foam core and affix these to the wreath form before gluing a flower on top, so that these flowers are slightly raised.

4. Add a sign (optional). If desired, lay out a sign such as “Welcome!” or your names and wedding date using a wordprocessing program and printing on text-weight paper, or write the sign by hand. Attach to the wreath using a dab of hot glue.

For more fun DIY ideas, visit our website here!

Martha Stewart Weddings

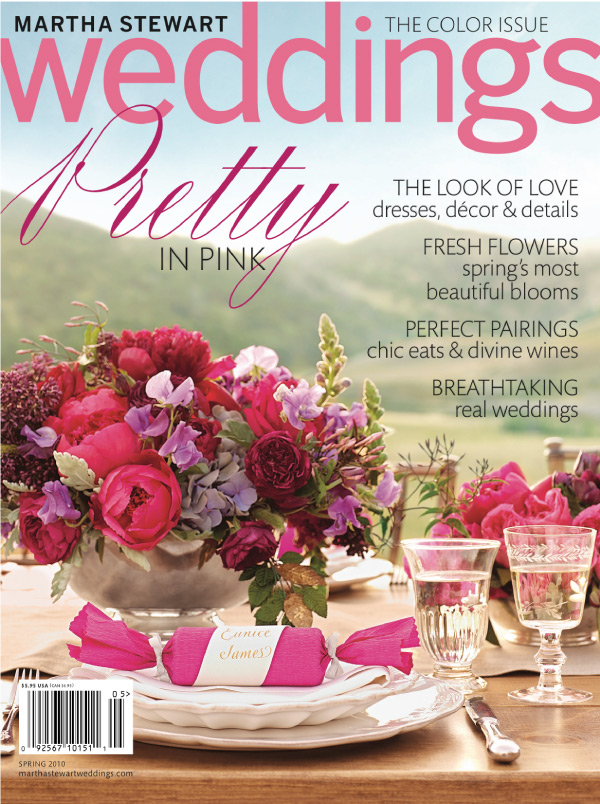
By now you most likely know about Eunice and Daniel's wedding featured in Martha Stewart Weddings back in 2010. The excitement was radiating around our studio, and we still relish in the memory of such an honor of appearing on the cover. Martha Stewart is one of the most inspiring bridal information destinations [along with endless craft and recipe ideas] so we feel blessed to be a small part of it every now and then. It's such a thrill to see weddings we have worked on appear in the Bride's Guide or even inside the shiny pages of the magazine, and because we love the Martha Stewart collection so much, we wanted to revisit all those moments of pleasure by bringing the real weddings to you.

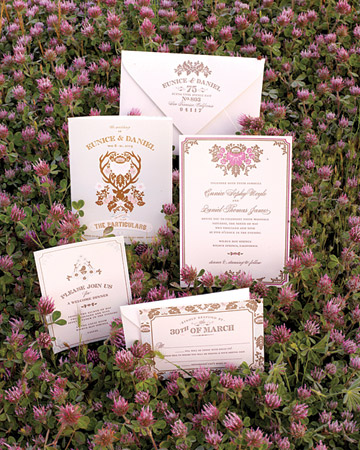
Eunice and Daniel started the trend by customizing our Woodland Damask wedding invitations (designed by Joel Dewberry).

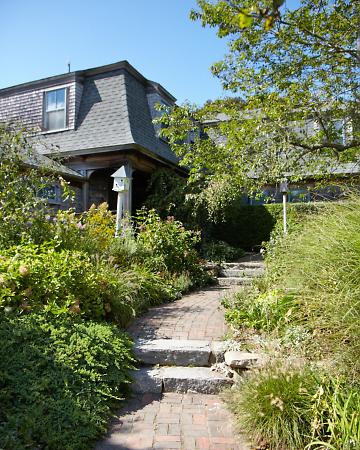
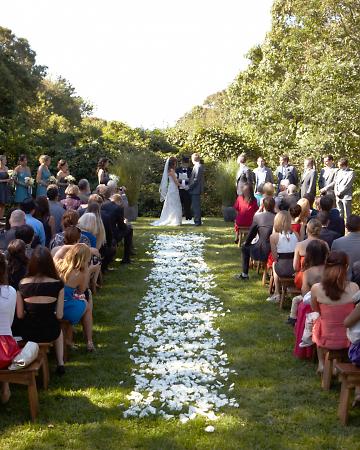
 Recently, Megan and Alex's wedding was featured including one of our newest destination invitations Visit Martha's Vineyard (designed by Lab Partners).

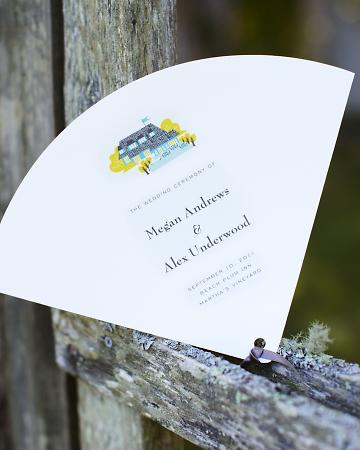
We also created these program fans incorporating an illustrated version of their reception spot The Beach Plum Inn. You can really see the resemblance!
 

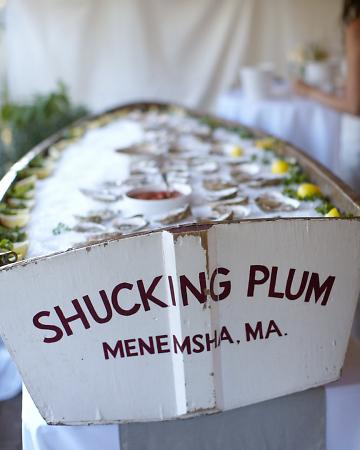
And of course, a New England wedding isn't quite complete without fresh oysters. We love the display atop this rustic mini fishing boat.

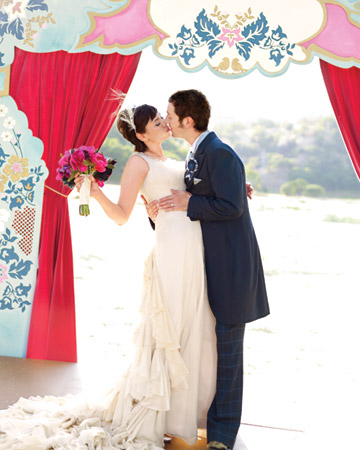
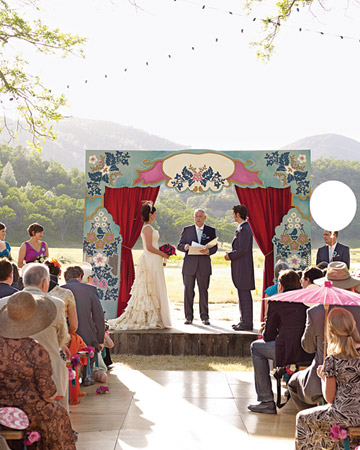
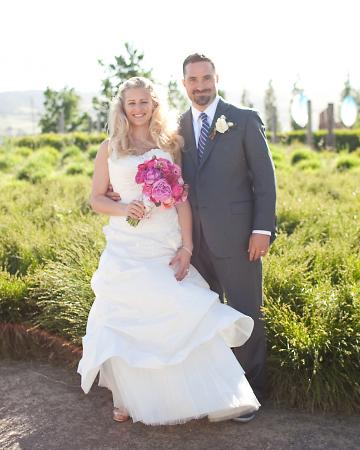
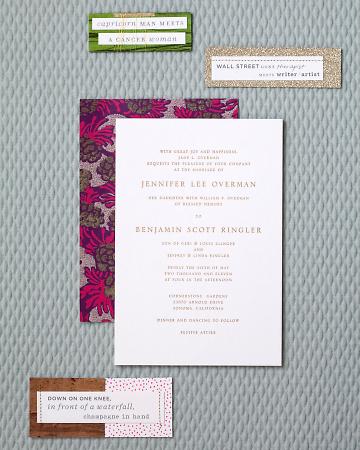
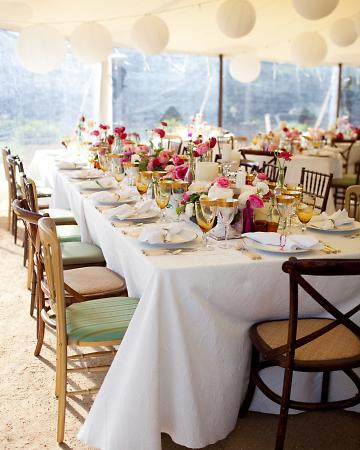
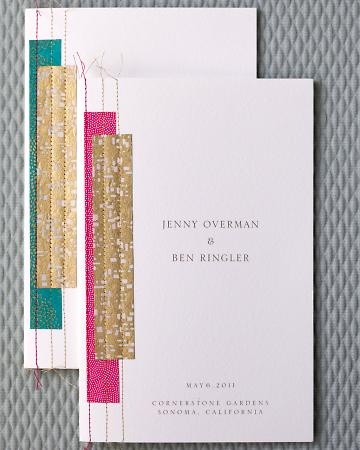
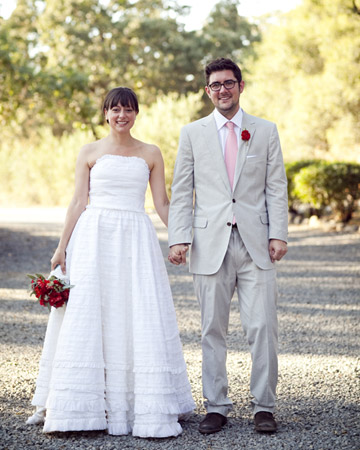
 Jenny and Ben's fairytale Sonoma wedding was a favorite last year, especially their custom created wedding invitations and programs. Their feature in MSW really highlighted their charming characteristics and artistic creations for the ceremony. We love that they weren't afraid to incorporate bright colors!
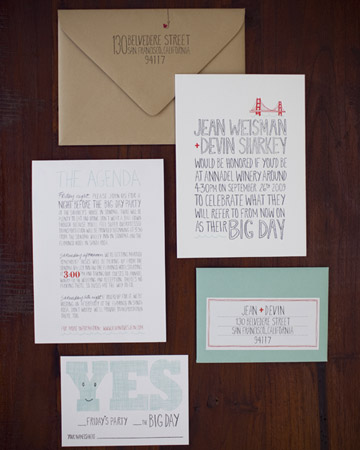
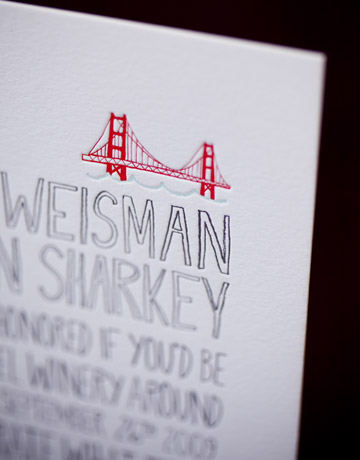
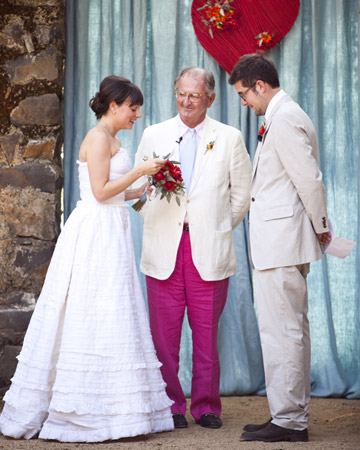
We can't forget about Jean and Devin's whimsical wedding. The true inspiration for our Big Day invitation suite, this couple's witty wording set the tone for one lovely [big!] day.

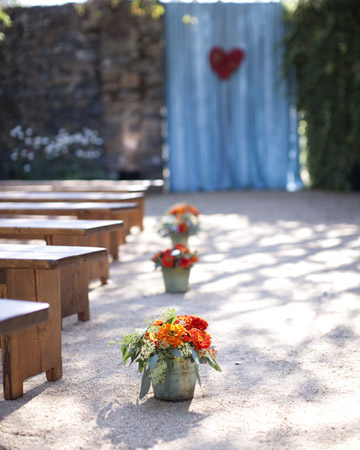
With the help of our friends at Alison Events, lots of crafty details made this intimate barn yard setting pop with color.


Store Feature: Urbanic

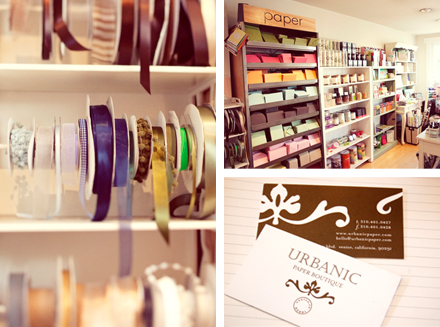
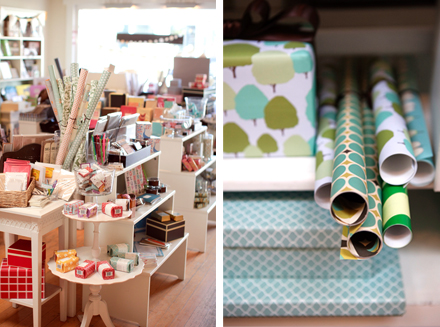
Some of the most significant members of the Hello!Lucky family tree are our trusty wholesale carriers. Though many of these vendors live far far away, we still think of them as close friends. We’re delighted to begin a regular blog feature in which we visit the amazing spaces that carry our greeting cards and gifts. These stores make the H!L name shine and so we're excited to give you a deeper look into their lovely boutiques and indy shops. Today we're visiting Urbanic, a sweet paper boutique in Los Angeles started 5 years ago by adorable husband and wife team Audrey Tantaros and Joshua Woollen.

Can you tell us a little bit about the neighborhood where Urbanic is located? Urbanic is located on Abbot Kinney Blvd in the Venice area of Los Angeles. Our street is full of hip, eclectic shops and restaurants in the local neighborhood of Venice (not the touristy part). Abbot Kinney is a creative shopping strip and bursting with good food, style, and design. An absolute must see destination when visiting Los Angeles!

What inspired you to open Urbanic? I've had a love of all things paper for as long as I can remember. My husband and I shared a long distance relationship across the country when we first met through letter writing, so the sentiment of a written letter will always be important to us. Once engaged and on the hunt for invitations we realized how difficult it was to find options that were unique and a reflection of who we were.  All of this combined with a dream of becoming a boutique owner gave me an A-HA moment to open Urbanic.

How long have you been carrying Hello!Lucky cards? Since we opened 5 years ago! H!L was one of our very first lines at the shop and have been with us ever since.

Do you have a favorite or best selling card from us? Quite honestly, our customers love all of what we choose from Hello!Lucky. Different seasons bring on different favorites. I usually try keep "birthday girl" in stock because she is part of what drew me into the line originally, and of course the sock monkey is always a hit. Lately the seagulls and L.A postcard greetings have been some of our best sellers.

From what's selling well  right now what do you think is the next big paper or wedding trend? Pops of interest and unexpected color (ie. edge painting, backing patterns, printed center wraps, neon). Handwriting fonts - be them casual or script, people are loving fonts that have character and they've never seen before. Novelty Reception Pieces - drink flags, coasters, and signage of every sort!

Anything else? We're thrilled to be the first boutique featured on the HL blog!

Thanks Urbanic for all your beautiful work! If you live in the Los Angeles area, go say hello! The shop is located at 1644 Abbot Kinney Boulevard, Venice, California 90291

Wedding DIY: Cupcake Liner Pom-Poms

These pretty patterned cupcake liner pom-poms featured in our book Handmade Weddings (published by Chronicle Books) are perfect for a wedding celebration or casual party at home. Just a bit of glue and string will transform your ordinary cupcake liners into festive pom-pom strands. Mix and match colors and patterns to compliment your party palette and your decor will be a huge hit. Hang them in your living room, over your reception tables, or in your cocktail area for instant DIY delight!

Materials

Makes six 12-foot strands

• 720 cupcake liners, approximately 120 per strand

• Six 12-foot lengths white kitchen string

Tools

• Bone folder (or popsicle sticks work, too!)

• Rubber bands (optional)

• Glue sticks

• Clear tape

How to

1. Flatten and fold your cupcake liners. Using a bone folder, flatten each cupcake liner into a circle. Fold in half, wrong-side out. Repeat for all of your liners. You will need 10 identical liners per pom-pom. If you are using a variety of patterns and colors, stack or rubber band them by pattern. If your cupcake liners have scalloped edges, be sure to fold them along the same axis every time. This will ensure that the segments that make up each pom-pom are all symmetrical, making for a pleasing whole.

2. Make the pom-poms. Place 10 folded cupcake liners, of the same pattern and color, on your work surface. Using a glue stick, spread glue over one-half of a cupcake liner. Align it to the corresponding half of a second cupcake liner. Press down and smooth with your bone folder (figure 1, page 29). Let dry. Continue attaching the cupcake liner halves, smoothing each segment as you go to ensure a secure bond. Do not glue the last segment. When complete, the pom-pom will form an accordion-like sphere with one open segment, which allows you to flatten the pom-pom into a circle (figure 2). Let dry completely. Continue making pom-poms.

3. Attach the pom-poms to the string. Leaving about 2 feet on either end of the garland for hanging, attach the pom-poms along the string, at 2-inch intervals (or greater if desired). To attach, lay a flattened pom-pom on your work surface and align the string along its central axis (i.e., along the crease). Secure the string with two small pieces of clear tape, one on each end of the pom-pom. Spread glue over one half of the circle, as well as on the string, and sandwich the two halves of the open segment together, trapping the string (figure 3). Let dry. When all the pom-poms are attached and dry, hang the garland. “Fluff” the pom-pom segments by hand to create full circles.

Get your own copy of Handmade Weddings here. Happy crafting!

Gorgeous Paper Wedding Details

This paper wall decor spotted on Green Wedding Shoes stopped us dead in our tracks. We definitely have a sweet spot for paper wedding details, but this bride's DIY wall art just topped the charts! Inspired by the always extraordinary Anthropologie window displays, this bride used tons of rolled paper strips to create an enormous abstract backdrop for her reception. Stunning!


Featured: Perfect Wedding Magazine

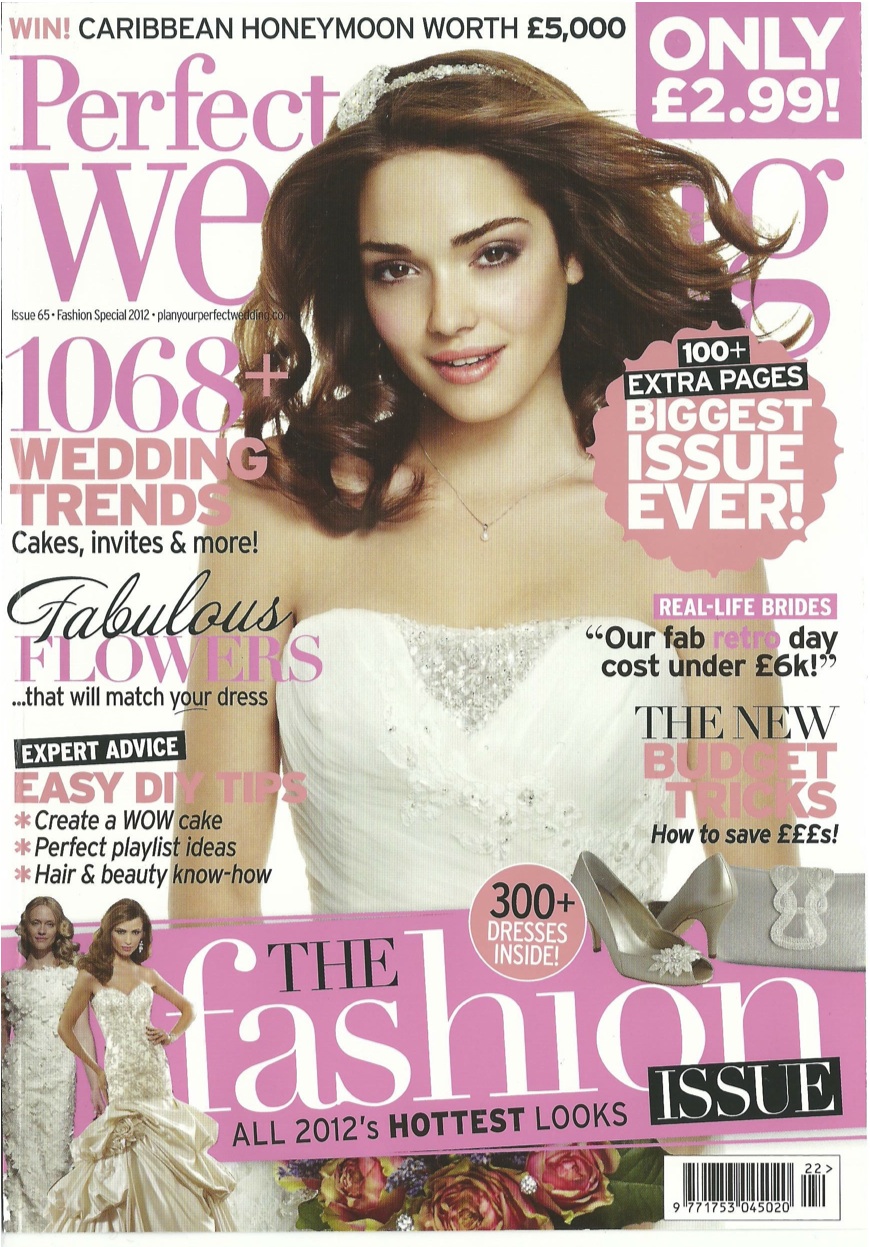
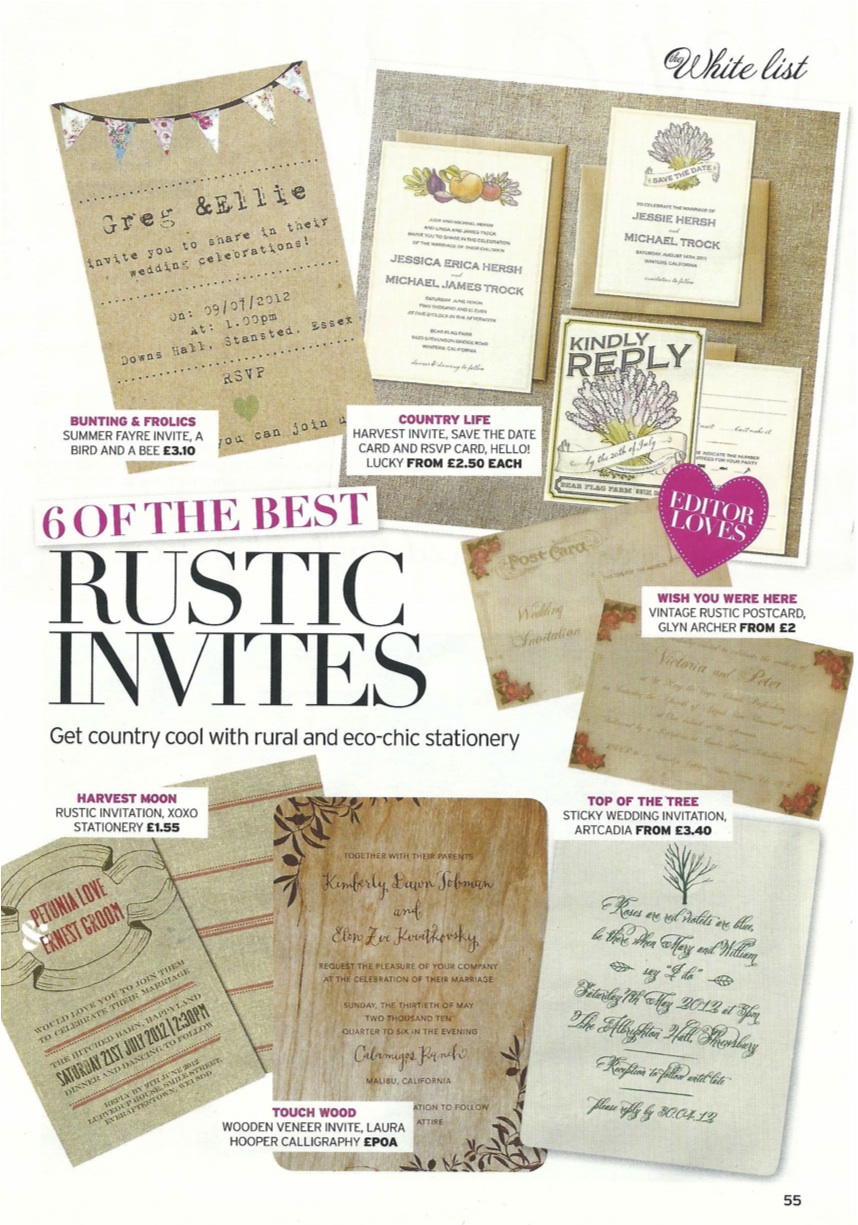
Check it out! Hello!Lucky's wedding invitations are featured in this month's issue of the UK publication Perfect Wedding!

They put together a great collection of rustic wedding invitations, including our Lavender Harvest suite.

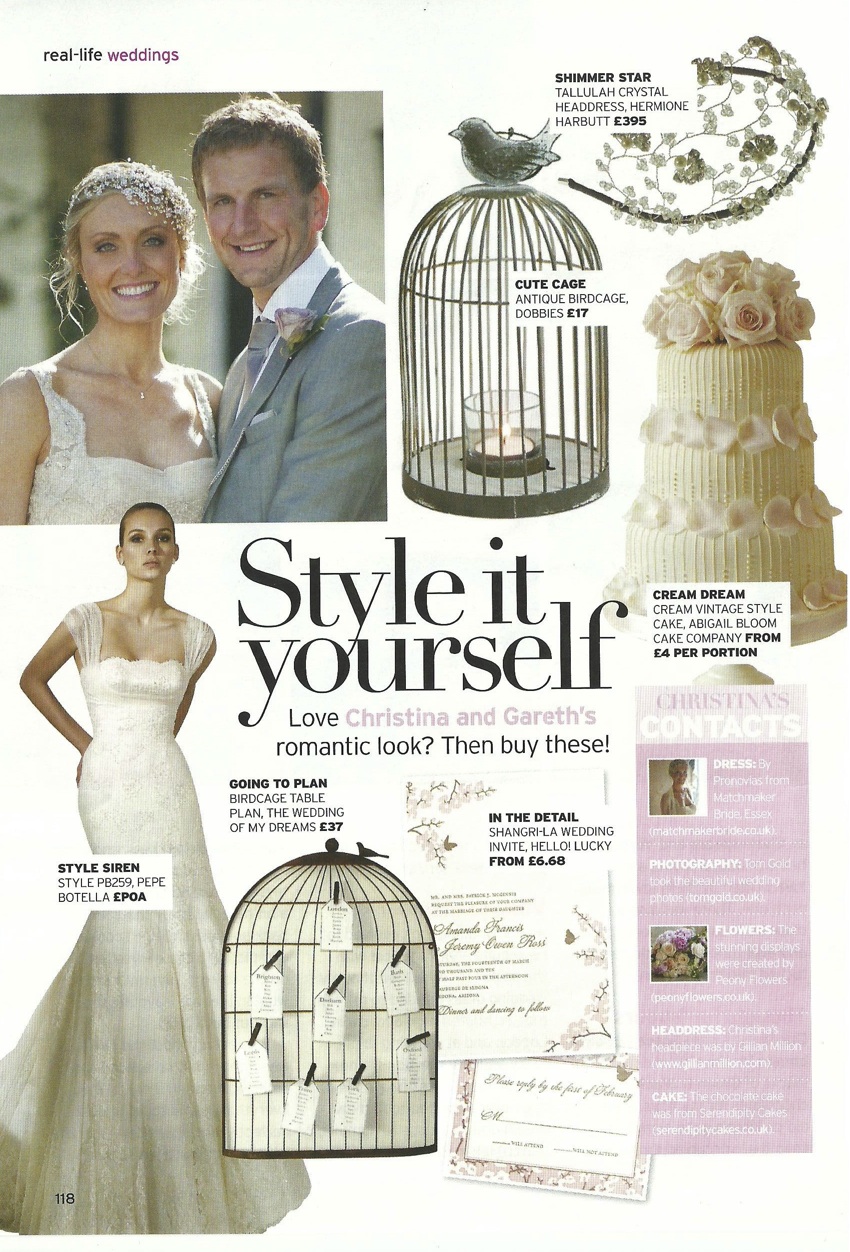
And their romantic wedding roundup features our Shangri-La invitation and rsvp. Oo, la la!

Wedding DIY: Heart Shaped Programs

Add a sweet handmade element to your wedding with these heart shaped programs from our book Handmade Weddings published by Chronicle Books. These adorable programs double as fans for an outdoor summer wedding. They're also the perfect compliment to the Big Day wedding suite!

Materials

Makes 100 programs

• Two hundred twenty-two 8 1/2-×-11-inch sheets red card stock

• 100 wood fan handles

Tools

• Heart-Shaped Program template (available online here)

• Font: Strangelove Text

• Laser or inkjet printer, with extra ink cartridges

• Scissors

• Pencil

• Double-sided tape gun and extra tape (we recommend the 3M Scotch ATG 700 Transfer Tape Dispenser), or glue sticks

How to

1. Customize and print your programs. Customize your program text using the online template. Print 110 copies onto red card stock using a laser or inkjet printer (10 copies are for inevitable mistakes when cutting). Using scissors, cut each program into a heart shape, following the outline on the template and being careful to cut inside the line so the outline doesn’t show.

2. Assemble your programs. Place your hearts back-to-back. Try to pair up hearts that match each other as closely as possible, as there will be some inconsistencies due to the hand cutting. Once you are happy with your pairings, take the first two hearts and lay them side-by-side, right-sides down, on your work surface. Center a fan handle on one of the hearts, left to right, and position it vertically so that the top 6 inches of the handle lie inside the heart, and the bottom 3 inches lie outside of it, forming the handle. Dispense glue or double-sided tape on one side of the top 6 inches of the handle and press into place (figure 1). Dispense glue or double-sided tape along the heart-shaped areas of the same heart as well as the second side of the handle. Align the second heart, right-side up, over the glued side and press down firmly (figure 2). Repeat for all programs.

Variations

Paddle fans, as these types of fans are known, can be made in any shape—a circle, oval, square, rounded square, egg, leaf, or traditional fan shape (resembling a quarter circle). If you have a longer ceremony, you can print on both sides of the fan, adding a bit of decorative flourish along the borders.

Rustic Wedding Inspiration Board

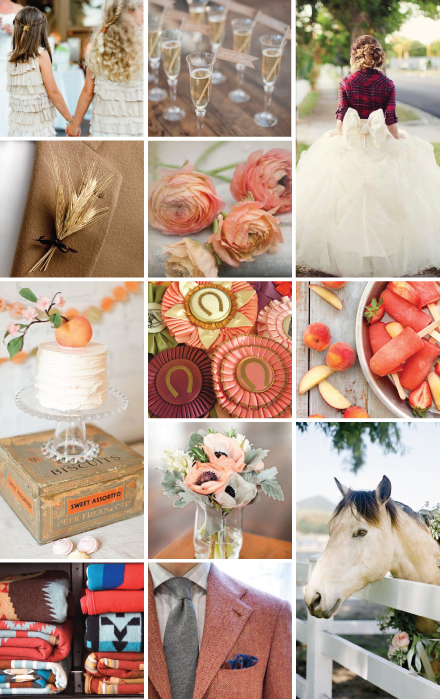
Cowboy boots and mason jars. We love the little touches that set the tone for a rustic barnyard wedding. We put together an inspiration board full of details and accents that will help get your guests in a down home mood. For more inspiration check out our Elegant Equestrian board on Pinterest, where many of these images were pulled from. We’ll be doing more theme weeks on our blog in the future - if there’s a theme you’d like us to focus on let us know in the comments!

We also asked you (via Facebook & Twitter) what you thought made for the best rustic wedding decor. Here’s what you told us: Sharla - Sheriff badges with wedding date & couples names to adorn cowboy hats. Napkins from brown western bandanas. Wedding favors from my wedding. Ruth Anne - Burlap definitely!!!! One True Love Vintage Rentals - Chippy paint cabinets + farm tables! Juliann - Baby's breath + lace...swoon! Pomp & Plumage - Wheat fields, chalkboards, paper straws and twinkly lights....love. Shana - Mismatched chairs & burlap tables runners.

Image Credits: 1. Bridesmaids Ruffle Dresses: Crush Cul De Sac  2. Champagne and Kraft Paper Flags: Style Me Pretty 3. Tartan Wrap and Big Bow: Alexan Events  4. Wheat Boutnniere: Wedding Bee 5. Coral and Peach Flowers: Crush Cul De Sac   6. Peach Cake: Martha Stewart Weddings 7. Horse Ribbons: Velvet Strawberries  8. Strawberry and Peach Vodka Popsicles: Endless Simmer 9. Flowers: Martha Stewart Weddings 10. Our Kind of Horse: Style Me Pretty 11. Pendelton Blankets: Country Living 12. Groomsmen: Men of Habit 

Inspired by: Wedding Invitation Suites

With wedding season about to kick off, we're gearing up for some amazing additions to our collection. Wedding invitations serve as the first source of inspiration for the big day, and with all the pieces in check, you can really start to see all the details come to life. Frequently we find ourselves browsing through the photo database for inspiration drawn from particular invitations, and we wanted to share a place where you can do the same. Whether your wedding has a rustic farm theme, a sleek and modern theme, or a whimsical and playful theme, these photos will have you planning in no time! Click on the photos for a larger view!

Southern Belle (above) and its darling motifs will make that sweet southern wedding that much more charming. The delicate watercolors by Anne Smith are calling for lots of floral garland and white daisies!

 Rolling Acres is just right for a summer celebration. And the pennant liners (available soon!) will add a festive flare to your party invitation.

Figs has more rustic and natural qualities. Perfect for an outdoor wedding where locally sourced food and flowers are the focus.

We love the crisp and clean details of the Desert Skyline invitation suite. Bouquets of succulents and dried flowers arranged among rough wooded tables would complement this style beautifully.

Heartland is another favorite and best for the down-home country weddings we all dream about. We've seen lots of brides customize the colors and layout of this design, but it always stands out with some amazing farm-chic accessories.

 Big Day is one of our most popular suites, with its playful wording and simplistic hand-drawn icons, it's definitely a party starter. We've replaced the Golden Gate Bridge icon with other simple motifs, and it's still just as sweet!

We can't imagine a Cape Cod wedding without lots of nautical accompaniments. This maritime suite designed by Anne Smith was made just for our brides ready to wed by the ocean air.

A custom design gallery with all of our invitation suites is in the making, along with lots of brand new designs. Do you have a favorite style or wish we would create a wedding suite around a certain theme? Let us know in the comments!

All photos by Edyta Szyszlo