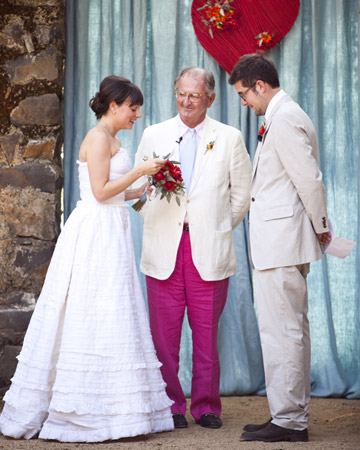
Real Wedding: Molly and Daniel

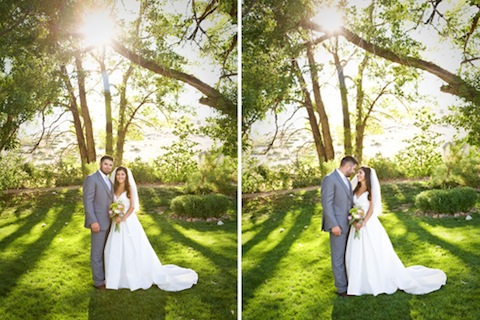
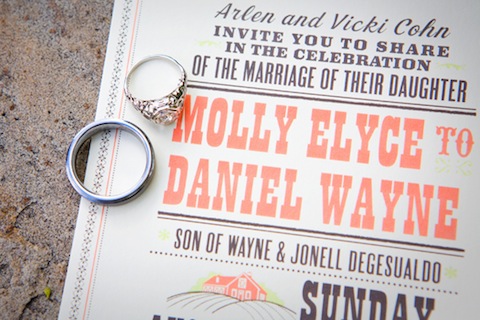
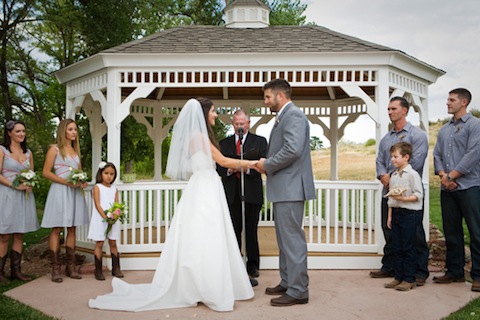
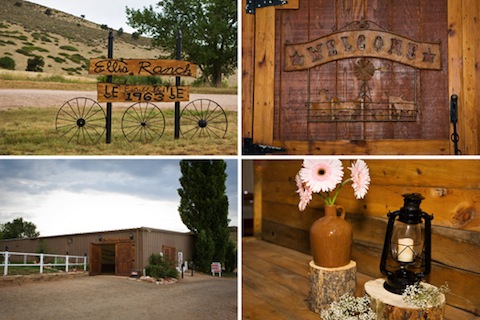
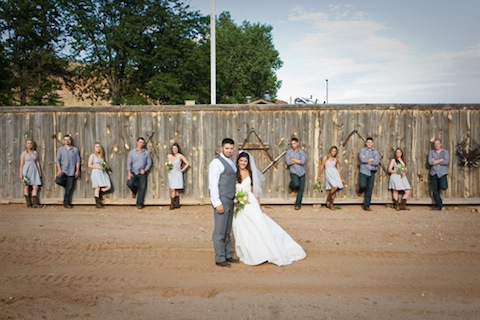
We're counting down the days until official summer and that means we'll be seeing more of our favorite country weddings. You know a bride and groom that chooses our Heartland invitation is planning a rockin' farm wedding and that's exactly the case with this Colorado couple. Molly and Daniel wed at the adorable Ellis Ranch in Loveland, CO. Who wouldn't want to get married in Loveland? The picture perfect venue and priceless cowboy details made this wedding a classic.

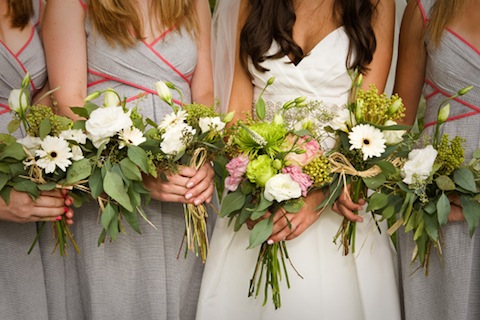
We're definitely thinking green! The leafy floral arrangements by The Ruffly Rose are simply stunning.

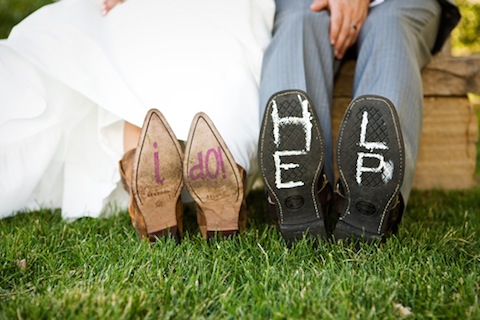
What's a wedding without a good laugh? This groom's witty take on a classic photo gets us giggling every time.

To see more photos check out the post in Colorado Weddings Magazine!

Photography by Julianne Brasher

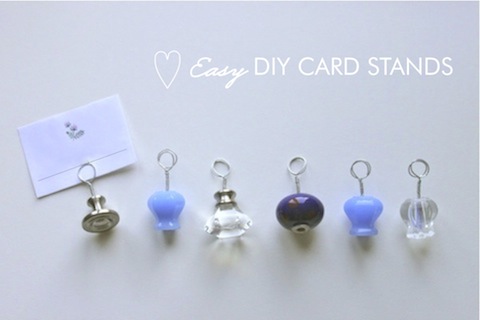
DIY Card Stands

These super simple and easy to make card stands are the perfect pick-me-up to any table display. We love the quirky drawer knobs found at local antique shops or the ornate ones for sale at Anthropologie. You can even buy wooden knobs at your local hardware store and paint them any color you like! The possibilities are endless with these little fellows. We'd definitely use them as place card holders at a reception or dinner party, but they could also be used to prop photos on a mantle, keep to-do notes on a desk, or even hold up a new recipe in the kitchen. Full instructions below!

 Materials:

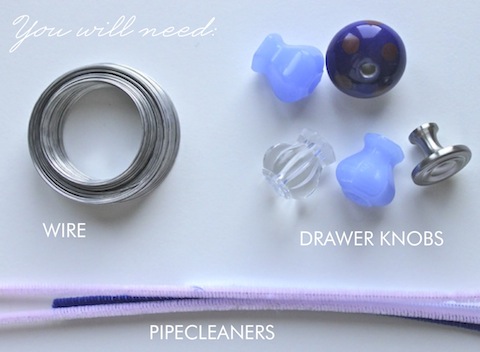
Used or new knobs preferably without set screws (browse your local antique shop for fun shapes and colors, or visit Anthropologie), wire (we used 20 gauge for better strength), pipecleaners (any color will do, but try to match the colors of your knobs), wire cutters or scissors and some craft glue - if necessary.

How To: 

Step 1. Remove the screws and any washers from the knobs.

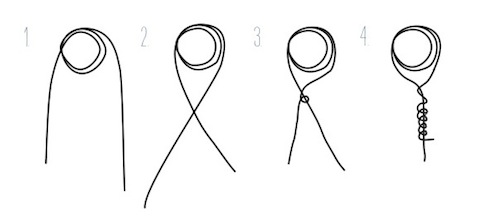
Step 2. Prepare your wire. Cut about 8" - 10" strips and fold at the center. Wrap the wire around your index finger twice creating a spiral loop.

Step 3. Cross both ends and spin to hold in place.

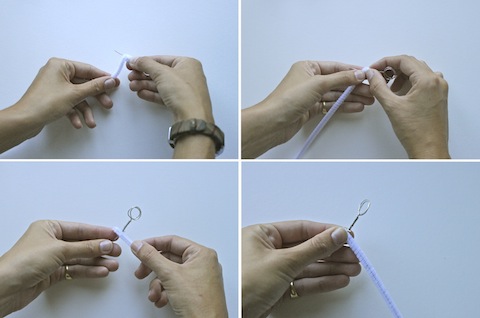
Step 4. Carefully wrap one end of the wire around the other side, leaving as little space as possible between each loop.

Step 5. Wrap your pipecleaner around the bottom part of your wire (underneath the hook). Cut off any remaining pipecleaner.

*The thickness of your pipecleaner will depend on the width of the hole in your knob

Step 6. Place the wire and pipecleaner inside the hole of the knob. It should fit pretty snug - if not, add more pipecleaner and a dab of craft glue to be sure.

Step 7. Insert place card between wire loops and display!


Visit our website for more fun DIY ideas!

Real Wedding: Caroline and Blair

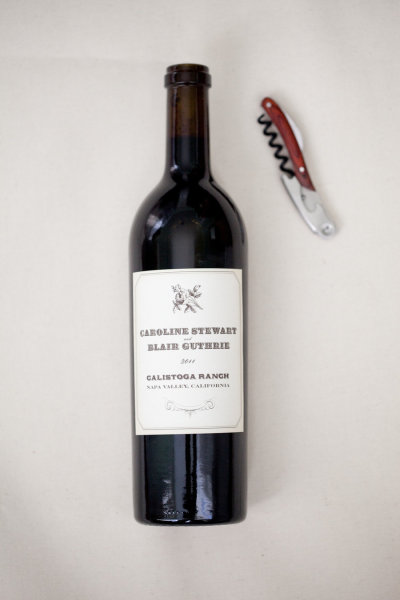
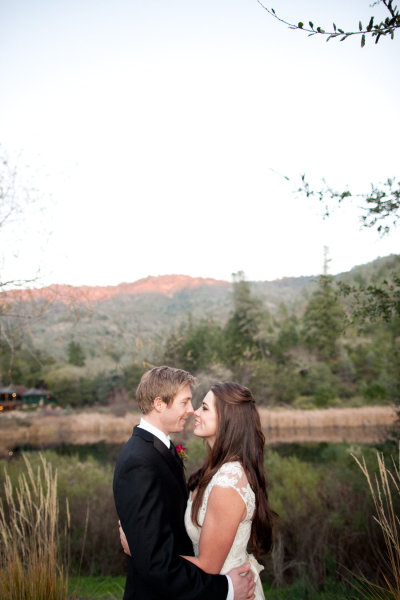
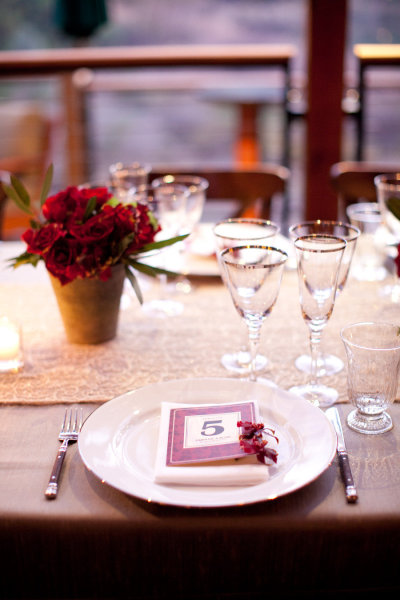
This real wedding is definitely one of our favorites. Once Caroline and Blair decided to tie the knot in wine country, they turned their beautiful Calistoga wedding into a wine lovers paradise. Set with deep red florals and classic decor, the event was truly one to remember. For their save the dates, each guest received a bottle of wine fit with a custom label and a vintage prescription inspired card.

The wedding invitation suite included prohibition-inspired letterpress invites, custom designed match books and place cards, and even a dictionary of wines to prepare all the guests for what Northern California has to offer. So many fabulous keepsakes!

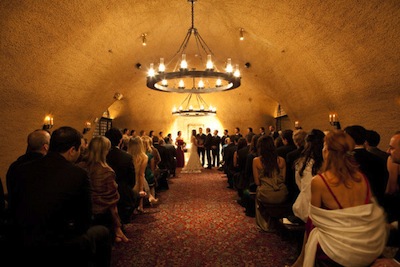
Of course the natural beauty of Calistoga, CA (even in December!) created the perfect backdrop for such an event. Alison Events had their finest ladies work to create the ultimate romantic environment. The photos of their wine cave ceremony completely blew us away!

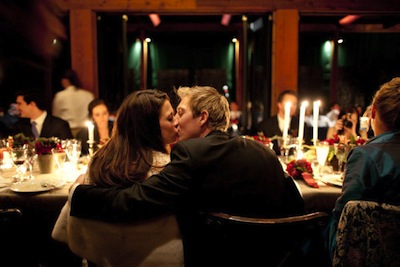
Caroline and Blair's dream day carried on into the night with a stunning reception, full of fine spirits and dancing. Oh how we love cozy winter weddings!

Check out the entire post and more photos on Style Me Pretty!

Photos by Jesse Leake Photography 


Perfect Paper Wedding Details

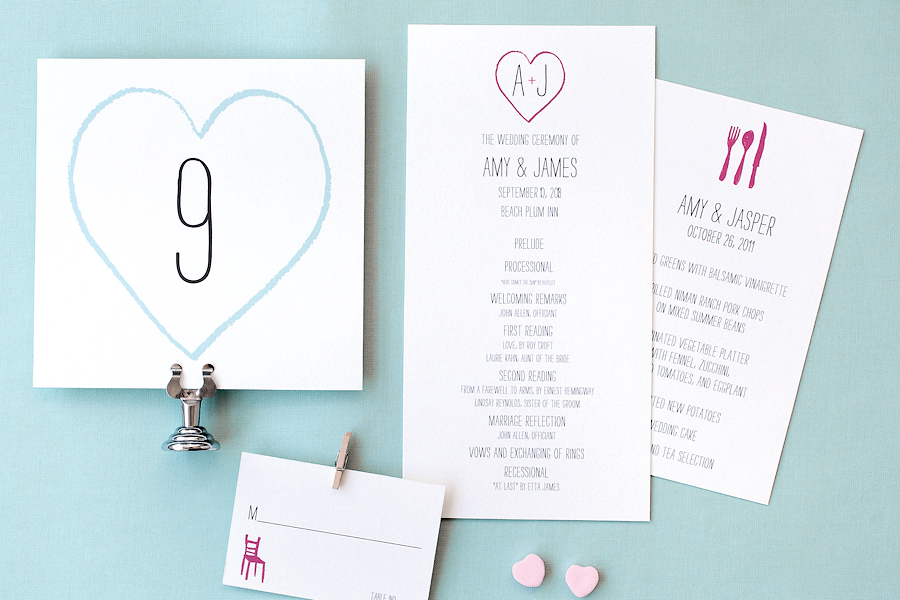
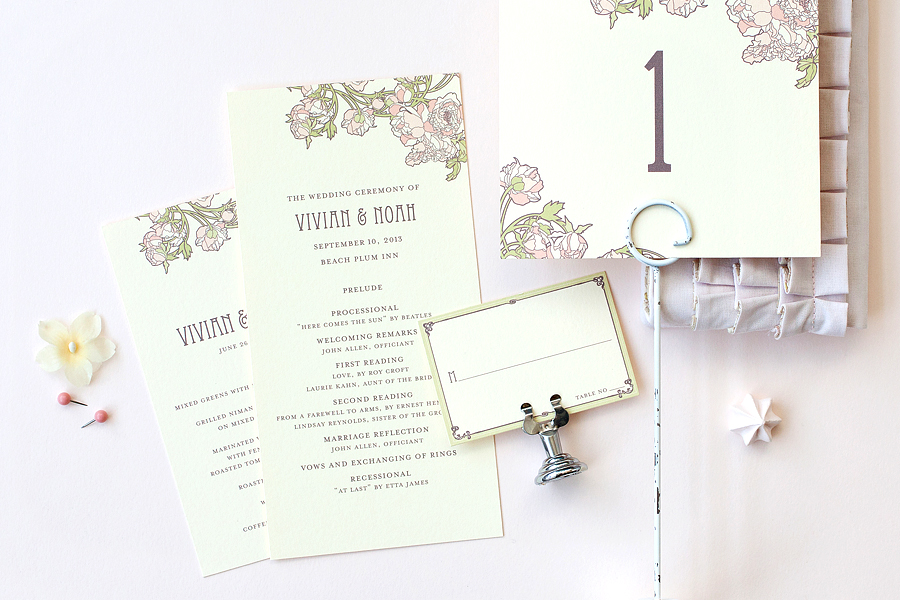
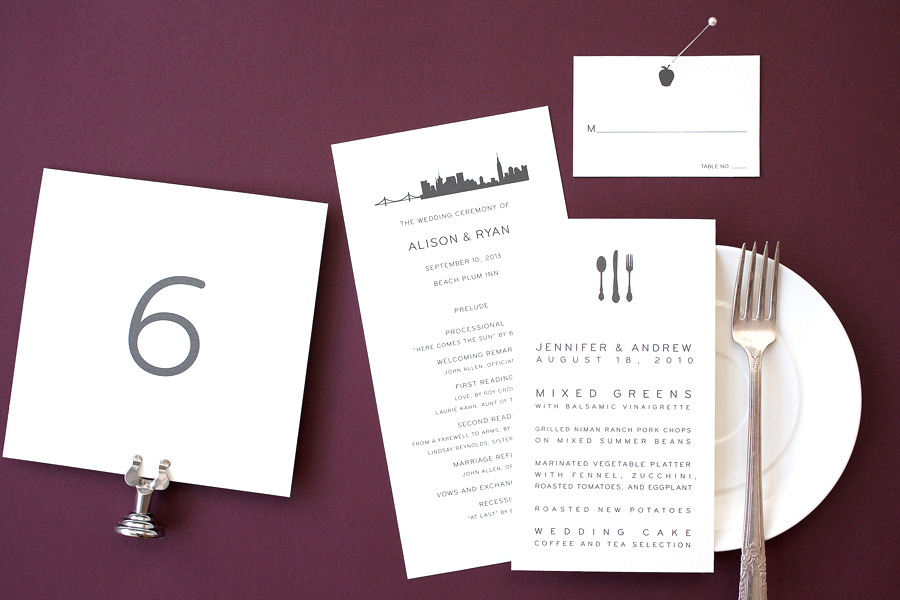
Whether you're in the middle of planning your wedding day or just getting started, we have some gorgeous paper products that will make your big day come together perfectly. You can carry on the theme of your wedding invitations into your wedding and reception, without lifting a finger. All of our wedding invitation designs have matching day-of paper details, and can be customized just for you. Programs (folded and flat), printed place cards, menus, favor tags, table numbers, you name it, we've got it!

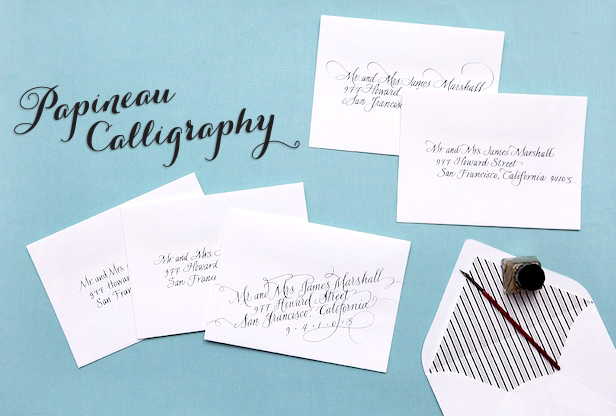
 Beautiful calligraphy by Michele Papineau will add an elegant touch to your day. With personalized place cards or favors, your guests will go home with their own little piece of art. Plus, there's a variety of styles to choose from!

Interested in having matching paper details printed for your wedding? Simply give us a call 1.888.552.3724 or email us info@hellolucky.com for options.

Real Wedding: Ashita and Mark

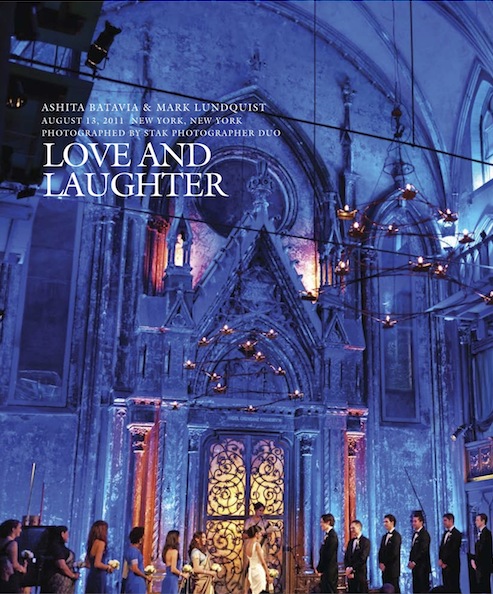
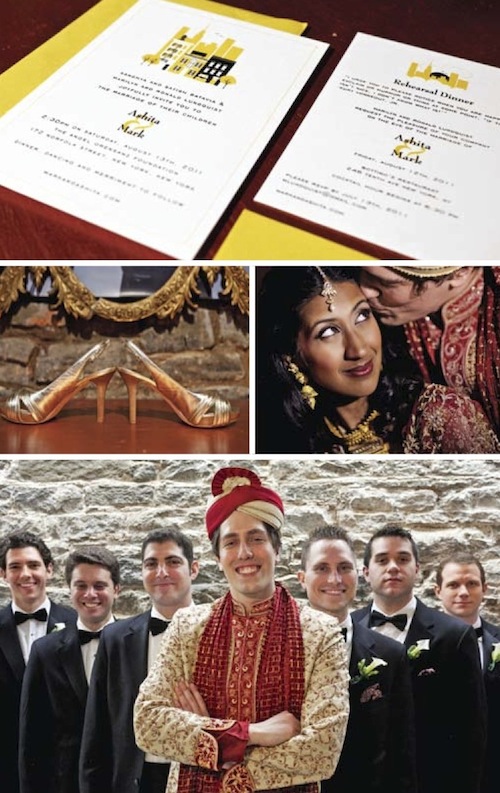
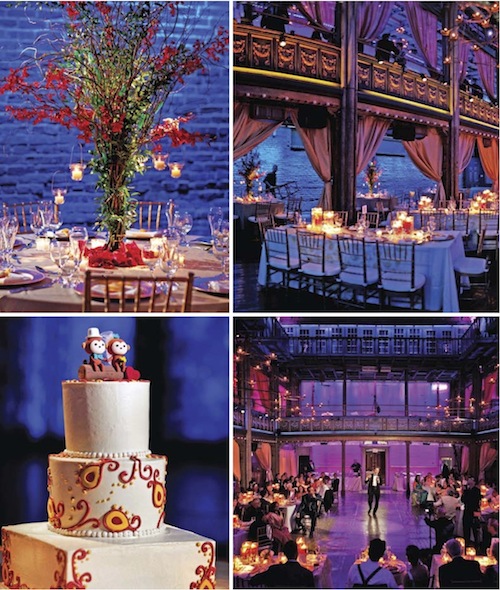
 This New York City wedding is definitely one to remember. Ashita and Mark shared their love with friends and family over two traditional celebrations, and both are equally stunning. Ashita's family oriented Hindu wedding ceremony incorporated bright hues of red and gold, with plenty of shimmering embellishments. Their second ceremony inside the Angel Orensanz Foundation for Contemporary Art provided a breathtaking backdrop for the couple's "I do's." Of course such a beautiful wedding deserves beautiful recognition, and Inside Weddings was sure to deliver. You can read their adorable story here, and browse through the entire collection of photos (including our Visit New York City invitation!).

Congratulations Ashita and Mark! Visit Inside Weddings for more!

Photography by Stak Photographer Duo

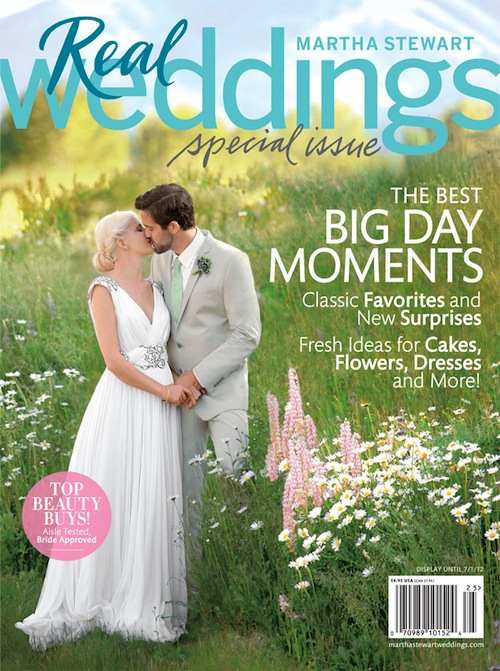
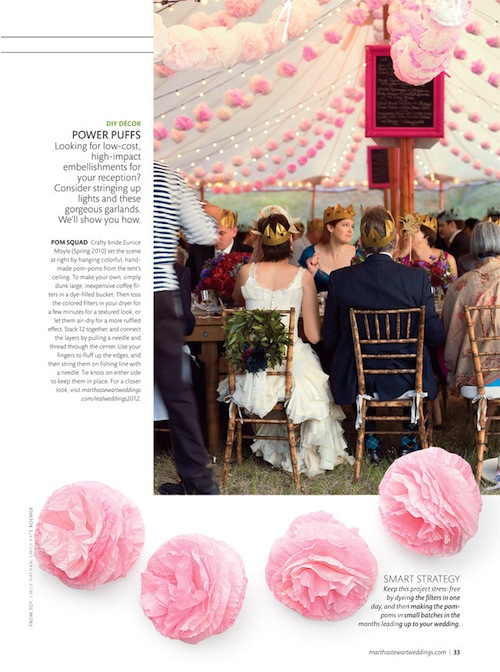
Our Poms in Martha Stewart Weddings

Our signature pink poms are featured in Martha Stewart Weddings Special Issue! Back when Eunice and Daniel got married they handmade each of these coffee filter poms and dyed them various shades of pink. They were a huge hit strung along the top of their reception tent, and since then we've found lots of ways to reuse them.

We keep them in the studio to brighten up our blank white walls. They are easy to store, too! Just re-fluff the paper filters each time you've got a new decor project and dust with some fresh paint or glitter.

A Most Curious Wedding Fair

Saturdays at the historic York Hall in London's East End may usually be associated with boxing matches and Turkish baths but last weekend it was the venue for the first Most Curious Wedding Fair in London. Rather than the 3-day events this was just a single afternoon but after the doors opened the hall very swiftly filled-up.

It was lovely to see so many small independent traders there nearly all with something unique and charming on display all with a distinctly vintage theme. For our own booth we created a fold-out screen in calico and then hand-drew picture frames onto them and mounted the invitations onto acetate sheets which we attached using upholstery tacks secured by a small cork at the back. Larger suites of invitations we just laid-out on the table in the front for the guests to handle to feel the quality of the cardstock.

Among the many stands that took our eye were this fantastic paper artist called Suzi McLaughlin who creates the most exquisite works from folded paper and laser-cutting. We just adored the simplicity of the bouquet made from printed paper.

For an equally beautiful keep-sake Suzi also makes 3d books where the pages are folded over and have a cloud of butterflies (or anything else you may want) flocking out of them. Or this beautifully simple open book with a simple corsage. Just stunning!

Entertainment was provided on the stage throughout the afternoon with ballerina models giving a fashion show of vintage dresses, music from The Old Time String Band and from a couple of very saucy burlesque dancers! It was good to be at a show where there was most certainly something for grooms!

There were a couple of bakers and caterers that caught our eye. Christina at Feast Food certainly did both with her wonderful dress, fantastic display of delicious-looking goodies and the lovely old kitchen dresser . They cater any event and can provide the crockery and service to if needs be!

Pom Poms of a different sort from BeauButtons who create these fantastic bouquets from vintage buttons and notions; a truly inspired way to put Granny's old button box to good use and to serve as a lasting memento to all those much-loved dresses and coats.

A couple of wonderful characters couldn't fail but to catch our eye! For those of you wanting a totally unique service provided at your wedding, look no further than Reginald Spleen and his travelling snuff bar. Like a living cameo from a 19th Century state fair Mr. Spleen brings a wide selection of this delicacy from tobacco-free lemon snuff to deep, rich 'knock your socks off' Cafe Noir...the taste of which stays with the taker for several hours...trust me!

Lastly we couldn't help but mention Pearls and Swine and its particularly colourful designer Bink. From all the wonderful fascinators and headpieces on her stall she chose this spectacular fruity model - and we are all very glad she did as it kept a smile on our faces all afternoon!

Congratulations to Gemma and Becky from Most Curious for putting-on such a pleasurable and successful event - here's to the next one!

Photography Credit: Alex Dimopoulos of My Love Story

Real Wedding: Cari and Jason

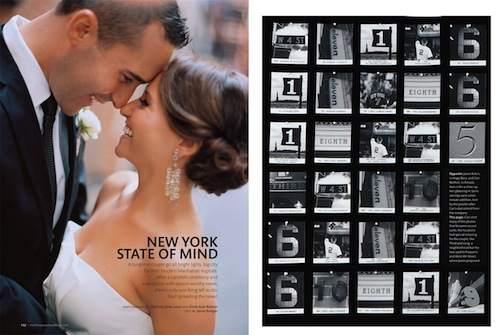
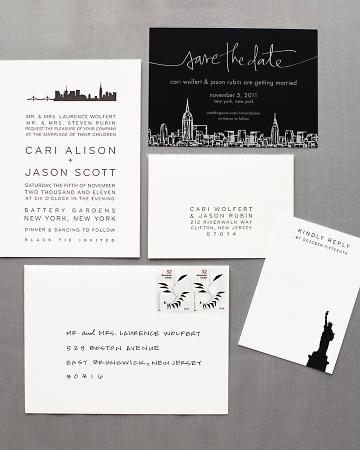
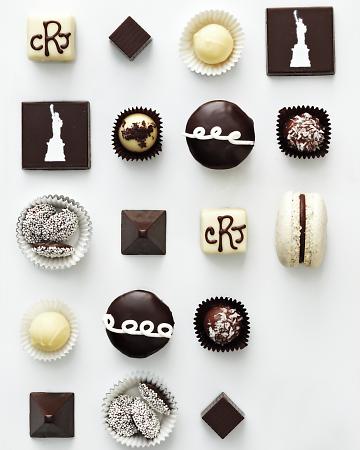
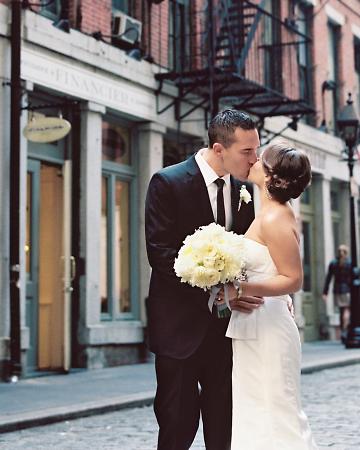
This beautiful New York City wedding was featured in Martha Stewart's brand new Real Weddings special issue! Cari and Jason's crisp black and white theme demonstrated all the classic and traditional elements of weddings we love, along with a few personal touches. The couple chose to use our New York City Skyline  invitation suite and incorporated the icons throughout their decor. Martha Stewart's Bride's Guide gives an inside look into the event, with exclusive photos of the setup and all the delicious treats. The Statue of Liberty chocolates by Edward Marc Chocolatier really topped it off!

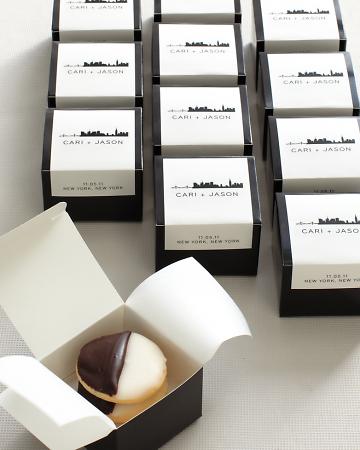
Two-toned black and white cookies were given to guests, sealed with custom skyline labels.

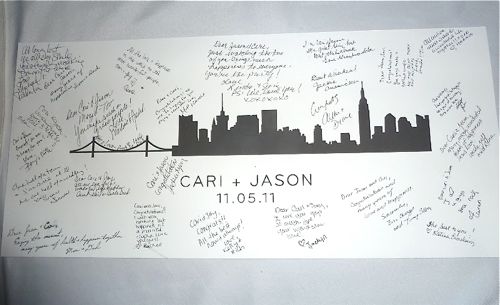
We also printed a large scale New York Skyline poster to act as a guestbook for the wedding. It's such a fun and memorable keepsake!

Congratulations to Cari and Jason! For more photos of this classic New York City celebration, click here!

Photography by Charlotte Jenks Lewis

Eunice's Pinterest Picks - Happy Spring!

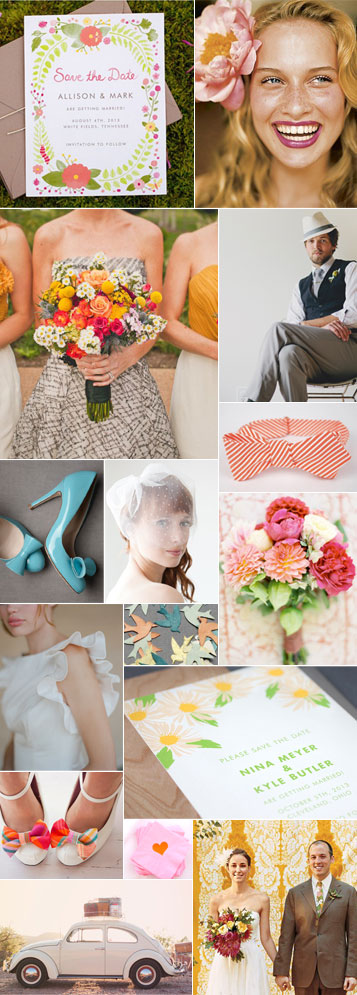
This week I've been getting into the idea of a fun and fresh spring wedding. It all started with the launch of our new wedding invitation lines with the ever fabulous Jacqui Lee & equally lovely Susy Jack*. From left to right and moseying down: Our brand spankin' new save the date from the  Flora & Fauna invitation suite by Jacqui Lee, love this beautiful, beautiful girl - so happy! Details from this adorable wedding (shot by Sweet Little Photographs), this handsome guy is so casually hip (Jenna Trapasso of Red White and Green Photography), and a snappy striped bow tie from Forage. Fun, graphic shoes from BHLDN, polka dot blusher veil from Sibo Designs, this lovely bouquet by Flowerwild (photo by Jose Villa Photography), simple ruffles (photo by Elizabeth Messina), and Flyaway Confetti from BHLDN.   Susy Jacks*' Daisy save the date from her brand new line with us! Love these plaid bows by the Belle and the Beau, and these cute graphic napkins from Merriment Events. Also love this fabric photobooth backdrop from Lena Corwin's gorgeous wedding...and last but not least, how cute would this little vintage beetle be for a getaway car? (Stephanie Williams Photography).

Real Wedding: Katie & Justin

Think pink! We were thrilled to be part of Katie & Justin's wedding, featured today on Green Wedding Shoes. We had so much fun designing this custom suite, which included a few of our current obsessions - neon and edging. We worked with the couple's navy and fuchsia palate to create a modern yet elegant design (calligraphy by Michele Papineau).

The couple selected the Majestic Halls, located in the heart of downtown Los Angeles. Built in 1921 as the former Los Angeles Bank of America, the building retains many of its original historic and ornate details. Katie and Justin fell in love with these architectural elements that made the space feel unique to downtown Los Angeles.

Aren't the flowers stunning? Katie and Justin wanted a pink ombre effect and The Little Branch executed their vision perfectly. Each table had various distressed bronze buckets filled with fuchsia, pink or blush flowers. The bride’s bouquet was comprised of a variety of deep pink flowers, including roses, and tied with a navy ribbon.

Katie's dress was Halston Heritage, her shoes were RED Valentino and her stole was vintage, purchased from a local flea market. Justin's suit was from Hugo Boss.

The ring pillow was made by Katie's mom using our how to guide! We love the addition of the pom pom border.

In addition to the invitation suite, we also created matching day of materials: menus, place cards, table numbers and programs.

Congratulations Katie and Justin! To see more of this gorgeous wedding, please click here.

All photos by Erin Hearts Court. Wedding coordination by Kristeen LeBrot.

Today's Bride

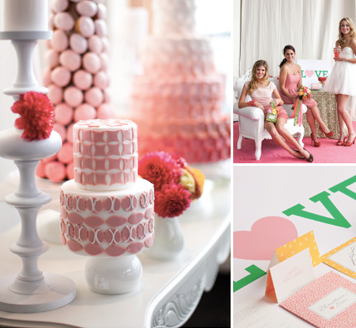
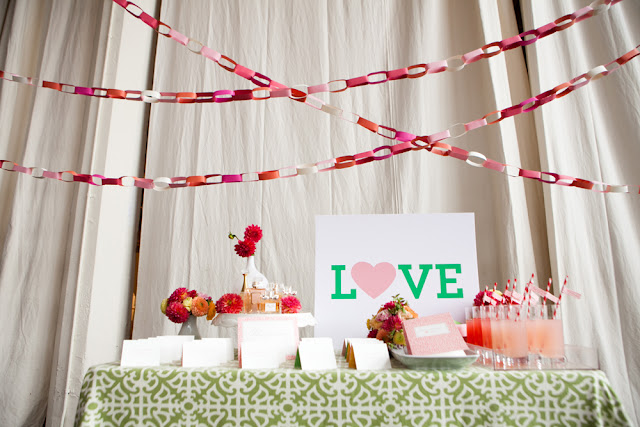
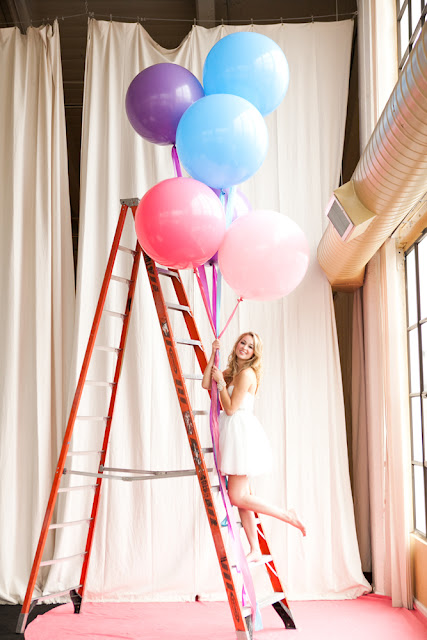
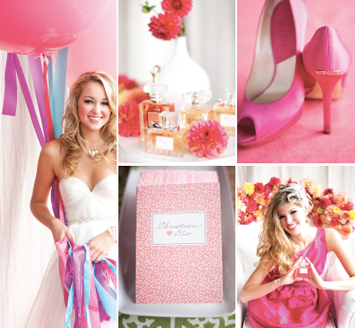
These photos from Nancy Liu Chin's Anatomy of Today's Bride for Today's Bride SF are to die for! We were approached by Nancy awhile ago in efforts to come up with a classic and whimsical invitation and day-of paper suite for her ultra-sweet photo shoot. It was a piece of cake once she shared her inspiration with us, and knowing which amazing vendors were also on board, we knew it would be a hit.

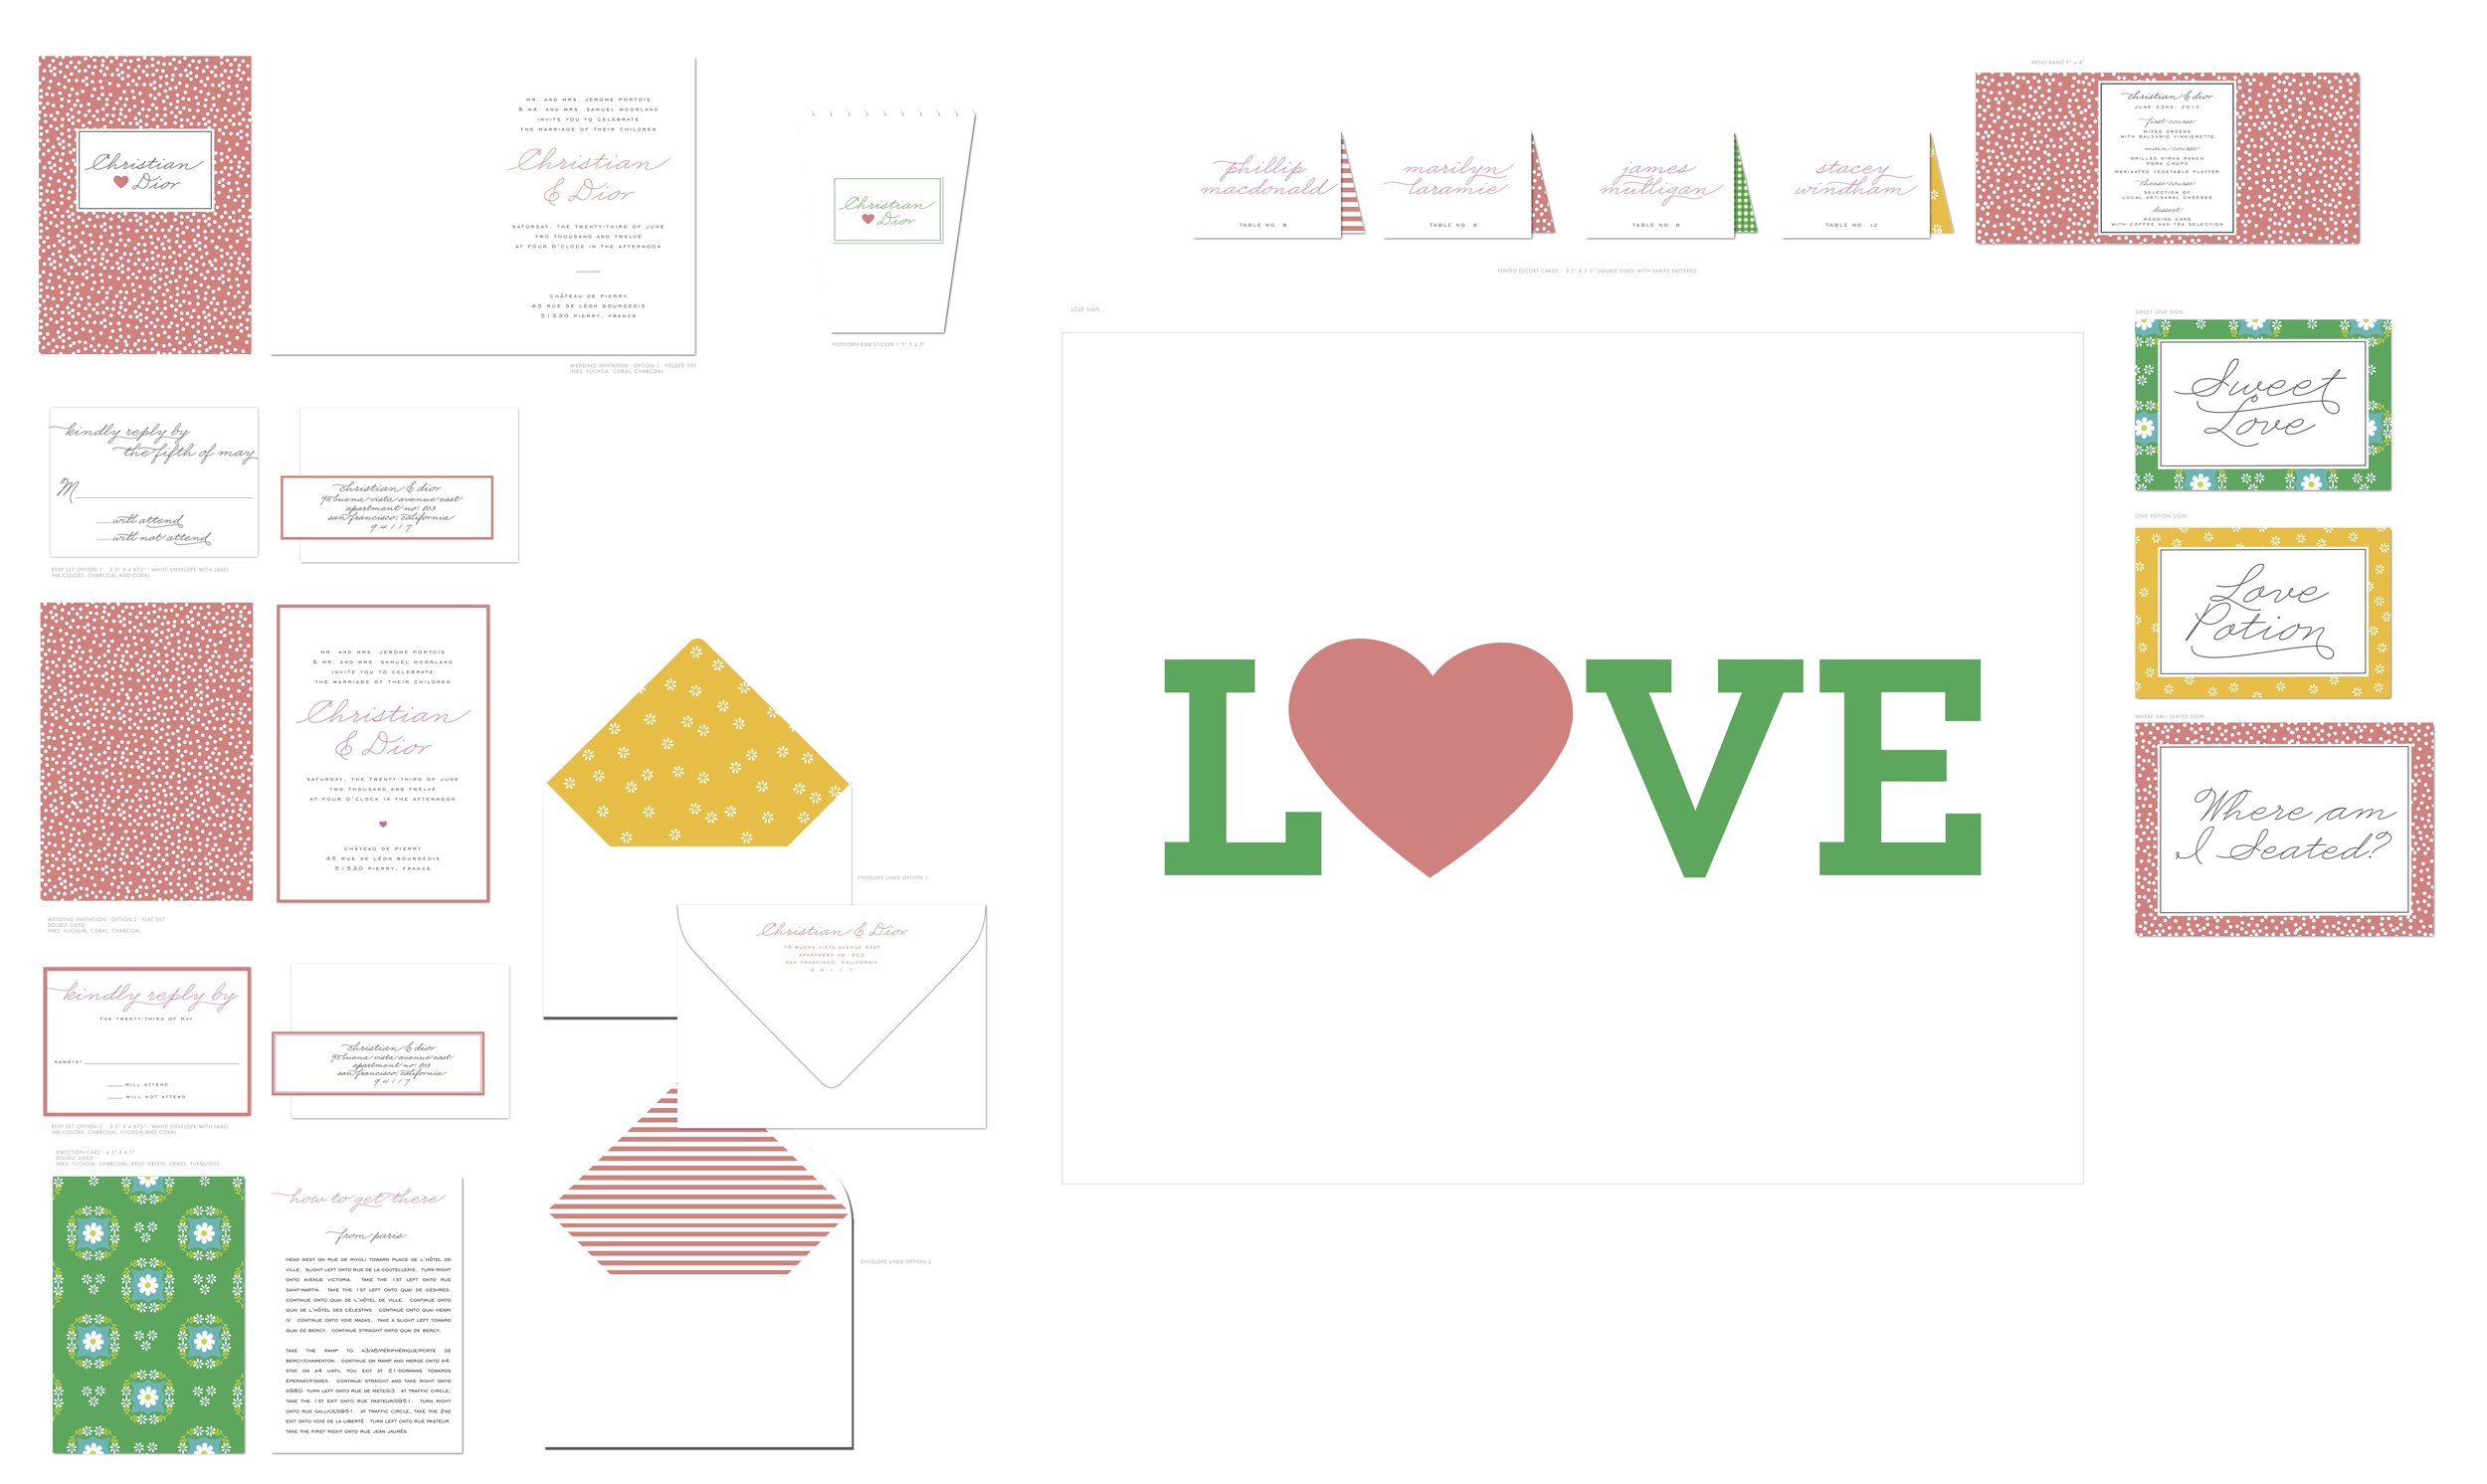
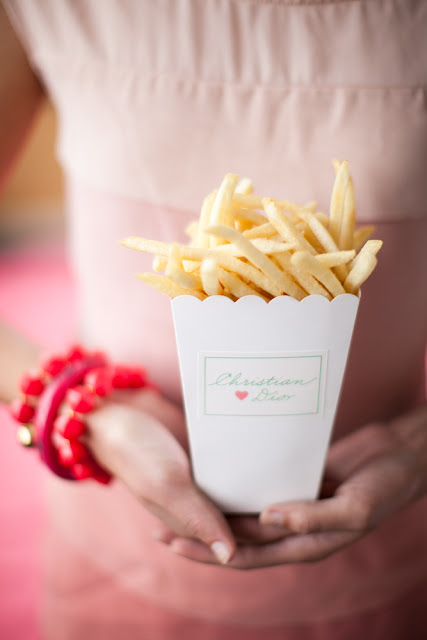
You can see our working files below. We were really into mismatched patterns and folded cards. If you look closely, the invitation reads Christian & Dior, tres chic!

Visit Nancy's Brown Bag to view Anatomy of Today's Bride Part I and Part II, and watch the amazing video by Luke Goodman here!

Photography by Kevin Chin

Spring DIY: Paper Flower Wreath

Spring may be a time to get organized, but we think it's a great time to bust out the dusty craft bins and get creative! There's no better feeling than recycling something disposable and transforming it into something worth saving. We know you're left with all those leftover holiday cards and wrapping papers, so this is the perfect opportunity to put them to good use! This lovely wreath from our book Handmade Weddings (published by Chronicle Books) uses a variety of found papers, including patterned paper scraps, kraft paper, glassine, tracing paper, and graph paper. This colorful wreath is perfect as a welcome sign at a wedding or party, or to adorn your front door as a welcome sign for Spring!

Materials

Makes 1 wreath

• 15 to 20 sheets assorted scarp papers e.g., construction paper, kraft paper, graph paper, tissue paper

• 30 to 40 colorful 1/4-inch brads

• Four 18-inch pieces floral wire (optional)

• One roll floral tape (optional)

• 1/4 yard scrap fabric

• 18-inch cardboard or particleboard wreath form

• Paper clip (optional)

• 1 to 2 pieces scrap cardboard or foam core

• 1 sheet text-weight paper (optional)

 Tools

• Paper Flower templates (available here)

• Pencil

• Scissors

• Small flower punches

• 1/8-inch hole punch

• Hot glue gun and glue sticks

• One 1 1/2-inch Styrofoam ball (optional)

• Inkjet printer, with extra ink cartridges (optional)

 How to

1. Make your flowers.

For flat flowers: Cut out the Paper Flower templates. Trace them onto patterned scrap paper, and cut out with scissors. Fold the flowers along the center axis of the petals to add dimension. You can also fringe the petals or crinkle flowers made of tissue to add depth. Punch small flower shapes for the flower centers. Stack several flower designs on top of each other, and punch a hole in the center. Insert a brad into the center and flatten the ends. Repeat to make as many flowers as desired.

 For cupped petal flowers: Cut out the Petal template. For each flower, trace the template four times onto graph paper or another text-weight paper. Cut the petals out. Slide a 6-inch length of floral wire into an unopened brad so that the brad grips firmly and the round end faces up. Fold the base of the petal into an M shape, position on the wire, and affix with a dab of hot glue. Place the next petal, and repeat until all four petals are in place. Wrap the petal bases with a strip of floral tape. Repeat to make as many flowers as desired.

 For tissue paper flowers: For each flower, cut four 1 1/2-×-4-inch strips of tracing paper or tissue paper. Place a piece of tissue, long side facing you, on your work surface. Center the Styrofoam ball on the paper, wrap the long ends up, and twist the ends to hold them in place. Trim the twisted ends with scissors and remove the ball, creating a cupped petal. Repeat to create four petals per flower. Slide a 6-inch length of floral wire into an unopened brad so that the brad grips firmly and the round end faces up. Position a petal on the wire, and tape it in place with a strip of floral tape, wrapping it around the wire a few times. Place the next petal and repeat until all four petals are in place. Repeat to make as many flowers as desired.

2. Prepare your wreath form. Cut your fabric into 3-inch-wide strips. Hot glue one end of a strip to the wreath form, and wrap it around the wreath until you run out of fabric. Glue the fabric end down and continue with a new strip until the wreath is completely covered. Avoid covering the hole in the wreath (for hanging). If desired, flatten a paper clip into an S shape and insert it into the hole, to be used as a hook when you are ready to hang your wreath.

3. Attach your flowers. Arrange your flowers in a wreath shape on your work surface. When you are happy with their placement, begin hot-gluing them to the form. To create depth, cut out several 1/2-inch squares of cardboard or foam core and affix these to the wreath form before gluing a flower on top, so that these flowers are slightly raised.

4. Add a sign (optional). If desired, lay out a sign such as “Welcome!” or your names and wedding date using a wordprocessing program and printing on text-weight paper, or write the sign by hand. Attach to the wreath using a dab of hot glue.

For more fun DIY ideas, visit our website here!

Inspired by: Meadow

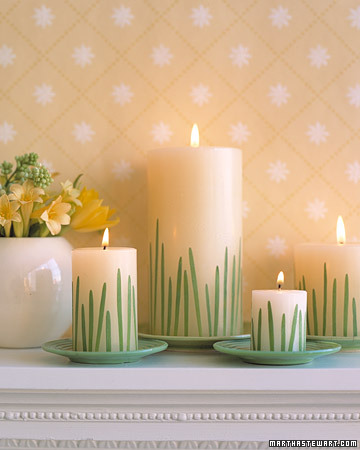
If you are looking for springtime wedding details, look no further! We've collected various projects and images of wedding decor and paper goods that will fit perfectly with the cheerful season about to bloom. The source for our inspiration is of course our Meadow wedding invitation designed for Hello!Lucky by EIEIO. The simple grassy illustration looks great in shades of green or yellow, and is a stunner letterpress printed. When browsing the Martha Stewart website for Easter craft ideas, we stumbled upon this adorable candle DIY and thought it would make a fantastic centerpiece at a Meadow inspired wedding. All it takes are some blades of grass, a strong adhesive, and some dollar store candles and you've got an inexpensive yet totally chic table display.

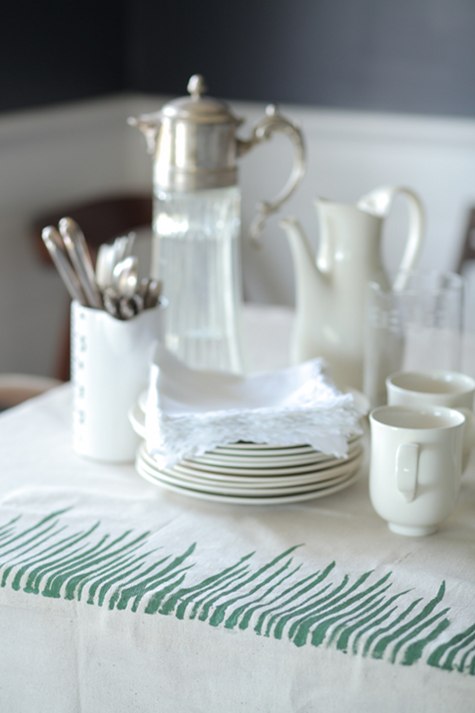
We also love these botanical stenciled tablecloths featured on Design*Sponge.

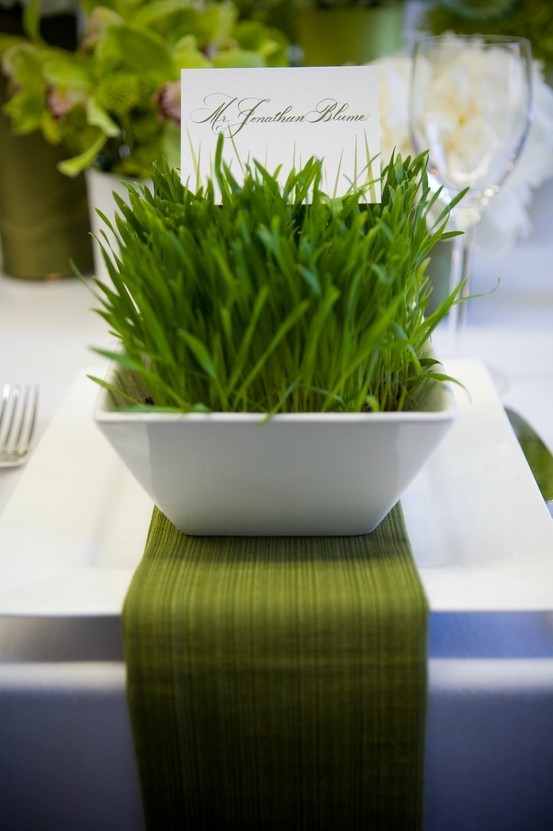
This wheat grass table setting with printed place cards makes for a classic and clean display. We found this one on Pinterest, among tons of other ideas!

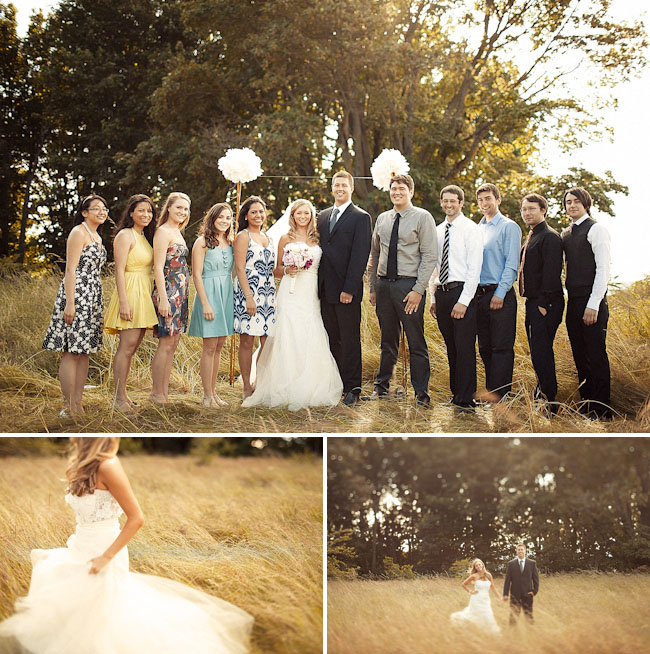
This wedding found on Green Wedding Shoes doesn't have tons of fancy decor, but the simple nature of the location still matches the theme perfectly.

Can't wait for spring to arrive! To view our Meadow wedding invitation, click here.

Martha Stewart Weddings

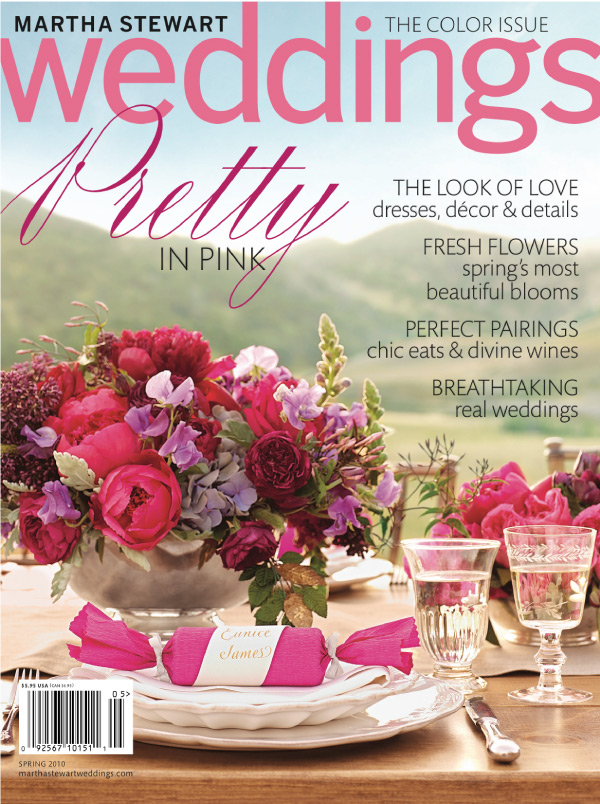
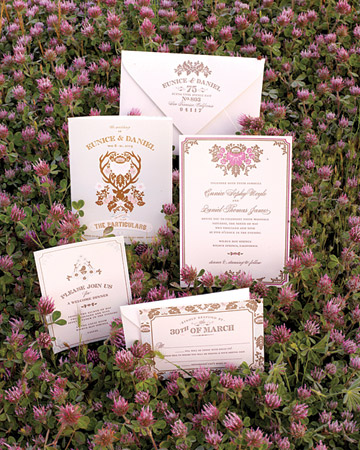
By now you most likely know about Eunice and Daniel's wedding featured in Martha Stewart Weddings back in 2010. The excitement was radiating around our studio, and we still relish in the memory of such an honor of appearing on the cover. Martha Stewart is one of the most inspiring bridal information destinations [along with endless craft and recipe ideas] so we feel blessed to be a small part of it every now and then. It's such a thrill to see weddings we have worked on appear in the Bride's Guide or even inside the shiny pages of the magazine, and because we love the Martha Stewart collection so much, we wanted to revisit all those moments of pleasure by bringing the real weddings to you.

Eunice and Daniel started the trend by customizing our Woodland Damask wedding invitations (designed by Joel Dewberry).

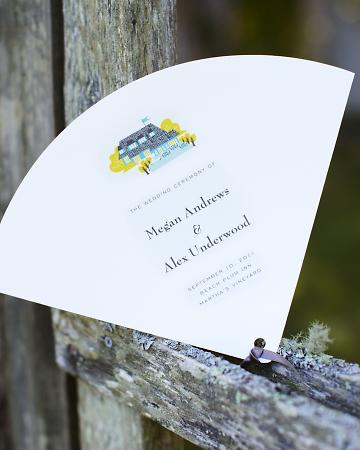
 Recently, Megan and Alex's wedding was featured including one of our newest destination invitations Visit Martha's Vineyard (designed by Lab Partners).

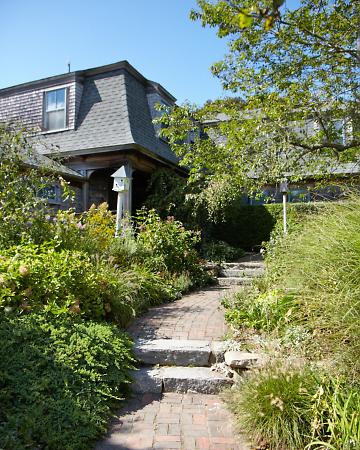
We also created these program fans incorporating an illustrated version of their reception spot The Beach Plum Inn. You can really see the resemblance!


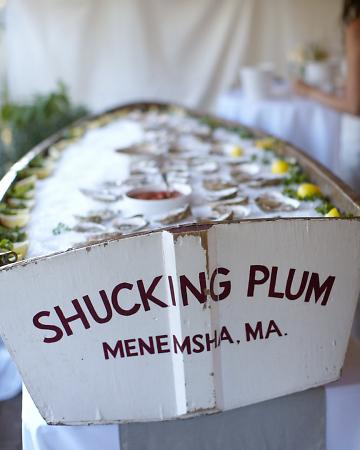
And of course, a New England wedding isn't quite complete without fresh oysters. We love the display atop this rustic mini fishing boat.

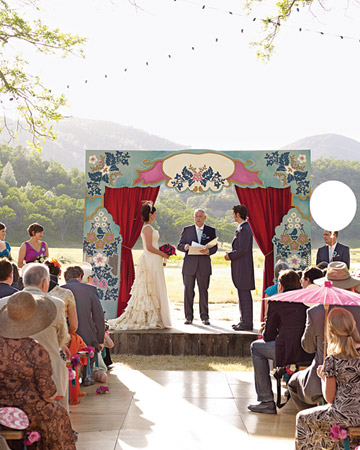
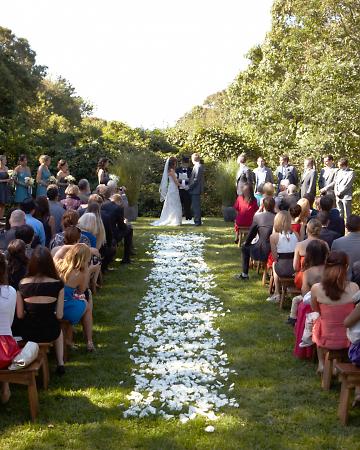
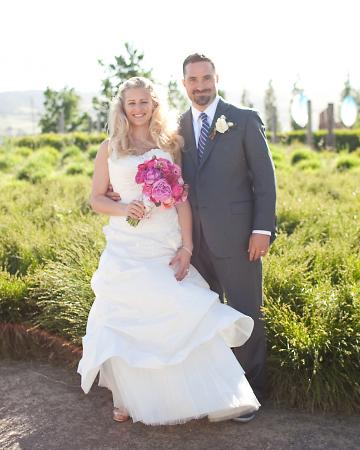
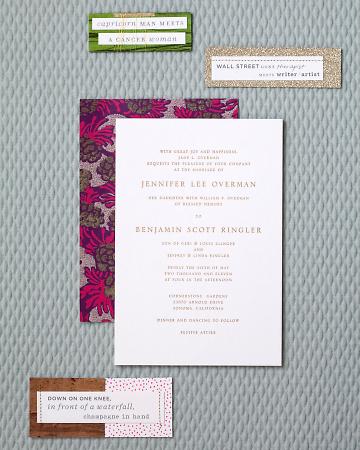
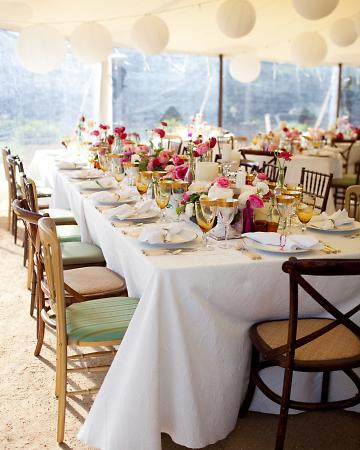
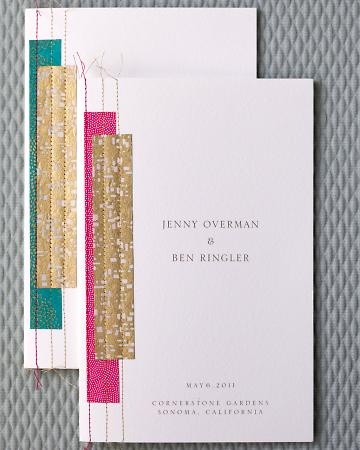
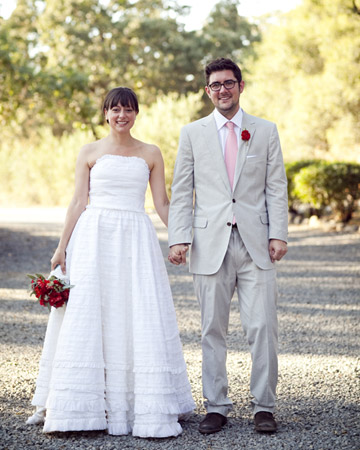
 Jenny and Ben's fairytale Sonoma wedding was a favorite last year, especially their custom created wedding invitations and programs. Their feature in MSW really highlighted their charming characteristics and artistic creations for the ceremony. We love that they weren't afraid to incorporate bright colors!

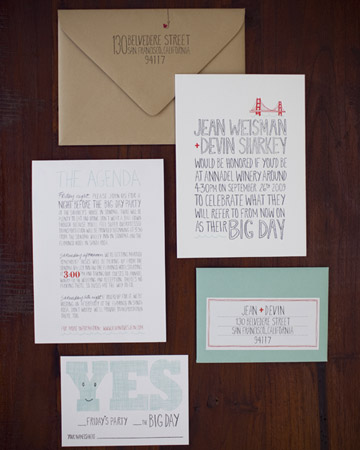
We can't forget about Jean and Devin's whimsical wedding. The true inspiration for our Big Day invitation suite, this couple's witty wording set the tone for one lovely [big!] day.

With the help of our friends at Alison Events, lots of crafty details made this intimate barn yard setting pop with color.


Real Wedding: Kathryn And Joe

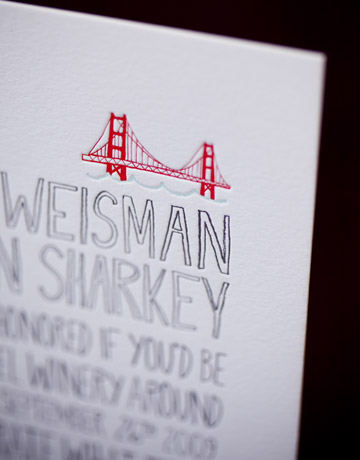
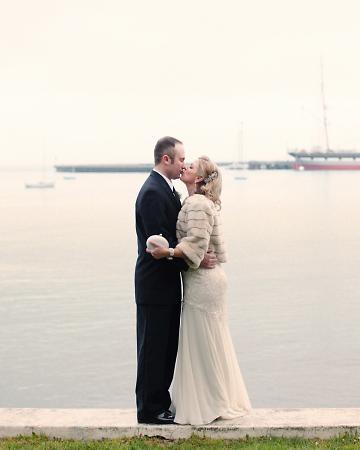
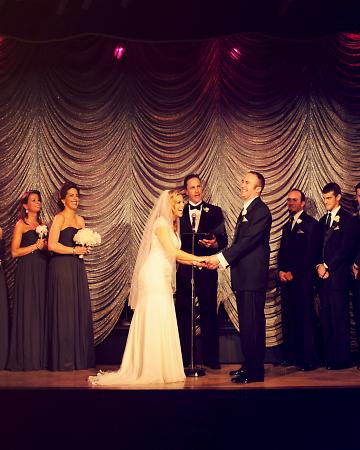
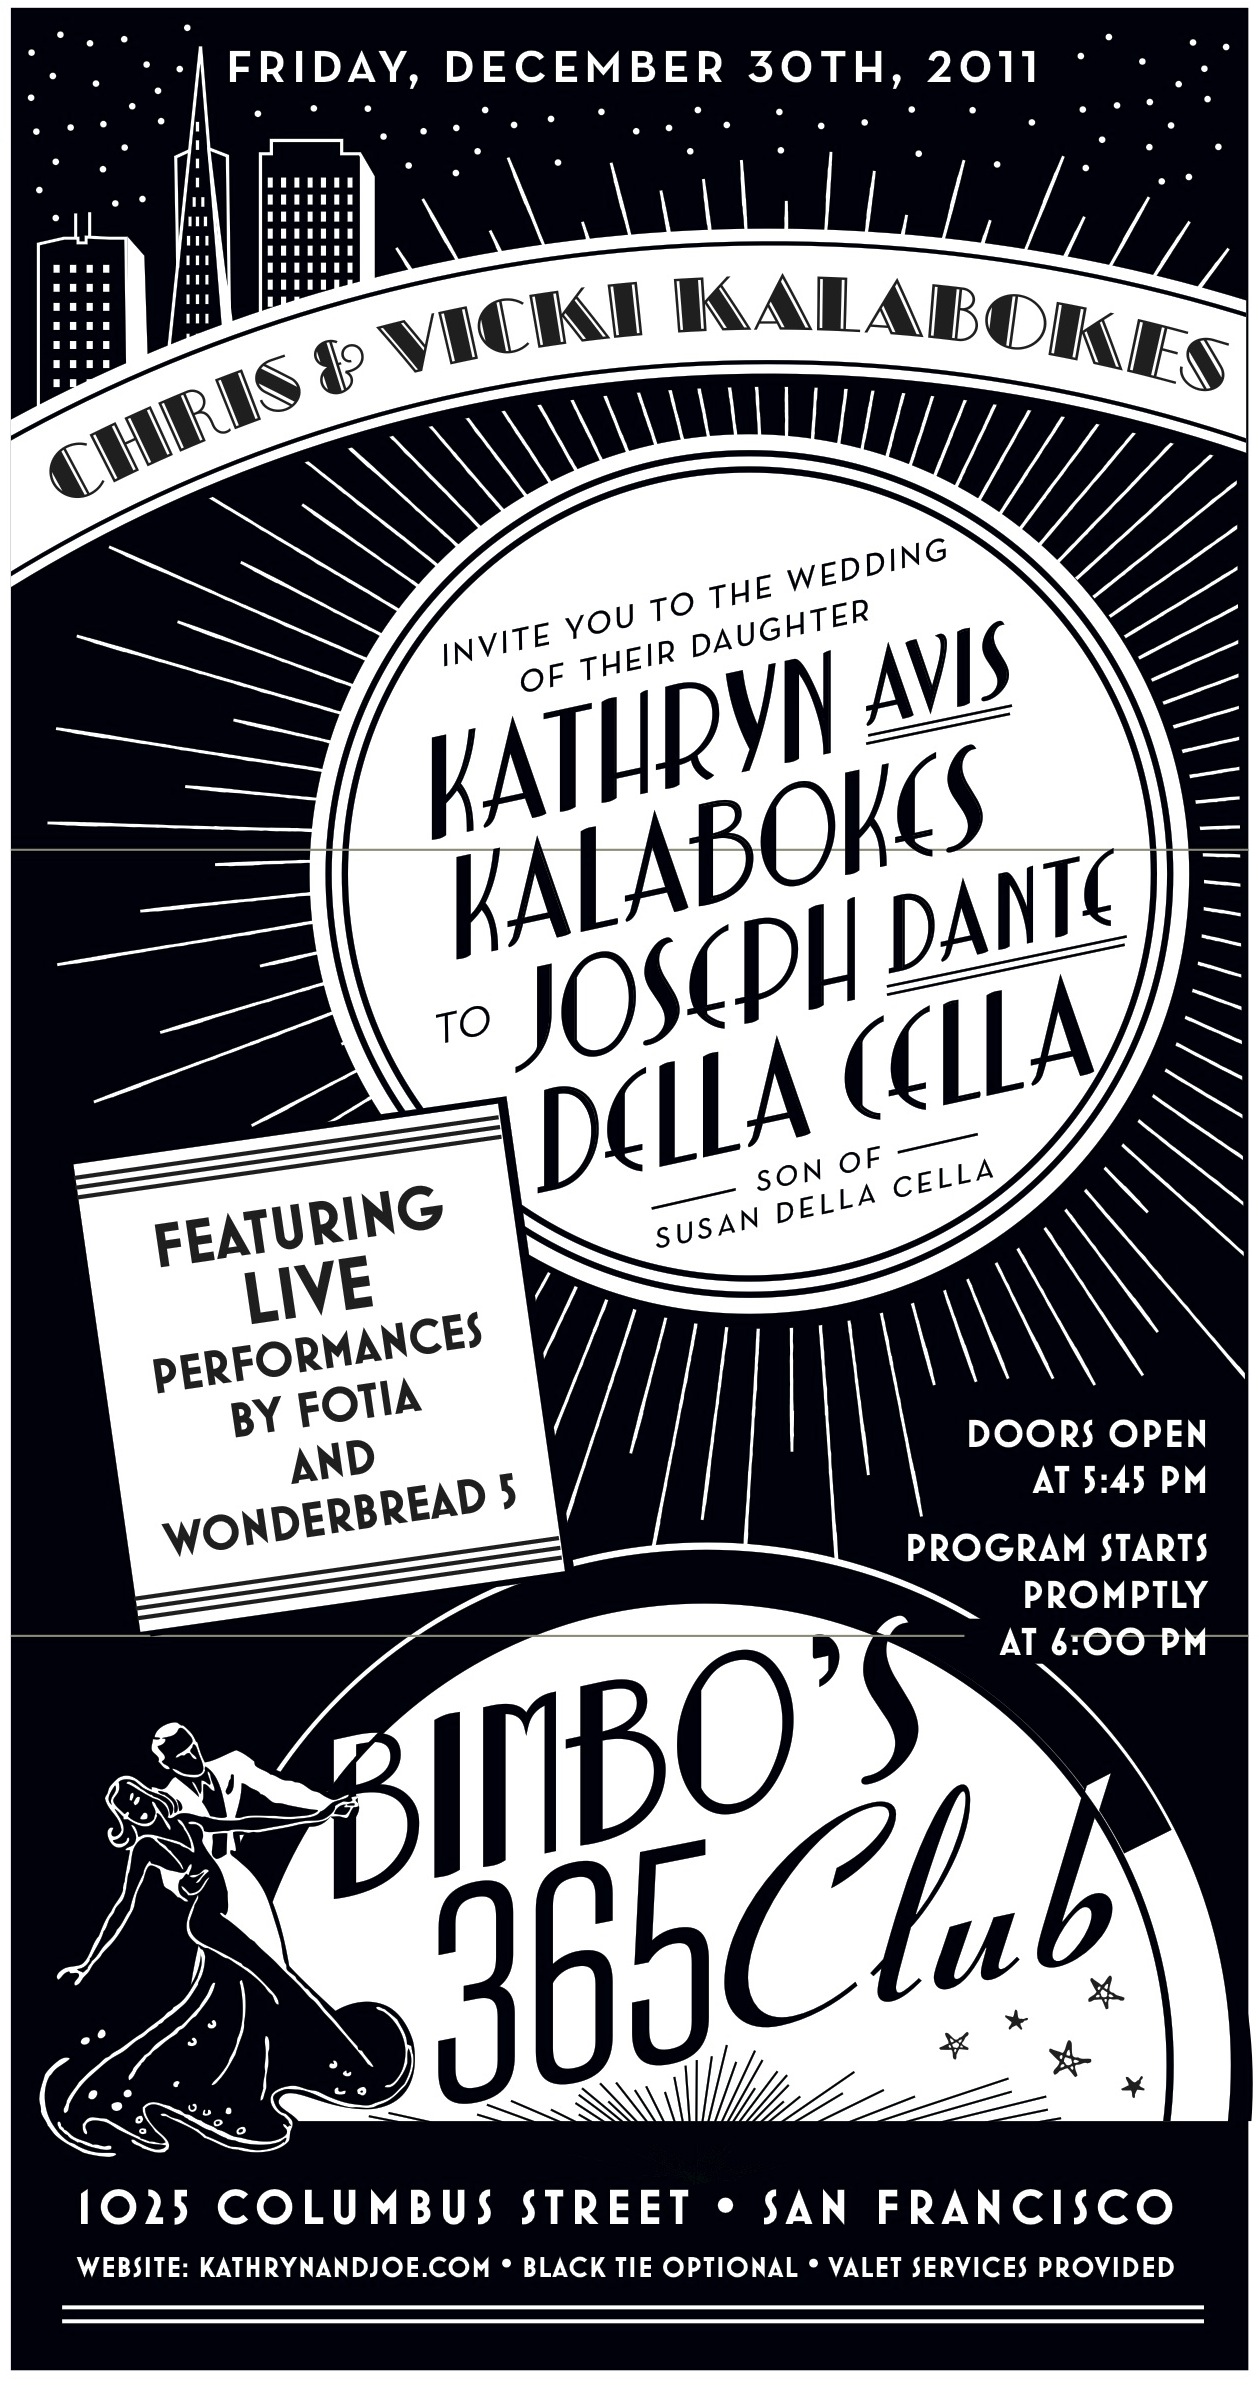
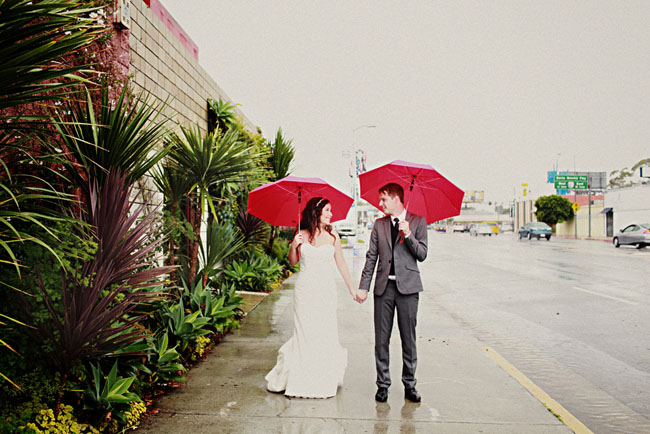
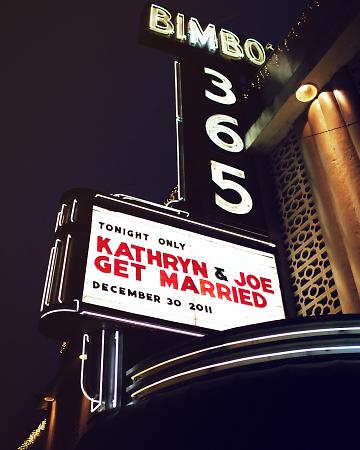
This wedding has been on our minds and in our hearts for months now, so we're thrilled to finally bring you the details of the event! Kathryn and Joe's glamorous San Francisco wedding has to be one of the most classic weddings we've seen yet. (Check it out on Martha Stewart Weddings!) Set in the heart of the city at the art deco designed venue Bimbo's 365 Club, this wedding was definitely not short on style. Kathryn is the founder and creative director of Dream a Little Dream Events, so without question, her wedding would be a show stopper. We love the classy details she and Joe chose - from all white flowers to fur shawls donned by her and the bridal party. And check out that sparkling backdrop for the ceremony!

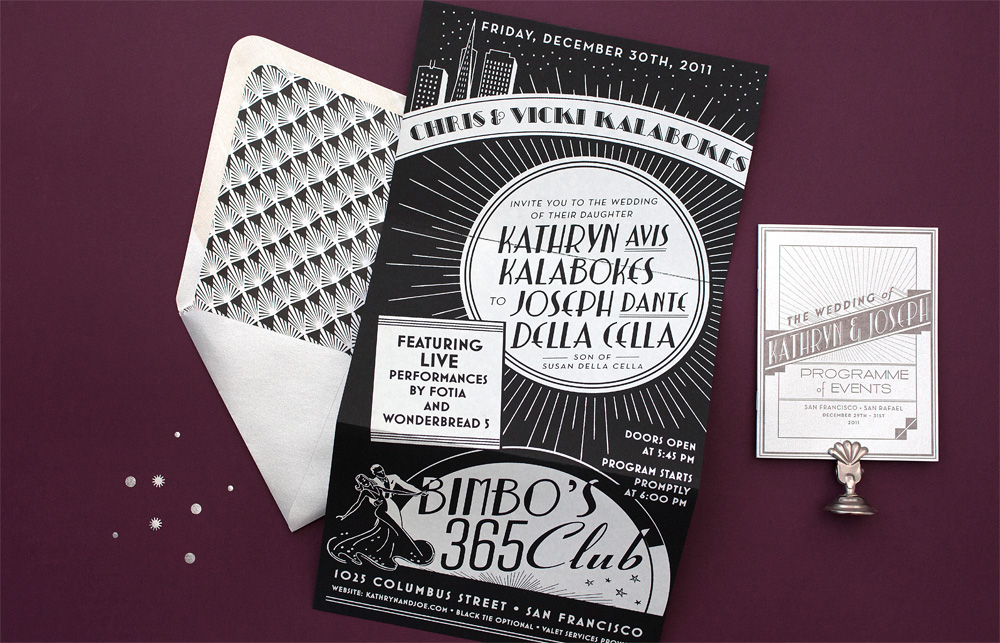
Eunice worked her magic on the wedding stationery, which included the invitation suite, table numbers, programs, menus, matchbook favors - the list goes on!  Kathryn and Joe had always enjoyed live music at Bimbo's so a New Year's Eve blowout was a no-brainer for them and creating a design to flatter such a classic San Francisco landmark was a dream come true for us.  The art deco themed invitation suite took cues from vintage concert posters and album covers with a clean black, white and silver color palette.  We called on a neighbor silk screen shop to help out with the impressive tri-fold invitation and the ever-amazing Michele Papineau added the final flourish with calligraphy addresses.

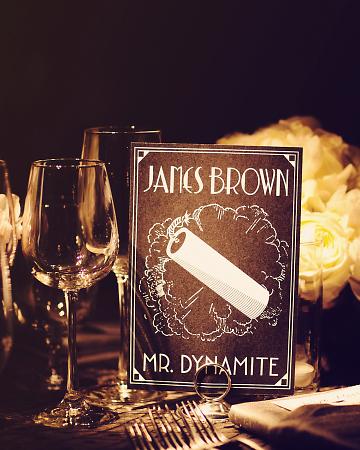
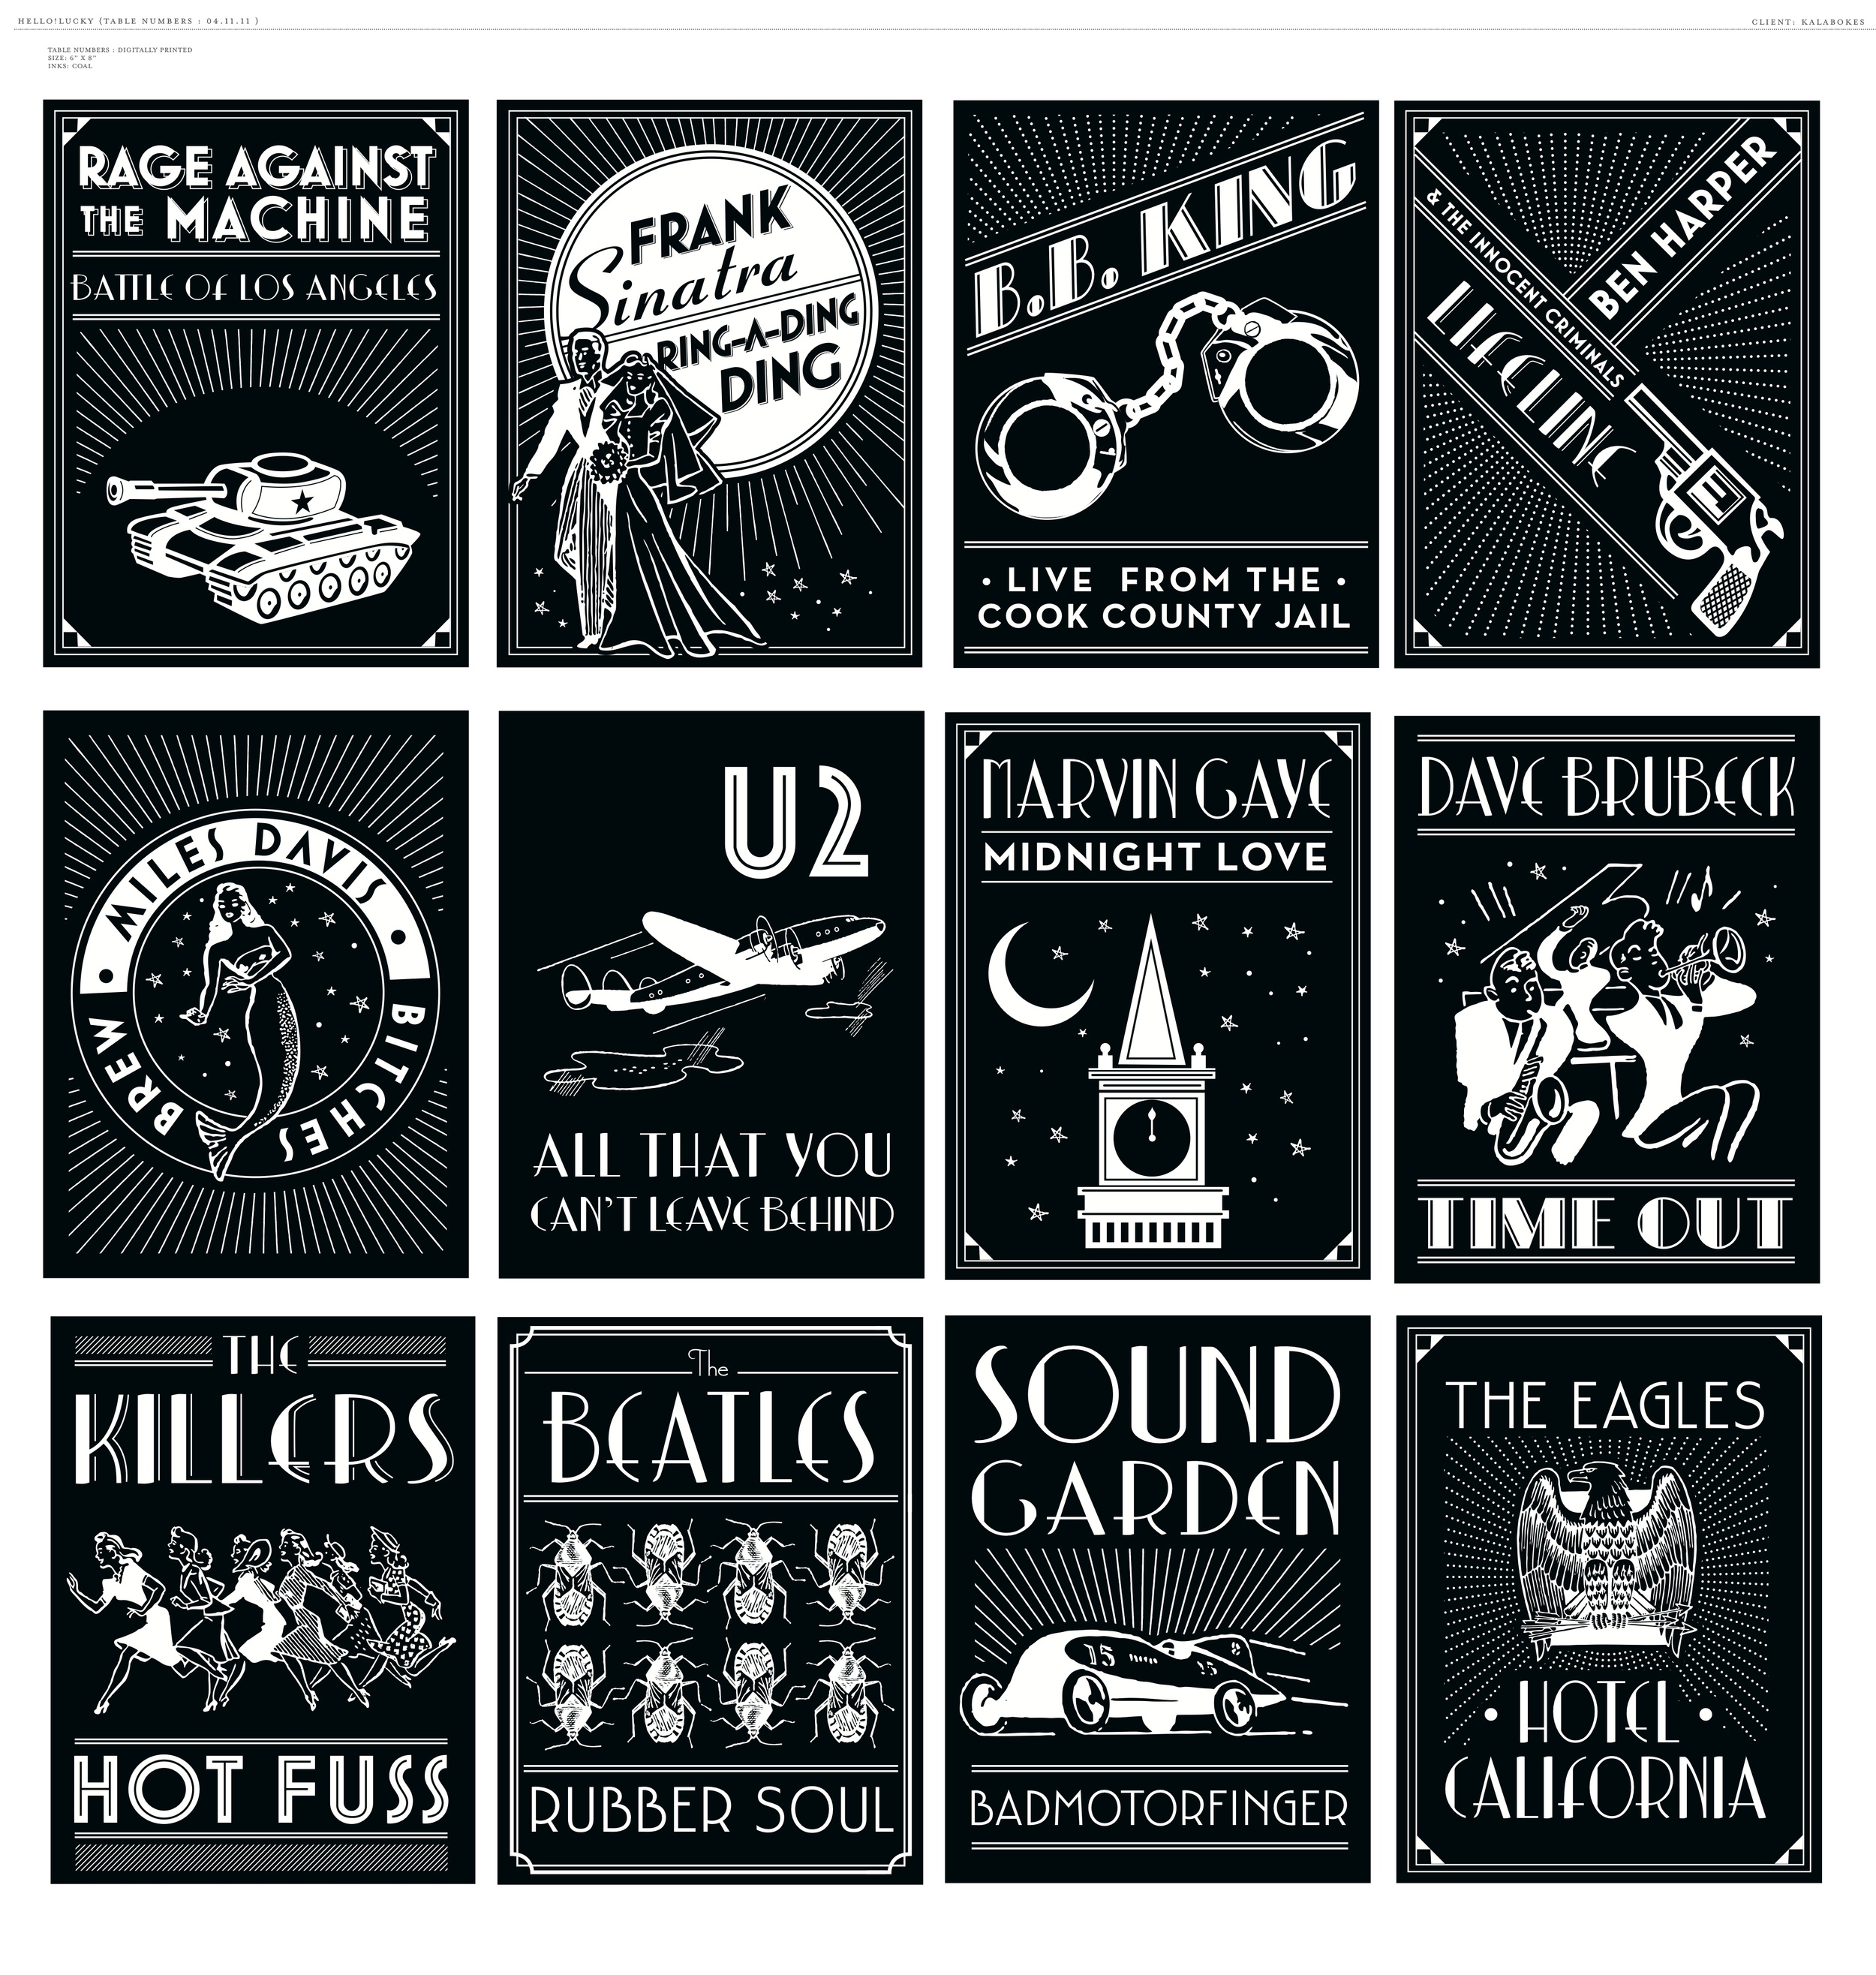
Since Kathryn and Joe are avid music lovers, it was only fitting to create table signs with names of their favorite albums.  This was no ordinary wedding of course, so we created unique artwork for every album.. that's forty-one tables!  The couple had such fun coming up with names that they ended up keeping the cards and framing them as artwork in their home!
One photo doesn't do it justice so below are a few of our working files.  Eunice really knocked it out of the park with this one, now we all want copies!
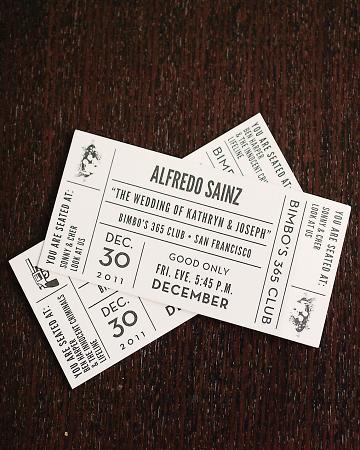
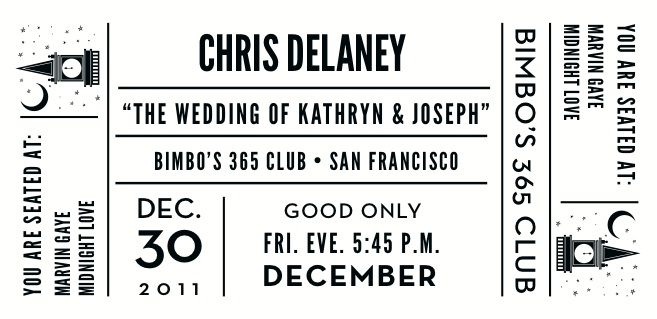
In keeping with the music theme, the escort cards were custom designed to resemble concert tickets with each guests name printed along with their table assignment and corresponding illustrations.

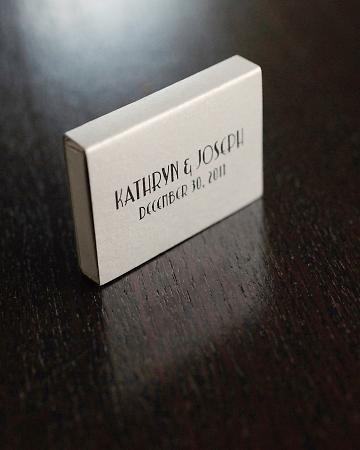
A classic takeaway from a music venue, each guest left with custom matchboxes as favors.

Congratulations Kathryn and Joe and cheers to a new year and a new life together! View more photos here.

Wedding photography by Kate Harrison Photography

Wedding DIY: Cupcake Liner Pom-Poms

These pretty patterned cupcake liner pom-poms featured in our book Handmade Weddings (published by Chronicle Books) are perfect for a wedding celebration or casual party at home. Just a bit of glue and string will transform your ordinary cupcake liners into festive pom-pom strands. Mix and match colors and patterns to compliment your party palette and your decor will be a huge hit. Hang them in your living room, over your reception tables, or in your cocktail area for instant DIY delight!

Materials

Makes six 12-foot strands

• 720 cupcake liners, approximately 120 per strand

• Six 12-foot lengths white kitchen string

Tools

• Bone folder (or popsicle sticks work, too!)

• Rubber bands (optional)

• Glue sticks

• Clear tape

How to

1. Flatten and fold your cupcake liners. Using a bone folder, flatten each cupcake liner into a circle. Fold in half, wrong-side out. Repeat for all of your liners. You will need 10 identical liners per pom-pom. If you are using a variety of patterns and colors, stack or rubber band them by pattern. If your cupcake liners have scalloped edges, be sure to fold them along the same axis every time. This will ensure that the segments that make up each pom-pom are all symmetrical, making for a pleasing whole.

2. Make the pom-poms. Place 10 folded cupcake liners, of the same pattern and color, on your work surface. Using a glue stick, spread glue over one-half of a cupcake liner. Align it to the corresponding half of a second cupcake liner. Press down and smooth with your bone folder (figure 1, page 29). Let dry. Continue attaching the cupcake liner halves, smoothing each segment as you go to ensure a secure bond. Do not glue the last segment. When complete, the pom-pom will form an accordion-like sphere with one open segment, which allows you to flatten the pom-pom into a circle (figure 2). Let dry completely. Continue making pom-poms.

3. Attach the pom-poms to the string. Leaving about 2 feet on either end of the garland for hanging, attach the pom-poms along the string, at 2-inch intervals (or greater if desired). To attach, lay a flattened pom-pom on your work surface and align the string along its central axis (i.e., along the crease). Secure the string with two small pieces of clear tape, one on each end of the pom-pom. Spread glue over one half of the circle, as well as on the string, and sandwich the two halves of the open segment together, trapping the string (figure 3). Let dry. When all the pom-poms are attached and dry, hang the garland. “Fluff” the pom-pom segments by hand to create full circles.

Get your own copy of Handmade Weddings here. Happy crafting!

Gorgeous Paper Wedding Details

This paper wall decor spotted on Green Wedding Shoes stopped us dead in our tracks. We definitely have a sweet spot for paper wedding details, but this bride's DIY wall art just topped the charts! Inspired by the always extraordinary Anthropologie window displays, this bride used tons of rolled paper strips to create an enormous abstract backdrop for her reception. Stunning!


Real Wedding: Tara and Ryker

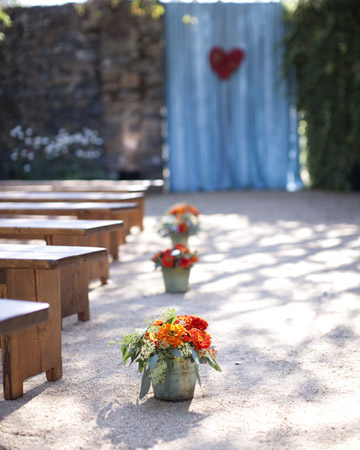
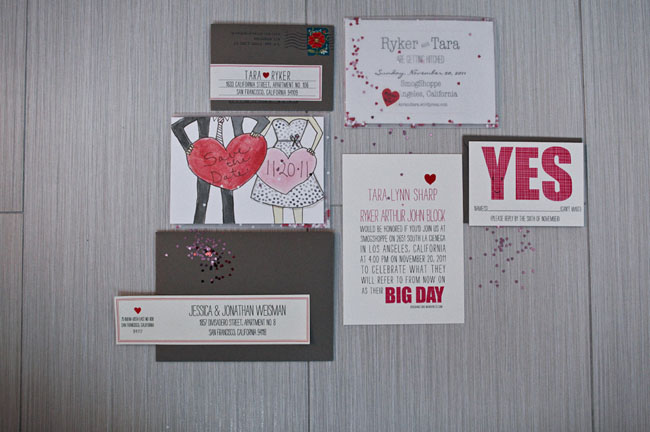
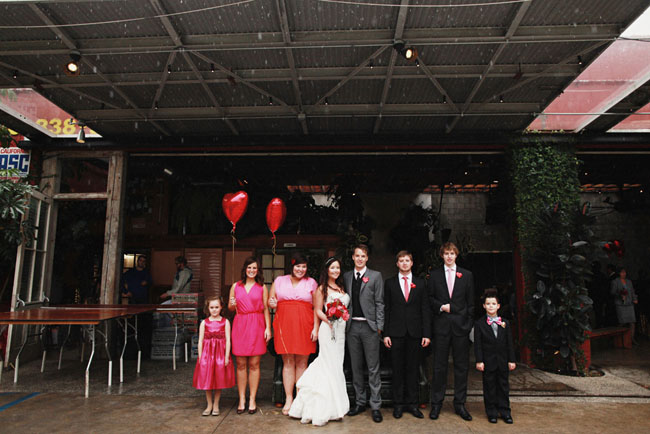
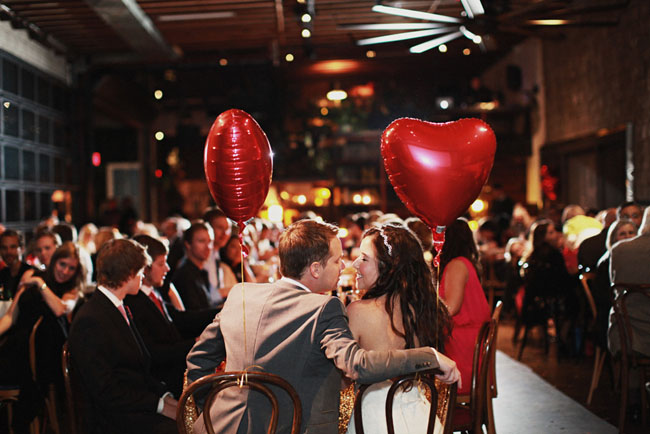
Valentine's Day isn't over yet! This wedding, featured on Green Wedding Shoes, is the ultimate heart inspired celebration. Tara and Ryker wed on a rainy day in Los Angeles, but the downpour definitely didn't dampen their hearts. The couple chose to use our Big Day invitations, but swapped the bridge icon for a little heart, matching their wedding details perfectly. Along with some custom hand drawn save the dates by a friend, their stationery set a playful mood right from the beginning.

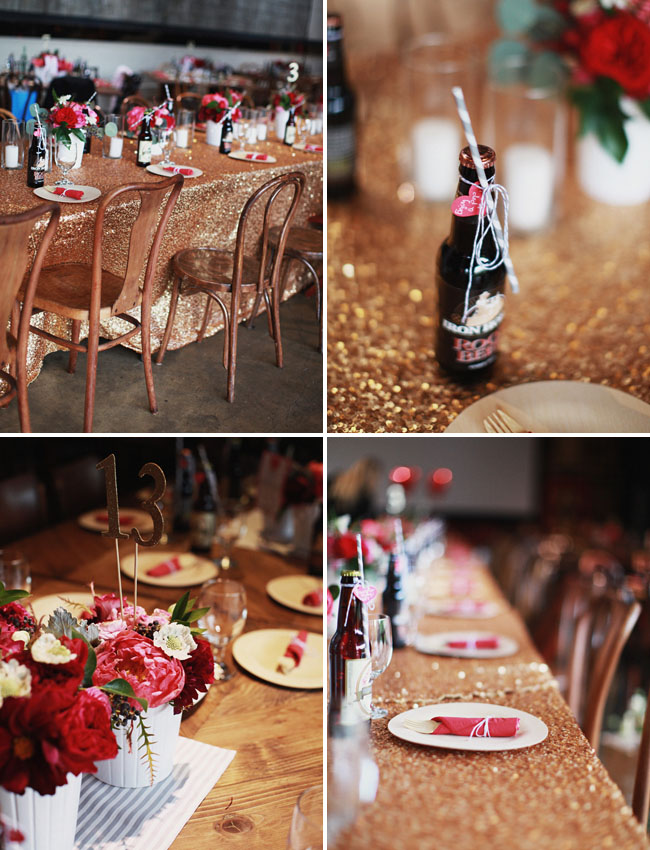
 It's always fun to see a bride and groom carry on their theme in creative ways. The bride said she looked to Pinterest for ideas and mixed various DIY projects with splurge items to pull off her look. We'd say she did a fantastic job!

Are you thinking what we're thinking? That gold sequin table cloth by la tavola is aaaamazing!

There's no doubt we'll be adding these images to our Big Day Inspiration Board on Pinterest. It's just too fitting!

Congratulations Tara and Ryker!

Photography by Michèle M. Waite

Event and Floral Design by Carter and Cook Event Co.

Rustic Wedding Inspiration Board

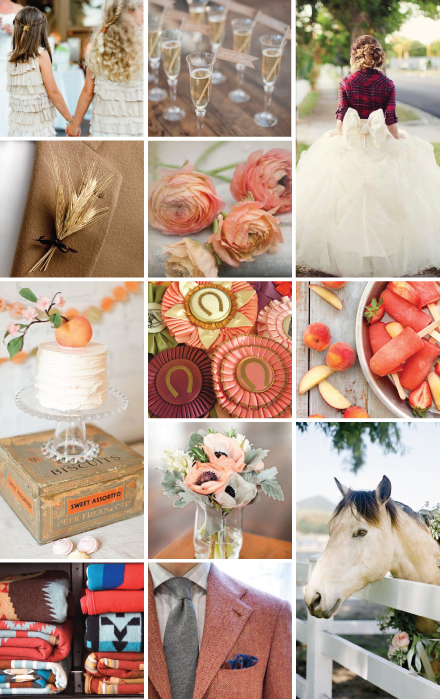
Cowboy boots and mason jars. We love the little touches that set the tone for a rustic barnyard wedding. We put together an inspiration board full of details and accents that will help get your guests in a down home mood. For more inspiration check out our Elegant Equestrian board on Pinterest, where many of these images were pulled from. We’ll be doing more theme weeks on our blog in the future - if there’s a theme you’d like us to focus on let us know in the comments!

We also asked you (via Facebook & Twitter) what you thought made for the best rustic wedding decor. Here’s what you told us: Sharla - Sheriff badges with wedding date & couples names to adorn cowboy hats. Napkins from brown western bandanas. Wedding favors from my wedding. Ruth Anne - Burlap definitely!!!! One True Love Vintage Rentals - Chippy paint cabinets + farm tables! Juliann - Baby's breath + lace...swoon! Pomp & Plumage - Wheat fields, chalkboards, paper straws and twinkly lights....love. Shana - Mismatched chairs & burlap tables runners.

Image Credits: 1. Bridesmaids Ruffle Dresses: Crush Cul De Sac  2. Champagne and Kraft Paper Flags: Style Me Pretty 3. Tartan Wrap and Big Bow: Alexan Events  4. Wheat Boutnniere: Wedding Bee 5. Coral and Peach Flowers: Crush Cul De Sac   6. Peach Cake: Martha Stewart Weddings 7. Horse Ribbons: Velvet Strawberries  8. Strawberry and Peach Vodka Popsicles: Endless Simmer 9. Flowers: Martha Stewart Weddings 10. Our Kind of Horse: Style Me Pretty 11. Pendelton Blankets: Country Living 12. Groomsmen: Men of Habit 

Gaga for Gingham

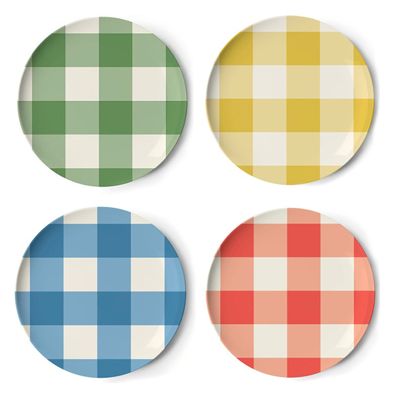
In celebration of Rustic Farm week, we're channeling all the details that make us love country weddings. One of the most recognizable patterns has to be gingham, and we're going gaga for it! At the first glance of these gingham patterned plates we envisioned a large picnic style table setting with lots of fresh fruits and garden flowers. Paired with simple white linens or vintage lace, these dishes would be downright adorable.

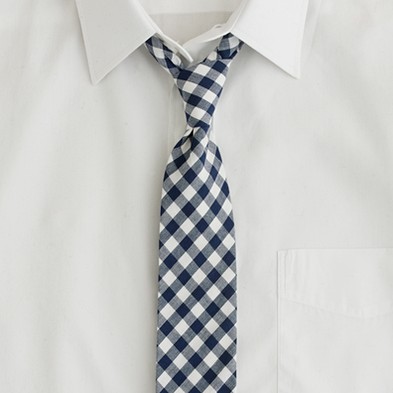
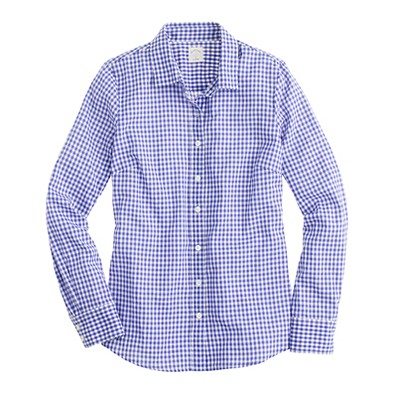
Jcrew knows how to pull off patterns the right way. Matching your fiance might seem cheesy at first, but these gingham patterned getups could definitely dazzle in a photo save the date.

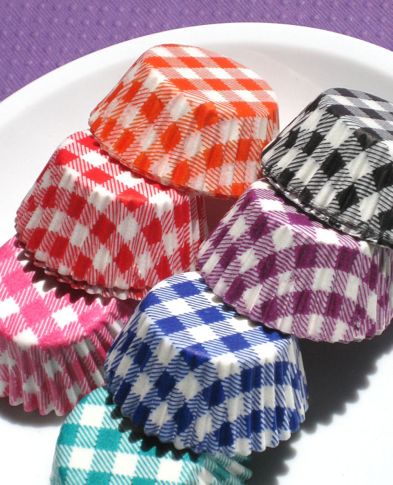
We absolutely need these gingham cupcake liners!

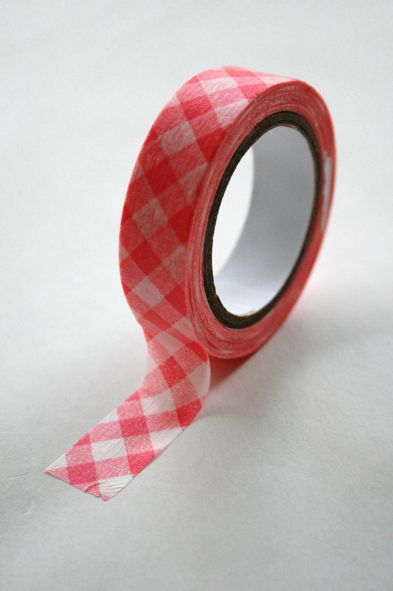
Can't you see this gingham washi tape as the ultimate decor accessory? There are endless ways to spruce up a simple setup by adding a little patterned tape. We can't get enough of it!