Rustic Wedding Inspiration Board

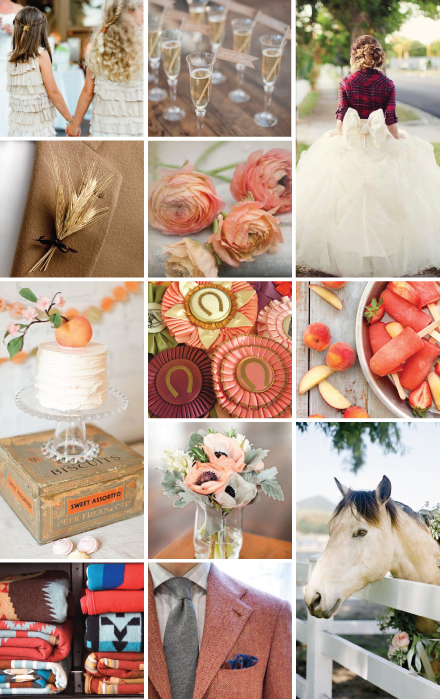
Cowboy boots and mason jars. We love the little touches that set the tone for a rustic barnyard wedding. We put together an inspiration board full of details and accents that will help get your guests in a down home mood. For more inspiration check out our Elegant Equestrian board on Pinterest, where many of these images were pulled from. We’ll be doing more theme weeks on our blog in the future - if there’s a theme you’d like us to focus on let us know in the comments!

We also asked you (via Facebook & Twitter) what you thought made for the best rustic wedding decor. Here’s what you told us: Sharla - Sheriff badges with wedding date & couples names to adorn cowboy hats. Napkins from brown western bandanas. Wedding favors from my wedding. Ruth Anne - Burlap definitely!!!! One True Love Vintage Rentals - Chippy paint cabinets + farm tables! Juliann - Baby's breath + lace...swoon! Pomp & Plumage - Wheat fields, chalkboards, paper straws and twinkly lights....love. Shana - Mismatched chairs & burlap tables runners.

Image Credits: 1. Bridesmaids Ruffle Dresses: Crush Cul De Sac  2. Champagne and Kraft Paper Flags: Style Me Pretty 3. Tartan Wrap and Big Bow: Alexan Events  4. Wheat Boutnniere: Wedding Bee 5. Coral and Peach Flowers: Crush Cul De Sac   6. Peach Cake: Martha Stewart Weddings 7. Horse Ribbons: Velvet Strawberries  8. Strawberry and Peach Vodka Popsicles: Endless Simmer 9. Flowers: Martha Stewart Weddings 10. Our Kind of Horse: Style Me Pretty 11. Pendelton Blankets: Country Living 12. Groomsmen: Men of Habit 

Gaga for Gingham

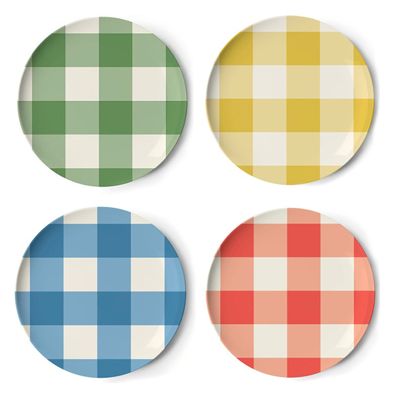
In celebration of Rustic Farm week, we're channeling all the details that make us love country weddings. One of the most recognizable patterns has to be gingham, and we're going gaga for it! At the first glance of these gingham patterned plates we envisioned a large picnic style table setting with lots of fresh fruits and garden flowers. Paired with simple white linens or vintage lace, these dishes would be downright adorable.

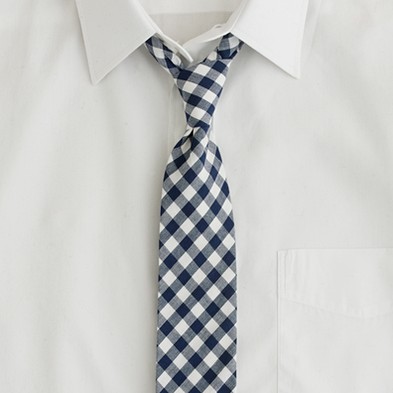
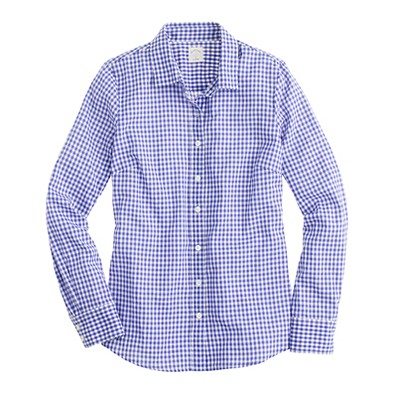
Jcrew knows how to pull off patterns the right way. Matching your fiance might seem cheesy at first, but these gingham patterned getups could definitely dazzle in a photo save the date.

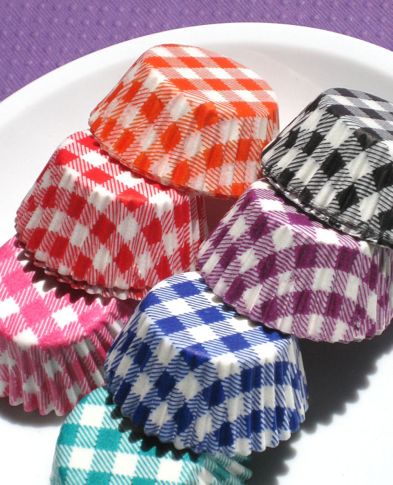
We absolutely need these gingham cupcake liners!

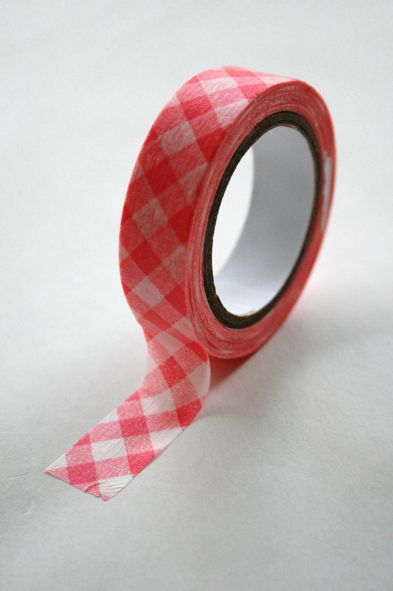
Can't you see this gingham washi tape as the ultimate decor accessory? There are endless ways to spruce up a simple setup by adding a little patterned tape. We can't get enough of it!


Rustic Farm Week: Real Weddings Roundup

It's Rustic Farm week at Hello!Lucky! We're dedicating this week's blog posts to all things country chic. There are some unbeatable farm destinations in California, but brides from across the country (and overseas!) contributed to our roundup. Today we're piecing together a collection of the most heartwarming farm weddings from our Real Weddings archives. We love it when couples match their wedding invitations with their venue and decor, and as you can see below, these weddings are all about country comfort.

 Kathleen and Seth's Barndiva wedding in Healdsburg, CA charmed us with their youthful band and warm red accents.

Erin and Nick also customized our Heartland invitation to match their summer wedding in Sonoma. We love how they hand made their place cards with tags, ribbon, and hung them on chicken wire. Doesn't get more farm friendly than that!

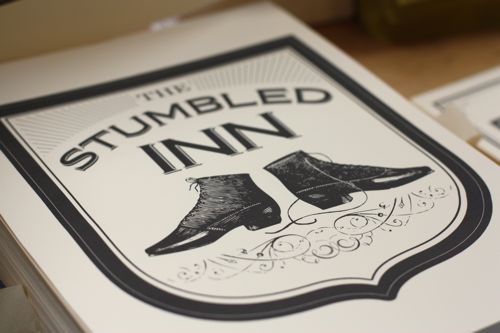
Our hearts flutter every time we see photos of Lisa and Rory's classic English wedding. Their table signs were an homage to local pub signs with silly plays on words like "The Stumbled Inn" and "The Drunken Duck."

The organic and picturesque landscape of Sonoma Valley always makes for a charming event. Lily and Andrew wed underneath the most enormous oak tree, which provided just enough shade from the hot summer sun. Guests took their seats atop hay bails - what a cute way to incorporate farm decor!

Their farm animal table numbers and bright floral arrangements reflect the summer wedding perfectly.

It's always impressive when couples come up with unique place card holders. Heather and Tom knocked our socks off with these apple place cards. When we found out Heather's childhood home had it's own apple orchard, we knew it would be an adorable wedding! Equipped with a farm house, pond and lush east coast greenery, they really could do no wrong.

And last but not least, this custom designed wedding invitation suite for Erin and Jeremy tops the cake. The couple wed in Calistoga in 2010 and took country wedding style to the max. Our favorite part is the Kansas City barbeque feast invitation hosted by the groom's parents. Sounds like a hootin' good time!

Click on each photo to see the full post!

Inspired by: Wedding Invitation Suites

With wedding season about to kick off, we're gearing up for some amazing additions to our collection. Wedding invitations serve as the first source of inspiration for the big day, and with all the pieces in check, you can really start to see all the details come to life. Frequently we find ourselves browsing through the photo database for inspiration drawn from particular invitations, and we wanted to share a place where you can do the same. Whether your wedding has a rustic farm theme, a sleek and modern theme, or a whimsical and playful theme, these photos will have you planning in no time! Click on the photos for a larger view!

Southern Belle (above) and its darling motifs will make that sweet southern wedding that much more charming. The delicate watercolors by Anne Smith are calling for lots of floral garland and white daisies!

 Rolling Acres is just right for a summer celebration. And the pennant liners (available soon!) will add a festive flare to your party invitation.

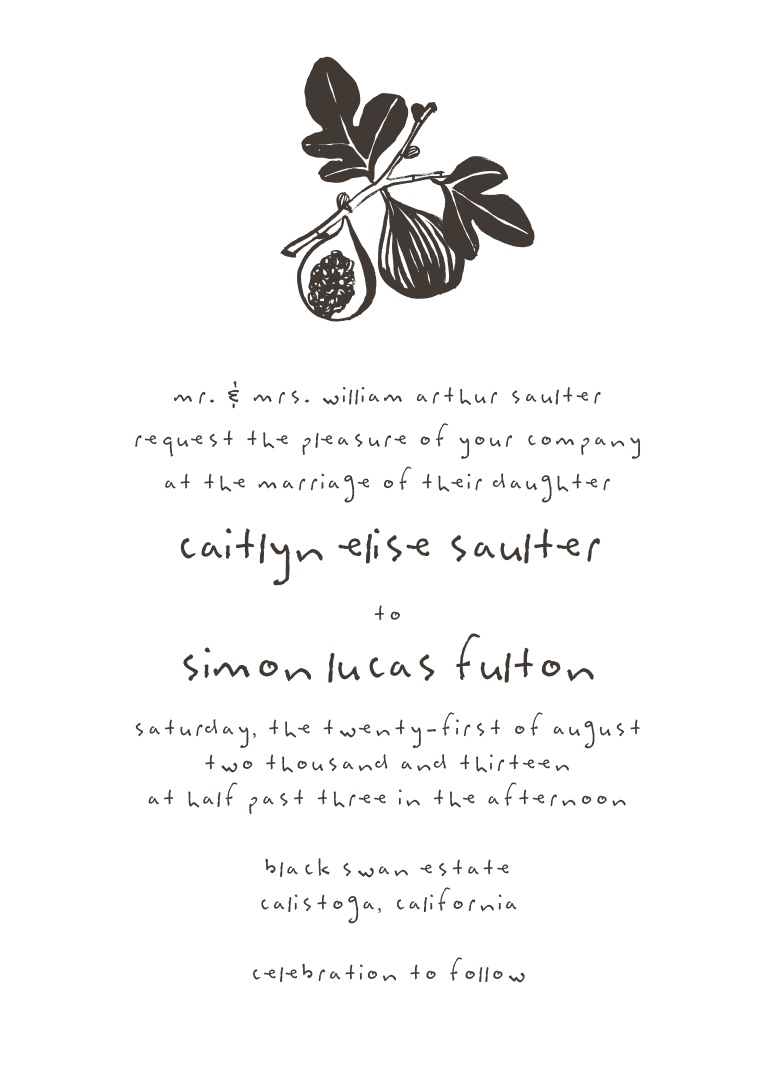
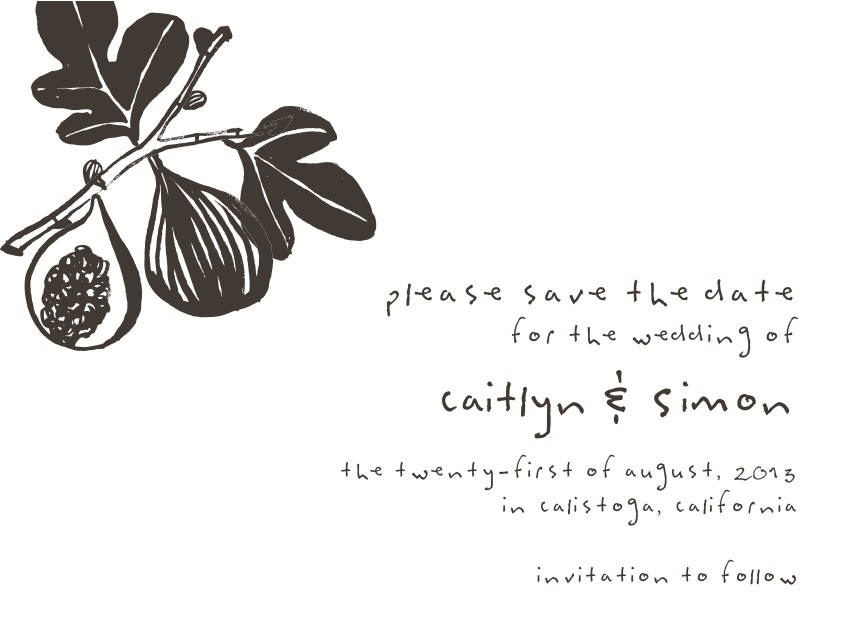
Figs has more rustic and natural qualities. Perfect for an outdoor wedding where locally sourced food and flowers are the focus.

We love the crisp and clean details of the Desert Skyline invitation suite. Bouquets of succulents and dried flowers arranged among rough wooded tables would complement this style beautifully.

Heartland is another favorite and best for the down-home country weddings we all dream about. We've seen lots of brides customize the colors and layout of this design, but it always stands out with some amazing farm-chic accessories.

 Big Day is one of our most popular suites, with its playful wording and simplistic hand-drawn icons, it's definitely a party starter. We've replaced the Golden Gate Bridge icon with other simple motifs, and it's still just as sweet!

We can't imagine a Cape Cod wedding without lots of nautical accompaniments. This maritime suite designed by Anne Smith was made just for our brides ready to wed by the ocean air.

A custom design gallery with all of our invitation suites is in the making, along with lots of brand new designs. Do you have a favorite style or wish we would create a wedding suite around a certain theme? Let us know in the comments!

All photos by Edyta Szyszlo

Real Wedding: Jessica and Lawrence

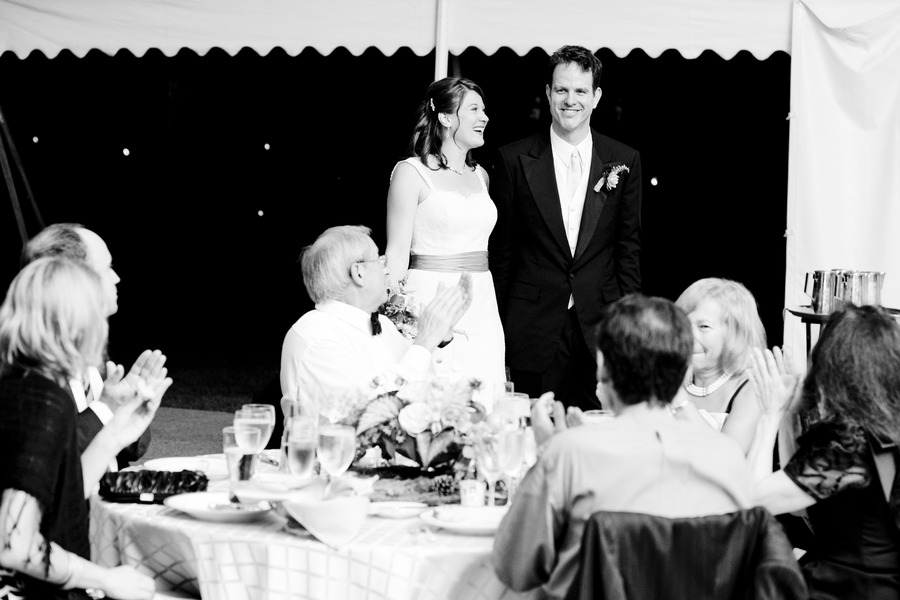
We're still completely captivated by this wedding featured on Style Me Pretty last week. The bride and groom stunned us with their romantic details, and all-together charm.

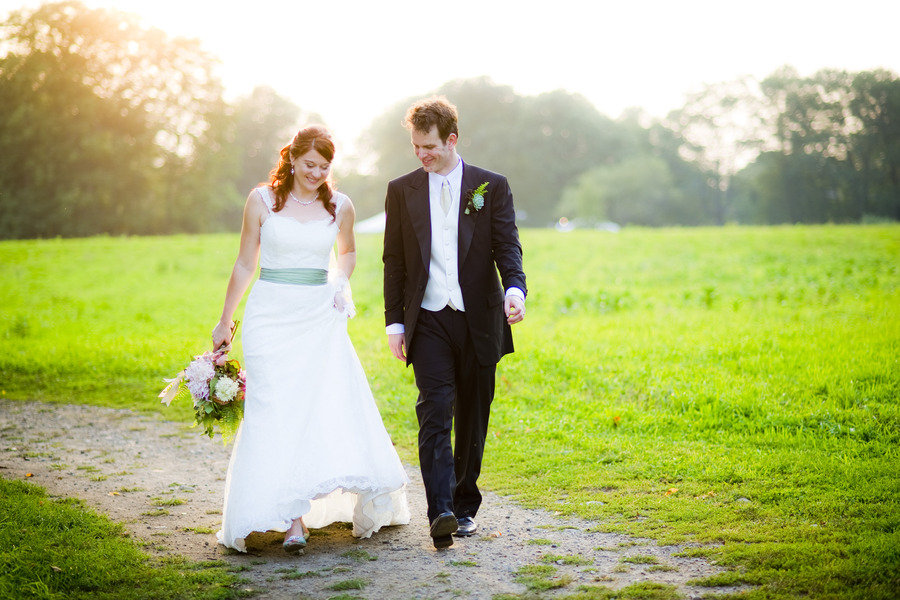
Jessica and Lawrence wed in a little garden at the Gore Palace in Waltham, a town outside of Boston, Massachusetts. The setting definitely set the mood for their dreamy garden wedding, with tall hedges and outstanding floral displays by Le Reve.

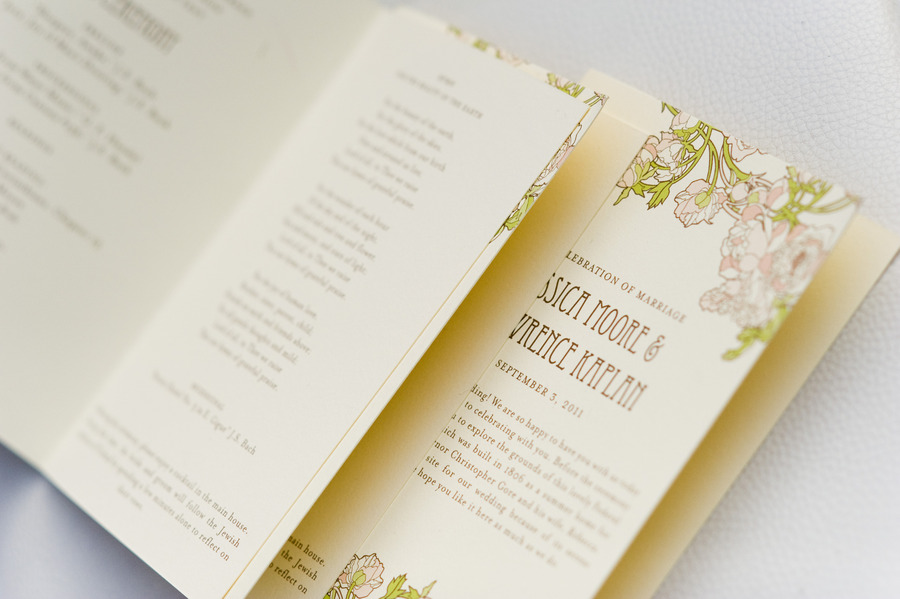
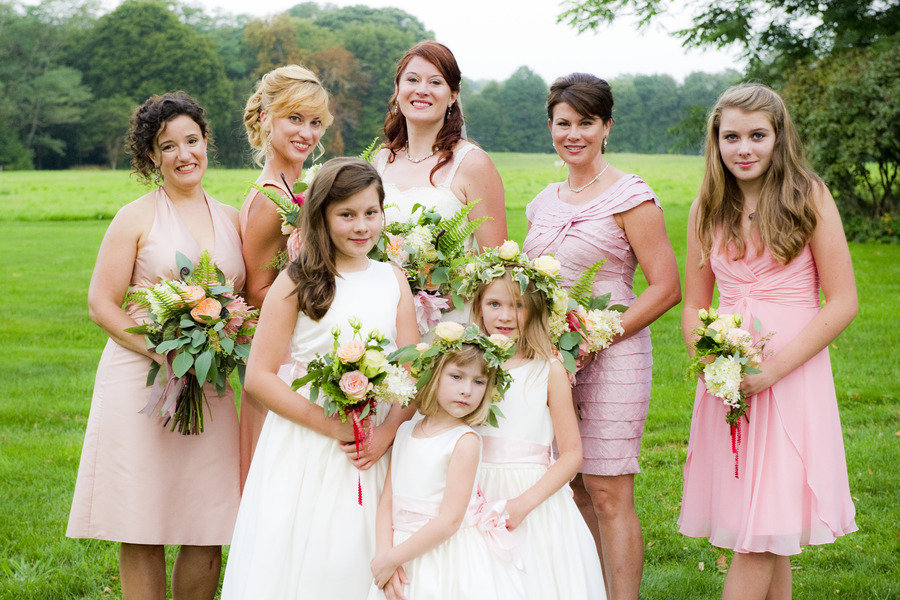
The Nouveau Peonies inspired programs also matched perfectly with the event. The bridesmaids all wore shades of pink, adding just the right amount of color to the natural setting.

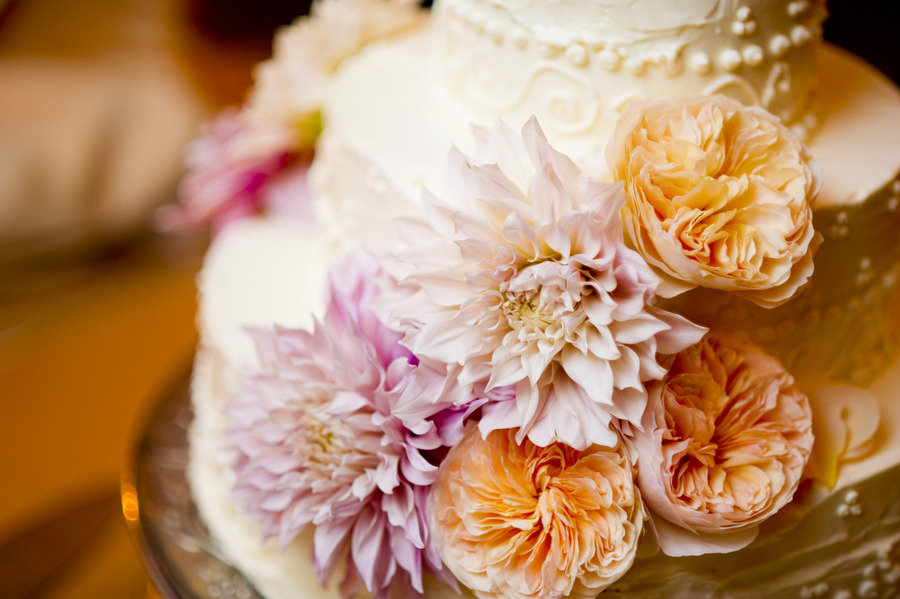
Nouveau Peonies made another appearance at the table setting, with fresh sprigs and dreamy gold accents. Delish!

Congratulations Jessica and Lawrence! We wish you both a world of happiness!

All photography by Ashley O'Dell

The Lab Event - A Success!

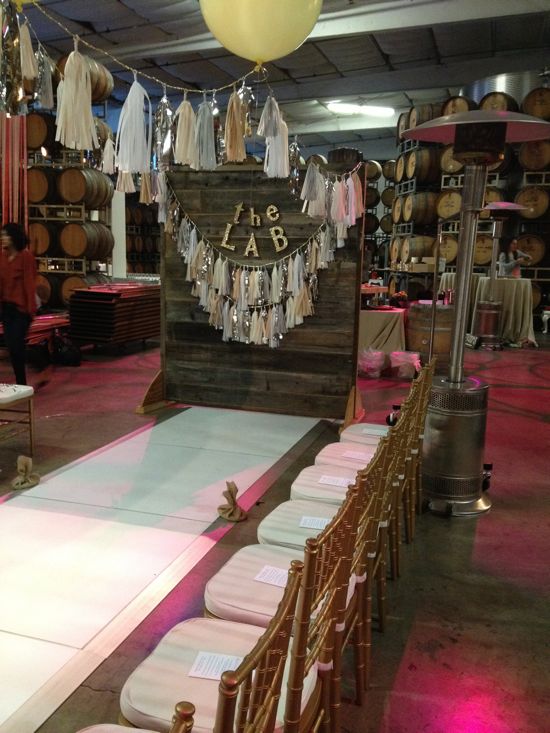
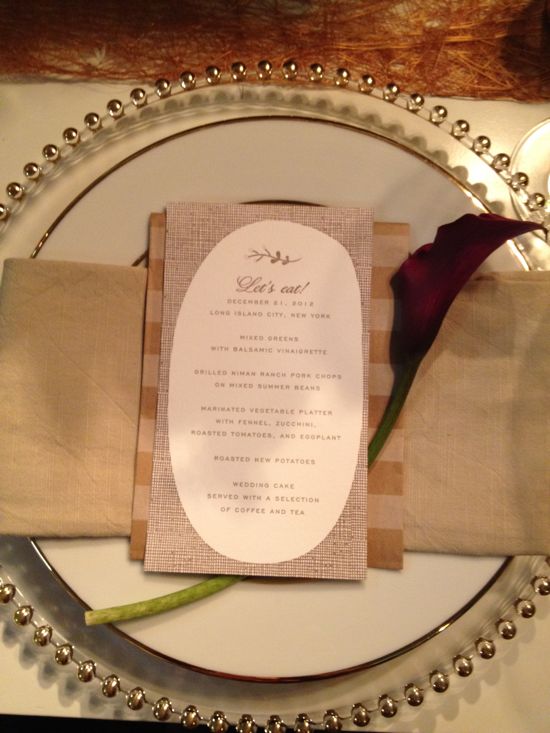
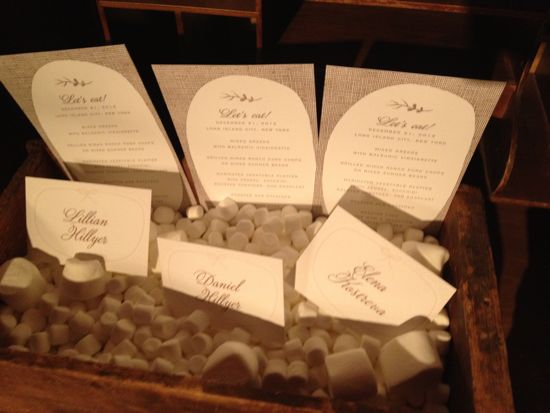
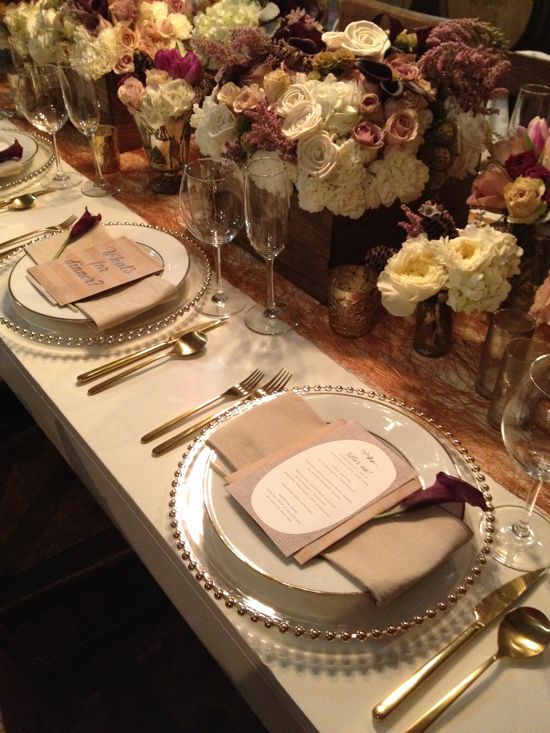
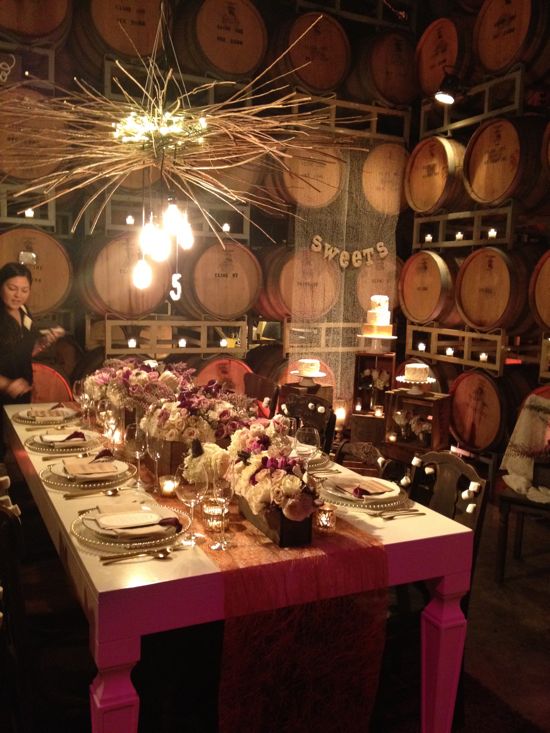
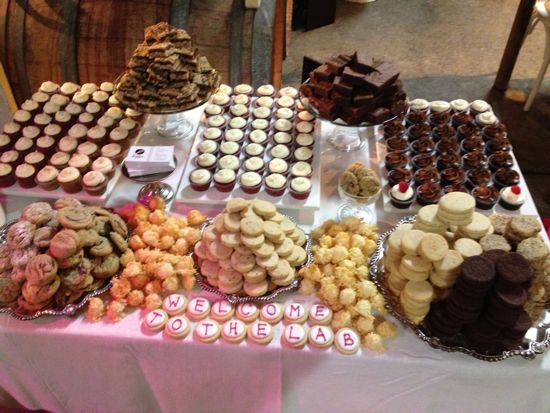
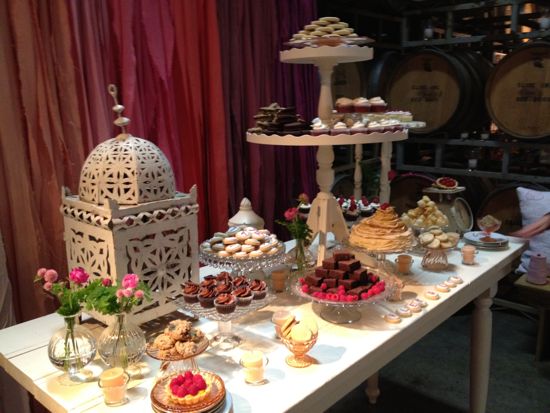
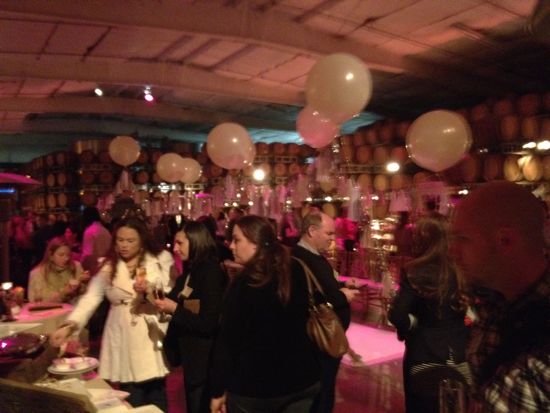
We had a blast at The Lab Event last weekend and wanted to share a few pics of the jaw dropping vignettes that filled the barrel room at Cline Cellars.   Guests were able to stroll through these themed areas gathering ideas, inspiration and even some sweet treats like monogrammed cookies and (I-can't-believe-these-are-vegan) cupcakes!

One of our vignettes had a "Toasted Marshmallow" theme with warm brown tones, gold accents and plenty of rustic wood and twig textures.  The menus had a burlap-inspired pattern framing text and a floral sprig and was letterpressed on a recycled cotton card stock.  We're so happy with the way everything turned out, we plan to offer the entire suite on our website soon.  Stay tuned!

How cool is that chandelier?  Its made from branches, Christmas lights and a few Ikea light fixtures... someone please DIY and let us know how it turns out!

Jen Musty from Batter Bakery blew us away with all her delectable desserts like Meyer Lemon shortbread cookies and Key Lime tarts.

The lovely ladies from The Collection Event Studio, styled a fantastic booth full of vintage flair and wedding inspiration galore!

The best part of the project was meeting so many amazing and talented vendors that we can't wait to work with again!

Real Wedding: Beth and Julian

Beth Wedding 440

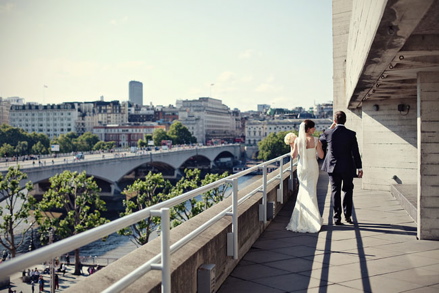
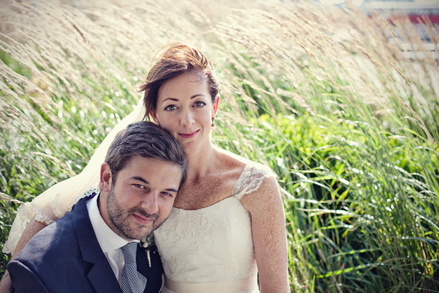
We can think of fewer ways to start a married life together than with the sun shining and the whole city laid out beneath you! These photos taken by Marianne Taylor so beautifully capture the setting for the midsummer wedding of Beth and Julian. Beth and Julian 440

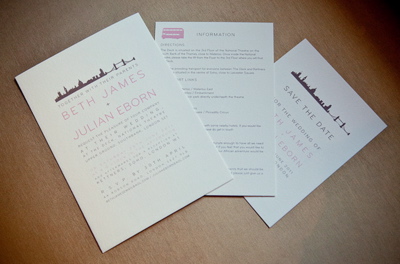
The venue for the ceremony took place at the upper deck of the National Theatre on the south Bank of the Thames which boasts views of the whole city from East to West across the river. We also agree with Beth's choice of invitation as she opted for our London Skyline design but chose to have it in a soft coral and stone combination which looked beautiful.Beth james Suite440

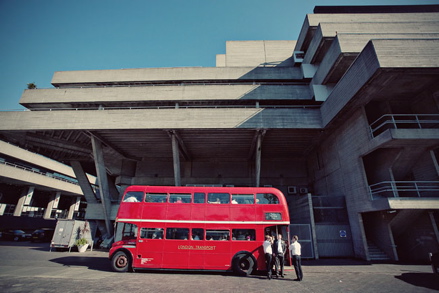
After the ceremony the guests were treated to a ride through central London on a vintage Routemaster double-decker bus to the reception at one of Soho's most established and best-loved restaurants, Kettner's in Romily Street.

Beth Routmaster 440

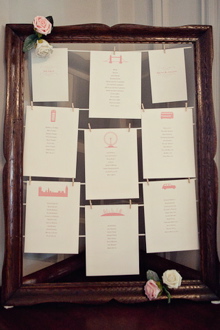
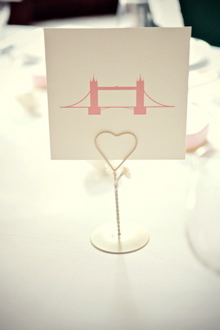
Here the table stationery carried-on the skyline theme with each table being designated by an iconic London building. We're not sure if being sent to the tower ever held such happy connotations!

Beth James Table Plan 2x3 croppedBeth James Table Card 220330

We would like to wish Beth and Julian all the very best for their future together; may the city always be theirs!

New Wedding Designs Available Now!

Extra! Extra!  New wedding invitations hot off the press!  Whether your tastes gravitate towards romantic florals or preppy patterns, there's truly something for everyone in our new wedding suites.  A bunch of designs are still in the works (one just might be video game inspired!), but here's a sneak peak at a few inspiring invitations and sweet save the dates available online now!  Enjoy!

WSTD_MIDSUMMER_CMYK_01_W2P_FXG-4_25x5_5

Midsummer Invitation and Save the Date

fig-winv-5x7fig-stdc-5x7Fig Invitation and Save the Date

One more day for the Lab Giveaway!

homepage

Don't forget! You have one more day to participate in our giveaway for the Lab Event! We're offering 2 FREE tickets to the best wedding event of the new year! All you have to do is comment below telling us why you would like, love, or absolutely NEED to be there! It's taking place at Cline Cellars, this Saturday, January 14th from 5-9pm. We'll choose a winner tomorrow at 3:00 (PST)! Good luck!

thelabevent

Studio Snapshot: The Lab Event + Giveaway!

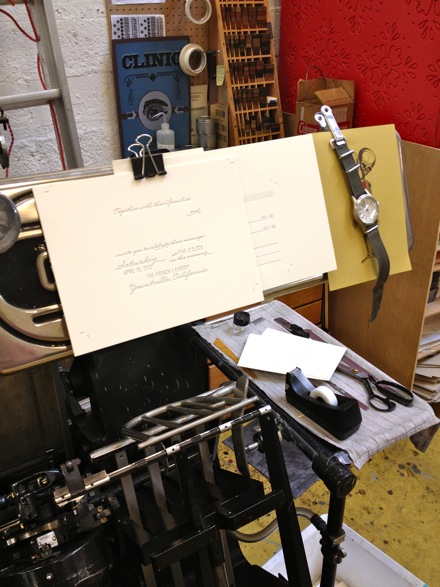
photo(1)-2We've been having so much fun designing new stationery as part of The Lab Event and with the festivities approaching this weekend, we're finally able to see our handiwork come to life on press!

photo(1)

We've been lucky enough to collaborate with a few of Northern California's most fabulous event companies, A Savvy Event and Bustle Events to create wedding vignettes based on various themes.  These mini wedding mock ups will showcase gorgeous linens, china, florals, desserts and of course - stationery.

This is just a sneak peek, to see more grab some tickets and hop up to Sonoma on Saturday, January 14th for an event that's sure to inspire!  We'd love to see you there, so we're giving away a pair of tickets to one lucky reader.  Leave a comment telling us why you would like, love, or absolutely NEED to be in attendance and we'll pick a winner on Thursday!

Real Wedding: Carolyn and Ben

0474_cb$!x600

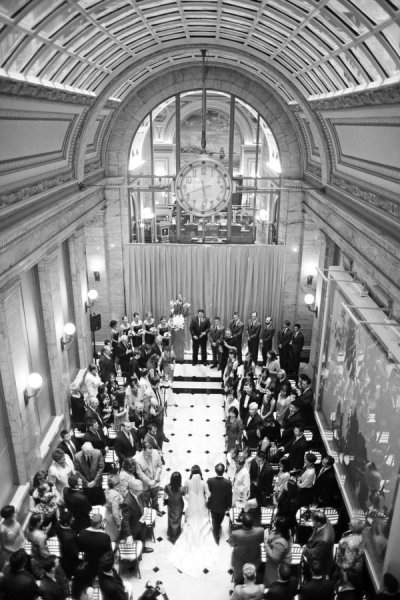
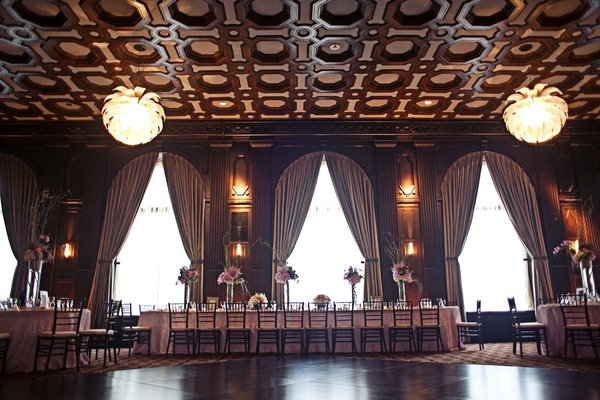
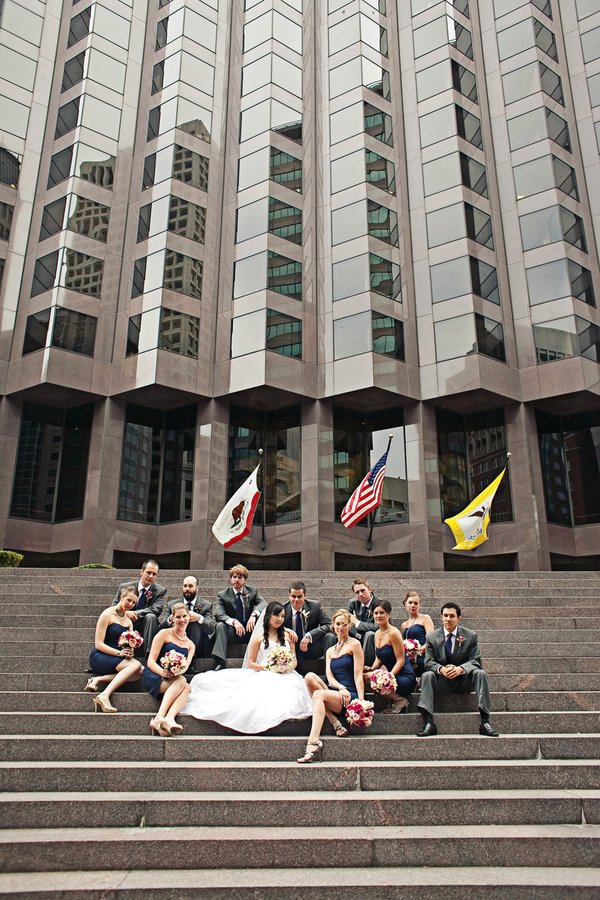
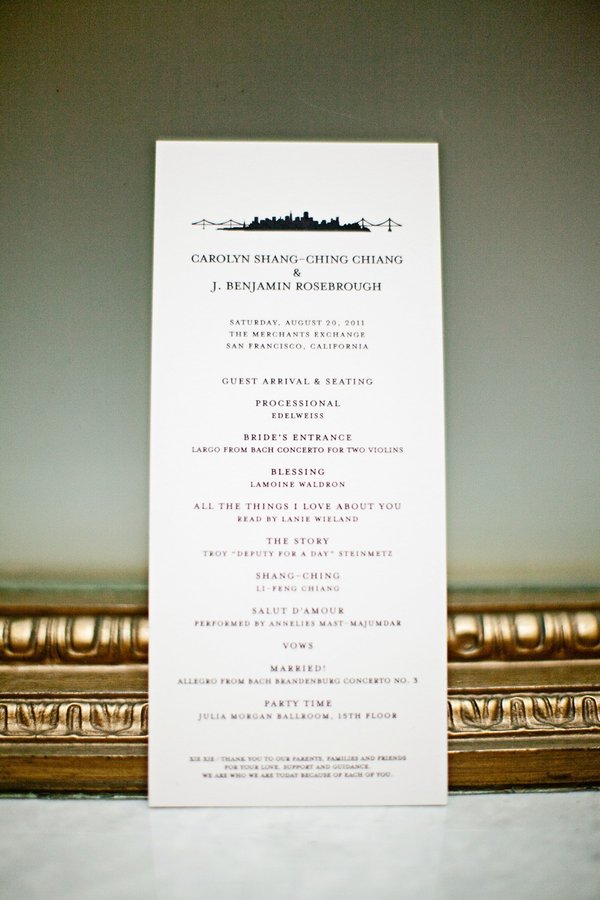
There are endless destinations that make great wedding venues in the bay area, and we never tire of browsing the beautiful scenery and indulging in the rustic charm each place has to offer. But this venue's classic architecture and sophisticated style has us feeling city-stricken and in love. Carolyn and Ben wed at the historic Julia Morgan Ballroom in downtown San Francisco amongst dear friends and family. The event, which takes classic beauty and tradition to a new level, turned out exquisitely.

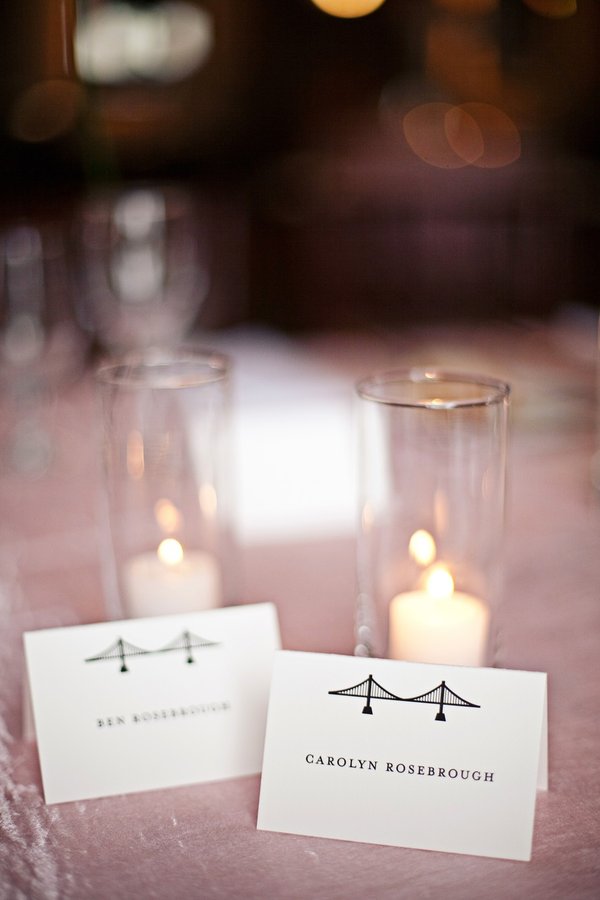
1035_cbThe couple chose to use our San Francisco Skyline invitation and day-of materials in a crisp black/white to capture the simple yet striking characteristics of their decor.

0687_cb

0722_cb

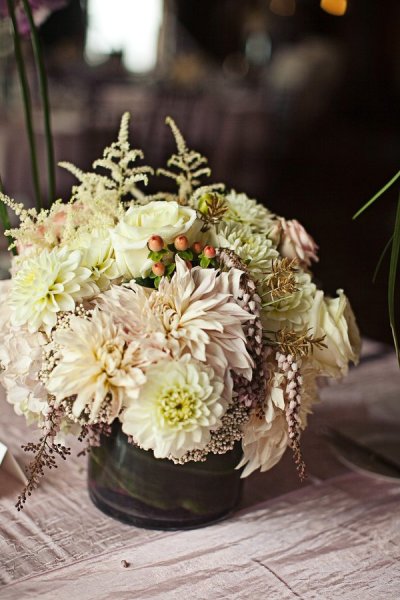
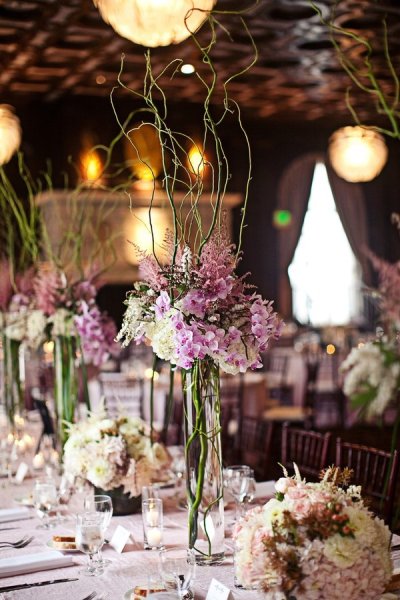
0210389_cb The floral arrangements by Chestnut and Vine graced each table with fresh scents and bright whites.

0671_cb$!x600

0702_cb$!x600

0320422_cb

Congratulations Carolyn and Ben!

Check out the entire gallery on Style Me Pretty here!

All photography by Meg Perotti

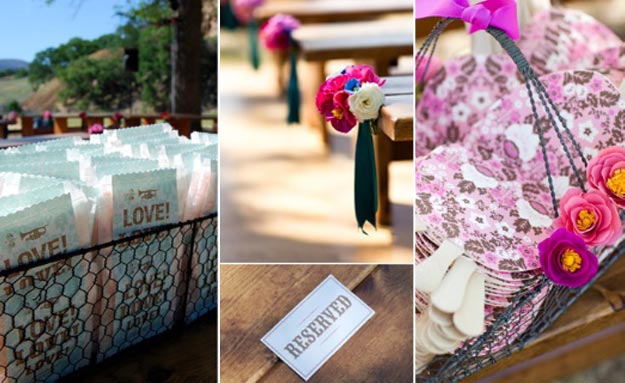
Crepe paper aisle markers

msw-DIY-crepepaperflowers

We were recently going through our archives and came across our DIY guide to crepe paper flower aisle markers from Eunice & Daniel's wedding. Crepe paper flowers have so many fabulous uses, that we thought you might like for us to re-post our instructions and templates here.  As always, the quality of the project is only as good as the materials you use - we recommend German crepe paper, and our favorite source is Castle in the Air!

fans

Basic Guide to Making Crepe Paper Flower Aisle Markers

The Grain of Crepe Paper The grain of crepe paper runs along the short side (following the creases). Generally, cut your petals so that they run with the grain of the paper so that they hold their form and can be stretched properly. That being said, sometimes you want a floppier response (for example, with some types of fringe for flower centers).

The grain direction is indicated on each template with arrows.

Making the Petals Note: Crepe paper flowers are very forgiving. Petal and leaf shapes do not need to be exact - the templates are a guide, but for the sake of speed you might consider cutting freehand, using the templates as a general guide to size and shape. Additionally, size the templates up or down, depending on the size of the flower you would like to create.

Paste the template onto a bit of card (cereal boxes or heavy weight card stock work well) and cut it out.

Never cut a single leaf or petal. Cut a few at a time. Cut a strip across the grain about 1/2" wider than the depth of the pattern you are using. Unfold the strip of crepe paper and, starting with the two ends together, refold three times for single crepe (you'll end up with eight thicknesses) or twice for duplex (4 thicknesses). Pin the template (with grain indication aligned to the grain of the paper) onto your paper and cut it out, cutting through all layers of the paper with sharp scissors.

Shaping the Petals

Fluting the Edges If you stretch the edge of the crepe paper, you will get a ruffled effect. Hold the edge of the petal between the thumbs and forefingers (your fingers will be close together, as you will be stretching several times along the edge of the petal) of both hands. Stretch the paper widthwise along the edge of the petal. Repeat as necessary.

Cupping to Shape Petals Hold either side of a petal with your thumbs and forefingers. Gradually stretch the entire width of the petal with both hands, using the thumbs to push into and cup the petal and the forefingers to stretch the paper away from the thumbs. This will give the petal a more dimensional shape - as you would see on a real rose petal. Experiment with cupping at the top, base or half way down.

Curling You can curl the crepe paper with the edge of a pair of scissors (as if you were curling ribbon) - drag the blade of the scissors along the grain to accomplish this.

Making Flower Centers

There are several techniques for making flower centers, depending on the look you are trying to achieve.

All flowers start with a ball center for something for the petals to attach to. Start with a small ball of scrap paper (size depends on the size of the flower you are making, but in general about the size of a spitball on up) and a square of crepe paper (around 1 1/2" or so - somewhat bigger for a larger flower). Apply a generous amount of white glue to one side (the wrong side, if there is one) of the crepe paper square). Bend the end of a piece of florist's wire, cut to your desired length.to form a small loop. Place the ball of paper at the end of the wire. Center the crepe paper square on the top of the ball, glue side down. Pull all four sides down to meet at the base of the ball and twist the paper around the wire stem.Cut a short (approx. 2") length of your 1/2" green strips (see Wrapping the Wire Stems) . Apply a bit of glue to the wrong side at one end. Attach to the base of the ball you have created at the end of your wire at wrap around the twisted base, straight around to begin with and then continuing down the wire at a slight diagonal. Continue past the base of the flower center for about 3/4". Cut the strip and apply glue to the inside of the end and attach securely to the florist's wire.

From here you can expand on the center by wrapping a strip of fringed paper or a calyx shape around the center (in the same way you attached the green strip) or adding sheath shapes cut from templates. To add sheath shapes, simply apply a bit of glue at the bottom of each sheath, and attach around the base of the center ball.

Fringing For a fringed center (as for a Poppy) cut the crepe paper into a strip across the grain at the required width. Stretch the strip fully for a fine fringe and less so for a coarse one. Fold the strip in half and cut with the grain, making the cuts as close together and as deep as necessary but always leaving 1/2" or more at the opposite end uncut.

Putting it all together To make a flower, first construct a flower center.

Pick a style of petal and attach your first petal by applying glue to the inside bottom edge and pressing it into place along the base of your flower center (the level at which you place the petal will determine how much of the center is showing. Attach the next petal so that it slightly overlaps the first. Continue this way until you are happy with the look of your flower.

With a little glue and a 1/2" strip of green crepe paper, wrap the base of the flower to cover any raw edges (see Wrapping the Wire Stems for technique).

Add some sheath shapes (optional) for a realistic base for your flower.

Wrapping the Wire Stems Additionally, have on hand 1/2" strips of green crepe paper cut across the grain. They should be strips long enough to wrap the length of your stems.

Stems are wrapped with these strips. Start the wrapping by putting a bit of glue over the flower base. Wrap the end of a strip around it 2 or 3 times very tightly. Then, with the long end of the strip in one hand and the wire in the other (held just above the winding strip), twirl the stem wire around and around while stretching the strip, guiding it diagonally and downward. When the end of the wire is reached, put a bit of glue on the end and continue to twist tightly. Cut off the end and affix with glue.

Note: In lieu of green crepe paper strips, you can also use green floral tape.

II. Crepe Paper Flower Aisle Markers

You'll need:

Crepe paper in various colors (for the flowers) that work with your palette and some crepe paper in green or floral tape for covering stems. Quantities depend on how many you are making, but one packet goes quite a long way. Duplex is my favorite (it is thicker and often two toned) for most flowers, but standard crepe paper works as well for a more delicate, unstructured flower. Mixing the two adds a nice depth.

  • Scissors
  • White glue
  • Glue brush
  • Florist's Wire
  • 1 1/2" - 2" ribbon - about 18" per marker (we used vintage velvet ribbon)

How to: Using the templates, make a large quantity of flowers (this is a great project to do with friends). You will need 10-15 flowers per marker, three large and a variety of medium and small sizes. We mixed and matched centers and petal styles as well as scaling the templates up and down to get a mix of flower sizes.

Start with three larger flowers. Twist the stems together, then fold the stems out to the left and right and twist to create two "arms" that will later be joined in a loop that will give structure to your arrangement. Angle the flowers to create a nice central focal point. Add more large and small flowers to your arrangement, twisting their stems around the two arms. Use small flowers to fill in any gaps. When you are happy with your arrangement, make a loop with the arms, twist the ends together, and flatten so that they are hidden behind the flowers. Don't worry about how the back looks - no one will see it.

Cut an 18" piece of ribbon and trim ends at a diagonal or in a dragon tongue shape to prevent fraying. Fold the ribbon in half to form an inverted "V" shape. Position the ribbon behind your crepe paper flowers and pierce a small finishing nail through the wires of the flowers and then through ribbon. Nail into the end of a bench (be sure to get your vendor's permission in advance).

If attaching to the back of a chair, we've a length of 2" ribbon through the wires at the back of your flowers and then through the railing on the back of the chair; tie off using a square knot.

Download the templates here.

Lisa and Rory, Behind the Scenes!

IMG_4249

Now that you've all seen the stunning photos of Lisa and Rory's wedding, we wanted to show you some exclusive behind-the-scenes images of our team putting it all together!

070111_ferneyhough_balloon

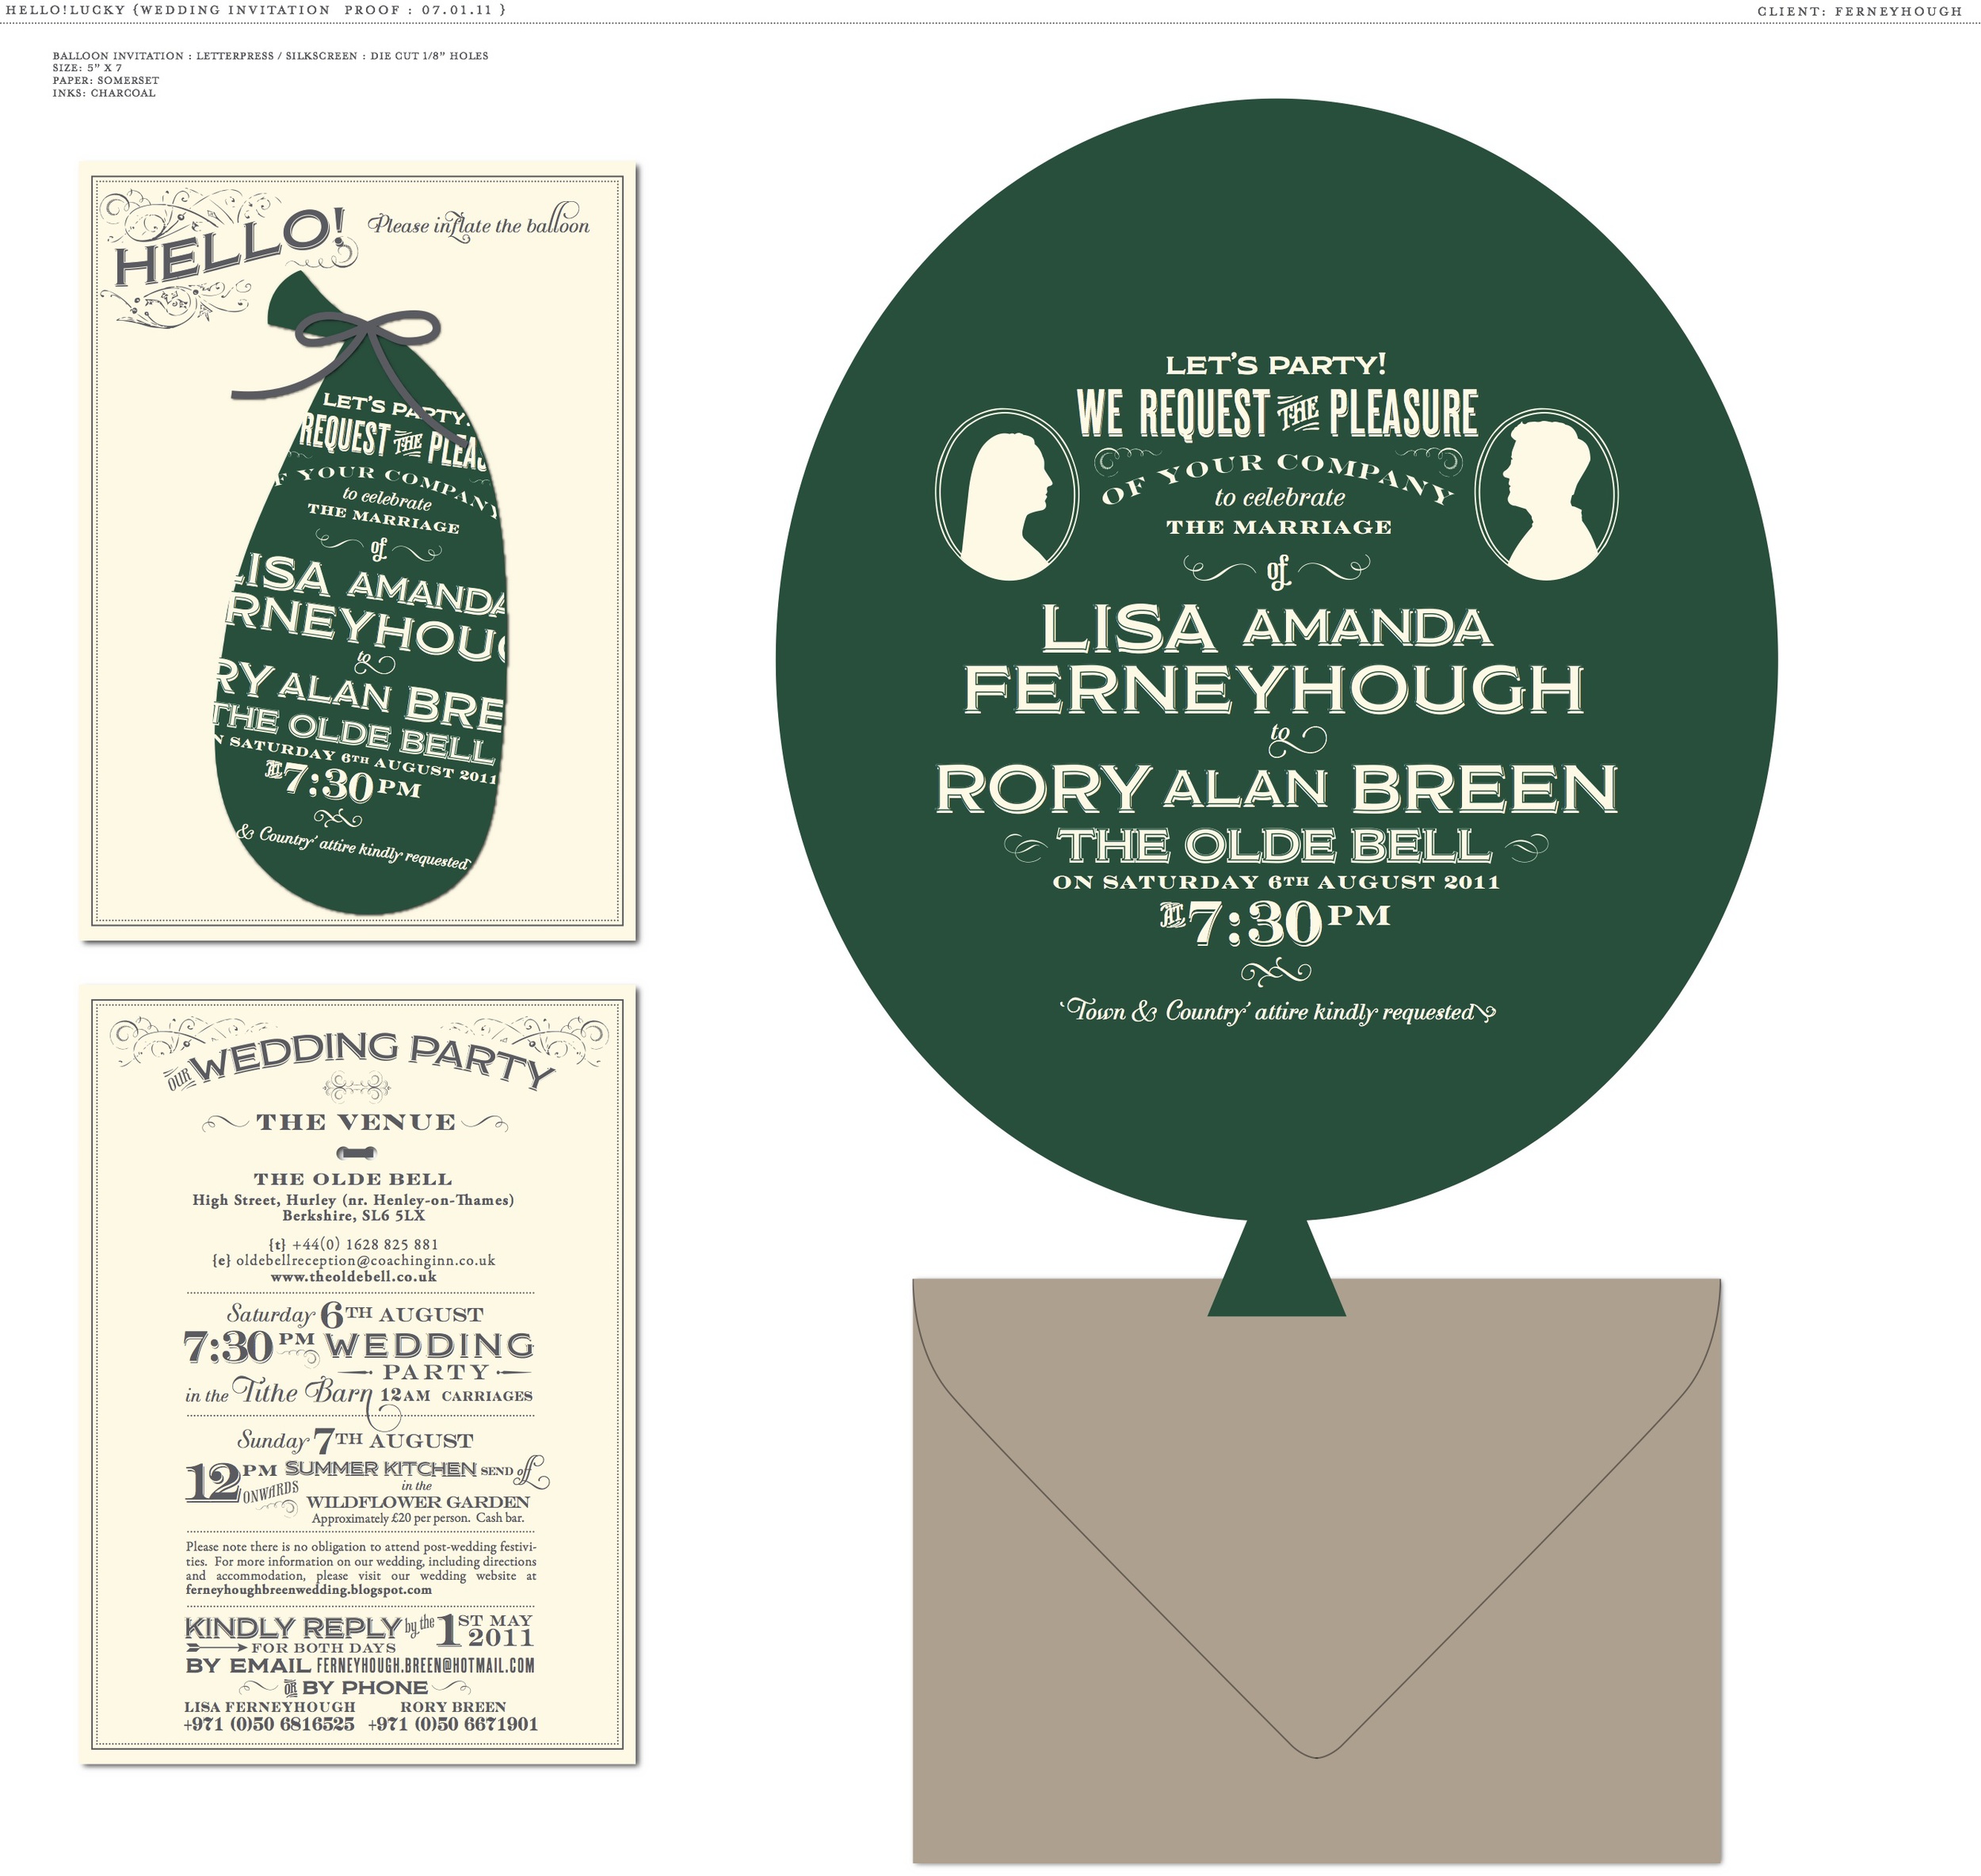
Above is the original proof that we created for Lisa and Rory's reception invitation. The two-sided letterpress invitations were printed on duplex paper (220lb) and hole-drilled for the balloon and ribbon attachments. Because Lisa and Rory already had such brilliant ideas, working with them was a cinch!

IMG_4284

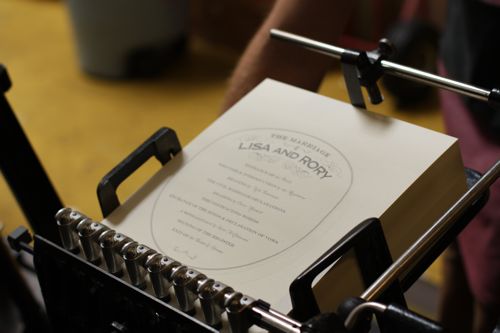
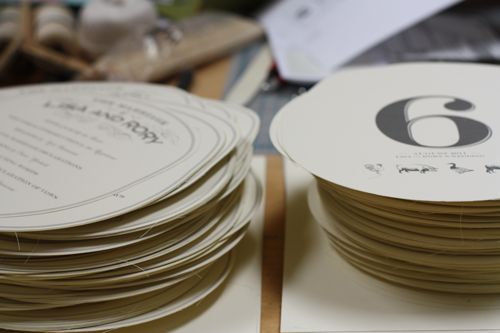
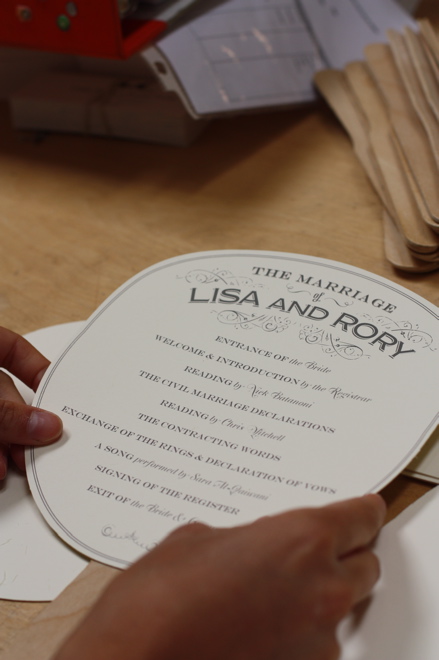
Their day-of materials were just as fun to assemble as their wedding invitations. The paddle program fans were die cut on our antique Heidelberg press, then attached one-by-one with wooden handles.

IMG_4293

IMG_4292-1

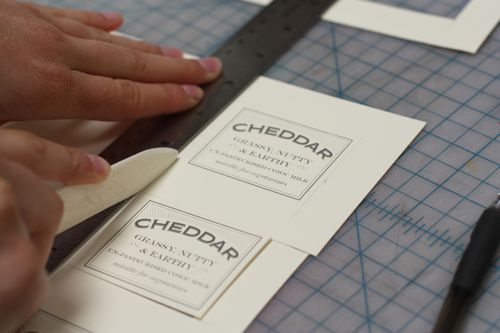
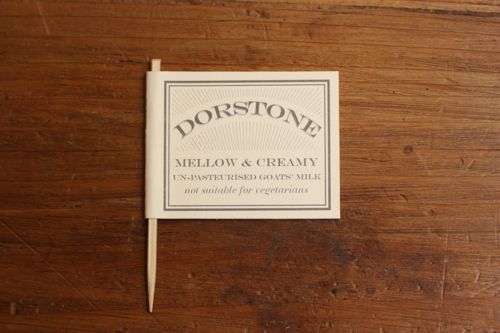
The pub sign table numbers and cheese markers were each cut out by hand, given tremendous care and patience! The tiny cheese markers looked dashing atop their cheese wheel cake. We see a new trend approaching!

IMG_4264

IMG_4237

IMG_4228

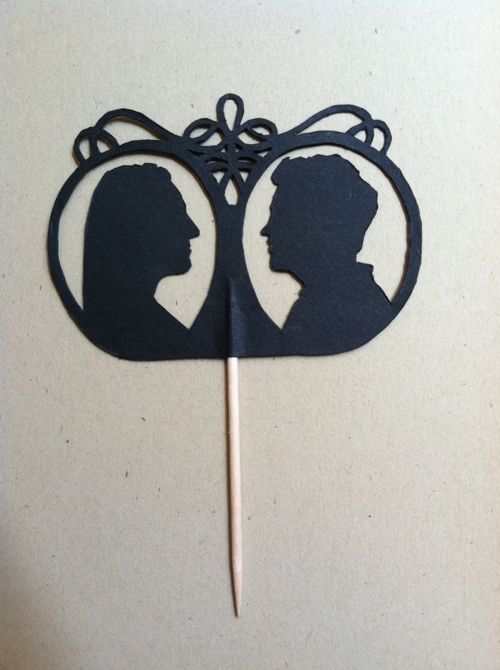
Perhaps the most intricate and delicate piece we've created is the tiny silhouette "cake" topper, also cut out of paper by hand. And yes, it fit on a toothpick! It's the little details like this that make us love working on custom weddings.
photo

Real Wedding: Lisa and Rory

Lisa and Rory Wedding - 3

We couldn't be happier to share the extraordinary wedding of our friends Lisa and Rory. Since we first met the happy couple (what seems like ages ago!) we've been dying to see photos of their big day, and we are not surprised to see how beautifully it came together. Lisa and Rory wed at The Olde Bell in Hurley, England amongst historic timber framed buildings and lush greenery. It was the perfect venue for their rustic, vintage inspired wedding. Their story is featured on Martha Stewart's Brides Guide today (yes, we're jumping with joy!) where you can read more about their ideal I-do's.

Lisa and Rory Wedding - 1

Lisa and Rory Wedding - 11

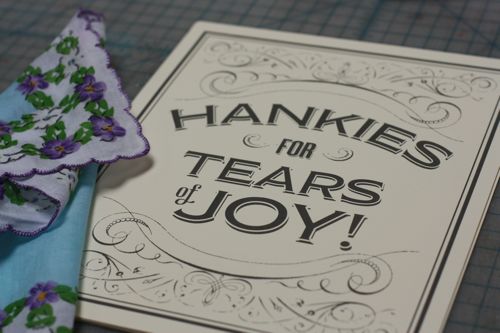
It was such a pleasure designing their invitation suite! So much detail and care went into creating the perfect set, and they match perfectly with the scenery. In order to accommodate the space of the venue, the couple sent two sets of invitations, some for both reception and ceremony, and others to just the reception. The ceremony invitations were screen printed on floral handkerchiefs and tied to letterpress printed card stock. The reception invitations were a bit more playful, including a balloon to inflate reading the details of the party! It definitely set the mood for the night, and we love that they incorporated the balloons in their day-of decorations.

Lisa and Rory Wedding - 2

Photographer Chloé Browne of Caught the Light Photography did a fantastic job capturing the whimsical spirit of the celebration. With such a beautiful bride and groom, it must have been a piece of cake!

Lisa and Rory Wedding - 4

Lisa and Rory Wedding - 5 At the reception, the table numbers stood above glowing floral arrangements by Chantal Flores Design. The signs were inspired by British pub names, and each had a unique and rustic illustration to top it off.

Lisa and Rory Wedding - 7

Variable printed place cards were looped with ribbon and attached to knick-knacks that match the table theme. The pig made an appearance at the Pig and Whistle Table, and the crown at The Royal Wee. Oh so clever!
Lisa and Rory Wedding - 6

Lisa and Rory Wedding -8

Their not-so-traditional wedding cake was made up of different cheese wheels! Who doesn't love cheese and fresh fruit? It was finished with a hand-cut paper cake topper by yours truly!

lisa-rory-rw-558_vert

Each guest received a printed paddle fan with the details of the ceremony. It may not always be warm in England, but luckily the couple ended up with fabulous weather for their day!

Lisa and Rory Wedding - 9

Lisa and Rory Wedding - 13

Say Fromage supplied a photobooth for the event, and the photos were assembled by guests into a scrapbook. It's such a great way for friends and family to leave notes and memories! The couple also included our chalkboard word bubbles and various props to spruce things up.

Lisa and Rory Wedding - 10

Lisa and Rory Wedding - 12

Congratulations to Lisa and Rory!

Check out the entire Martha Stewart Weddings feature here!

Credits:

WEDDING DESIGNER & PLANNER: Mary Lee Herrington of Forever & Ever Events (http://www.foreverandeverevents.com) PHOTOGRAPHER: Chloé Browne of Caught the Light Photography (http://www.caughtthelight.com) STATIONERY, SIGNAGE & PHOTO BOOTH PROPS: Hello Lucky (http://www.hellolucky.com) VENUE: The Olde Bell (http://www.theoldebell.co.uk/) FLORIST: Chantal Flores Design (http://www.chantalfloresdesign.co.uk/) GOWN: Britta Kjerkegaard of The Couture Gallery (http://www.thecouturegallery.com/html/tcg.html) SHOES: Christian Louboutin (http://www.christianlouboutin.com/) FURNITURE HIRE: Theme Traders (http://www.themetraders.com/) HAY BALES: Holdshott Farm Shop (http://www.pfo-shop.co.uk) MUSIC: New Hot Cross Band, represented by Sternberg Clarke (http://www.sternbergclarke.co.uk/) CEREMONY SINGER: Sara Al-Qaiwani, bridesmaid PHOTO BOOTH: Say Fromage (http://www.sayfromage.co.uk/) MAKEUP/HAIR: Kaz Fernando (http://www.kazfernandomakeup.co.uk/) CHEESE CAKE TOWER: Tastes Delicatessen (http://www.tastesdeli.co.uk) LIGHTING/DJ: Gosh Management (http://www.thegoshgroup.co.uk/)

Lucky Friday #36, Flying Bouquet

Hello all you lucky folks out there! This is the 36th edition of our Lucky Friday Giveaway! Each Friday we feature one of our letterpress greeting cards. We’ll choose THREE LUCKY WINNERS to get a free card.  Post a comment by 12 p.m. PST the following Thursday, and we’ll announce the winners on the following Friday!

The three winners from last week are (drum roll, please):

Rachel M, Brittany Burton and Ruth!

We’ll contact you next week to arrange sending your Skull & Crossbones card!

Now for this week’s celebratory selection:

flying_bouquet

Design: Flying Bouquet Artist: Eunice Moyle Inspiration: Somehow we felt that congratulations were in order today! Who to send it to: A person who is crossing the threshold and taking the plunge! Favorite detail: We love how the simple tied string mirrors the style of the lettering. Why letterpress: Letterpress can speak volumes with a single printed word.

Don’t forget to post your comment and tune in next week, same time, different stationery, to see if you’ve won!

Tech Toys and Wedding Accessories

usbring

(USB wedding ring via Mashable Tech)

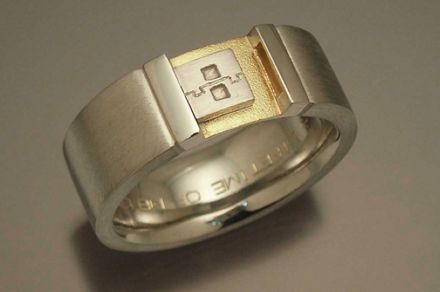
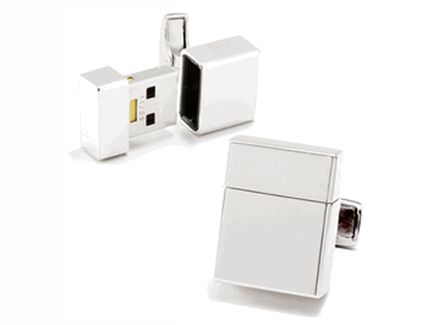
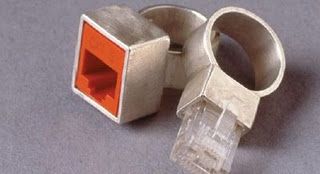
When we stumbled upon these geek-tastic wedding accessories, our inner nerd fluttered with excitement. It's always fun to test out a new toy or gadget, and there's no better way to satisfy those computer cravings on the big day than with the most tech-savvy wedding trinkets around!

cufflinks

atcufflinks

(Cufflinks by Ravi Ratan via Mashable Tech)

USB_rings (Outlet rings via Scrambled Eggs Blog)

Mark your calendars!

splash_lets_party

We're thrilled to be a part of the upcoming Lab Event taking place January 14th, 2012 at the Cline Cellars in Sonoma, and after Monday night's inspiring kickoff party at The Collection ES our heads are bursting with fab ideas for the event. Stay tuned here for more information or you can visit their soon-to-be-released blog. Tickets will go fast so be sure to book in advance! Looking forward to seeing you all there!

collection_studiotour1

(above: The Collection ES, below: Cline Cellars in spring)

Carneros_Estate_in_Spring

logo

Tickets available here!

Say Cheese! The Best of Photobooths

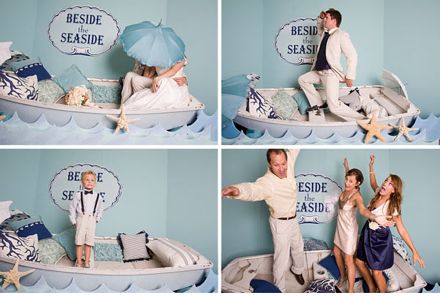
boat-wedding-photobooth

(via Ruffled)

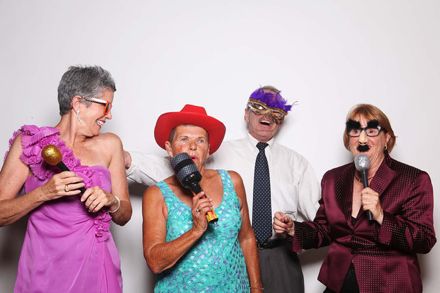
Photobooths are so popular right now, and with good reason - who doesn't love hamming it up for the camera with costumes, props and a bunch of very close friends?  They're especially great at weddings to capture your guests at their finest.  Our favorites make creative use of festive props, brilliant backdrops and a whole lot of sassy attitude.

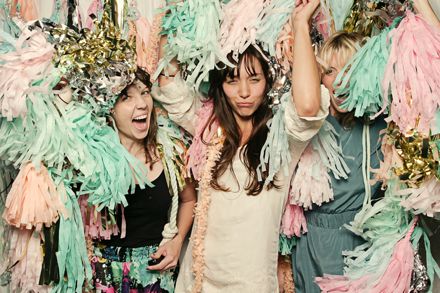
hitched-15

The gorgeous paper decorations in these Smilebooth photos make us absolutely swoon!

smilebooth0051-M

Fabulous props are definite must-haves (we all love a good wooden mustache) and the sillier the better as with this great snap from Studiobooth.

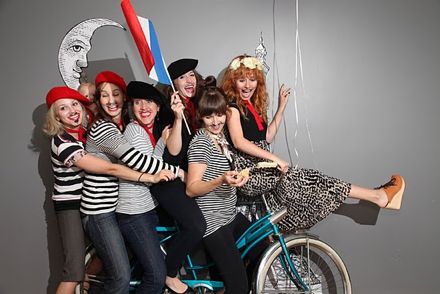
073011Guido014-M

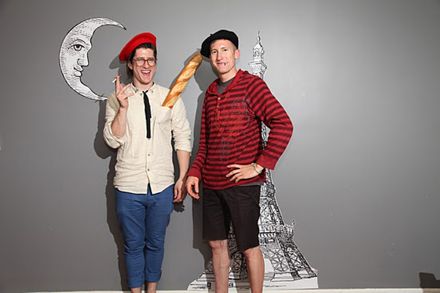
This snazzy photobooth set up found on Oh Happy Day, is a Francophile's dream come true.  Je t'aime!

IMG_7055

french

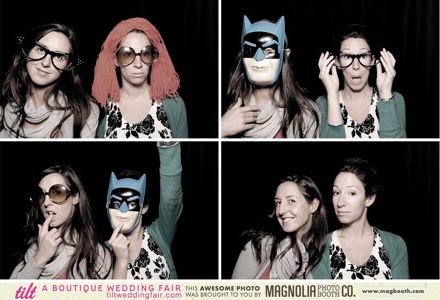
And last but not least, H!L gets into the action at the TILT wedding fair in September.  Leslie and Lia took a little break to jump into the Magnolia Photo Booth and test drive some natty costumes.  To the Batmobile ladies!

tilt

Well-Groomed Guide

Picture 36418

We must admit, we're aware of the feminine nature of wedding and stationery blogs, but figure today is the perfect day to shine a little light on the men's style. The perfect web destination for the wedded guy? The Well-Groomed blog.

Picture 6

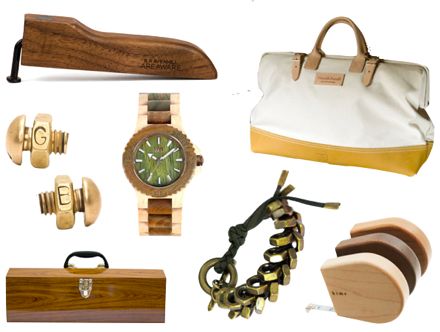
It's not only a site for endless style inspiration (and adorable eye candy) but there are gift guides for every kind of dude. What a perfect way to get inspired for grooms gifts or groomsman favors. The founder and author Darren has delivered everything we look for in a wedding blog:  sophisticated, stylish, and somewhat romantic inspiration for all its readers, man or woman.

tc-jamesmoes-199

Check out the Well-Groomed blog "The Guide to Tying the (Windsor) Knot"  here!

TILT Wedding Fair this Sunday!

photo-11

Calling all brides, grooms, wedding fanatics, and friends! We are delighted to be a part of the TILT Wedding Fair taking place this Sunday, and we want you to join! TILT is hosting this years not-your-average wedding fair at Swarm Gallery in Oakland, and it will be bustling with local designers, vendors, and event extraordinaires. If you're dreaming of a unique wedding and looking for a place to start, you definitely shouldn't miss this event! We will be there mingling with the guests and offering first hand information about our invitations (and maybe even a take-home souvenir??!). Check out the list of fellow exhibitors here!

Tickets are available here or you can get them at the door.

The event, Sunday September 25th, is 12:00pm - 4:00pm at the Swarm Gallery, 560 Second Street, Oakland, CA

See you there!