Love London Wedding Invitation Suite

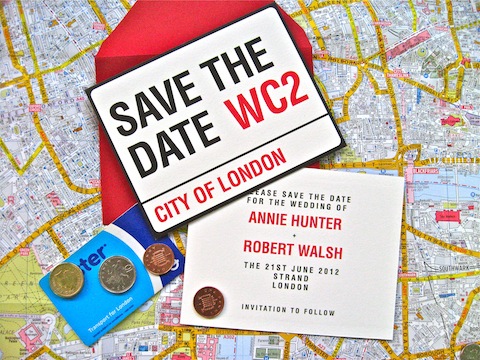
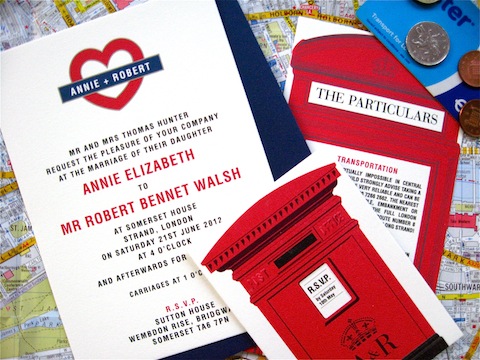
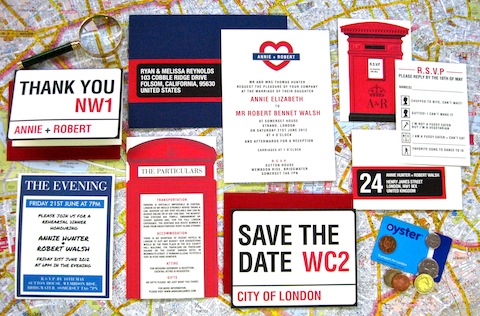
Time has come for the games to begin! Our team is cheering for the opening of the 2012 Summer Olympics and perhaps even more excited about our newest Love London wedding invitation suite! The classic typeface invitation in red, blue, and black has all the elements of a traditional London destination wedding. In celebration of the events we're offering 15% off all UK wedding orders throughout the Olympic games. From now until August 12th you can enter the code London2012 at checkout to receive your discount. Everyone deserves a ring!

For all our UK brides, order your Love London invitations here and don't forget to enter the code London2012

DIY Patterned Papers: Belly Bands

DIY Belly Bands from Hello!Lucky on Vimeo.

The next video in our series of DIY Paper Details is DIY Belly Bands! These little strips of paper are a very practical and simple way to add some character to your wedding suite while keeping all your inserts together. With basic instructions like cutting lines and folding twice, you will be shocked at how easy the process is. Dress yours up with a nice ribbon tie or lace paper trim for a more elegant approach. Watch the video and see below for full instructions!

Materials:

DIY Bellyband Template, Printer, 1 sheet cardstock, 8.5 x 11” (US) or A4 (UK), Ruler, Bone folder, or a butter knife, Cutting mat, or a magazine, Craft knife, Pencil, Patterned paper (one sheet makes 4 bands), Glue Stick

How To:

Step 1. Print out the template. Print this template on card stock. Make sure your printer is set to 100% (or, “no scaling”) to ensure that the template prints to scale. Step 2. Cut out the template. Using a ruler, craft knife, and cutting mat, cut out the belly band template. Step 3. Trace the template. With a pencil, trace the belly band template onto each sheet of pattern paper. Repeat. One sheet of patterned paper fits 4 belly bands. Step 4. Cut out each belly band. Using a ruler, craft knife, and cutting mat, cut out the belly bands. Step 5.  Wrap the belly bands. Using a ruler and bone folder or butter knife, make a fold 3” on both ends of the band. Place each band in the center your invitation. Flip the invitation and band over. Apply about a ½” strip of glue to the back side of one end of your band. Set over the top of the other end and smooth to secure.

For more crafty paper projects, head over to the DIY section of our website here!

Hello Weekend!

This week on the blog:

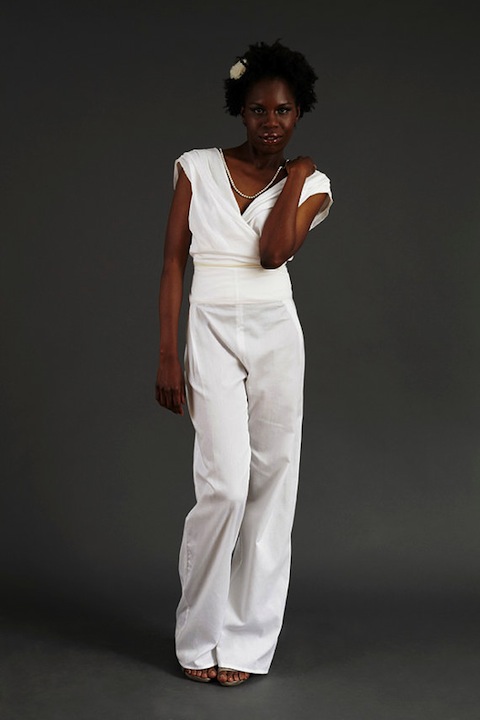
We considered bridal pantsuits.

Took another trip to Carmel with Sabrina.

Debuted our latest stop motion video all about patterned papers.

Dreamed about a Brazilian wedding.

Partnered with Betabrand for a sweet giveaway (which you can still enter!).

Shared a gorgeous DIY bouquet from Madeline Trait.

Went a little hog wild. 

We also wanted to share this amazing video created by the brother of our very own Anna Boswell, whose fantastic blog writing and Martha Stewartesque crafting skills have been gracing us for over a year. We're not surprised her brother is just as talented as she is.

Happy Friday everyone!


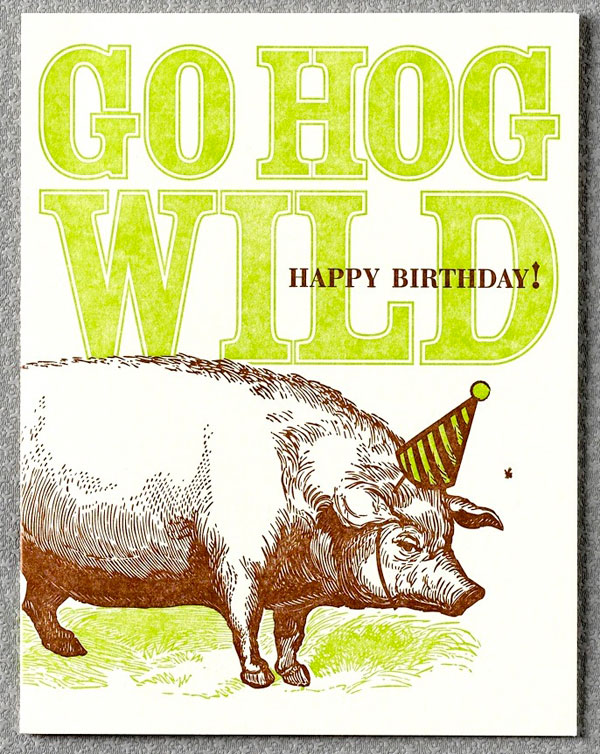
Lucky Friday # 75, Hog Wild

Hello all you lucky folks out there! This is the 75th edition of our Lucky Friday Giveaway.  Each Friday we feature one of our letterpress greeting cards. We’ll choose THREE LUCKY WINNERS to get a free card.  Post a comment by 12 p.m. PST the following Thursday, and we’ll announce the winners on the following Friday!

The winners from last week are (drum roll, please): Rin, Diana D and Phoebe! We’ll contact you next week to arrange sending your Animal Parade card.

Design: Hog Wild Artist: Shauna Leytus Inspiration: We went whole hog on this one. We were pretty sure we could make a sow's ear into a silk purse. Who to send it to: Anyone who plans to pig out, ham it up, hog all the attention, and wallow in the occasion. Ideas we scrapped in favor of this one: After butchering a couple of other boar-ing ideas, we decided we'd better stick to one that was sure to bring home the bacon. Favorite detail: The pig's pouty party expression is priceless. Why letterpress? Hamlet said "to be or not to be..." ...we say "let it be letterpress."

Don’t forget to post your comment and tune in next week, same time, different stationery, to see if you’ve won!

DIY Floral Bouquets by Madeline Trait

You may remember Madeline Trait by her amazing cake toppers, but today we're excited to feature her for her more prominent role as floral designer. Madeline creates beautiful bouquets that reflect the character and style of each event. As a San Francisco artist, she chooses locally grown plants and flowers for her displays. Madeline is also the official floral designer for Locally Grown Weddings, a team of San Francisco-based small business owners with an emphasis on green business practices. We asked Madeline to write a guest post on our blog with tips for making your own bouquets or arrangements and we love what she came up with. Take it away Madeline!

Flowers are a decorative element that not only add to the decor of your event but also add to the importance, and that is why it is such an integral part of a wedding or party. Whether you DIY or have a florist do your flowers, it is that finishing touch that you don’t want to skip.

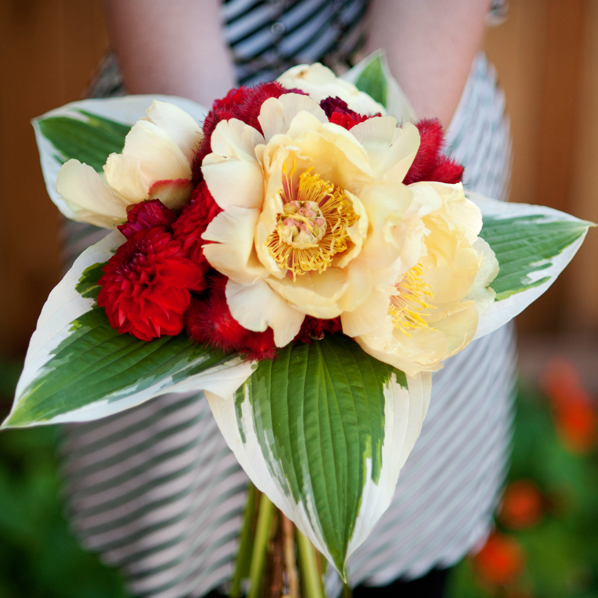
Today, I have a fresh modern look to a wedding bouquet using Hello!Lucky’s wedding stationery as my inspiration. Many times, the invitation is the first thing your guest will see to introduce them to your special day so it’s only fitting to have that the guide for the design of your event as you move forward. I selected the Big Day suite as my inspiration as I like the bold colors and modern look it has with it’s big bold text. Red being the main color was perfect guide for selecting summer seasonal flowers.

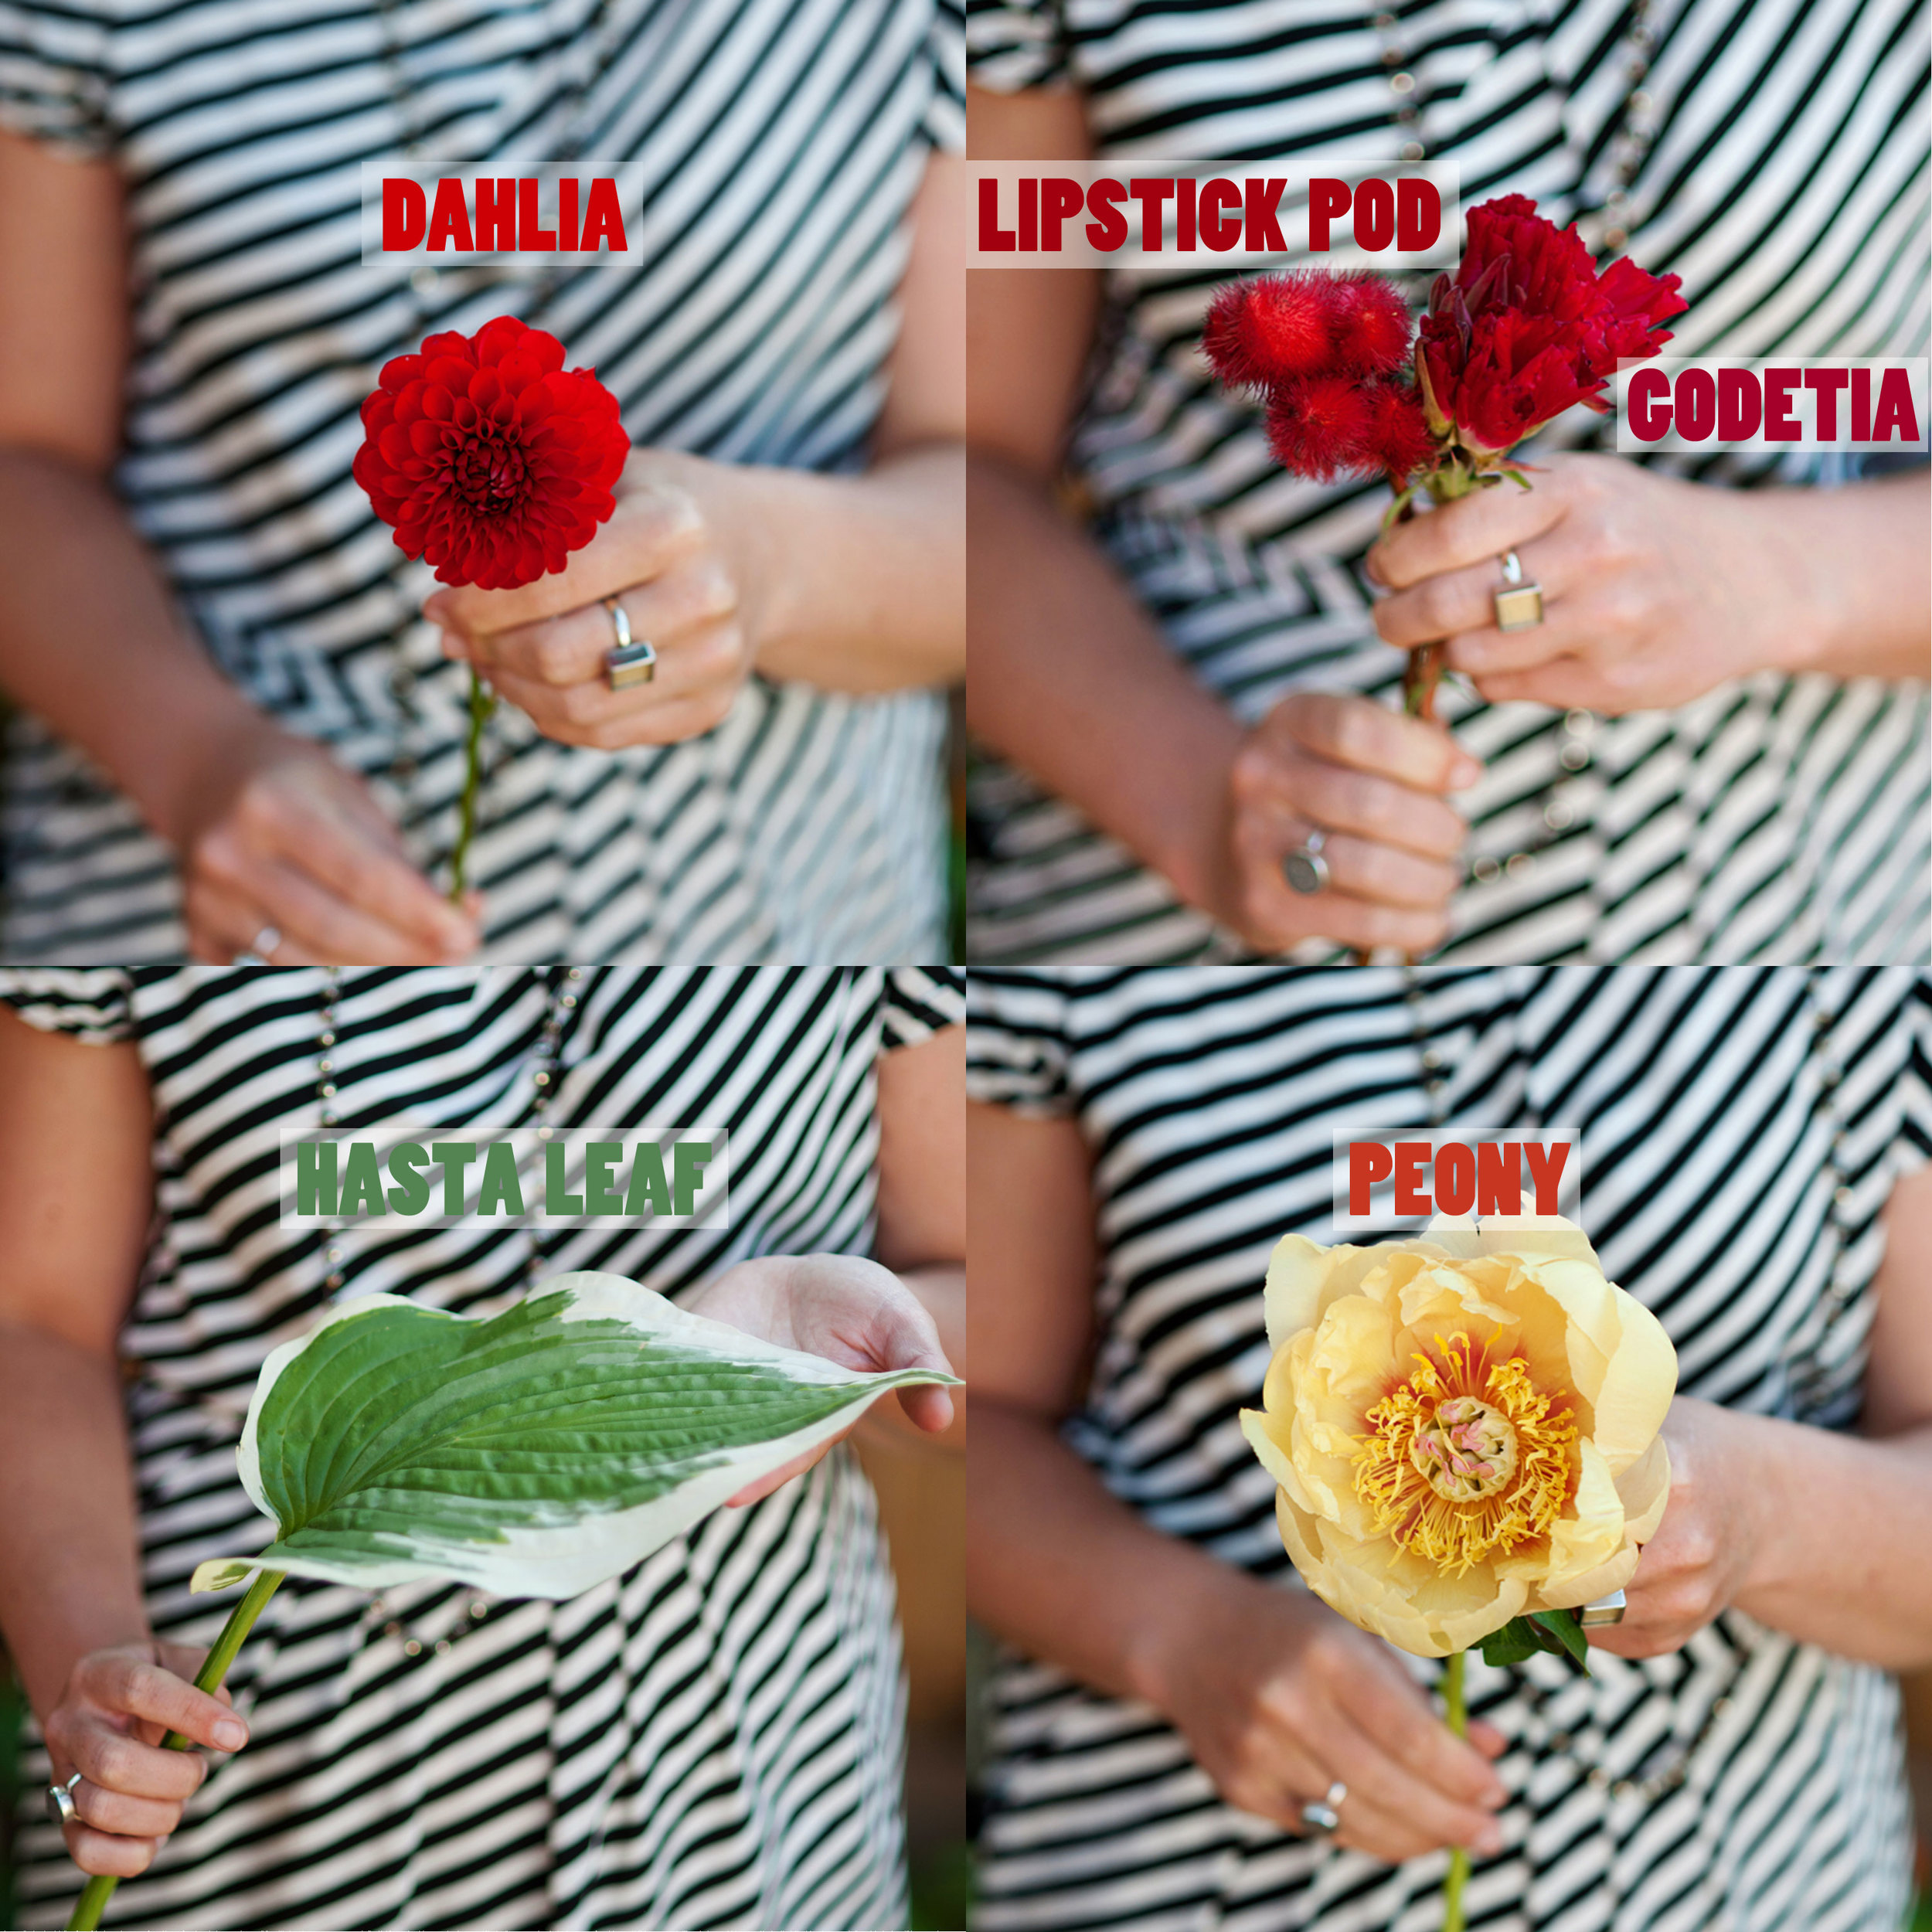
The red flowers that I chose were Dahlia’s, Lipstick Pods and Godetia. I chose these not only for their color but for the diversity in their shapes and textures. Yellow peonies were then added to the mix due to their red/orange centers and that added splash of yellow, plus, you can’t go wrong with peonies. Hasta leaves were used as a the final trimming to the bouquet creating a backdrop of green and pale yellow to set the other flowers off.

Looking to create your own? Here are some quick tips to consider for a bright, modern and bold bouquet:

Use bright colors.

Choose a mixture of textures such as the soft petals of a rose with the hard structure of a poppy pod.

Choose flowers that contrast in color and or shape and texture.

Finish the look with a bold stroke such as an interesting ribbon or leaves.

Photos by Aurora Meneghello Productions

Betabrand Giveaway!

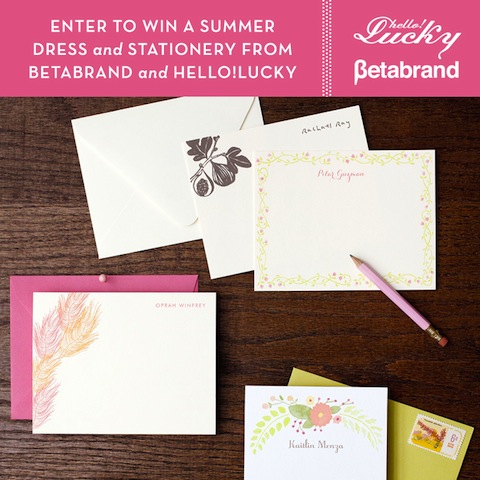
Are you feeling lucky today? We hope so! We teamed up with San Francisco based clothing company Betabrand for the ultimate summer giveaway. In celebration of their new Elope Dress, we're choosing the best elopement fantasy story and giving away a set of our personal stationery and the perfect new dress. All you have to do is visit the Betabrand Elope Dress webpage, describe your dreamiest elopement fantasy and we'll pick a winner by August 7th. Whether you imagine a small beach celebration or a glittery Las Vegas party, the more extravagant the story the better. And trust us, we've heard some pretty sensational stories!

We can't wait to hear what you come up with. Head over to Betabrand here to tell us your elopement fantasy. We'll announce the winner here and on Betabrand on August 7th.  Good luck!

Real Wedding: Juliana and Fabio

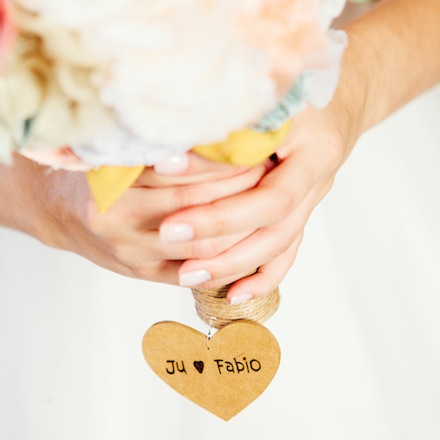
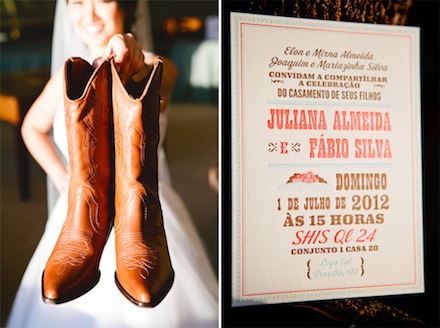
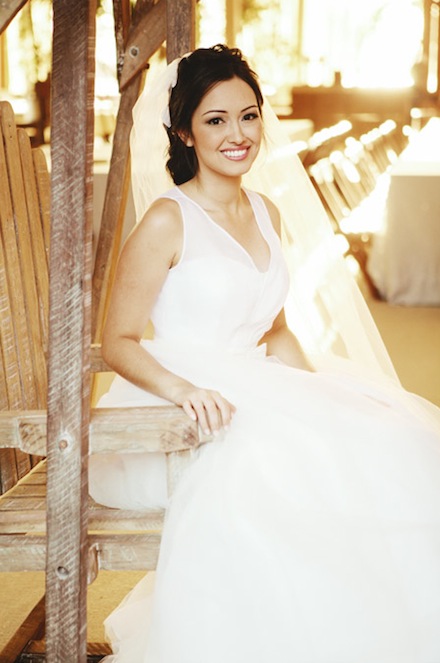
Hello!Lucky loves Brazil! This beautiful bride chose to use our Heartland letterpress wedding invitation for her country inspired Brazilian wedding. We can imagine a country wedding in such a beautiful part of the world would be an incredible event. And such a beautiful bride! Just a reminder - we are happy to print our invitations in any language. Just contact us for more info!

Photos by Marcos Caviccioli

DIY Patterned Papers: Envelope Liners

DIY Envelope Liners from Hello!Lucky on Vimeo.

Do you remember our How To Assemble Your Wedding Invitations video? Well we had so much fun making it we just had to come up with more. With the launch of our new DIY Collection this is the perfect time to debut the first in a series of DIY Paper Details stop-motion videos. All videos were styled, directed, and filmed right here in our San Francisco studio and we couldn't be more excited to share them with you! Today we have DIY Envelope Liners. Using our bulk patterned papers and envelope liner templates, you can add these easy and cheerful liners to your wedding invitations in no time. Watch the video for full instructions or see below!

Lined Envelopes

To save time, photocopy this template onto the back of each of your patterned paper sheets and cut out each envelope liner (skip to Step 4).  If you don’t have access to a photocopier, follow the steps below to create your own template to trace.

You’ll Need:

DIY Envelope Liner Template, Printer, 1 sheet cardstock, 8.5 x 11” (US) or A4 (UK), Ruler, Bone folder or a butter knife, Cutting mat or a magazine, Craft knife, Scissors, Pencil, Patterned paper (1 sheet per envelope), Envelopes, Glue Stick

How To:

1. Print out this template on cardstock. Make sure your printer is set to 100% (or, “no scaling”) to ensure that the template prints to scale. 2. Using a ruler, craft knife, and cutting mat, cut out the envelope liner template. Use scissors to trim the rounded end. Hold the template up to your envelope to make sure it’s the right size - envelope liners need to slip neatly into the envelope and should align with the envelope flap but not cover the glue. If needed, adjust the template using your printer’s scaling options. 3. With a pencil, trace the envelope liner template onto each sheet of patterned paper. 4. Using a ruler, craft knife, and cutting mat, cut out the envelope liner. Use scissors to trim the rounded end. 5. Fold the flap down to crease the envelope liner, approximately where it says “fold here” on the template. With the flap portion of the liner folded down, apply glue. Fold the envelope flap down and smooth to secure.

For more pretty paper projects, head over to the DIY section of our website, here!

Sabrina's Weekend Snapshots

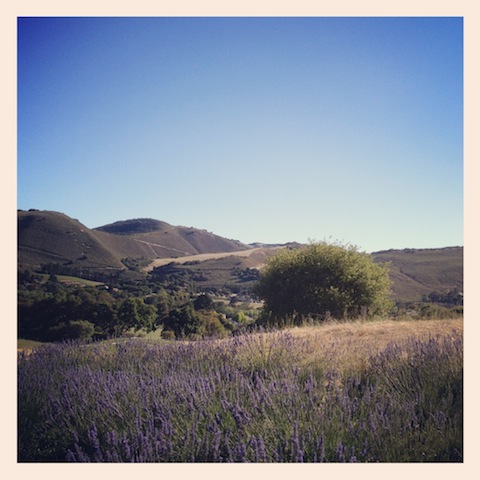
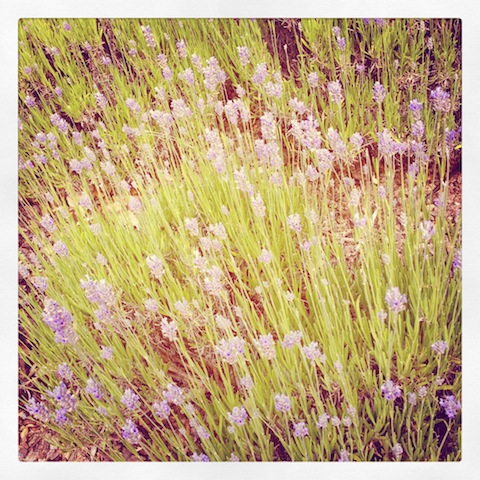
This past weekend my family and I took a trip down to Carmel Valley to spend some time on the beach. It's truly a remarkable place and quickly becoming a favorite family destination. Only a short drive from San Francisco, Carmel's roaring landscape and sweet sandy beach makes traveling with kids easy and fun. I snapped this photo of the lavender fields in full bloom on our way down.

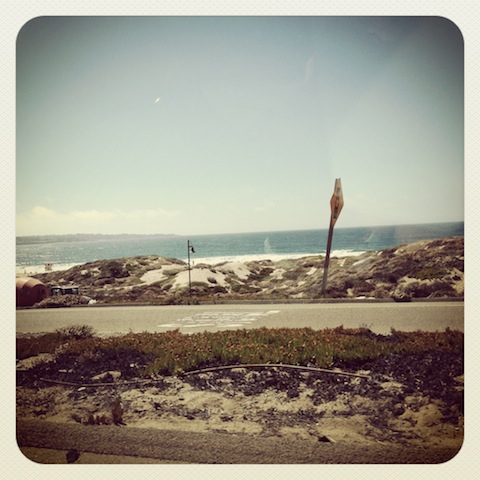
The view is breathtaking and we had perfect weather, as usual in Carmel!

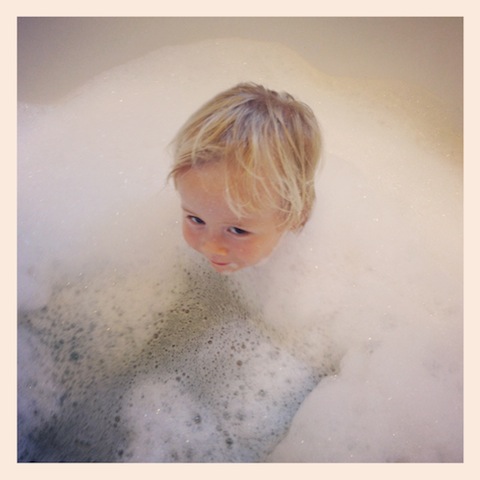
Taking our boys to the beach can be messy! Alex enjoyed a long bubble bath after a long day outside.

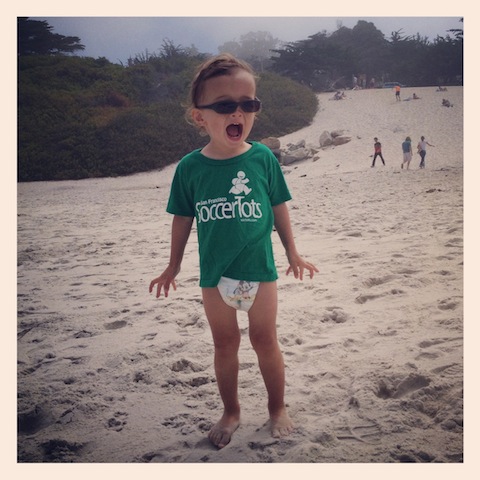
It was hard to leave such a lovely place. Clearly James felt the same way but we'll be back often.

Hope you all had a fantastic weekend!

Women's Bridal Pant Suits

 Let's admit it: pant suits are no longer just for the mother of the bride or groom. Fashionable brides are rocking the separates and we give them major props. And who says a white dress is mandatory?

We're all about feeling comfortable and looking yourself on your wedding day. If you're going for total comfort and a classic silhouette, pants might be your thing. In all seriousness, who wouldn't want to don this number by Valentino?

Would you wear pants to your wedding?

Top: Theia Tuxedo Style Silk Jumpsuit, Center: Valentino lace suit via Miss Moss, Bottom: Sustainable Wedding Pant Suit

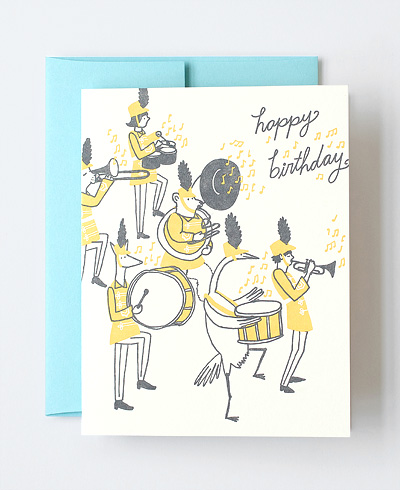
Lucky Friday # 74, Animal Parade


Hello all you lucky folks out there! This is the 74th edition of our Lucky Friday Giveaway.  Each Friday we feature one of our letterpress greeting cards. We’ll choose THREE LUCKY WINNERS to get a free card.  Post a comment by 12 p.m. PST the following Thursday, and we’ll announce the winners on the following Friday!

The winners from last week are (drum roll, please): Holly, Elena Lazutina and Nancy! We’ll contact you next week to arrange sending your Birdy Birthday card.

Artist: Julia Rothman
Inspiration: Julia was so inspired, she made this card in half-time— she must've been feeling wild and brassy.
Who to send it to: Anyone with a March birthday, who loves a parade, who marches to the beat of a different drummer, or who's braved band camp like a beast and lived to tell of the tails.
Ideas we scrapped in favor of this one: The Zombie Marching Band card was... hrm... actually, maybe we should re-consider.
Favorite detail: We like the gesture and lean of the leader and the tuba bear is simply too cute.
Why letterpress? Parade uniforms are most impressive when they're properly pressed.

Don’t forget to post your comment and tune in next week, same time, different stationery, to see if you’ve won!

New DIY Collection!

Today we're happily announcing the release of our new DIY Wedding Collection! We know how important all the details of a wedding can be and how expensive it can all get. We're so excited to offer up some budget friendly alternatives that look beautiful and will let you put your own personal touch on your big day.

Our DIY collection includes letterpress printable cards and invitations, patterned papers, wedding craft projects, and free printable wedding signs for all your paper needs. They come in some of our most popular wedding designs like Nouveau Peonies and Heirloom Harvest, along with many others. You can shop our patterned papers and printables online but be sure to follow our blog for tutorials and inspiration for your craft projects!

Our free printable table numbers, guest book signs, and reserved seating signs can easily be printed at home on cardstock paper or mounted on a fun prop or accessory. Browse and download all wedding signs here!
These letterpress printable invitations are perfect for a small event like a rehearsal dinner or bridal shower. They are printed on 100% cotton luxe paper and will guarantee an expensive look for an affordable price. Shop all printable invitations here!
You can make your own paper details with matching patterned papers! We have great DIY templates and instructions for how to make all the best accessories like envelope liners and drink flags. All designs are customizable with 35+ ink colors to choose from. Shop patterned papers here!
We hope you're just as excited about our new DIY collection as we are. Let us know what you think and if there's anything else you'd like to see there in the future!

Real Wedding: Jennifer and Rishi

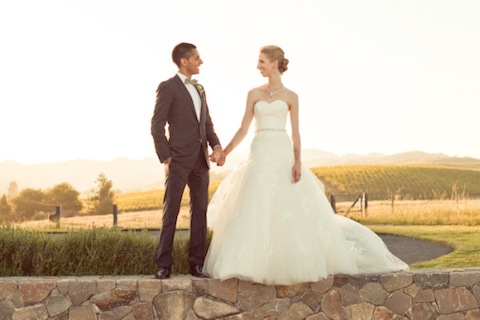
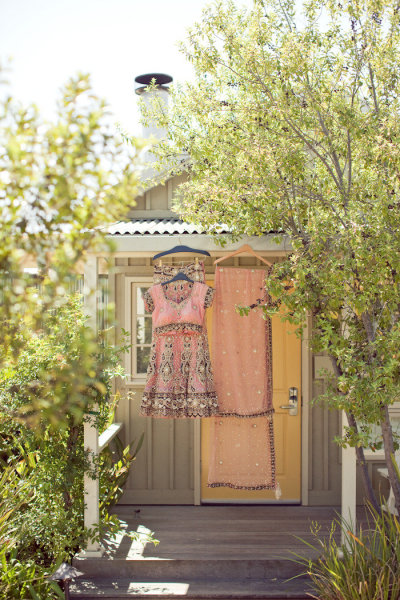
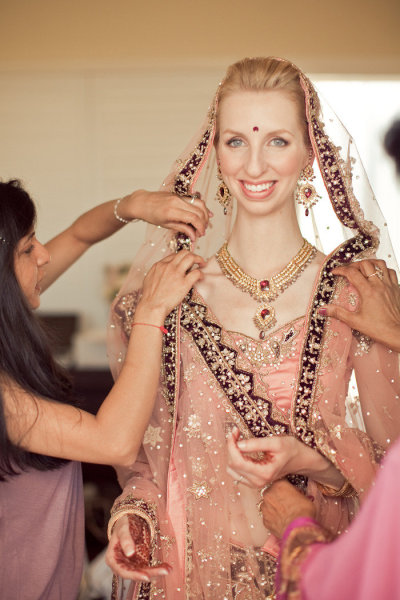
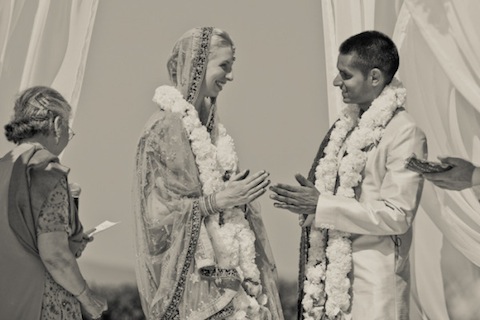
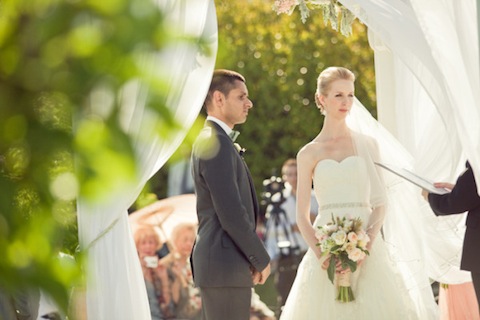
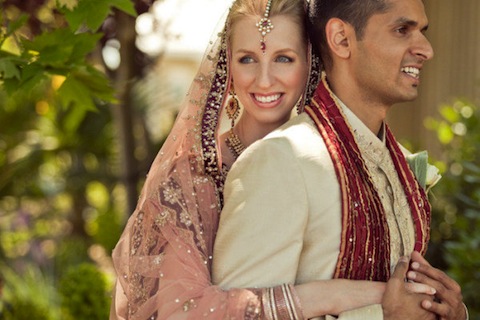
Finding the right words to describe this real wedding is a bit of a challenge because every image takes our breath away. Jennifer and Rishi celebrated their marriage at the stunning Carneros Inn in Napa Valley and truly embraced their cultural heritage with a Hindu/Christian hybrid wedding. Along with their talented event designer Laurel Anderson of Esla Events the couple put together one of the most heartwarming events we've ever seen. The combination of Hindu and Christian traditional garments, the soft blossom and sage color palette, the incredible scenery and delicious local wine and foods make up one spectacular celebration. One that we're sure will inspire many future brides.

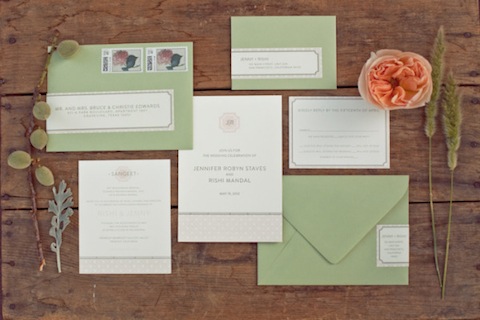
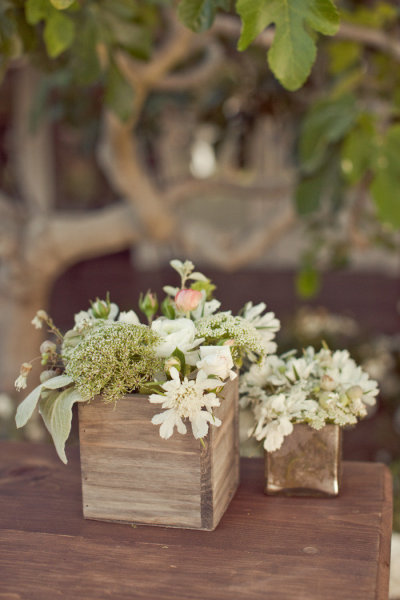
We recreated one of our archived designs into a modern invitation that would flatter both the Hindu and Christian ceremonies. The invitations matched the scenery of the location and the gorgeous floral arrangements by Crimson Horticulture Rarities.

To view more photos, head over to Style Me Pretty!

Photos by Carlie Statsky Photography

Employee Spotlight: Lia

Lia is our next lovely employee under the spotlight! She knows all there is to know about putting together a stellar wedding suite. If you are looking for something custom, Lia has the answers to your questions. We love Lia because of her graciousness when working with brides, and for her extraordinary ability to find the best items at local thrift shops. Plus, she occasionally brings our favorite furry friend Charlie to the office for a visit! We asked her a few questions:

My role at Hello!Lucky is....

To oversee the little elves that keep our brides and grooms happy!

I can't get through the day without....

Pandora Hip Hop radio in the morning and a box of Lemon-Head & Friends in the afternoon.

My ideal weekend activities include....

Thrift shopping, reading books, eating snacks and training my puppy to behave like a person (standing on hind legs, sitting in chairs, closing doors and the like).

Most memorable bride-zilla moment you've encountered....

Bride-zilla? Never heard of it ; )

Secret insider info you might not know about Hello!Lucky.....

We have a very attractive water delivery man.

What's your best advice for brides? Or what do you wish you could tell all brides?

Be organized, plan ahead but also accept that something will always go awry and the most awkward bloopers can become the best memories.  And if all else fails, make sure to serve strong cocktails at the reception.

En Vacances!

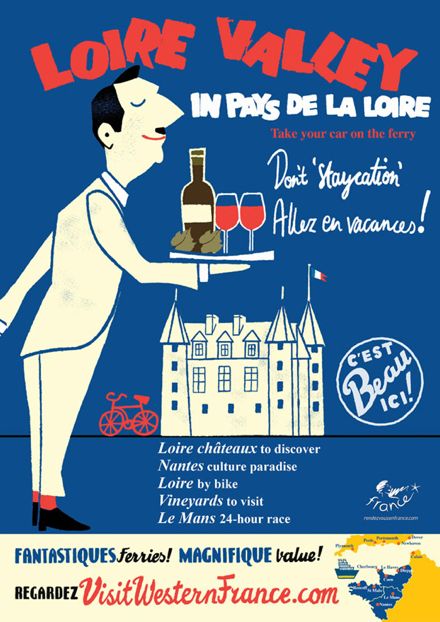
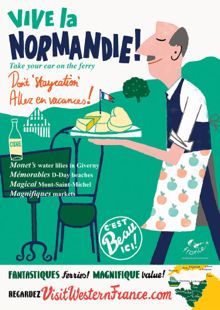
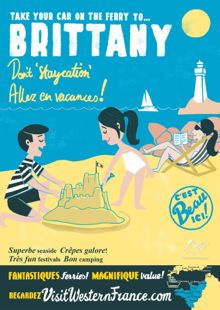
It doesn't take much to get the average Brit. thinking about holidays, especially considering the hit-and-miss wash-out Summer that we've been having recently. What could be more enticing than these charming retro-inspired posters by the French tourist board that have appeared all over the capital in the last few weeks to gently tempt us wet and weary commuters into packing our suitcases and heading South.

We love the use of the different fonts and the wonderful graphic cartoons that put us in mind of those classic Pink Panther opening sequences.

Beautifully fresh and oh so very French - who but a Frenchwoman would co-ordinate her deckchair with her son's t-shirt!

Allez...en vacances! Bon Voyage

New! Guest Address Labels and Calligraphy

Great news! We've just added two new amazing customization options on our website! You can now select calligraphy or guest address labels as guest address options for your wedding or party invitations. We've always had these options behind the scenes, but now in just a few quick clicks your envelopes will upgrade to gorgeous.
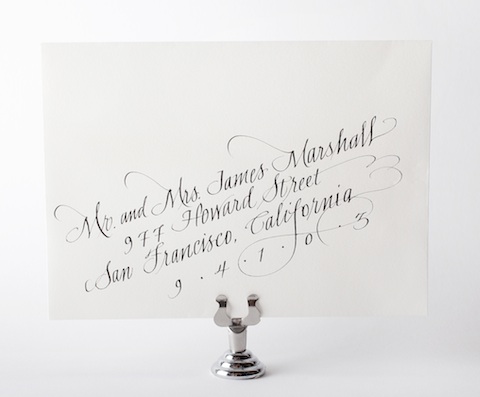
The calligraphy is all hand drawn to perfection in Oakland, California by the impeccable Papineau Calligraphy. Once your order is placed online a design consultant will email you the guidelines for submitting your guest names and away they go. Simple as that! From four beautiful calligraphy styles to choose from, you'll be delighted with what you see. Available ink colors are black, navy, chocolate, and white, but if you have a custom color in mind just give us a shout and we'll see what we can do!

Along with our new calligraphy guest address option, you can now order variable guest address labels that match your invitation suite! Our signature 2" x 8"  labels are made to order just for you and are an excellent way to save time and complete your total look. Your return address is printed on the back so there is no writing necessary. With just a peel, wrap, and stick your invitations are ready for post. Want to save more time? Let us adhere your labels for you! Our talented team of assemblers can make your labels and envelopes look perfect before they reach your hands.* Just select the guest address label option when personalizing your invitations and a design consultant will email you guidelines for submitting your guest names and addresses.

Calligraphy style pictured: Florence, $7.00/envelope

*additional assembly fees apply

Renegade Craft Fair

Hooray! This weekend marks the 5th annual Renegade Craft Fair in San Francisco! This year from 11am - 7pm at Fort Mason you can indulge yourself with handmade excellence from over 250 artists and taste some fine San Francisco foods. And they're back across the Atlantic for the second annual London Renegade Craft Fair! This years dates are September 15th and 16th so be sure to mark your calendars.

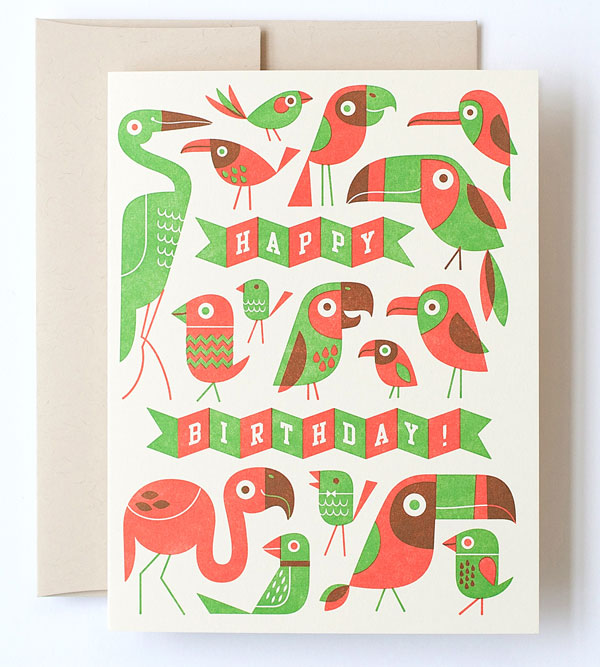
Lucky Friday # 73, Birdy Birthday!

Hello all you lucky folks out there! This is the 73rd edition of our Lucky Friday Giveaway.  Each Friday we feature one of our letterpress greeting cards. We’ll choose THREE LUCKY WINNERS to get a free card.  Post a comment by 12 p.m. PST the following Thursday, and we’ll announce the winners on the following Friday!

The winners from last week are (drum roll, please): Shay B, Diana D and Harper! We’ll contact you next week to arrange sending your Très Chic card.

Design: Birdy Birthday Artist: Esther Aarts Inspiration: "Happy Bird-day" is a common alternate pronunciation, particularly after a few bird-day cocktails. Who to send it to: A hero of herons, a champion of chickadees, a protector of parrots— basically a bird's best bud. Ideas we scrapped in favor of this one: We were too chicken to print the Valentine's card "Ornithologists Make Me Orni." Favorite detail: The itty bitty birdie with the bowtie. Why letterpress? Any other printing method is, erm, for the birds.

Don’t forget to post your comment and tune in next week, same time, different stationery, to see if you’ve won!