ENTER TO WIN TWO PACKS OF LETTERPRESS THANK YOU CARDS BY JANUARY 16th!!! There’s plenty of research showing that gratitude promotes happiness -- expressing thanks helps you hone in on what’s positive in your life, and everyone loves to be thanked and appreciated! So this year we are promising to say thanks!
Here are perfect occasions for writing a thank you note:
- A gift
- A dinner or date
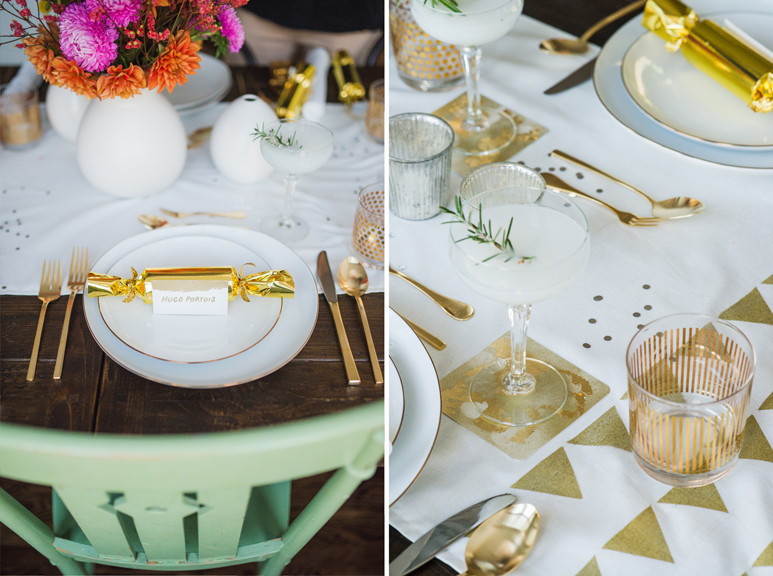
- A handwritten card
- A great conversation
- A thoughtful action, like helping you with a project or chore
- A long-term friendship or partnership
You can write thank you notes to family, friends, work associates, teachers, or those who provide a helpful hand day by day like your mail man or garbage collector.
Great thank you notes are brief and heartfelt. Here are some samples:
Thank you for the wonderful birthday card. I am so grateful that you thought of me.
Thank you for your the great conversation we had yesterday. I appreciate your support, and I am so glad we’re friends!
Here are some tactics we’ll be trying out in 2014:
- Keep a stash of thank you notes, stamps, and a pen by your bedside. Write a note at the end of the day. (Think of it as a twist on writing “gratitude journal,” which some researchers advocate -- one that has a positive impact on other people’s lives as well as your own)
- Write thank you notes right away -- the feelings will be more authentic and meaningful.
What are some of the ways you like to say thank you? Post a comment and we’ll pick a winner next Thursday the 16th to receive your very own stash of 12 letterpress thank you cards (featured above)!