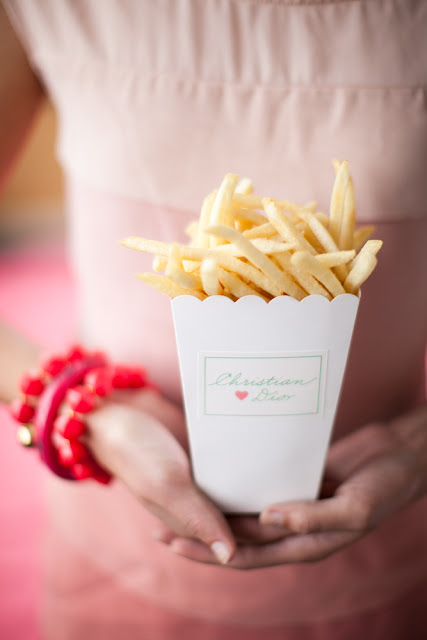
Tomfoolery Photo Booth Fun!

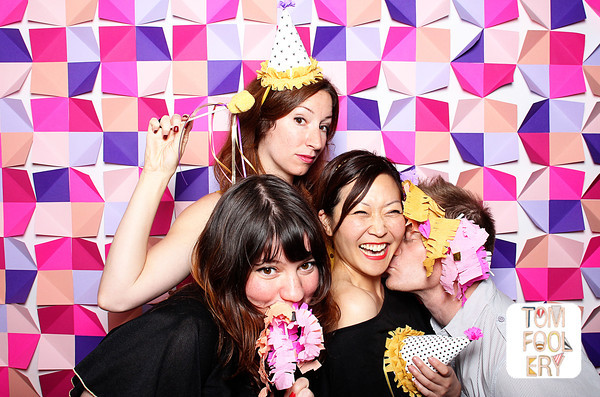
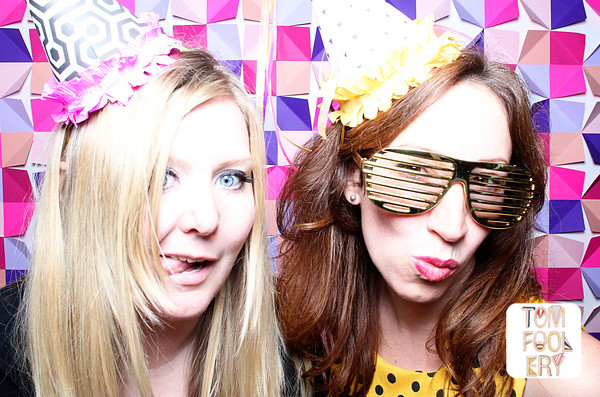
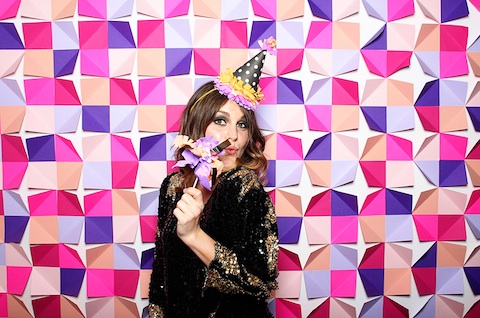
We wanted to say congrats to our friend and amazing product photographer Edyta Szyszlo who just launched Tomfoolery SF with her partner Jared this week.

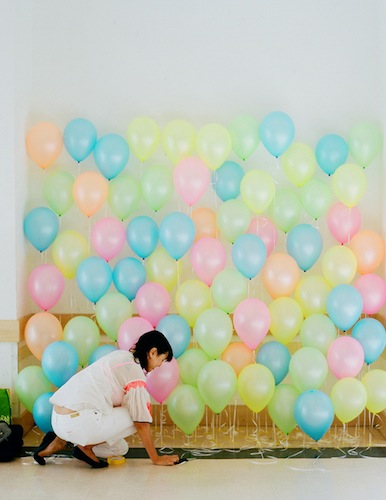
We've had the chance to experience their ultra stylish open-air photo booth several times already and we're big fans of the fun backdrops and clever props.

Check out their playful website and be sure to book them for any social events you have big or small!
Congrats Edyta & Jared and best of luck with your exciting new venture!

Third Birthday Party -- Rainbows & Unicorns!

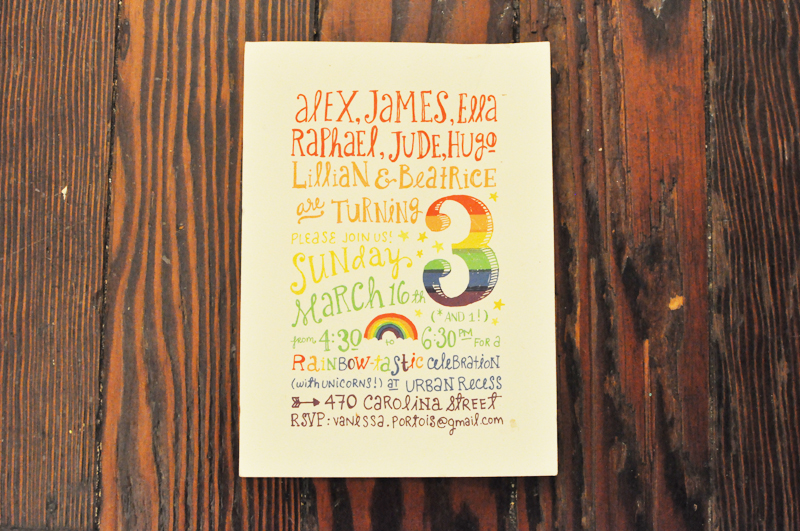
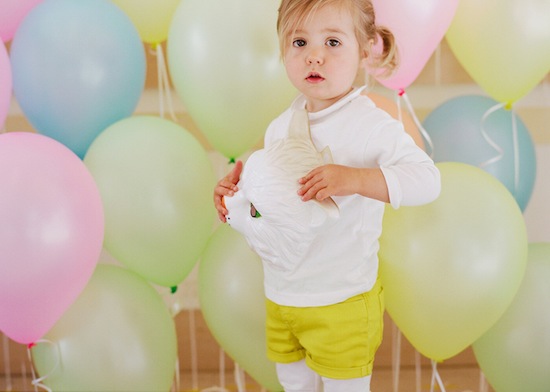
Jude, James, Alex and a whole band of kids just celebrated their big birthday number 3 and the theme for this years party was rainbows and a unicorn. The Unicorn was the only member in the group who was turning one. Beatrice had a special unicorn outfit just for the party. It wasn't easy to top last years amazing neon bash but Eunice, Sabrina, and their friends outdid themselves and managed to make this years celebration even more memorable than the last one.

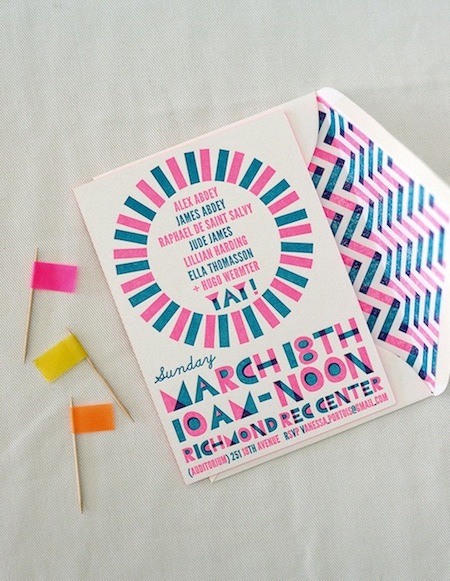
Eunice designed the rainbow themed invitations complete with custom rainbow liners. Each kid was assigned a color of the rainbow and as you can see from this photo the parents matched!

This years party was held at Urban Recess in San Francisco on a Saturday evening. Urban Recess proved to be the perfect space since there are already so many built in activities for kids including train sets - which Jude loved-- slides, a climbing wall, and even a giant swing.

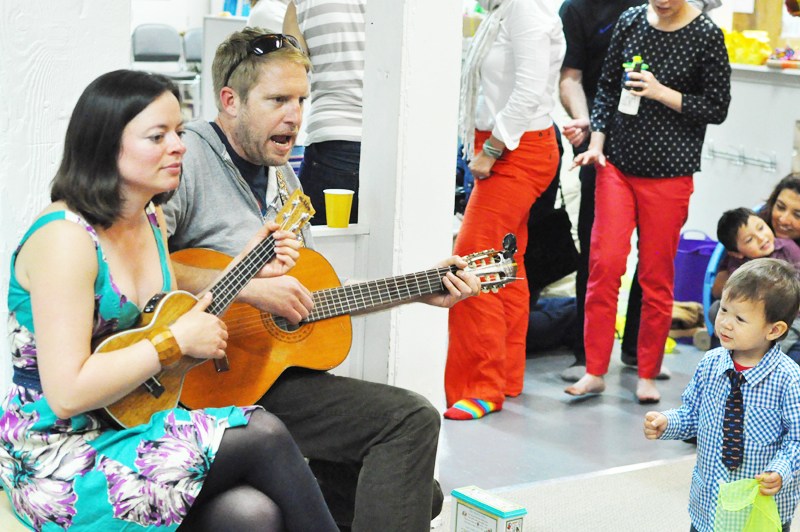
As a surprise the parents brought in a musical act this year and the kids loved dancing and singing along to the band Your Song My Song. Jaime Lee Currier and Eric Hart sing classic kids' songs, Beatles, originals, family favorites and lots of sing-a-longs.

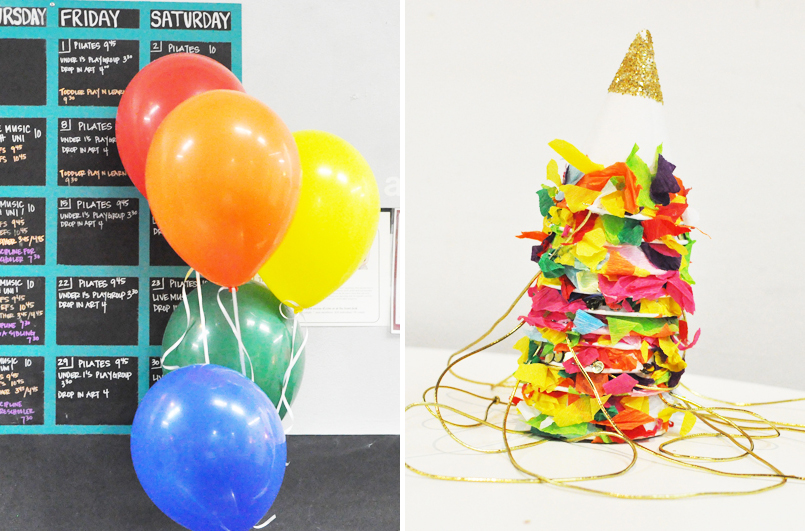
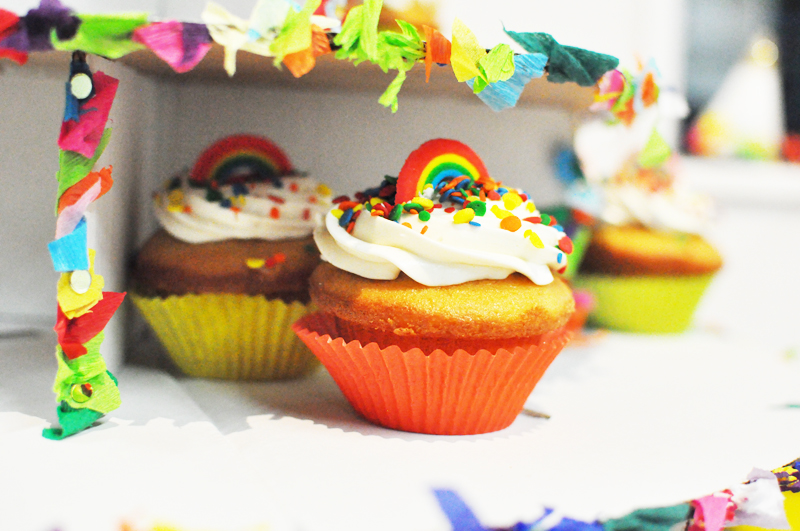
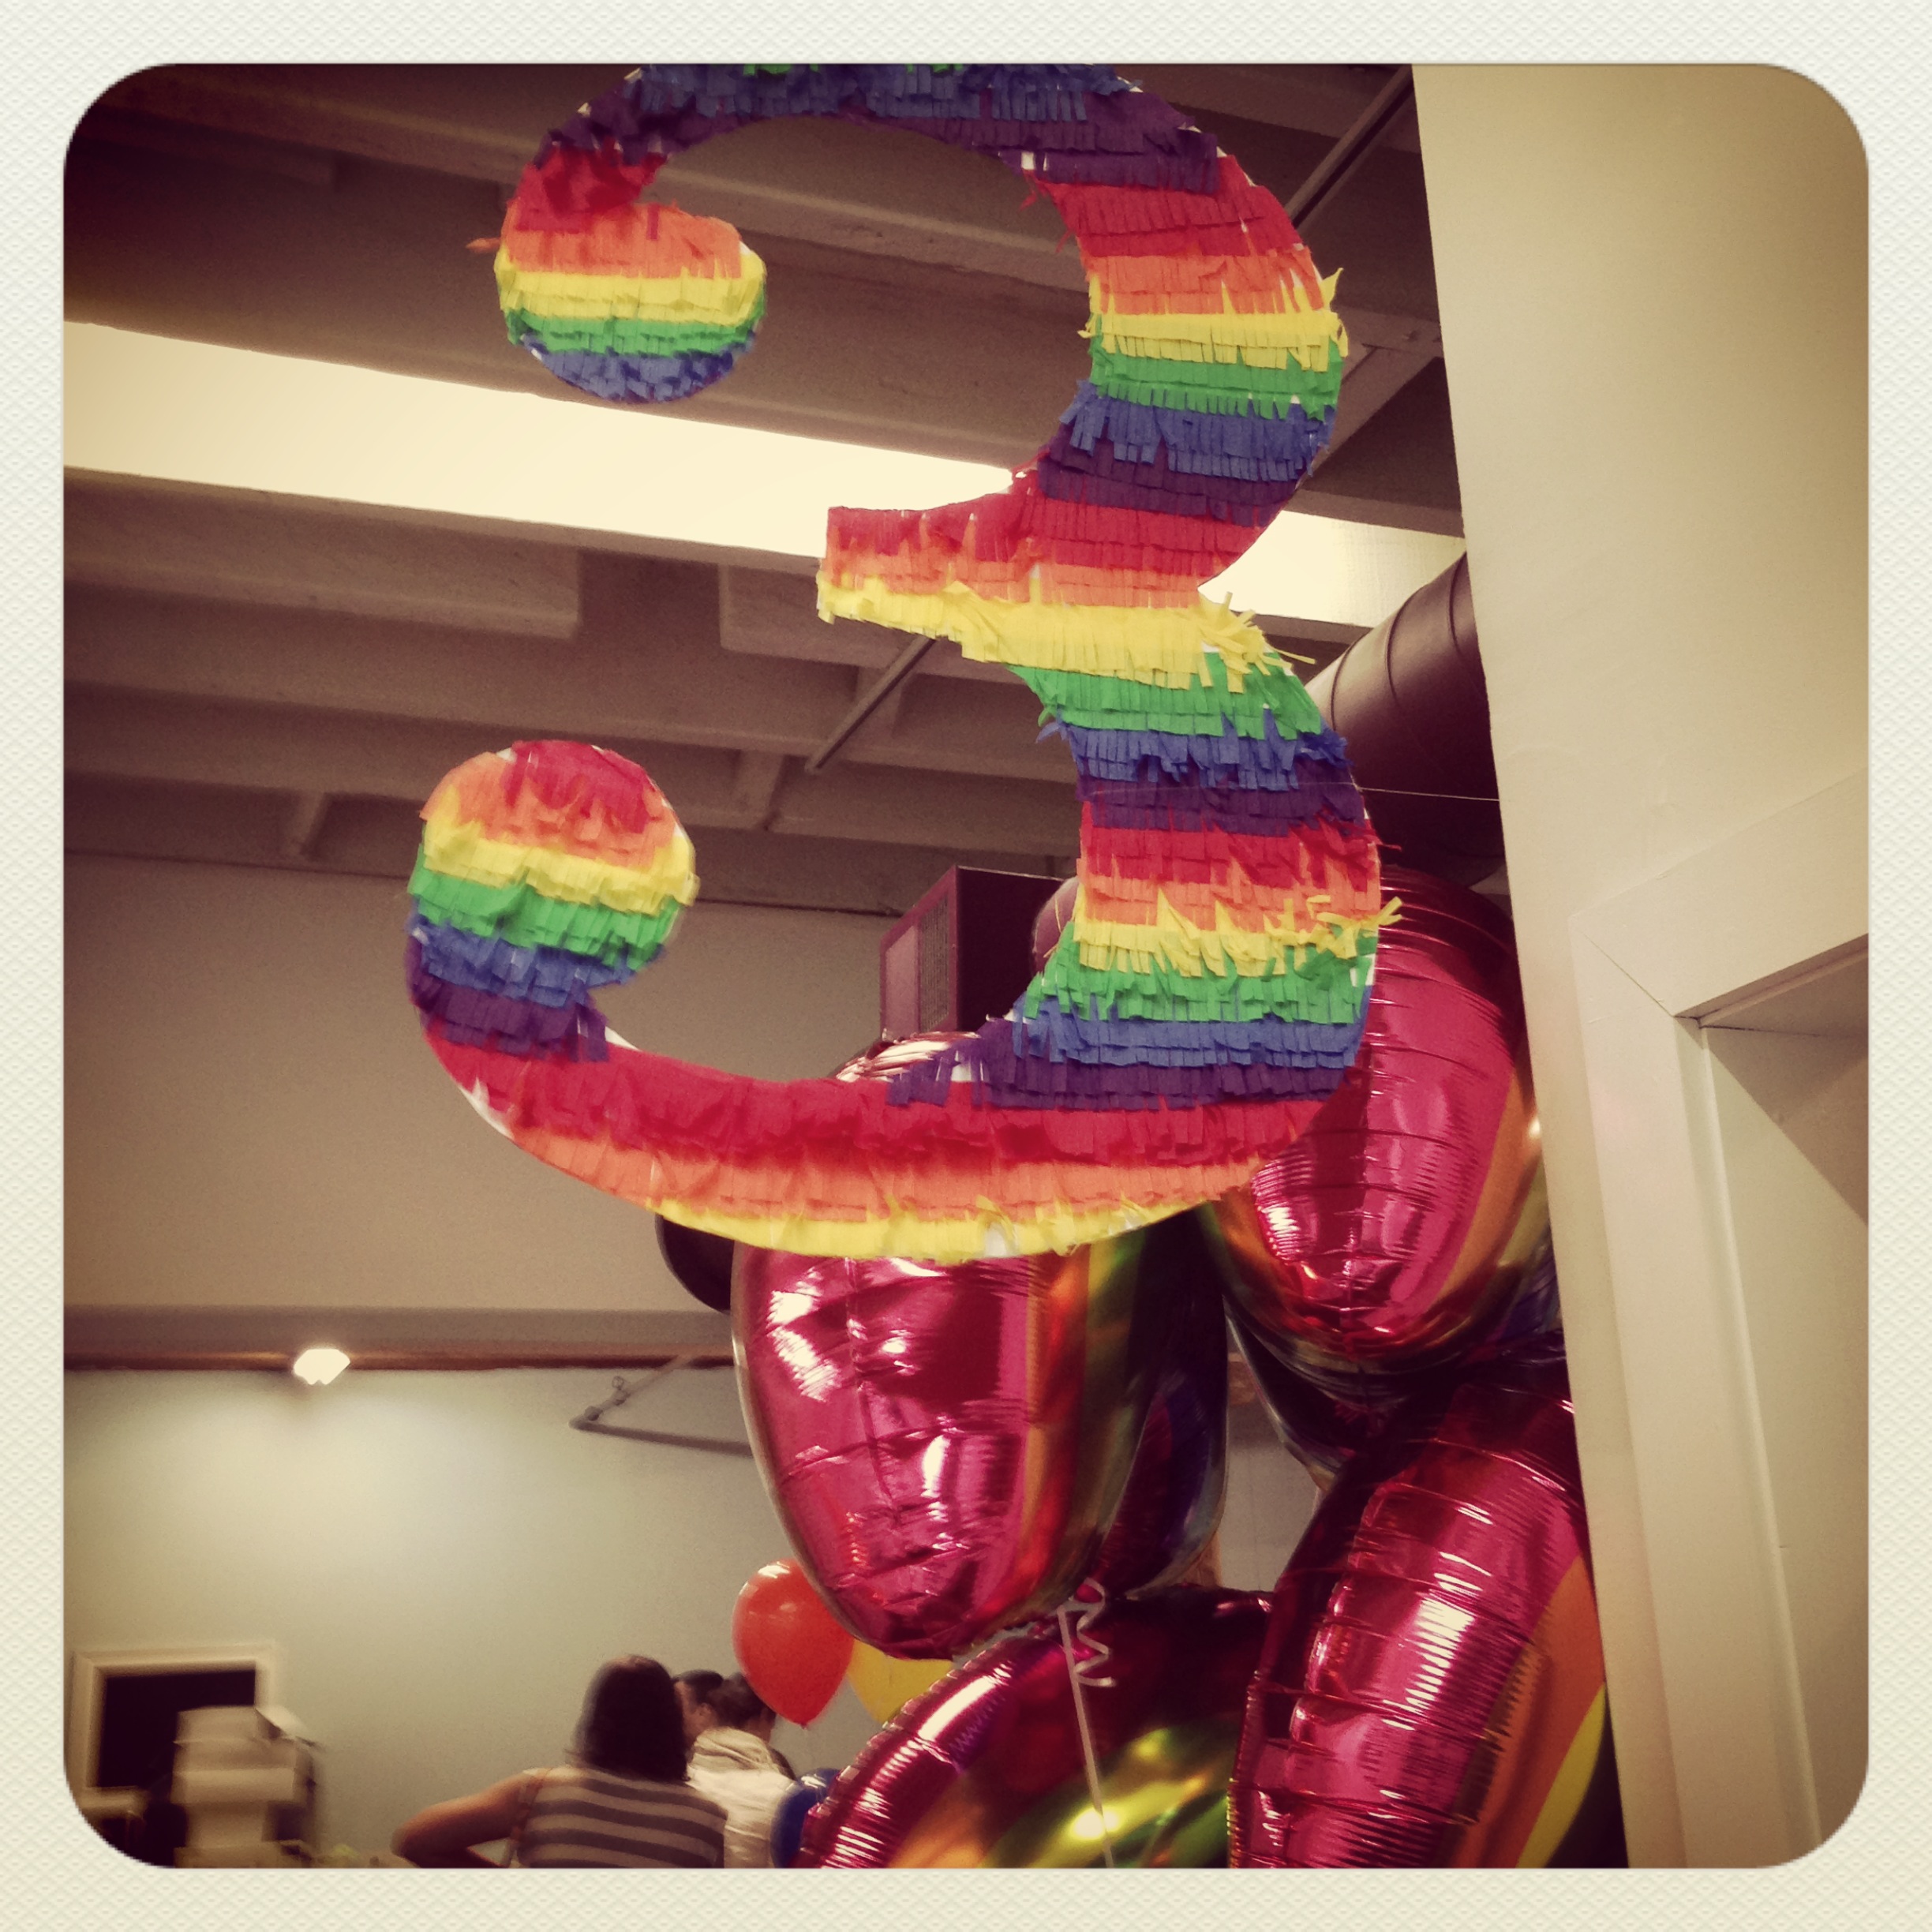
The preparation for this years party of course involved lots of crafting. Together the parents made sweet little party hats (inspired by hats made by Jihan of Geronimo), a giant number 3 covered in rainbow streamers, t-shirts with the number three on them for the birthday kids, colorful cupcake liners and rainbow toppers, rainbow balloons from Sparky's, and of course a giant number 1 so Beatrice wasn't left out.

Happy Birthday to Jude, James, Alex, Ella, Raphael, Hugo, Lillian, & Beatrice! We can't wait to see what your 4th birthday party looks like!

All photos (excluding the giant number 3) taken by Sandra of Happy Morning

All the Essentials Wedding Planner Book!

When our dear friends at Alison Events asked us to design their most recent wedding planner book All the Essentials we couldn't have said yes any quicker. This talented group of women knows all there is about planning a perfect wedding, and their eye for design is off the charts. Some of our lovely ladies attended the book party and it was a ball, as expected.

The book, filled with prime planner advice, offers check lists, templates, and gift trackers - all to make your wedding day a dream.

We asked Alison herself a few questions about the process and here is what she had to say!

What's the first step for any bride planning a wedding who wants to stay organized?

Getting organized and staying organized is always such a daunting task. We designed this book with that in mind. We modeled it after a binder because that's exactly what we use with our own clients. We make a client blinder that stays with us in the office and we send one to our couples. Month by month we make a "to-do" list with things we are working on and things our couple should be completing in that month. Taking it one step at a time is the only way to go at it and not get completely overwhelmed. It's also super helpful to have one place where you keep everything and can reference that so easy.

What inspired you to create this wedding planner and to share all this helpful info?

We've been lucky enough to be doing what we love for over 12 years now and have learned so much along the way. Trends change, design shifts but the core of planning more or less stays the same.  This planner is set up to guide couples through the process and keep them on track. Everyone will need a place to keep those important contracts, hotel information, menus, registry, and seating charts etc. With this wedding planner, you'll be able to hole punch and put them right in the binder with the added bonus of some advice on how to go about these monumental decisions.

In all your wedding planning experience, what's the most important tip you've learned along the way?

Surround yourself with a solid team. This is true in my business as well as couple's hiring on help. Couple's should be reaching out to vendors that have great reputations and speak to their personal style but they should also be someone you click with and trust. You have to follow your instincts and this will make the process all the easier.

What's your best advice for a bride who is feeling overwhelmed and stressed out while planning?

Hire a planner! The amount of money & stress you will save will be worth it in the end if planning just isn't your thing! Some couples really enjoy the process of finding unique ways to incorporate their story or things they enjoy into their special day, while others might need a little help getting there. Don't let it get to a place where it just isn't fun anymore and you're dreaming of eloping. You can always turn things around by either getting a professional on board or just getting some advice on how to attack intimidating tasks.

The day of the wedding can often be hectic. Do you have advice for a bride and groom for when the big day arrives?

When the big day arrives…it's time to party and celebrate major milestone accomplishments! By that time, the two of you have already made executive decisions together and come out on top. Stay focused on what that day will represent for years, decades to come and enjoy being surrounded by your closest friends, family, and most of all, the person you're meant to spend your life with.

To get your copy of All the Essentials, published by Chronicle Books leave a comment below telling us your best wedding tip or your dream wedding location. We'll pick three winners on Friday, February 22nd.

Valentine's Cards for Meals on Wheels

Our employees love to get together after hours for holiday craft nights, especially if they benefit a good cause. Meals on Wheels has been providing meals to seniors since 1940 and has evolved into an extraordinary foundation for fighting hunger. For holidays the good people like to deliver cards to the seniors as a gift of love, and this year we decided to join in. All of our cards were handmade with love for the people supported by Meals on Wheels, and to know they were going to a good home was a beautiful thought.

As stationers, paper is our primary medium, so coming up with materials was a cinch. We try to save as many scraps as we can, knowing that they could come in handy for a card-making craft night.

Our team is the best at coming up with witty one-liners. We loved this "I a door you" card.

To support the Meals on Wheels Association of America, visit their website!

Local Love: Photobooth SF

 Photobooth SF is a Tintype Polaroid-style studio located on Valencia Street here in San Francisco, offering beautiful vintage-looking photography. It's obvious we're big fans of anything vintage, so we fell in love with the idea immediately. It's nice to see something new and different pop up on the photography scene!

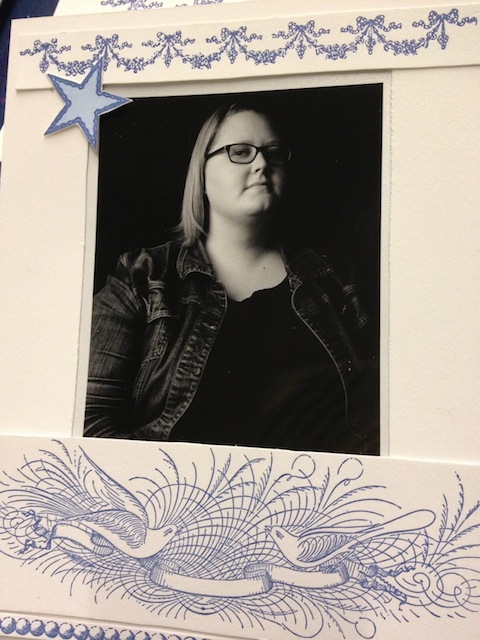
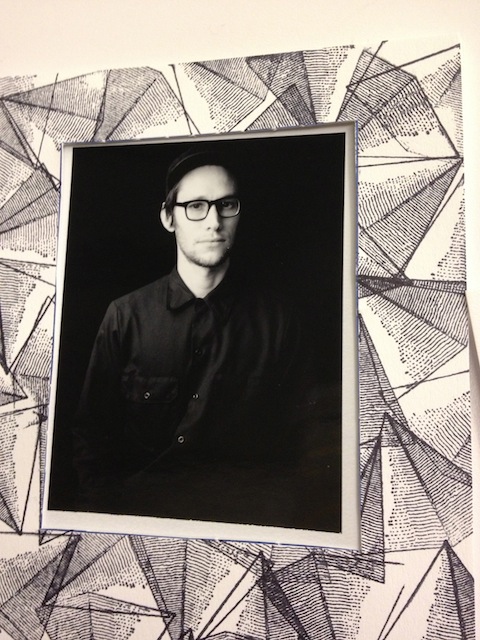
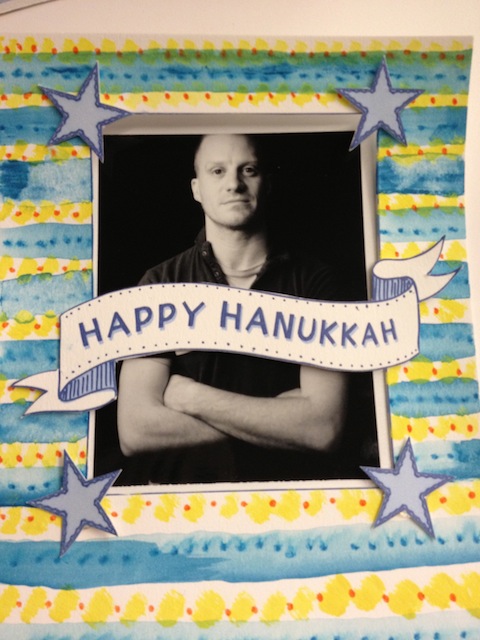
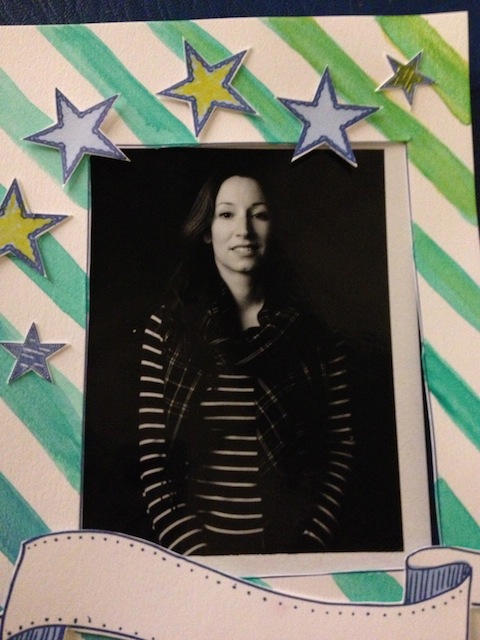
Aren't these moody photobooth images of our staff fabulous? They were taken by Photobooth SF at the Contemporary Jewish Museum last month for the Rit Lab event. For the event we brought stacks of letterpress prints and accessories to make one-of-a-kind photo frames and these images were the perfect addition.

You can book your sessions with Photobooth SF here or pop in their studio located in San Francisco's Mission district.

Photobooth SF 1193 Valencia Street @ 23rd. San Francisco, CA 94110 Open: Wed- Th 1-8, Fri – Sun 1-9 www.photoboothsf.com

Hello!Lucky Holiday Party

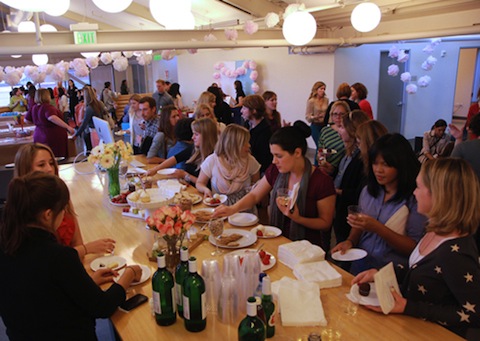
Our annual Hello!Lucky employee holiday party was a big success! We try to get creative with our gift-giving and this year we did just that - got creative! Everyone handmade each of their gifts and we exchanged them at Lyndsey's Twin Peaks apartment above the glowing city lights. We knew everyone had hidden talents but we were blown away with the final product! All our employees went above and beyond and the night was one to remember.

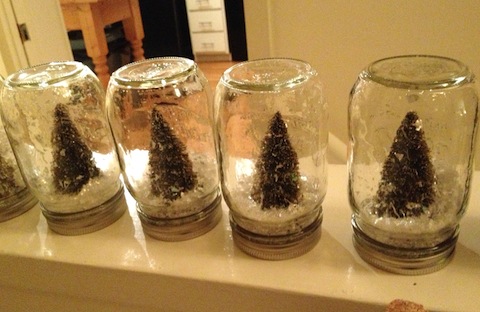
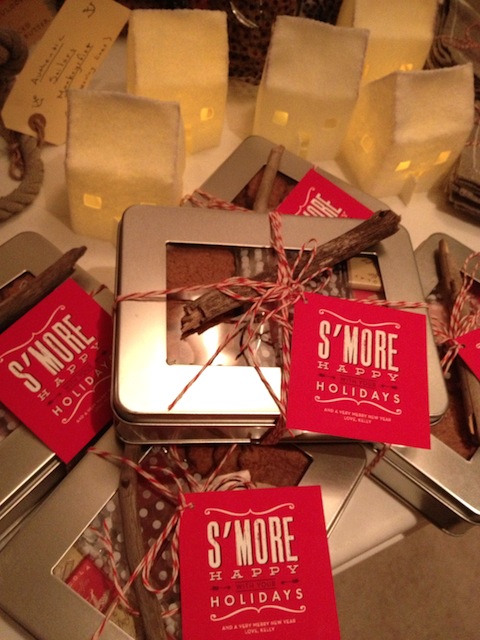
Jon, our house brewer, brewed a winter beer and even created his own labels! Heather also made up a special batch of pumpkin liqueur - and it was delicious with all the treats from the night! Kelly C. made adorable s'more kits, and Lyndsey made homemade cookie butter! Stewey made his famous Stewey's Cheweys and also his famous knit coasters! (Did you see them on the Huffington Post?) Holly made amazing snow globes, James tied some awesome rope door stops, and Shayna handmade her winter scented candles!

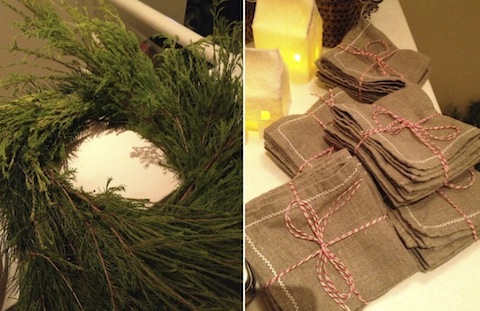
Laura made gorgeous pine wreathes and Lillian sewed individual cocktail napkins. Below you can see Lia's adorable felt houses, all lit up with mini lights. It's the perfect decor!

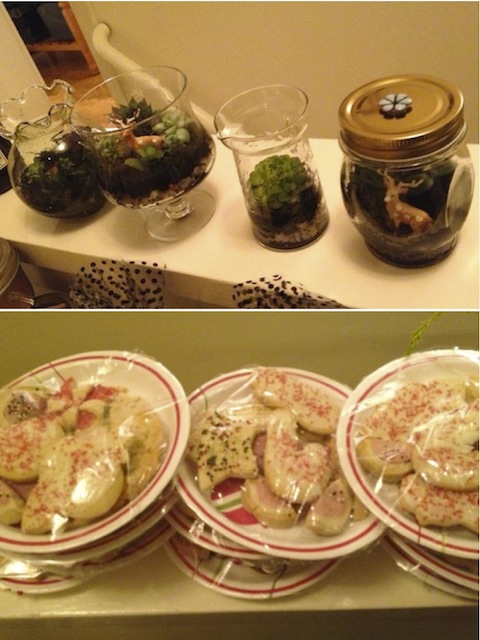
Christina got crafty with her mini terrariums, and spruced them up with some festive holiday deer! The room was overflowing with holiday spirit, and everyone couldn't wait to exchange.

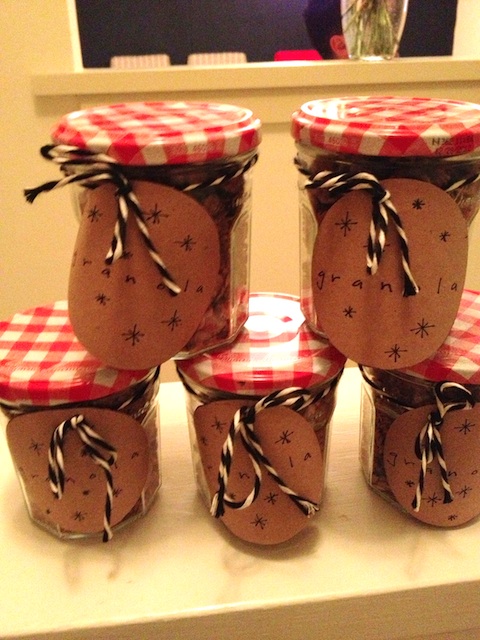
Even more delicious snacks from Eunice and Sabrina's holiday cookies, and Leslie made homemade granola in these sweet little jars.

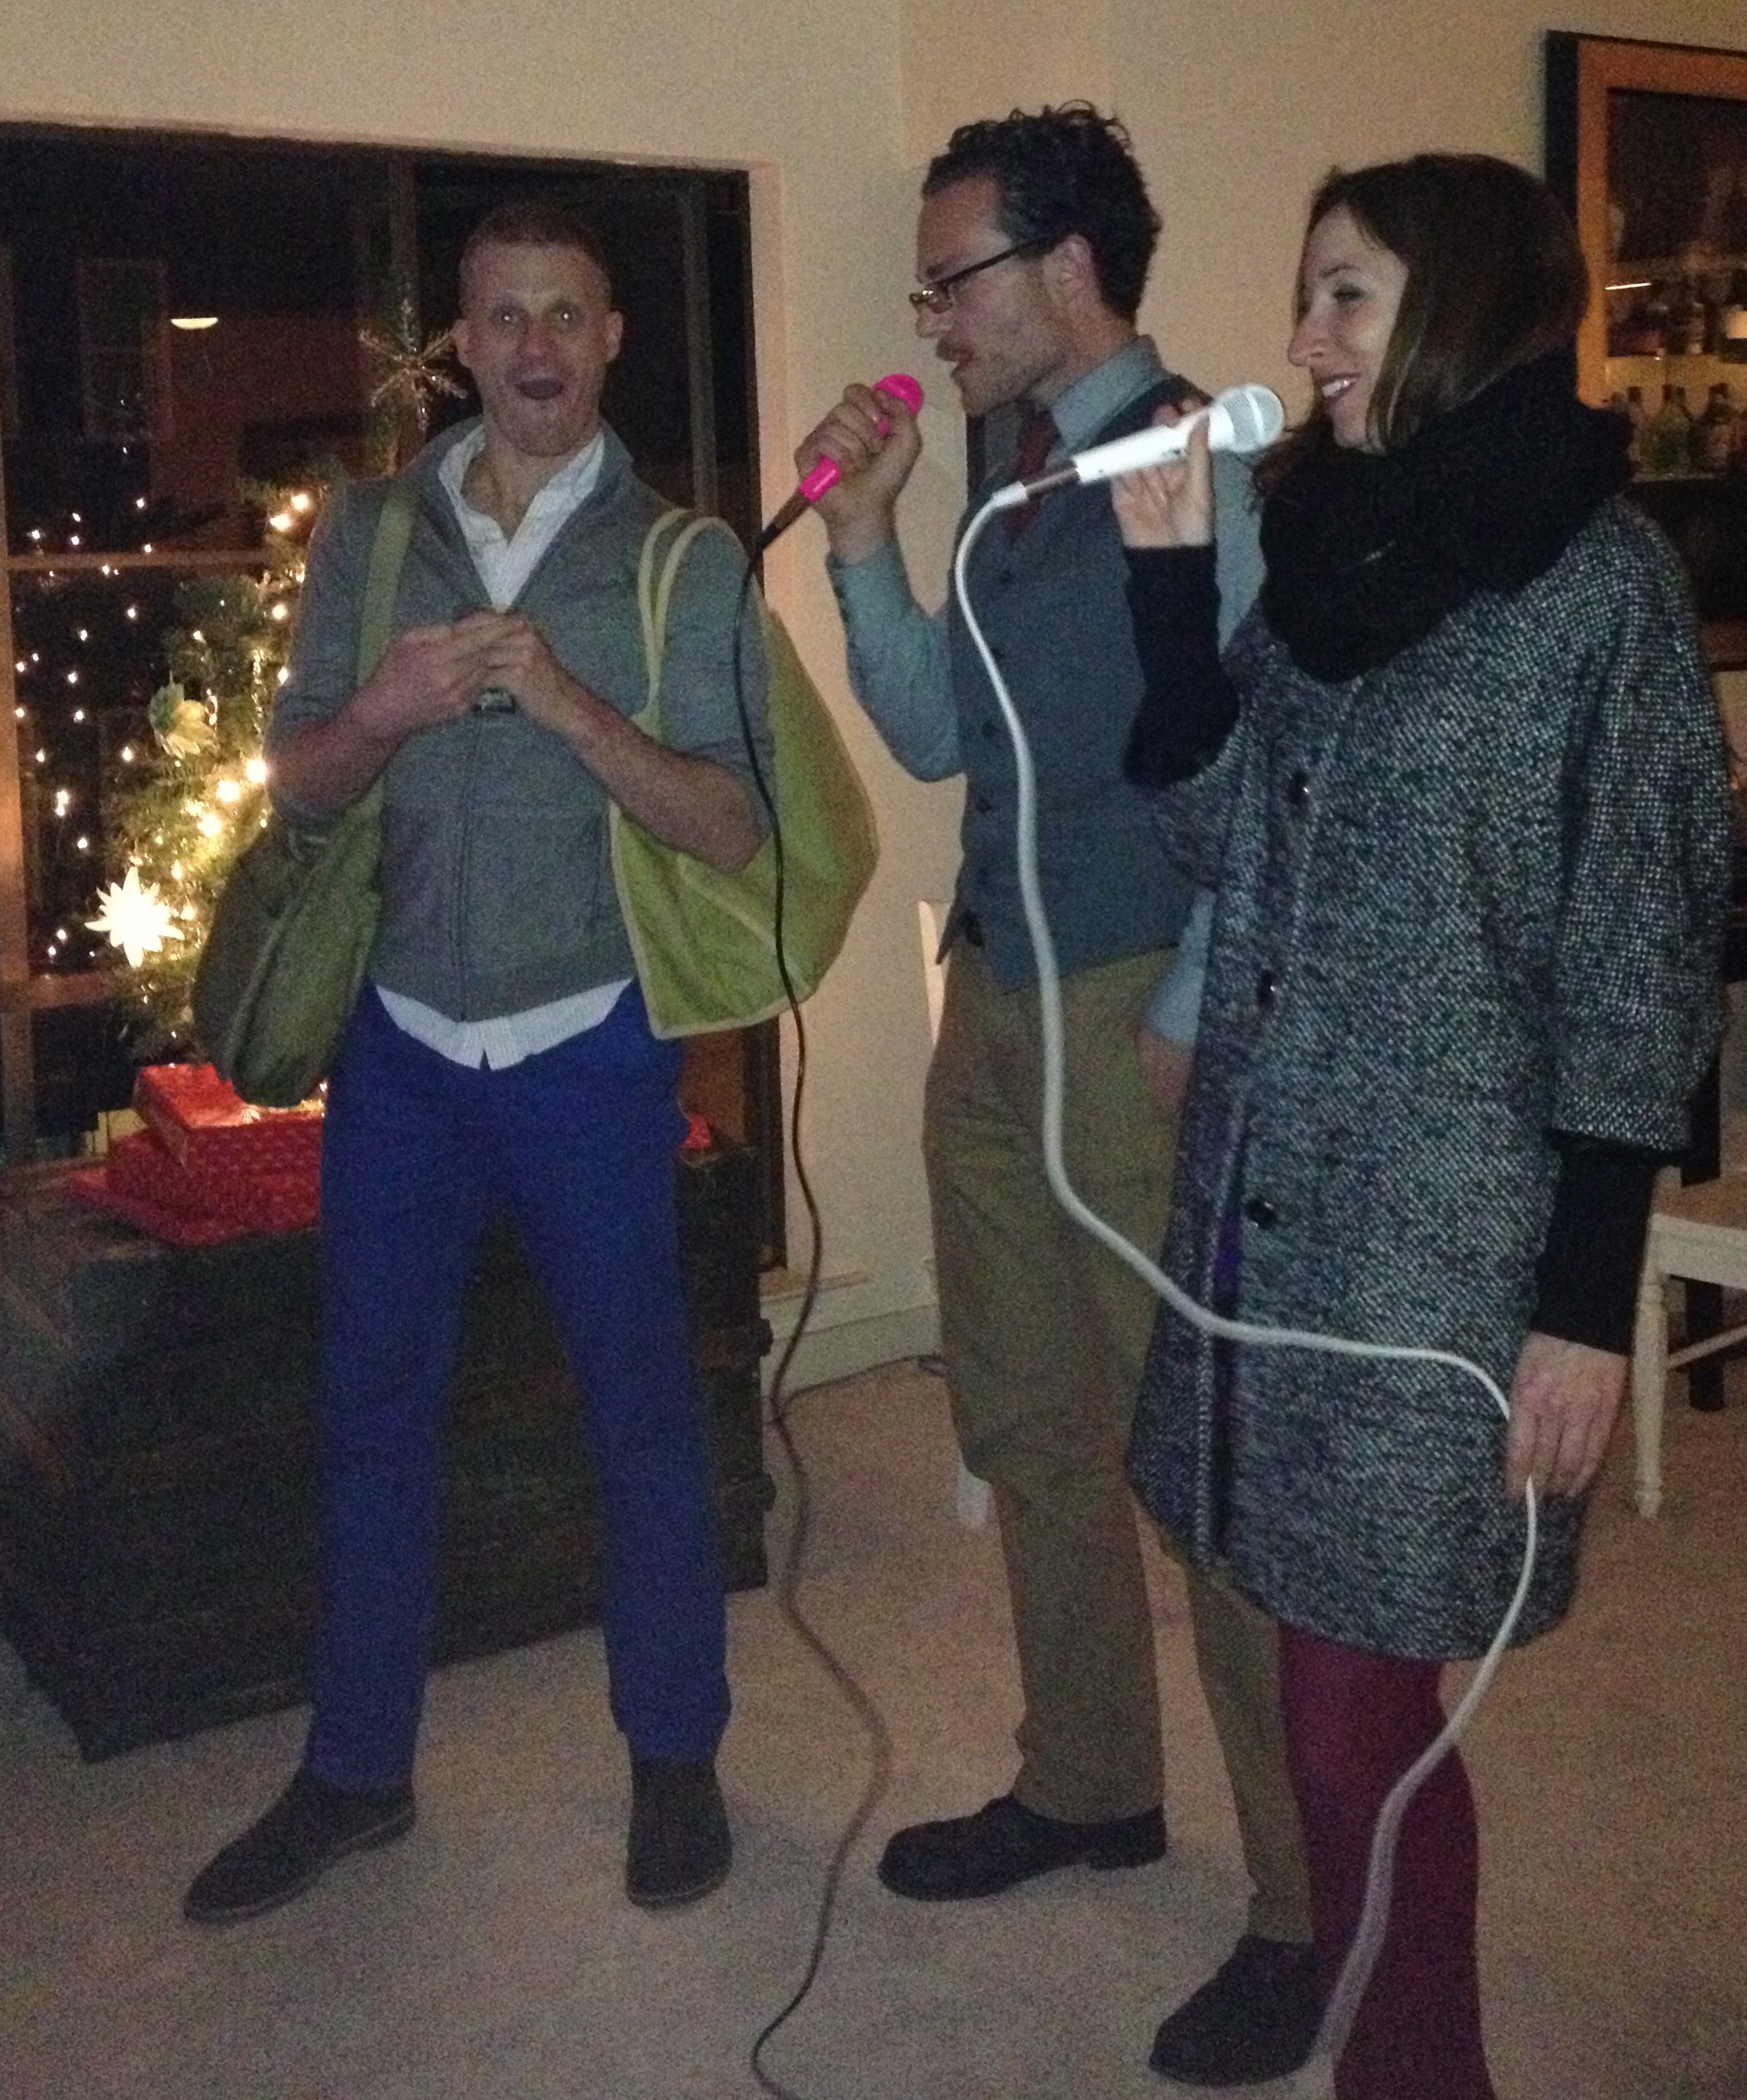
Each person brought five gifts and each person left with five. As the night went on, surprise Karaoke evolved and we all had a grand ol' time.

Thanks Lyndsey for hosting and the entire HL crew for celebrating such a wonderful year! Here's to 2013!

DIY Thanksgiving: 5 Uses for Patterned Papers

Thanksgiving happens to be one of the favorite holidays among our team. Something about the cold air, gathering of families, and cooking together warms our hearts. While it's meant to be a time to reflect and give thanks, sometimes the preoccupation with the perfect holiday decor takes its toll. We're flooded with images of the fanciest table tops and gourmet recipes, but not all of us have the time (or budget!) to go all-out for the big feast. If you are the lucky one hosting Thanksgiving this year and are looking for affordable, simple, and festive decor, our patterned papers are a great go-to. We've come up with 5 uses for patterned papers that you can make in no time, and just in time for your guests to arrive. Shown here is our classic Marquee pattern, but there are lots to choose from!

1. Patterned Paper Jar Lids: You may have to fight for the leftovers, but sending friends and family members home with equal portions is a great way to share. Or, send them home with a hand-made treat as a thanks-for-coming favor. Simply cut a 4.5" square (or 5.5" square for wide-mouth jars) of patterned paper. Place the metal lid cover over the jar, then set your paper square on top. Twist the screw-on cap over the paper and lid to ensure closure. You may need to press hard!

2. Patterned Paper Napkin Rings: The possibilities are endless here. With a starter shape of 1.5" x 7" you can double the napkin ring as a personalized place card by gluing a .5" x 2" piece of paper on top. Or, take a 2.5" x 8" strip, cut out a leaf shape on one end, and trim the other end to 1" wide. Apply glue to 1/2" of one side and seal under the other.

3. Patterned Paper Thankful Chain: Keep the kids busy or adults guessing with this paper Thankful Chain! It's a new twist on the Christmas paper chain, with a whole new meaning. Cut 1.5" x 7" strips of paper and ask your guests write a few things they are thankful for on one side. Glue one end of the strip under the other end and repeat, looping the next strip through your first chain. When assembled, hang above the table for decor or spread around the table. Throughout the meal you (or the kids) can read each strip and reflect - make it a game and guess who said what!

4. Patterned Paper drink flags/stirrers: Every party needs some of these. Celebrate the autumn weather by cutting your flags into leaf shapes. Start with a 1.5" x 5" strip and fold in half. Open it back up, draw your shape on one half of the blank side of the paper, fold in half again, then cut out. Reverse the fold, apply glue to one side, place a skewer or straw in the center then hold to adhere.

5. Patterned Paper Place Card Holders: Thanks to Martha Stewart for this idea, keep things simple with a folded paper place card holder. We scaled ours down to a 3" x 3.75" piece of paper, folded in half, then folded in half again, creating three 3/4" folds. Unfold the paper, and reverse one fold, making an "M" shape. Place your place card inside and voila!

For more pretty patterned paper ideas and DIY crafts, visit our website here!


Creative Bug Event Photos

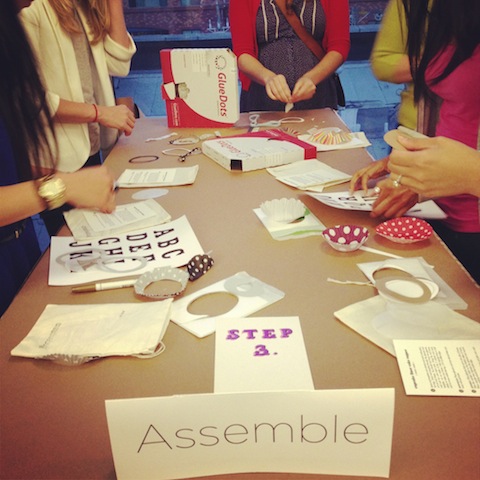
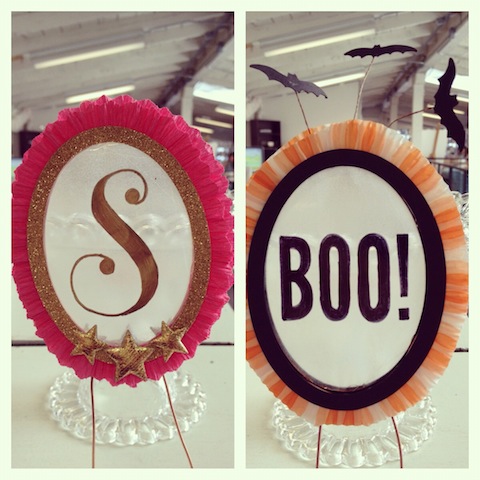
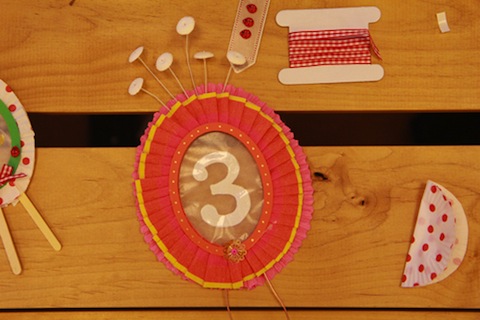
If you follow us on Instagram, then you know how great the turnout was at the Creative Bug Crafts, Cocktails & Cake-toppers event at Chronicle Books last week. There was a fantastic crowd of happy crafters and the handmade cake toppers were adorable. Eunice and Sabrina delivered a stellar performance, giving hands-on instructions for making these versatile decor items. We had a blast getting together with Creative Bug at Chronicle Books and want to extend a special thank you to all who were involved and all who came to enjoy the evening. Here are some of our favorite photos from the event. Don't worry if you missed it, because there is a great online workshop available at Creative Bug right here!

Edyta's Blowout Birthday Bash

Last week we helped celebrate the 30th birthday of our favorite photographer Edyta Szyszlo! When she came to us months ago with the idea for her party invitations, she had us at "Physical." The wording, all created by the birthday girl herself, was a mashup of lyrics throughout three awesome decades. Her duplex paper fluorescent white and fuchsia letterpress printed beauties were also edged in a tie-dye style and hand painted with bold strips of colorful acrylic. They sure set the tone for a good time ahead.

The party took place at Workshop in San Francisco. Workshop is an amazing studio space dedicated to DIY projects for the public, and they offer classes from printmaking to canning. Check out their class schedule here.

This may be hard to believe, but Edyta handmade all her crepe paper decorations and party hats. How did she have the time? Nobody knows, but this girl can do it all.

The cake pop display was two-tiered and matched her decor. Scrumptious and stylish!

As the night went on, hungry guests got to snack on popcorn in cute personal sized grab-bags.

And it wouldn't be Edyta's party without the amazing new Tomfoolery Photobooth. This bold and colorful backdrop and open-air photobooth made for hilarious mementos from the night.

Where did she get those awesome photobooth props you ask? Hello!Lucky of course! And we've reduced the price so now you can get them for a steal. The Word Bubbles (set of 2) are $25 and Mustaches (set of 4) are only $35!

Happy happy birthday Edyta! Thanks again for hosting such a fabulous party. Can't wait to see what you come up with next! Xo, the H!L team.

Free Printable Halloween Party Invite + Giveaway!

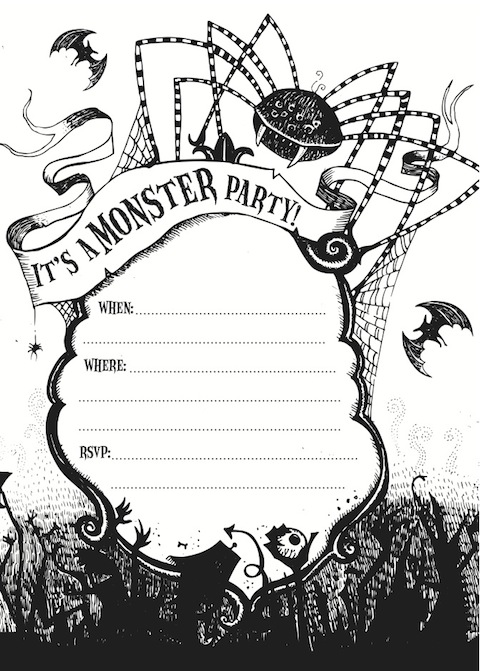
Are you getting in the Halloween spirit yet? We definitely are and can't wait to break out our costumes and candy. This year we wanted to give our readers an extra spooky treat with this free printable Halloween party invitation. Even if you're not the costume king or queen, throwing a party for Hallow's Eve is a great way to get geared up for the holidays. Print this template at home on card stock paper and address it to your party people. Guests will be too scared to say no.

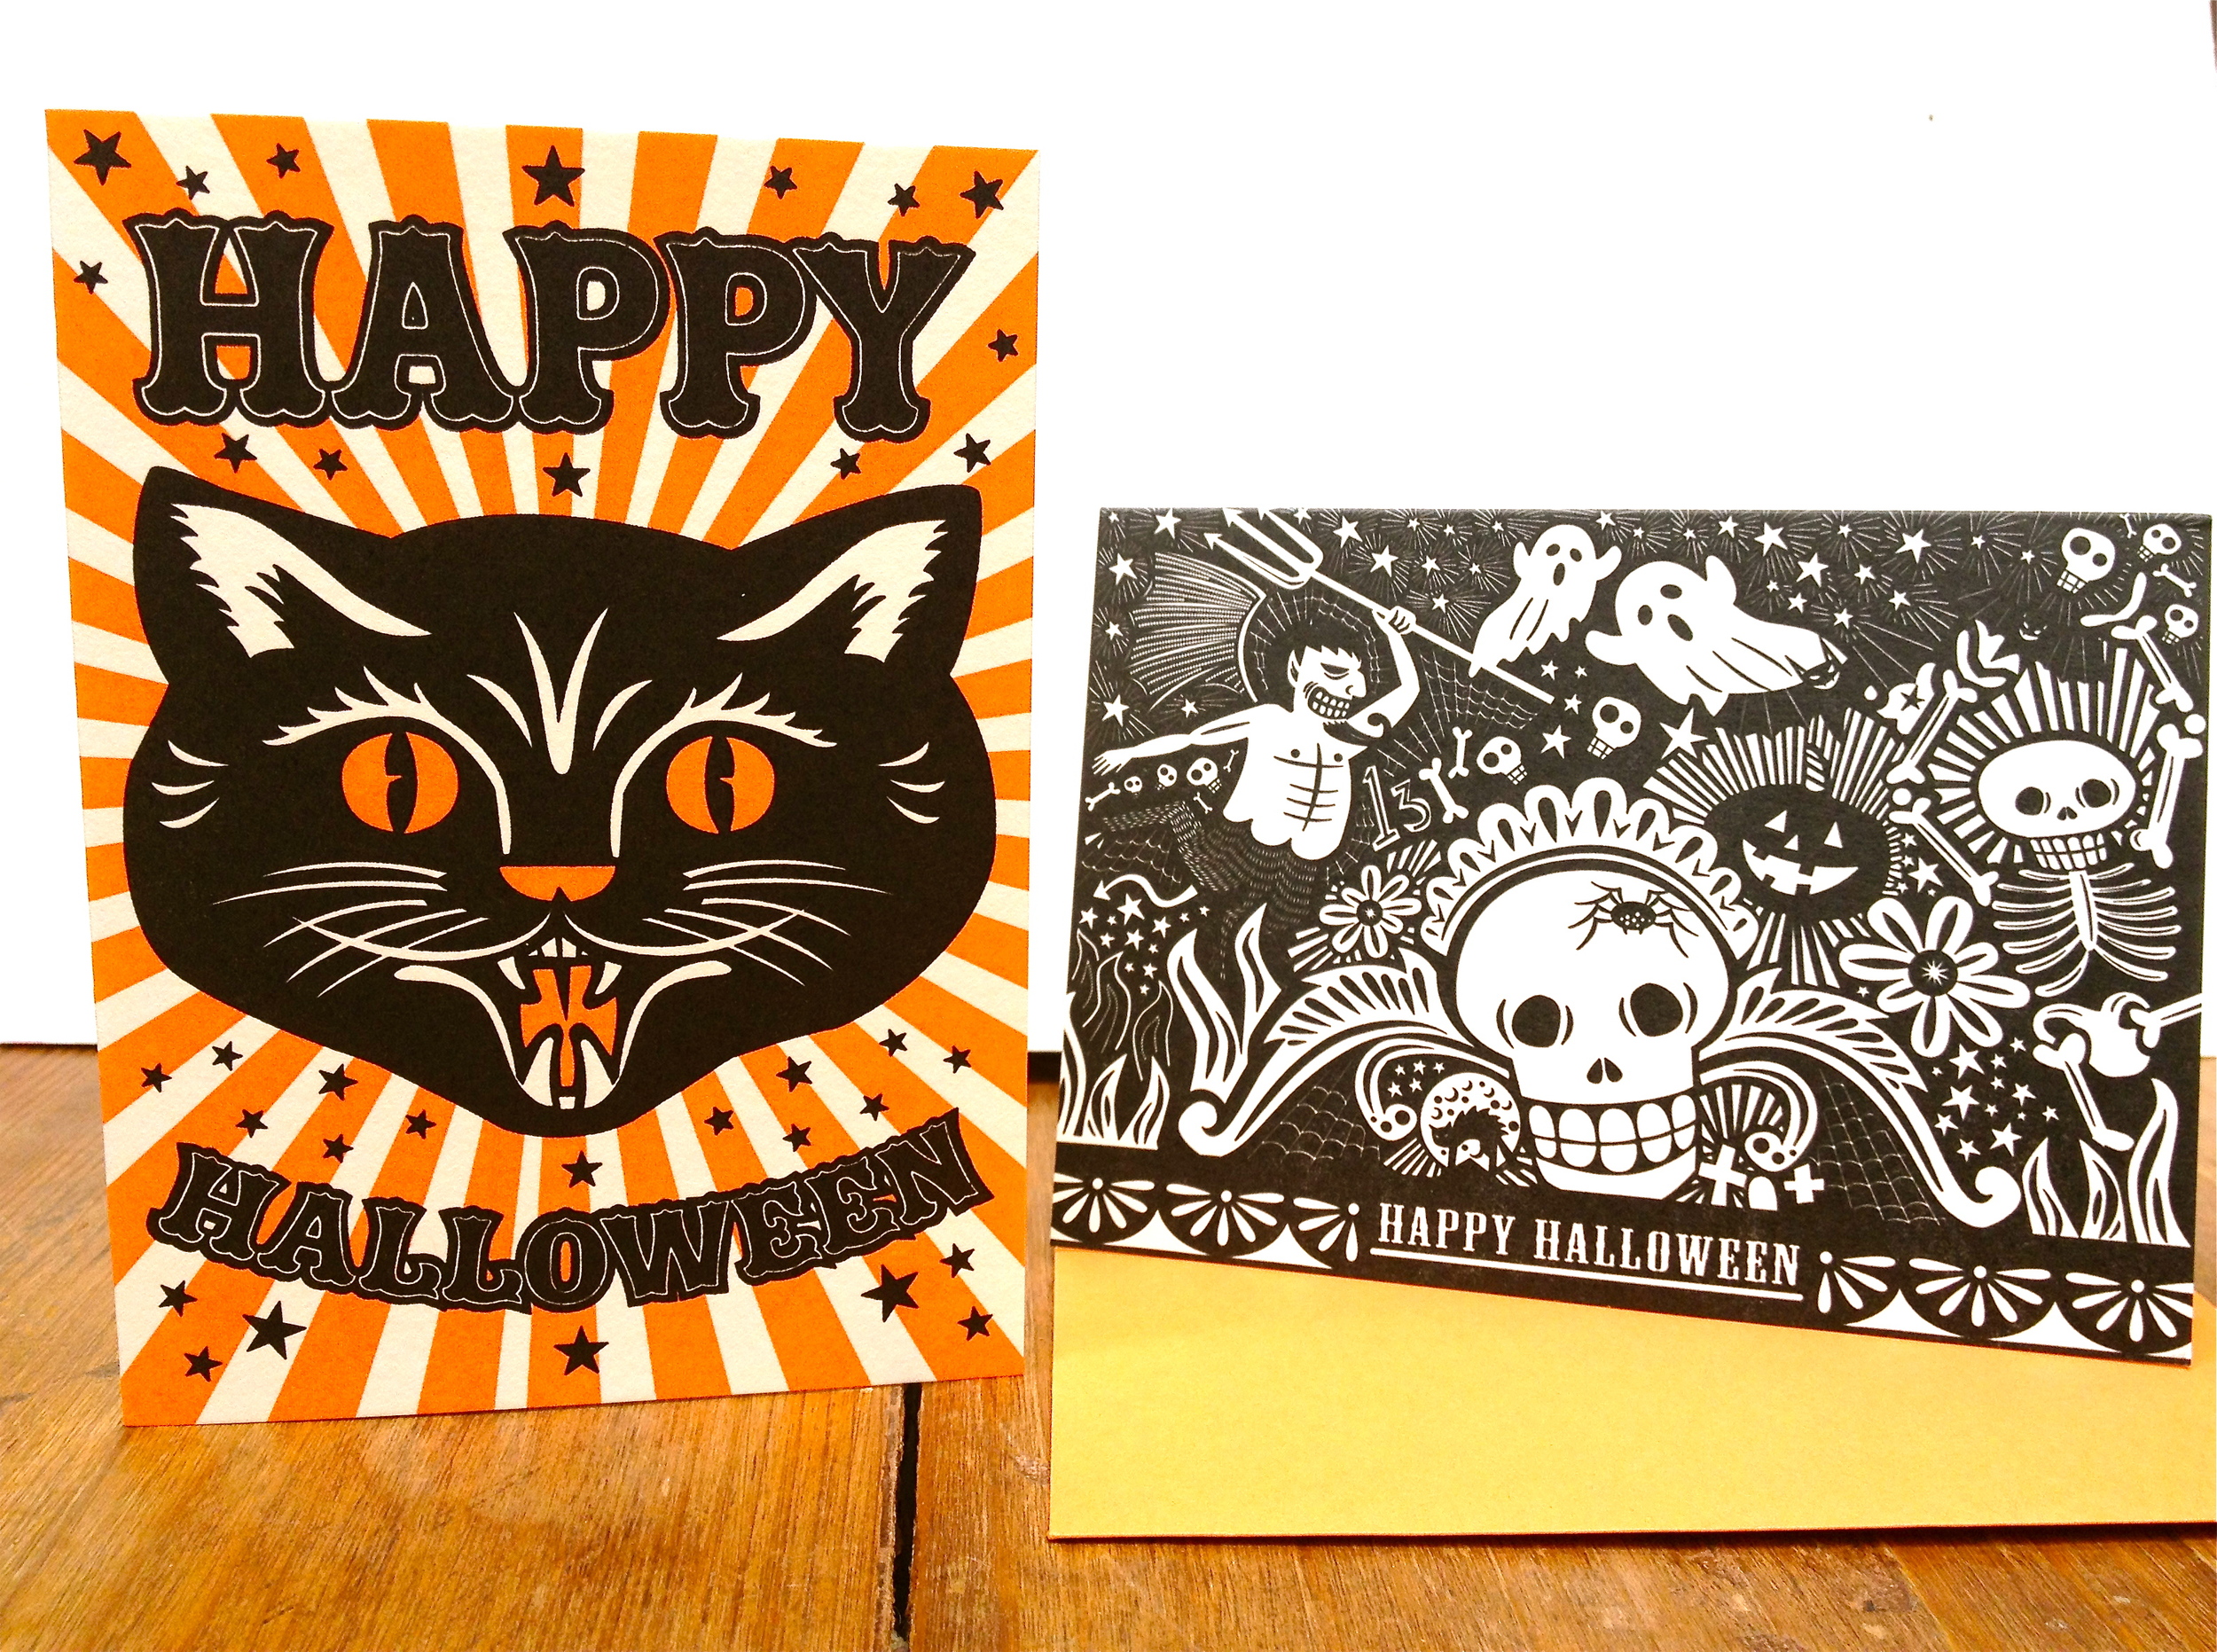
We're also giving our fans the chance to win a set of 3 eerie Halloween greeting cards! Simply comment below telling us what you want to be for Halloween and we'll pick two random winners. We're still deciding on our Halloween costumes this year so we look forward to reading your ideas! Be sure to enter your comment before noon of next Thursday, October 4th and we'll announce the winners on Friday! Good Luck!

Good Company Grand Opening

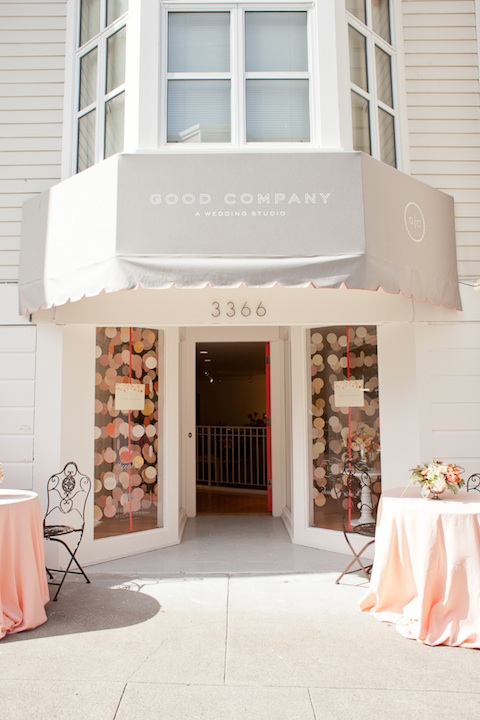
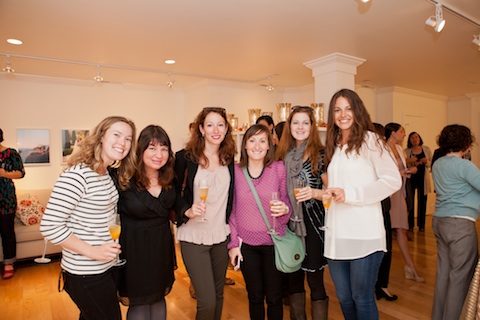
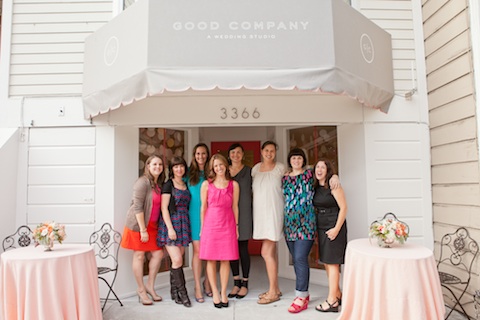
Last month we celebrated the grand opening of Good Company, a brand new wedding studio we're thrilled to be a part of. Our co-partners in the studio include photographer Lisa Lefkowitz, the dynamic wedding planners at Downey Street Events, florist Sharla Flock Designs, and hair/makeup artist Meaganne McCandessMeg Messina photographed the opening and did a great job at capturing the space and the crowd that night!

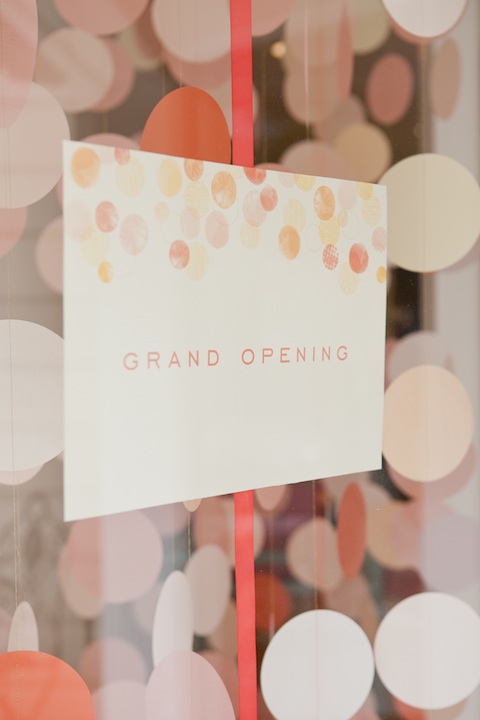
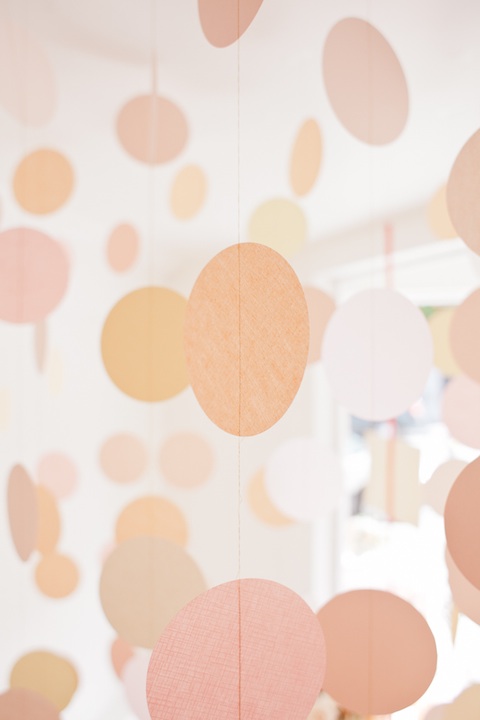
For the opening event, Eunice created these modern window garlands out of cut paper and sewed them together on her sewing machine. We love the way the light hit each shade of peach/pink.

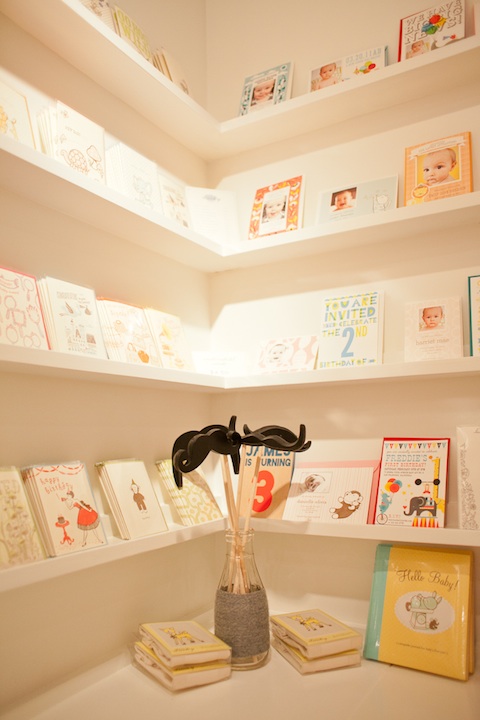
We have a small retail space within the studio, so if you're on Sacramento street pop in and say hello.

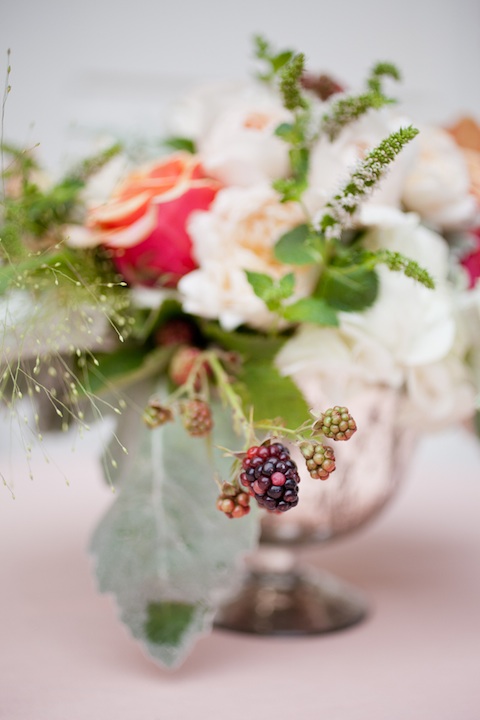
It's clear Sharla Flock is an insanely talented because her floral arrangements blew us away.

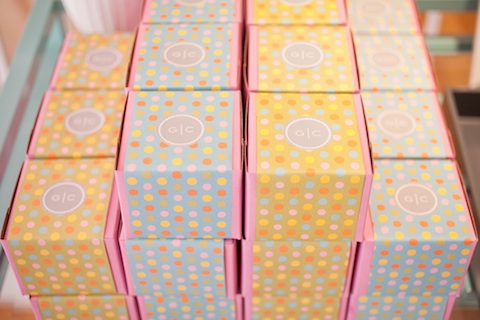
Guests went home with perfectly wrapped cupcakes by Kara's Cupcakes. The wrapping coordinated quite nicely with the window display, don't you think?

Hello!Lucky staff enjoying the evening and some champagne.

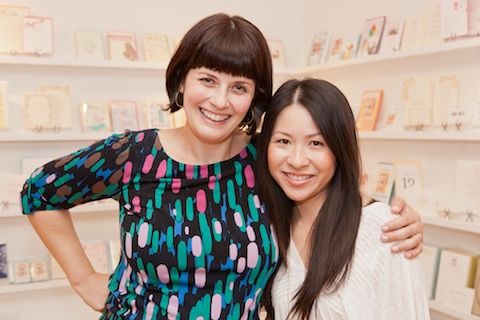
Lisa Lefkowitz and a friend.

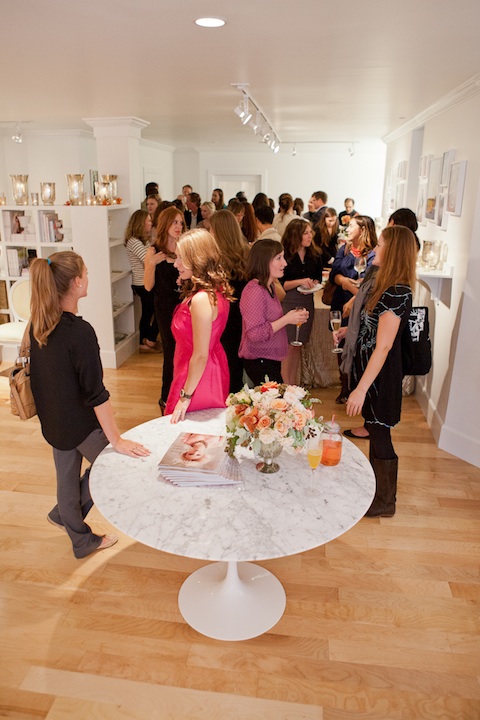
The crowd!

Thanks to everyone who attended the event. We're truly thrilled to be part of such an inspirational group of women. Stay tuned for more Good Company news!
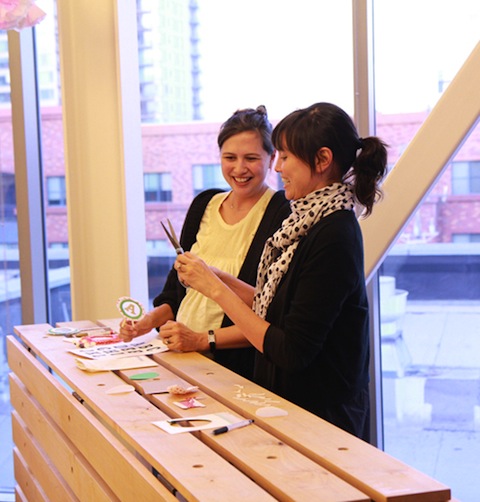
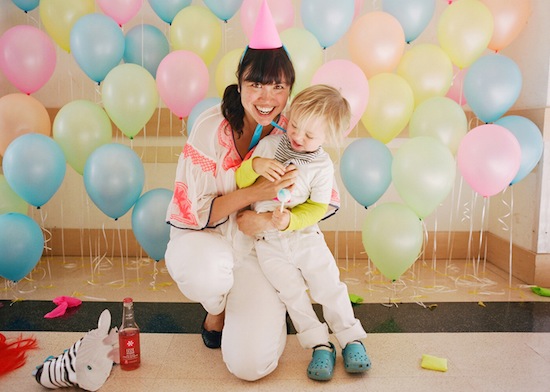
Good Company is located on 3366 Sacramento street in San Francisco. 

Crafts, Cocktails, and Cake Toppers!

Remember our creativebug Video Shoot? Well after the release of our first two tutorial videos we've felt an enormous out pour of love from our fans and fans of creativebug. That's why we're thrilled to announce the Crafts, Cocktails, and Caketoppers event with creativebug at Chronicle Books! Sabrina and Eunice will be there giving hands on instructions for how to make your own cake topper, perfect for any event. The workshop (Thursday September 27th from 6-8) is totally free but space is limited so click the image above or RSVP here! Bring your friends or family members for a night full of fun with local craft connoisseurs. We'll see you there!

DIY Gold Confetti Champagne Flutes

Are you preparing a toast this season? Planning a special announcement? These DIY gold confetti champagne flutes are a fabulous way to liven up your glassware, especially for a special event. Or, if you're looking for unique gift ideas they would make a dazzling addition to any china cabinet. We found the inspiration for this DIY over at Radical Possibility. The writer, Zandi, has tons of easy and inexpensive projects, and many are Anthropologie replications, or in her words, "knockoffs." Zandi sure fooled us because her Confetti Tumblers are fantastic!

You can find inexpensive champagne flutes at your local thrift store, or buy new at any department store. Spice them up with customized colors for your wedding and the bridal party will be toasting in style. We love the classic elegance of gold, but a fun neon pink wouldn't bee too shabby either!

Materials: Glass champagne flutes, Gold enamel paint, small brush

How To: Step 1. Wash your glasses very well and dry completely

Step 2. Dip your brush in a bit of gold paint. Starting at the base of the cup, dab the paint on to the glass. We set ours upside down for easy painting.

Step 3. As you fill the bottom part, begin to spread out your dots more and more as you reach about half way.

Step 4. Once the glasses are dry, you can bake them to seal the paint. Read the instructions on your paint bottle in advance. Ours baked for 30 minutes at 350 degrees.

Tip* be very careful when hand washing. Use cold water and air dry.

For more fabulous DIY ideas, visit our website here!

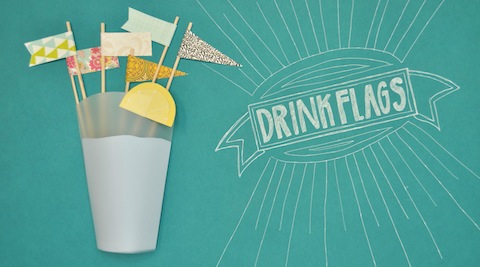
DIY Patterned Papers: Drink Flags

The next video in our DIY Paper Details series is our favorite reception accessory - DIY Drink Flags! There are three easy templates for making festive flags for your party drinks. Your guests will certainly see your details come together if you match your papers with your wedding invitations or table numbers. Watch the video or see below for full instructions!

DIY Drink Flags from Hello!Lucky on Vimeo.

 Materials:

DIY Drink Flag Template, Printer, 1 sheet cardstock, 8.5 x 11” (US) or A4 (UK), Ruler, Bone folder, or a butter knife, Cutting mat, or a magazine, Craft knife, Pencil, Patterned paper, Glue stick, Skewer sticks

How To:

Step 1. Print out the template. Print this template on card stock. Make sure your printer is set to 100% (or, “no scaling”) to ensure that the template prints to scale. Step 2. Cut out the template. Using a ruler, craft knife, and cutting mat, cut out the drink flag template. Step 3. Trace the template. With a pencil, trace the drink flag templates onto each sheet of pattern paper. Step 4. Cut out each flag. Using a ruler, craft knife, and cutting mat, cut out the flags. Step 5.  Fold each flag in half. Fold the flags in half and use a bone folder to smooth the crease, marking your center. Step 6. Glue in skewers. Apply glue to one side of the inside of your flags. Place the skewer stick in the center, leaving about ¼” space at the top. Fold and smooth to secure.

Fore more paper DIY projects visit our website!

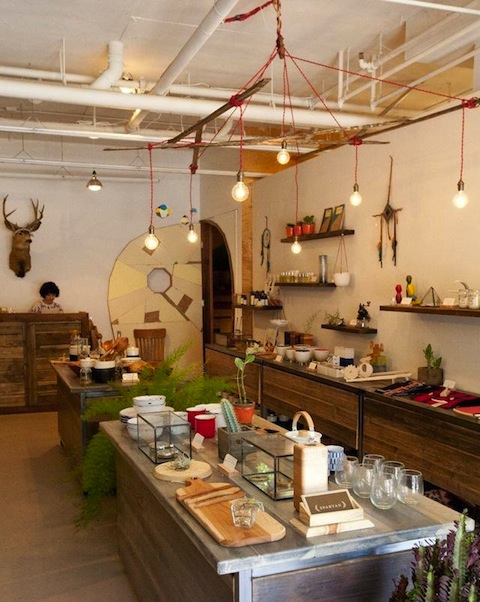
Bold Italic Pop-Up Shop at Voyager

Don't miss the big opening party for the Bold Italic's pop-up shop at Voyager! Tonight from 6-9pm you can be the first to get your hands on the local merchandise by your favorite SF retailers including Rickshaw Bagworks, Salty Fox Jewelry, Yellow Owl Workshop, and yours truly, Hello!Lucky! Along with handmade gifts and great people, free beer is being served to trusty San Francisco visitors.  Voyager is located at 365 Valencia Street. See you there!

Free Printable! Picnic Party Invite!

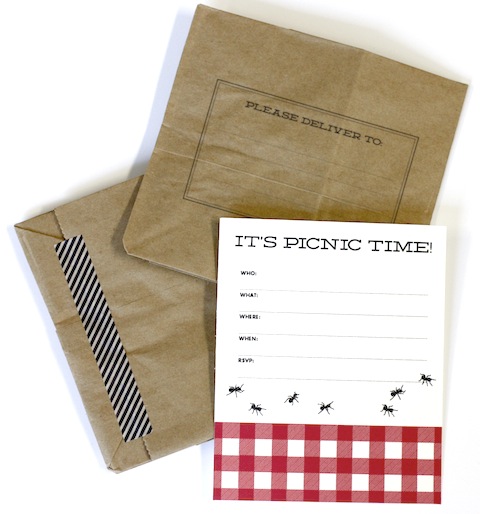
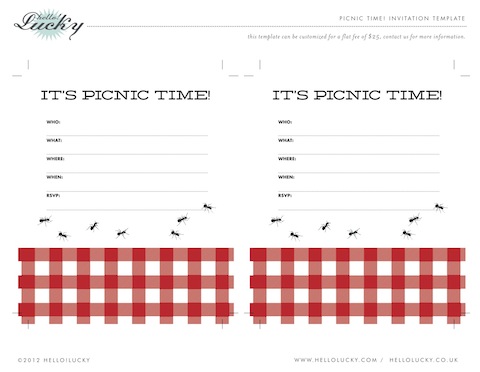
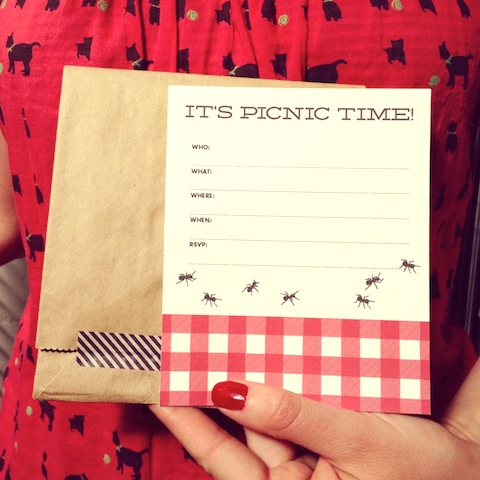
If you're summer hungry like us you're already planning your next outdoor occasion. We are dreaming of warm afternoons, gingham blankets and our favorite snacks. Well the time has finally arrived and so we've created these festive printable picnic invitations just for you! They're perfect for any summer event and can be printed right at home. The address label stamp is also printable, or take it to your local stamp shop and create a lifelong keepsake. You can download the templates here!

Picnic Invitation

Address Stamp

Enjoy!

Kayte Terry and Paper Made!

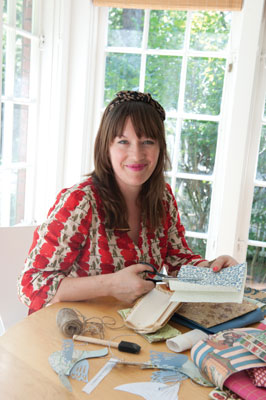
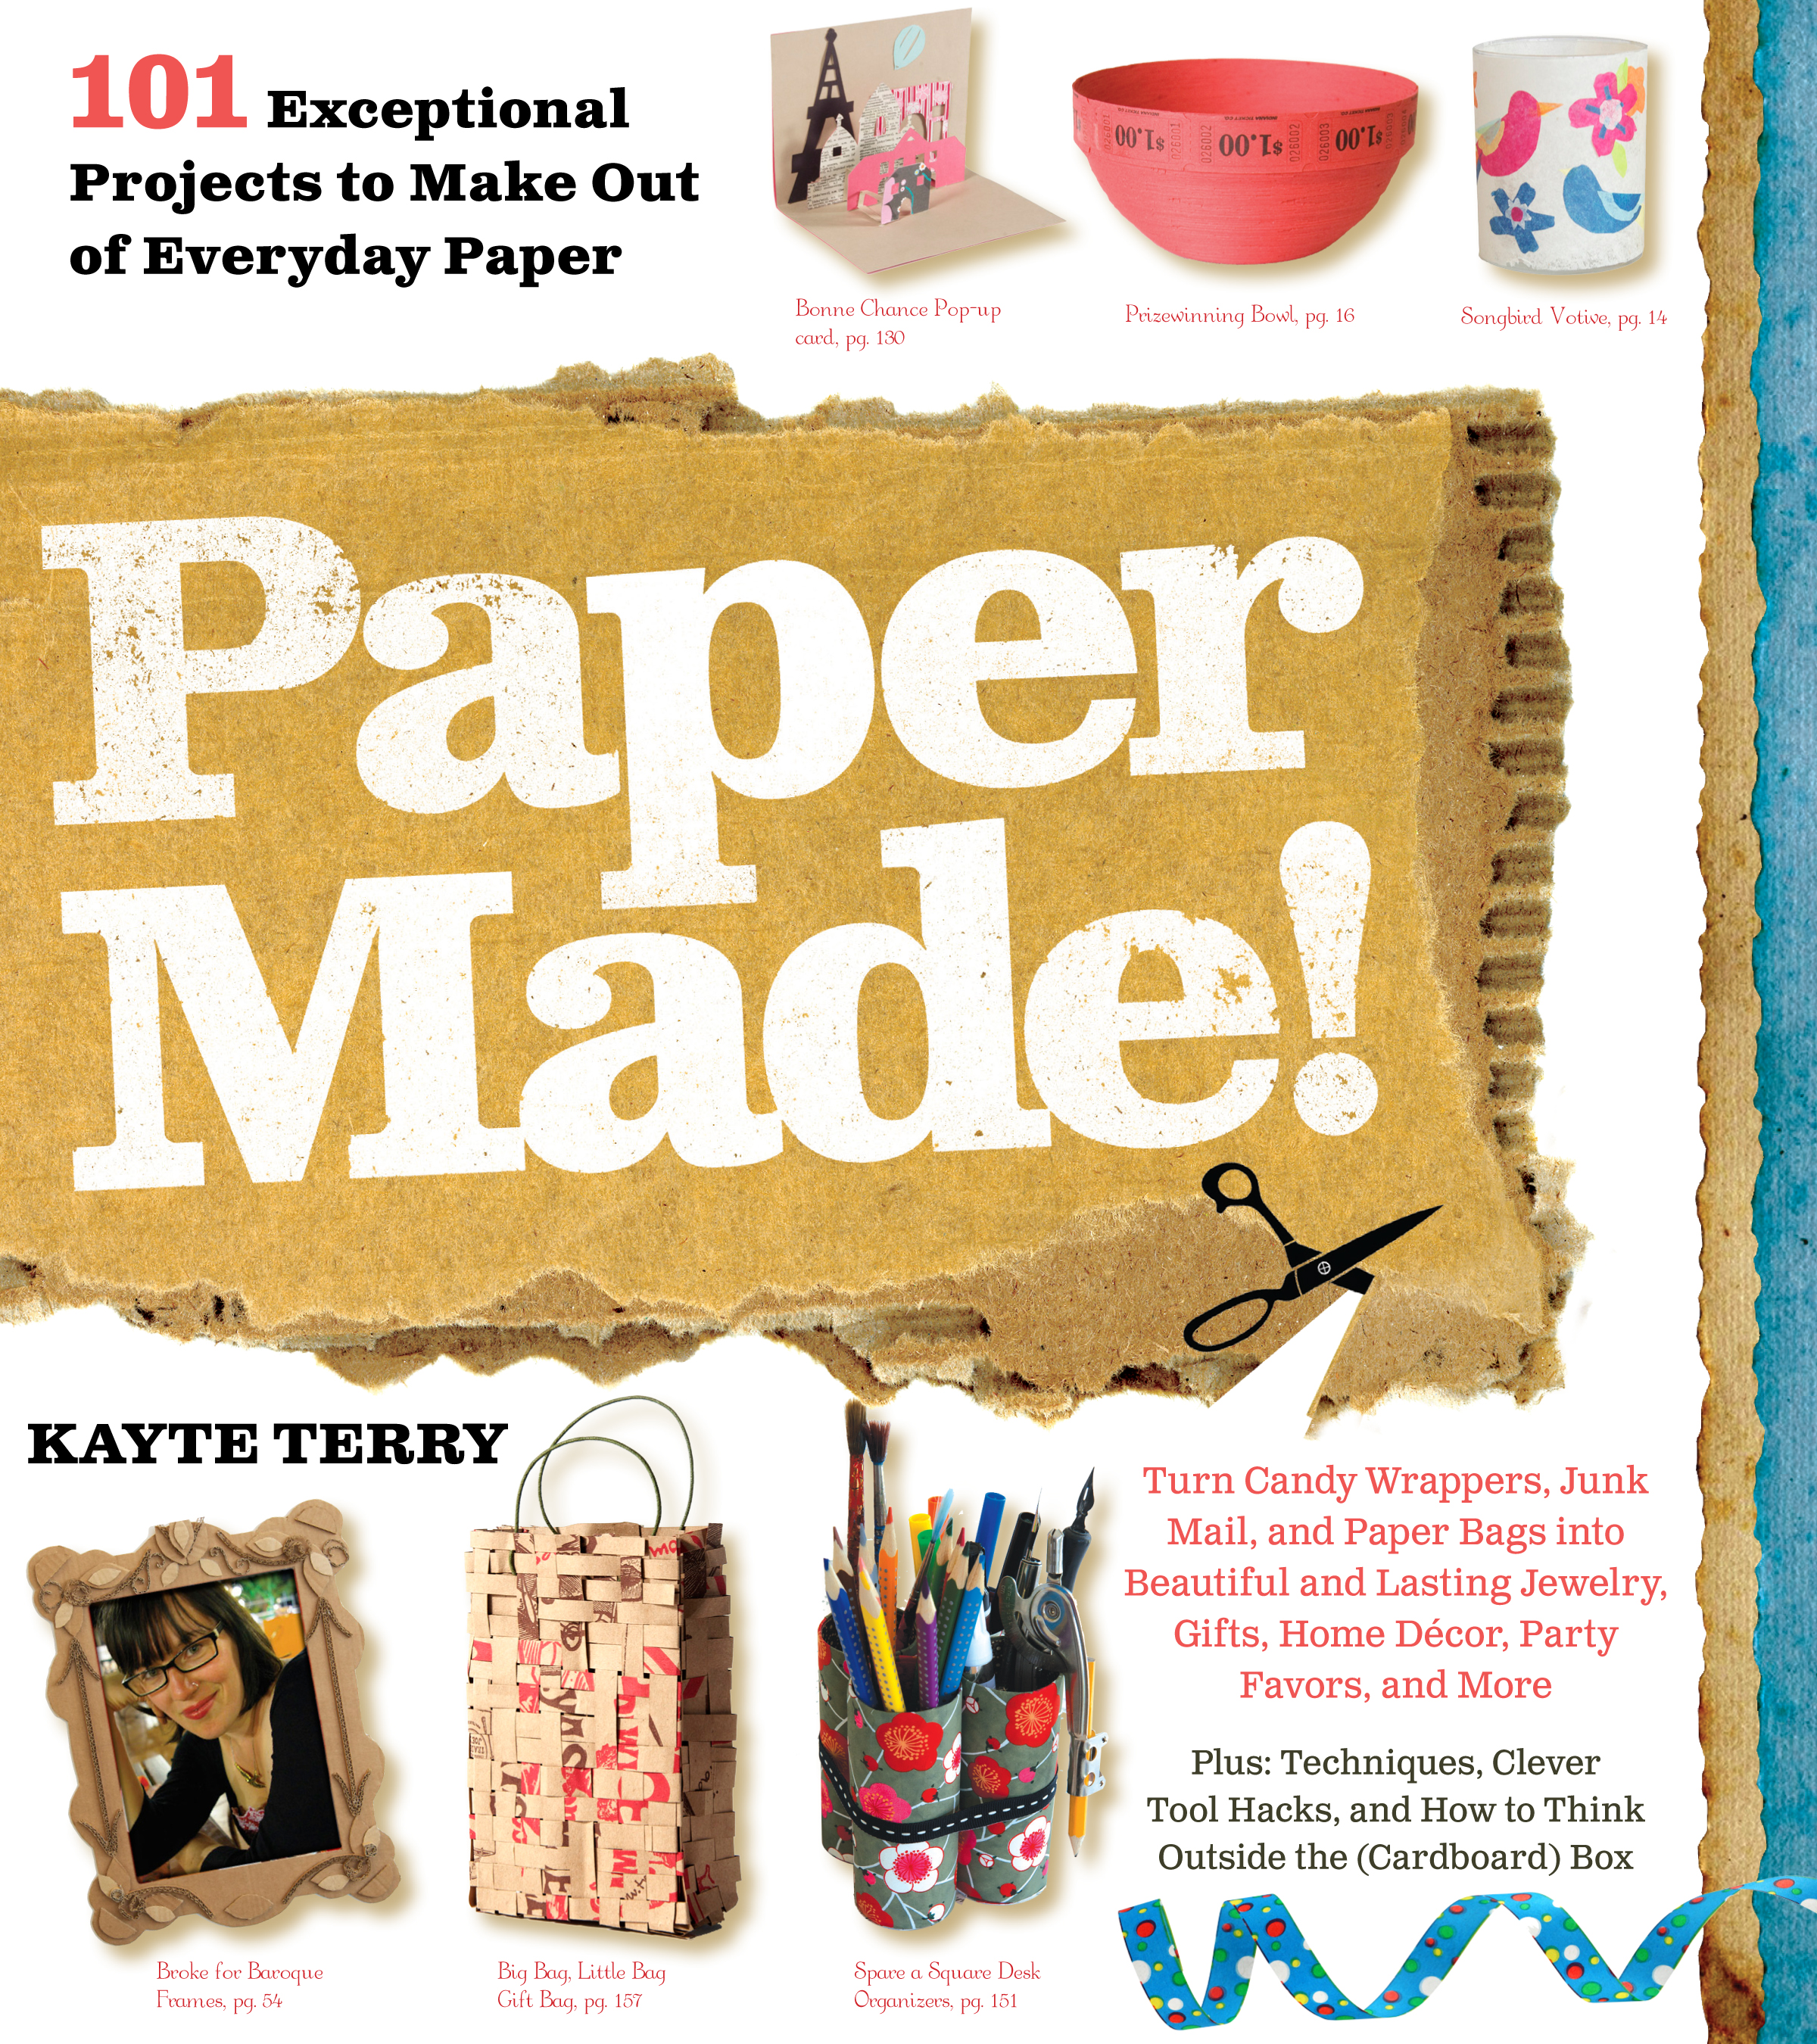
We're thrilled that one of our favorite artists and authors will be visiting the bay area this week for a stop on her book tour. Kayte Terry will be at the Contemporary Jewish Museum this Thursday, May 24th to lead one of the museum's Rit Lab events. At this Rit Lab Kayte will be leading people through some paper crafts from her new book Paper Made!

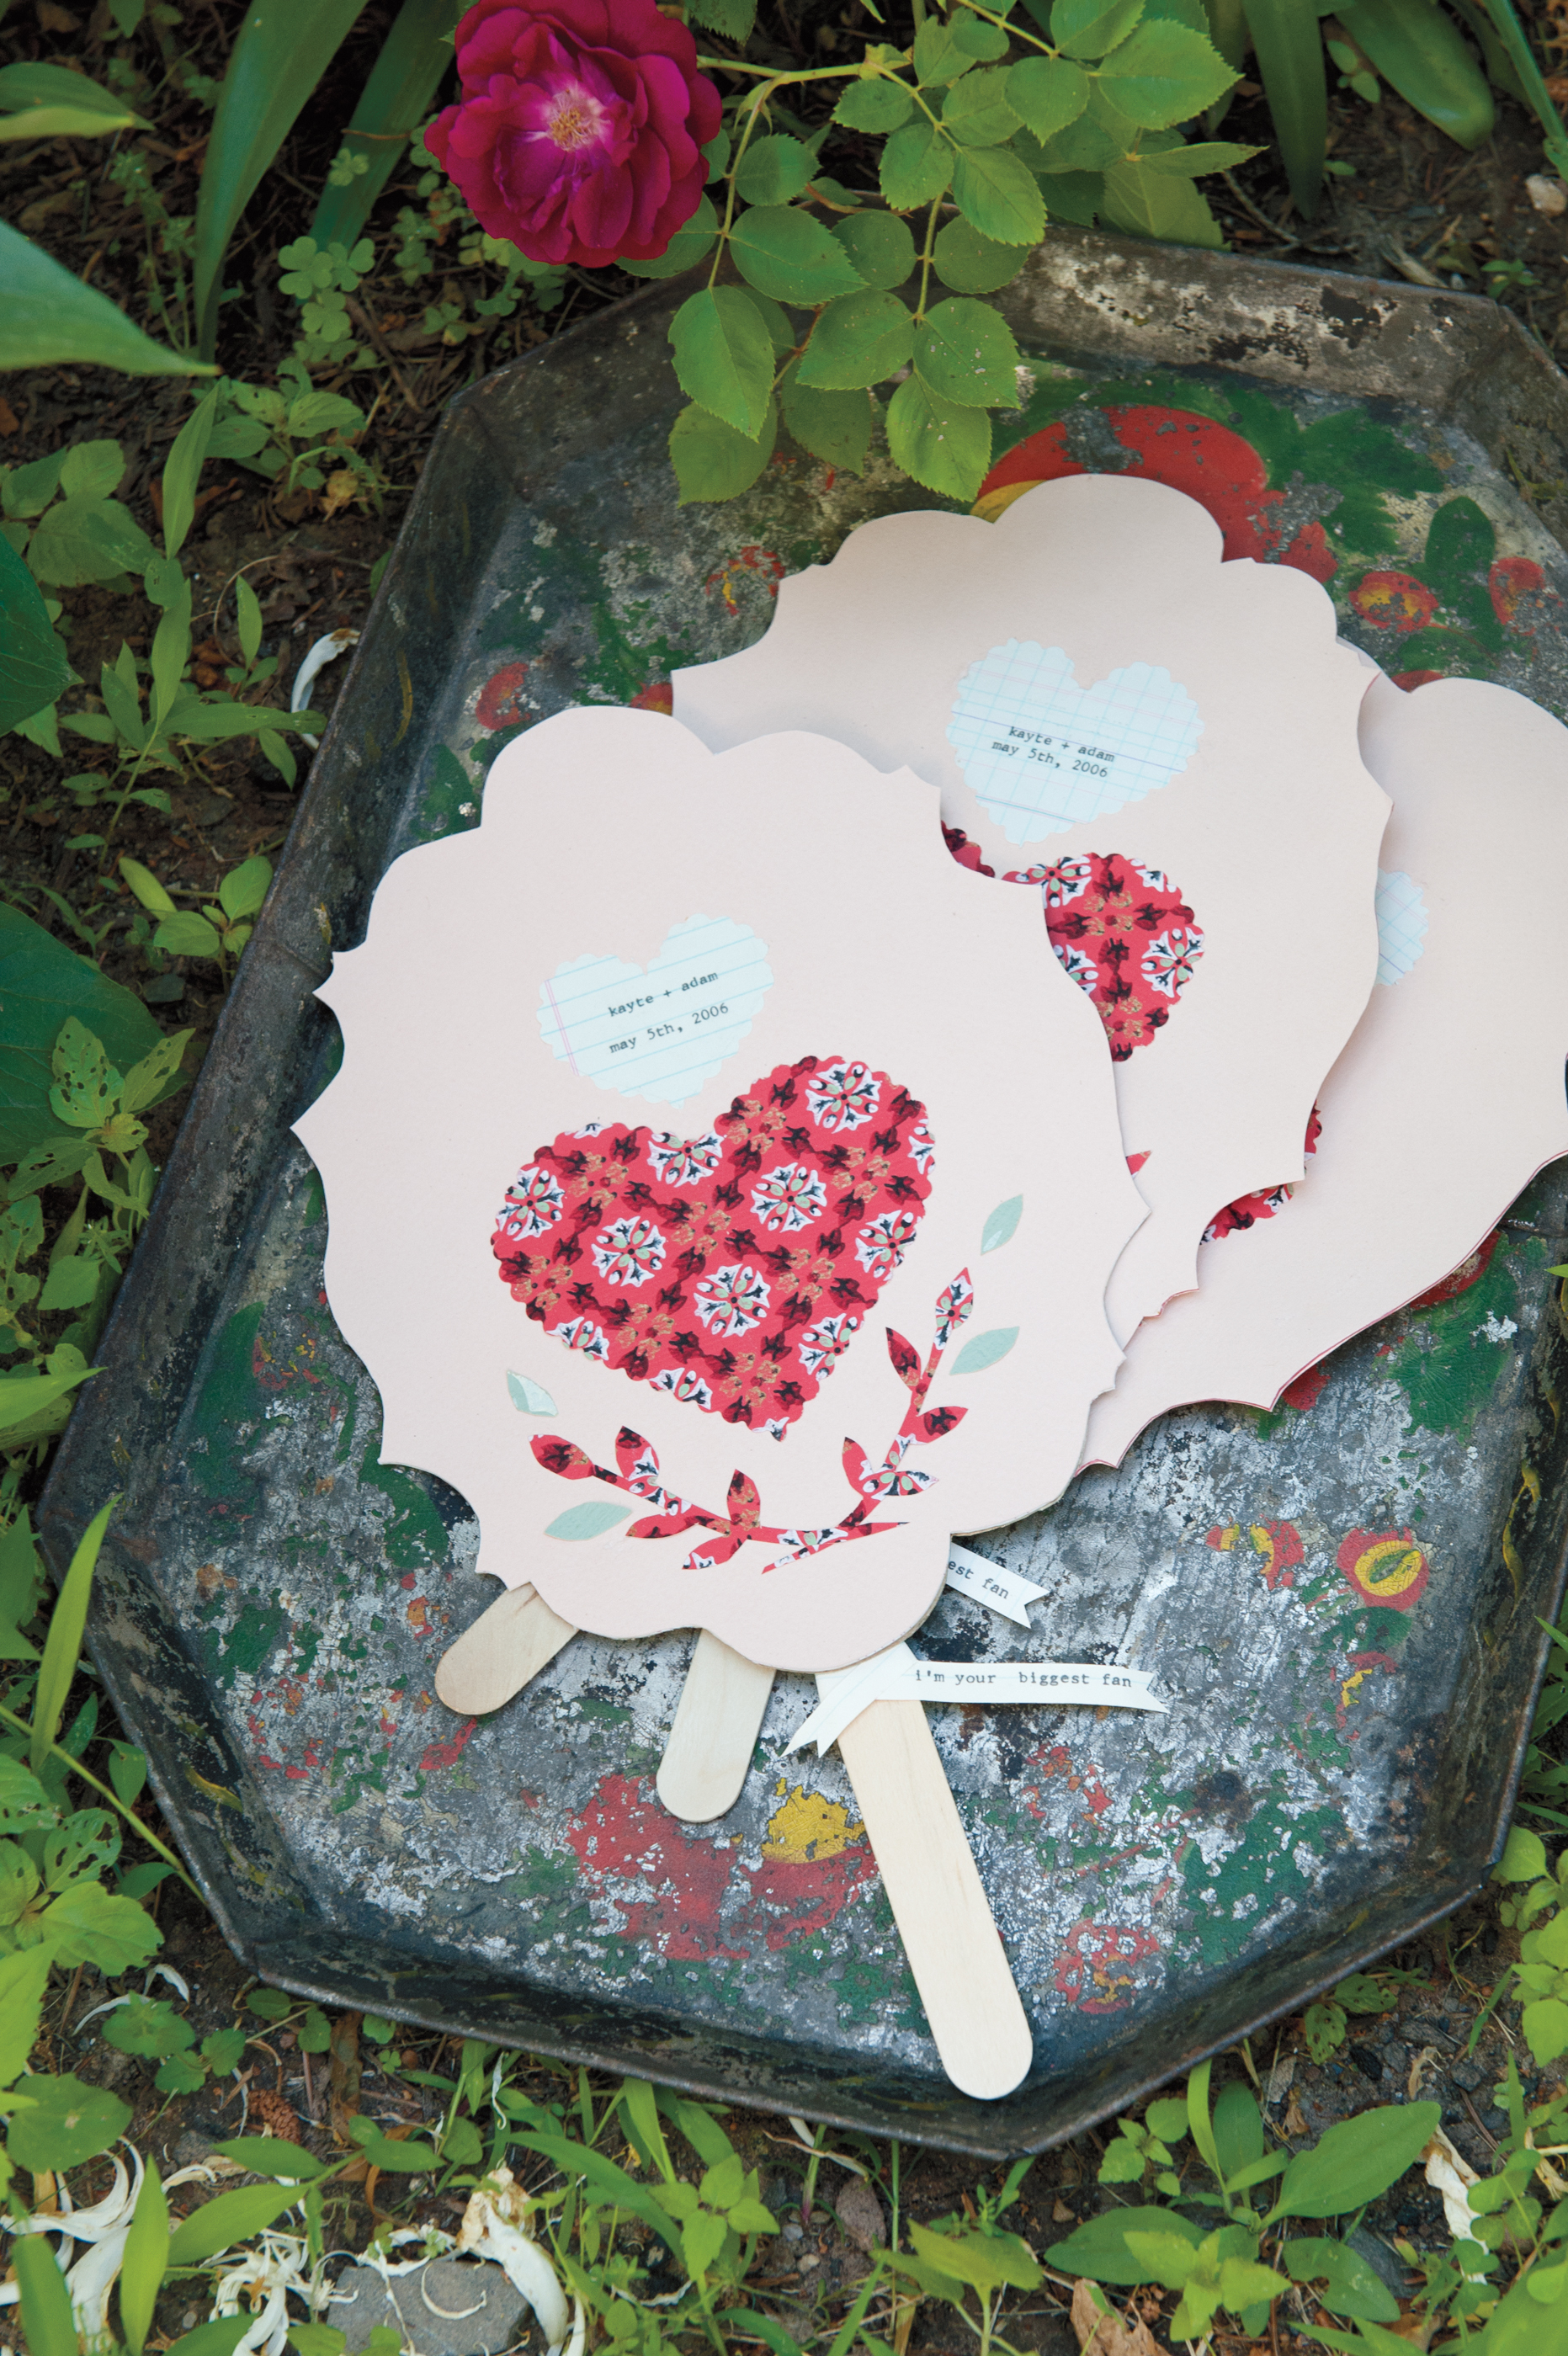
Just look at these adorable projects.

These fans would be perfect for summer weddings and programs.

Did we mention Kayte also works for Anthropologie and is responsible for some of those beautiful window displays you've no doubt stared at in wonder.

Meet Kayte, check out her new book, eat some cheese, and craft. Sounds like a perfect Thursday evening to us. Details and tickets can be found here.

Don't live in the Bay Area? Check out Kayte's schedule here to see if she'll be in your city soon.

Perfect Paper Wedding Details

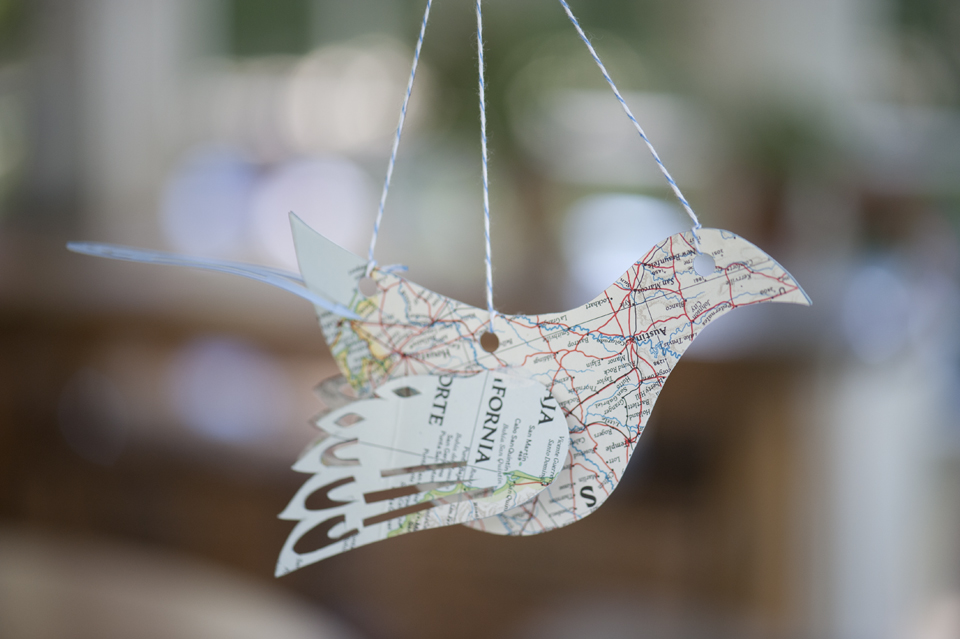
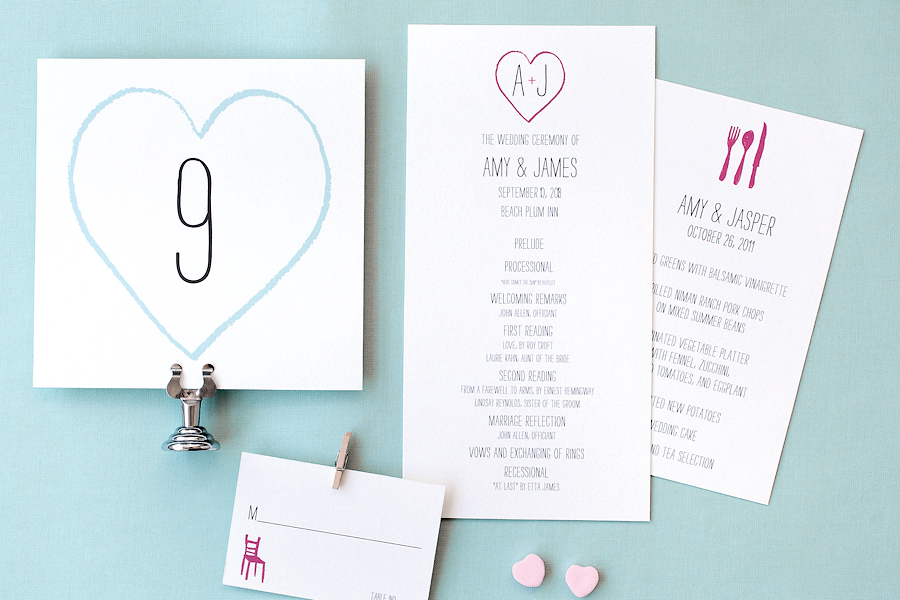
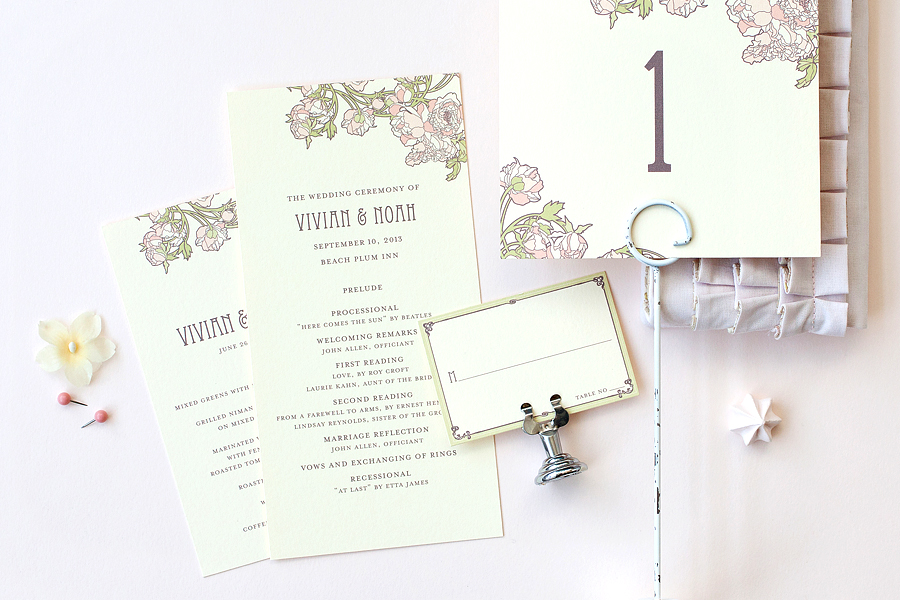
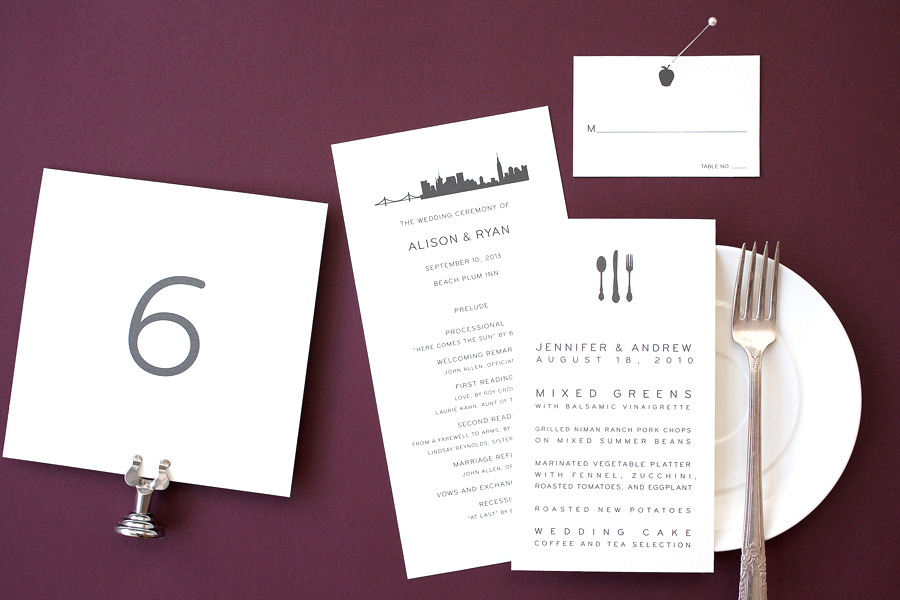
Whether you're in the middle of planning your wedding day or just getting started, we have some gorgeous paper products that will make your big day come together perfectly. You can carry on the theme of your wedding invitations into your wedding and reception, without lifting a finger. All of our wedding invitation designs have matching day-of paper details, and can be customized just for you. Programs (folded and flat), printed place cards, menus, favor tags, table numbers, you name it, we've got it!

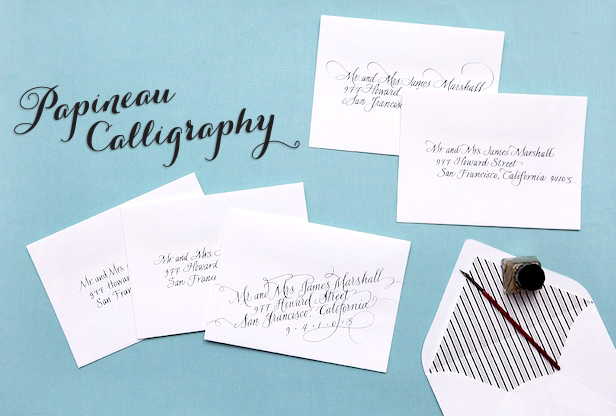
 Beautiful calligraphy by Michele Papineau will add an elegant touch to your day. With personalized place cards or favors, your guests will go home with their own little piece of art. Plus, there's a variety of styles to choose from!

Interested in having matching paper details printed for your wedding? Simply give us a call 1.888.552.3724 or email us info@hellolucky.com for options.

Second Birthday Party - Neon Bash + GIVEAWAY

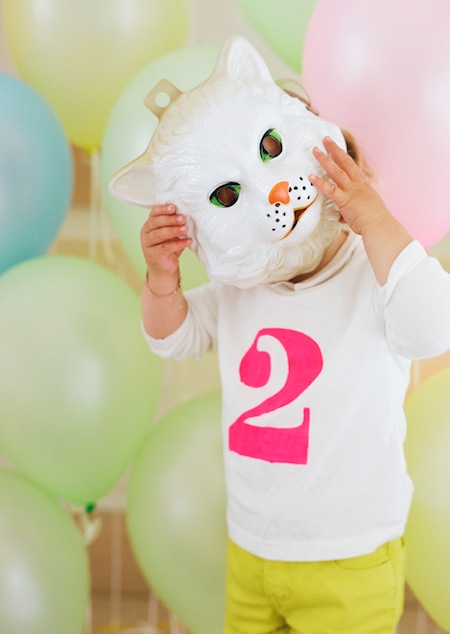
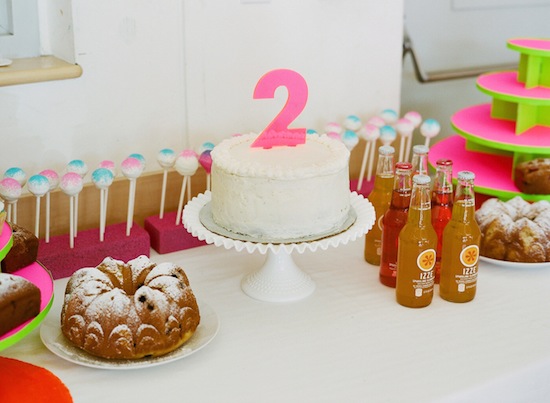
Jude, James, Alex and a whole band of kids just celebrated their big birthday number 2 and the theme for this years party was none-other than NEON! Eunice designed these awesome mod lettepress invitations, complete with custom liners and neon edging. The event was a huge success, stocked with tons of neon balloons, cardboard playpens, and delicious treats galore.

Ruby is holding down the fort.

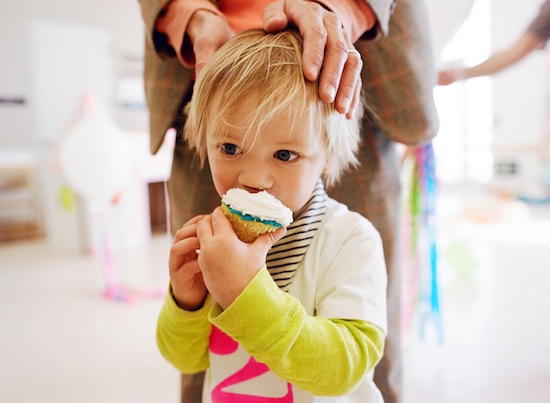
Each honorary birthday boy/girl wore custom #2 tee shirts. And how adorable are Ella's neon shorts? What a trend setter!

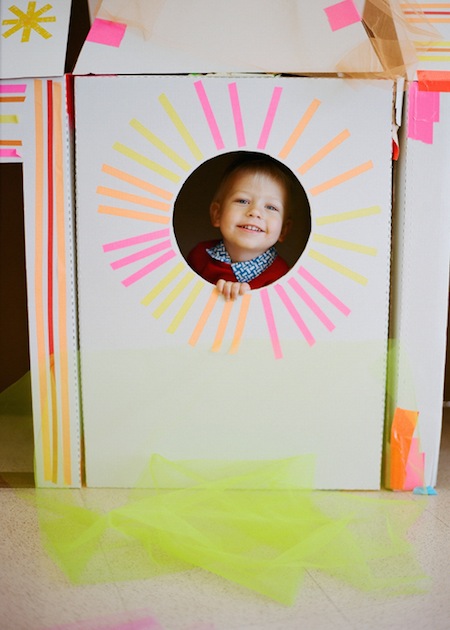
You can never underestimate the power of duct tape. These bright neon colors made the perfect assembly tool for the cardboard houses.

Party-goer Finn smiling bright inside the magic box. Definitely frame worthy!

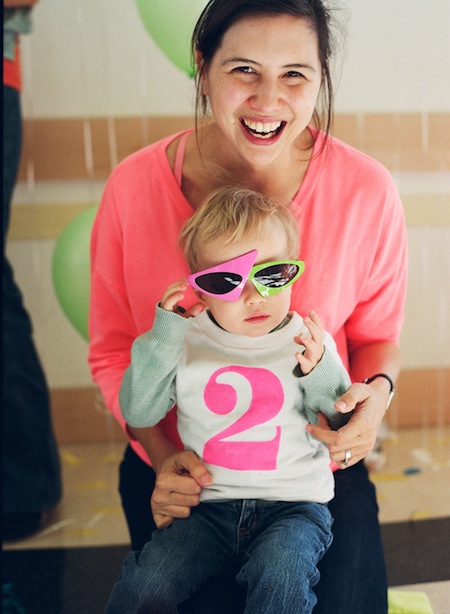
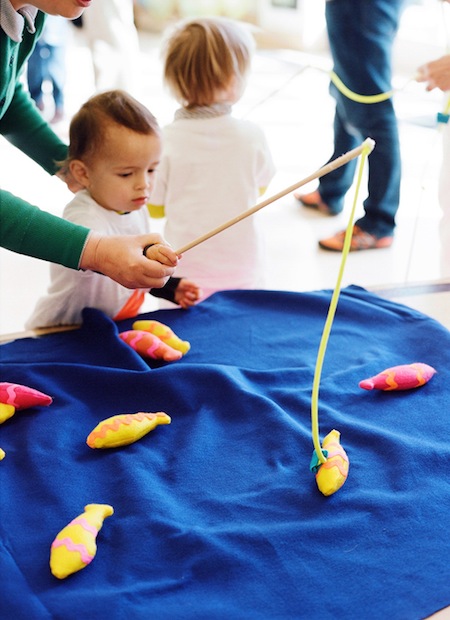
 Sabrina and her twins looking stylish as always. Alex is rocking the sweet shades while James is practicing his fishing skills. The fun goes on...

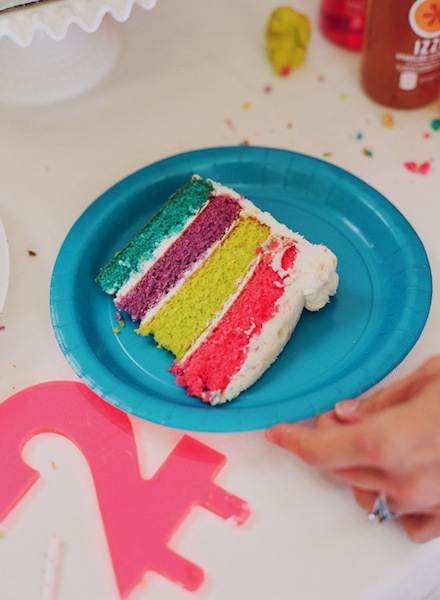
What a spread! Even the quadruple layer cake (created by the multi-talented Anna Hurley) was neon!

Can Jude be any cuter? This photo of him and Eunice makes us totally melt.

You can have a chance to win this awesome plexi glass neon number 2 cake topper! Leave a comment below telling us your favorite detail of the neon party and we'll randomly pick a winner this Friday, April 6th. Best of luck!

A winner has been chosen! Thanks for participating!

Photography by Modern Kids

Today's Bride

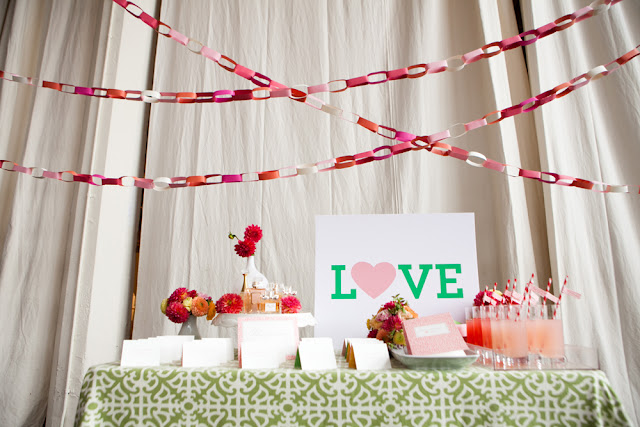
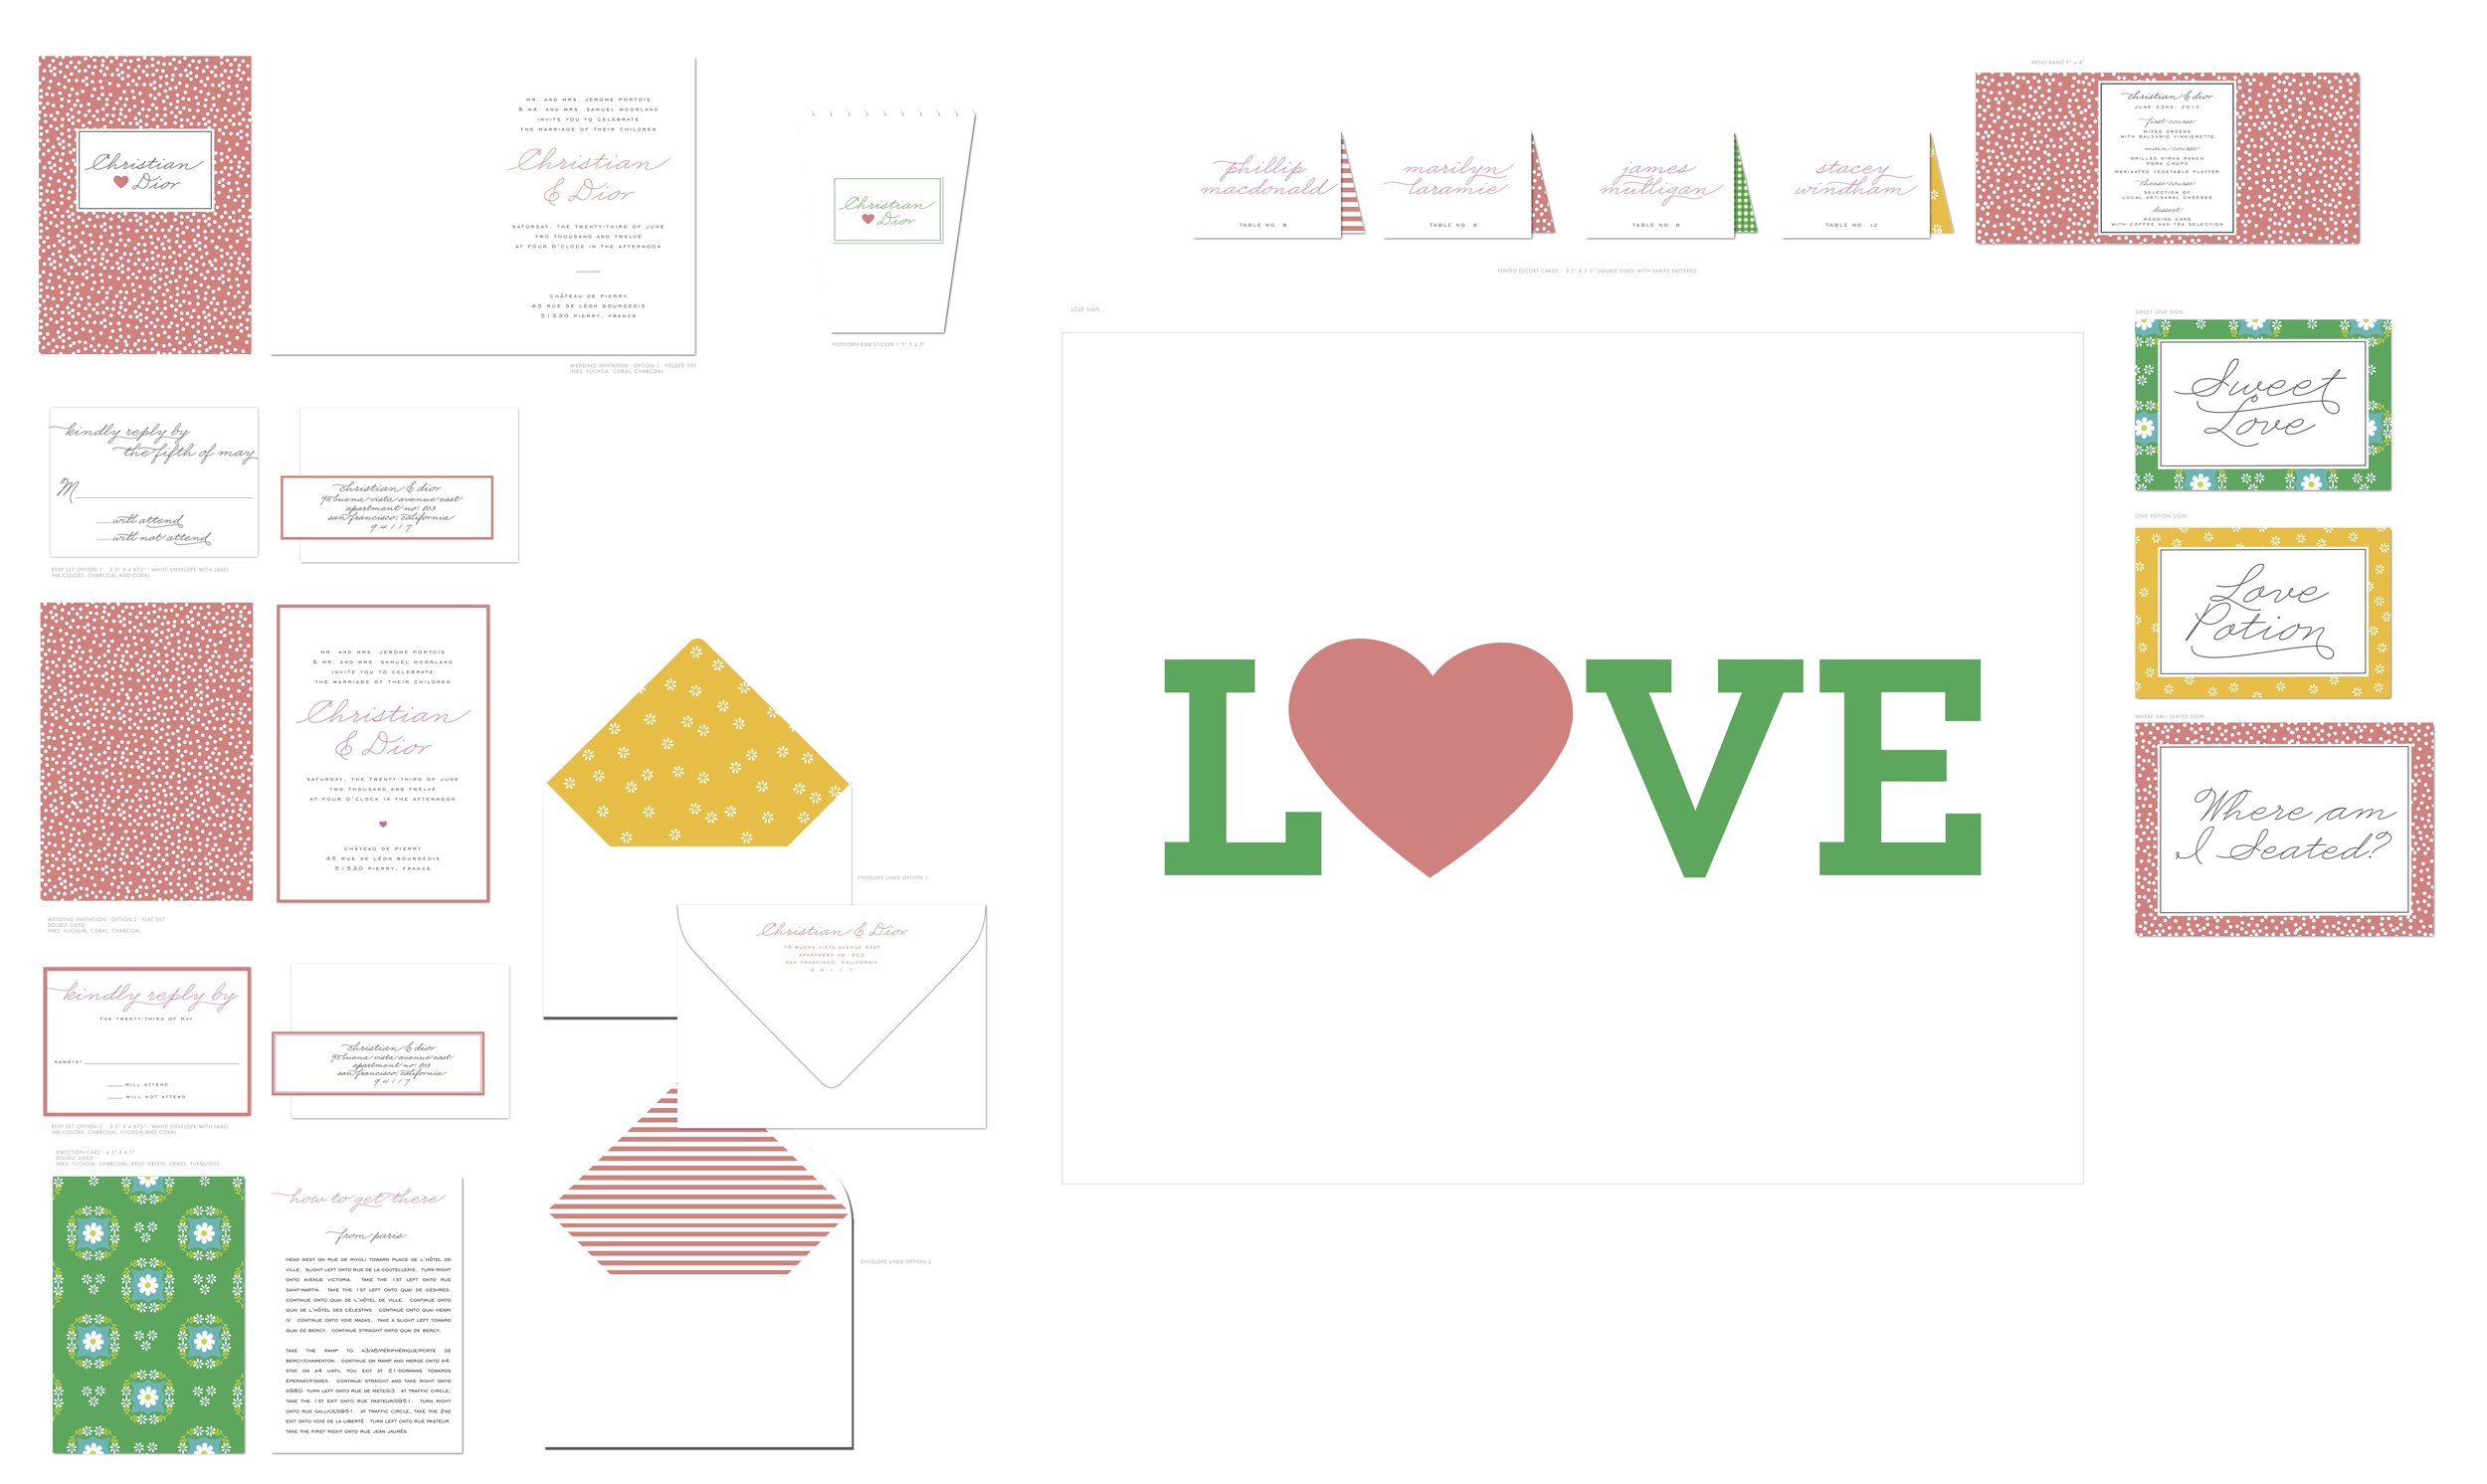
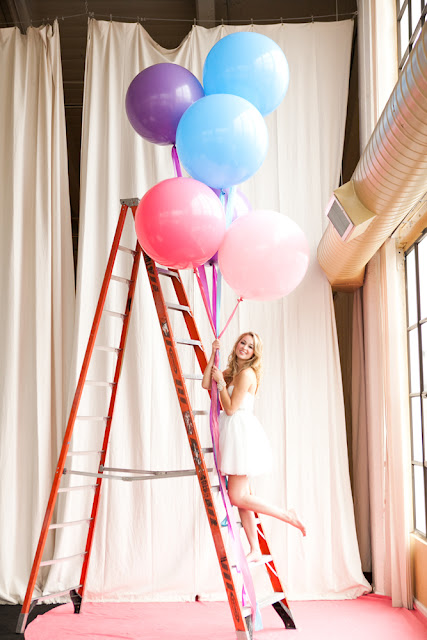
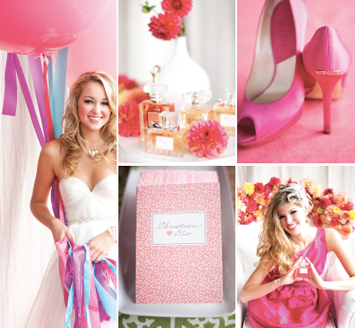
These photos from Nancy Liu Chin's Anatomy of Today's Bride for Today's Bride SF are to die for! We were approached by Nancy awhile ago in efforts to come up with a classic and whimsical invitation and day-of paper suite for her ultra-sweet photo shoot. It was a piece of cake once she shared her inspiration with us, and knowing which amazing vendors were also on board, we knew it would be a hit.

You can see our working files below. We were really into mismatched patterns and folded cards. If you look closely, the invitation reads Christian & Dior, tres chic!

Visit Nancy's Brown Bag to view Anatomy of Today's Bride Part I and Part II, and watch the amazing video by Luke Goodman here!

Photography by Kevin Chin