DIY: Silk-Screened Place Mats

For today's Handmade Weddings DIY project we're bringing you detailed instructions for our popular silk screened place mats! Whimsical and totally customizable, these kraft paper place mats work for both buffet-style or plated service. Place a charger and napkin on the mat (as shown) or have it double as a place card by writing guests’ names in the middle of the plate. If silk-screening feels out of your league, consider just photocopying them in black/white or on bright colored paper. The pattern is easy to make for a big wedding reception or even for a small dinner party.

Materials

• Custom screens • One hundred fifty 12-×-18-inch sheets kraft paper, such as Borden & Riley #840 Kraft Pad

ToolsPlace Mat template • Newsprint • Set of 2 hinge clamps • A wood board at least 1/2-inch thick and several inches wider and longer than the silk-screen frame • Four 1/2-inch long screw • Screwdriver • A small prop, such as an art eraser • 2-inch wide masking tape • Water-based screen-printing ink in white • Squeegee • Chipboard or cardboard scraps

How to 1. Make your screens. Send the Place Mat template files to a screen printer to have screens made, or make them with a home screen-making kit, following the manufacturer’s instructions.

2. Prepare your silk-screening station (figure 1), but do not outline your screen frame with a Sharpie. Position your test paper; use a spare sheet from your kraft pad.

3. Make a test print. With the frame in the down position, squeeze or spoon a line of the printing ink (approximately 1 tablespoon) along the top edge of the screen (figure 2). Take your squeegee and drag the ink from the top edge toward you, across the design area, applying pressure as you pull (figure 3). Carefully raise the frame to the up position and view the print. Make any adjustments to the placement of the paper (moving your registration tape accordingly) and amount of ink. Using your spoon, scrape excess ink from the squeegee back onto the top area of the screen, adding ink if necessary. Make additional test prints until you are happy with the quality and placement of the print. Build up the masking-tape marks with chipboard or cardboard scraps so that the paper won’t shift when you are printing (figure 4).

4. Print the rest of your place mats. Lay them out to dry completely.

Happy crafting!

For more DIY ideas, visit our website here!

Spring DIY: Paper Flower Wreath

Spring may be a time to get organized, but we think it's a great time to bust out the dusty craft bins and get creative! There's no better feeling than recycling something disposable and transforming it into something worth saving. We know you're left with all those leftover holiday cards and wrapping papers, so this is the perfect opportunity to put them to good use! This lovely wreath from our book Handmade Weddings (published by Chronicle Books) uses a variety of found papers, including patterned paper scraps, kraft paper, glassine, tracing paper, and graph paper. This colorful wreath is perfect as a welcome sign at a wedding or party, or to adorn your front door as a welcome sign for Spring!

Materials

Makes 1 wreath

• 15 to 20 sheets assorted scarp papers e.g., construction paper, kraft paper, graph paper, tissue paper

• 30 to 40 colorful 1/4-inch brads

• Four 18-inch pieces floral wire (optional)

• One roll floral tape (optional)

• 1/4 yard scrap fabric

• 18-inch cardboard or particleboard wreath form

• Paper clip (optional)

• 1 to 2 pieces scrap cardboard or foam core

• 1 sheet text-weight paper (optional)

 Tools

• Paper Flower templates (available here)

• Pencil

• Scissors

• Small flower punches

• 1/8-inch hole punch

• Hot glue gun and glue sticks

• One 1 1/2-inch Styrofoam ball (optional)

• Inkjet printer, with extra ink cartridges (optional)

 How to

1. Make your flowers.

For flat flowers: Cut out the Paper Flower templates. Trace them onto patterned scrap paper, and cut out with scissors. Fold the flowers along the center axis of the petals to add dimension. You can also fringe the petals or crinkle flowers made of tissue to add depth. Punch small flower shapes for the flower centers. Stack several flower designs on top of each other, and punch a hole in the center. Insert a brad into the center and flatten the ends. Repeat to make as many flowers as desired.

 For cupped petal flowers: Cut out the Petal template. For each flower, trace the template four times onto graph paper or another text-weight paper. Cut the petals out. Slide a 6-inch length of floral wire into an unopened brad so that the brad grips firmly and the round end faces up. Fold the base of the petal into an M shape, position on the wire, and affix with a dab of hot glue. Place the next petal, and repeat until all four petals are in place. Wrap the petal bases with a strip of floral tape. Repeat to make as many flowers as desired.

 For tissue paper flowers: For each flower, cut four 1 1/2-×-4-inch strips of tracing paper or tissue paper. Place a piece of tissue, long side facing you, on your work surface. Center the Styrofoam ball on the paper, wrap the long ends up, and twist the ends to hold them in place. Trim the twisted ends with scissors and remove the ball, creating a cupped petal. Repeat to create four petals per flower. Slide a 6-inch length of floral wire into an unopened brad so that the brad grips firmly and the round end faces up. Position a petal on the wire, and tape it in place with a strip of floral tape, wrapping it around the wire a few times. Place the next petal and repeat until all four petals are in place. Repeat to make as many flowers as desired.

2. Prepare your wreath form. Cut your fabric into 3-inch-wide strips. Hot glue one end of a strip to the wreath form, and wrap it around the wreath until you run out of fabric. Glue the fabric end down and continue with a new strip until the wreath is completely covered. Avoid covering the hole in the wreath (for hanging). If desired, flatten a paper clip into an S shape and insert it into the hole, to be used as a hook when you are ready to hang your wreath.

3. Attach your flowers. Arrange your flowers in a wreath shape on your work surface. When you are happy with their placement, begin hot-gluing them to the form. To create depth, cut out several 1/2-inch squares of cardboard or foam core and affix these to the wreath form before gluing a flower on top, so that these flowers are slightly raised.

4. Add a sign (optional). If desired, lay out a sign such as “Welcome!” or your names and wedding date using a wordprocessing program and printing on text-weight paper, or write the sign by hand. Attach to the wreath using a dab of hot glue.

For more fun DIY ideas, visit our website here!

Wedding DIY: Cupcake Liner Pom-Poms

These pretty patterned cupcake liner pom-poms featured in our book Handmade Weddings (published by Chronicle Books) are perfect for a wedding celebration or casual party at home. Just a bit of glue and string will transform your ordinary cupcake liners into festive pom-pom strands. Mix and match colors and patterns to compliment your party palette and your decor will be a huge hit. Hang them in your living room, over your reception tables, or in your cocktail area for instant DIY delight!

Materials

Makes six 12-foot strands

• 720 cupcake liners, approximately 120 per strand

• Six 12-foot lengths white kitchen string

Tools

• Bone folder (or popsicle sticks work, too!)

• Rubber bands (optional)

• Glue sticks

• Clear tape

How to

1. Flatten and fold your cupcake liners. Using a bone folder, flatten each cupcake liner into a circle. Fold in half, wrong-side out. Repeat for all of your liners. You will need 10 identical liners per pom-pom. If you are using a variety of patterns and colors, stack or rubber band them by pattern. If your cupcake liners have scalloped edges, be sure to fold them along the same axis every time. This will ensure that the segments that make up each pom-pom are all symmetrical, making for a pleasing whole.

2. Make the pom-poms. Place 10 folded cupcake liners, of the same pattern and color, on your work surface. Using a glue stick, spread glue over one-half of a cupcake liner. Align it to the corresponding half of a second cupcake liner. Press down and smooth with your bone folder (figure 1, page 29). Let dry. Continue attaching the cupcake liner halves, smoothing each segment as you go to ensure a secure bond. Do not glue the last segment. When complete, the pom-pom will form an accordion-like sphere with one open segment, which allows you to flatten the pom-pom into a circle (figure 2). Let dry completely. Continue making pom-poms.

3. Attach the pom-poms to the string. Leaving about 2 feet on either end of the garland for hanging, attach the pom-poms along the string, at 2-inch intervals (or greater if desired). To attach, lay a flattened pom-pom on your work surface and align the string along its central axis (i.e., along the crease). Secure the string with two small pieces of clear tape, one on each end of the pom-pom. Spread glue over one half of the circle, as well as on the string, and sandwich the two halves of the open segment together, trapping the string (figure 3). Let dry. When all the pom-poms are attached and dry, hang the garland. “Fluff” the pom-pom segments by hand to create full circles.

Get your own copy of Handmade Weddings here. Happy crafting!

Fabulous garlands

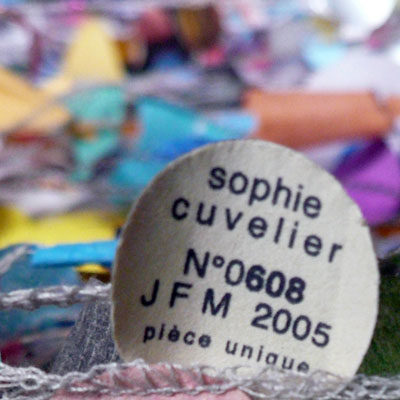
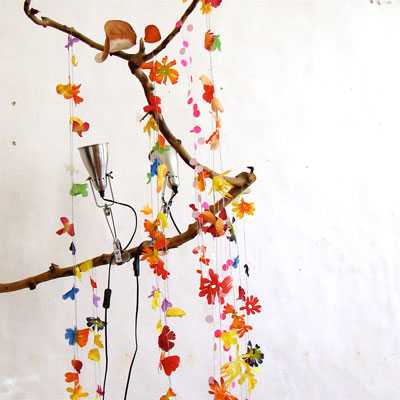
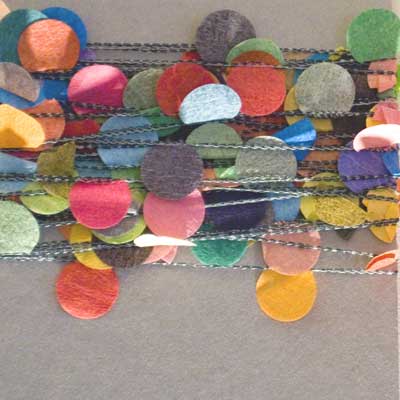
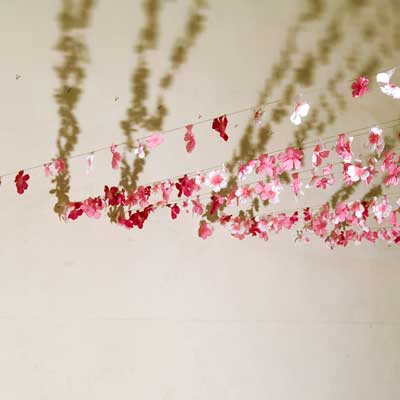
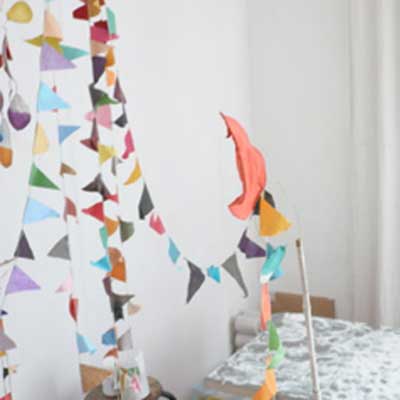
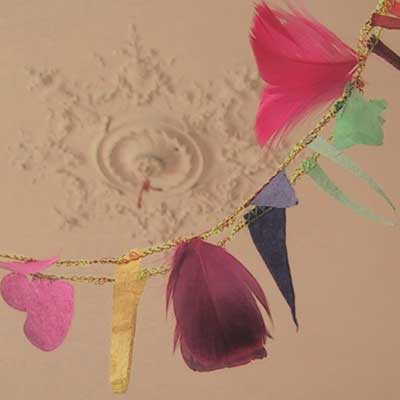
Sophie Culvelier Sophie Cuvelier is a fabulous french artist we came across via frolic, who creates amazing garlands out of hand-dyed paper, feathers, and bits.  We love the colors, the whimsy and imperfect charm.  Adorable to hang in a playroom and how amazing would these look strung up in great quantities at a wedding? We are très inspired!

Sophie Culvelier flower garland

Sophie Culvelier dot garland

Sophie Culvelier flower garland

Sophie Culvelier flags garland

Sophie Culvelier flowers and feathers garland

The Flea: Sombrero-wearing Frogs and More!

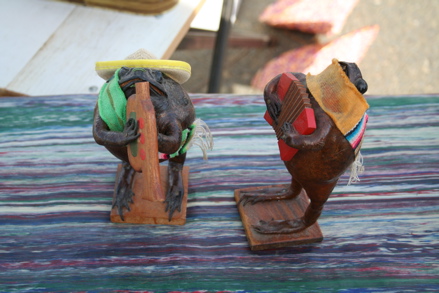
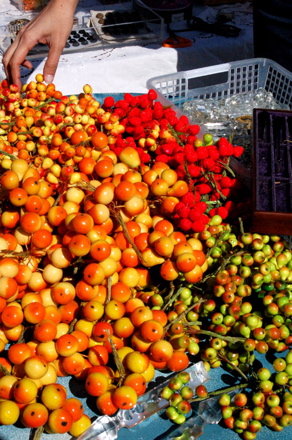
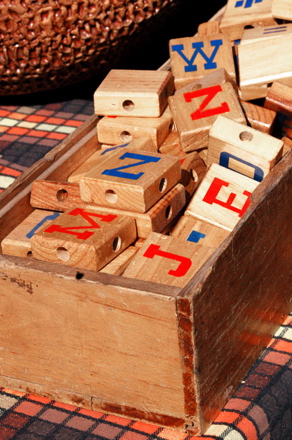
Flea 30Flea 22Flea 11Flea 33 Where on earth can you find a sombrero-wearing frog, and his accordion-playing campadre? Why, at the Alameda Flea Market, of course! But, seriously, we love the flea for its numerous collectibles that can be used, among other things, to decorate a room, wrap a gift, or add flair to parties. These cherry and strawberry millinery notions, for example, can be tied to a gift with ribbon, or twined around napkins at a dinner party. We've used kids' alphabet blocks to spell guests' initials at place settings at a baby shower. Mix-and-match salt and pepper shakers are perfect for a large sit-down dinner or vintage-inspired wedding. There is just so much inspiration at the flea - your imagination (and your husband/boyfriend/fiance's/roommate's tolerance for vintage ephemera) is the only limit!