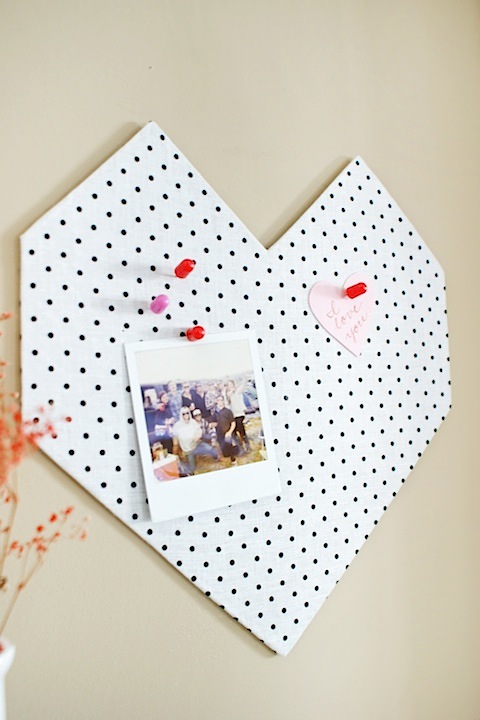
DIY Valentine's Day Geo Heart Bulletin

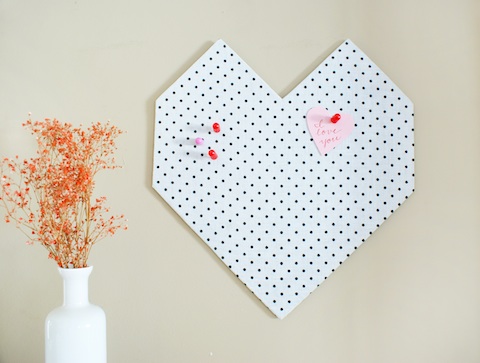
Our next DIY doesn't just have to make an appearance for Valentine's Day. It's a nice addition to any home decor and it's sleek shape would look great year round! Geometric shapes are trending around the blogosphere lately, and we're really into the look. This DIY Geo Heart Bulletin is fun and functional, and the perfect way to show your home some love. Instructions below!

Materials:

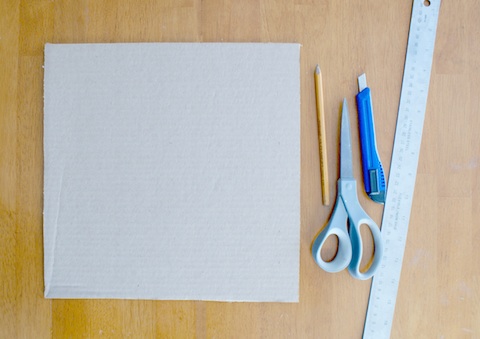
12" x 12" cardboard* (recycle from an old box!), Pencil, Box cutter or sharp scissors, Ruler, 18" x 18" fabric, Spray adhesive, Hot Glue and gun, Foamfast hanger or command hook for hanging

*Make sure your cardboard is 1/4" thick, so pins don't poke through to the back

Instructions:

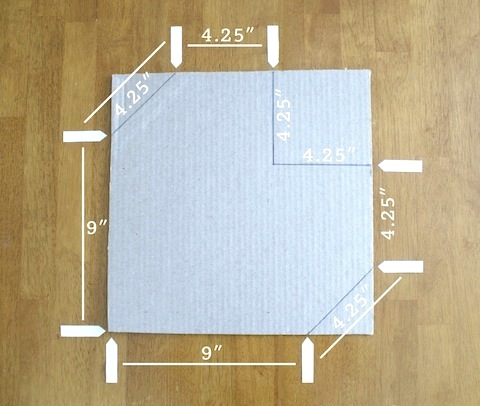
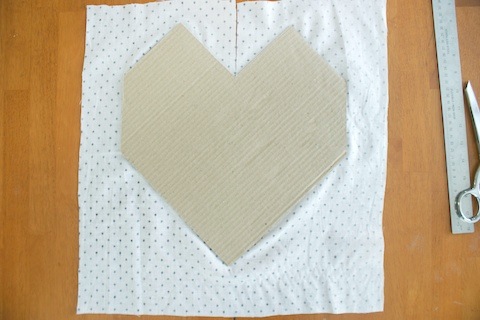
Step 1. Measure your heart shape. The two long sides are 9", the rest are 4.25". See below for reference.

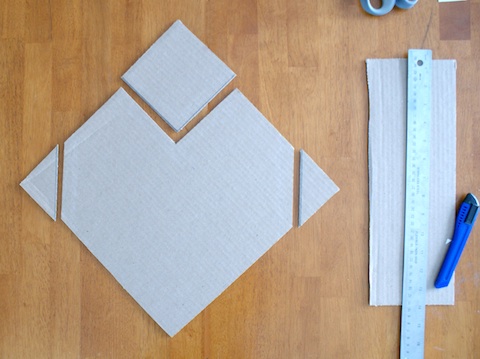
Step 2. Use your box cutter or scissors to cut out your shape. Discard scraps. Be sure you use a scrap of cardboard or a magazine underneath to prevent cutting your work surface!

Step 3. Apply a thin, even layer of spray adhesive to one side of the heart and smooth on the fabric. Use your fingers to smooth any bubbles. Use scissors to make a slit directly above the point of the heart.

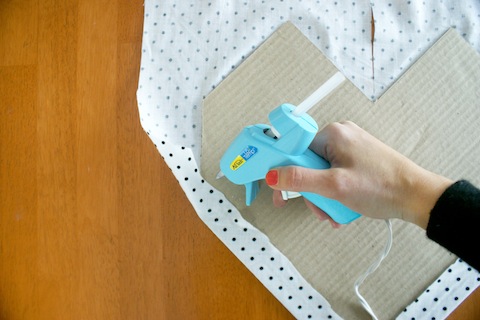
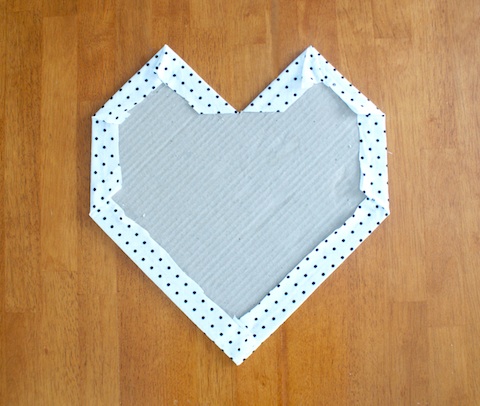
Step 4. Fold the edges of fabric over to the back side. Secure with hot glue, about 1/2" from the edge. Snip any excess fabric off and discard.

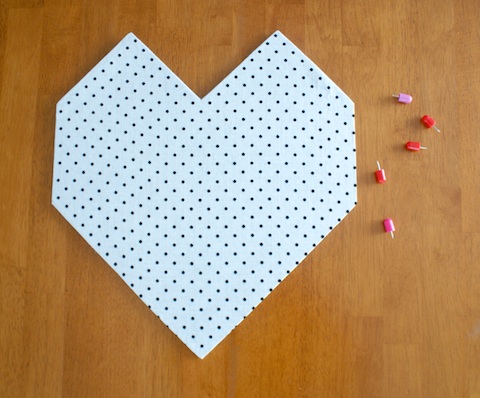
Step 5. Voila! These Foamfast hangers or command strips will work well for hanging.

Leave your loved ones a special note on Valentine's Day or use it to pin up special photos. It's lightweight and easy to make!

For more festive DIY ideas, visit our website!

Creative Bug "I made this" Contest

Our friends over at Creativebug have come up with a genius I Made This! Contest that we're certain our Hello!Lucky readers will enjoy. If you like crafting, and if you like Pinterest, then this contest is definitely up your alley. Creativebug is giving away an incredible list of prizes, from memberships to their online workshops, to complete kits of all your favorite projects. Our team is just one of many participants, so there are tons of ways you can get involved. Below is a full list of instructions and just a glimpse of what you can win, but head over to the Creativebug website for more info and terms. Be sure to share your ideas/comments on our blog or on Twitter and Facebook along the way.

To participate in this contest, you must first be following Creativebug on Pinterest, then create a Pinterest board that includes at least 5 projects you have made, or projects on Creativebug that you would like to make, plus an official contest pin from the Creativebug I made this! Contest Board at http://pinterest.com/creativebuginc/. Call your Pinterest board "I made this!" and then go to Creativebug's blog at http://blog.creativebug.com/i-made-this-contest/and enter the link to your Pinterest board and your email address so they can contact you and tell you when you WIN!

To increase your chances of winning, after you build your Pinterest board you can leave a comment on the Creativebug Blog with just your name and email address. You can also visit the blogs of all the Creativebug instructors, and leave a comment on their Creativebug contest posts. Each comment counts as one more entry! (Limit one comment per blog though.) Here's the list of my participating Creativebug pals:

Improv Sewing http://www.improvdiary.com

Rebecca Ringquist: http://www.drop-cloth.blogspot.com/

Jody Alexander: http://wishiwashistudio.blogspot.com

Liesl Gibson: http://oliverands.com/blog/

Jill Draper: http://jilldraperblogs.blogspot.com/

Cal Patch: http://hodgepodgefarm.net/

Rad Megan: http://radmegan.blogspot.com

Natalie Chanin: http://alabamachanin.com/journal/

Courtney Cerruti: http://www.papermusingsblog.blogspot.com/

Megumi Inouye: http://giftwrapbymegumi.blogspot.com/

Heather Ross: http://heatherross.squarespace.com/journal/

To read the full page o' rules, click here http://blog.creativebug.com/imadethis-terms, but in the meantime, start pinning!

Good luck everyone!