Creativebug Video Shoot

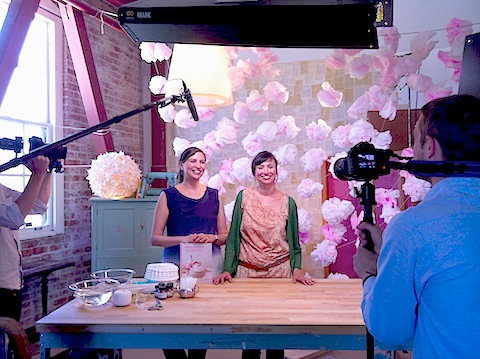
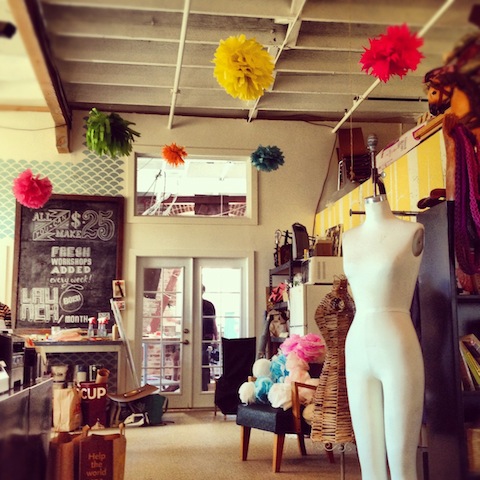
Earlier this summer we were in and out of the Creativebug studios shooting four different craft video tutorials, the first of which debuts on their site today!

Creativebug is a new website dedicated to online art and craft instruction. They offer high quality video workshops on almost any topic - from pottery to bookbinding. They have some amazing crafty superstars in their lineup already and we're totally honored to have been asked to be instructors. Right now you can take classes from people like Diana Fayt, Natalie Chanin, Debbie Stoller, and others - check out the complete list of instructors here. They're constantly adding new videos and teachers to the site so be sure to check back often.

 Our videos are focused on crafts to make for parties and can be adapted for any size event from a big wedding to a small birthday gathering. We had lots of fun shooting them and we hope you check them out! You can view our trailer and tutorials here.

Thanks to the amazing team at Creativebug for making the experience such a great one. We can't wait to shoot more!

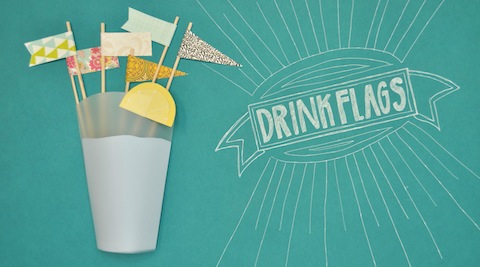
DIY Patterned Papers: Drink Flags

The next video in our DIY Paper Details series is our favorite reception accessory - DIY Drink Flags! There are three easy templates for making festive flags for your party drinks. Your guests will certainly see your details come together if you match your papers with your wedding invitations or table numbers. Watch the video or see below for full instructions!

DIY Drink Flags from Hello!Lucky on Vimeo.

 Materials:

DIY Drink Flag Template, Printer, 1 sheet cardstock, 8.5 x 11” (US) or A4 (UK), Ruler, Bone folder, or a butter knife, Cutting mat, or a magazine, Craft knife, Pencil, Patterned paper, Glue stick, Skewer sticks

How To:

Step 1. Print out the template. Print this template on card stock. Make sure your printer is set to 100% (or, “no scaling”) to ensure that the template prints to scale. Step 2. Cut out the template. Using a ruler, craft knife, and cutting mat, cut out the drink flag template. Step 3. Trace the template. With a pencil, trace the drink flag templates onto each sheet of pattern paper. Step 4. Cut out each flag. Using a ruler, craft knife, and cutting mat, cut out the flags. Step 5.  Fold each flag in half. Fold the flags in half and use a bone folder to smooth the crease, marking your center. Step 6. Glue in skewers. Apply glue to one side of the inside of your flags. Place the skewer stick in the center, leaving about ¼” space at the top. Fold and smooth to secure.

Fore more paper DIY projects visit our website!

DIY Patterned Papers: Belly Bands

DIY Belly Bands from Hello!Lucky on Vimeo.

The next video in our series of DIY Paper Details is DIY Belly Bands! These little strips of paper are a very practical and simple way to add some character to your wedding suite while keeping all your inserts together. With basic instructions like cutting lines and folding twice, you will be shocked at how easy the process is. Dress yours up with a nice ribbon tie or lace paper trim for a more elegant approach. Watch the video and see below for full instructions!

Materials:

DIY Bellyband Template, Printer, 1 sheet cardstock, 8.5 x 11” (US) or A4 (UK), Ruler, Bone folder, or a butter knife, Cutting mat, or a magazine, Craft knife, Pencil, Patterned paper (one sheet makes 4 bands), Glue Stick

How To:

Step 1. Print out the template. Print this template on card stock. Make sure your printer is set to 100% (or, “no scaling”) to ensure that the template prints to scale. Step 2. Cut out the template. Using a ruler, craft knife, and cutting mat, cut out the belly band template. Step 3. Trace the template. With a pencil, trace the belly band template onto each sheet of pattern paper. Repeat. One sheet of patterned paper fits 4 belly bands. Step 4. Cut out each belly band. Using a ruler, craft knife, and cutting mat, cut out the belly bands. Step 5.  Wrap the belly bands. Using a ruler and bone folder or butter knife, make a fold 3” on both ends of the band. Place each band in the center your invitation. Flip the invitation and band over. Apply about a ½” strip of glue to the back side of one end of your band. Set over the top of the other end and smooth to secure.

For more crafty paper projects, head over to the DIY section of our website here!

Sweet San Francisco Wedding + Video

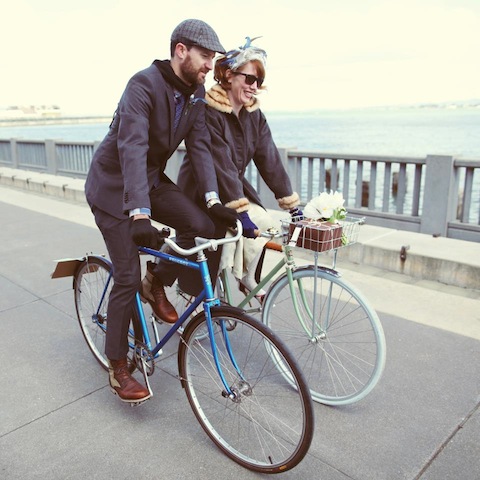
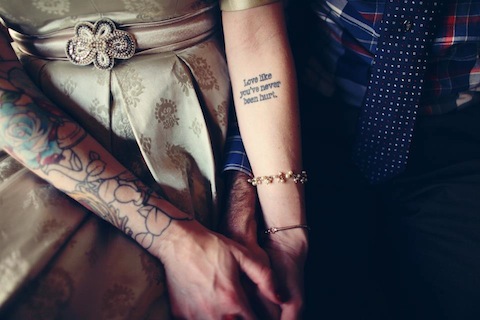
Our friend Greg recently married his darling Mel on a windy day underneath the Bay Bridge. Complete with their closest family and friends and a bunch of bicycles, their wedding didn't need anything more.  The couple loves cycling so much they're on a tour de Europe on their very own bikes. What a terrific way to see the sights while doing what you love!

Oh how we love our home. This lovely video by Tony Benna emphasizes all the things about San Francisco we couldn't live without. The bay breeze, the gorgeous cityscape, the incredible food (including a cake from Miette!) and so much more. And, we're giving huge props to Mel for biking in those heels. Enjoy!

Photography by Traci Griffin Photography

On Press: Dinosaurs--Polymer Plates

This is the first in a series of videos on the production of our "Dinosaurs" birthday card designed by Julia Rothman. Here Max demonstrates the polymer plate making process.

To create the plates, we first start with a film that has a clear image area and an opaque non-image area. We place this film on top of the polymer plate that has a layer of photo sensitive emulsion and expose it to UV light. The light that shines through the clear image area of the film hardens the light sensitive emulsion. Then we scrub the unexposed soft emulsion away, leaving a raised relief plate. After rinsing the plate and putting it on a heating tray to dry, we expose the plate to light again for added strength. Lastly, we apply an adhesive backing to attach the polymer plate to a boxcar base.

Stay tuned next week for the next step in creating this letterpress Dinosaur greeting card.

On Press: Cross Stitch

This week on press is the new Susy Jack* design for Hello!Lucky: Cross Stitch. Here is a video of Hello!Lucky's printer, James, positioning the polymer plate, setting up the press, and printing samples of the new design.

This design will be available on the site soon!

The Hello!Lucky Video

Hello!Lucky Studio from Hello!Lucky on Vimeo.

It's finally here! We've always wanted to give our fans and friends an inside peek into the daily lives of the Hello!Lucky team. This video has been in the making for awhile now, and after all the finishing touches were set in place, it's ready for opening day! The super talented Ryan Khavari of Arkaypix spent a few days with us at the San Francisco studio and captured all the right vibes. The cheerful tunes written just for us are by the amazing bay area musician Roger Riedlbauer. We're just thrilled with the way it turned out! Stay tuned on our Vimeo site for more videos to come. Enjoy!