Stuff We Love: Crane & Canopy

mint-taylor-zoom-bigimage0

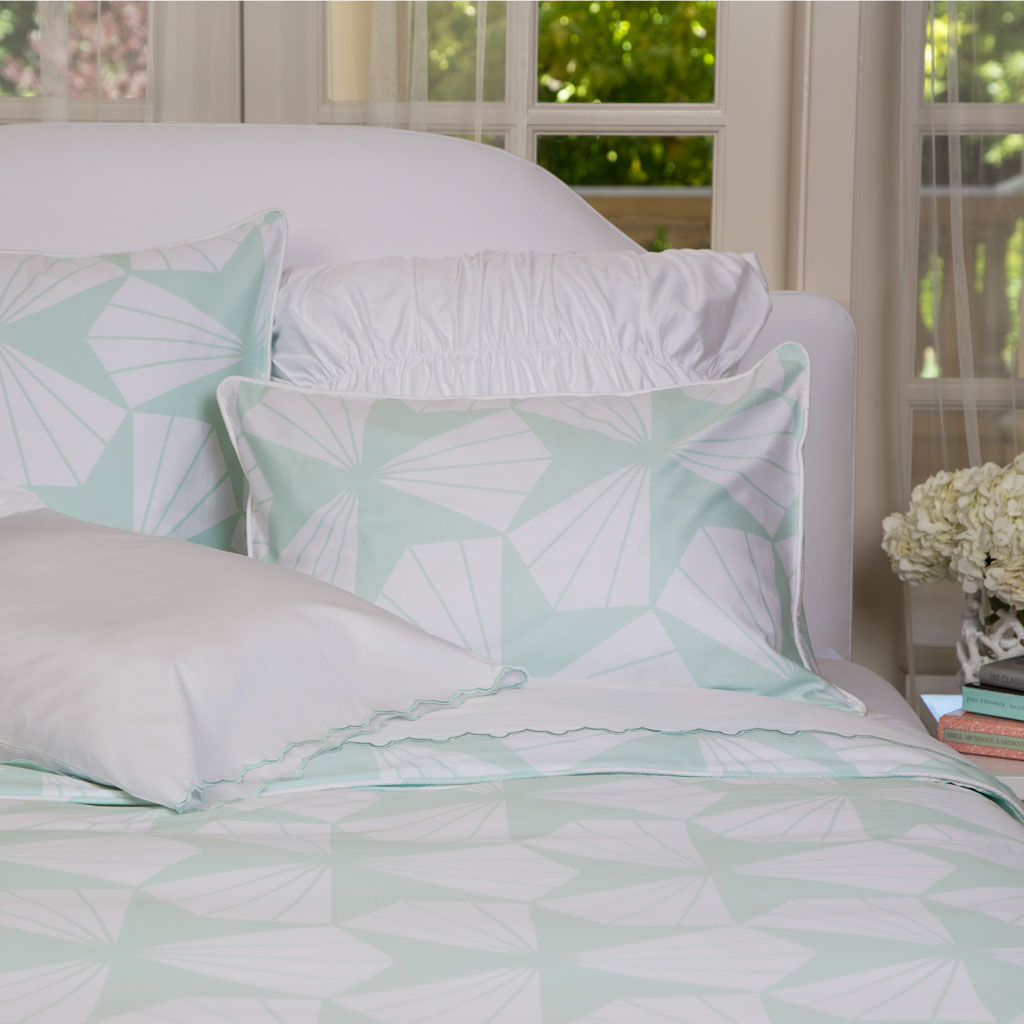
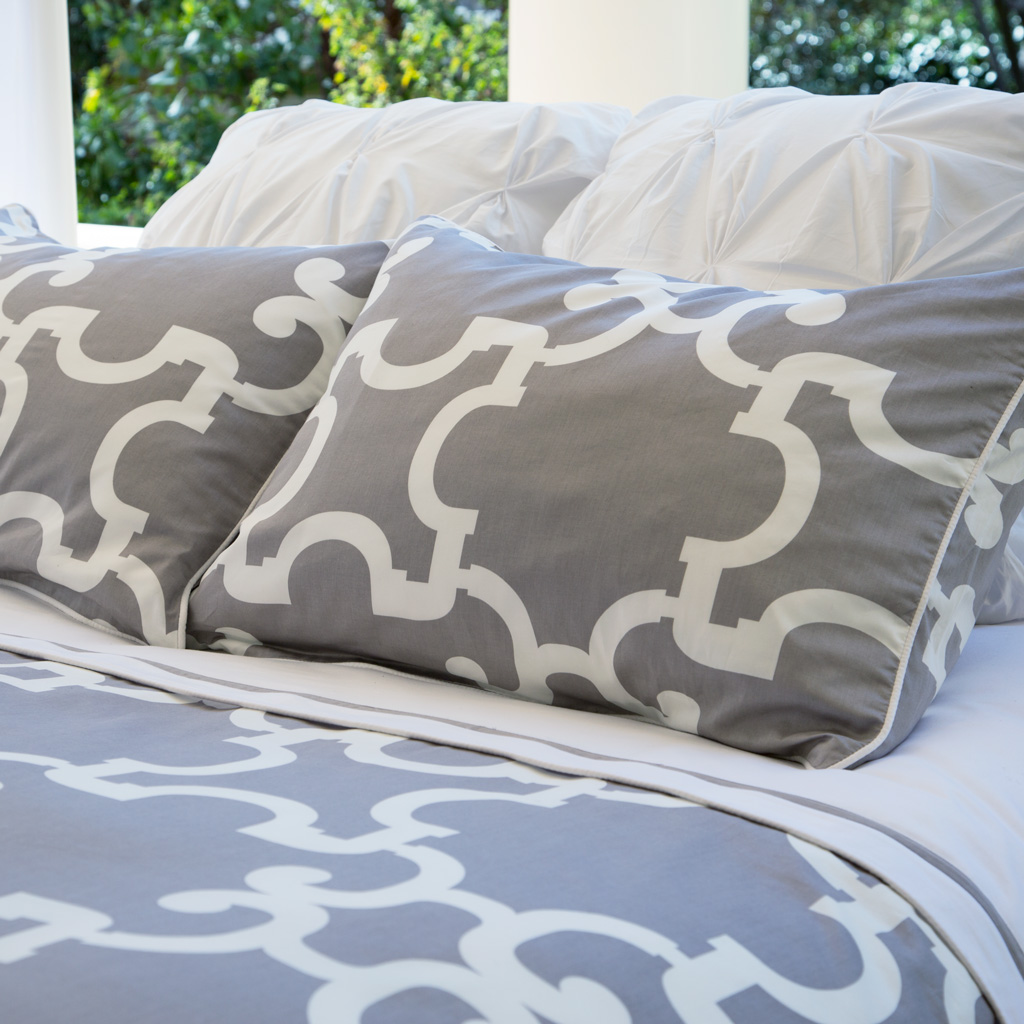
Lately we've been obsessing over the beautiful bedding and pretty home goods from Crane & Canopy. Besides coveting their lovely products we're also big fans of their story. Like so many great founders Karin Sheih created Crane & Canopy when she was looking for something she couldn't find. Shortly after purchasing her first house she was so excited to start decorating but quickly got frustrated when she couldn’t find exactly what she was looking for without breaking the bank. So she did what most sensible people do when they can't find what they need, she started a company that produces exactly what she was looking for -- high quality, innovative bedding and home goods, all available at a great price.

noe-gray-sig-bigimage0

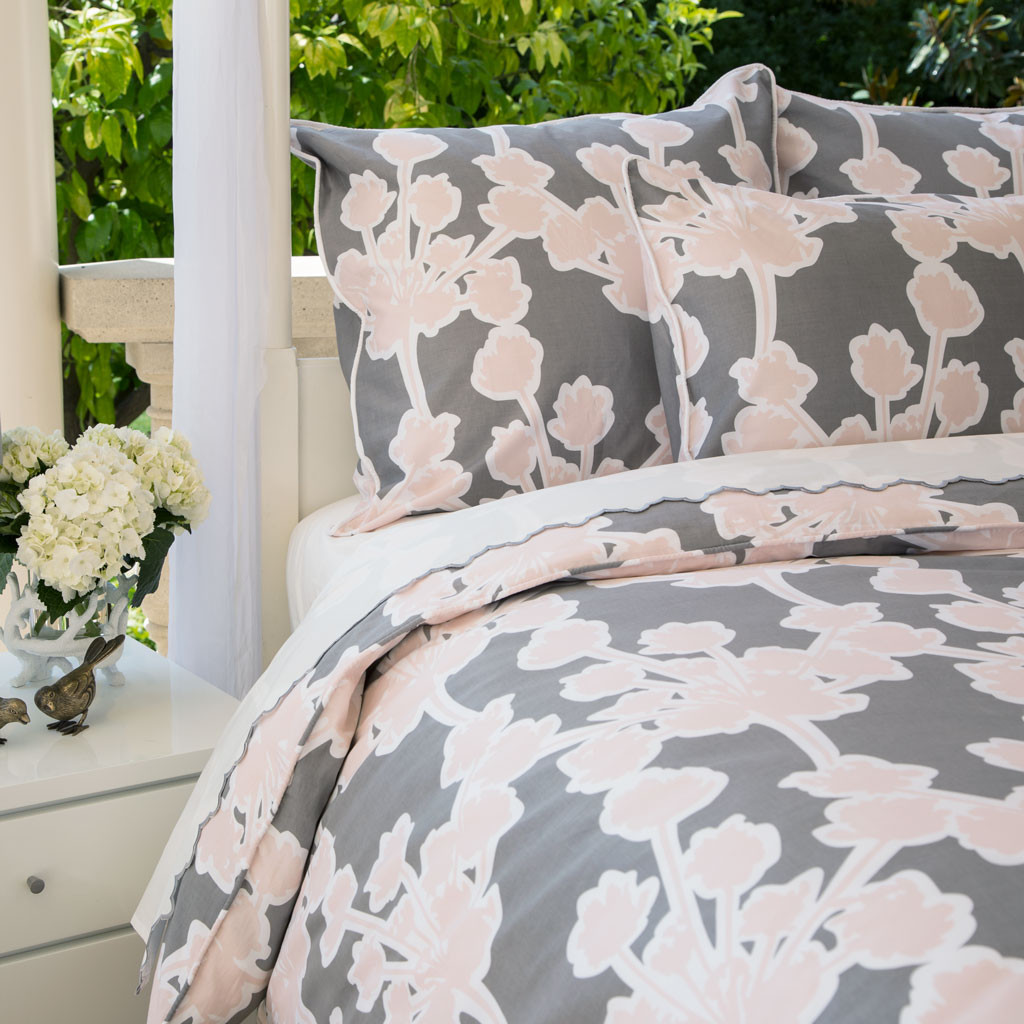
How pretty are these designs? We also love that many of their collections are named after San Francisco neighborhoods. Below is the Ashbury Pink, great name and great color palette.

crane and canopy bedding

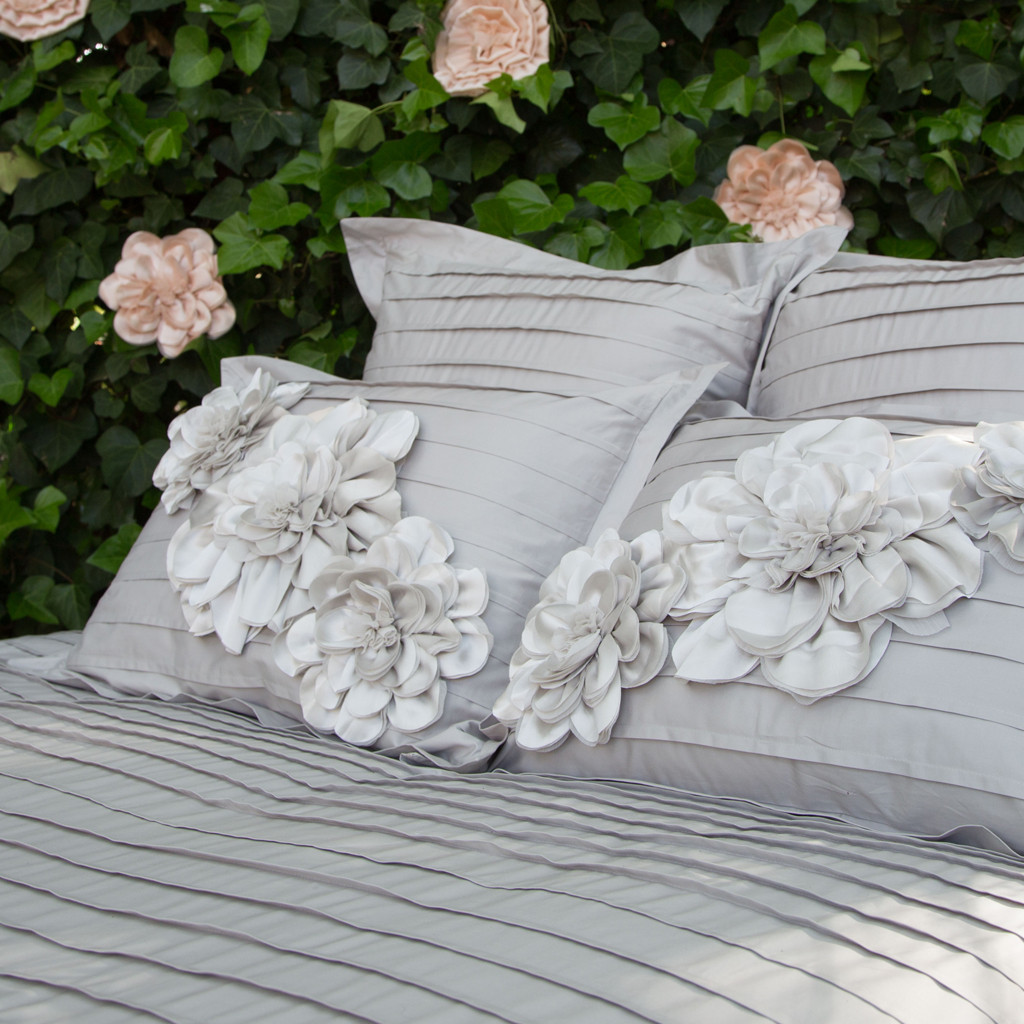
We're smitten with their new collection called Floral Belles, which allows you to mix and match with detachable flowers-- perfect for people who get bored quickly with their bedding, and a really fun way to freshen up bedroom decor.

floral-belles-bigimage0

If you haven't had a chance to check out their collections head to their site now!

They're also extending a discount to all Hello!Lucky friends, enter the code CRANEANDCANOPY+HELLOLUCKY for 10% off all orders over $150.


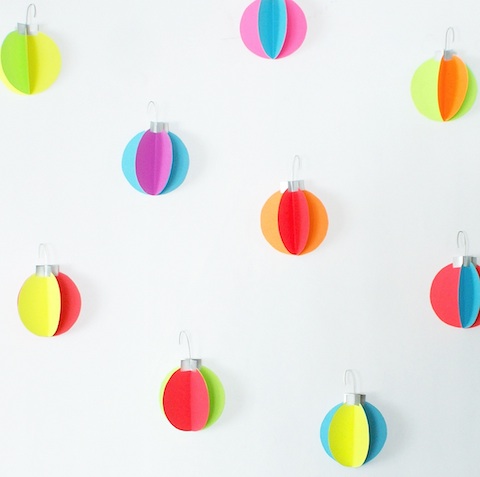
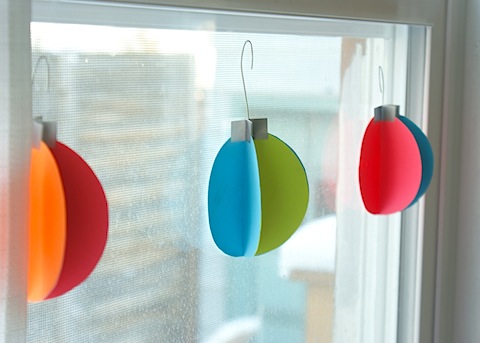
DIY Neon Ornament Wall Decals

Christmas is literally almost here but there's still time to spread some cheer around your home! We're big fans of decorating with items already found around the house, and since we're paper geeks, this DIY is dear to our hearts. Looking back at 2012 it was definitely the year of neon. Remember the boys' second birthday party? And our new neon kids birthday party invitations? We thought we'd spend one last time this year indulging in our neon fix before another fabulous trend comes in 2013. These DIY neon ornament wall decals were inspired the hot air balloon decals made by Gosh and Golly shown in Sabrina's nursery. Full instructions below!

Materials:

Neon Paper, Silver Paper, Mug & pencil - or circle-cutter, Scissors, Glue stick, Silver wire or ornament hooks, Hot Glue + Gun, Glue dots or sticky-tac

How To:

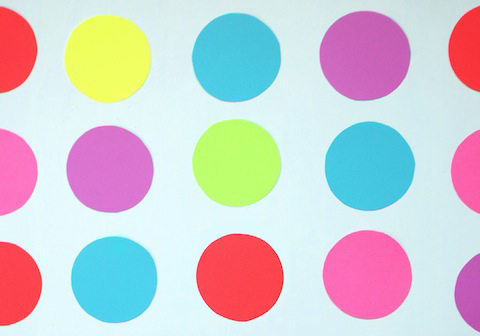
Step 1. Trace your circles onto sheets of colored paper and cut out with scissors. This part takes patience, unless you have a handy circle cutter at home. They come in all sizes, but 4" is a happy medium. As long as your circles are all the same size it will work.

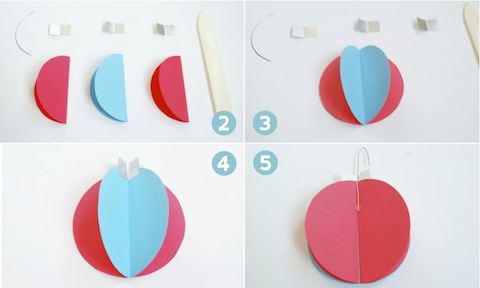
Step 2. Choose three colored circles and fold them in half.

Step 3. Glue the back of both sides of the center circle, then adhere to one side of the other two.

Step 4. Cut your silver paper into three 1" x .5" strips. Fold in half (hamburger style!) and glue one half of the back (hotdog style!) Then place at the top end of each of your folded circles.

Step 5. Cut your wire into 3" strips and fold the top .5" over with your finger. Or, if you have spare ornament hooks lying around, you can use those just as well. Place a small dab of hot glue on the back (flat side) of your paper ornament and set the flat end of the wire in place.

Step 6. When you're ready to display, place a dab of sticky-tac or a small glue dot on the back and you're done! Be careful when you remove the wall decals that you do not remove too quickly. With glue dots you can slowly peel of and rub the excess off with a finger, or twist to remove. Sticky-tac is probably more gentle on paint but the decals might not stay in place as long.

Happy crafting and Happy Holidays!

DIY Thanksgiving: 5 Uses for Patterned Papers

Thanksgiving happens to be one of the favorite holidays among our team. Something about the cold air, gathering of families, and cooking together warms our hearts. While it's meant to be a time to reflect and give thanks, sometimes the preoccupation with the perfect holiday decor takes its toll. We're flooded with images of the fanciest table tops and gourmet recipes, but not all of us have the time (or budget!) to go all-out for the big feast. If you are the lucky one hosting Thanksgiving this year and are looking for affordable, simple, and festive decor, our patterned papers are a great go-to. We've come up with 5 uses for patterned papers that you can make in no time, and just in time for your guests to arrive. Shown here is our classic Marquee pattern, but there are lots to choose from!

1. Patterned Paper Jar Lids: You may have to fight for the leftovers, but sending friends and family members home with equal portions is a great way to share. Or, send them home with a hand-made treat as a thanks-for-coming favor. Simply cut a 4.5" square (or 5.5" square for wide-mouth jars) of patterned paper. Place the metal lid cover over the jar, then set your paper square on top. Twist the screw-on cap over the paper and lid to ensure closure. You may need to press hard!

2. Patterned Paper Napkin Rings: The possibilities are endless here. With a starter shape of 1.5" x 7" you can double the napkin ring as a personalized place card by gluing a .5" x 2" piece of paper on top. Or, take a 2.5" x 8" strip, cut out a leaf shape on one end, and trim the other end to 1" wide. Apply glue to 1/2" of one side and seal under the other.

3. Patterned Paper Thankful Chain: Keep the kids busy or adults guessing with this paper Thankful Chain! It's a new twist on the Christmas paper chain, with a whole new meaning. Cut 1.5" x 7" strips of paper and ask your guests write a few things they are thankful for on one side. Glue one end of the strip under the other end and repeat, looping the next strip through your first chain. When assembled, hang above the table for decor or spread around the table. Throughout the meal you (or the kids) can read each strip and reflect - make it a game and guess who said what!

4. Patterned Paper drink flags/stirrers: Every party needs some of these. Celebrate the autumn weather by cutting your flags into leaf shapes. Start with a 1.5" x 5" strip and fold in half. Open it back up, draw your shape on one half of the blank side of the paper, fold in half again, then cut out. Reverse the fold, apply glue to one side, place a skewer or straw in the center then hold to adhere.

5. Patterned Paper Place Card Holders: Thanks to Martha Stewart for this idea, keep things simple with a folded paper place card holder. We scaled ours down to a 3" x 3.75" piece of paper, folded in half, then folded in half again, creating three 3/4" folds. Unfold the paper, and reverse one fold, making an "M" shape. Place your place card inside and voila!

For more pretty patterned paper ideas and DIY crafts, visit our website here!


Halloween Craft Roundup

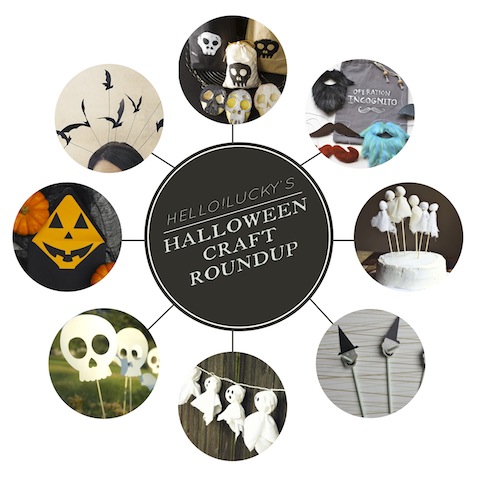
Witch hats, black cats, ghosts and gourds, all these things that represent Halloween make wonderful holiday decorations and crafts. This year we're overwhelmed with inspiration from around the web from sites like Pinterest and Craftgawker, so as Hallow's Eve draws nearer, we can easily keep track of our favorite DIYs. Our Halloween Craft Roundup has projects in multiple categories - from costume ideas to kids activities - and from quirky to sophisticated.

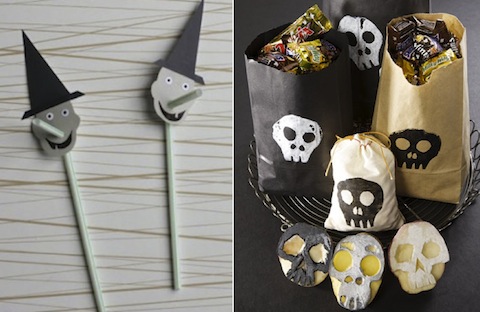
These easy and inexpensive kids craft ideas bring a little spook to your standard DIY. Straw toppers are super versatile and really simple to make. We love the idea of using the bendy straw as a nose. Props to Classic Play for coming up with a great idea for the kiddos. Next are these potato print candy bags by the ever-clever Martha Stewart. Again, this craft can be customized for any shape and it's totally suitable for children.

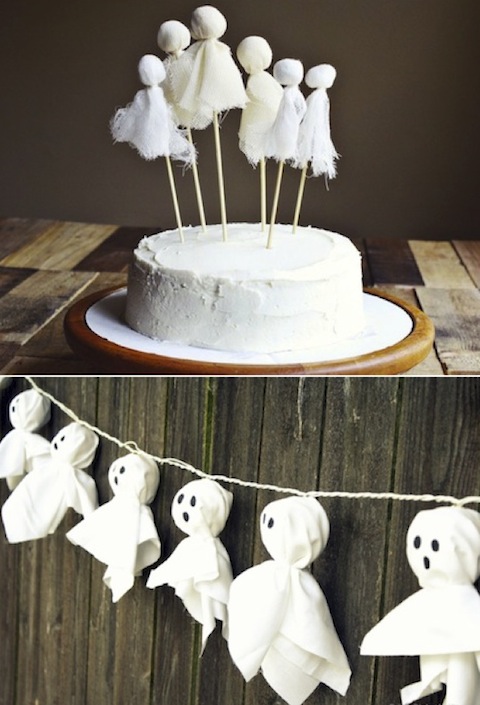
Grouping ghosts together keeps Halloween decor simple but with a subtle scare. This amazing ghostly cake by A Beautiful Mess is definitely going to make an appearance at our Halloween party. It's made with just cotton balls, cheese cloth, skewers and string (aside from the delicious looking layer cake). So simple and so pretty. Next is the playful ghost light garland by Design, Dining, and Diapers, made with cotton fabric, lantern lights, string, and black sharpie. Almost everyone has a set of string lights, so we are loving the quick and easy transformation into Halloween decor.

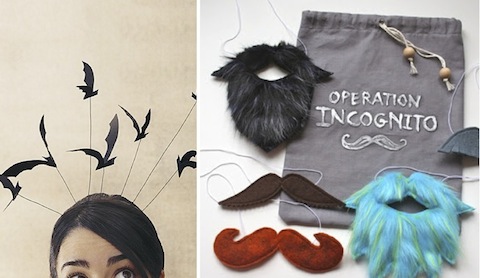
You may have noticed our obsession with Halloween costumes (see sketches for the boys this year), so it was hard to pick some favorites. This bat headband by Martha Stewart always comes to mind when thinking of quick adult costume ideas. Simple, spooky, and totally handmade. Just how we like it! Then there's the incredible Operation Incognito seen on mmmcrafts. You can buy the pdf patterns right here and in just a few quick stitches you'll be a whole new person.

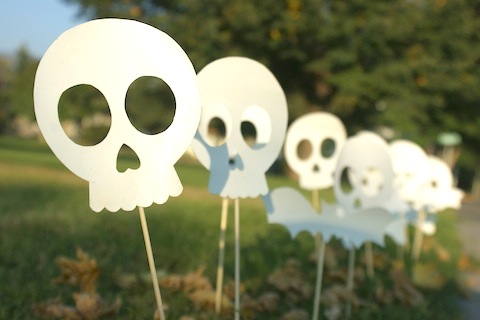
We couldn't help but include our DIY Sidewalk Skulls into the roundup. Check out the full instructions here!

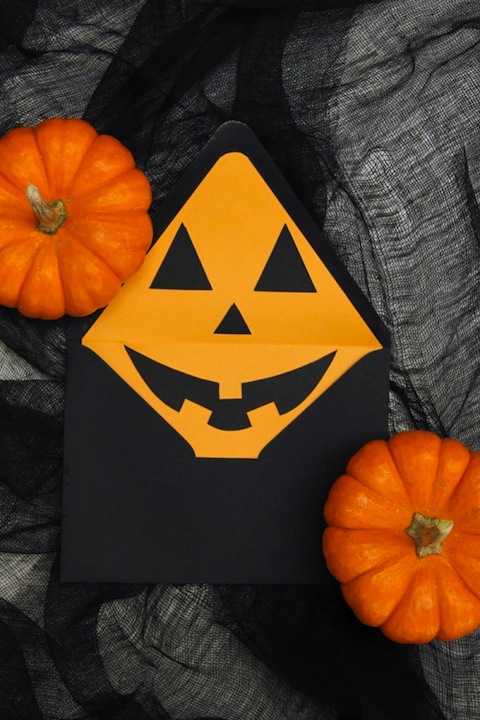
And last but not least, perhaps our most favorite DIY this season has to be these pumpkin envelope liners by Studio DIY. It's the perfect touch for sending out our free printable Halloween party invitation and is also easy to customize. We're blown away with all the talented people sharing their brilliant ideas. Halloween is just around the corner so get crafting today!

New Uses for Paint Swatches

paint-chip-boxes-stack

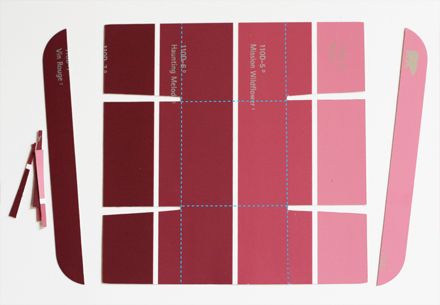
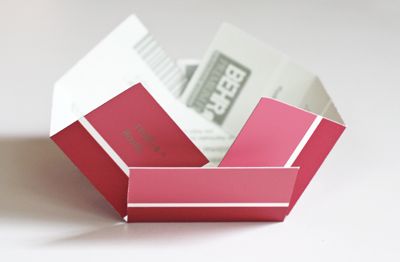
If you haven't seen them scattered around design blogs yet, check out these paint swatch boxes from How About Orange! What a perfect wedding favor box!

cut-out-box-bottom

You can customize them to match your wedding colors! Oh, the possibilities...

fold-flaps-inward

Take a peek at their other tutorial projects here.

blog 3 415

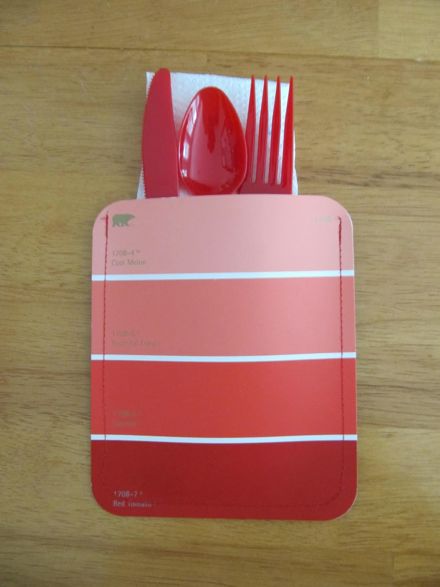
Sewn paint swatches as napkin/silverware holders from Sew Many Ways. These would make for an adorable table setting.

paint strip wall

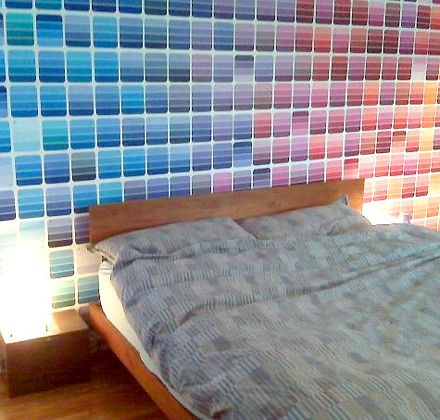
If you're really up for a challenge, try this Paint Swatch Wall Decoration from Design*Sponge! It's sure to impress!

Happy crafting!

Studio Snapshot: Charming wedding decor

IMG_4247

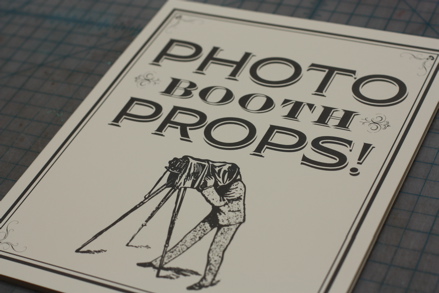
Whether charming, rustic, romantic, or sweet, the brilliance involved with this wedding for our overseas friends, Lisa and Rory is really something! We're currently putting together their day-of wedding materials - it's really coming together!

IMG_4264

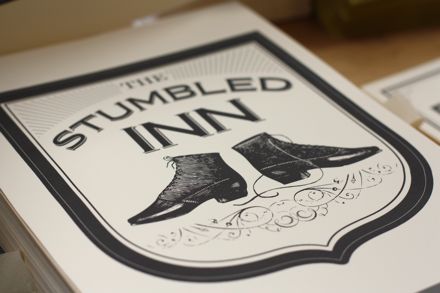
These vintage style pub signs are getting cut out and used as table numbers!

IMG_4230

IMG_4228

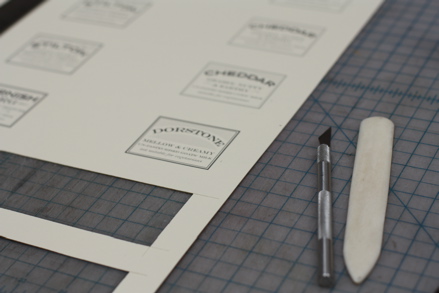
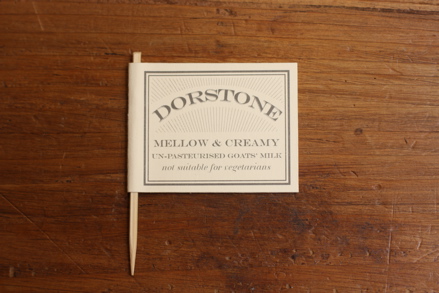
Say cheese! These tiny cheese signs will be dashing on display.

IMG_4293

IMG_4292

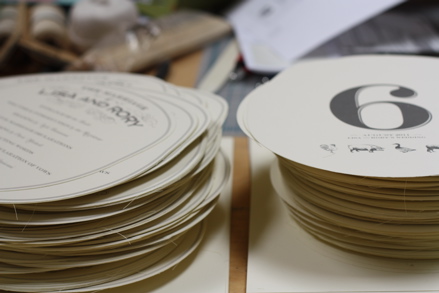
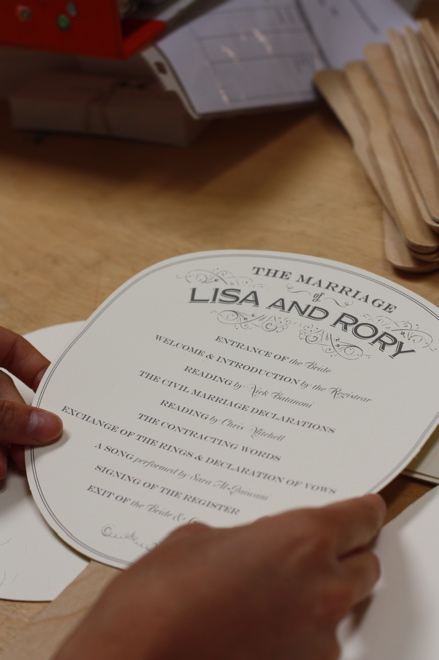
Each guest will have a program paddle fan to keep them cool! These are really turning out to be one of our signature products!