Susan Connor


Newly launched handmade goodness from Susan Connor. This New York based designer creates her patterned textiles using hand-drawn carved blocks. She prints on linen to create one of a kind throws and pillows. Each print is a little bit different, much like letterpress! See her full collection here!

Valentine's Cards for Meals on Wheels

Our employees love to get together after hours for holiday craft nights, especially if they benefit a good cause. Meals on Wheels has been providing meals to seniors since 1940 and has evolved into an extraordinary foundation for fighting hunger. For holidays the good people like to deliver cards to the seniors as a gift of love, and this year we decided to join in. All of our cards were handmade with love for the people supported by Meals on Wheels, and to know they were going to a good home was a beautiful thought.

As stationers, paper is our primary medium, so coming up with materials was a cinch. We try to save as many scraps as we can, knowing that they could come in handy for a card-making craft night.

Our team is the best at coming up with witty one-liners. We loved this "I a door you" card.

To support the Meals on Wheels Association of America, visit their website!

DIY Valentine's Day Candles

Valentine's Day is definitely one of our favorite holidays to celebrate. Christmas, Thanksgiving, Fourth of July, they're all a blast, but when we're given the thumbs up to decorate with all the pinks, fuchsias and reds we wish, we're overjoyed. Our Love/Valentine's card collection is one of our strongest (especially with the latest additions by Lisa Congdon) and our Big Day Pinterest Inspiration Board is overflowing with hearts and love. But it's really gearing up for the big 2/14 that get's us in the mood. The beauty of this DIY (found and inspired by the ladies at Design Mom!) is that you can use any color of wax, and cut in any shape you want, but we're going all out in hearts and XO's.

Materials: Colored candles or wax, candle wick, toothpicks, double-boiler or two pots, wax paper, small cookie cutters or knife

How To: Step 1. Using a double-boiler melt your wax. If you don't have a double-boiler, just stack one pot on top of anther. Add a little water to the bottom pot and bring to a boil. Rest the other pot on top (without touching the water).

*Try recycling those used or unwanted holiday candles for this project. It's a shame tossing out the bottom half of those delicious apple-pie scented wonders, so throw them in a pot and melt it down for a new facelift. Most wax will melt down well but we recommend you steer clear of beeswax.

Step 2. While your wax is melting, cover a flat work surface with wax paper, and snip your candle wick to about 1" stems. The length will depend on the shape so check your cookie-cutters in advance. You want the wick to reach about 1/3 or half of the way down your shape.

Step 3. After your wax is completely melted, allow to cool. *If you're using a recycled candle, remove any wick or wick stands.

Step 4. Once the wax starts to stick to the side of the pot, or a thin layer of skin forms at the top, you're ready to pour.

Step 5. Carefully pour the wax onto your covered work surface. You want to aim for 1/8 "- 1/4" thickness.

Step 6. Now you need to let the wax cool for about a minute before you start cutting your shapes. You can test the wax before cutting by pressing your finger into a corner. It should be firm but still hold the shape of your finger. You will need to pay close attention so that the wax does not get too firm before you cut.

Step 7. Cut your shapes out of the wax with your cookie cutter and remove excess wax.

Step 8. Carefully drive a toothpick up the center of the wax (about 1/2" - 1" depending).

Step 9. Finally, set your pre-cut wick into the top of the wax, leaving about 3/8" - 1/2" exposed.

Step 10. Allow to dry completely before use. You can reuse the excess wax again by simply melting in the same pot.

*Clean up tips: Allow the wax to completely dry in the pot and use a knife to gently pick it out. If you find there's still residue, boil water in the pot and while still warm, wash with soap and water. If it still doesn't come out, melt the dry wax and wipe with a paper towel, then wash with soap and water.

Happy crafting Valentine's Day lovers! For more fun DIY ideas, head over to our website!

Real Wedding: Anna and Andrew

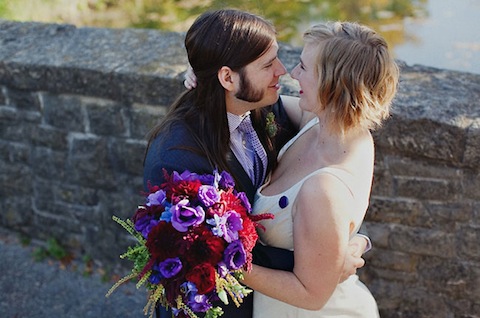
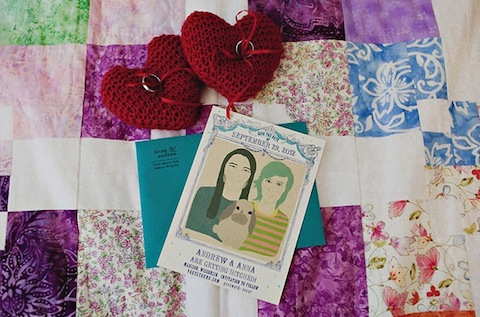
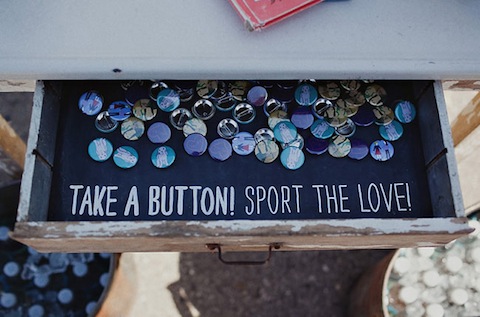
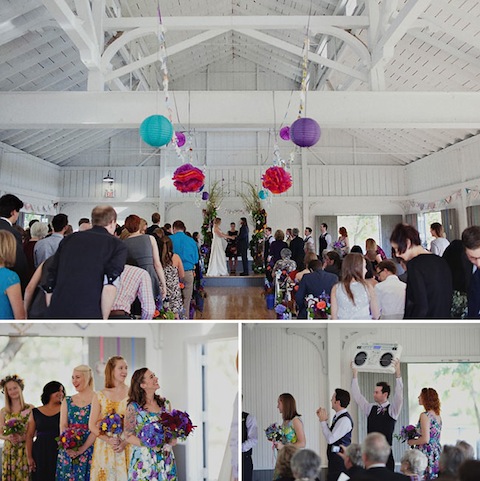
This dream DIY wedding takes homemade details to a whole new level. Anna and Andrew, both creative (and both musicians!), wanted to incorporate rich jewel tones and patterns into their Madison, Wisconsin wedding. With the help of some talented artists and some playful ideas, their save the dates and invitations were adorable and personal. Our Baroque Frame save the date card was the perfect amount of whimsy, and paired with a custom portrait by Ashley Goldberg it set the tone for the big event.

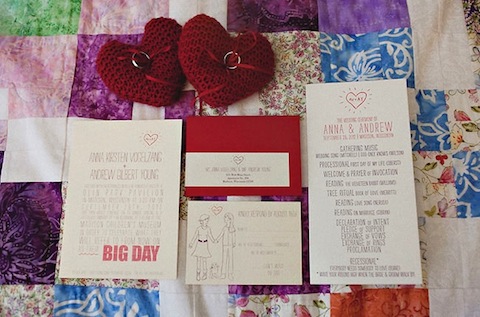
It's easy to customize our Big Day invitation! Anna and Andrew loved their custom portrait so much, they asked a friend to design the illustrations for their wedding suite. We love the initials inside the heart, and their bold red color palette.

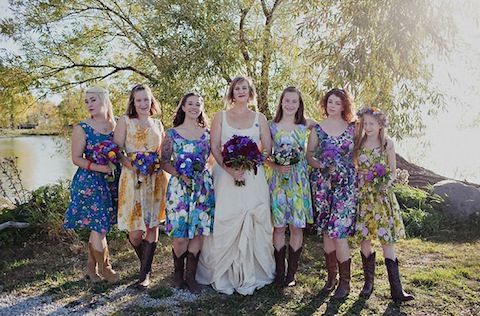
All the floral bridesmaids dresses were customized to each lady, too. Each one was hand-picked by Soho Mode and matched the decor perfectly.

Even our Big Day programs were paired with a handmade ribbon baton!

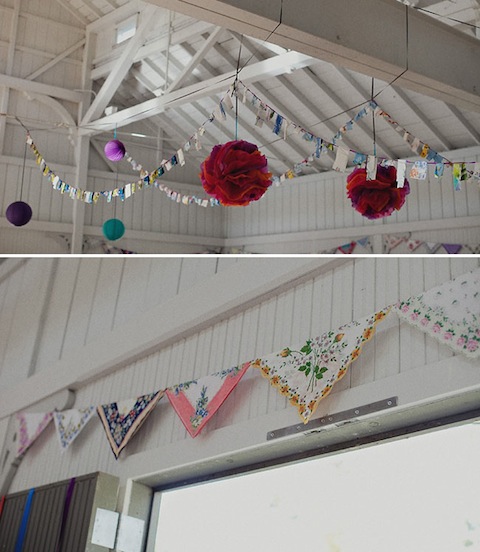
They really went above and beyond with their decor. It's colorful, lively, and looks like a grand ol' time.

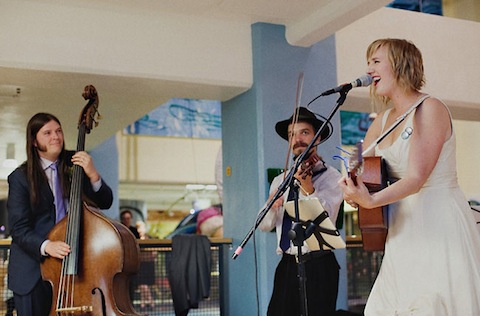
And what's a wedding for musicians without a little jam session?! The couple performed for the first time as husband and wife in front of family and friends and it was a great success.

Congratulations Anna and Andrew! For more photos, head over to Green Wedding Shoes!

Photos by Anda Marie Photography

DIY Color Block Holiday Cards

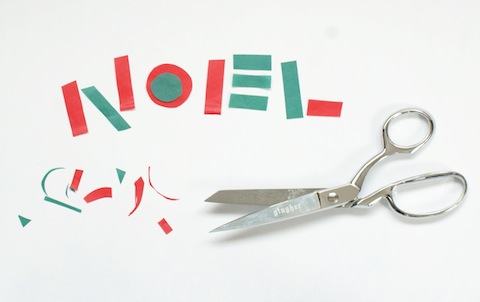
It's hard to believe Thanksgiving has passed and we're in the home stretch toward the holidays. Over the Thanksgiving weekend we were thankful for down time with family and friends, but itching to get decorating and DIY-ing for what's next. This can be a hectic time of year, so we're all about keeping things simple. This DIY Color Block Holiday Card project is a simple and inexpensive way to send cheer to your loved ones. And, you most likely have the majority of the supplies at home. It was inspired by our Color Block Kids Party Invitation (also available in pinks!) made for the boys' 2nd birthday party earlier this year, but we also have a new Color Block Holiday Photo Card with convenient customization. With some quick snips of colored tissue paper, you can recreate this bold typeface design into a one-of-a-kind Christmas card. Instructions below!

Materials needed:

Tissue Paper - We used green and red, but any combination would work! Just one sheet of each color will be plenty.

Blank Cards or Card Stock paper - Most craft stores sell 5" x 7" blank cards and matching envelopes, or you can cut a 10" x 7" sheet of card stock and fold in half. Use some spare envelopes or buy some from the craft store as well.

Bone Folder - For trouble-free folding!

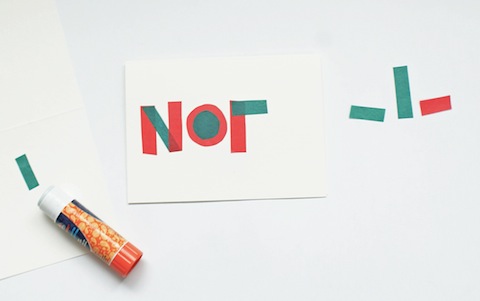
Glue Stick - Make sure the glue stick is new - or retains its moisture. If it's too sticky you will have trouble working with the tissue. Also be sure it dries clear.

Scissors - The sharper, the better! Cutting tissue paper is tricky because the paper is very delicate. Sharp scissors will make cutting a breeze.

Craft Knife (optional) - Some people are more comfortable cutting small pieces with a craft knife. Just be sure it's super sharp, to get a clean cut of tissue paper.

Step 1: Using just a small corner of tissue, start by cutting your shapes. For "Noel" each vertical line was about 2" x 1/4" and each horizontal line was about 1" x 1/4" but we say, the more imperfections the better.

Step 2: Glue your shapes onto your card, one at a time. This step can be frustrating, so bring on the patience. A nice, new, moist glue stick will be a tremendous help. We suggest using a blank piece of paper as a gluing surface. Gently (and we mean ever-so-softly) apply glue to one side of the tissue <insert frustrations here> It will be ok, just be gentle. Lay your piece of tissue down on the card and smooth with a glue-free finger. What we like best about the look of this DIY is the overlapping of colors. You can just apply glue directly on the card, then lay the tissue on top, but you will see the dried glue surrounding the shapes.

All done! You can get creative with this DIY and come up with any shapes you like. Our Color Block Kids Party Invitation had some fun arrows and scalloped edging, so we definitely wanted to include that in our cards.

We'd love to see the cards you come up with. Be sure to share any pictures on our Facebook page!

Happy crafting!

For more fun DIY ideas, visit our website!

Customer DIY Envelope Liners

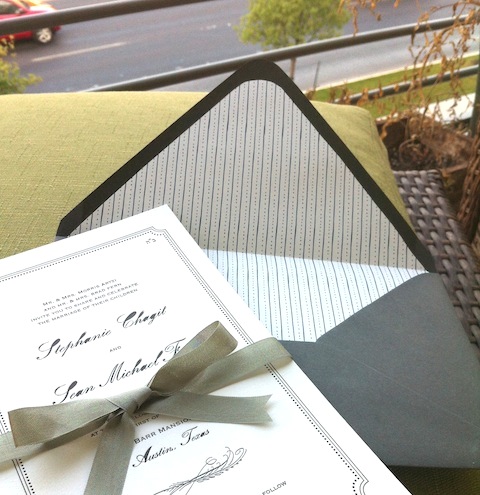
Our customers are loving our new DIY collection! This photo comes from the lovely Stephanie who hand made her own envelope liners from our Love Knot Patterned Paper. Her invitations were printed elsewhere but the patterned paper matched perfectly with her design. We love the cool grey color palette with the whimsical dotted lines. Excellent work Stephanie! Remember, you can make your very own envelope liners using this template!

For more wedding DIY projects, head over to our website here!

DIY Autumn Leaf Bowls

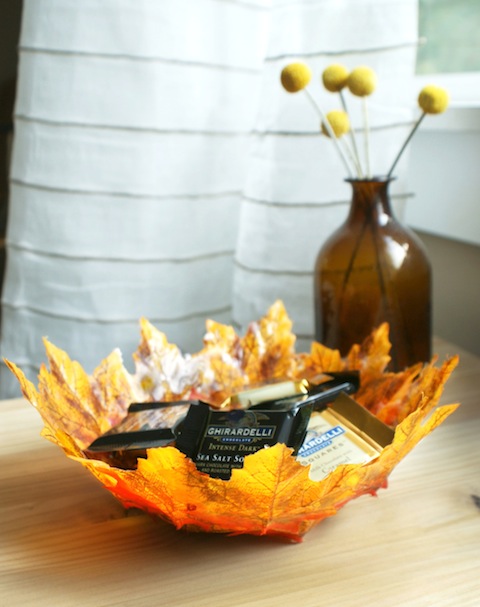
As we mentioned before, this is our favorite time of year for DIY decor. The chill is in the air and the leaves are changing color, and there's no better way to preserve the delight than by welcoming it into your home. Yes, the craft stores overflowing with autumn decorations can be intimidating, but there are ways to turn those faux autumn leaves into something beautiful and functional. Below are instructions for your very own autumn leaf bowl, perfect for holding your favorite scented potpourri or tasty Halloween treats.

Materials:

Craft store leaf garland, Mod Podge (matte finish), Foam Brush, Balloon, Scissors, Mixing bowl

*Tip: try to find thin, paper-like leaves for your garland. The thinner the leaves, the better they will mold to the shape of your balloon. Also, avoid any plastic-coated leaves.

How To:

1. Begin by snipping the leaves off the strand of garland. Leave about 1/8" at the base.

2. Carefully rip the entire plastic stem (and all the veins!) off of the faux leaves (See image above). This will help the leaves mold to the shape of the balloon.

3. Fill up your balloon to size. We stuck ours inside a mixing bowl to keep it in place.

4. With your mod podge in a cup near by, gently apply a thin layer on top of your balloon, starting in the middle and working your way out.

5. Lay a leaf on top of the wet mod podge and smooth with your fingers or foam brush. Once it's stuck in place, apply another thin layer of mod podge on top of that leaf. See image below.

6. Repeat, covering any empty spaces with smaller leaves.

7. When you reach about a quarter of the way down the balloon, add one or two leaves to the bottom of the bowl for extra weight and support. Allow to dry at least an hour.

8. When the mod podge is dry, carefully pop your balloon with a pin at the tied end, slowly letting the air out. Don't be alarmed if the leaves shrink down when the balloon deflates, it will return to its original shape after a minute or so. You may find that some of the mod podge will stick to the edges of your leaves, but you can just pick or cut it off.

9. Use your bowl to hold potpourri or little wrapped halloween candies. We love easy ways to liven up your home decor and this colorful DIY does the job well.

**Attention readers! Having trouble getting your leaves to stick? We're here to help. Be sure you remove the plastic "stems" from the faux leaves before trying to adhere them to your balloon. After you apply a layer of Mod Podge to your balloon, wait about 30 seconds or until the paste feels sticky, then gently press on your first leaves. If they start to bend upward, hold the leaves down at the tips with your finger. Keep a moist towel nearby to wipe any glue off your hands. This will help the leaves from sticking to your fingers. Feel free to comment below and ask questions - we'll email you as soon as possible!**

Looking for more DIY projects and free downloads? Head over to our site here.

Creative Bug Event Photos

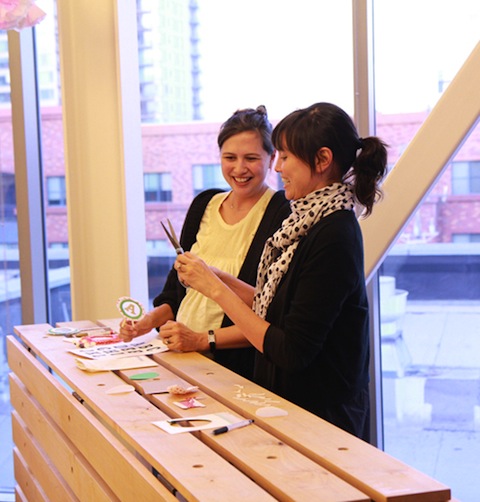
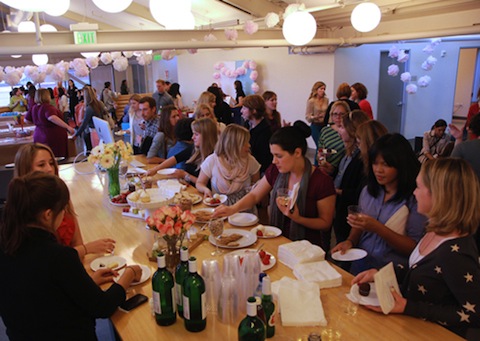
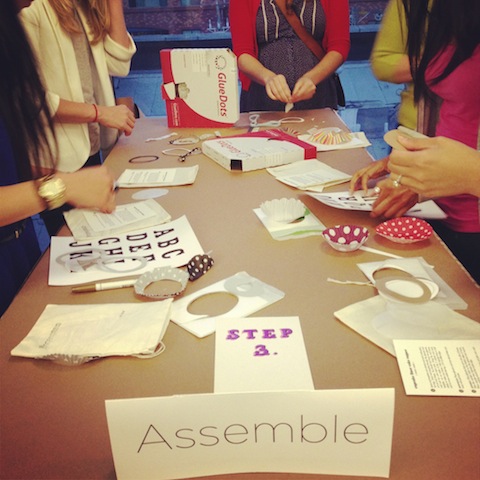
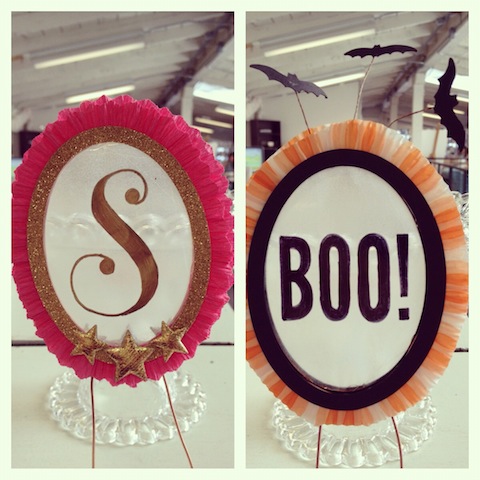
If you follow us on Instagram, then you know how great the turnout was at the Creative Bug Crafts, Cocktails & Cake-toppers event at Chronicle Books last week. There was a fantastic crowd of happy crafters and the handmade cake toppers were adorable. Eunice and Sabrina delivered a stellar performance, giving hands-on instructions for making these versatile decor items. We had a blast getting together with Creative Bug at Chronicle Books and want to extend a special thank you to all who were involved and all who came to enjoy the evening. Here are some of our favorite photos from the event. Don't worry if you missed it, because there is a great online workshop available at Creative Bug right here!

Stewey's Knitted Coasters

Do you have extra yarn laying around from unfinished craft projects? Take a tip from Stewey who turns his yarn scraps into colorful coasters for the cast of Hello!Lucky. Knitting is a bit daunting for Stewey, so to get practice and keep things manageable he whips out these small practice squares. It's a great way to use up extra yarn while preventing coffee and other drinks from making a mess on any pretty H!L stationery. And we love all the pops of color these sweet coasters bring to our desks!

Store Feature: Modern Mouse

This week we’re continuing with our vendor feature series and highlighting the lovely indie shop Modern Mouse. Opened in 2009 and tucked away in an open-air shopping center in Alameda, California, this sweet boutique offers loads of handcrafted goods. We asked owner Eleen Hsu some questions about how this unique shop got its start and what makes it so special.

What inspired you to open Modern Mouse? In mid-2009, I heard about a business plan competition offering the grand prize of a 1-year lease on a retail space at a local shopping center. I'd grown up crafting and loved the world of DIY/handmade, was running a tiny little business on Etsy selling handmade bags and dreamed of having my own brick-and-mortar shop, so I entered! I made it to the semi-finalists with a concept pretty close to Modern Mouse's current business model, but in the end I lost out to a learning cafe concept. A few months later, I noticed that CCA (California College of the Arts) had opened a pop-up shop in my neighborhood shopping center. Inspired, I wrote to the property manager and within 6 of the busiest weeks of my life, Modern Mouse opened its doors! We started off as a holiday pop-up shop with goods from about 50 artists, and 2 years later we've tripled our roster and thrive on being able to bring the amazing work of local and indie artists to our community.

What makes Modern Mouse so unique? One of the things that we think makes us unique is that we're such big fans of DIY that we love sharing it as much as we love selling it. Every month we host a Crafty Hour that's led by queen of crafting Polly Conway. We choose a fun craft that teaches a different skill each month, round up supplies (and of course snacks and beverages), and invite the community to join us for an enlightening evening of crafts! We also love putting a name, face, and story to the goods that our customers purchase. We display artist profile cards alongside their work, as well as feature each one on our blog. We've also started a series called "Show Your Studio" to give customers behind-the-scenes looks into where all the magic happens.

How long have you been carrying H!L cards? We started carrying Hello!Lucky cards just a few months after we opened. H!L cards are right up our alley because like most of our products, they're also locally made just across the bay in San Francisco! Not to mention that the H!L team makes it fun and super-easy to order. :]

Do you have a favorite or best selling card from us? Peeps is our best-selling H!L card! Unicorns and Lionheart are tied for second, and the Sock Monkey series are all around faves as well. My fave is the new Greetings from San Francisco card!

Can you tell us a little bit about your staff and what they are loving in the store right now? Fuzzy monster gear by Ghoulie Girls is a perennial favorite, but the plush critters by Phil Barbato have also recently snatched a special place in our hearts, along with 3 Fish Studios' "I Love California" prints. Not to mention, of course, the work of three of our very own talented staffers: Genevieve Santos of Le Petit Elefant, Polly Conway of Pollyannacowgirl and Marguerite Payne of Bella Beads!

Anything else? We're so grateful for the support of our customers, our artists, the handmade community and wonderful vendors like Hello!Lucky for making it a joy to do what we love!

Thanks Modern Mouse! If you live in the Bay Area, go say hello! The shop is located at 2228 S Shore Ctr, Ste A, Alameda, CA 94501.

Craft inspiration from Felt & Wire

PaperPhine_Color_White_All5_01

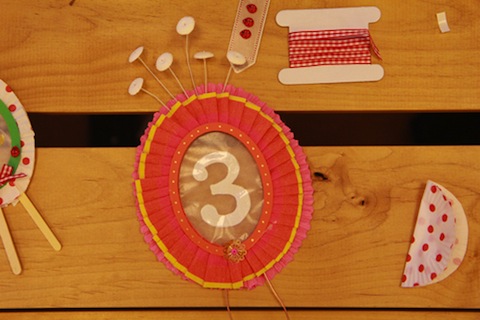
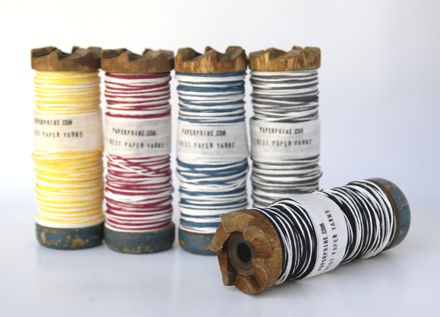
Calling all crafters! Felt and Wire is an excellent source for sprucing up your paper products and gifts. We piled a few of our favorites, but there are endless choices! Check out their shop here.

(above: Paperphine twine)

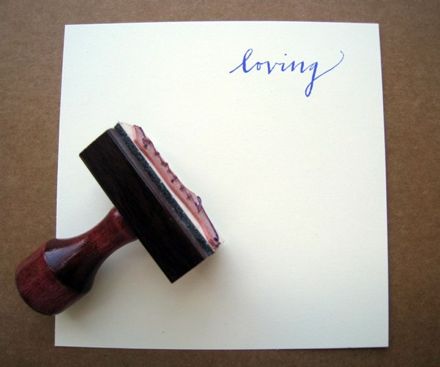
loving-1

Paperfinger stamp

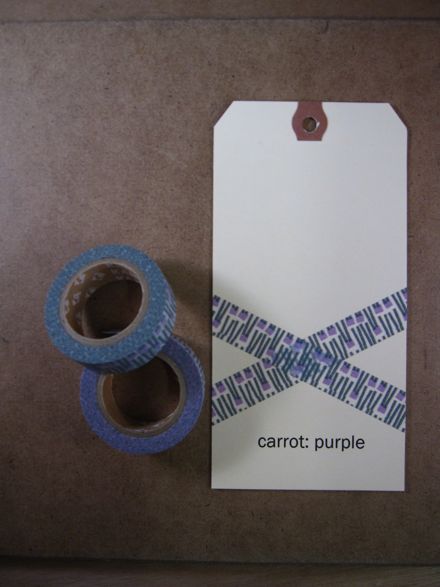
MT01D057-1

Top Hat tape

Jude's French flash cards

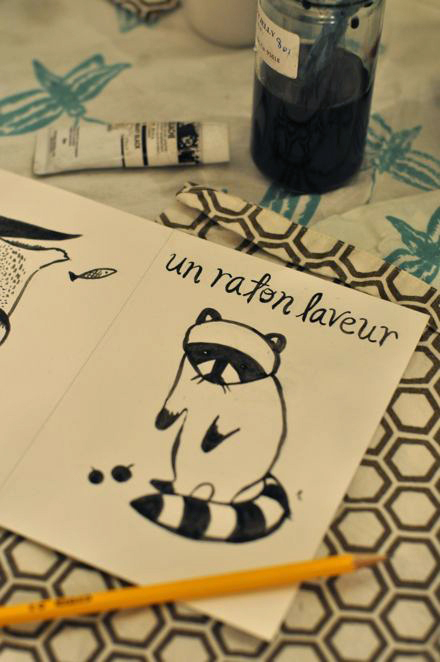
At craft night, Eunice has been working on French flash cards for her son, Jude. They are pen & ink illustrations with a watercolor finish - absolutely fantastic for any aspiring bilingual babies!

Voiture de Course French flash card

Eunice is trying to raise Jude bilingual in French and English, so she's always trying to find fun ways to teach him new vocabulary (ok, so he doesn't speak yet, but!) as well as adding to her own French vocab.  She has a love for making flash cards - the words really stick and it's a fun and quick excuse to doodle.  It's also a great excuse to play around with painting/watercolor techniques - the perfect platform to practice on (being the raging multi-tasker that she is!)

Raton_Laveur_flash card
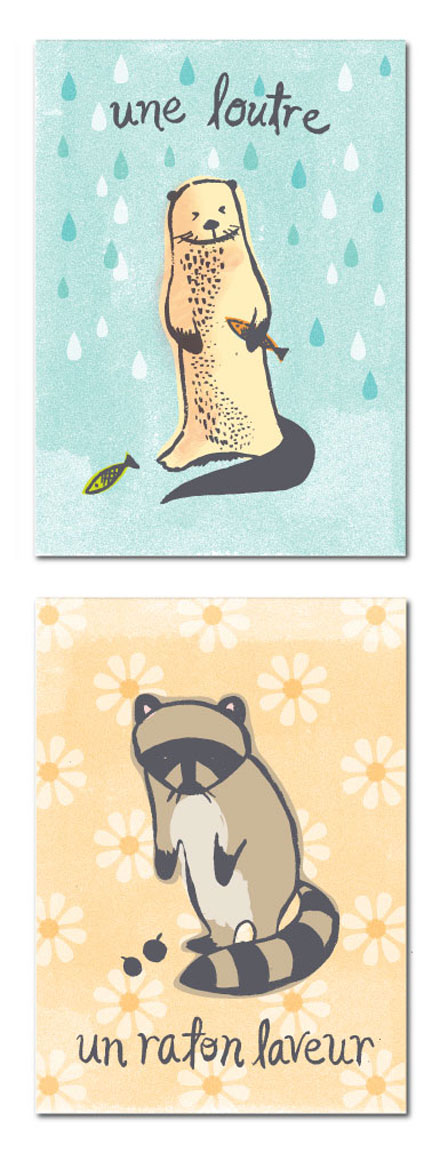
Her inspiration for each card is to find things Jude has seen, or words that are just plain amusing (like the fact that raccoon directly translates to "a washing young rat" more or less!) - both the raccoon and the otter are animals they saw at the zoo recently.  The kites are from a recent outing to Crissy Field and the race car is a noise he's learned to make lately.  Next up are a horse, gorilla, tiger, cow and duck - more noises he's been making lately (for the gorilla he pounds his chest!). Once he sees a cow and starts mooing, he will moo for the next 20 minutes!

loutre et raton laver_flash cards

Summer Streamers and DIY Party Decor

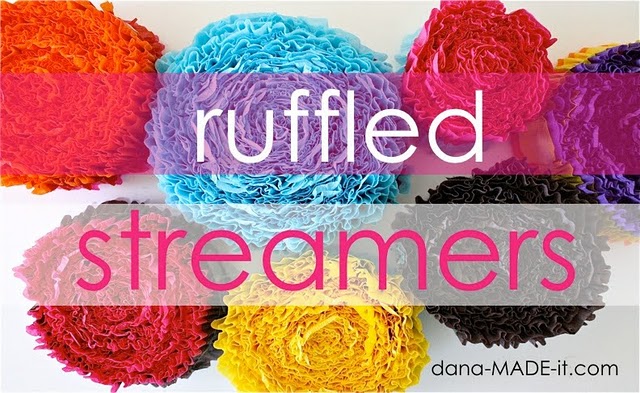
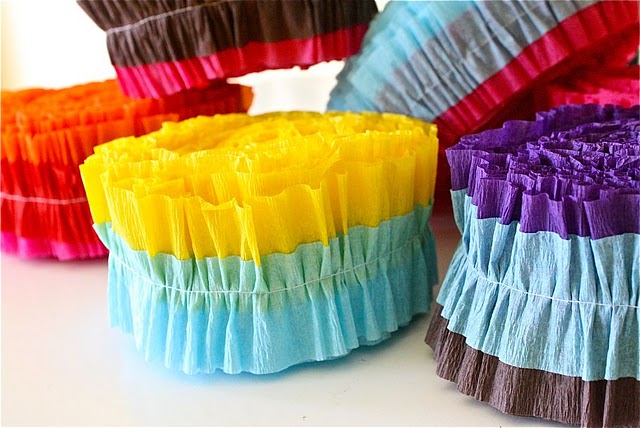
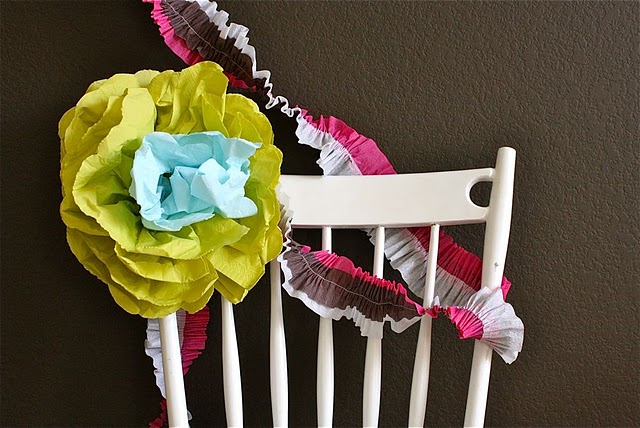
The DIY experts over at Made recently posted this tutorial on creating colorful streamers that we absolutely love!

Made Ruffled Streamers

Wouldn't this make great decor for a summer wedding?

colorful streamers

Perhaps a great compliment to our Mi Amour design with Mexican paper flags?

streamer decor

Sewing paper ... how perfect!

Beautiful Decals by Shanna Murray

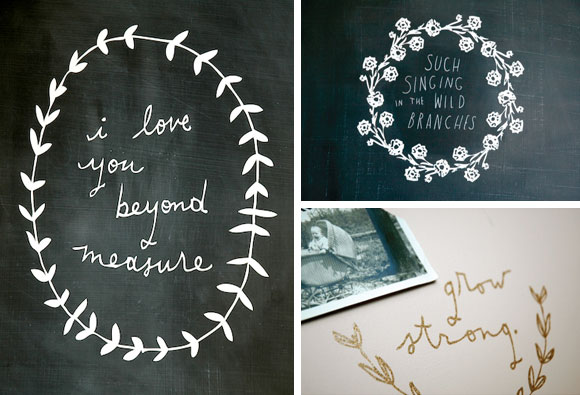
We are huge fans of Shanna Murray and found this  post on Creature Comforts about her new decal collection.

new from shanna murray

We think a customized decal would be fantastic as decoration for a wedding, such as "The Smiths" or " Eunice & Daniel"!

shanna_murray_decal

Or maybe a sweet note on the wall of a baby's nursery or playroom...

How darling!

General Knot & Company on Snippet and Ink

You may have noticed we're a tad partial to ties. Spotted these splendid knots on Snippet and Ink, from General Knot. Love everything about this business.

knot1

They use vintage fabric finds to make very limited editions of these handsome, handmade-in-the-USA ties.

knot2

Totally dig the tags, too! They look letterpressed...

knot3

We want at least one or two for all the men in our lives, to help us cope with our sudden fit of tie envy.

Love!

Handmade for Japan

japan1

Some great crafts-folk have curated a beautiful auction as a benefit for Japan. Their project was featured on the New York Times Blog today. The auction starts March 24th, so have a look if you get a chance.  Here's a sampling of some of the exquisite objects in the auction:

japan2

japan3

japan4

From top left to bottom, artists shown are Kristin Kieffer, Naomi Dalglish, Jun Kaneko, Justin Rothshank and Shoko Teruyama.

They have had such a huge outpouring of people wishing to contribute work, that they are unfortunately unable to take any more submissions.

But check out their Facebook page and show your support. Thanks!

Jude's Big Top Birthday: Birthday Cake Banner!

DSC_0104

A slightly tardy post on how make the little flags that topped Mr. Jude's Big Top Birthday Cake (thank you for your patience, dear readers, things have been a little busy here at H!L HQ!)   We thought these little banners were the perfect topper for a circusy cake!  That perfect stripey candle and equally genius napkins found at Shop Sweet Lulu...

Download the tutorial here (with printable flags!)