Le Papier Studio

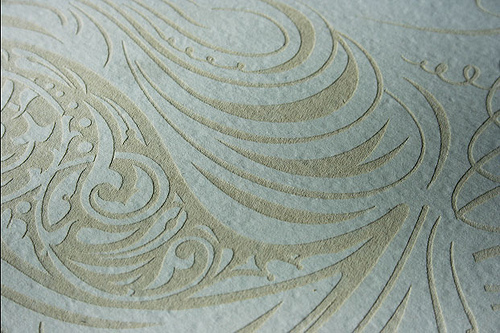
Coming up with a unique gift can be a difficult task, especially if you're on a budget. Almost anything customizable these days can cost up to an arm and a leg, but these new silhouette prints by Le Papier Studio are one-of-a-kind and they are affordable. This floral wreath silhouette print is the perfect gift for newlyweds and can be customized in just about every way possible. Vana Chupp, owner and designer of Le Papier, has mastered the art of the silhouette, and it's clear because all of her products are fabulous. We asked Vana a few questions about her work:

1. What inspired you to start Le Papier Studio?

The inspiration behind Le Papier Studio was my first born son, Nikolas. I started documenting his milestones by cleverly capturing his personality, emotion, playfulness and essence. I began using silhouettes to tell my own life story. Now that my second born, John is added to the equation, it's a love story that continues to blossom with both of them as my muses.

2. What's been the most rewarding part of running your business? 

Creating what I love, seeing it come to fruition and adorned by many.

3. Advice for anyone who is thinking of starting their own creative business?

Two words, "start now!". Often people will ponder and wait for the 'perfect' moment to start their creative business, wasting invaluable time.

4. What inspires you most? 

My friends, my family, my boys, are the reason I do what I do.

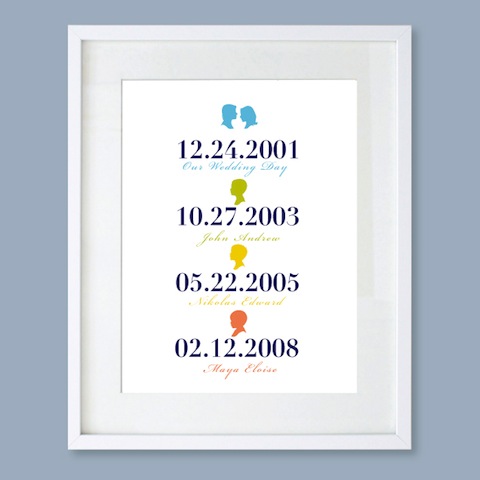
We're loving this family dates print and how each event can be customized by color. This is such a fun way to display all the important dates in your life, or a great gift for new parents. It's not just the prints that we love, Le Papier has endless goodies from personalized tote bags to dinner plates.
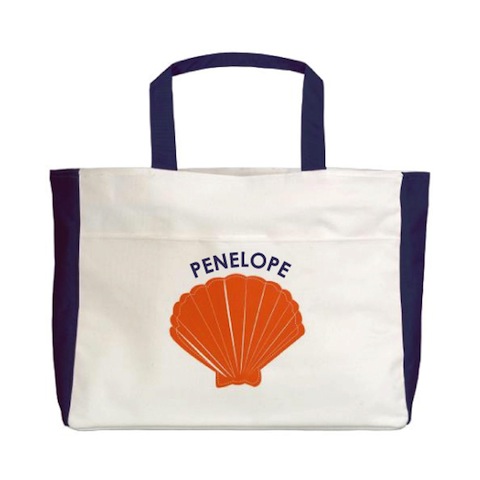
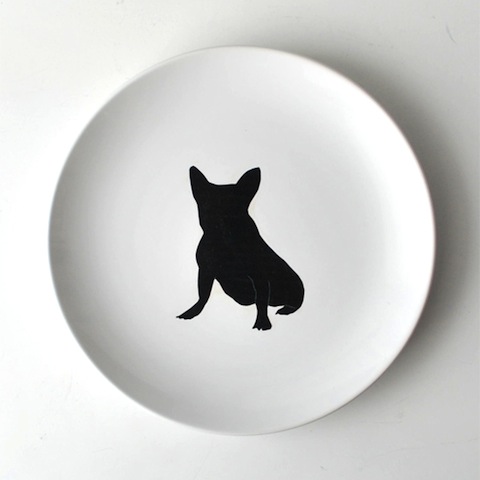
Know a pet lover? One of these personalized pet silhouette plates would certainly make it's home on a mantle or in a frame. Fido will be feeling proud with his own homage.

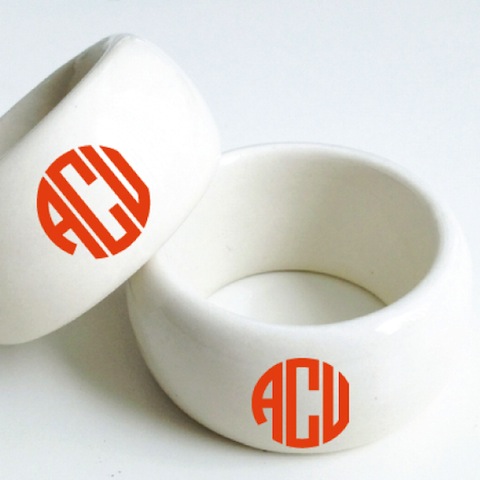
Vana has customized just about everything, even monogram napkin rings. You can take your tabletop from plain to preppy with the bold color choices, too. What will she come up with next?!

Be sure to check out the entire collection by Le Papier Studio here, and pick up a copy of the new! Pretty Paper Parties book, published by Chronicle Books!

DIY Gold Leaf Notepads

Lately we've been following a new craze popping up around the web. Gold leaf, historically used as an art medium, has now turned into one of the trendiest decor accessories this year. We've seen it on picture frames, furniture, fingernails, and jewelry, and once we saw Eat Sleep Cuddle use it for handmade notebooks we knew we had to give it a shot. Naturally our taste for nautical design comes into play when coming up with a new project, so these DIY Gold Leaf Notepads fit right in. Inspired by traditional nautical flags, we felt the pop of gold would compliment the classic color palettes seen in the flags. Since school is back in session and notes are to be taken, this DIY project is perfect for daily to-do lists and is the ultimate stylish campus accessory. Read the full instructions below!

Materials:

4" x 6" note cards, Elmer's Glue, Craft Knife, Paint Brush, Gold Leaf Kit, Painters Tape, Foam Brush, Card Stock Paper, Ruler, Bone Folder, Pencil

*Tip - We don't recommend the "peel and stick" gold leaf, as it isn't a guaranteed success. The original sheets are much more reliable. Most kits will include the gold leaf sheets, adhesive, and sealer, but you can also purchase each item separately. We bought ours at Michaels, but they are sold in most craft stores.

How To:

Step 1. Stack your note cards so the edges are even. Score one end of the stack of cards with a craft knife, making small indentations on the paper. This will ensure your glue will stick strongly to the stack of cards.

Step 2. Apply a layer of Elmer's glue to the scored edge of your cards. We recommend using a bulldog clip or rubber band to help keep the paper in place.

Step 3. Once the first layer of glue is dry, add two more layers. Set aside.

Step 4. While the glue is drying, cut your card stock paper to size. You will need to measure the thickness of your stack of note cards. For most sets of 4" x 6" cards, the stack is 3/4" thick. In this case, cut your paper to 12 3/4" long by 4" wide.

Step 5. Measure 6" from each end. Using a ruler and bone folder, create two score lines 6" from each end, creating a center strip which will act as the binding for your notepad.

Step 6. Apply two strips of painters tape to your card stock. We placed ours along the back score line and 1.5" down from the top.

Step 7. Apply a thin layer of metal leaf adhesive using a paintbrush. Avoid any puddles, as this may cause your paper to ripple. Allow to dry at least 2 minutes, or until it feels dry but sticky to the touch. If the adhesive is still wet, the gold leaf will not stick properly.

Step 8. Gently lay a layer of gold leaf on top of the adhesive. Most kits will have detailed directions, and should come with small sheets of wax paper to help smooth the gold leaf down. Then use your foam brush to smooth.

Step 9. Once the gold leaf is set and dried to the adhesive, use your foam brush to wipe away any excess pieces. Save large pieces for later. Trust us, you'll want to do this again!

Step 10. Apply a thin layer of sealer on top of the gold leaf to prevent scratching. Allow to dry.

Step 11. Carefully remove the painters tape from the card stock.

Step 12. Cut triangles out of your card stock to create a flag shape. Or, leave as is!

Step 13. Apply Elmer's glue to the center strip of your card stock. It should already be scored from Step 5. Set your stack of note cards (the side you already glued and dried) on top of the center strip and hold to seal. Voila! You have instant modern notepads that you'll be dying to show off in class or at the office. Happy crafting!

For more paper DIY projects, head over to the DIY section of our website here!

Hello!Lucky's Big Day featured in Paper Runway

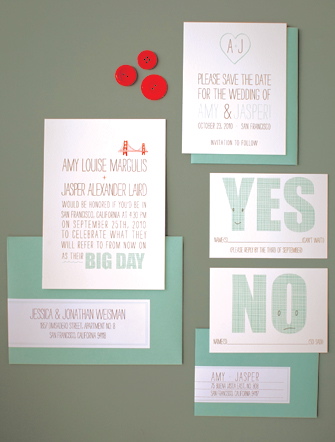
Paper Runway's online magazine Ever After featured Hello!Lucky's Big Day Wedding Invitation in their latest issue! Ever After highlights all of the goodness involved with wedding paper products, along with real weddings, beautiful photography, and much more. And, to our sweet surprise, the wedding of Elsie Larson (of A Beautiful Mess - featured below) made the front cover. You go girl!

WINV_BIGDAY_COA-LUC-POO_G_L

Thanks Paper Runway for the shout out!

Beautiful Berkshires Wedding: Peyton and Liz

This charming variation of our rustic Heartland design was featured on Berkshire Wedding Style! berkshires1

Adore the colors and the eclectic décor! And we bet the beautiful Berkshires made for the perfect backdrop. (Some of us here at Hello!Lucky can claim those pretty mountains in western Mass. as old stomping ground.)

berkshires2

We love doing custom designs with Heartland/Apple Farm! Keep'm comin'!

Party Inspiration!

032-(1)

We came across this super brill on Somewhere Splendid - so cool and inspiring!

042

Love the loose, modern, fun approach and the quirky little animal details...

022

We have a seriously thing for neon pink and love the way it pops when combined with cool neutrals...

082

And, well, seriously, ANYTHING with a meerkat...!  See more here.

Cute Origami Favor Boxes

imgp9216_2

How cute are these little origami boxes?  We found them over on Les Surprises de Fifi Mandirac (these are her super adorable papers - love the mixed patterns). She found this on K.Design, a lovely blog with all kinds of cute origami ideas...

imgp9223_21

They would make adorable favor boxes and they look pretty easy to make!  You can find the instructions here (they are very clear, but in French, so a quick translation follows, should you need it!)

Row 1: I used a piece of square origami paper (12  x 12 cm or 15 x 15 cm)

Row 2:  Fold along dotted lines

Row 3: Unfold the left and right sides

Row 4: Raise the left side; bring the flap down and inside

Row 5: Repeat on the right side

Conseil:  Tip: to make a cover, use a slightly larger piece of paper

Danish Paper Stars!

danish-paperstar

We are getting the urge to do some last minute holiday crafting after coming across these super cool Danish (or German or Moravian) paper stars!  There's a handy tutorial - love this wreath idea, and these would look so great nestled into a Christmas tree, or just hanging around, being festive!  And, they would be lovely as a wedding detail (since we have weddings on the brain over here) - perhaps as a cute place card holder? (Fingers tapping chin, contemplatively)...

from Jurianne Matter via Nabe Fabric

Fabulous garlands

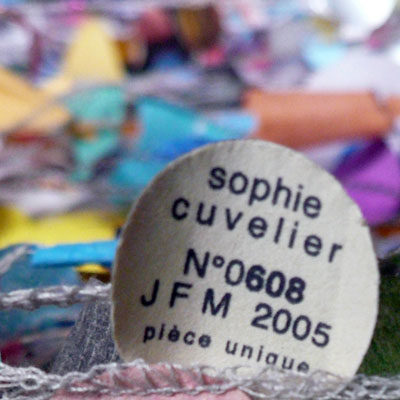
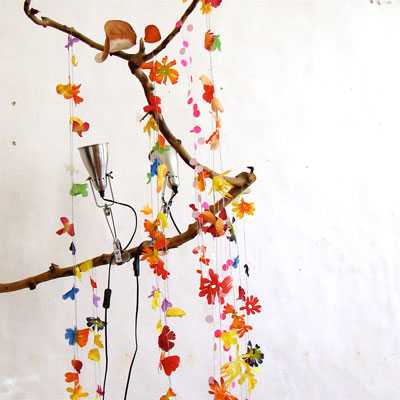
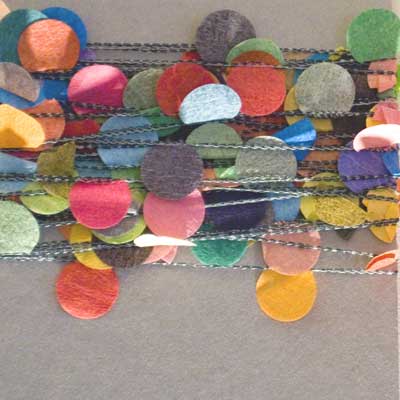
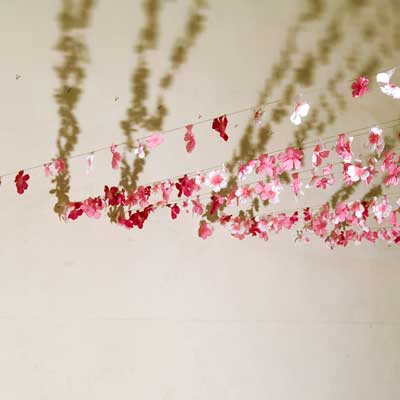
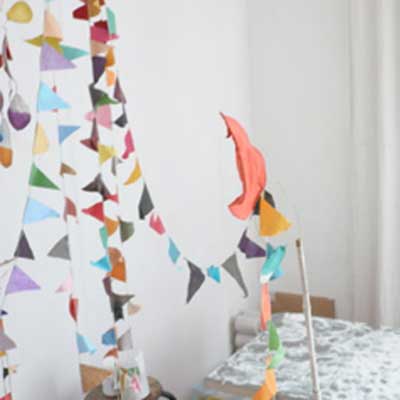
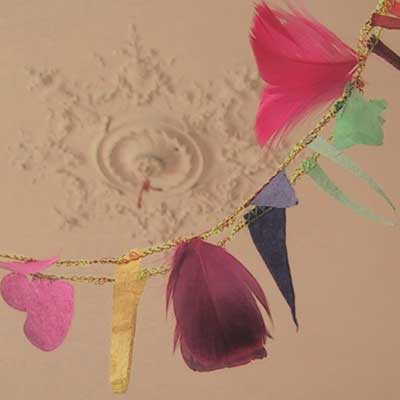
Sophie Culvelier Sophie Cuvelier is a fabulous french artist we came across via frolic, who creates amazing garlands out of hand-dyed paper, feathers, and bits.  We love the colors, the whimsy and imperfect charm.  Adorable to hang in a playroom and how amazing would these look strung up in great quantities at a wedding? We are très inspired!

Sophie Culvelier flower garland

Sophie Culvelier dot garland

Sophie Culvelier flower garland

Sophie Culvelier flags garland

Sophie Culvelier flowers and feathers garland

La-ser

picture-18.png grotesk_002.jpg

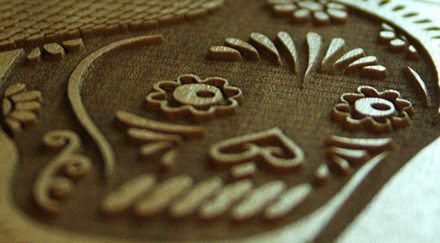
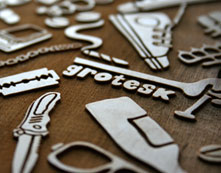
Laser cutting - why are you so cool? We are constantly impressed with the new and ingenious ways that laser cutting is being used these days. Refill Seven is an Australian skateboard company whose limited edition skateboard decks exemplify the intricate fine detail that's possible with this technique. They even have some limited edition etched posters for sale. Click here to see photos.

2571802439_2a6fd5dd03.jpg

2572624068_9b2c192bd2_m.jpg

Via {this is glamorous} - thanks for the inspiration!