Free Download: Table Numbers

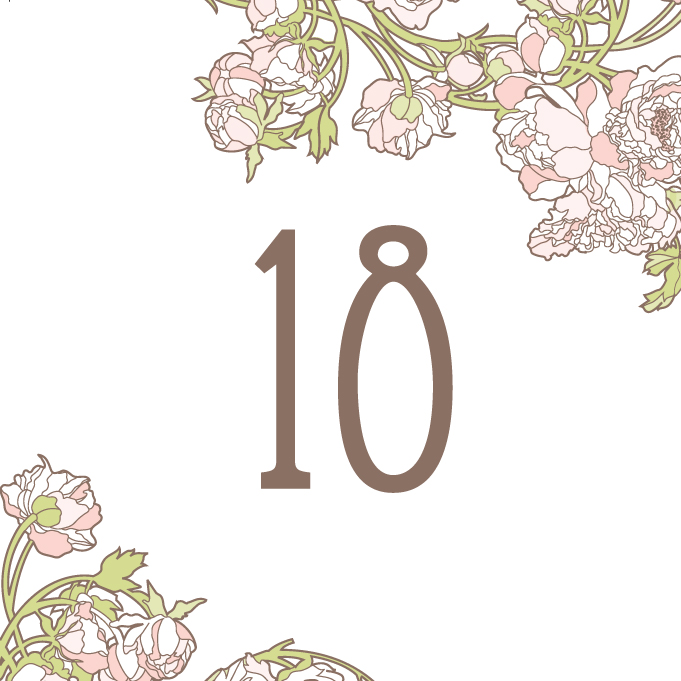
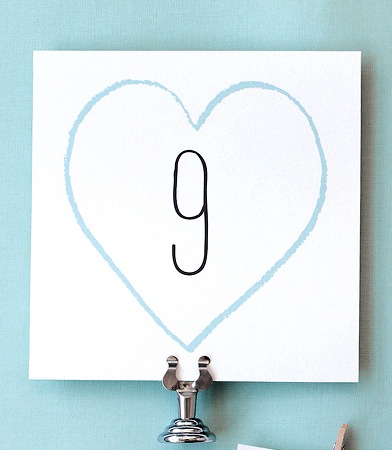
Last week we posted about all of the extras we can print and design for your wedding day. And today we're so excited to offer up some free downloadable templates to make your big day more special. We've created table number templates for three of our most popular suites -- Big Day, Nouveau Peonies, and San Francisco Skyline - and did we mention they are completely free?! All you need is paper, a printer, and scissors.

Just click on the style you'd like to print. Each PDF has 25 designed table numbers.

Download Big Day 

Download Nouveau Peonies

Download San Francisco Skyline 

We'd love to see photos if you use these templates. Email us or post them to our Facebook page.

Enjoy!

Our Poms in Martha Stewart Weddings

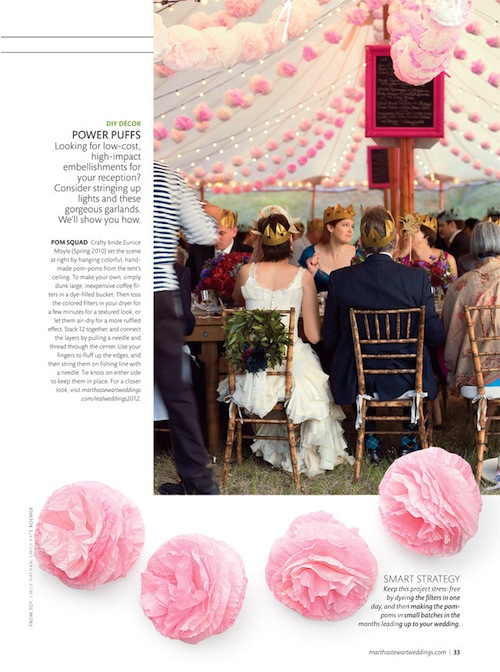
Our signature pink poms are featured in Martha Stewart Weddings Special Issue! Back when Eunice and Daniel got married they handmade each of these coffee filter poms and dyed them various shades of pink. They were a huge hit strung along the top of their reception tent, and since then we've found lots of ways to reuse them.

We keep them in the studio to brighten up our blank white walls. They are easy to store, too! Just re-fluff the paper filters each time you've got a new decor project and dust with some fresh paint or glitter.

Wedding DIY: Cupcake Liner Pom-Poms

These pretty patterned cupcake liner pom-poms featured in our book Handmade Weddings (published by Chronicle Books) are perfect for a wedding celebration or casual party at home. Just a bit of glue and string will transform your ordinary cupcake liners into festive pom-pom strands. Mix and match colors and patterns to compliment your party palette and your decor will be a huge hit. Hang them in your living room, over your reception tables, or in your cocktail area for instant DIY delight!

Materials

Makes six 12-foot strands

• 720 cupcake liners, approximately 120 per strand

• Six 12-foot lengths white kitchen string

Tools

• Bone folder (or popsicle sticks work, too!)

• Rubber bands (optional)

• Glue sticks

• Clear tape

How to

1. Flatten and fold your cupcake liners. Using a bone folder, flatten each cupcake liner into a circle. Fold in half, wrong-side out. Repeat for all of your liners. You will need 10 identical liners per pom-pom. If you are using a variety of patterns and colors, stack or rubber band them by pattern. If your cupcake liners have scalloped edges, be sure to fold them along the same axis every time. This will ensure that the segments that make up each pom-pom are all symmetrical, making for a pleasing whole.

2. Make the pom-poms. Place 10 folded cupcake liners, of the same pattern and color, on your work surface. Using a glue stick, spread glue over one-half of a cupcake liner. Align it to the corresponding half of a second cupcake liner. Press down and smooth with your bone folder (figure 1, page 29). Let dry. Continue attaching the cupcake liner halves, smoothing each segment as you go to ensure a secure bond. Do not glue the last segment. When complete, the pom-pom will form an accordion-like sphere with one open segment, which allows you to flatten the pom-pom into a circle (figure 2). Let dry completely. Continue making pom-poms.

3. Attach the pom-poms to the string. Leaving about 2 feet on either end of the garland for hanging, attach the pom-poms along the string, at 2-inch intervals (or greater if desired). To attach, lay a flattened pom-pom on your work surface and align the string along its central axis (i.e., along the crease). Secure the string with two small pieces of clear tape, one on each end of the pom-pom. Spread glue over one half of the circle, as well as on the string, and sandwich the two halves of the open segment together, trapping the string (figure 3). Let dry. When all the pom-poms are attached and dry, hang the garland. “Fluff” the pom-pom segments by hand to create full circles.

Get your own copy of Handmade Weddings here. Happy crafting!

Gaga for Gingham

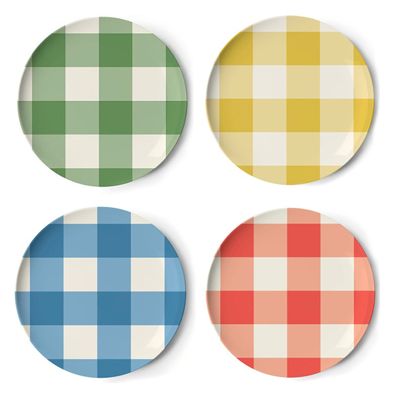
In celebration of Rustic Farm week, we're channeling all the details that make us love country weddings. One of the most recognizable patterns has to be gingham, and we're going gaga for it! At the first glance of these gingham patterned plates we envisioned a large picnic style table setting with lots of fresh fruits and garden flowers. Paired with simple white linens or vintage lace, these dishes would be downright adorable.

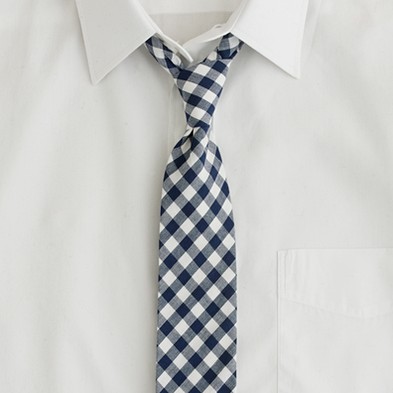
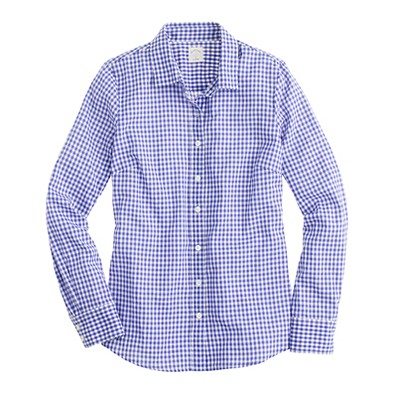
Jcrew knows how to pull off patterns the right way. Matching your fiance might seem cheesy at first, but these gingham patterned getups could definitely dazzle in a photo save the date.

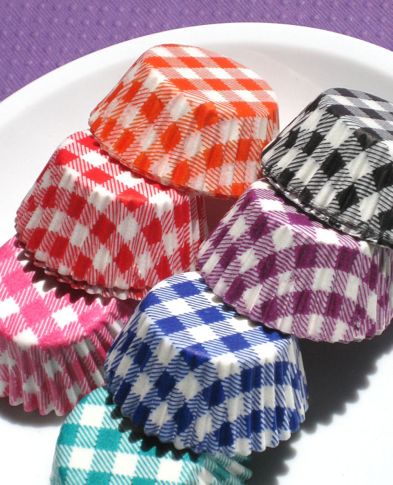
We absolutely need these gingham cupcake liners!

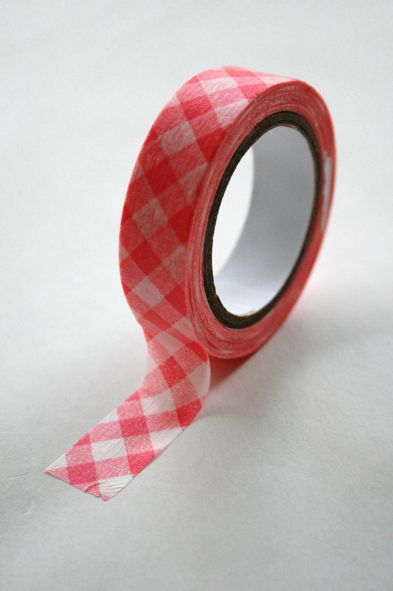
Can't you see this gingham washi tape as the ultimate decor accessory? There are endless ways to spruce up a simple setup by adding a little patterned tape. We can't get enough of it!


Crepe paper aisle markers

msw-DIY-crepepaperflowers

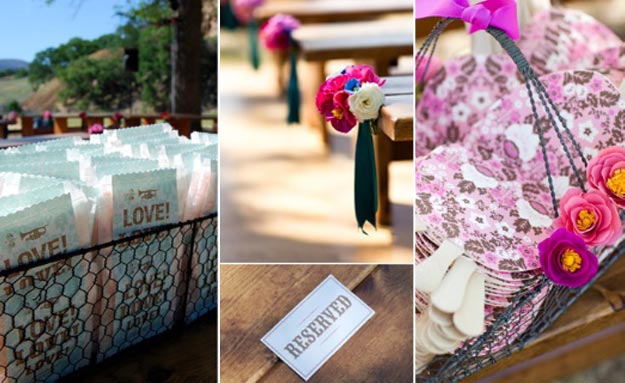
We were recently going through our archives and came across our DIY guide to crepe paper flower aisle markers from Eunice & Daniel's wedding. Crepe paper flowers have so many fabulous uses, that we thought you might like for us to re-post our instructions and templates here.  As always, the quality of the project is only as good as the materials you use - we recommend German crepe paper, and our favorite source is Castle in the Air!

fans

Basic Guide to Making Crepe Paper Flower Aisle Markers

The Grain of Crepe Paper The grain of crepe paper runs along the short side (following the creases). Generally, cut your petals so that they run with the grain of the paper so that they hold their form and can be stretched properly. That being said, sometimes you want a floppier response (for example, with some types of fringe for flower centers).

The grain direction is indicated on each template with arrows.

Making the Petals Note: Crepe paper flowers are very forgiving. Petal and leaf shapes do not need to be exact - the templates are a guide, but for the sake of speed you might consider cutting freehand, using the templates as a general guide to size and shape. Additionally, size the templates up or down, depending on the size of the flower you would like to create.

Paste the template onto a bit of card (cereal boxes or heavy weight card stock work well) and cut it out.

Never cut a single leaf or petal. Cut a few at a time. Cut a strip across the grain about 1/2" wider than the depth of the pattern you are using. Unfold the strip of crepe paper and, starting with the two ends together, refold three times for single crepe (you'll end up with eight thicknesses) or twice for duplex (4 thicknesses). Pin the template (with grain indication aligned to the grain of the paper) onto your paper and cut it out, cutting through all layers of the paper with sharp scissors.

Shaping the Petals

Fluting the Edges If you stretch the edge of the crepe paper, you will get a ruffled effect. Hold the edge of the petal between the thumbs and forefingers (your fingers will be close together, as you will be stretching several times along the edge of the petal) of both hands. Stretch the paper widthwise along the edge of the petal. Repeat as necessary.

Cupping to Shape Petals Hold either side of a petal with your thumbs and forefingers. Gradually stretch the entire width of the petal with both hands, using the thumbs to push into and cup the petal and the forefingers to stretch the paper away from the thumbs. This will give the petal a more dimensional shape - as you would see on a real rose petal. Experiment with cupping at the top, base or half way down.

Curling You can curl the crepe paper with the edge of a pair of scissors (as if you were curling ribbon) - drag the blade of the scissors along the grain to accomplish this.

Making Flower Centers

There are several techniques for making flower centers, depending on the look you are trying to achieve.

All flowers start with a ball center for something for the petals to attach to. Start with a small ball of scrap paper (size depends on the size of the flower you are making, but in general about the size of a spitball on up) and a square of crepe paper (around 1 1/2" or so - somewhat bigger for a larger flower). Apply a generous amount of white glue to one side (the wrong side, if there is one) of the crepe paper square). Bend the end of a piece of florist's wire, cut to your desired length.to form a small loop. Place the ball of paper at the end of the wire. Center the crepe paper square on the top of the ball, glue side down. Pull all four sides down to meet at the base of the ball and twist the paper around the wire stem.Cut a short (approx. 2") length of your 1/2" green strips (see Wrapping the Wire Stems) . Apply a bit of glue to the wrong side at one end. Attach to the base of the ball you have created at the end of your wire at wrap around the twisted base, straight around to begin with and then continuing down the wire at a slight diagonal. Continue past the base of the flower center for about 3/4". Cut the strip and apply glue to the inside of the end and attach securely to the florist's wire.

From here you can expand on the center by wrapping a strip of fringed paper or a calyx shape around the center (in the same way you attached the green strip) or adding sheath shapes cut from templates. To add sheath shapes, simply apply a bit of glue at the bottom of each sheath, and attach around the base of the center ball.

Fringing For a fringed center (as for a Poppy) cut the crepe paper into a strip across the grain at the required width. Stretch the strip fully for a fine fringe and less so for a coarse one. Fold the strip in half and cut with the grain, making the cuts as close together and as deep as necessary but always leaving 1/2" or more at the opposite end uncut.

Putting it all together To make a flower, first construct a flower center.

Pick a style of petal and attach your first petal by applying glue to the inside bottom edge and pressing it into place along the base of your flower center (the level at which you place the petal will determine how much of the center is showing. Attach the next petal so that it slightly overlaps the first. Continue this way until you are happy with the look of your flower.

With a little glue and a 1/2" strip of green crepe paper, wrap the base of the flower to cover any raw edges (see Wrapping the Wire Stems for technique).

Add some sheath shapes (optional) for a realistic base for your flower.

Wrapping the Wire Stems Additionally, have on hand 1/2" strips of green crepe paper cut across the grain. They should be strips long enough to wrap the length of your stems.

Stems are wrapped with these strips. Start the wrapping by putting a bit of glue over the flower base. Wrap the end of a strip around it 2 or 3 times very tightly. Then, with the long end of the strip in one hand and the wire in the other (held just above the winding strip), twirl the stem wire around and around while stretching the strip, guiding it diagonally and downward. When the end of the wire is reached, put a bit of glue on the end and continue to twist tightly. Cut off the end and affix with glue.

Note: In lieu of green crepe paper strips, you can also use green floral tape.

II. Crepe Paper Flower Aisle Markers

You'll need:

Crepe paper in various colors (for the flowers) that work with your palette and some crepe paper in green or floral tape for covering stems. Quantities depend on how many you are making, but one packet goes quite a long way. Duplex is my favorite (it is thicker and often two toned) for most flowers, but standard crepe paper works as well for a more delicate, unstructured flower. Mixing the two adds a nice depth.

  • Scissors
  • White glue
  • Glue brush
  • Florist's Wire
  • 1 1/2" - 2" ribbon - about 18" per marker (we used vintage velvet ribbon)

How to: Using the templates, make a large quantity of flowers (this is a great project to do with friends). You will need 10-15 flowers per marker, three large and a variety of medium and small sizes. We mixed and matched centers and petal styles as well as scaling the templates up and down to get a mix of flower sizes.

Start with three larger flowers. Twist the stems together, then fold the stems out to the left and right and twist to create two "arms" that will later be joined in a loop that will give structure to your arrangement. Angle the flowers to create a nice central focal point. Add more large and small flowers to your arrangement, twisting their stems around the two arms. Use small flowers to fill in any gaps. When you are happy with your arrangement, make a loop with the arms, twist the ends together, and flatten so that they are hidden behind the flowers. Don't worry about how the back looks - no one will see it.

Cut an 18" piece of ribbon and trim ends at a diagonal or in a dragon tongue shape to prevent fraying. Fold the ribbon in half to form an inverted "V" shape. Position the ribbon behind your crepe paper flowers and pierce a small finishing nail through the wires of the flowers and then through ribbon. Nail into the end of a bench (be sure to get your vendor's permission in advance).

If attaching to the back of a chair, we've a length of 2" ribbon through the wires at the back of your flowers and then through the railing on the back of the chair; tie off using a square knot.

Download the templates here.

Studio Snapshot: Charming wedding decor

IMG_4247

Whether charming, rustic, romantic, or sweet, the brilliance involved with this wedding for our overseas friends, Lisa and Rory is really something! We're currently putting together their day-of wedding materials - it's really coming together!

IMG_4264

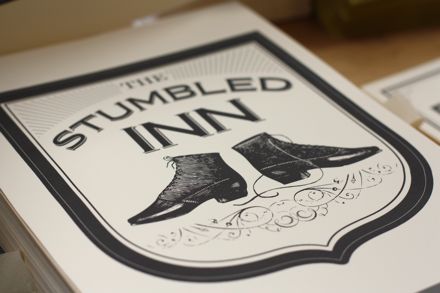
These vintage style pub signs are getting cut out and used as table numbers!

IMG_4230

IMG_4228

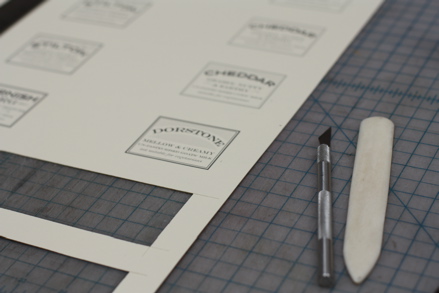
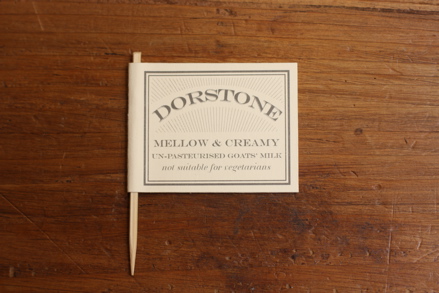
Say cheese! These tiny cheese signs will be dashing on display.

IMG_4293

IMG_4292

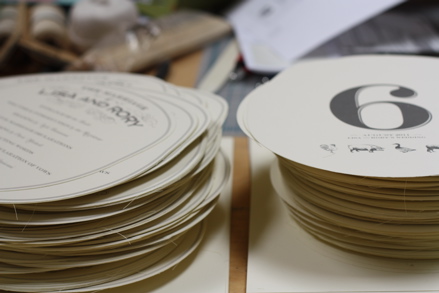
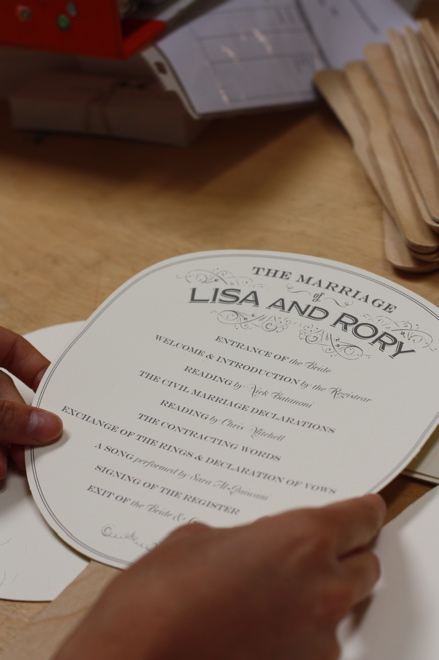
Each guest will have a program paddle fan to keep them cool! These are really turning out to be one of our signature products!

Summer Streamers and DIY Party Decor

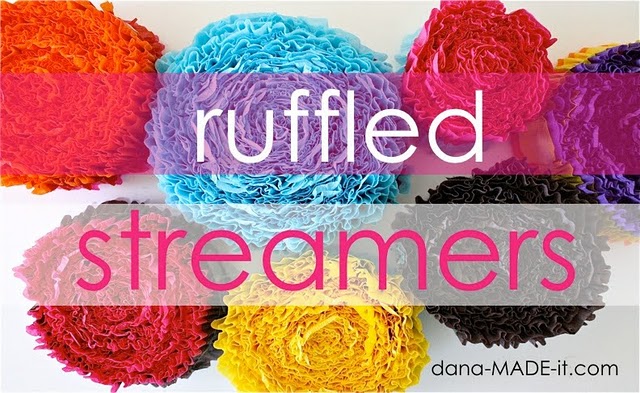
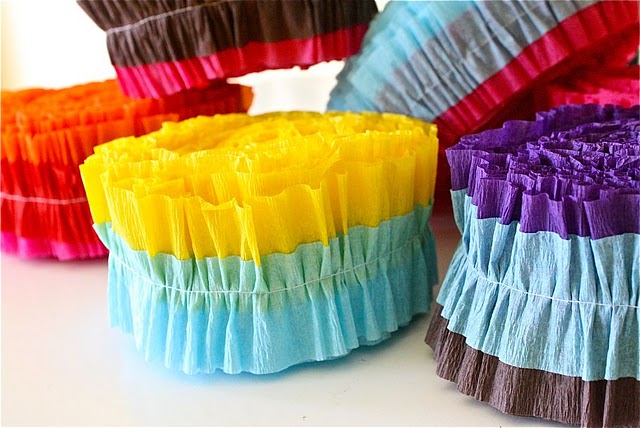
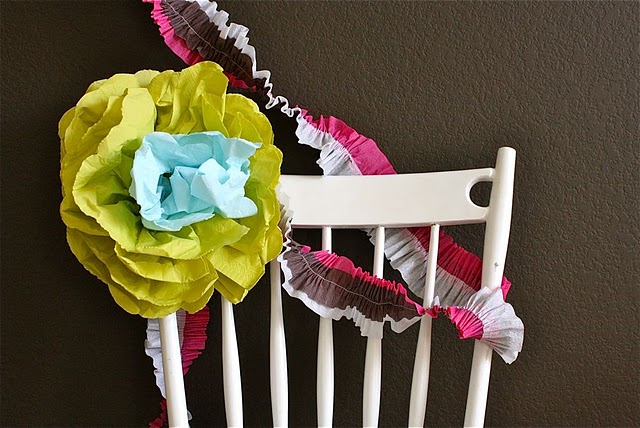
The DIY experts over at Made recently posted this tutorial on creating colorful streamers that we absolutely love!

Made Ruffled Streamers

Wouldn't this make great decor for a summer wedding?

colorful streamers

Perhaps a great compliment to our Mi Amour design with Mexican paper flags?

streamer decor

Sewing paper ... how perfect!

Bow-tie paper clip DIY

BW-paperclip-bow

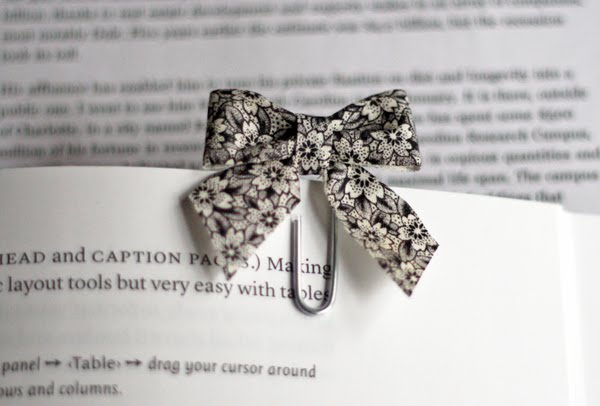
Spotted this cute DIY over at How About Orange...such a cute and easy idea to brighten up your paper clip collection. We think this would be a super cute idea for place cards too! Just use a different color or pattern for each escort card and then use the same fabric to decorate each table - your guests can even wear the paper clips on their lapels! See the full instructions here.

Midsummer Night's Dreamy

erikkson

Love these bone china tea lights/votive holders by Karin Erikkson.  Would be so dreamy for an evening's reception at a rustic chic wedding.

luminaries

And we thought these vellum cut paper votives would be beautiful for an asian-themed wedding reception. Gives us DIY ideas, wethinks.

Sweet vintage button designs!

Swooning over these particularly gorgeous edible sugar buttons from andiespecialtysweets.

buttons1

They come in chocolate for those who like a little kick, and a little more of a rustic feel.

buttons3

They make us recall of one our sweetest custom save the date designs— a  darling variation on Big Day!  Drop us a line if you're interested in this design for your wedding:

buttons1

Yarn wrapped Monograms

diymonograms

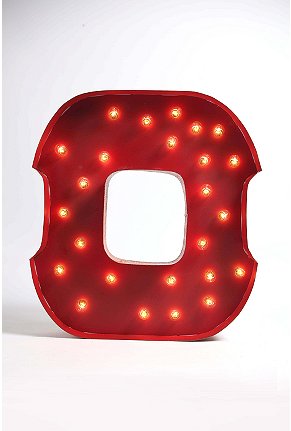
If you are looking for inexpensive baby or wedding decor project, look no further than this yarn wrapped monogram from Evie S. - such a cute idea! We can easily see a couple of these spelling out a baby's name or with an ampersand as a fun wedding element...the possibilities are endless! This project reminds us of our yarn wrapped bottles from our new book, Handmade Weddings!

6a01053610d3e6970b0147e206cdc6970b-500wi

Full instructions here. Via Creature Comforts.

Dana Tanamachi for Weddings!

danatanamachi1

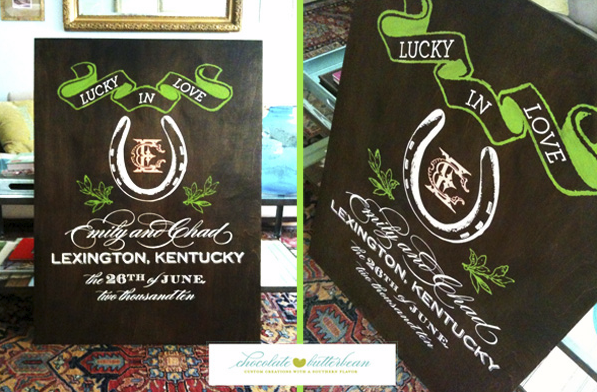
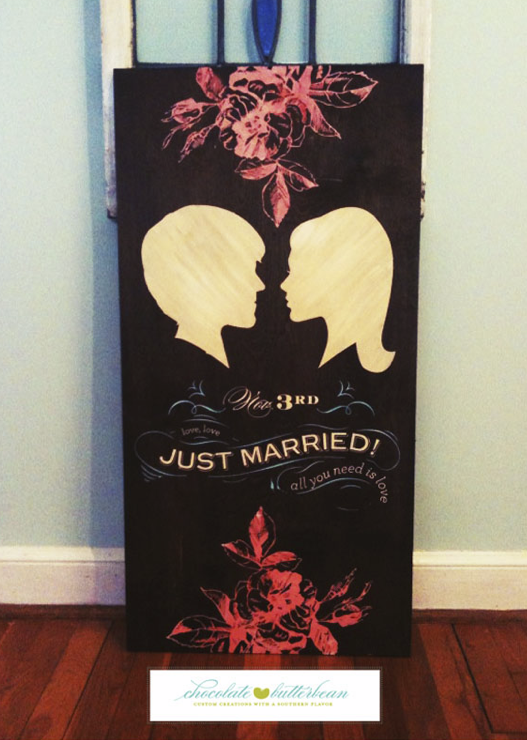
We posted on the amazing Dana Tanamachi a little while ago, but we had to bring her up again, because (drum roll please!) she is available to do custom lettering on  anything covered in chalkboard paint - i.e. a totally amazing something something for your wedding!  How amazing would having something like the above be?  Amazing! Cover a sheet of plywood with chalkboard paint and voila! a genius thing for your décor and a fab keepsake!  We could also imagine seriously cool backdrop for the ceremony or a photo booth...We are giddy; oh the possibilities...

This rant a continuation of a rant on 100 Layer Cake...

Silk Tree Branch Mobiles by Moon-Lily Silk

Some of us have been traveling here at Hello!Lucky and we're a little confused about what season it is! We thought these delicate silk tree mobiles by Moon-Lily Silk were a refreshing way to look back while marching ever onward toward spring...was it? Picture-22

Picture-23

Brought to mind our Autumn Leaves design.

Picture-20

And these brought to mind EIEIO's Lunaria design.  Lovely, modern and nature-inspired.

Picture-21

And of course, Cherry Blossom.

Such lovely decorations for seasonally inspired weddings!

And, they might look equally beautiful in a nursery, no? (A child's nursery, that is, not an arboreal one where they might get a little lost.)

Thanks so much, Jan, for sharing!