DIY Holiday Tassel Garland

We pretty much love all holiday decor, but when it comes to our favorite, it's gotta come on a string. Garland is the best way to spruce up any room, especially during the holidays. With plaid fabrics popping up more and more this time of year, we couldn't wait to get crafty with it. This DIY does require a bit of handywork, but materials are very inexpensive. Instead of heading out to your local craft store, look in your own home for materials first! You might have an old flannel pillowcase that's missing it's match, or a plaid shirt you've outgrown from last year. And the twine can be replaced with ribbon or fishing line. The best part about this DIY holiday tassel garland? There's no-sewing required!

Drape these tiny tassels over your apartment-sized Christmas tree, or gather them up for a front seat on the mantle. Here's the how-to below!

Materials:

1/2 yard plaid fabric (or an old shirt or pillowcase), 1/8" gold ribbon, jute twine, scissors, ruler (optional)

How to:

Step 1. Cut your fabric into 4" x 6" pieces (This DIY can easily be made bigger! Just cut bigger rectangles of fabric)

Step 2. Cut your ribbon ahead of time. 5" strips is plenty to work with. Set the ribbon aside for later.

Step 3. From each end, cut 5 even slits, 2" long. This part doesn't have to be exact. It just gets rolled up, anyway.

Step 4. Pinch the bottom where the slits on both sides end and roll up.

Step 5. After rolling, pinch the ends of the fringe and fold together.

Step 6. Hold the tassel with one hand while grabbing the ribbon with another. Tie the ribbon around the neck of the tassel in a double knot, leaving a 3/4" loop. Cut any excess ribbon. (Friendly help encouraged here!)

Step 7. String your twine through the loops of your tassels and display!

These mini tassels can be made with any pattern, and can be hung just about anywhere! For more festive DIY ideas, visit our website!

Wunderfaire Photos

We had a lovely time last night at the IDEO Wunderfaire craft show. It was a great warm up for this weekend's Bazaar Bizarre where we will have a booth Saturday and Sunday!

It was great to see our friend Stacy of Pancake & Franks at the show last night.

Some cute kids clothes from Vivi Kids.

We forgot who made these wood necklaces but we loved them!

Some really neat lego jewelry from emiko-o.

Stewey & Heather looking adorable in our booth last night. Visit us this weekend for great deals on wrapping paper, holiday cards, and more! We have a sale bin and we want to empty it! Details for Bazaar Bizarre here.

New! Holiday Cards with Multiple Photos

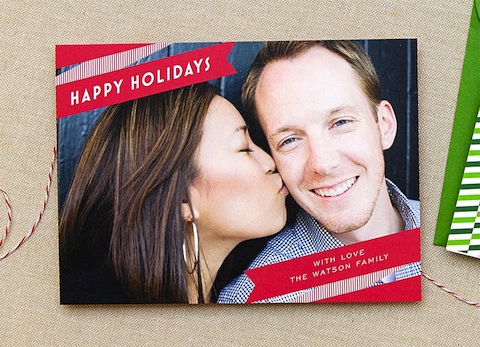
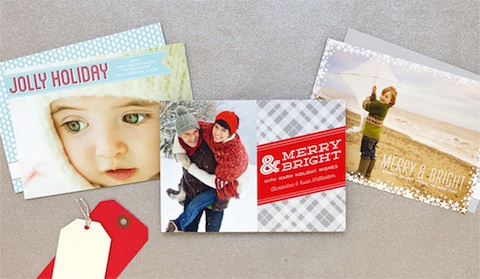
This year our holiday photo cards offer everything you can imagine. With new multiple photo options you don't have to pick just one favorite. Not everyone has a big family, and not everyone sends a yearly update, so we've come up with just about every style of photo card for your needs.

Say you have to squeeze five family members into one card but would rather keep your wording simple, we have flat photo cards for that. Or, you can't wait to share the news about your latest adventures abroad, we have a folded photo card for that.

All of your favorite designs plus some brand new ones are available, and if you have a special request, just ask!

Order now and enjoy 15% off all holiday orders! Use the code Holiday2012 at checkout. Shop holiday photo cards here! Offer expires 12/31/12.

DIY Color Block Holiday Cards

It's hard to believe Thanksgiving has passed and we're in the home stretch toward the holidays. Over the Thanksgiving weekend we were thankful for down time with family and friends, but itching to get decorating and DIY-ing for what's next. This can be a hectic time of year, so we're all about keeping things simple. This DIY Color Block Holiday Card project is a simple and inexpensive way to send cheer to your loved ones. And, you most likely have the majority of the supplies at home. It was inspired by our Color Block Kids Party Invitation (also available in pinks!) made for the boys' 2nd birthday party earlier this year, but we also have a new Color Block Holiday Photo Card with convenient customization. With some quick snips of colored tissue paper, you can recreate this bold typeface design into a one-of-a-kind Christmas card. Instructions below!

Materials needed:

Tissue Paper - We used green and red, but any combination would work! Just one sheet of each color will be plenty.

Blank Cards or Card Stock paper - Most craft stores sell 5" x 7" blank cards and matching envelopes, or you can cut a 10" x 7" sheet of card stock and fold in half. Use some spare envelopes or buy some from the craft store as well.

Bone Folder - For trouble-free folding!

Glue Stick - Make sure the glue stick is new - or retains its moisture. If it's too sticky you will have trouble working with the tissue. Also be sure it dries clear.

Scissors - The sharper, the better! Cutting tissue paper is tricky because the paper is very delicate. Sharp scissors will make cutting a breeze.

Craft Knife (optional) - Some people are more comfortable cutting small pieces with a craft knife. Just be sure it's super sharp, to get a clean cut of tissue paper.

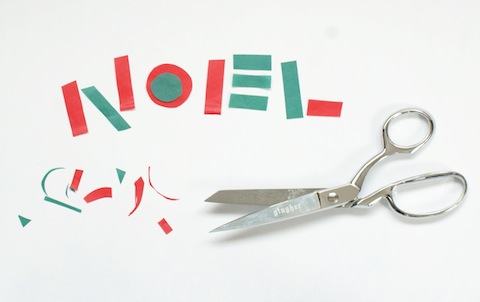
Step 1: Using just a small corner of tissue, start by cutting your shapes. For "Noel" each vertical line was about 2" x 1/4" and each horizontal line was about 1" x 1/4" but we say, the more imperfections the better.

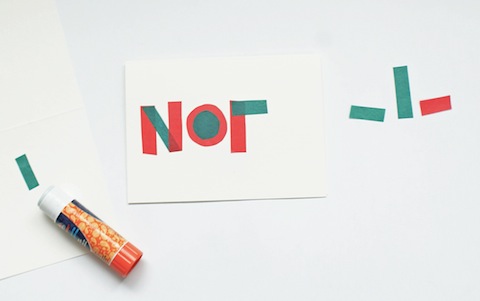
Step 2: Glue your shapes onto your card, one at a time. This step can be frustrating, so bring on the patience. A nice, new, moist glue stick will be a tremendous help. We suggest using a blank piece of paper as a gluing surface. Gently (and we mean ever-so-softly) apply glue to one side of the tissue <insert frustrations here> It will be ok, just be gentle. Lay your piece of tissue down on the card and smooth with a glue-free finger. What we like best about the look of this DIY is the overlapping of colors. You can just apply glue directly on the card, then lay the tissue on top, but you will see the dried glue surrounding the shapes.

All done! You can get creative with this DIY and come up with any shapes you like. Our Color Block Kids Party Invitation had some fun arrows and scalloped edging, so we definitely wanted to include that in our cards.

We'd love to see the cards you come up with. Be sure to share any pictures on our Facebook page!

Happy crafting!

For more fun DIY ideas, visit our website!

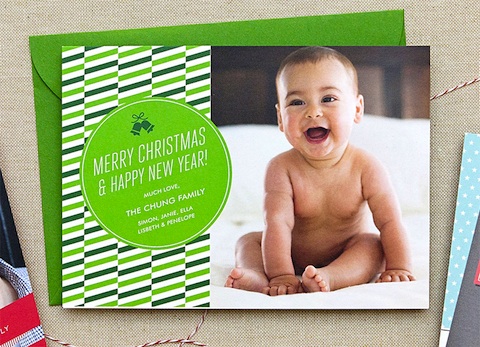
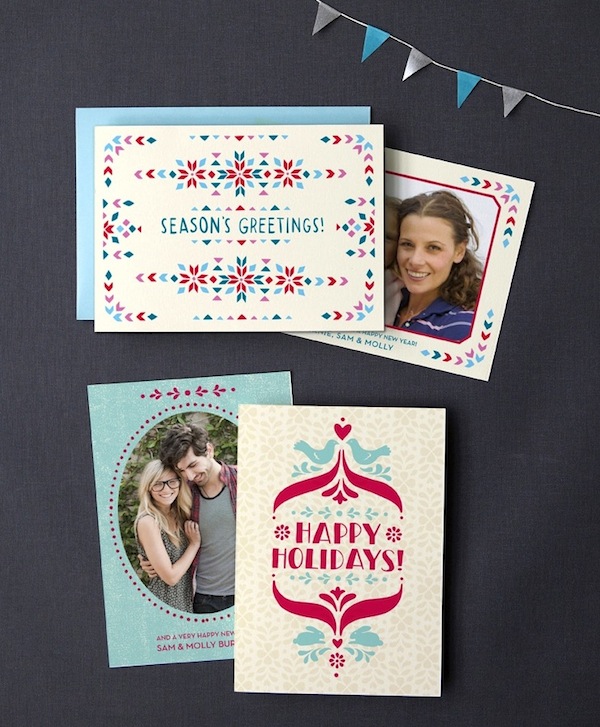
New! Custom Holiday Photo Cards

Although it's still early into the holiday season, our team of designers have been busy as elves preparing for the 2012 holiday collection. We've gathered inspiration from this years trends (color blocking, typeface design, mixed patterns) and put together a lovely assortment of custom holiday photo cards, ready to be signed-sealed-delivered. Customizing your cards is as easy as 1-2-3, all you have to do is input your greeting, upload a photo, pick your envelope colors and voila! Holiday cheer is ready for takeoff. Also, you can check one item off your list by ordering your cards early. From now until November 15th you can receive 20% off your custom holiday card order - just use the code EARLYHOLIDAY at checkout. Happy holidays!

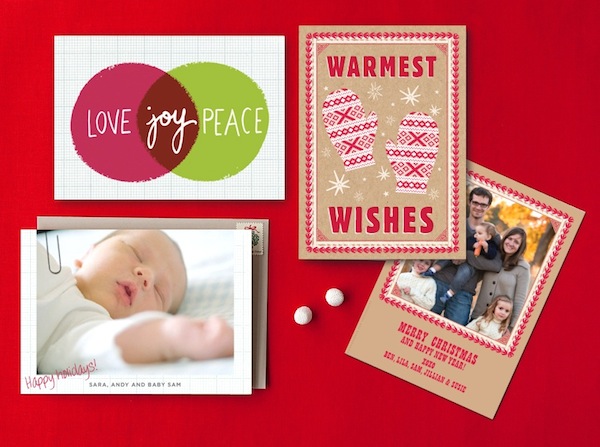
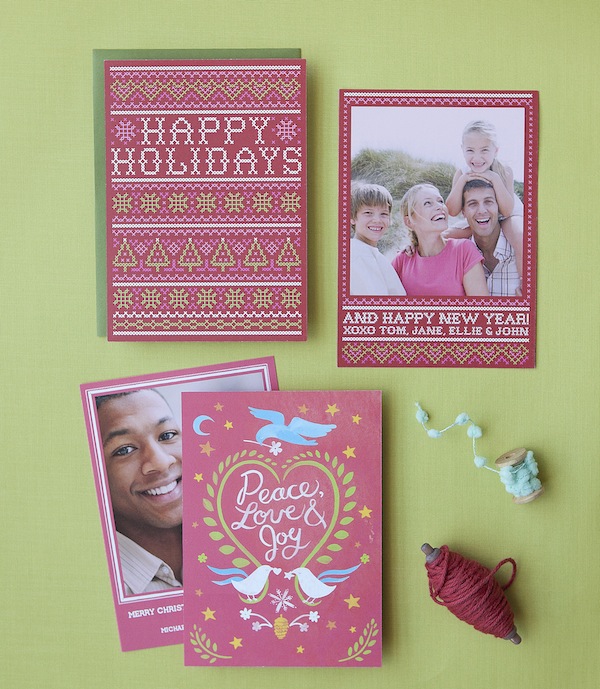
Pictured above: Trees, Color Block, Classic Christmas

Pictured above: Holiday Ribbon

Pictured above: Jolly Holiday, Merry Plaid, Starlight

Pictured above: Bells

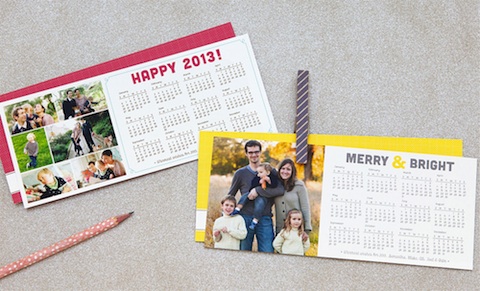
Most of our custom holiday photo cards come as photo/text combinations, but this year we're thinking ahead with a 2013 calendar.

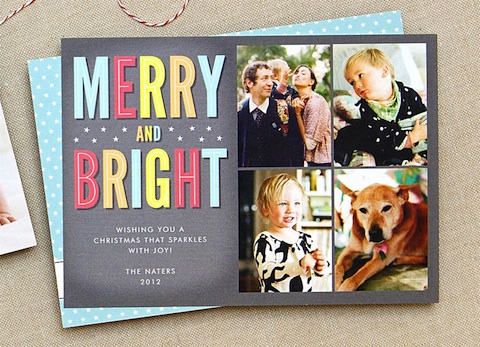
Pictured above: Happy New Year Calendar, Bright New Year CalendarMerry & Bright

To view all of our new 2012 custom holiday cards, head over to our website here!
Photos by Edyta Szyszlo Photography

DIY Thanksgiving: 5 Uses for Patterned Papers

Thanksgiving happens to be one of the favorite holidays among our team. Something about the cold air, gathering of families, and cooking together warms our hearts. While it's meant to be a time to reflect and give thanks, sometimes the preoccupation with the perfect holiday decor takes its toll. We're flooded with images of the fanciest table tops and gourmet recipes, but not all of us have the time (or budget!) to go all-out for the big feast. If you are the lucky one hosting Thanksgiving this year and are looking for affordable, simple, and festive decor, our patterned papers are a great go-to. We've come up with 5 uses for patterned papers that you can make in no time, and just in time for your guests to arrive. Shown here is our classic Marquee pattern, but there are lots to choose from!

1. Patterned Paper Jar Lids: You may have to fight for the leftovers, but sending friends and family members home with equal portions is a great way to share. Or, send them home with a hand-made treat as a thanks-for-coming favor. Simply cut a 4.5" square (or 5.5" square for wide-mouth jars) of patterned paper. Place the metal lid cover over the jar, then set your paper square on top. Twist the screw-on cap over the paper and lid to ensure closure. You may need to press hard!

2. Patterned Paper Napkin Rings: The possibilities are endless here. With a starter shape of 1.5" x 7" you can double the napkin ring as a personalized place card by gluing a .5" x 2" piece of paper on top. Or, take a 2.5" x 8" strip, cut out a leaf shape on one end, and trim the other end to 1" wide. Apply glue to 1/2" of one side and seal under the other.

3. Patterned Paper Thankful Chain: Keep the kids busy or adults guessing with this paper Thankful Chain! It's a new twist on the Christmas paper chain, with a whole new meaning. Cut 1.5" x 7" strips of paper and ask your guests write a few things they are thankful for on one side. Glue one end of the strip under the other end and repeat, looping the next strip through your first chain. When assembled, hang above the table for decor or spread around the table. Throughout the meal you (or the kids) can read each strip and reflect - make it a game and guess who said what!

4. Patterned Paper drink flags/stirrers: Every party needs some of these. Celebrate the autumn weather by cutting your flags into leaf shapes. Start with a 1.5" x 5" strip and fold in half. Open it back up, draw your shape on one half of the blank side of the paper, fold in half again, then cut out. Reverse the fold, apply glue to one side, place a skewer or straw in the center then hold to adhere.

5. Patterned Paper Place Card Holders: Thanks to Martha Stewart for this idea, keep things simple with a folded paper place card holder. We scaled ours down to a 3" x 3.75" piece of paper, folded in half, then folded in half again, creating three 3/4" folds. Unfold the paper, and reverse one fold, making an "M" shape. Place your place card inside and voila!

For more pretty patterned paper ideas and DIY crafts, visit our website here!


Open Studio Event & Holiday Sale

This past weekend we opened our doors on a sunny Sunday for our Open Studio Event and Holiday Sale! We had a terrific turnout and want to say thank you to everyone who came by. Our guests experienced hands-on letterpress tutorials by our temporary printer, Lillian! She graciously showed visitors simple letterpress techniques and those who gave it a go went home with their own hand-cranked holiday cards (pictured below). The spectacular Lisa Congdon paid us a visit, and also got to experience the letterpress magic. She just designed a brand new collection of cards exclusive for Hello!Lucky - soon to be released in early 2013!

These are the limited edition prints we created just for the occasion. We'll be putting them on our site and on Etsy soon! Below Eunice and Sabrina are busy mingling with all the visitors. You can see pressman Jon back there running the windmill press. It was quite the production but with all the helping hands it was a great success!

Just a snapshot of some of the holiday cards we had on sale. What a deal! We still have some left over so be sure to visit our studio from Monday-Friday, 9:00 - 5:00 for excellent deals on holiday cards.

Thanks again for everyone who visited the studio! We are definitely planning more events in the future so stay tuned, and be sure to order your holiday cards today!

Pin it to win it! Holiday Card Edition

Back in September we had a lot of fun running our first ever Pinterest contest for our new letterpress printables. Since the holiday season is fast approaching we thought it would be fun to host another Pinterest contest focusing on some of our custom holiday cards. This time one lucky winner will receive 50 free custom holiday photo cards of their choosing!

To play, just pin any card from this page of our website or an image from this blog post. Once you have pinned your image, leave a comment below this post with the URL to your pin so we can check it out. Just like last time we'll randomly pick one lucky person to win free holiday cards. We'll announce the winner on Friday, November 16th.

*Note that the winner will receive 50 flat custom photo holiday cards (this excludes folded or letterpress cards). Happy Pinning!

To shop our holiday collection, visit our website here!

****CONTEST CLOSED*****

Thanks for all of your comments and pins! Congratulations to our winner Amy Williams! 

SFMade Nationwide!

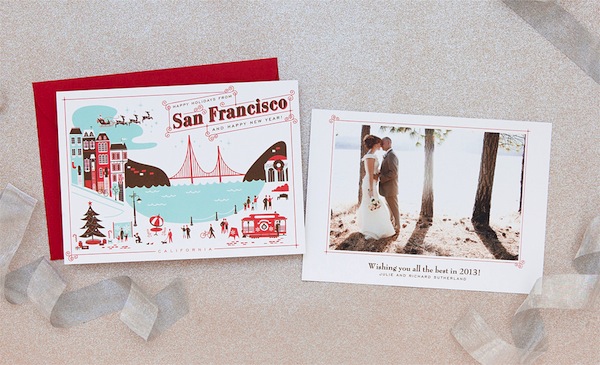
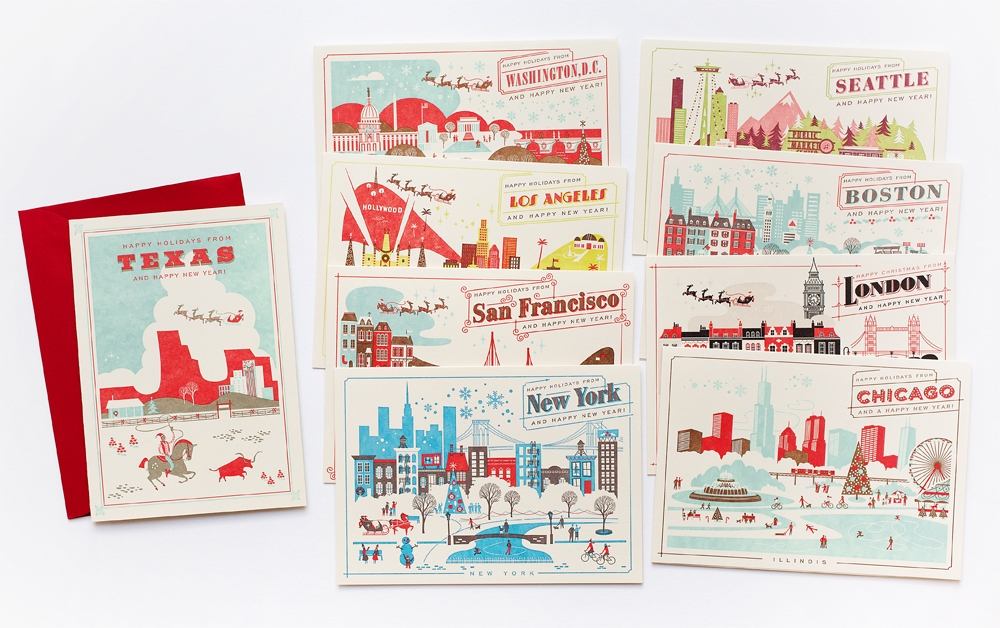
Have you heard the news? SFMade is expanding their pop-up shops in Banana Republic stores across the country! Last year's Banana Republic pop-up shop in San Francisco was an enormous success, so debuting our products in stores in Los Angeles, Chicago, and New York is icing on the cake. If you live in Los Angeles, the Banana Republic located on the 3rd Street Promenade (Santa Monica) and will feature our Happy Holidays from Los Angeles letterpress cards, among others. In New York, we're showcasing our Happy Holidays from New York cards at the Rockefeller Center location. And in Chicago visit the store on Michigan Avenue to get your hands on our Happy Holidays from Chicago letterpress cards. Of course, you can find our Happy Holidays from San Francisco cards at the Banana Republic location in San Francisco on Grant.

Here is a sneak peek into the shop at the Los Angeles Banana Republic!

And here's a look into the New York City location!

To our readers nearby and our readers far away, we encourage you to shop local this holiday season, and if you can, shop SFMade!

Holiday Cards with Edyta Szyszlo Photography

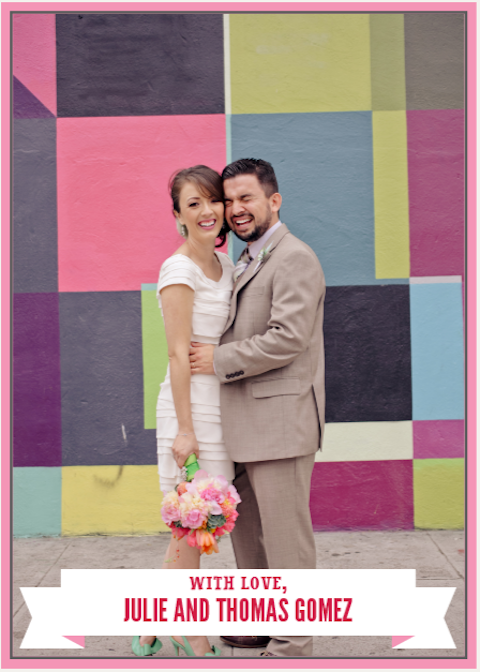
One of our favorite photographers Edyta Szyszlo has lent us a couple of her best bridal portraits to show off in our holiday photo card collection (check out these pretty new cards with Rikki Ward Photography). As newlyweds choosing a holiday card that is festive but matches your wedding portrait is key. It was so much fun pairing these couple photos with the best of our holiday cards. A favorite from last year (above) was Good Cheer in the bold fuchsia color palette. It works perfectly with the bright San Francisco backdrop!

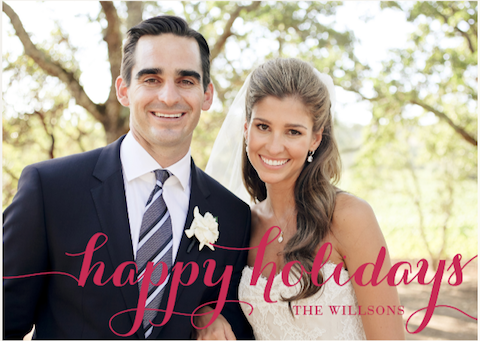
This year we wanted to include more large scale photo designs, so this pretty Holiday Calligraphy card is perfect for showing off your pearly whites. Plus, the colors are customizable! Thanks Edyta for sharing your beautiful photography, and for newlyweds - order early and save 20%! Just use the code EARLYHOLIDAY at checkout!

Holiday Cards with Rikki Ward Photography

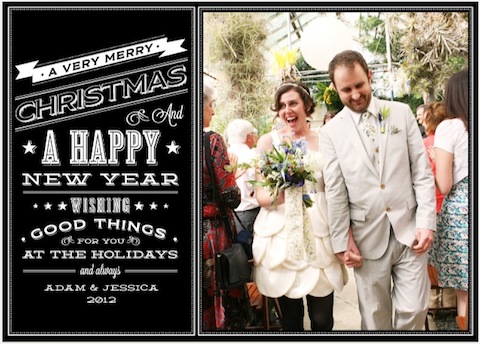
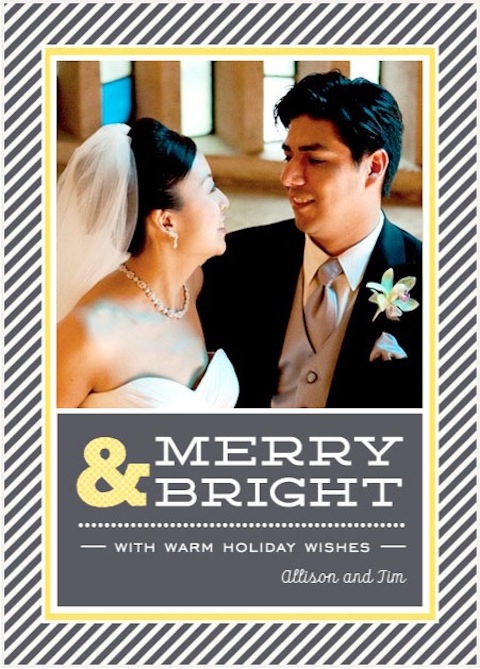
As members of the wedding industry and as seasoned stationers, we understand the true power of a good holiday photo card. For newlyweds, sending holiday cards is often the first time a couple mails greetings to loved ones as a new family - and many times is an introduction to their new lives together post-wedding. But instead of snapping a quick portrait in your back yard or by a handheld camera, we highly suggest newlyweds take advantage of their wedding photos and upload a favorite into one of our new holiday photo cards. We tested a few of our favorite newlywed portraits by Rikki Ward Photography and we're loving the various themes.

Pictured above: Classic Christmas

Pictured: Chalkboard

Pictured: Holiday Stripes

If you're in the bay area book a holiday photo session with Rikki! We're offering her clients a special discount on all holiday card orders - more on her blog here.

And don't forget about our holiday promo going on right now. Just enter EarlyHoliday at checkout and receive 20% off your order from now until 11/15.

Photos by Rikki Ward Photography

Open House & Holiday Sale

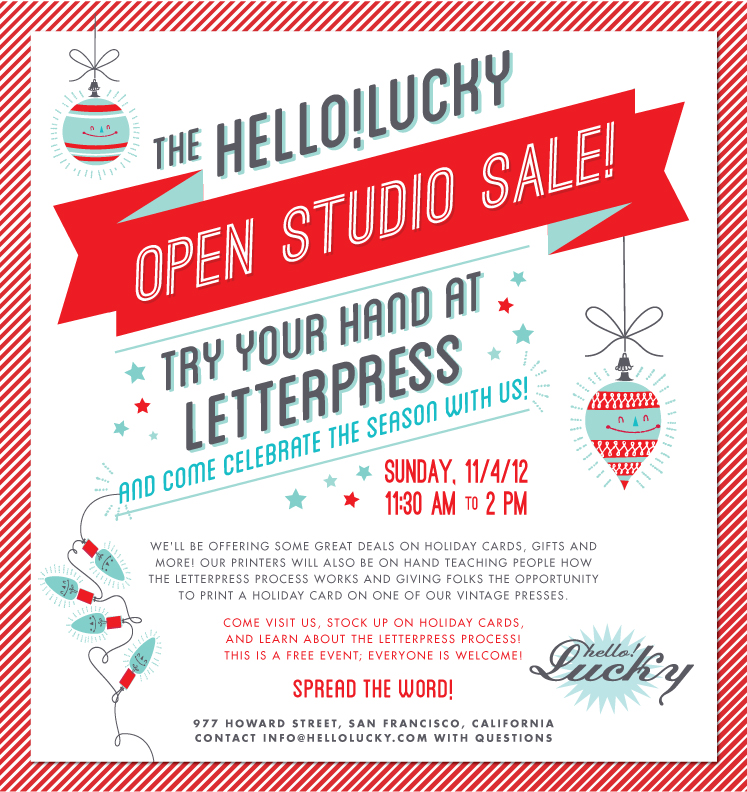
Mark your calendars! We're opening up our studio and pressroom to the public once again. Sunday, November 4th our doors will be open from 11:30am - 2pm. Our presses will be running, and just like last time you can try your hand at letterpress and crank one of your very own holiday cards. We'll also have some great deals on cards, gifts, prints and wrapping paper. So if you're in the Bay Area come visit us and see the inner workings of our studio!

This is a free event and all are welcome! Bring your friends! And help spread the word by sharing our Facebook event page here.

Address: 977 Howard street between 5th & 6th, San Francisco. Our doors will be open from 11:30am - 2pm on Sunday, November 4th.

New! Letterpress Holiday Cards

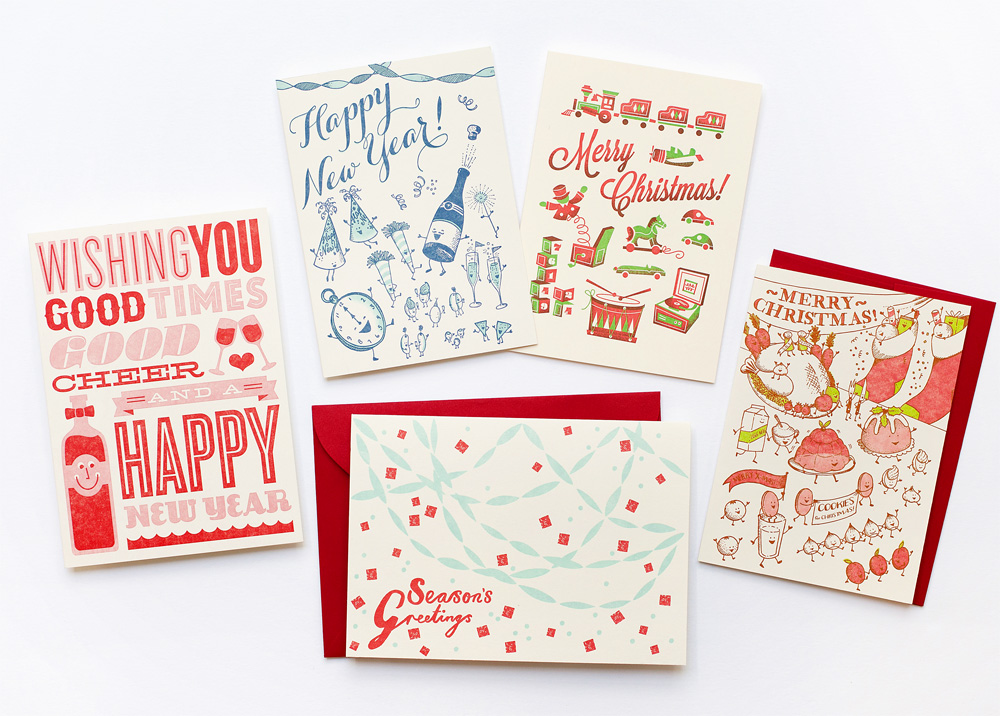
Way back in July we were busy printing our new letterpress holiday greeting cards and we're so excited to finally reveal them! Some of our most popular holiday cards have been from our visit series and we couldn't wait to add more cities to the collection this year. Happy Holidays from TexasWashington, D.C, and Seattle are the newest members to the letterpress card family, and thanks to the Lab Partners for their dedication and expert design skills, we're certain they will be a hit.

We also have the new Christmas ParadeNew Year's Eve, and Toys Under the Tree, photographed with some best sellers from last year (Good Times by Office of NaturePaper Chains by Debbie Powell). Click here to see all of our Holiday cards!

Photos by Edyta Szyszlo Photography

Best of Holiday - Top 10 designs!

In order to prepare for the 2012 holidays, we must look back on the fan favorites from years past. You may remember our launch of the Guest Designer Series last year, a mix of 16 talented designers that contributed their genius ideas to our 2011 collection. With their help, the collection was a great success and although some were more popular than others, we found there was a perfect design for everyone. We were delighted to learn that our most popular 2011 holiday design, Chevron, was actually released in 2010, and is still a top fave. With the brilliant minds of The Lab Partners, Debbie Powell, and Jacqui Lee in the top 10, we weren't surprised these made the list. You can still order any of these cards this year, but we have released a handful of fantastic new designs ready to send to your friends and family. Check out some of our newest 2012 customizable cards here.

1. Chevron, Designer: Hello!Lucky 2. Greetings from San Francisco, Designer: Lab Partners 3. Joyeux Noel (Red), Designer: Jacqui Lee 4. Good Cheer, Designer: Office of Nature 5. Crest, Designer: Morris and Essex 6. Greetings from New York, Designer: Lab Partners 7. Folk Tales, Designer: Morris and Essex 8. New York City Skyline, Designer: Hello!Lucky 9. Greetings from Chicago, Designer: Lab Partners 10. Paper Chains, Designer: Debbie Powell

Attention earlybirds: If you shop early you will receive 20% off your customizable holiday cards. Use the code EARLYHOLIDAY at checkout, expires 11/15. Shop now!

DIY Halloween Sidewalk Skulls

DIY Sidewalk Skulls by Hello!Lucky

It's that time again! The holidays are right around the corner and that means we're gearing up for a season of DIY decor. Halloween is the one holiday in which you can get away with practically anything. And although we love faux spider webs and painted pumpkins, we're more attracted to unique, original designs. Our DIY Sidewalk Skulls are a great way to add spook to your home without too much black and orange. Where's the wow factor? It's a glow in the dark graveyard so each piece glows in the gloomy night of Hallow's Eve.

DIY Sidewalk Skulls by Hello!Lucky

Materials: White poster board or card stock, Scissors or craft knife, pencil, glow in the dark acrylic paint (available at craft stores), paintbrush, skewer sticks, masking tape

How To:

1. Print this skull template on your home printer. Cut out with scissors and a craft knife (for the eyes and nose) and trace onto your poster board or card stock. *Tip: for extra strength or to keep your skulls from warping over time, glue two pieces of card stock together before tracing and cutting.

2. Cut out the skull from the poster board or card stock using scissors and a craft knife.

3. Apply three generous layers of glow in the dark paint.

DIY Sidewalk Skulls by Hello!Lucky

4. After the paint is dry, place the skewer stick on the back (pointed side down) and secure with a piece of masking tape.

DIY Sidewalk Skulls by Hello!Lucky

*Tip: We recommend keeping the skulls under a lamp or bright light before displaying for best results. If rain is in the forecast, remove the skulls from the yard to preserve the strength of the paper.

Place skulls along your sidewalk or pathway to light the way for trick-or-treaters! We added bats and bones to the mix, but you can make anything from witch hats to pumpkin heads!

DIY Sidewalk Skulls by Hello!Lucky

Happy Halloween!

For more crafty DIY ideas, visit our website today!

Mother's Day Gift Guide

Mother's Day is May 13th and although there are endless ways to say "I love you," we chose a few of our favorite gifts and accessories that would make any mom smile.

1. Starting out with these coral Signature Ballet Flats from L.L. Bean, your mom will love a splash of color to liven up her spring wardrobe.

2. Gardening gloves can come in handy even if your mom doesn't have a green thumb! Use them when spring cleaning or simply raking the yard. These chic Fleur de Lis gloves will get her ready for some hands-on fun!

3. You can never have enough bags. This modern lattice dopp kit from Hammocks and High Tea is the ultimate travel accessory, and can help prevent any liquid mishaps from happening on that much needed summer vacation.

4. Continuing with the bright coral color trends, Laura Mercier's Sheer.Bold.Tres.Chic gel lipstick is a great gift for any woman - old or young!

5. Love mom's homemade cooking? She'll have lots more to offer after flipping through The Preservation Kitchen by Paul Virant. With expert guidance and brilliant flavor combinations your mom will be glued to her kitchen trying new techniques of canning and storing, and of course, eating. Just hope she's willing to share!

6. These white ceramic candlesticks by Tourne will work wonders in her home, and you won't have to worry about matching her color palette since these pure and simple home accessories go with everything.

7. Don't stop there! Pair mom's gift with a totally practical and virtually indestructible apron by Tourne as well. And while you're at it - browse the entire Brook Farm General Store for gifts for Father's Day too (June 17th)!

8. Personal Stationery makes the perfect gift year-round, but with so many new designs choose from [and $25 off orders of $100+] your mom won't be able to thank you enough. Don't forget to use the code TREATYOURSELF.

9. One of the best presents a mom could get is probably quality time with her kids. Sit down over a cup of this Bellocq breakfast tea and reminisce over good times.

Happy Mother's Day to all moms out there. We love you!