DIY Color Block Holiday Cards

It's hard to believe Thanksgiving has passed and we're in the home stretch toward the holidays. Over the Thanksgiving weekend we were thankful for down time with family and friends, but itching to get decorating and DIY-ing for what's next. This can be a hectic time of year, so we're all about keeping things simple. This DIY Color Block Holiday Card project is a simple and inexpensive way to send cheer to your loved ones. And, you most likely have the majority of the supplies at home. It was inspired by our Color Block Kids Party Invitation (also available in pinks!) made for the boys' 2nd birthday party earlier this year, but we also have a new Color Block Holiday Photo Card with convenient customization. With some quick snips of colored tissue paper, you can recreate this bold typeface design into a one-of-a-kind Christmas card. Instructions below!

Materials needed:

Tissue Paper - We used green and red, but any combination would work! Just one sheet of each color will be plenty.

Blank Cards or Card Stock paper - Most craft stores sell 5" x 7" blank cards and matching envelopes, or you can cut a 10" x 7" sheet of card stock and fold in half. Use some spare envelopes or buy some from the craft store as well.

Bone Folder - For trouble-free folding!

Glue Stick - Make sure the glue stick is new - or retains its moisture. If it's too sticky you will have trouble working with the tissue. Also be sure it dries clear.

Scissors - The sharper, the better! Cutting tissue paper is tricky because the paper is very delicate. Sharp scissors will make cutting a breeze.

Craft Knife (optional) - Some people are more comfortable cutting small pieces with a craft knife. Just be sure it's super sharp, to get a clean cut of tissue paper.
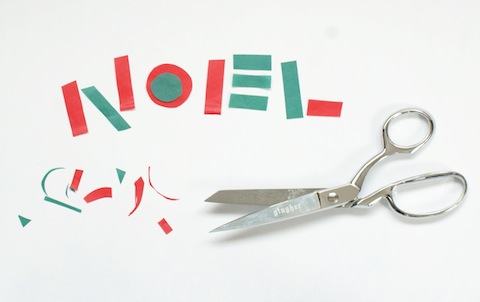
Step 1: Using just a small corner of tissue, start by cutting your shapes. For "Noel" each vertical line was about 2" x 1/4" and each horizontal line was about 1" x 1/4" but we say, the more imperfections the better.

Step 2: Glue your shapes onto your card, one at a time. This step can be frustrating, so bring on the patience. A nice, new, moist glue stick will be a tremendous help. We suggest using a blank piece of paper as a gluing surface. Gently (and we mean ever-so-softly) apply glue to one side of the tissue <insert frustrations here> It will be ok, just be gentle. Lay your piece of tissue down on the card and smooth with a glue-free finger. What we like best about the look of this DIY is the overlapping of colors. You can just apply glue directly on the card, then lay the tissue on top, but you will see the dried glue surrounding the shapes.
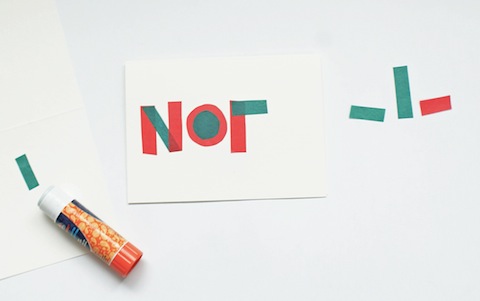
All done! You can get creative with this DIY and come up with any shapes you like. Our Color Block Kids Party Invitation had some fun arrows and scalloped edging, so we definitely wanted to include that in our cards.

We'd love to see the cards you come up with. Be sure to share any pictures on our Facebook page!

Happy crafting!

For more fun DIY ideas, visit our website!

DIY Thanksgiving: 5 Uses for Patterned Papers

Thanksgiving happens to be one of the favorite holidays among our team. Something about the cold air, gathering of families, and cooking together warms our hearts. While it's meant to be a time to reflect and give thanks, sometimes the preoccupation with the perfect holiday decor takes its toll. We're flooded with images of the fanciest table tops and gourmet recipes, but not all of us have the time (or budget!) to go all-out for the big feast. If you are the lucky one hosting Thanksgiving this year and are looking for affordable, simple, and festive decor, our patterned papers are a great go-to. We've come up with 5 uses for patterned papers that you can make in no time, and just in time for your guests to arrive. Shown here is our classic Marquee pattern, but there are lots to choose from!

1. Patterned Paper Jar Lids: You may have to fight for the leftovers, but sending friends and family members home with equal portions is a great way to share. Or, send them home with a hand-made treat as a thanks-for-coming favor. Simply cut a 4.5" square (or 5.5" square for wide-mouth jars) of patterned paper. Place the metal lid cover over the jar, then set your paper square on top. Twist the screw-on cap over the paper and lid to ensure closure. You may need to press hard!

2. Patterned Paper Napkin Rings: The possibilities are endless here. With a starter shape of 1.5" x 7" you can double the napkin ring as a personalized place card by gluing a .5" x 2" piece of paper on top. Or, take a 2.5" x 8" strip, cut out a leaf shape on one end, and trim the other end to 1" wide. Apply glue to 1/2" of one side and seal under the other.

3. Patterned Paper Thankful Chain: Keep the kids busy or adults guessing with this paper Thankful Chain! It's a new twist on the Christmas paper chain, with a whole new meaning. Cut 1.5" x 7" strips of paper and ask your guests write a few things they are thankful for on one side. Glue one end of the strip under the other end and repeat, looping the next strip through your first chain. When assembled, hang above the table for decor or spread around the table. Throughout the meal you (or the kids) can read each strip and reflect - make it a game and guess who said what!

4. Patterned Paper drink flags/stirrers: Every party needs some of these. Celebrate the autumn weather by cutting your flags into leaf shapes. Start with a 1.5" x 5" strip and fold in half. Open it back up, draw your shape on one half of the blank side of the paper, fold in half again, then cut out. Reverse the fold, apply glue to one side, place a skewer or straw in the center then hold to adhere.

5. Patterned Paper Place Card Holders: Thanks to Martha Stewart for this idea, keep things simple with a folded paper place card holder. We scaled ours down to a 3" x 3.75" piece of paper, folded in half, then folded in half again, creating three 3/4" folds. Unfold the paper, and reverse one fold, making an "M" shape. Place your place card inside and voila!

For more pretty patterned paper ideas and DIY crafts, visit our website here!


Customer DIY Envelope Liners

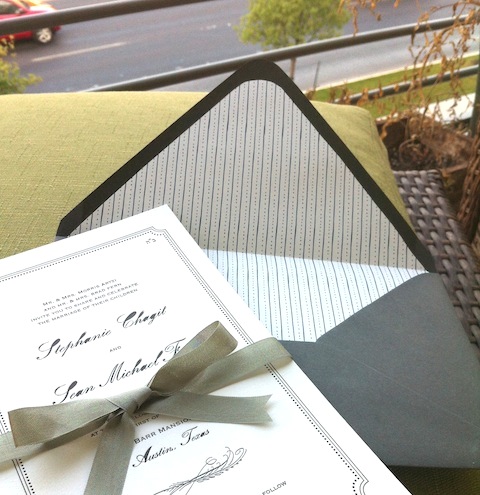
Our customers are loving our new DIY collection! This photo comes from the lovely Stephanie who hand made her own envelope liners from our Love Knot Patterned Paper. Her invitations were printed elsewhere but the patterned paper matched perfectly with her design. We love the cool grey color palette with the whimsical dotted lines. Excellent work Stephanie! Remember, you can make your very own envelope liners using this template!

For more wedding DIY projects, head over to our website here!

Harvest by Darling Clementine

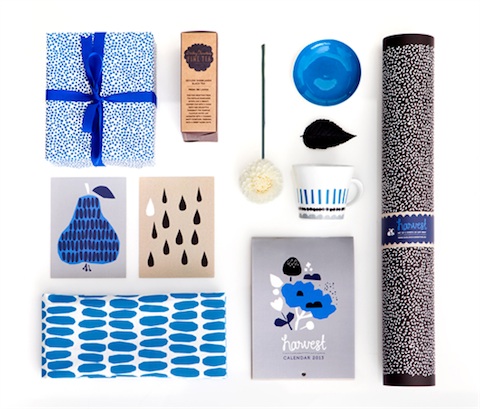
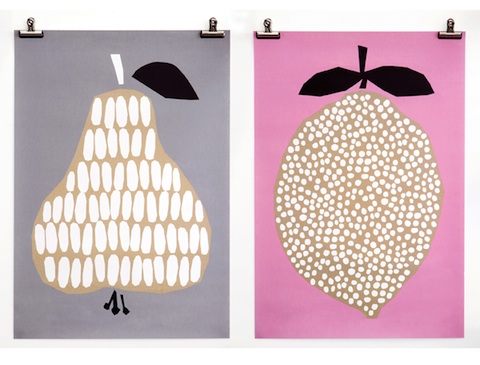
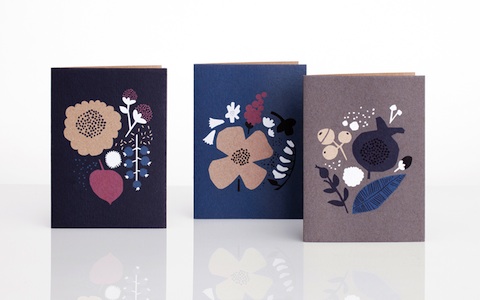
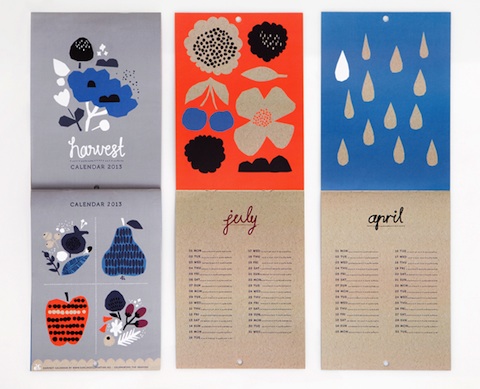
Has everyone been introduced to Darling Clementine's new collection Harvest? If not, we're delighted to do the honors. We've been huge fans of Darling Clementine since long before they agreed to be a guest designer for our 2011 Holiday Collection, and were thrilled when they wanted to work with our team. Harvest, a collection of prints, cards, gift wrap (and more!) is a perfect way to welcome the fall and winter seasons. The pairing of cool blues and grays with warm reds and pinks makes us melt with design envy. Check out the Harvest collection right here!

Set of 8 single greeting cards

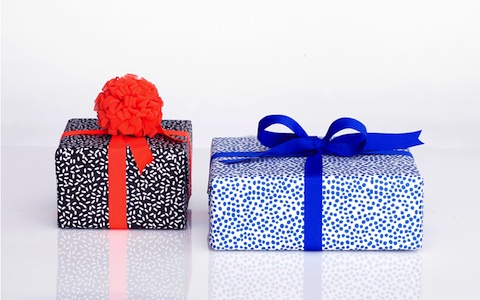
Harvest gift wrap

Harvest poster

Set of 6 greeting cards

Harvest 2013 Calendar


Creative Bug Event Photos

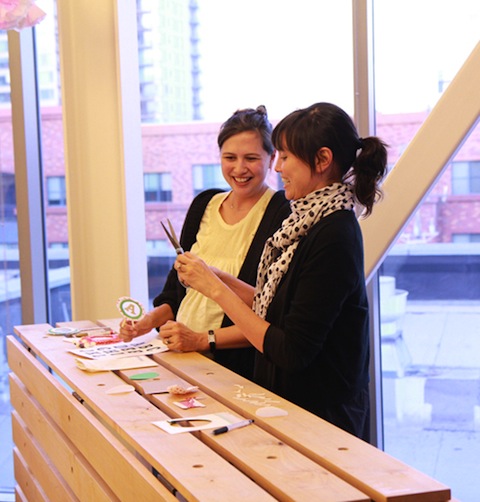
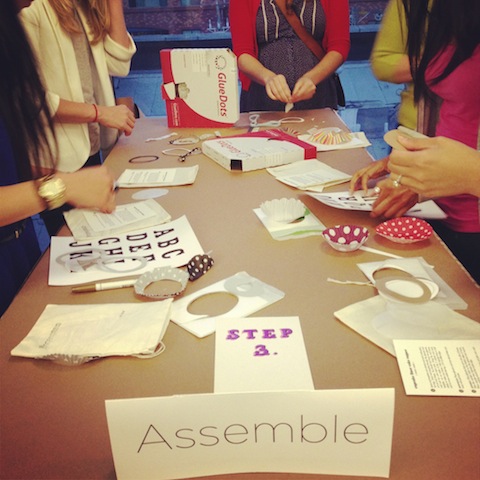
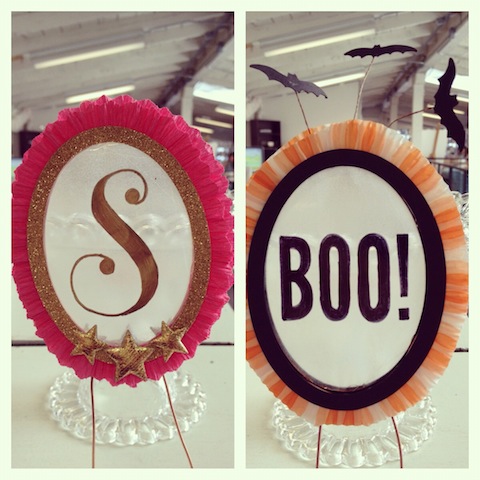
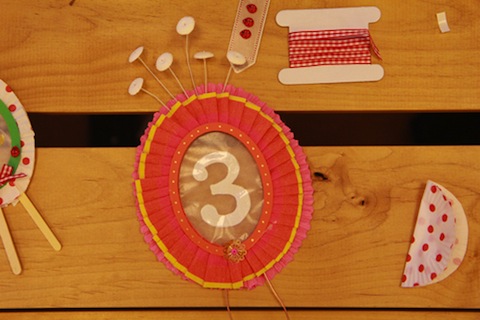
If you follow us on Instagram, then you know how great the turnout was at the Creative Bug Crafts, Cocktails & Cake-toppers event at Chronicle Books last week. There was a fantastic crowd of happy crafters and the handmade cake toppers were adorable. Eunice and Sabrina delivered a stellar performance, giving hands-on instructions for making these versatile decor items. We had a blast getting together with Creative Bug at Chronicle Books and want to extend a special thank you to all who were involved and all who came to enjoy the evening. Here are some of our favorite photos from the event. Don't worry if you missed it, because there is a great online workshop available at Creative Bug right here!

Free Printable Halloween Party Invite + Giveaway!

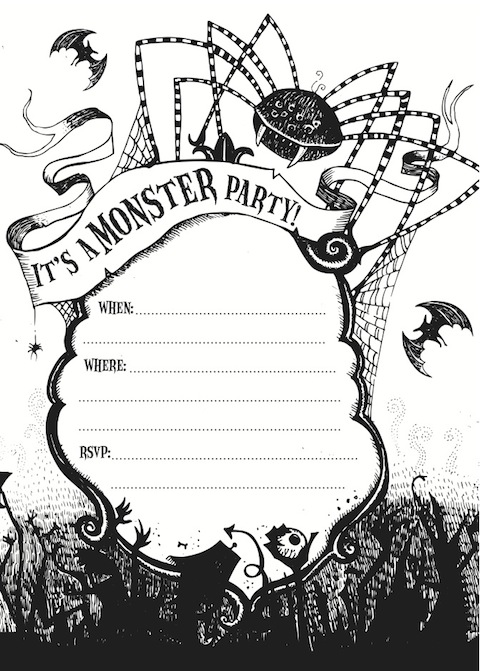
Are you getting in the Halloween spirit yet? We definitely are and can't wait to break out our costumes and candy. This year we wanted to give our readers an extra spooky treat with this free printable Halloween party invitation. Even if you're not the costume king or queen, throwing a party for Hallow's Eve is a great way to get geared up for the holidays. Print this template at home on card stock paper and address it to your party people. Guests will be too scared to say no.

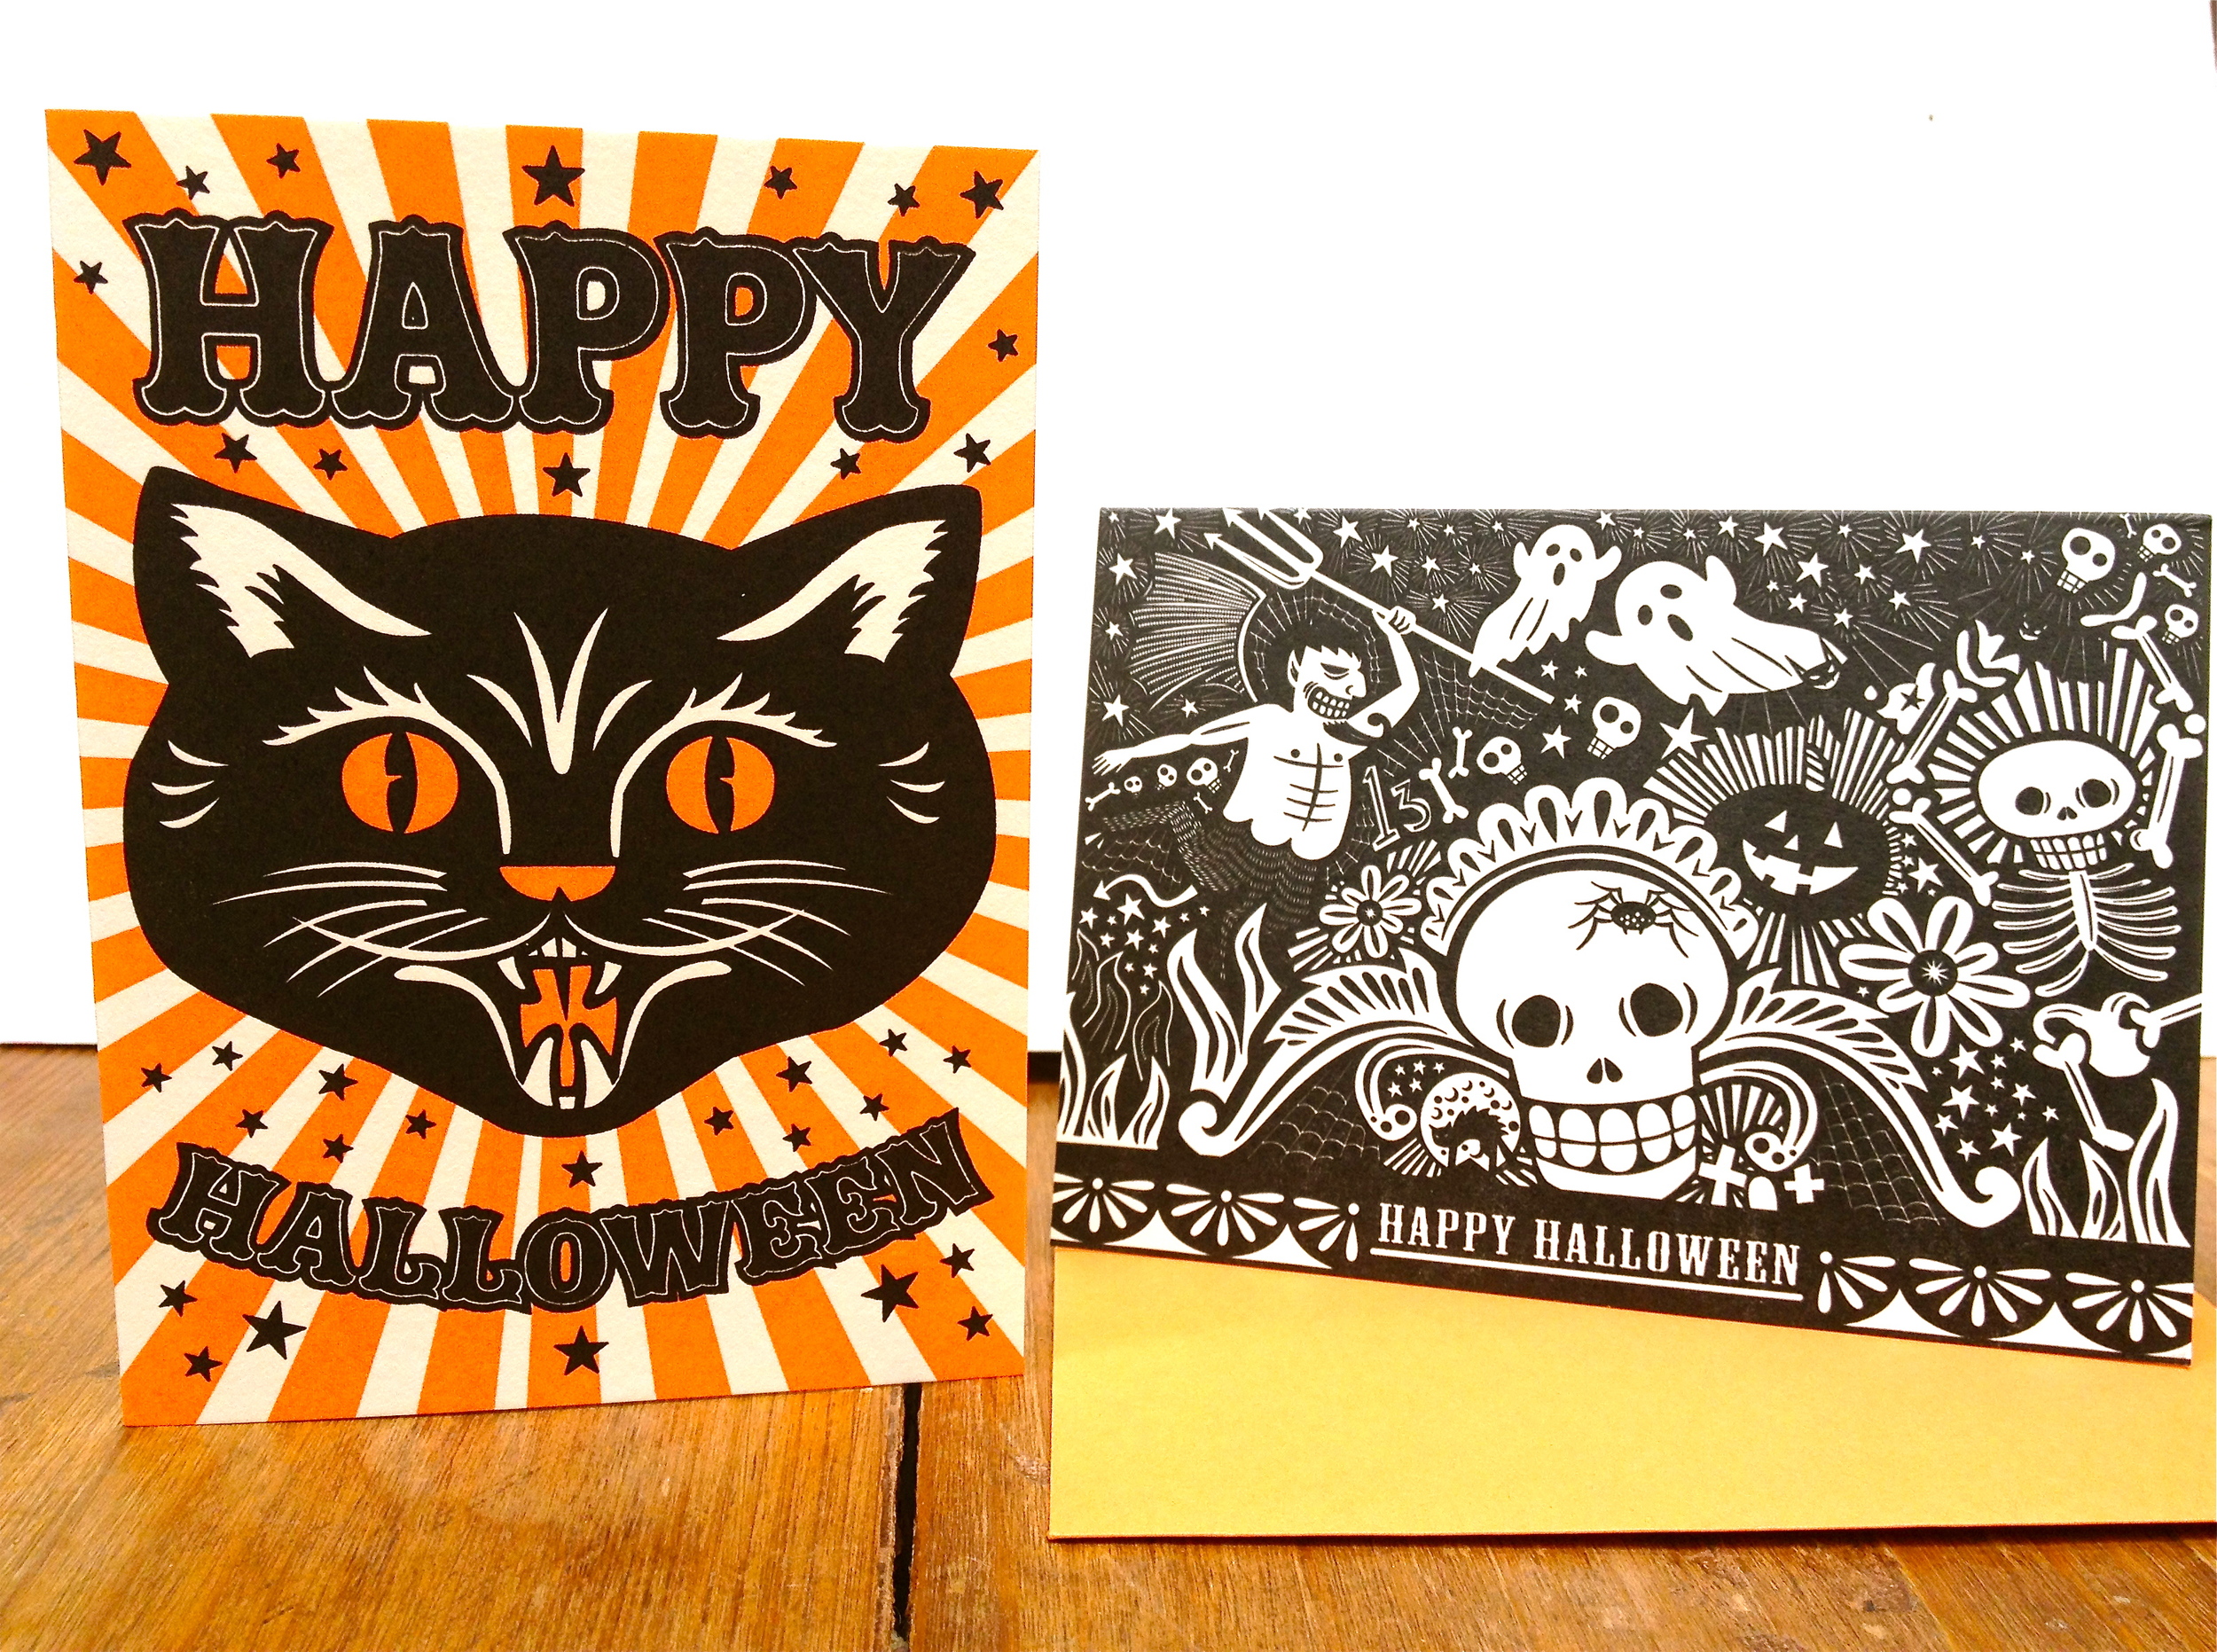
We're also giving our fans the chance to win a set of 3 eerie Halloween greeting cards! Simply comment below telling us what you want to be for Halloween and we'll pick two random winners. We're still deciding on our Halloween costumes this year so we look forward to reading your ideas! Be sure to enter your comment before noon of next Thursday, October 4th and we'll announce the winners on Friday! Good Luck!

Le Papier Studio

Coming up with a unique gift can be a difficult task, especially if you're on a budget. Almost anything customizable these days can cost up to an arm and a leg, but these new silhouette prints by Le Papier Studio are one-of-a-kind and they are affordable. This floral wreath silhouette print is the perfect gift for newlyweds and can be customized in just about every way possible. Vana Chupp, owner and designer of Le Papier, has mastered the art of the silhouette, and it's clear because all of her products are fabulous. We asked Vana a few questions about her work:

1. What inspired you to start Le Papier Studio?

The inspiration behind Le Papier Studio was my first born son, Nikolas. I started documenting his milestones by cleverly capturing his personality, emotion, playfulness and essence. I began using silhouettes to tell my own life story. Now that my second born, John is added to the equation, it's a love story that continues to blossom with both of them as my muses.

2. What's been the most rewarding part of running your business? 

Creating what I love, seeing it come to fruition and adorned by many.

3. Advice for anyone who is thinking of starting their own creative business?

Two words, "start now!". Often people will ponder and wait for the 'perfect' moment to start their creative business, wasting invaluable time.

4. What inspires you most? 

My friends, my family, my boys, are the reason I do what I do.

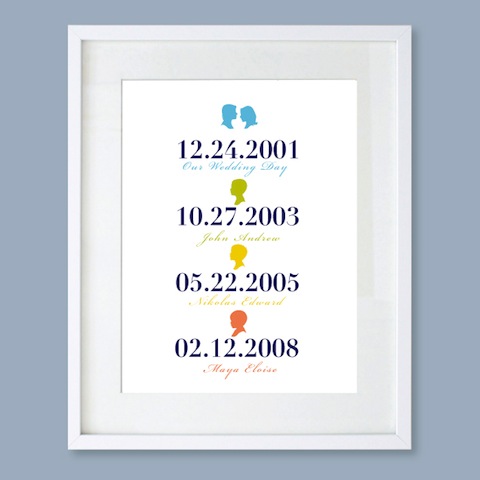
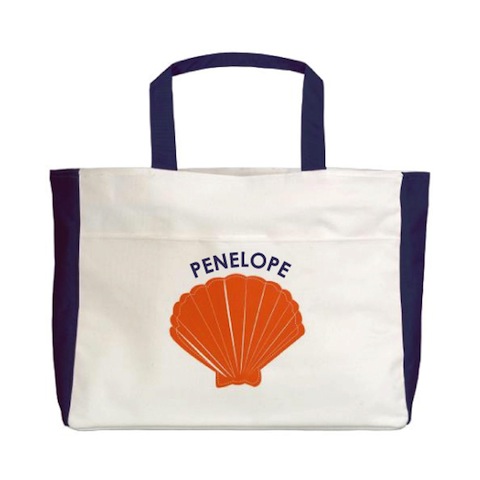
We're loving this family dates print and how each event can be customized by color. This is such a fun way to display all the important dates in your life, or a great gift for new parents. It's not just the prints that we love, Le Papier has endless goodies from personalized tote bags to dinner plates.

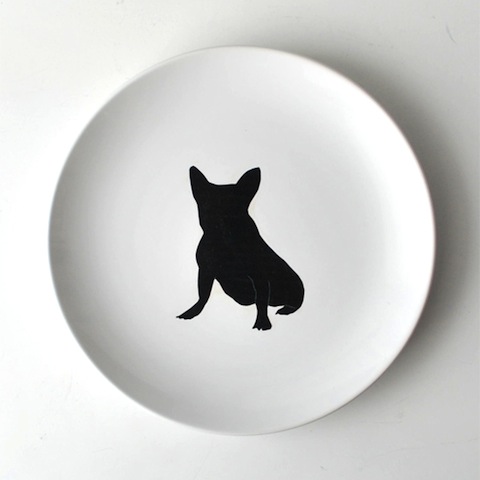
Know a pet lover? One of these personalized pet silhouette plates would certainly make it's home on a mantle or in a frame. Fido will be feeling proud with his own homage.

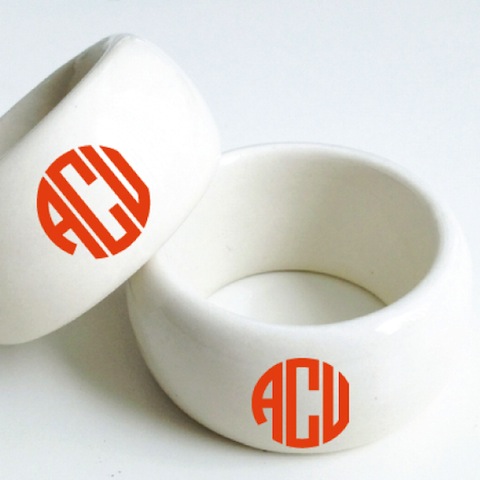
Vana has customized just about everything, even monogram napkin rings. You can take your tabletop from plain to preppy with the bold color choices, too. What will she come up with next?!

Be sure to check out the entire collection by Le Papier Studio here, and pick up a copy of the new! Pretty Paper Parties book, published by Chronicle Books!

DIY Halloween Sidewalk Skulls

DIY Sidewalk Skulls by Hello!Lucky

It's that time again! The holidays are right around the corner and that means we're gearing up for a season of DIY decor. Halloween is the one holiday in which you can get away with practically anything. And although we love faux spider webs and painted pumpkins, we're more attracted to unique, original designs. Our DIY Sidewalk Skulls are a great way to add spook to your home without too much black and orange. Where's the wow factor? It's a glow in the dark graveyard so each piece glows in the gloomy night of Hallow's Eve.

DIY Sidewalk Skulls by Hello!Lucky

Materials: White poster board or card stock, Scissors or craft knife, pencil, glow in the dark acrylic paint (available at craft stores), paintbrush, skewer sticks, masking tape

How To:

1. Print this skull template on your home printer. Cut out with scissors and a craft knife (for the eyes and nose) and trace onto your poster board or card stock. *Tip: for extra strength or to keep your skulls from warping over time, glue two pieces of card stock together before tracing and cutting.

2. Cut out the skull from the poster board or card stock using scissors and a craft knife.

3. Apply three generous layers of glow in the dark paint.

DIY Sidewalk Skulls by Hello!Lucky

4. After the paint is dry, place the skewer stick on the back (pointed side down) and secure with a piece of masking tape.

DIY Sidewalk Skulls by Hello!Lucky

*Tip: We recommend keeping the skulls under a lamp or bright light before displaying for best results. If rain is in the forecast, remove the skulls from the yard to preserve the strength of the paper.

Place skulls along your sidewalk or pathway to light the way for trick-or-treaters! We added bats and bones to the mix, but you can make anything from witch hats to pumpkin heads!

DIY Sidewalk Skulls by Hello!Lucky

Happy Halloween!

For more crafty DIY ideas, visit our website today!

DIY Gold Leaf Notepads

Lately we've been following a new craze popping up around the web. Gold leaf, historically used as an art medium, has now turned into one of the trendiest decor accessories this year. We've seen it on picture frames, furniture, fingernails, and jewelry, and once we saw Eat Sleep Cuddle use it for handmade notebooks we knew we had to give it a shot. Naturally our taste for nautical design comes into play when coming up with a new project, so these DIY Gold Leaf Notepads fit right in. Inspired by traditional nautical flags, we felt the pop of gold would compliment the classic color palettes seen in the flags. Since school is back in session and notes are to be taken, this DIY project is perfect for daily to-do lists and is the ultimate stylish campus accessory. Read the full instructions below!

Materials:

4" x 6" note cards, Elmer's Glue, Craft Knife, Paint Brush, Gold Leaf Kit, Painters Tape, Foam Brush, Card Stock Paper, Ruler, Bone Folder, Pencil

*Tip - We don't recommend the "peel and stick" gold leaf, as it isn't a guaranteed success. The original sheets are much more reliable. Most kits will include the gold leaf sheets, adhesive, and sealer, but you can also purchase each item separately. We bought ours at Michaels, but they are sold in most craft stores.

How To:

Step 1. Stack your note cards so the edges are even. Score one end of the stack of cards with a craft knife, making small indentations on the paper. This will ensure your glue will stick strongly to the stack of cards.

Step 2. Apply a layer of Elmer's glue to the scored edge of your cards. We recommend using a bulldog clip or rubber band to help keep the paper in place.

Step 3. Once the first layer of glue is dry, add two more layers. Set aside.

Step 4. While the glue is drying, cut your card stock paper to size. You will need to measure the thickness of your stack of note cards. For most sets of 4" x 6" cards, the stack is 3/4" thick. In this case, cut your paper to 12 3/4" long by 4" wide.

Step 5. Measure 6" from each end. Using a ruler and bone folder, create two score lines 6" from each end, creating a center strip which will act as the binding for your notepad.

Step 6. Apply two strips of painters tape to your card stock. We placed ours along the back score line and 1.5" down from the top.

Step 7. Apply a thin layer of metal leaf adhesive using a paintbrush. Avoid any puddles, as this may cause your paper to ripple. Allow to dry at least 2 minutes, or until it feels dry but sticky to the touch. If the adhesive is still wet, the gold leaf will not stick properly.

Step 8. Gently lay a layer of gold leaf on top of the adhesive. Most kits will have detailed directions, and should come with small sheets of wax paper to help smooth the gold leaf down. Then use your foam brush to smooth.

Step 9. Once the gold leaf is set and dried to the adhesive, use your foam brush to wipe away any excess pieces. Save large pieces for later. Trust us, you'll want to do this again!

Step 10. Apply a thin layer of sealer on top of the gold leaf to prevent scratching. Allow to dry.

Step 11. Carefully remove the painters tape from the card stock.

Step 12. Cut triangles out of your card stock to create a flag shape. Or, leave as is!

Step 13. Apply Elmer's glue to the center strip of your card stock. It should already be scored from Step 5. Set your stack of note cards (the side you already glued and dried) on top of the center strip and hold to seal. Voila! You have instant modern notepads that you'll be dying to show off in class or at the office. Happy crafting!

For more paper DIY projects, head over to the DIY section of our website here!

Mendocino Boho Wedding Shoot

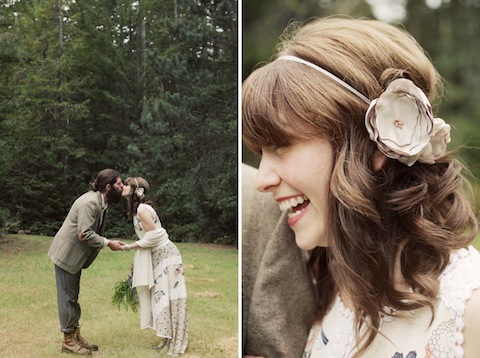
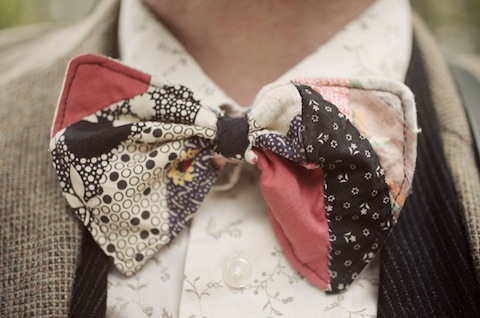
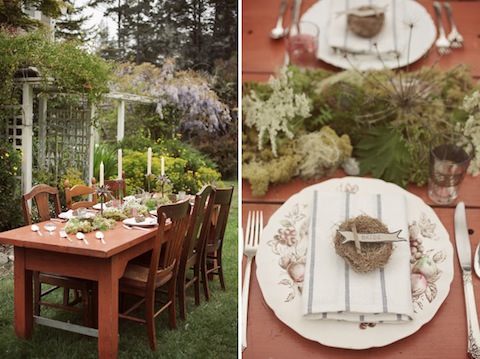
Did you see this charming boho wedding shoot on Green Wedding Shoes? It was styled by Karin Kamb of Clever Girl Consulting and photographed by none other than Edyta Szyszlo. The sultry green backdrop of the Mendocino Farmhouse paired with the neutral organic elements of the clothing and decor made for a comfortable and romantic setting. The models are local folk singers, too, which made their connection seem so perfect.

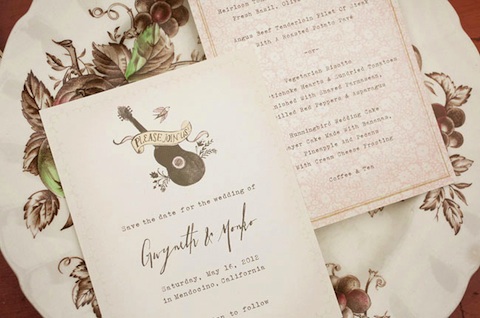
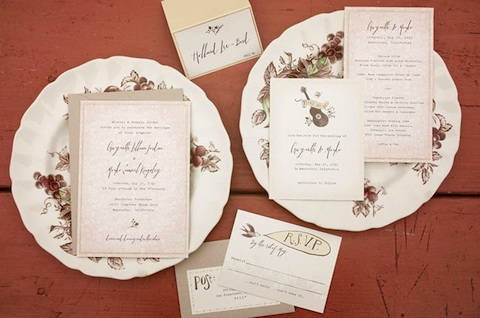
Eunice designed a brand new wedding suite for the shoot, appropriately titled Bluegrass. It's still in the works but will be available on our website soon!

To see more photos from the shoot head over to Green Wedding Shoes!

Photography by Edyta Szyszlo

Featured: Wedding Row California

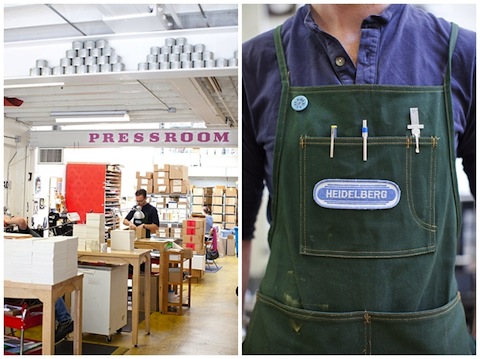
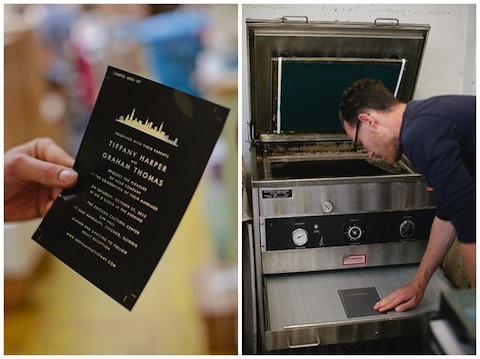
This week Wedding Row California wrote a wonderful post about letterpress printing at Hello!Lucky. With specific details about the creative process and gorgeous photography by Josh Gruetzmacher. We feel touched when people show such interest in the age-old printmaking method of letterpress, especially when they spend a whole afternoon learning the ins-and-outs.

Printmaker James is a fabulous tour guide, and showed Abigail (the author) and Josh the steps of creating a New York City Skyline letterpress wedding invitation from beginning to end.

To read the entire feature and to view more amazing photos, click here!

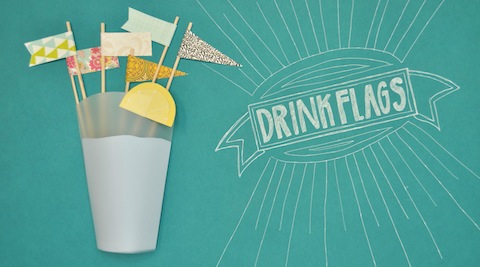
DIY Patterned Papers: Drink Flags

The next video in our DIY Paper Details series is our favorite reception accessory - DIY Drink Flags! There are three easy templates for making festive flags for your party drinks. Your guests will certainly see your details come together if you match your papers with your wedding invitations or table numbers. Watch the video or see below for full instructions!

DIY Drink Flags from Hello!Lucky on Vimeo.

 Materials:

DIY Drink Flag Template, Printer, 1 sheet cardstock, 8.5 x 11” (US) or A4 (UK), Ruler, Bone folder, or a butter knife, Cutting mat, or a magazine, Craft knife, Pencil, Patterned paper, Glue stick, Skewer sticks

How To:

Step 1. Print out the template. Print this template on card stock. Make sure your printer is set to 100% (or, “no scaling”) to ensure that the template prints to scale. Step 2. Cut out the template. Using a ruler, craft knife, and cutting mat, cut out the drink flag template. Step 3. Trace the template. With a pencil, trace the drink flag templates onto each sheet of pattern paper. Step 4. Cut out each flag. Using a ruler, craft knife, and cutting mat, cut out the flags. Step 5.  Fold each flag in half. Fold the flags in half and use a bone folder to smooth the crease, marking your center. Step 6. Glue in skewers. Apply glue to one side of the inside of your flags. Place the skewer stick in the center, leaving about ¼” space at the top. Fold and smooth to secure.

Fore more paper DIY projects visit our website!
DIY Strawberry Print

Still feeling the excitement of the summer season? So are we! The farmers markets are bustling, coats and jackets stored away, and beaches are calling our names. While enjoying the sweet taste of some fresh summer strawberries (and constantly imagining new DIY ideas), we realized the organic shape of the berry's insides would make a fantastic stamp! After testing a few of our own, we knew this was something everyone can do, especially kids! In absolutely no time you and your family can have one-of-a-kind artwork hanging on the wall, all made with supplies you already have at home.

Materials:

3 to 4 strawberries (halved), watercolor paint, brush, watercolor paper, frame (optional)

How To:

Step 1. Dip your brush in a little water, then dab in some red or pink watercolor paint.

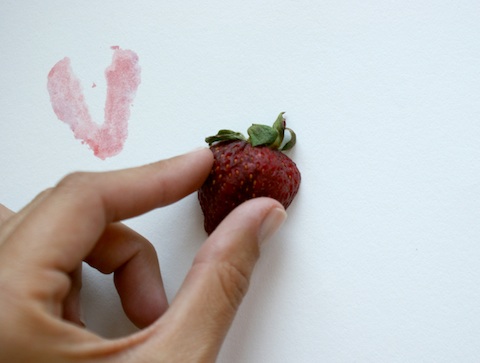
Step 2. Brush a little paint over the flat surface of your halved strawberry. Try not to add too much water in order to get a more vibrant stamp.

Step 3. Carefully press your berry onto your paper. Let sit for a few seconds before picking up.

Step 4. Repeat! Be sure to leave a 1/2" space on all sides of your paper, in case you want to frame your artwork.

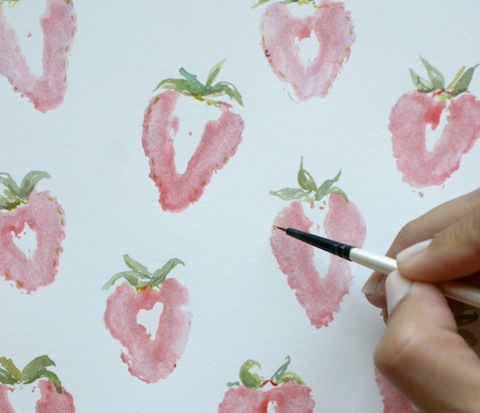
Step 5. After the stamps are all dry, add some leaves to your berries with a small brush. You can even make some little seeds around the edges.

Step 6. Place in a matted frame and display!

For more fun craft ideas for kids and adults, visit the DIY section of our website here!

DIY Patterned Papers: Belly Bands

DIY Belly Bands from Hello!Lucky on Vimeo.

The next video in our series of DIY Paper Details is DIY Belly Bands! These little strips of paper are a very practical and simple way to add some character to your wedding suite while keeping all your inserts together. With basic instructions like cutting lines and folding twice, you will be shocked at how easy the process is. Dress yours up with a nice ribbon tie or lace paper trim for a more elegant approach. Watch the video and see below for full instructions!

Materials:

DIY Bellyband Template, Printer, 1 sheet cardstock, 8.5 x 11” (US) or A4 (UK), Ruler, Bone folder, or a butter knife, Cutting mat, or a magazine, Craft knife, Pencil, Patterned paper (one sheet makes 4 bands), Glue Stick

How To:

Step 1. Print out the template. Print this template on card stock. Make sure your printer is set to 100% (or, “no scaling”) to ensure that the template prints to scale. Step 2. Cut out the template. Using a ruler, craft knife, and cutting mat, cut out the belly band template. Step 3. Trace the template. With a pencil, trace the belly band template onto each sheet of pattern paper. Repeat. One sheet of patterned paper fits 4 belly bands. Step 4. Cut out each belly band. Using a ruler, craft knife, and cutting mat, cut out the belly bands. Step 5.  Wrap the belly bands. Using a ruler and bone folder or butter knife, make a fold 3” on both ends of the band. Place each band in the center your invitation. Flip the invitation and band over. Apply about a ½” strip of glue to the back side of one end of your band. Set over the top of the other end and smooth to secure.

For more crafty paper projects, head over to the DIY section of our website here!

DIY Patterned Papers: Envelope Liners

DIY Envelope Liners from Hello!Lucky on Vimeo.

Do you remember our How To Assemble Your Wedding Invitations video? Well we had so much fun making it we just had to come up with more. With the launch of our new DIY Collection this is the perfect time to debut the first in a series of DIY Paper Details stop-motion videos. All videos were styled, directed, and filmed right here in our San Francisco studio and we couldn't be more excited to share them with you! Today we have DIY Envelope Liners. Using our bulk patterned papers and envelope liner templates, you can add these easy and cheerful liners to your wedding invitations in no time. Watch the video for full instructions or see below!

Lined Envelopes

To save time, photocopy this template onto the back of each of your patterned paper sheets and cut out each envelope liner (skip to Step 4).  If you don’t have access to a photocopier, follow the steps below to create your own template to trace.

You’ll Need:

DIY Envelope Liner Template, Printer, 1 sheet cardstock, 8.5 x 11” (US) or A4 (UK), Ruler, Bone folder or a butter knife, Cutting mat or a magazine, Craft knife, Scissors, Pencil, Patterned paper (1 sheet per envelope), Envelopes, Glue Stick

How To:

1. Print out this template on cardstock. Make sure your printer is set to 100% (or, “no scaling”) to ensure that the template prints to scale. 2. Using a ruler, craft knife, and cutting mat, cut out the envelope liner template. Use scissors to trim the rounded end. Hold the template up to your envelope to make sure it’s the right size - envelope liners need to slip neatly into the envelope and should align with the envelope flap but not cover the glue. If needed, adjust the template using your printer’s scaling options. 3. With a pencil, trace the envelope liner template onto each sheet of patterned paper. 4. Using a ruler, craft knife, and cutting mat, cut out the envelope liner. Use scissors to trim the rounded end. 5. Fold the flap down to crease the envelope liner, approximately where it says “fold here” on the template. With the flap portion of the liner folded down, apply glue. Fold the envelope flap down and smooth to secure.

For more pretty paper projects, head over to the DIY section of our website, here!

Plurabelle Calligraphy

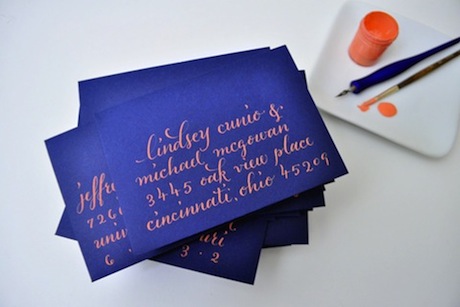
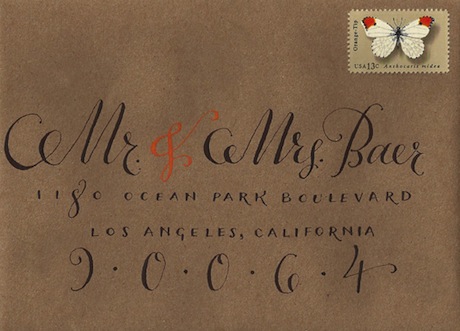
Is this possibly the most beautiful envelope you've ever seen? The bold cobalt paper, the warm persimmon ink, these complementary colors work magic. It comes from one exceptional Los Angeles artist, Plurabelle Calligraphy. Molly (the owner and creative mastermind) has a collection of work that is simply to die for, so we are delighted to feature her on our blog. Molly has made quite an impact on today's calligraphy customs by giving a modern spin on the traditional art form, or dare we say, a calligraphy facelift!

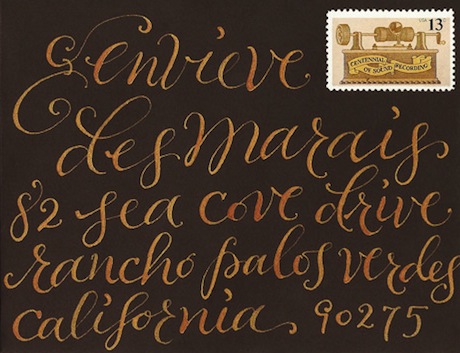
You'll find on her website that there are various lettering styles to choose from, but we're really liking the combination of vintage and modern in one.

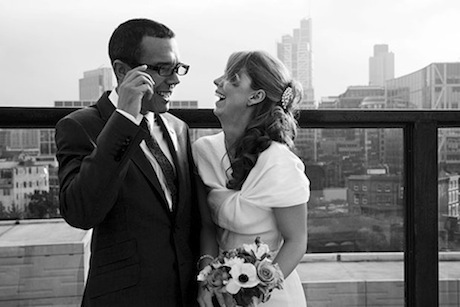
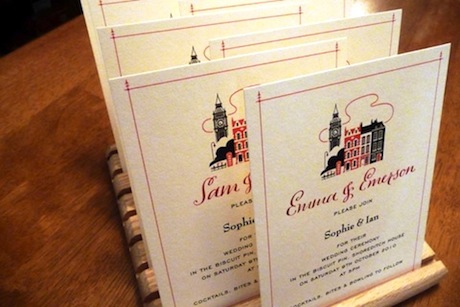
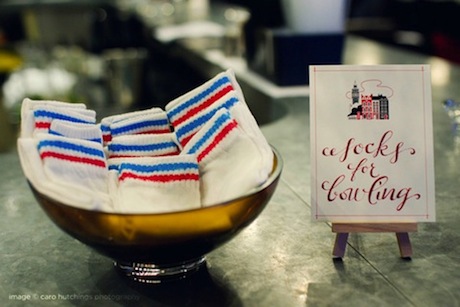
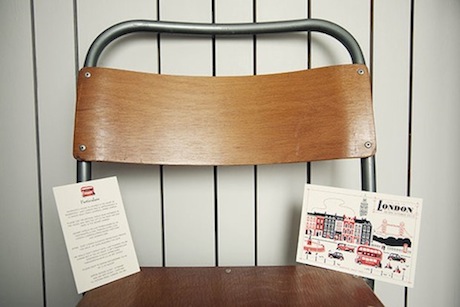
This graphic East London wedding back in 2010 caught our attention when we saw that Plurabelle Calligraphy hand wrote each guest name on the Visit London invitations, along with the adorable "Socks for bowling" signs.

To view more photos of this fabulous East London wedding head over to OMG I'm Getting Married (love that title!)

And don't forget to visit Plurabelle Calligraphy!

 Wedding photography by Caro Hutchings Photography

Free Printable! Picnic Party Invite!

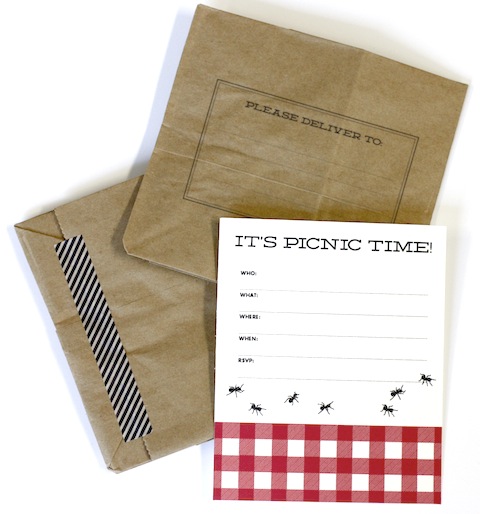
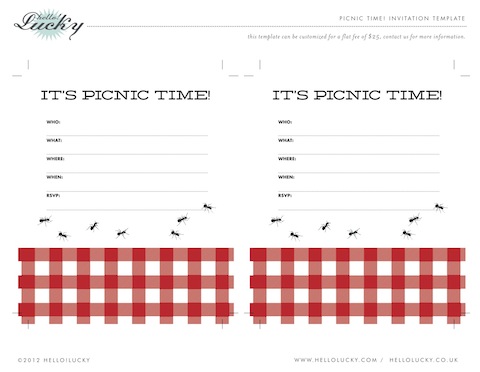
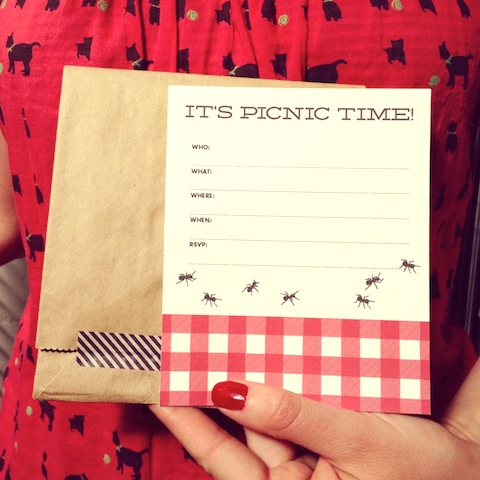
If you're summer hungry like us you're already planning your next outdoor occasion. We are dreaming of warm afternoons, gingham blankets and our favorite snacks. Well the time has finally arrived and so we've created these festive printable picnic invitations just for you! They're perfect for any summer event and can be printed right at home. The address label stamp is also printable, or take it to your local stamp shop and create a lifelong keepsake. You can download the templates here!

Picnic Invitation

Address Stamp

Enjoy!

Lab Partners Show at Super 7

Hey all you San Franciscans! If you're free tonight you should head over to Super 7 for a show by our friends the Lab Partners! They will be exhibiting a bunch of new prints like the ones shown here. We love supporting local artists so you bet we'll be there! The event, titled Next Stop: San Francisco starts at 6pm. Super 7 is located at 1427 Haight ST. See you there!

New from Susy Jack*

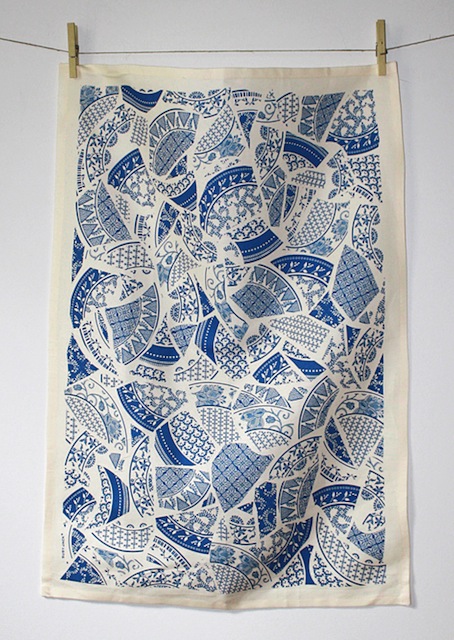
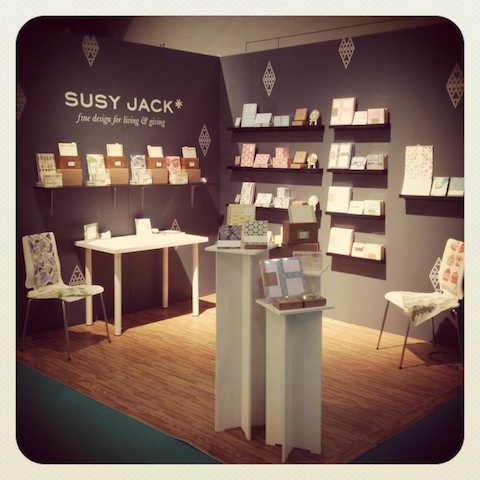
Have you heard the news? Susy Jack* just released her new Foodie line of kitchen products and it's simply delectable! We were seriously impressed with her display at the National Stationery Show and since the big debut her new collection has been a huge success (not surprised!). Susy continues to out-do herself with brilliant patterns and modern materials so it's safe to say we were quite pleased to hear she was catering to us food lovers.

This is just one of many patterns among her new collection. Inspired by broken mosaic and Delf dishes, Susy has a natural way of giving fresh faces to old ideas. That tea towel is basically frame-worthy! Below is a snapshot she took of her booth at the NSS. Simple and stunning.

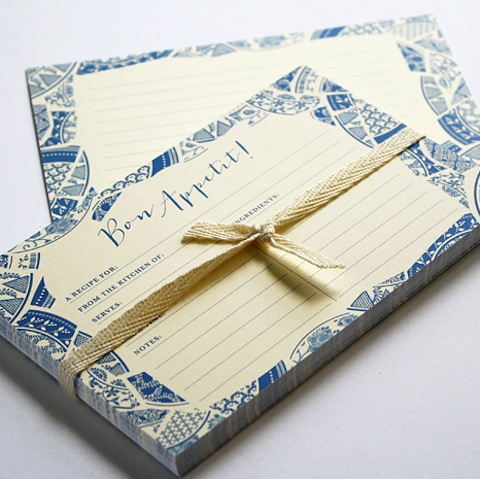
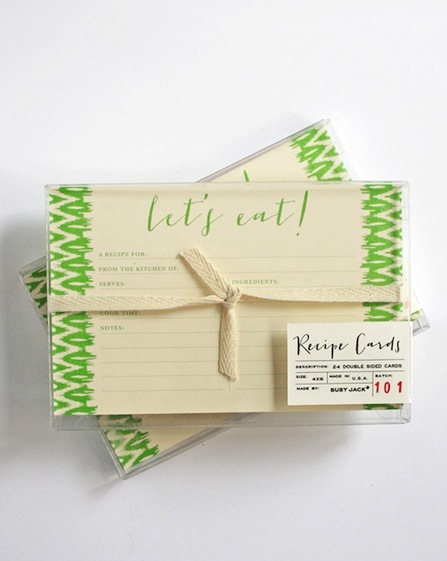
Do you recognize this design? Susy recreated her work from the Bohemian save the date into a set of recipe cards. Now wouldn't that make a delicious wedding gift?!

Check out Susy Jack*s entire shop here!

New Wedding Programs!

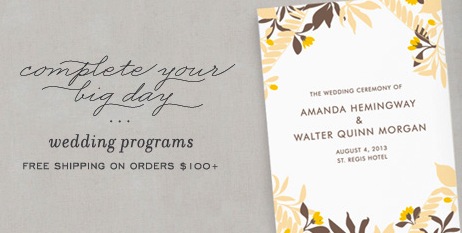
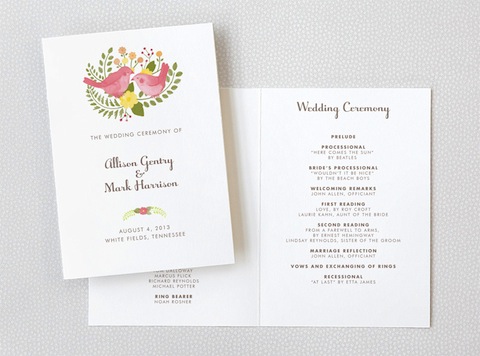
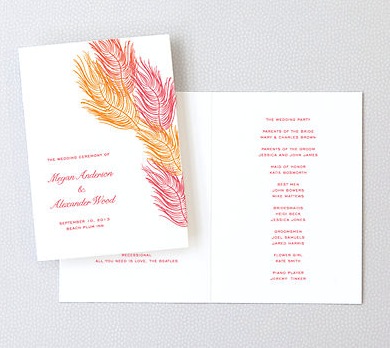
We're thrilled to announce the latest addition to our wedding collection! Now you can customize your own wedding programs online in any of your favorite designs. Each one is available in folded or flat cards, so if you're having a big ceremony - we've got you covered! Don't see your design online yet? Fret not. Our programs are so new that we're still making final touches on some of the products. They should all be up soon but if you don't see a program available in a design you're looking for shoot us an email at info@hellolucky.com and we'll help!

Browse the entire wedding program collection here!