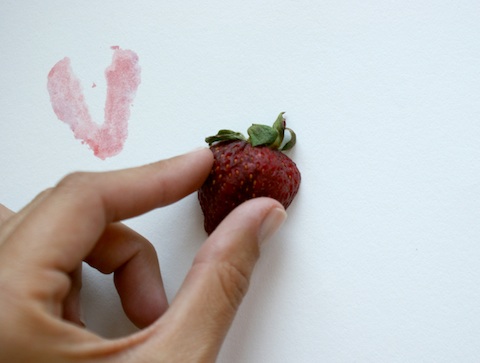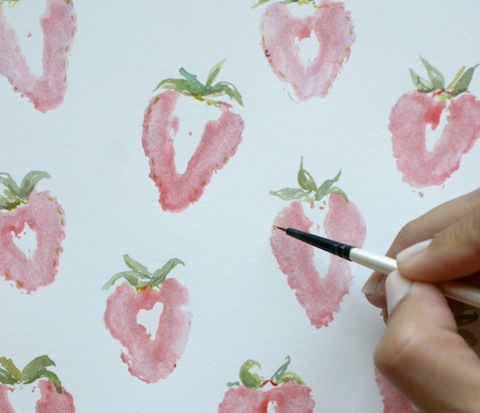
Still feeling the excitement of the summer season? So are we! The farmers markets are bustling, coats and jackets stored away, and beaches are calling our names. While enjoying the sweet taste of some fresh summer strawberries (and constantly imagining new DIY ideas), we realized the organic shape of the berry's insides would make a fantastic stamp! After testing a few of our own, we knew this was something everyone can do, especially kids! In absolutely no time you and your family can have one-of-a-kind artwork hanging on the wall, all made with supplies you already have at home.
Materials:
3 to 4 strawberries (halved), watercolor paint, brush, watercolor paper, frame (optional)
How To:
Step 1. Dip your brush in a little water, then dab in some red or pink watercolor paint.
Step 2. Brush a little paint over the flat surface of your halved strawberry. Try not to add too much water in order to get a more vibrant stamp.
Step 3. Carefully press your berry onto your paper. Let sit for a few seconds before picking up.
Step 4. Repeat! Be sure to leave a 1/2" space on all sides of your paper, in case you want to frame your artwork.
Step 5. After the stamps are all dry, add some leaves to your berries with a small brush. You can even make some little seeds around the edges.
Step 6. Place in a matted frame and display!
For more fun craft ideas for kids and adults, visit the DIY section of our website here!


