Featured: Food Network Magazine

food_network_cover

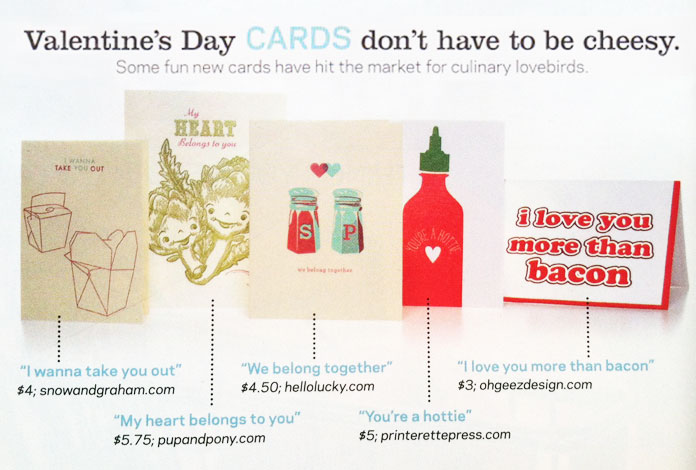
It's not every day that a wedding and social stationery company makes an appearance in Food Network Magazine, but we were simmering with excitement when we saw our new We Belong card featured in the Food Network's roundup of delicious cards for "culinary lovebirds." Our team is constantly tasting new recipes from their magazine and television shows, and must admit, we're smitten by such a sweet recognition!

food_network-ad

Must Have! Letterpress Cookie Cutters

ref=as_li_ss_tl

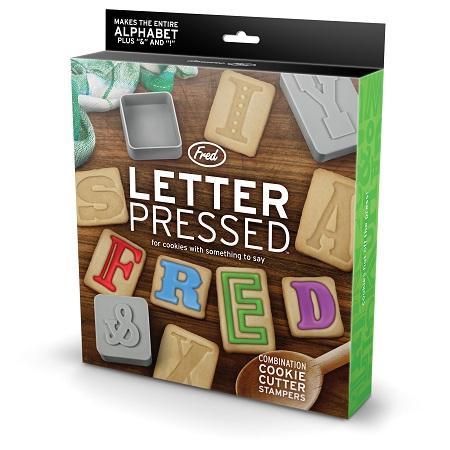
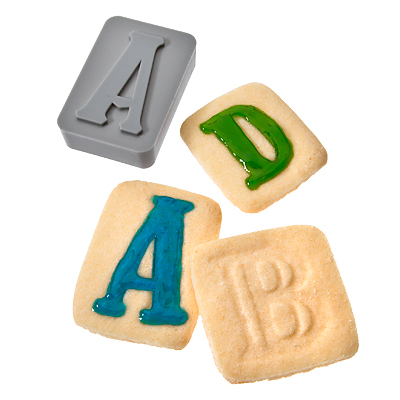
When we spotted these Letter Pressed Cookie Cutter Stamps on Swissmiss we immediately started scheming on reasons to order them.  Who could refuse "will you marry me" spelled out in sweet treats?  And wedding guests would love to nibble on monogrammed favor cookies post-party.  A giant letterpressed cookie invitation might be going a bit too far but we're sure creative minds will find endless uses for these darling type tools!ref=as_li_ss_tl-1

Studio Snapshot: The Lab Event + Giveaway!

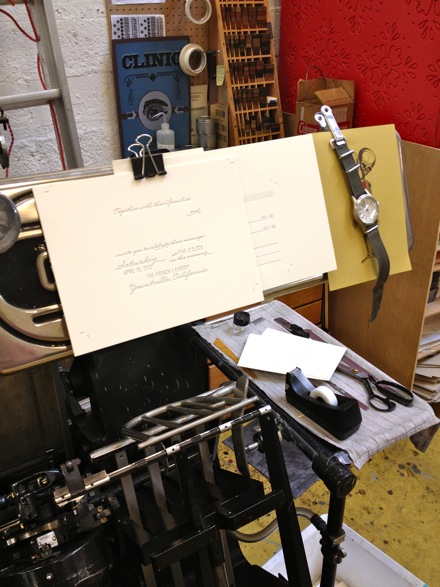
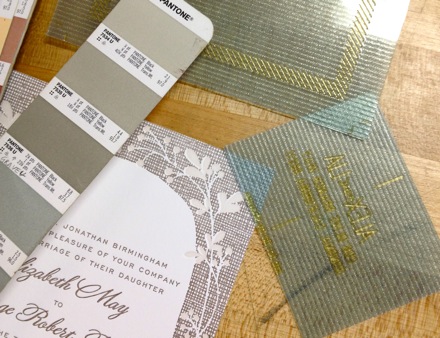
photo(1)-2We've been having so much fun designing new stationery as part of The Lab Event and with the festivities approaching this weekend, we're finally able to see our handiwork come to life on press!

photo(1)

We've been lucky enough to collaborate with a few of Northern California's most fabulous event companies, A Savvy Event and Bustle Events to create wedding vignettes based on various themes.  These mini wedding mock ups will showcase gorgeous linens, china, florals, desserts and of course - stationery.

This is just a sneak peek, to see more grab some tickets and hop up to Sonoma on Saturday, January 14th for an event that's sure to inspire!  We'd love to see you there, so we're giving away a pair of tickets to one lucky reader.  Leave a comment telling us why you would like, love, or absolutely NEED to be in attendance and we'll pick a winner on Thursday!

Julia Kostreva: Hot Press!

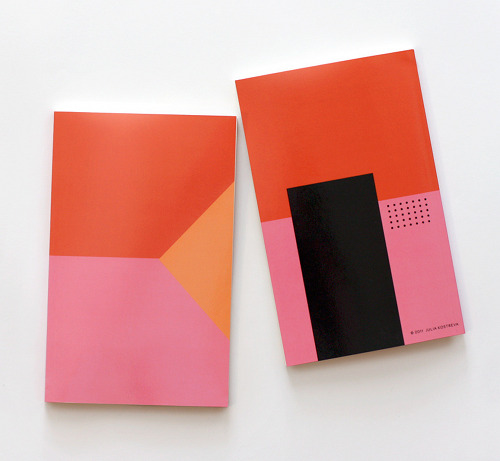
julia_kostreva-shop-book-pink2Congrats to the lovely Julia Kostreva for her fabulous feature on Design*Sponge yesterday! It's always thrilling to see your work (or friends' work!) debuting on such a popular site, and a spot on  Design*Sponge is definitely an accomplishment. Check out our post on Julia's new work here, or visit her shop here!

Lucky Friday # 46, Let's Be Frank

Let's-Be-Frank

Hello all you lucky folks out there! This is the 46th edition of our Lucky Friday Giveaway! Each Friday we feature one of our letterpress greeting cards. We’ll choose THREE LUCKY WINNERS to get a free card.  Post a comment by 12 p.m. PST the following Thursday, and we’ll announce the winners on the following Friday!

The three winners from last week are (drum roll, please): Ruth, Lisa and Heather! We’ll contact you next week to arrange sending your Warm Things card!

Design: Let's Be Frank Artist: Eunice Moyle Inspiration: We mustard up all our creative juices while playing ketchup on a deadline. Feeling saucy, we wanted a red-hot Valentine's card that everyone would relish. Who to send it to:  Anyone named Frank, Oscar or Mayer, or any adorable little brat. Ideas we scrapped in favor of this one: Though we don't want to knock the knock-knock knackwurst joke card, writing chorizo jokes was a chore, brat jokes are the wurst, and the mortadella jokes left us mortified. Favorite detail: We're still snickering at the little casing end. Why letterpress? Our list of links between fine pressmanship and fine sausage is more than a foot long.

Don’t forget to post your comment and tune in next week, same time, different stationery, to see if you’ve won!

Inspired by Beyonce

Beyoncé-Countdown-Official-Video-YouTubebeyonce100711-celebs-beyonce-countdown-1.jpg

Can she be any more fabulous? When our H!L design team was caught huddled around the computer watching Beyoncé's "Countdown" video, we knew it must have been something good. The video's contemporary ode to the 1970s includes split screen videography, hotter than hot dance moves, and amazing color block snapshots. We're particularly in love with these neon body suits paired with the striking black and white striped hat. Definitely an inspiration! Props to you Beyoncé!

Happy New Year!

Baby Smelling a Flower

Happy 2012!  I love New Year's, personally - the start of a new year is so full of hope and promise, feels like starting fresh! I'm not big on New Year's resolutions, but I do find it's a good time to reflect on what matters. For me, this year, those things are:

1) Appreciate something every day

A person, a flower, a moment, something funny or beautiful.  Good time to do it?  On the drive to work, waiting in line at the grocery store, or while falling asleep...

2.) Embrace change

Having toddlers is a constant reminder of how difficult change can be (like a first meal!). This year, our grandmother died, another good reminder. Nothing's permanent, whether it be a job, a person, or a situation. Change is natural and inevitable, so we might as well embrace it!

babies-in-bath

3.) Share a special time with someone

Whether old friends or new, share a meal, have a conversation, or send a hand-written card or letter (it really does let people know they're special!).

Happy New Year!

Pinned: Sparkles for New Year's Eve

pinned NYE

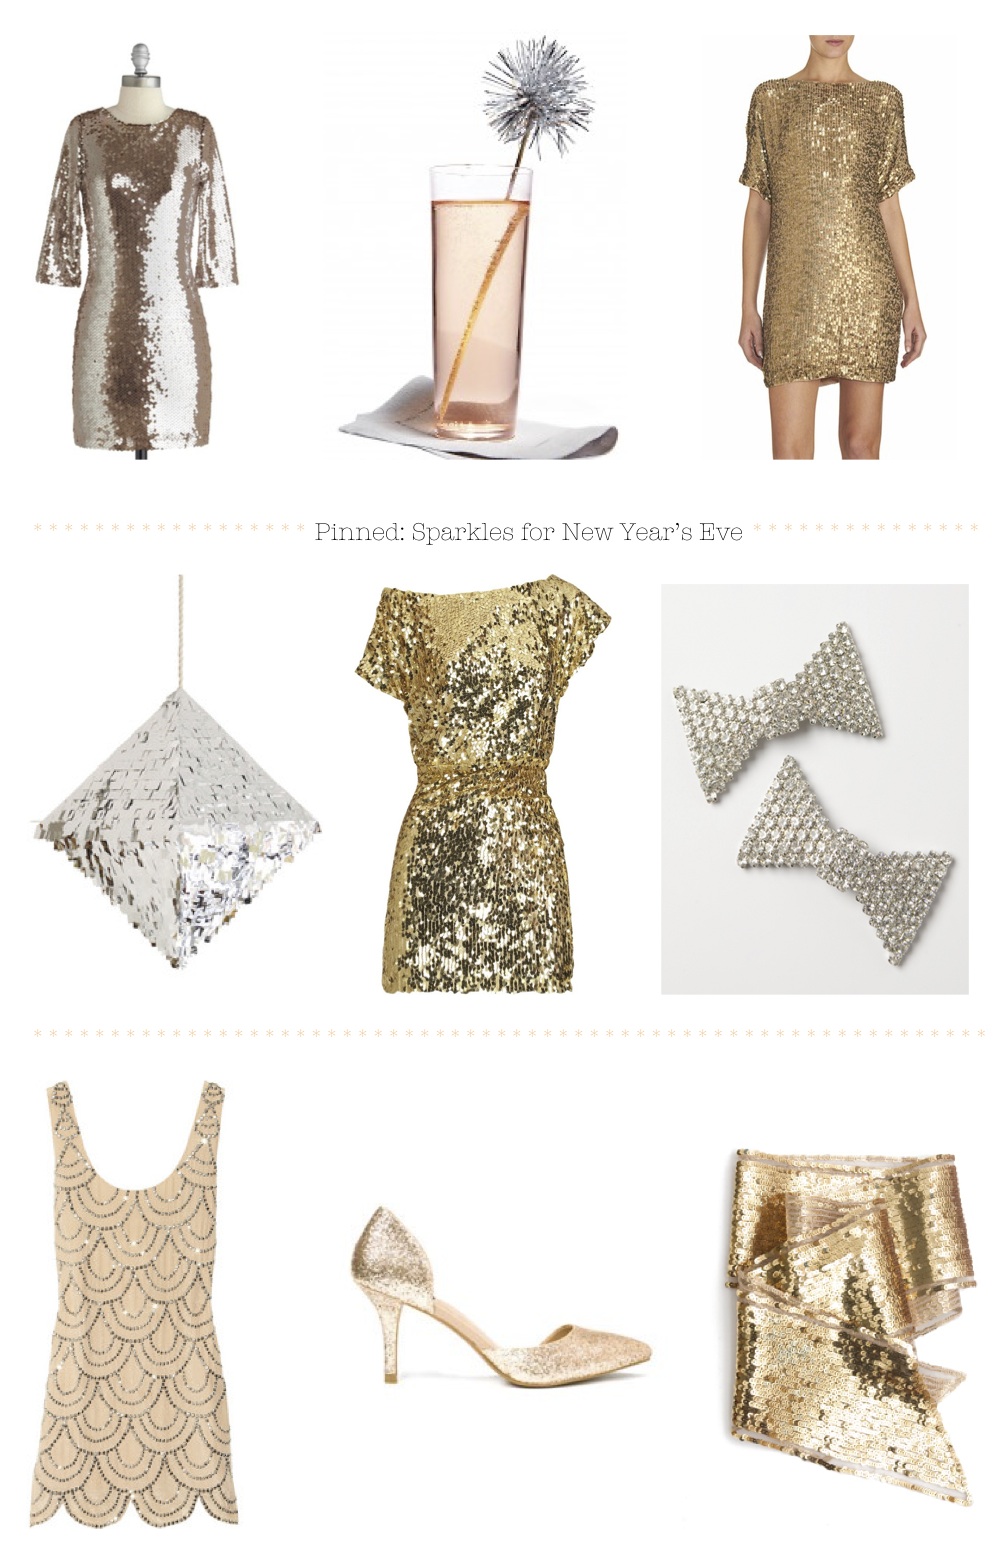
In preparation for New Year's Eve, we browsed through our Pinterest collection in search of the perfect party outfit. We may not all be attending a dazzling soiree, but we'll definitely be rocking our silver and gold sequins. You can find these glittering gowns and party accessories here along with our other favorites!

Happy New Year to all! See you in 2012!

Lucky Friday # 45, Warm Things

warm_things

Hello all you lucky folks out there! This is the 45th edition of our Lucky Friday Giveaway! Each Friday we feature one of our letterpress greeting cards. We’ll choose THREE LUCKY WINNERS to get a free card.  Post a comment by 12 p.m. PST the following Thursday, and we’ll announce the winners on the following Friday!

The three winners from last week are (drum roll, please): Linda, Michael and Heather! We’ll contact you next week to arrange sending your Happy New Year card!

Design: Warm Things Artist: Eunice Moyle Inspiration: We were skating on thin ice fishing for ideas, scraping by on a slippery slope, but after we thought of warm things it was all downhill from there. Who to send it to: Someone who's a little wild and wooly, seasonably squirrelly or just a real deer. Ideas we scrapped in favor of this one: The words "sock it to me" repeated in a dense pattern with a myriad of mismatched socks. Favorite detail: Don't we all want a squirrel patch scarf? Why letterpress? The ice-be-gone scraper is a lovely and homely little reality check— another crisp detail made possible through letterpress.

Don’t forget to post your comment and tune in next week, same time, different stationery, to see if you’ve won!

Calligraphy + Letterpress = Brilliance

photo

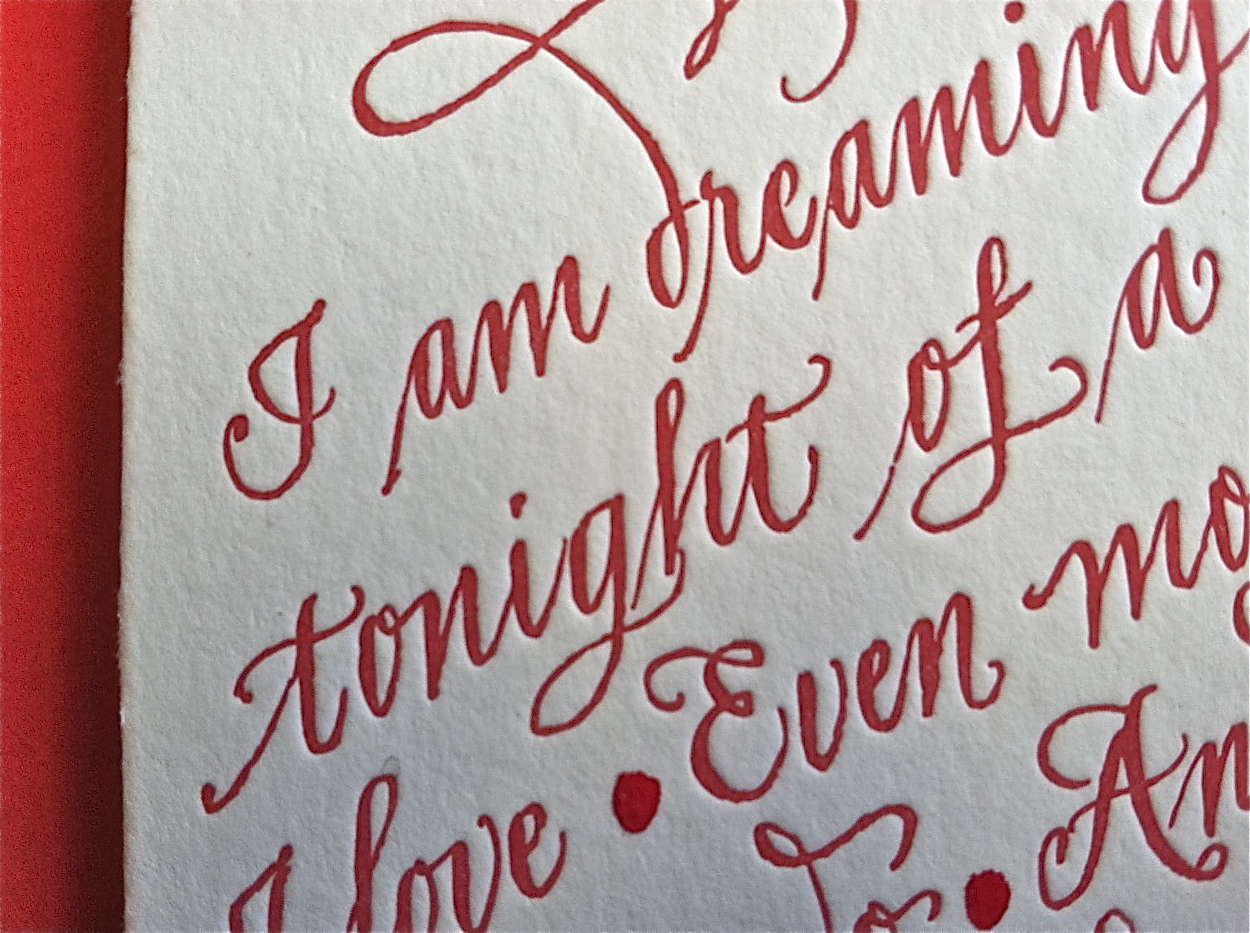
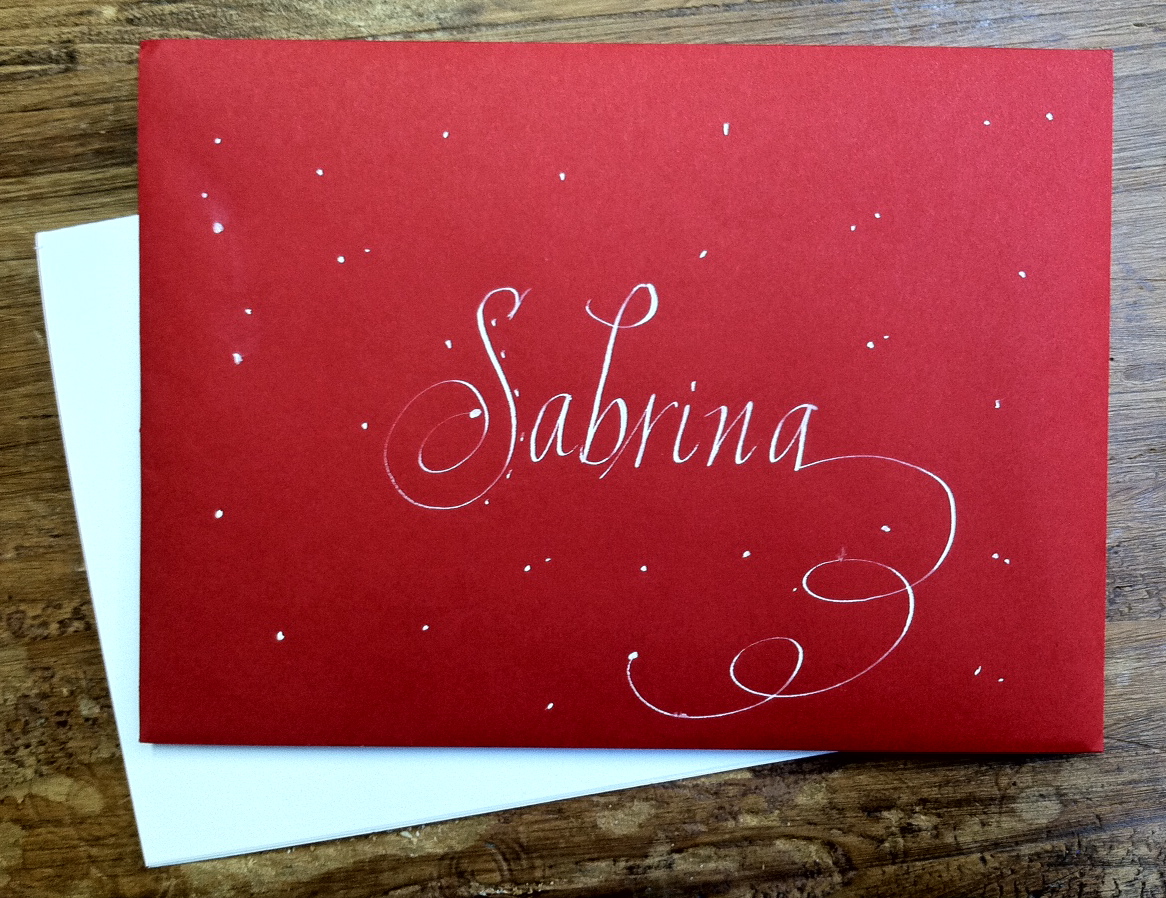
What can we say? Michele Papineau has done it again. For her holiday cards this year, Michele hand wrote the lyrics to "I'll be home for Christmas" and we letterpress printed them in festive red ink. We just received a hand addressed card with a little note inside. It's so wonderful to be friends with such a talented artist! Thanks Michele!

photo-3

photo-1

Real Wedding: Carolyn and Ben

0474_cb$!x600

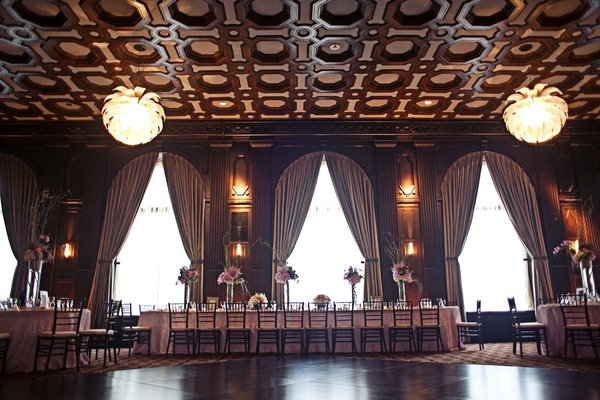
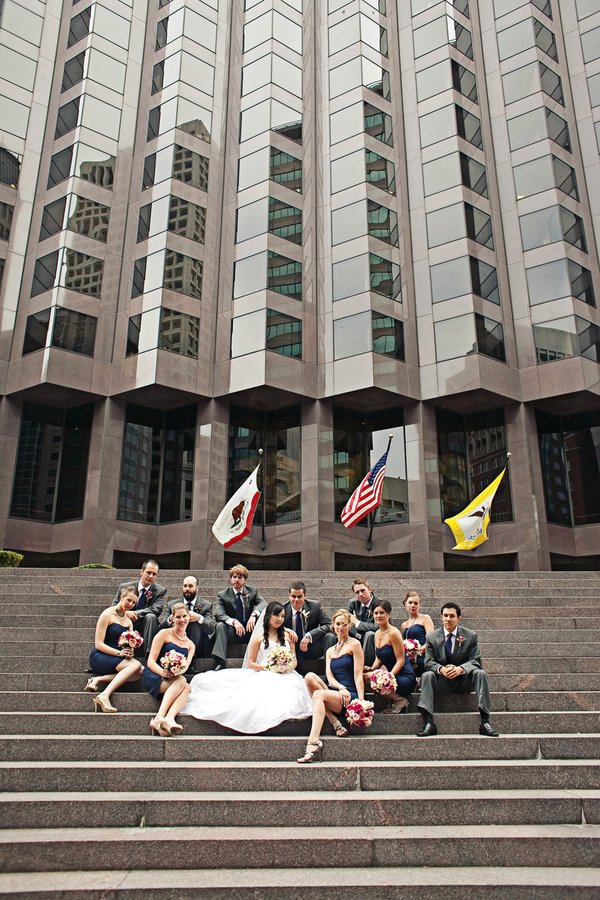
There are endless destinations that make great wedding venues in the bay area, and we never tire of browsing the beautiful scenery and indulging in the rustic charm each place has to offer. But this venue's classic architecture and sophisticated style has us feeling city-stricken and in love. Carolyn and Ben wed at the historic Julia Morgan Ballroom in downtown San Francisco amongst dear friends and family. The event, which takes classic beauty and tradition to a new level, turned out exquisitely.

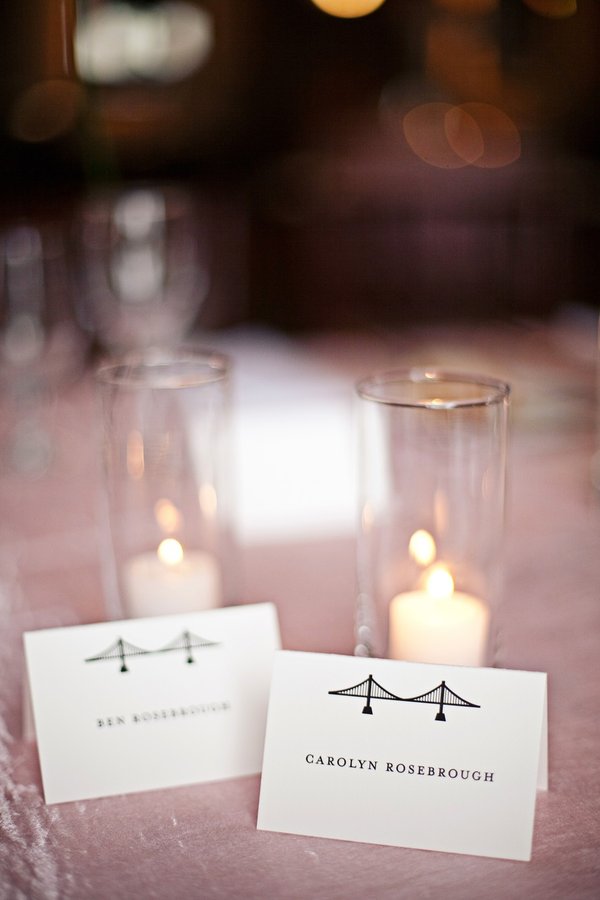
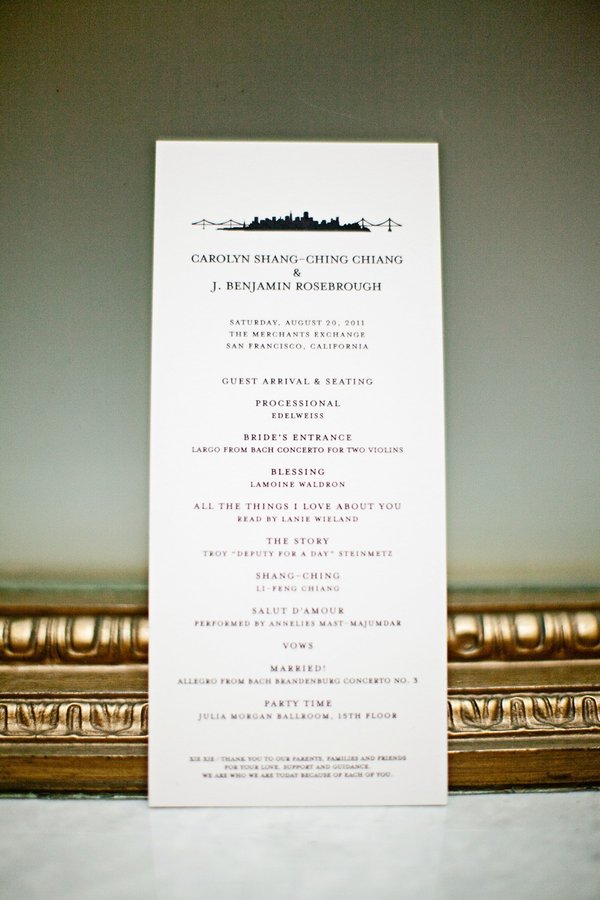
1035_cbThe couple chose to use our San Francisco Skyline invitation and day-of materials in a crisp black/white to capture the simple yet striking characteristics of their decor.

0687_cb

0722_cb

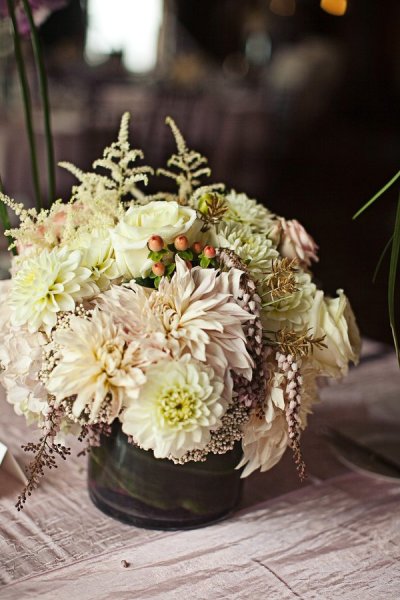
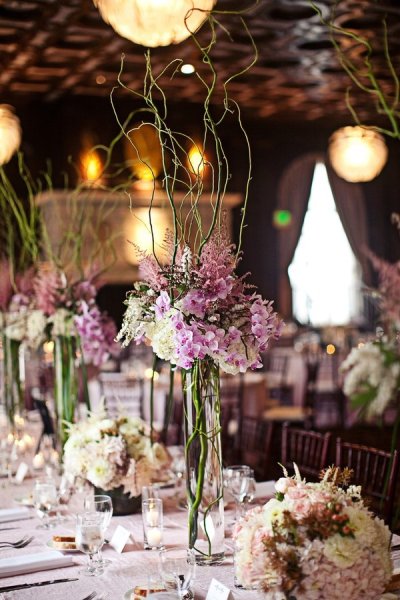
0210389_cb The floral arrangements by Chestnut and Vine graced each table with fresh scents and bright whites.

0671_cb$!x600

0702_cb$!x600

0320422_cb

Congratulations Carolyn and Ben!

Check out the entire gallery on Style Me Pretty here!

All photography by Meg Perotti

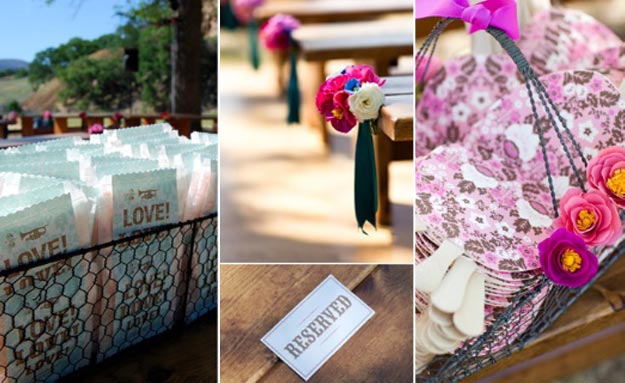
Crepe paper aisle markers

msw-DIY-crepepaperflowers

We were recently going through our archives and came across our DIY guide to crepe paper flower aisle markers from Eunice & Daniel's wedding. Crepe paper flowers have so many fabulous uses, that we thought you might like for us to re-post our instructions and templates here.  As always, the quality of the project is only as good as the materials you use - we recommend German crepe paper, and our favorite source is Castle in the Air!

fans

Basic Guide to Making Crepe Paper Flower Aisle Markers

The Grain of Crepe Paper The grain of crepe paper runs along the short side (following the creases). Generally, cut your petals so that they run with the grain of the paper so that they hold their form and can be stretched properly. That being said, sometimes you want a floppier response (for example, with some types of fringe for flower centers).

The grain direction is indicated on each template with arrows.

Making the Petals Note: Crepe paper flowers are very forgiving. Petal and leaf shapes do not need to be exact - the templates are a guide, but for the sake of speed you might consider cutting freehand, using the templates as a general guide to size and shape. Additionally, size the templates up or down, depending on the size of the flower you would like to create.

Paste the template onto a bit of card (cereal boxes or heavy weight card stock work well) and cut it out.

Never cut a single leaf or petal. Cut a few at a time. Cut a strip across the grain about 1/2" wider than the depth of the pattern you are using. Unfold the strip of crepe paper and, starting with the two ends together, refold three times for single crepe (you'll end up with eight thicknesses) or twice for duplex (4 thicknesses). Pin the template (with grain indication aligned to the grain of the paper) onto your paper and cut it out, cutting through all layers of the paper with sharp scissors.

Shaping the Petals

Fluting the Edges If you stretch the edge of the crepe paper, you will get a ruffled effect. Hold the edge of the petal between the thumbs and forefingers (your fingers will be close together, as you will be stretching several times along the edge of the petal) of both hands. Stretch the paper widthwise along the edge of the petal. Repeat as necessary.

Cupping to Shape Petals Hold either side of a petal with your thumbs and forefingers. Gradually stretch the entire width of the petal with both hands, using the thumbs to push into and cup the petal and the forefingers to stretch the paper away from the thumbs. This will give the petal a more dimensional shape - as you would see on a real rose petal. Experiment with cupping at the top, base or half way down.

Curling You can curl the crepe paper with the edge of a pair of scissors (as if you were curling ribbon) - drag the blade of the scissors along the grain to accomplish this.

Making Flower Centers

There are several techniques for making flower centers, depending on the look you are trying to achieve.

All flowers start with a ball center for something for the petals to attach to. Start with a small ball of scrap paper (size depends on the size of the flower you are making, but in general about the size of a spitball on up) and a square of crepe paper (around 1 1/2" or so - somewhat bigger for a larger flower). Apply a generous amount of white glue to one side (the wrong side, if there is one) of the crepe paper square). Bend the end of a piece of florist's wire, cut to your desired length.to form a small loop. Place the ball of paper at the end of the wire. Center the crepe paper square on the top of the ball, glue side down. Pull all four sides down to meet at the base of the ball and twist the paper around the wire stem.Cut a short (approx. 2") length of your 1/2" green strips (see Wrapping the Wire Stems) . Apply a bit of glue to the wrong side at one end. Attach to the base of the ball you have created at the end of your wire at wrap around the twisted base, straight around to begin with and then continuing down the wire at a slight diagonal. Continue past the base of the flower center for about 3/4". Cut the strip and apply glue to the inside of the end and attach securely to the florist's wire.

From here you can expand on the center by wrapping a strip of fringed paper or a calyx shape around the center (in the same way you attached the green strip) or adding sheath shapes cut from templates. To add sheath shapes, simply apply a bit of glue at the bottom of each sheath, and attach around the base of the center ball.

Fringing For a fringed center (as for a Poppy) cut the crepe paper into a strip across the grain at the required width. Stretch the strip fully for a fine fringe and less so for a coarse one. Fold the strip in half and cut with the grain, making the cuts as close together and as deep as necessary but always leaving 1/2" or more at the opposite end uncut.

Putting it all together To make a flower, first construct a flower center.

Pick a style of petal and attach your first petal by applying glue to the inside bottom edge and pressing it into place along the base of your flower center (the level at which you place the petal will determine how much of the center is showing. Attach the next petal so that it slightly overlaps the first. Continue this way until you are happy with the look of your flower.

With a little glue and a 1/2" strip of green crepe paper, wrap the base of the flower to cover any raw edges (see Wrapping the Wire Stems for technique).

Add some sheath shapes (optional) for a realistic base for your flower.

Wrapping the Wire Stems Additionally, have on hand 1/2" strips of green crepe paper cut across the grain. They should be strips long enough to wrap the length of your stems.

Stems are wrapped with these strips. Start the wrapping by putting a bit of glue over the flower base. Wrap the end of a strip around it 2 or 3 times very tightly. Then, with the long end of the strip in one hand and the wire in the other (held just above the winding strip), twirl the stem wire around and around while stretching the strip, guiding it diagonally and downward. When the end of the wire is reached, put a bit of glue on the end and continue to twist tightly. Cut off the end and affix with glue.

Note: In lieu of green crepe paper strips, you can also use green floral tape.

II. Crepe Paper Flower Aisle Markers

You'll need:

Crepe paper in various colors (for the flowers) that work with your palette and some crepe paper in green or floral tape for covering stems. Quantities depend on how many you are making, but one packet goes quite a long way. Duplex is my favorite (it is thicker and often two toned) for most flowers, but standard crepe paper works as well for a more delicate, unstructured flower. Mixing the two adds a nice depth.

  • Scissors
  • White glue
  • Glue brush
  • Florist's Wire
  • 1 1/2" - 2" ribbon - about 18" per marker (we used vintage velvet ribbon)

How to: Using the templates, make a large quantity of flowers (this is a great project to do with friends). You will need 10-15 flowers per marker, three large and a variety of medium and small sizes. We mixed and matched centers and petal styles as well as scaling the templates up and down to get a mix of flower sizes.

Start with three larger flowers. Twist the stems together, then fold the stems out to the left and right and twist to create two "arms" that will later be joined in a loop that will give structure to your arrangement. Angle the flowers to create a nice central focal point. Add more large and small flowers to your arrangement, twisting their stems around the two arms. Use small flowers to fill in any gaps. When you are happy with your arrangement, make a loop with the arms, twist the ends together, and flatten so that they are hidden behind the flowers. Don't worry about how the back looks - no one will see it.

Cut an 18" piece of ribbon and trim ends at a diagonal or in a dragon tongue shape to prevent fraying. Fold the ribbon in half to form an inverted "V" shape. Position the ribbon behind your crepe paper flowers and pierce a small finishing nail through the wires of the flowers and then through ribbon. Nail into the end of a bench (be sure to get your vendor's permission in advance).

If attaching to the back of a chair, we've a length of 2" ribbon through the wires at the back of your flowers and then through the railing on the back of the chair; tie off using a square knot.

Download the templates here.

Lucky Friday #44, Esther Aarts' Happy New Year

happy_NEW_year

Hello all you lucky folks out there! This is the 44th edition of our Lucky Friday Giveaway! Each Friday we feature one of our letterpress greeting cards. We’ll choose THREE LUCKY WINNERS to get a free card.  Post a comment by 12 p.m. PST the following Thursday, and we’ll announce the winners on the following Friday!

The three winners from last week are (drum roll, please): Mirabelle, Jo and Agata! We’ll contact you next week to arrange sending your Cozy Gifts card!

Now for this week’s timely card:

Design: Happy New Year Artist: Esther Aarts Inspiration: It was about time for Esther Aarts to do something really Cuckoo! Who to send it to: A fine fräulein with time on her side or a handsome herr with just a minute to spare. Ideas we scrapped in favor of this one: Perhaps it's a sign of the times, but the grandfather clock design felt little old and tired. Favorite detail: How fun to ring in the new year swinging on a pendulum! Why letterpress? Like other handiwork from German engineers, our Heidelberg presses run like clockwork for years and years!
Don’t forget to post your comment and tune in next week, same time, different stationery, to see if you’ve won!

Happy Holidays from all of us!

DSC_0033

You may think that because we're a stationery company that we never face any uncertainty when choosing our own holiday cards. It actually takes lots of consideration to be sure we send the perfect card to our friends and colleagues. But we must admit, it was a seamless decision when we chose the design for our own holiday cards this year. Inspired by Susy Jack's Amazing New Year card, we transformed the digital version into a four color two-sided letterpress stunner.

DSC_0040

DSC_0032

DSC_0034

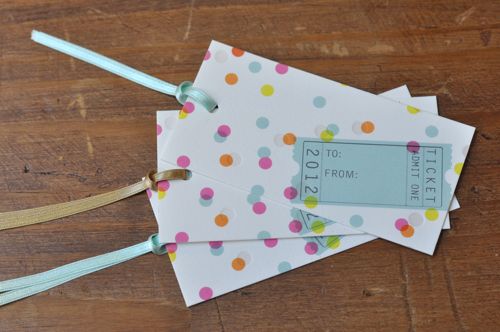
For our special friends, we slipped in a package of digital/letterpress hybrid gift tags! They're suitable for any occasion, but think they'd be fabulous wrapped up with a festive bow or around a bottle of spirits or wine.

DSC_0042

Happy Holidays from all of us at Hello!Lucky! We are so thankful for all of your support and friendship, and are looking forward to a bright and bustling 2012!

Modern Kids Photography

alexjames084 When Edyta recommended Sarah at Modern Kids Photography for holiday family photos, we knew she'd be amazing (Edyta's behind all of Hello!Lucky's editorial product photos). The clincher? Sarah's a former nanny with a natural warmth and openness. She miraculously put Sabrina's twin toddlers at ease the moment she set foot in the door!

alexjames101

We shot in and around Sabrina's house and neighborhood...

alexjames023

In the back yard...

alexjames008

At home...

alexjames031

alexjames075

And walking around the neighborhood...with their colorful walls and doors, the neighborhood provided a surprising variety of backdrops.

Tips for a successful photo shoot:

- Schedule it for when the kids will be well-fed and well-rested.

- Shoot at home, around the neighborhood, or at a familiar park.

- Pick comfortable clothes and pay attention to color palette. Outfits don't need to match but it helps to pick colors and patterns in the same family (we chose a variety of stripes in preppy colors and earth tones).

- If you're using your photos in holiday photo cards or photo birth announcements, have a few card designs in mind and keep their color palette and photo orientation (portrait vs. landscape).

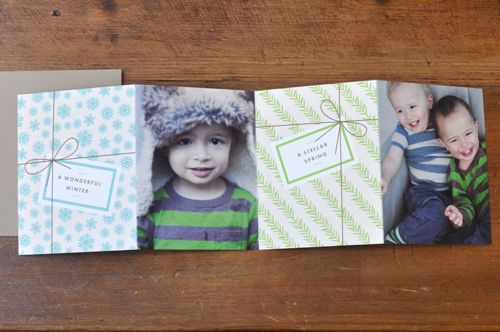
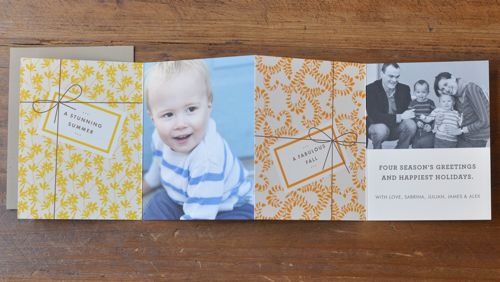
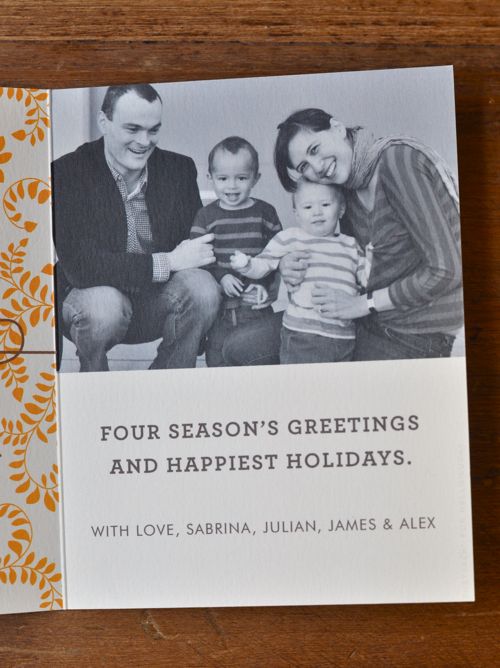
Sabrina used her photos in the accordion-style Four Seasons New Year's Card by Susy Jack* - check out the results here!

Love from London

london1

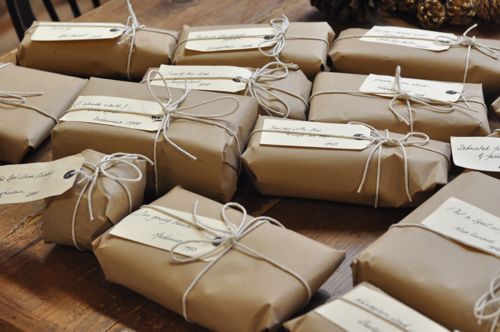
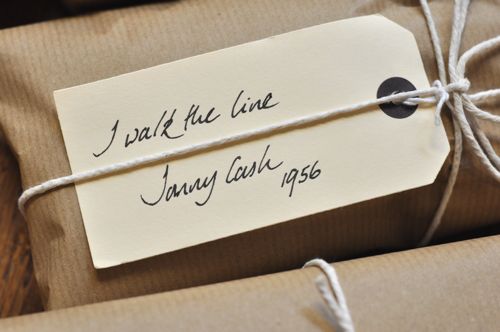
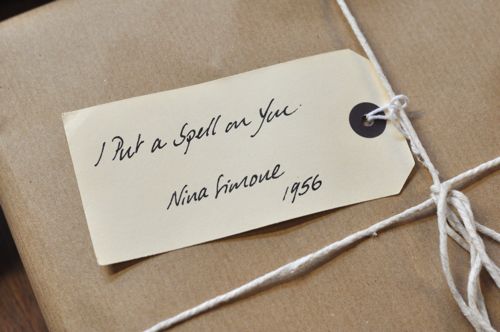
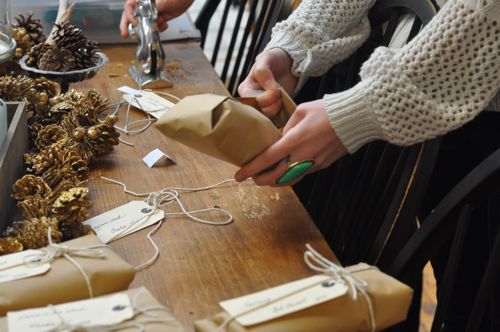
Christmas came early to the San Francisco office! A large package arrived at our studio the other day, and who could it be from? None other than our friends Iain and Hamad over in London! We were squealing like kids when we found bunches of simple brown wrapped presents, each attached with a handwritten song lyric.

london 3

london2

Hmm, what could it be?

DSC_0035

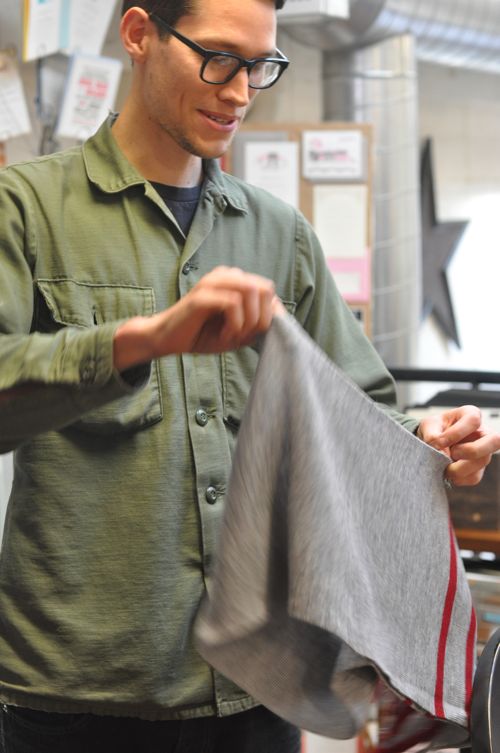
Scarves for all!

DSC_0040

DSC_0041 Thanks Iain and Hamad! Warm winter greetings to you!

DSC_0047

Sabrina's Adorable Accordion

DSC_0047

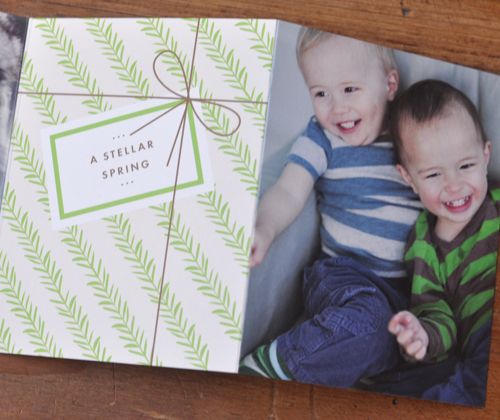
Now would be an appropriate time for an "Awweee" moment! Sabrina's holiday cards just arrived off the press and they are cute as can be. Her twins Alex and James are getting so big, and we can really see the resemblances! We especially love how the boys' stripes match perfectly with the winter and spring illustrations in Susy Jack's Four Seasons accordion card.  The best part is that there's no pressure to send them before Christmas because this card is perfect for any time of year!

DSC_0049

Alex and James definitely make our list of Holiday Cuties this year!

DSC_0051

DSC_0054

The gorgeous photos were taken by the Sarah at Modern Kids Photography - more on this soon!

Lisa and Rory, Behind the Scenes!

IMG_4249

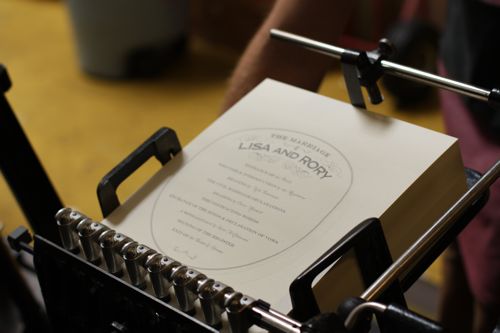
Now that you've all seen the stunning photos of Lisa and Rory's wedding, we wanted to show you some exclusive behind-the-scenes images of our team putting it all together!

070111_ferneyhough_balloon

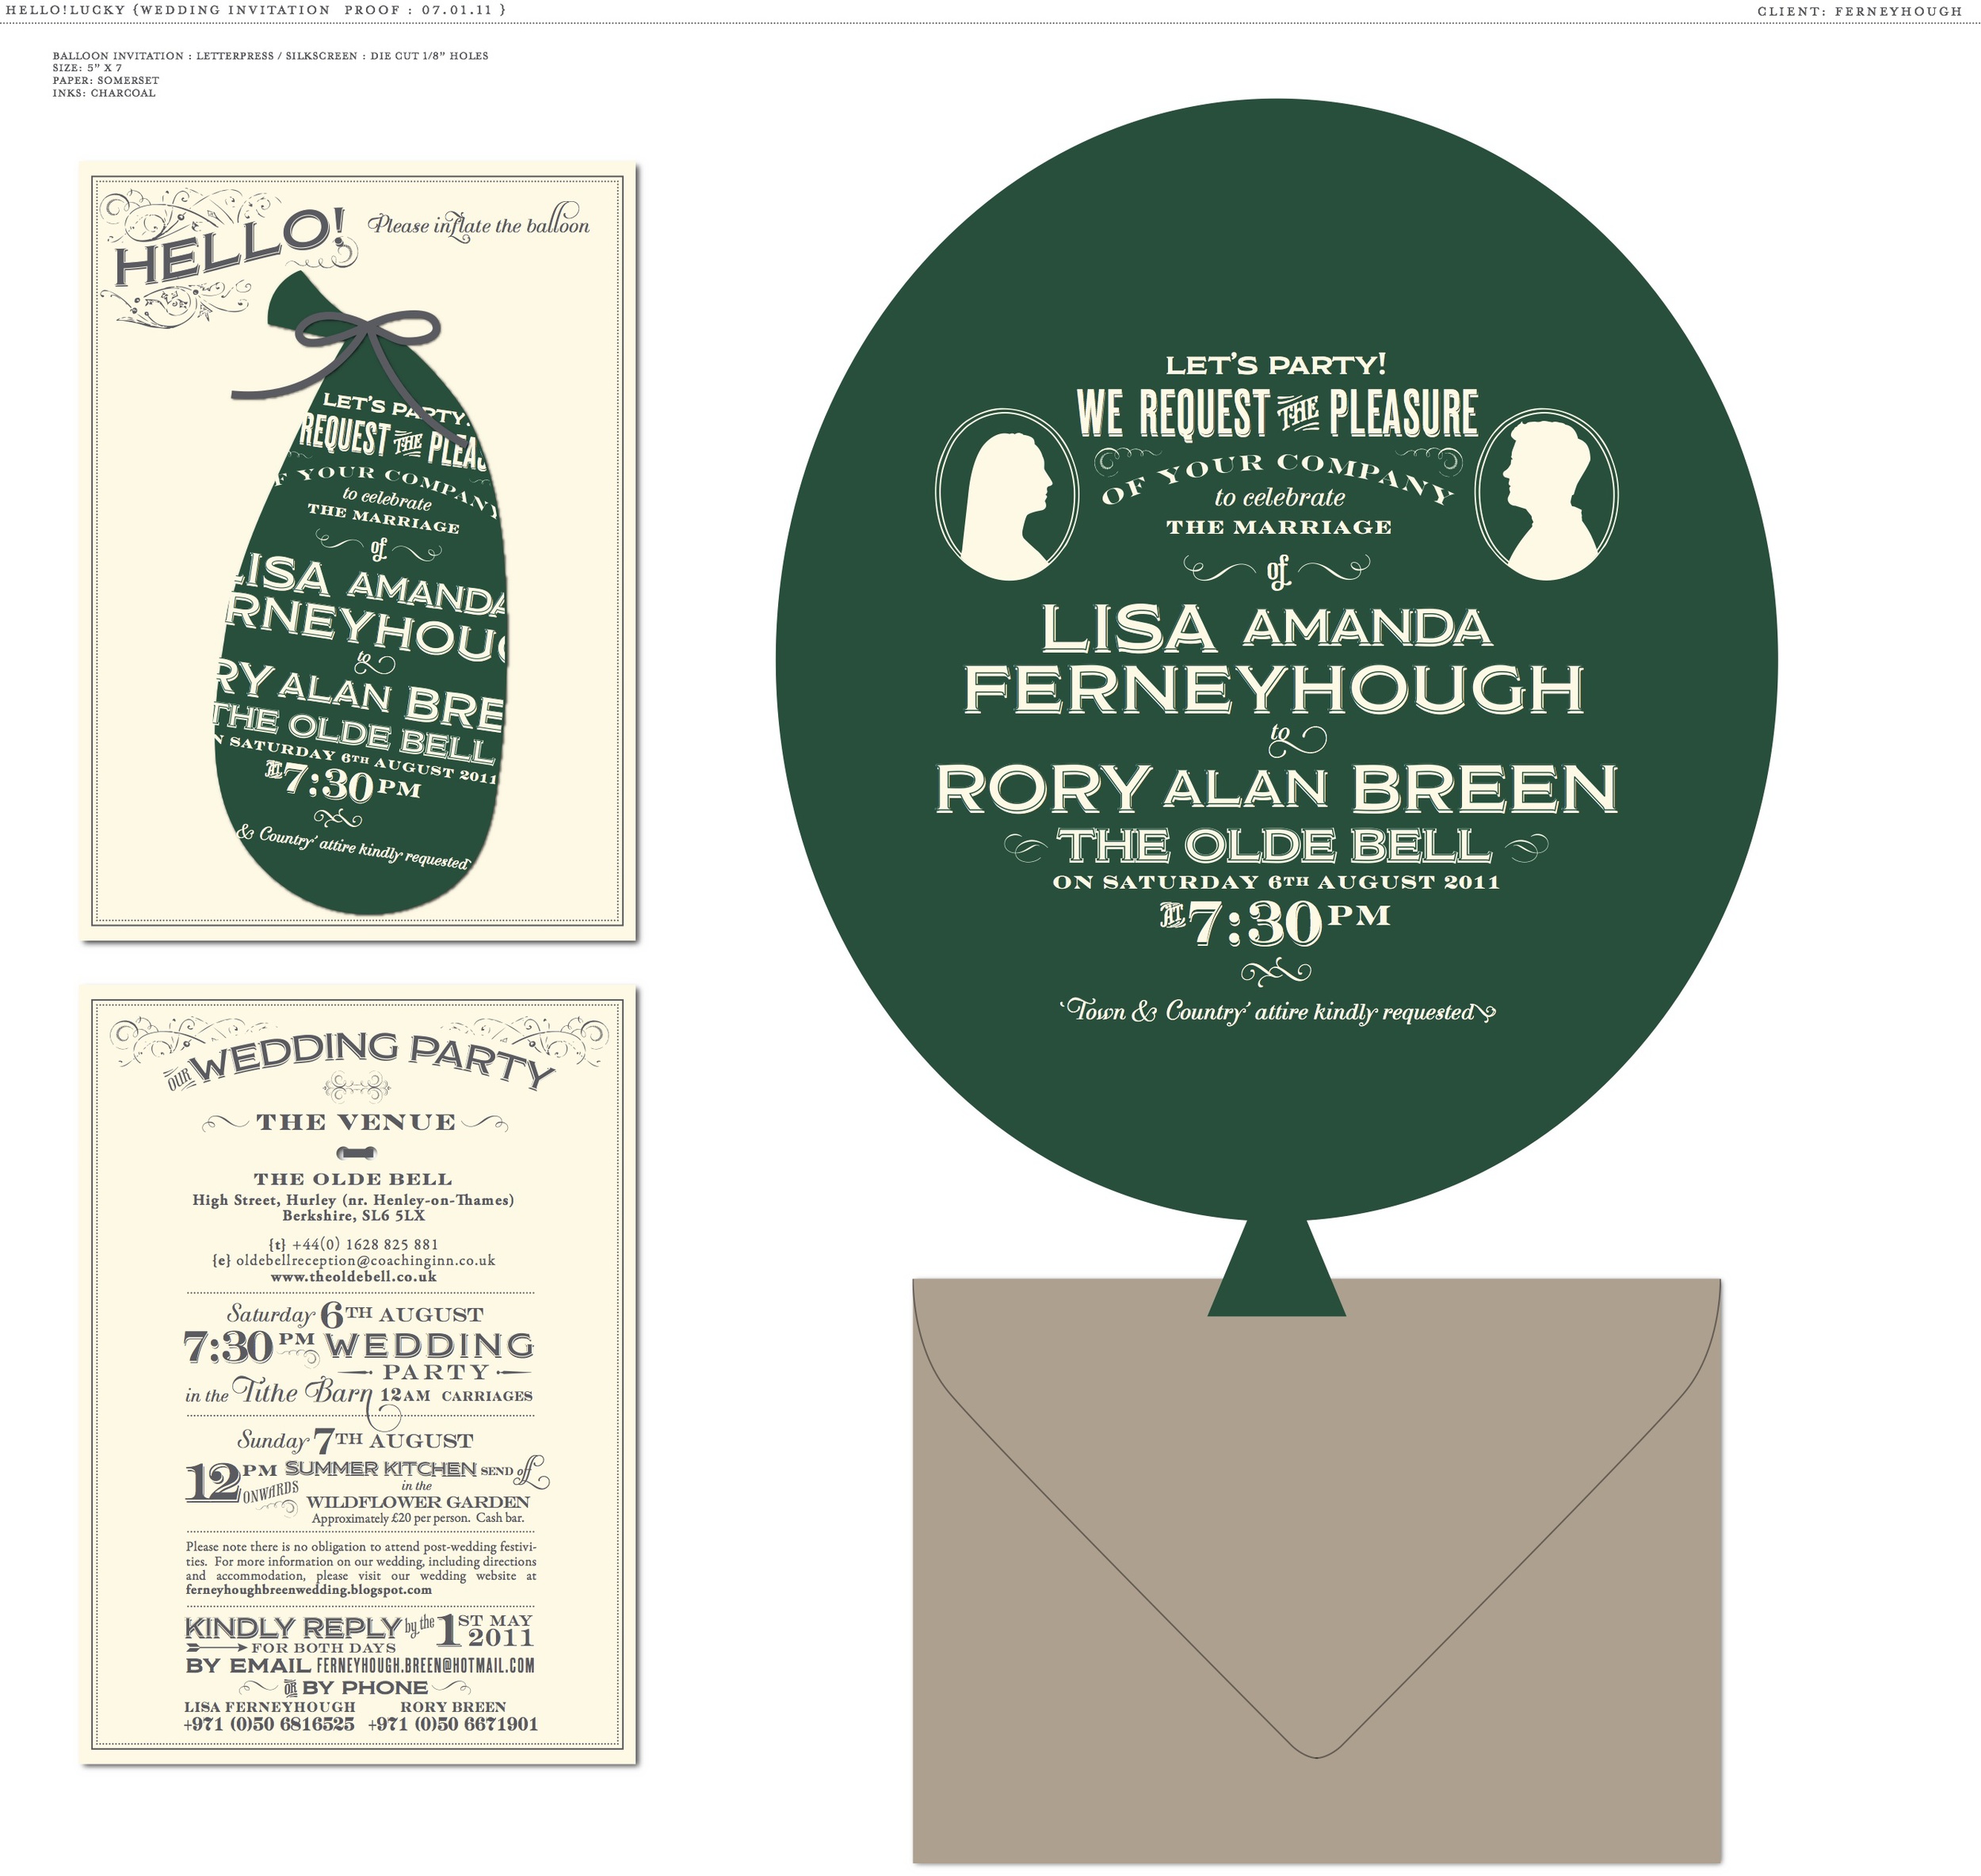
Above is the original proof that we created for Lisa and Rory's reception invitation. The two-sided letterpress invitations were printed on duplex paper (220lb) and hole-drilled for the balloon and ribbon attachments. Because Lisa and Rory already had such brilliant ideas, working with them was a cinch!

IMG_4284

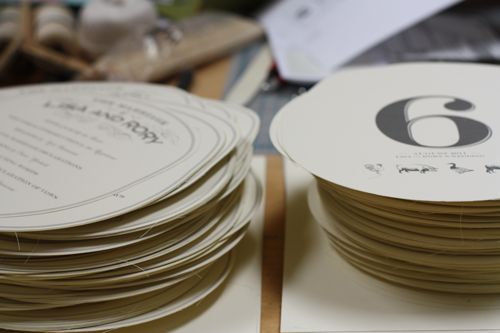
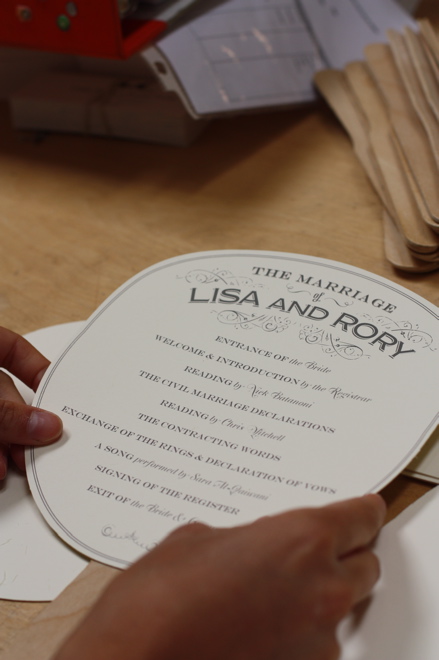
Their day-of materials were just as fun to assemble as their wedding invitations. The paddle program fans were die cut on our antique Heidelberg press, then attached one-by-one with wooden handles.

IMG_4293

IMG_4292-1

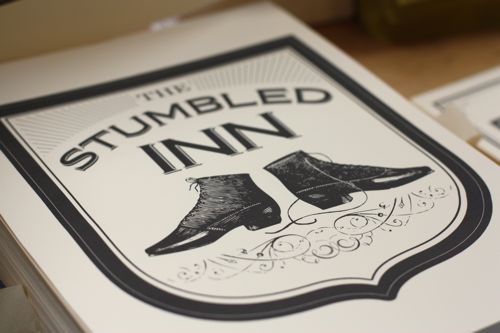
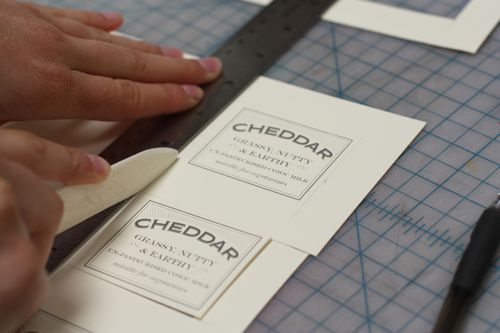
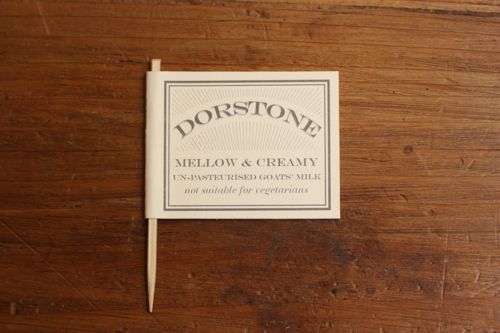
The pub sign table numbers and cheese markers were each cut out by hand, given tremendous care and patience! The tiny cheese markers looked dashing atop their cheese wheel cake. We see a new trend approaching!

IMG_4264

IMG_4237

IMG_4228

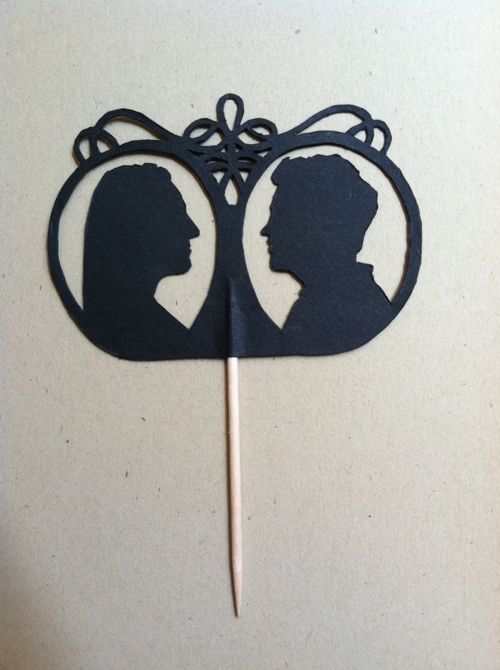
Perhaps the most intricate and delicate piece we've created is the tiny silhouette "cake" topper, also cut out of paper by hand. And yes, it fit on a toothpick! It's the little details like this that make us love working on custom weddings.

photo