Inspired by Samantha Hahn

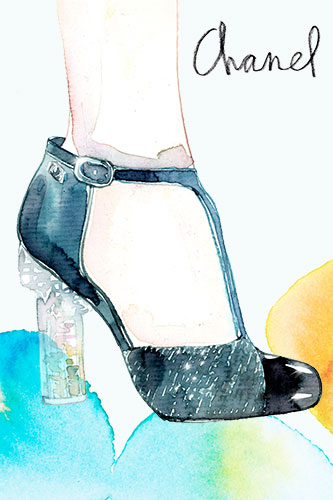
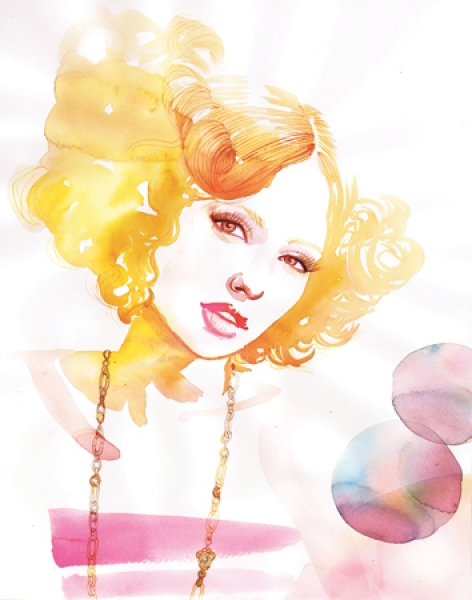
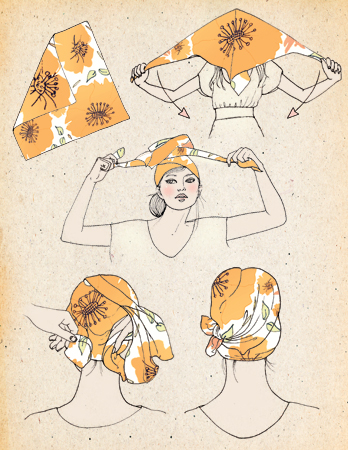
It's officially Fashion Week and we're gearing up for some major trend watching. Although we may not be hitting the runways any time soon, we're constantly gathering inspiration from all the exotic textiles and handmade garments. With Fashion Week comes a wave of fashion focused blog posts and images. We're really digging the tasteful and whimsical illustrations by artist Samantha Hahn. As a New York native, Samantha sees new fashion trends everywhere she goes. Her couture illustrations give a nod to the groundbreaking designers but keep within her own aesthetic and we're loving her painterly style.

To view more of Samantha's work, head over to her website and be sure to read her blog Maquette for insider designs and inspiration.

Lucky Friday # 81, Hang in There

Hello all you lucky folks out there! This is the 81st edition of our Lucky Friday Giveaway.  Each Friday we feature one of our letterpress greeting cards. We’ll choose THREE LUCKY WINNERS to get a free card.  Post a comment by 12 p.m. PST the following Thursday, and we’ll announce the winners on the following Friday!

The winners from last week are (drum roll, please): Maggie, Csilla and Kendra Purnell! We’ll contact you next week to arrange sending your Chairs card.

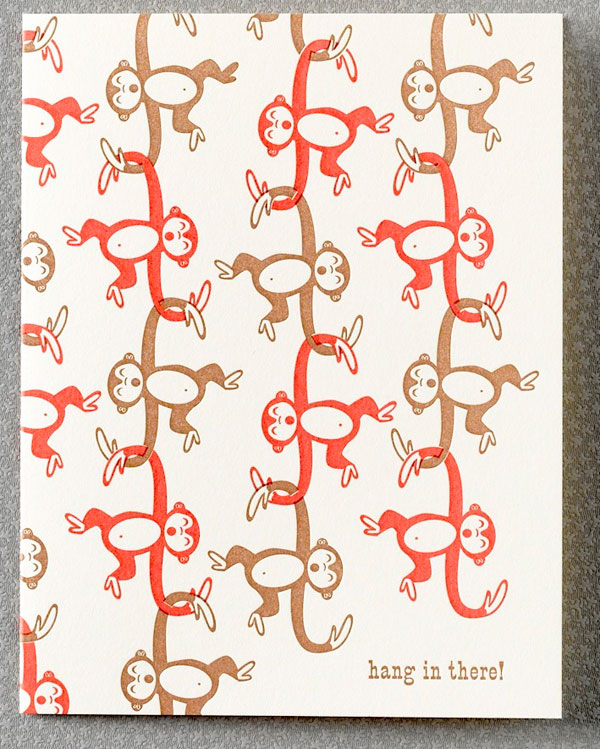
Design: Hang in There Artist: Eunice Moyle Inspiration: Life and work is like a barrel of monkeys, and we know things go better if we all hang together. Who to send it to: A macaque who feels like crap, a monkey who's been feeling a little funky, or a Rhesus who fell to pieces. Ideas we scrapped in favor of this one: We were thinking of doing a new version called "Ecce Mono" in honor of the recently "improved" Spanish fresco. Favorite detail: Can y'all spot the one monkey who's just a teensy bit different from the others? Why letterpress? When it comes to printing primates, we prefer mano a mono.

Don’t forget to post your comment and tune in next week, same time, different stationery, to see if you’ve won!

Real Wedding: Marie and Sam

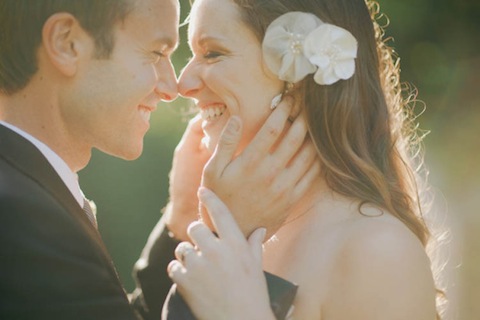
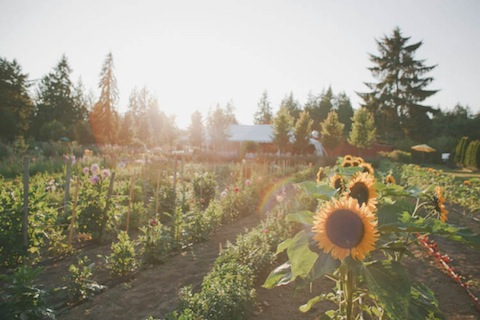
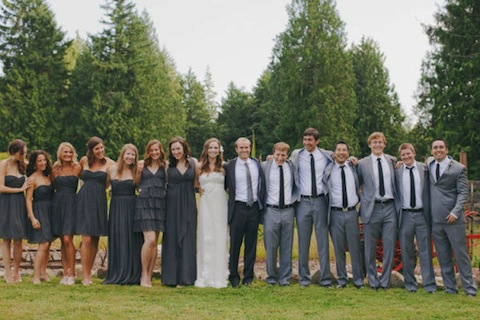
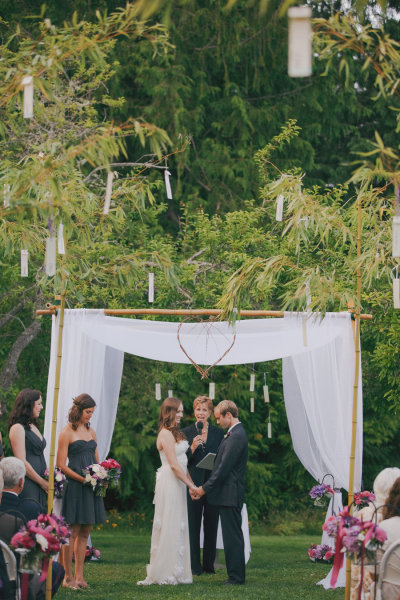
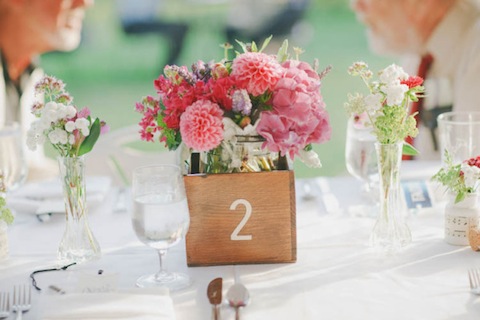
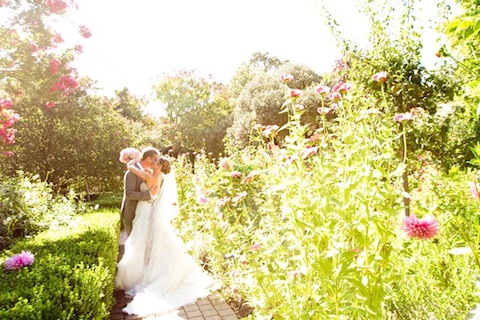
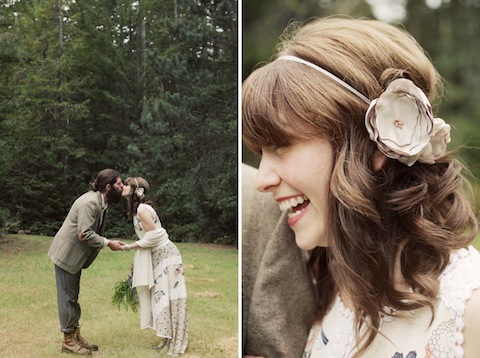
After a true tale of travels, Marie and Sam tied the knot at the heavenly Farm Kitchen in Poulsbo, Washington near their hometown of Bainbridge Island. Their story of friendship, love, and forever is truly endearing, and after seeing these lovely photos by Yvonne Wong it's obvious the two were meant to be right from the start. We've seen weddings at the Farm Kitchen before, all with a rustic barnyard invitation, but Marie and Sam chose to use a more romantic design for their big day. They customized our Nouveau Peonies suite with just a hint of purple and we love the outcome.

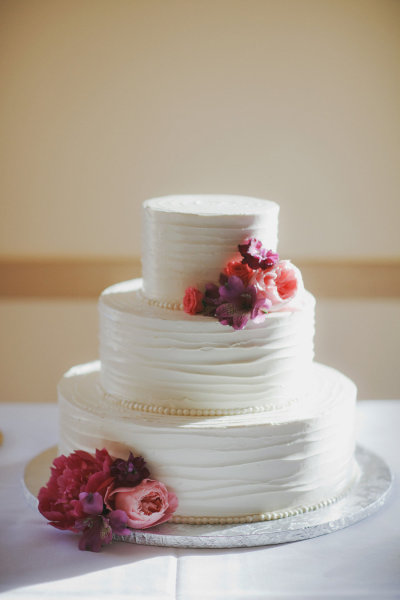
Set among a field of perfectly pruned flowers, it was only natural to include floral arrangements wherever possible. This cake by Blackbird Bakery could be the most perfect combination of rustic elegance we've ever seen!

We're delighted the couple chose us to create their wedding stationery. Congratulations Marie and Sam! Wishing you a lifetime of happiness. For more photos head over to Style Me Pretty!

Photos by Yvonne Wong Photography

DIY Gold Leaf Notepads

Lately we've been following a new craze popping up around the web. Gold leaf, historically used as an art medium, has now turned into one of the trendiest decor accessories this year. We've seen it on picture frames, furniture, fingernails, and jewelry, and once we saw Eat Sleep Cuddle use it for handmade notebooks we knew we had to give it a shot. Naturally our taste for nautical design comes into play when coming up with a new project, so these DIY Gold Leaf Notepads fit right in. Inspired by traditional nautical flags, we felt the pop of gold would compliment the classic color palettes seen in the flags. Since school is back in session and notes are to be taken, this DIY project is perfect for daily to-do lists and is the ultimate stylish campus accessory. Read the full instructions below!

Materials:

4" x 6" note cards, Elmer's Glue, Craft Knife, Paint Brush, Gold Leaf Kit, Painters Tape, Foam Brush, Card Stock Paper, Ruler, Bone Folder, Pencil

*Tip - We don't recommend the "peel and stick" gold leaf, as it isn't a guaranteed success. The original sheets are much more reliable. Most kits will include the gold leaf sheets, adhesive, and sealer, but you can also purchase each item separately. We bought ours at Michaels, but they are sold in most craft stores.

How To:

Step 1. Stack your note cards so the edges are even. Score one end of the stack of cards with a craft knife, making small indentations on the paper. This will ensure your glue will stick strongly to the stack of cards.

Step 2. Apply a layer of Elmer's glue to the scored edge of your cards. We recommend using a bulldog clip or rubber band to help keep the paper in place.

Step 3. Once the first layer of glue is dry, add two more layers. Set aside.

Step 4. While the glue is drying, cut your card stock paper to size. You will need to measure the thickness of your stack of note cards. For most sets of 4" x 6" cards, the stack is 3/4" thick. In this case, cut your paper to 12 3/4" long by 4" wide.

Step 5. Measure 6" from each end. Using a ruler and bone folder, create two score lines 6" from each end, creating a center strip which will act as the binding for your notepad.

Step 6. Apply two strips of painters tape to your card stock. We placed ours along the back score line and 1.5" down from the top.

Step 7. Apply a thin layer of metal leaf adhesive using a paintbrush. Avoid any puddles, as this may cause your paper to ripple. Allow to dry at least 2 minutes, or until it feels dry but sticky to the touch. If the adhesive is still wet, the gold leaf will not stick properly.

Step 8. Gently lay a layer of gold leaf on top of the adhesive. Most kits will have detailed directions, and should come with small sheets of wax paper to help smooth the gold leaf down. Then use your foam brush to smooth.

Step 9. Once the gold leaf is set and dried to the adhesive, use your foam brush to wipe away any excess pieces. Save large pieces for later. Trust us, you'll want to do this again!

Step 10. Apply a thin layer of sealer on top of the gold leaf to prevent scratching. Allow to dry.

Step 11. Carefully remove the painters tape from the card stock.

Step 12. Cut triangles out of your card stock to create a flag shape. Or, leave as is!

Step 13. Apply Elmer's glue to the center strip of your card stock. It should already be scored from Step 5. Set your stack of note cards (the side you already glued and dried) on top of the center strip and hold to seal. Voila! You have instant modern notepads that you'll be dying to show off in class or at the office. Happy crafting!

For more paper DIY projects, head over to the DIY section of our website here!

P's and Q's: Wedding Etiquette

It's a real pleasure to introduce a new blog series titled P's and Q's. We ask that you - or anyone you know - write us with any questions or thoughts that relate to weddings, be it making a guest list, how to say no, and much more. Be sure to follow us on Facebook/Twitter for real Q&A from our brides and grooms and we'll have our expert team tackle the responses.

We know one of the hot topics when it comes to wedding etiquette is wedding invitation wording. There are endless variables involved with wording your invites just right. Whether you're addressing both families in the invitation or hosting a casual event yourselves, the wording can always get tricky. Our consultant team at Hello!Lucky has seen just about everything, and is offering their top notch advice for all those sticky situations. Today we're focusing on simple wording techniques for save the dates. As the first piece of information your guests receive, the save the date sets the tone for the rest of your wedding. Before you send your save the dates, be sure you have the following checked off your list:

Guest List / Venue or Location / Date / Style or Formality / Color Palette

It's true planning a wedding can get exhausting. Gather your friends and family to help get organized from start to end, and follow our Wedding Planning Timeline for support. This timeline recommends sending your save the dates 6-8 months in advance, depending on the location and if you have guests that will need to make travel arrangements. When it comes to wording your save the dates, you want to be certain you list basic important information including the date (of course!), location, and your names. The rest is up to you! Be sure to check out our save the date wording samples for tips when hosting a formal, informal, or casual wedding.

Formal:

We asked our wedding wording expert and design consultant Lia what she thought about wording your save the dates:

Since save the dates set the tone for the wedding, a formal affair requires a traditional approach.  The design would coordinate with the wedding invitation so that the entire suite has a cohesive feel.  Full names should be included and dates should be spelled out.  Information regarding children or attire is best included with the invitation on a separate details card.

Casual

Lia's tips for wording a casual save the date card:

Have fun with it!  Wording can be playful and should match the personality of the couple getting married.  Save the dates that include photos are a great way to let that personality shine while showing off gorgeous engagement shots!

Destination:


For destination weddings, Lia suggests:

Chances are most weddings will be a destination for at least some of the guests, so save the dates should be mailed six months in advance to assist with planning.  Listing a wedding website gives guests access to travel and accommodation information, but for very formal weddings a separate card should be included.  If the wedding is being held in a popular travel destination or at peak season, its a good idea to reserve a block of hotel rooms as early and for as long as possible.

Do you have any questions about wedding wording? Have a sticky situation and need help from the experts? Let us know in the comments below!


Lucky Friday # 80, Chairs

Hello all you lucky folks out there! This is the 80th edition of our Lucky Friday Giveaway.  Each Friday we feature one of our letterpress greeting cards. We’ll choose THREE LUCKY WINNERS to get a free card.  Post a comment by 12 p.m. PST the following Thursday, and we’ll announce the winners on the following Friday!

The winners from last week are (drum roll, please): Frances, Jana and Chris! We’ll contact you next week to arrange sending your Sporty Birthday card.

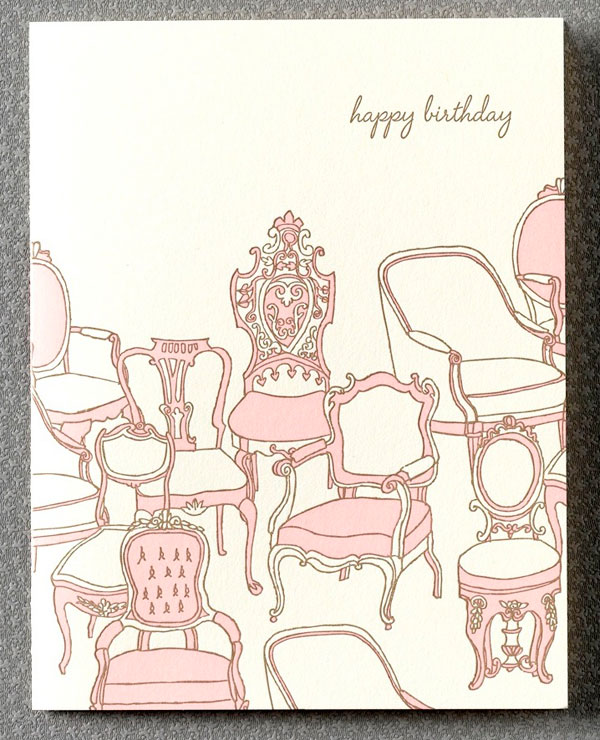
Design: Chairs Artist: Julia Rothman Inspiration:  We took a load off, set a spell, and we fancied we'd honor the humble foundations of our inspirations. Who to send it to: Anyone named Anne, Louis, Chip, Dale, Chaise or.... Cherry. (?!) Or any antiques aficionado. Ideas we scrapped in favor of this one: The "Go for Baroque" pun fell flat on all but a few and the "Rockin' the Rococo" rocking chair card was... actually, we might re-consider. Favorite detail: Just can't decide which chair we'd most like to have and never sit in. Why letterpress? Antique chairs, antique presses— wethinks we see a pattern emerging!

Don’t forget to post your comment and tune in next week, same time, different stationery, to see if you’ve won!

Jude's Picks: Cookies, Tunes & Reads!

In today's post, Jude offers up some cookie, music & book recommendations. We tested out this chocolate chip cookie recipe from the New York Times over weekend - they were delish, though tough to call whether the dough or the finished cookie was the most tempting...

Jude has always been big into singing and dancing (circle time goes against his rebellious nature, but throw on a good tune and he's there, with bells on!). Current favorites include I Was Made for Sunny Days by the Weepies (favorite dance move with this one is the alternating shoulder shrug)...

Rihanna's (also known as "Ri-Na-Na") What's My Name and Rude Boy are often a favorite for post-bath dancing and in car sing-alongs...

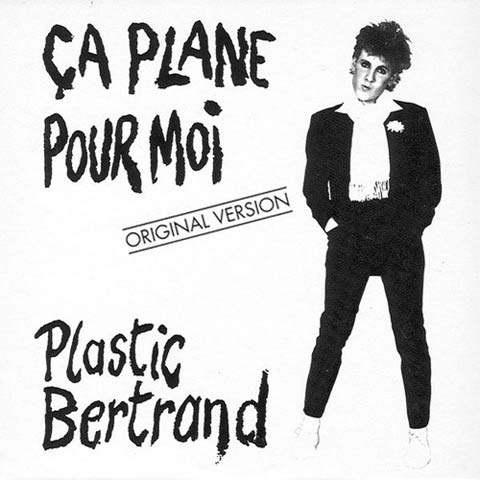
Ça Plane Pour Moi - awesome punk rock tune from the 70's by Plastic Betrand (accompanied by 80's metal-style head thrashing and occasional fist pumps)...

Another huge favorite is Price Tag by Jessie J featuring BoB - also an excellent karaoke number...

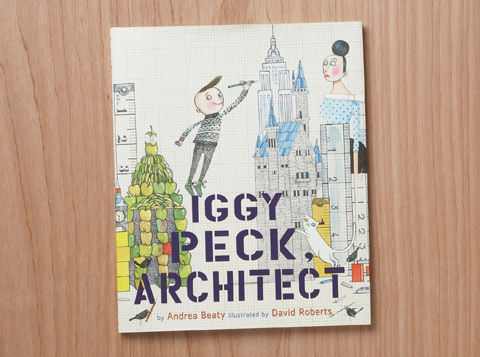
Jude's top story time story these days is Iggy Peck, Architect by Andrea Beaty, a hilarious, irreverent book about doing your own thing...

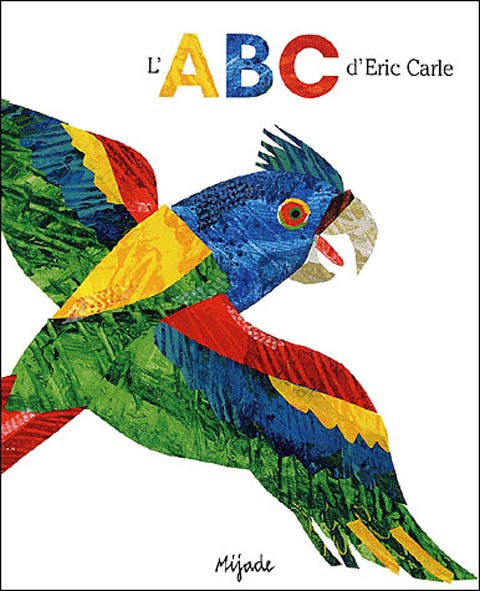
Other faves include Eric Carle's ABC (to date read about 1,538,585,192 times)

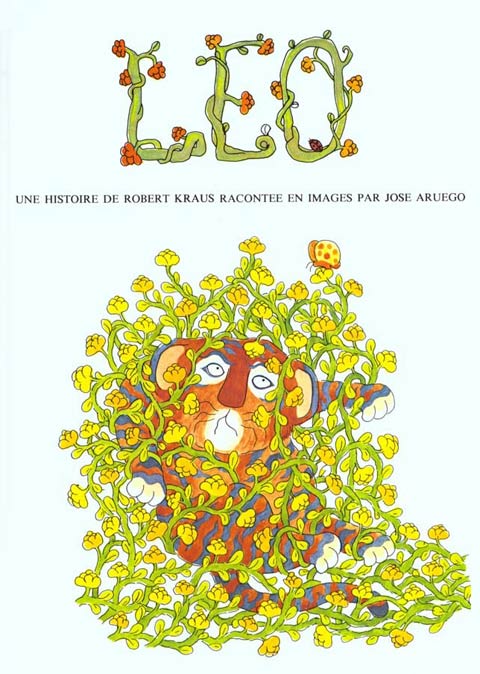
"Leo", by Robert Kraus (also available in English as "Leo, the Late Bloomer") - this was one of my favorites as a kid too...

And, of course, "Les Oeuf Verts au Jambon" otherwise known as "Green Eggs and Ham" by Dr. Seuss.  I'm hoping if we read this one enough times he might start eating something other than apples, blueberries and pasta - or, at the very least, might contemplate eating something, anything green.

UK End of Summer Sale

Big news! Our UK site is launching the End of Summer super sale! Now you can get up to 50% off your favorite greeting cards and gifts. And just a hint - many of our holiday cards are half off! Stock up now before winter begins and you'll have your Christmas cards ready before you can say the word "Santa." Check out the entire sale here, and don't forget the US summer sale ends this Friday, August 31st so shop the US sale now!

Skill Exchange

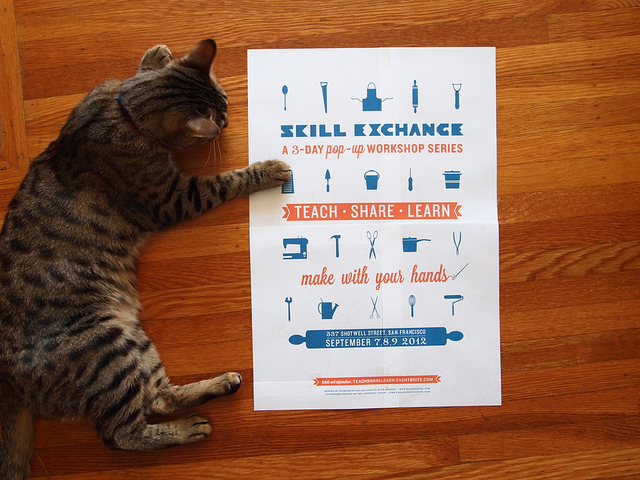
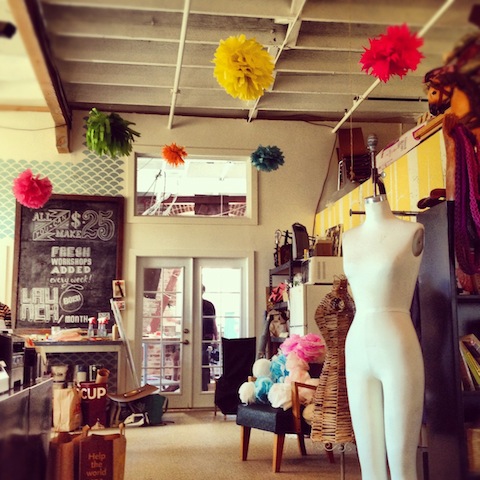
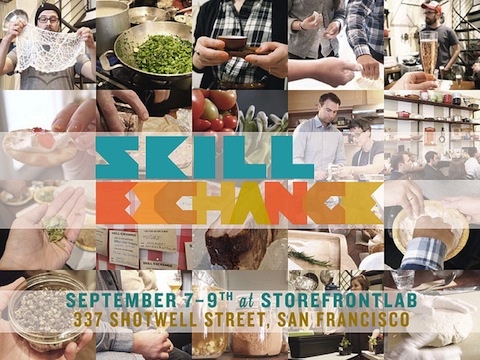
Next Friday marks the start of an awesome workshop program by Skill Exchange. They have teamed up with StoreFrontLab for a 3 day workshop series including demonstrations about hot topics like home brewing, cooking, and even photography techniques. Hello!Lucky will have cards for sale along with drool-worthy coffee by Ritual. All the workshops are super affordable but you have to sign up in advance to hold your spot. We're eyeing the Vintage Clothing workshop on Friday Sept. 8 from 3:00-4:30 - but space is limited! For more info and to sign up for the workshops, click here!

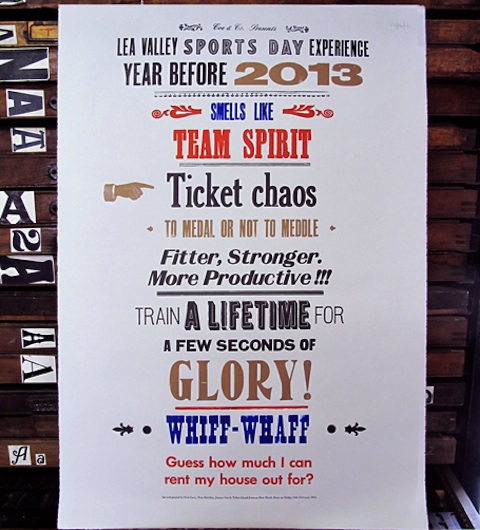
Props to James for printing the poster, too! Sign up to take the Contemporary Letterpress Workshop by the Aesthetic Union here!

DIY Patterned Papers: Favors

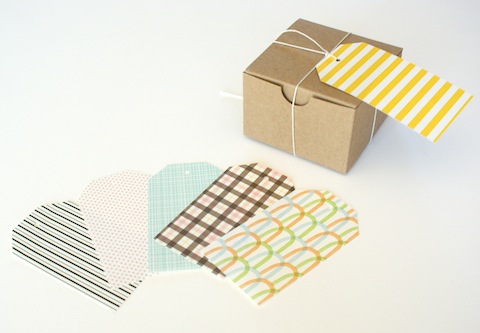
We're feeling a lot of love for our new DIY Collection and one of our most exciting additions is the selection of patterned papers that match your favorite wedding suites. The papers, all 8.5 x 11" and printed on smooth, 80-lb text weight paper are the perfect way to add finishing touches on your big day, from paper drink flags to napkin rings. To add to our series of DIY wedding crafts, we're bringing you easy and adorable paper favors.  These can also be doubled as place cards or escort tags!

These mini paper bags are the simplest way to provide favors for your guests, but there are many ways you can dress them up to match your decor. You can find them in various colors at your local craft supply store, and they come in large and small sizes. They make the perfect grab bag for a casual wedding filled with local treats or handmade gifts. Instructions below!

Mini cardboard boxes may be the most traditional wedding favors around, but they are as versatile as they are practical. We wrapped our patterned paper around them and secured with a label or ribbon to make them match. If you want to get extra crafty, you can even make a favor box out of the patterned paper! Use this favor box template to trace.

And last but not least are these easy tea bag tags. You can wrap them to almost any object, and they can be dressed up or dressed down with some fancy calligraphy or alphabet stamps. Use this favor tag template for easy tracing.

Paper Bags:

Materials: 3.5" x 2" x 6.75" Paper Bags, Patterned Paper, Glue, 1/8" Hole Punch, Ribbon or Twine, Scissors

How To: Cut your patterned paper into 2.5" x 3.5" rectangles. Insert your favor into the bag and fold the top 1.25" down toward the back. Fold your patterned paper in half (the long way - or hot dog style!) Apply some glue to the back side of your patterned paper and stick to both sides of the folded bag. Punch a hole 1.5" from both sides. Loop your ribbon or twine from the back and tie a square knot or bow. Cut the ends of the ribbon at 45 degree angles.

Adhesive Labels:

Materials: 3.5" x 2" x 6.75" Paper Bags, Patterned Paper, Glue, Label Paper, Washi Tape or Stickers

How To: Cut your patterned paper into 2.75" x 3.5" rectangles. Glue to your paper bag. Print a 2.25" x 3" label on label paper and stick on top of your patterned paper. Stuff with a favor and fold 1" from the top. Seal with washi tape or a sticker.

Mini Cardboard Box Wrap:

Materials: 3" x 3" x 2" Boxes, Patterned Paper, Glue or Double-Sided Tape, Label Paper or Ribbon

How To: Cut a 1" x 11" or 1.5" x 11" strip of patterned paper. Wrap around the box and secure with double sided tape or glue. Add a personalized label or piece of ribbon and tie.

Mini Paper Favor Box:

Materials: Patterned Paper, Pencil, Scissors, Glue, Template

How To: Cut out the template with scissors and trace onto the back of your patterned paper. Cut with scissors and fold in places of dotted lines. Apply glue on the two labeled tabs and fold pieces together so the "top" and "bottom" squares are in place.

Tea Bag Tag:

Materials: Patterned Paper, Scissors or Craft Knife, Pencil, Ruler, 1/8" Hole Punch

How To: On the back of your patterned paper, draw a 2" x 3.5" rectangle with a pencil and ruler. Cut out with scissors or craft knife. Cut 1/2" corners off the ends of one side. Punch a hole 1/2" from the top and 1" from the sides to center. Loop with ribbon or twine and tie to your favors! Use this handy template for easy tracing!

Shop all patterned papers here, and to view more paper DIY projects, visit our website!

Real Wedding: Lauren and Nick

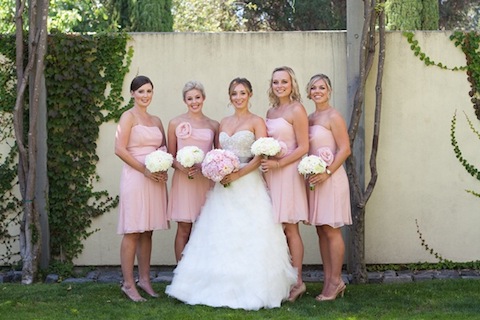
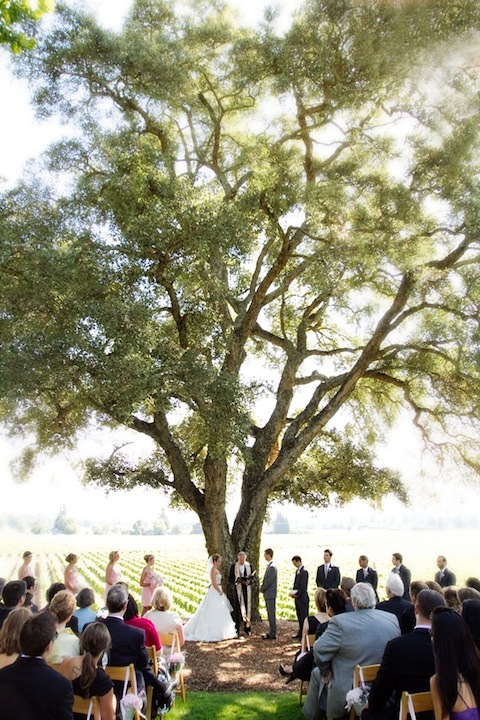
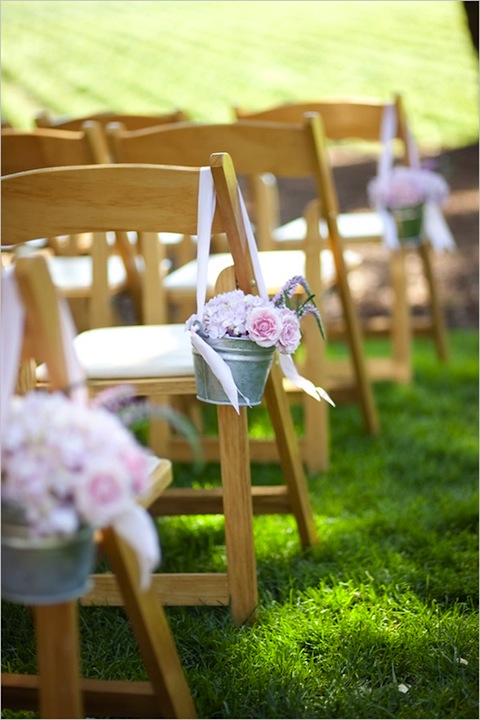
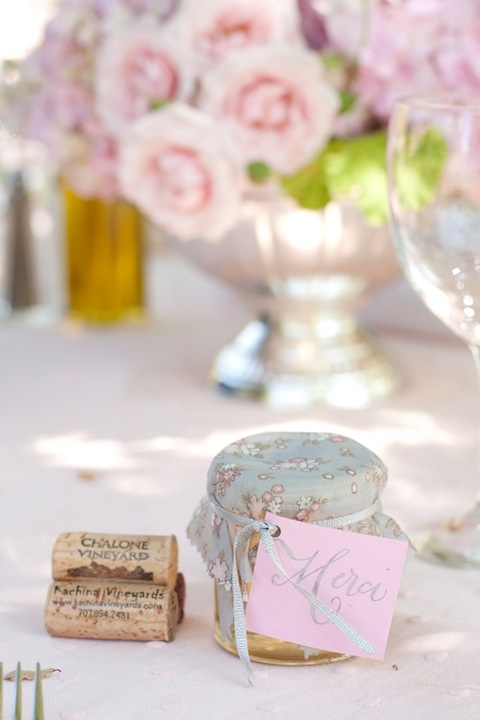
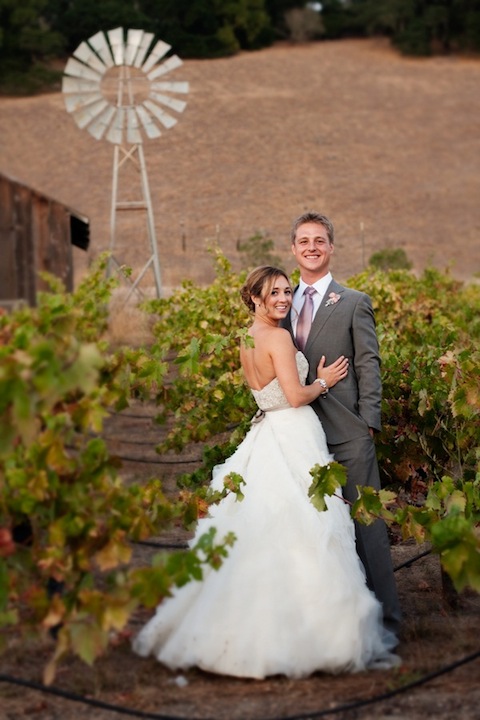
This real wedding really represents the color pink at its best. With subtle hues of rose and blossom it was all pulled together wonderfully. Lauren and Nick wed at the Healdsburg Country Gardens on a sunny day last September and it could possibly be the sweetest wine country wedding we've seen. We love that the couple chose to use traditional elements in a natural and rustic environment. And the stunning floral bouquets by Blue Orchid Floral really topped it off. You can see more photos of this lovely vineyard wedding over on Wedding Chicks!

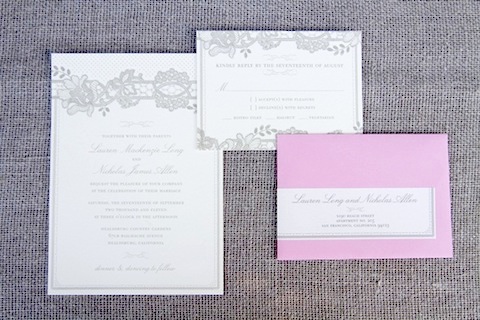
Our Vintage Lace wedding invitation complimented the couples' vintage feminine theme. The pop of color in the blossom envelope added a little fun to the mix, too.

Congratulations Lauren and Nick! To view more photos, head over to Wedding Chicks by clicking here!

Photography by Julie Mikos

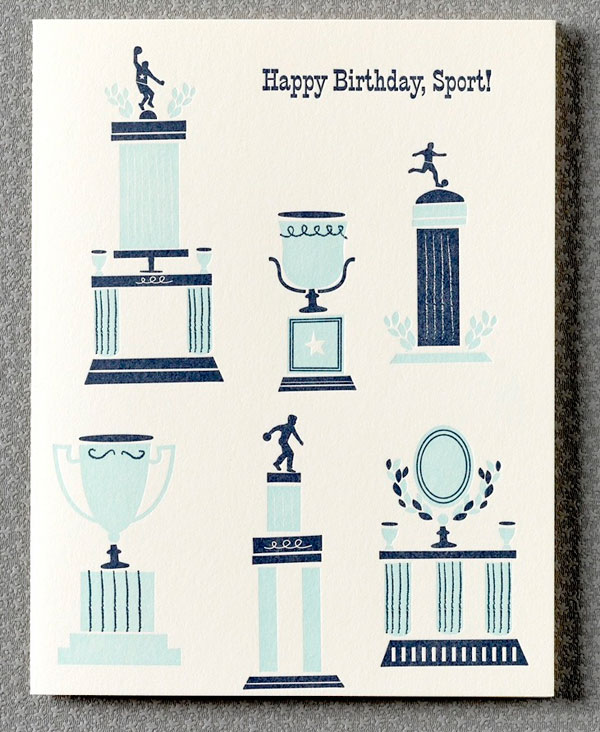
Lucky Friday # 79, Sporty Birthday

Hello all you lucky folks out there! This is the 79th edition of our Lucky Friday Giveaway.  Each Friday we feature one of our letterpress greeting cards. We’ll choose THREE LUCKY WINNERS to get a free card.  Post a comment by 12 p.m. PST the following Thursday, and we’ll announce the winners on the following Friday!

The winners from last week are (drum roll, please): Lydia, Angela and Lisa! We’ll contact you next week to arrange sending your Unicorns card.

Design: Sporty Birthday Artist: Lab Partners Inspiration: Must've been feeling inspired by all the Olympic feats of strength. Who to send it to: A trophy-toting-teen, a champion of a chum, a contender of a friend or an all-around good sport. Ideas we scrapped in favor of this one: We nixed the Valentine's design that featured trophies— seemed a trifle tacky. Favorite detail: Love the trophy case nostalgia. Why letterpress? Nostalgia is best expressed with an antique press.

Don’t forget to post your comment and tune in next week, same time, different stationery, to see if you’ve won!

Notes from London

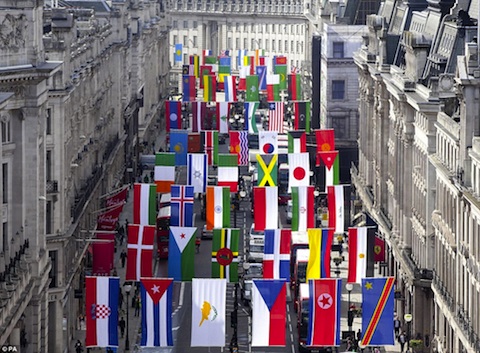
We have been asked on several occasions to describe what London has been like over the Olympic period but to be quite honest, for Londoners not attending the events themselves, it has been strangely quiet. Now, in the hiatus between the Olympics and Paralympics, seems a good time to reflect. There has certainly been a good deal of celebrating and decorating going on but very little with direct reference to the games themselves for fear of contravening the rules regarding use of the rings, name, date, venue and so forth. Instead the city has been awash with flags of all nations - best shown in this glorious display down Regents Street in the very centre of town.

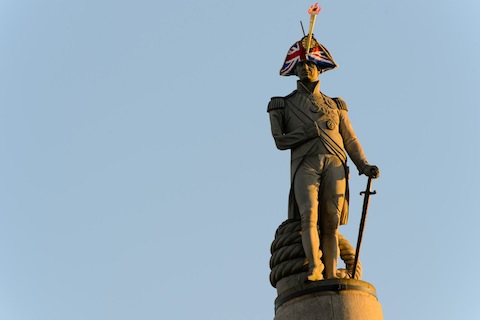
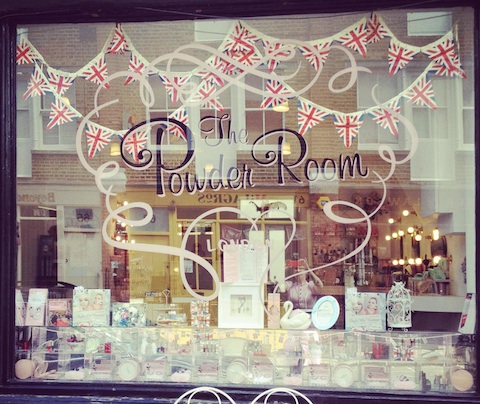
Twenty Major statues throughout the capital were also adorned with new headgear including Admiral Nelson on his column in this natty number seen above which was made for him by Lock & Co – the same company that made his real tricorn 200 years ago! (They have been going since 1676!) Smaller shops have dusted off the Union flag bunting from the Jubilee celebrations (in the best spirit of ‘Make do and Mend’) and given us charming window displays such as this one at our friend’s salon ‘The Powder Room.’

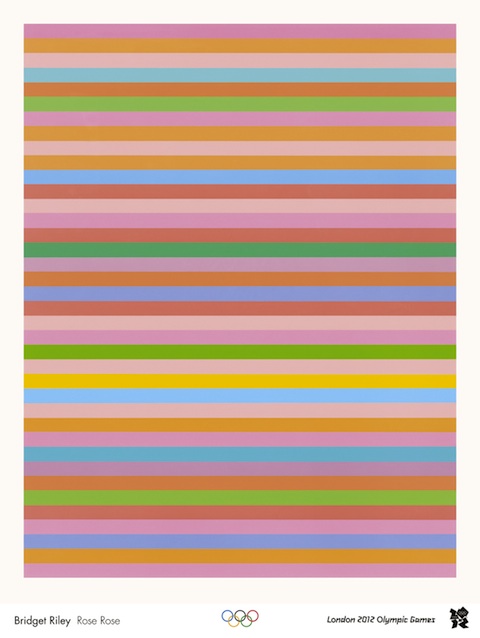
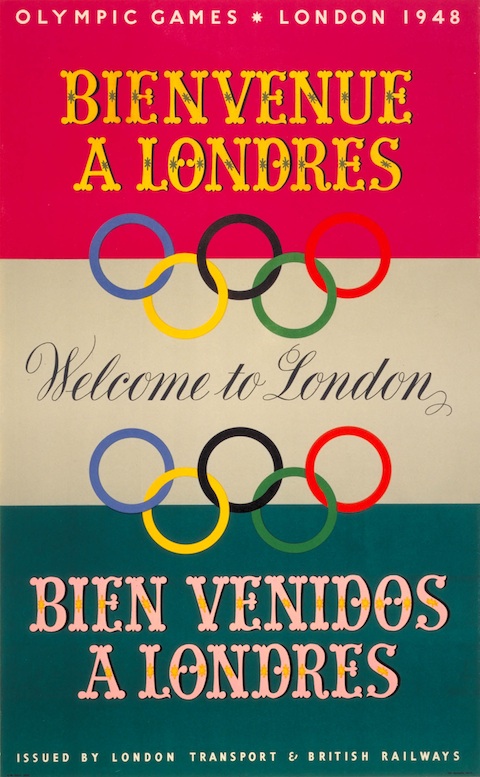
There was naturally official Olympic merchandise around and several major British artists designed posters our favourite of which was this stripe design from Pop artist Bridget Riley, but we must confess that the bold graphic simplicity of the 1948 poster is perhaps somewhat more to our tastes.

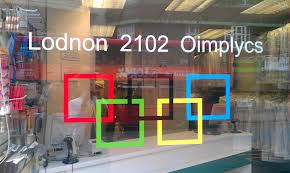
Despite – or perhaps because of – the organiser’s fierce protection of the brand some people really did go out of their way to make an alternative point… we loved the cheeky shop window of this gent’s outfitters.

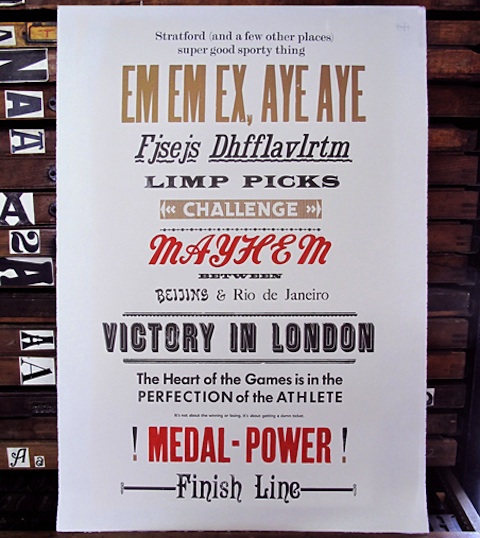
We also loved these posters from New North Press are just letterpressed genius! Alas – they are not for sale but they have plenty of others in their online shop and offer hands-on courses in this most wonderful of arts at their studios in Hoxton, North London!

If all this red, white and blue has given you ideas for your own celebrations and if seeing the city in such a party mood has re-kindled your love affair with it then perhaps consider our new Love London range for your own event. If nothing else you’ll get to re-use all that bunting again!

DIY Gold Confetti Champagne Flutes

Are you preparing a toast this season? Planning a special announcement? These DIY gold confetti champagne flutes are a fabulous way to liven up your glassware, especially for a special event. Or, if you're looking for unique gift ideas they would make a dazzling addition to any china cabinet. We found the inspiration for this DIY over at Radical Possibility. The writer, Zandi, has tons of easy and inexpensive projects, and many are Anthropologie replications, or in her words, "knockoffs." Zandi sure fooled us because her Confetti Tumblers are fantastic!

You can find inexpensive champagne flutes at your local thrift store, or buy new at any department store. Spice them up with customized colors for your wedding and the bridal party will be toasting in style. We love the classic elegance of gold, but a fun neon pink wouldn't bee too shabby either!

Materials: Glass champagne flutes, Gold enamel paint, small brush

How To: Step 1. Wash your glasses very well and dry completely

Step 2. Dip your brush in a bit of gold paint. Starting at the base of the cup, dab the paint on to the glass. We set ours upside down for easy painting.

Step 3. As you fill the bottom part, begin to spread out your dots more and more as you reach about half way.

Step 4. Once the glasses are dry, you can bake them to seal the paint. Read the instructions on your paint bottle in advance. Ours baked for 30 minutes at 350 degrees.

Tip* be very careful when hand washing. Use cold water and air dry.

For more fabulous DIY ideas, visit our website here!

Creativebug Video Shoot

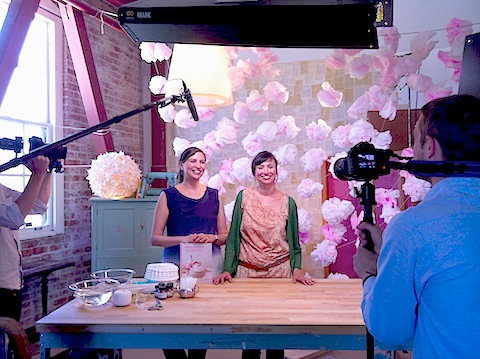
Earlier this summer we were in and out of the Creativebug studios shooting four different craft video tutorials, the first of which debuts on their site today!

Creativebug is a new website dedicated to online art and craft instruction. They offer high quality video workshops on almost any topic - from pottery to bookbinding. They have some amazing crafty superstars in their lineup already and we're totally honored to have been asked to be instructors. Right now you can take classes from people like Diana Fayt, Natalie Chanin, Debbie Stoller, and others - check out the complete list of instructors here. They're constantly adding new videos and teachers to the site so be sure to check back often.

 Our videos are focused on crafts to make for parties and can be adapted for any size event from a big wedding to a small birthday gathering. We had lots of fun shooting them and we hope you check them out! You can view our trailer and tutorials here.

Thanks to the amazing team at Creativebug for making the experience such a great one. We can't wait to shoot more!

Mendocino Boho Wedding Shoot

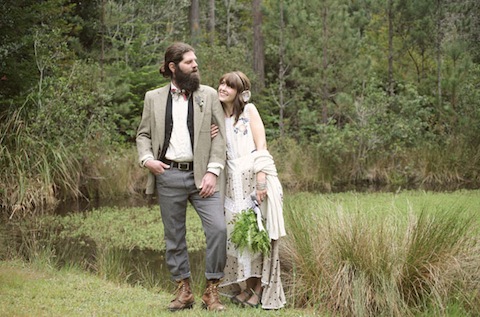
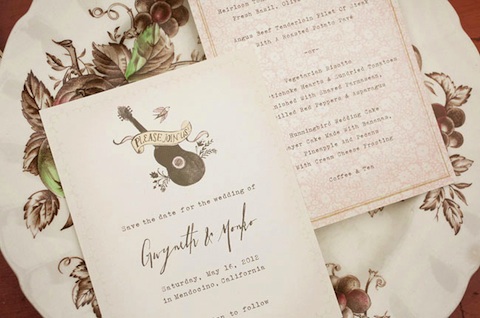
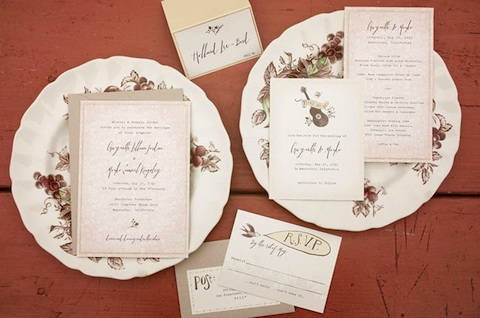
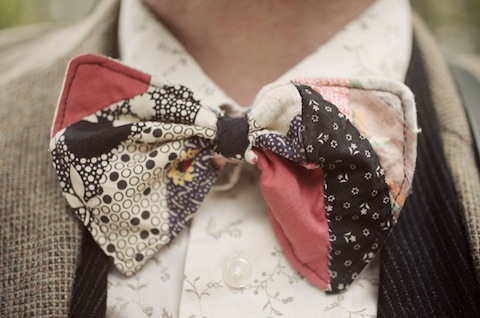
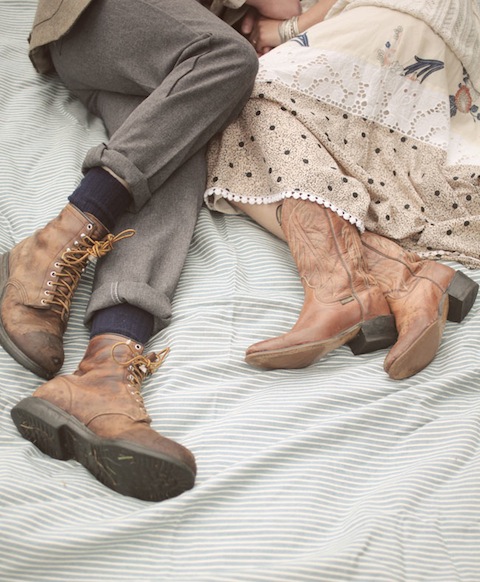
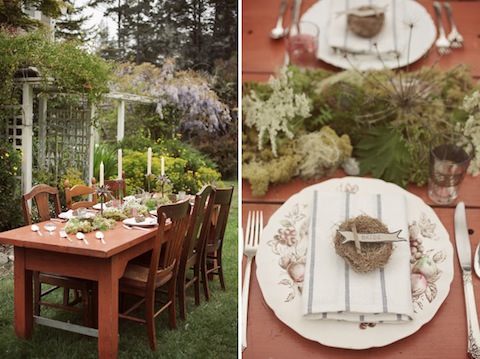
Did you see this charming boho wedding shoot on Green Wedding Shoes? It was styled by Karin Kamb of Clever Girl Consulting and photographed by none other than Edyta Szyszlo. The sultry green backdrop of the Mendocino Farmhouse paired with the neutral organic elements of the clothing and decor made for a comfortable and romantic setting. The models are local folk singers, too, which made their connection seem so perfect.

Eunice designed a brand new wedding suite for the shoot, appropriately titled Bluegrass. It's still in the works but will be available on our website soon!

To see more photos from the shoot head over to Green Wedding Shoes!

Photography by Edyta Szyszlo

Hello Weekend!

Happy Friday everyone! We hope you have some fun things planned for the weekend! In case you missed what we were up to this week here's a little recap...

We drooled over the gorgeous details in Jessica & Brandon's wedding.

Shared some snapshots of Sabrina's singing weekend in Pennsylvania.

Found out the UK's Perfect Wedding Magazine picked us as best wedding stationery!

Announced the winner to our Shabby Apple giveaway.

Gave you a peek into what our design process is for some greeting cards.

Kicked off a big Summer Sale!

Shared a lovely feature on letterpress and our studio.

Lucky Friday # 78, Unicorns

Hello all you lucky folks out there! This is the 78th edition of our Lucky Friday Giveaway.  Each Friday we feature one of our letterpress greeting cards. We’ll choose THREE LUCKY WINNERS to get a free card.  Post a comment by 12 p.m. PST the following Thursday, and we’ll announce the winners on the following Friday!
The winners from last week are (drum roll, please): Janet, Julie and Bethany! We’ll contact you next week to arrange sending your Whale of a Birthday card.

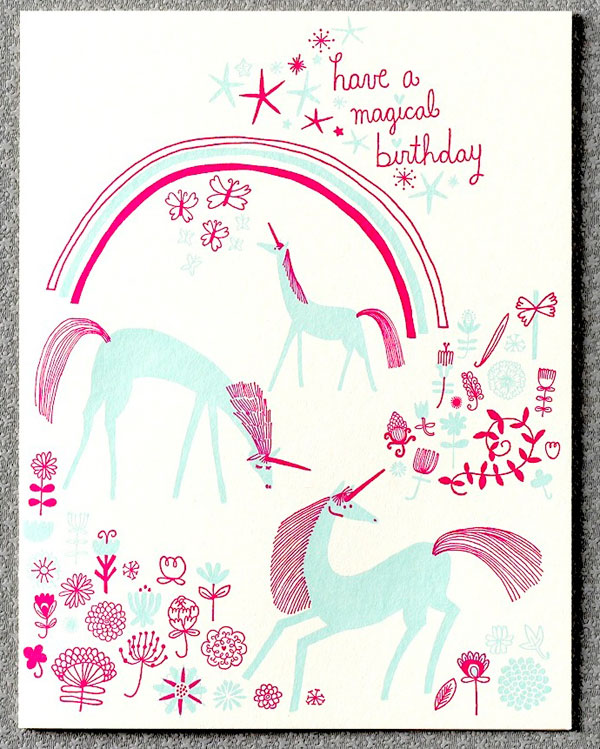
Design: Unicorns Artist: Julia Rothman Inspiration: We thought of making a pretty corny card about unicorns, but then thought to make a pretty, unicorn-y card that wasn't so corny after all. Who to send it to: Someone truly unique, someone named Charlie (remember him?), or someone you've been meaning to get on the horn. Ideas we scrapped in favor of this one: The "Sometimes You've Just Gotta Grab the Corn By His Horn" encouragement card. And the Austin Powers unicorn card— erm... we won't go there. Favorite detail: We fell for all the fanciful flowers; not sure which is our fave. Why letterpress? Letterpress is rare and beautiful— if not mythical, it's at least legendary.

Don’t forget to post your comment and tune in next week, same time, different stationery, to see if you’ve won!

Featured: Wedding Row California

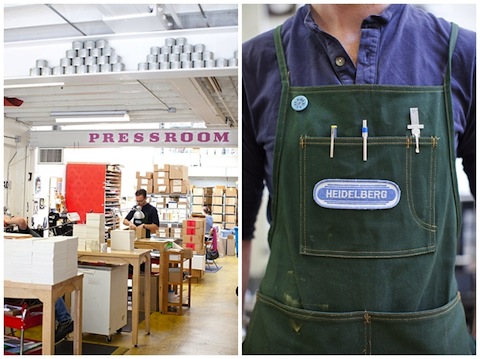
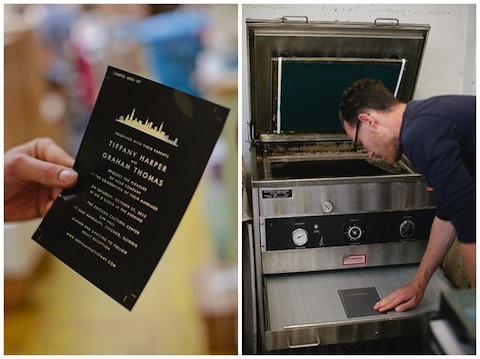
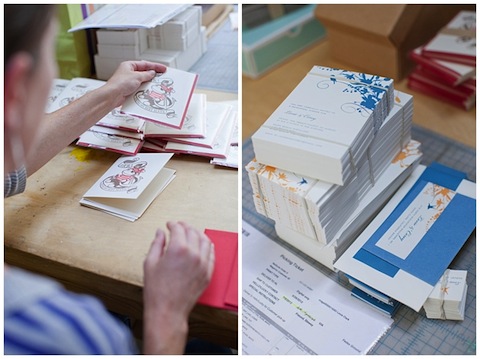
This week Wedding Row California wrote a wonderful post about letterpress printing at Hello!Lucky. With specific details about the creative process and gorgeous photography by Josh Gruetzmacher. We feel touched when people show such interest in the age-old printmaking method of letterpress, especially when they spend a whole afternoon learning the ins-and-outs.

Printmaker James is a fabulous tour guide, and showed Abigail (the author) and Josh the steps of creating a New York City Skyline letterpress wedding invitation from beginning to end.

To read the entire feature and to view more amazing photos, click here!