Inspired by Charlotte Trounce

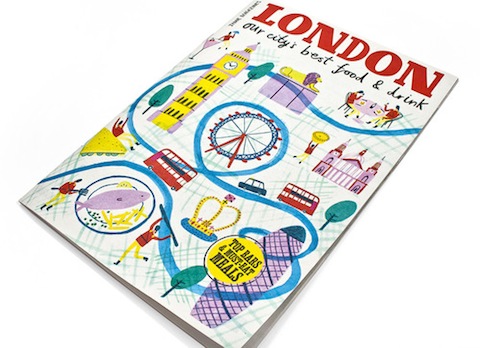
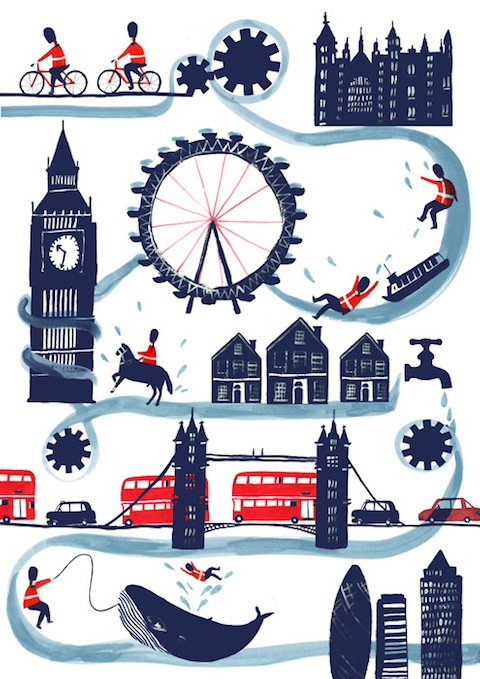
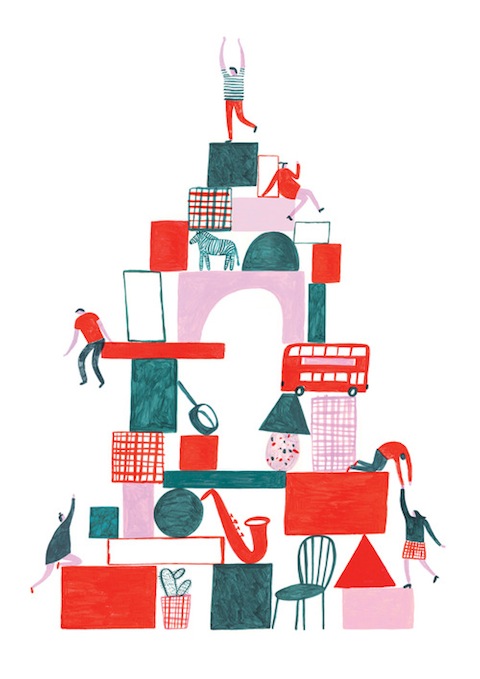
These lovely illustrations by London based artist Charlotte Trounce have us giddy with design envy. The whimsical, hand-painted illustrations are definitely up our alley, and we're crazy about her compositions and bold color palettes. Plus, they embody some of our favorite things about Hello!Lucky's second home.

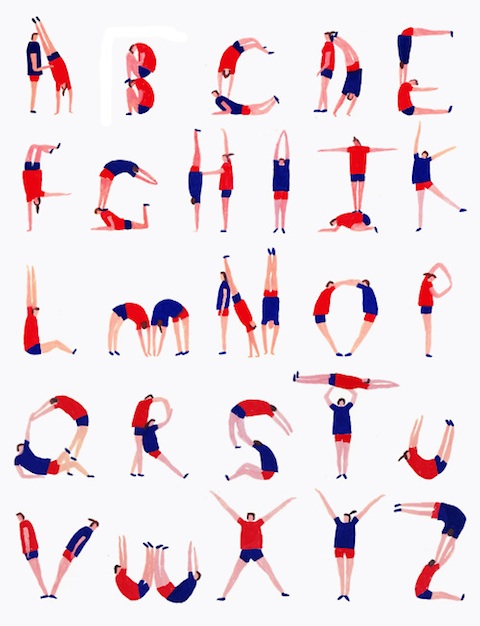
Charlotte created this alphabet in honor of the 2012 London Olympics. Hilarious! To see more of her work, head over to charlottetrounce.tumblr.com

DIY Autumn Leaf Bowls

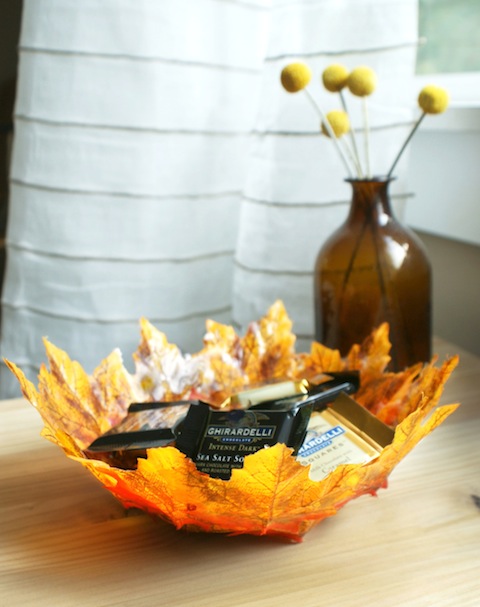
As we mentioned before, this is our favorite time of year for DIY decor. The chill is in the air and the leaves are changing color, and there's no better way to preserve the delight than by welcoming it into your home. Yes, the craft stores overflowing with autumn decorations can be intimidating, but there are ways to turn those faux autumn leaves into something beautiful and functional. Below are instructions for your very own autumn leaf bowl, perfect for holding your favorite scented potpourri or tasty Halloween treats.

Materials:

Craft store leaf garland, Mod Podge (matte finish), Foam Brush, Balloon, Scissors, Mixing bowl

*Tip: try to find thin, paper-like leaves for your garland. The thinner the leaves, the better they will mold to the shape of your balloon. Also, avoid any plastic-coated leaves.

How To:

1. Begin by snipping the leaves off the strand of garland. Leave about 1/8" at the base.

2. Carefully rip the entire plastic stem (and all the veins!) off of the faux leaves (See image above). This will help the leaves mold to the shape of the balloon.

3. Fill up your balloon to size. We stuck ours inside a mixing bowl to keep it in place.

4. With your mod podge in a cup near by, gently apply a thin layer on top of your balloon, starting in the middle and working your way out.

5. Lay a leaf on top of the wet mod podge and smooth with your fingers or foam brush. Once it's stuck in place, apply another thin layer of mod podge on top of that leaf. See image below.

6. Repeat, covering any empty spaces with smaller leaves.

7. When you reach about a quarter of the way down the balloon, add one or two leaves to the bottom of the bowl for extra weight and support. Allow to dry at least an hour.

8. When the mod podge is dry, carefully pop your balloon with a pin at the tied end, slowly letting the air out. Don't be alarmed if the leaves shrink down when the balloon deflates, it will return to its original shape after a minute or so. You may find that some of the mod podge will stick to the edges of your leaves, but you can just pick or cut it off.

9. Use your bowl to hold potpourri or little wrapped halloween candies. We love easy ways to liven up your home decor and this colorful DIY does the job well.
**Attention readers! Having trouble getting your leaves to stick? We're here to help. Be sure you remove the plastic "stems" from the faux leaves before trying to adhere them to your balloon. After you apply a layer of Mod Podge to your balloon, wait about 30 seconds or until the paste feels sticky, then gently press on your first leaves. If they start to bend upward, hold the leaves down at the tips with your finger. Keep a moist towel nearby to wipe any glue off your hands. This will help the leaves from sticking to your fingers. Feel free to comment below and ask questions - we'll email you as soon as possible!**

Looking for more DIY projects and free downloads? Head over to our site here.
Open House & Holiday Sale

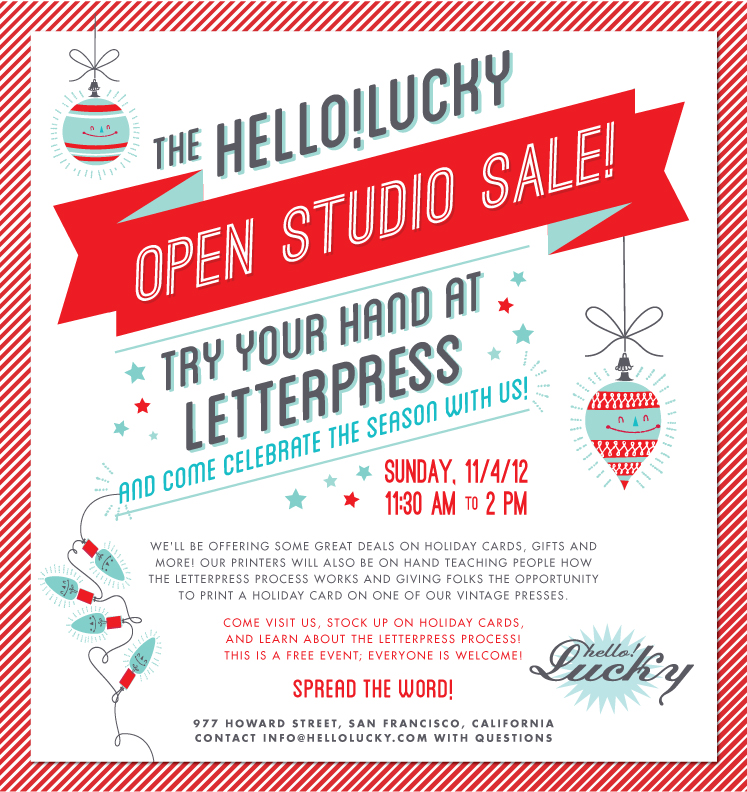
Mark your calendars! We're opening up our studio and pressroom to the public once again. Sunday, November 4th our doors will be open from 11:30am - 2pm. Our presses will be running, and just like last time you can try your hand at letterpress and crank one of your very own holiday cards. We'll also have some great deals on cards, gifts, prints and wrapping paper. So if you're in the Bay Area come visit us and see the inner workings of our studio!

This is a free event and all are welcome! Bring your friends! And help spread the word by sharing our Facebook event page here.

Address: 977 Howard street between 5th & 6th, San Francisco. Our doors will be open from 11:30am - 2pm on Sunday, November 4th.

Real Wedding: Stacy and Adam

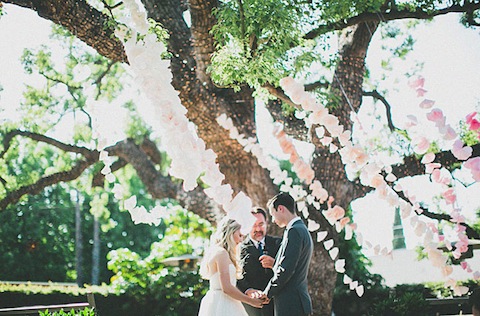
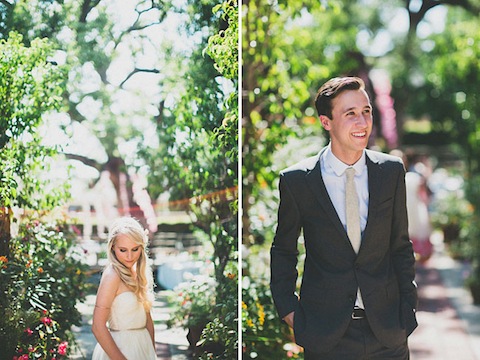
Sometimes wedding themes tend to get lost in an accumulation of decor, furniture, venue, etc, but this real wedding featured on Green Wedding Shoes is consistently lovely. Inspired by the fashion brand Free People, the bride and groom put together a delicate and whimsical outdoor event, fit with all the right details. A blend of feminine and bohemian style with neutral colors created a casual vibe, but we love how the quirky details make it so unique. Stacy and Adam, along with their wedding planners Sitting in a Tree Events, hit the nail on the head with their Free People wedding.

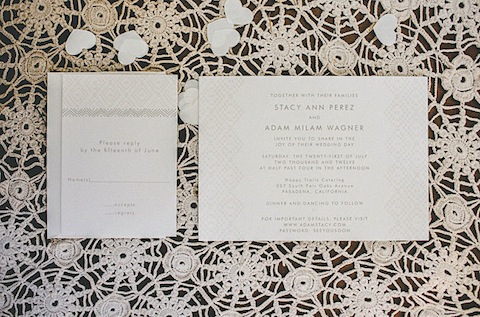
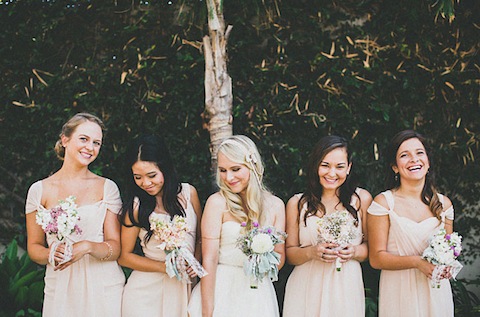
The couple chose our Cross Stitch wedding invitation, designed by Susy Jack, in a soft champagne and charcoal color combination. It matched well with the bridesmaids cream gowns and the overall decor.

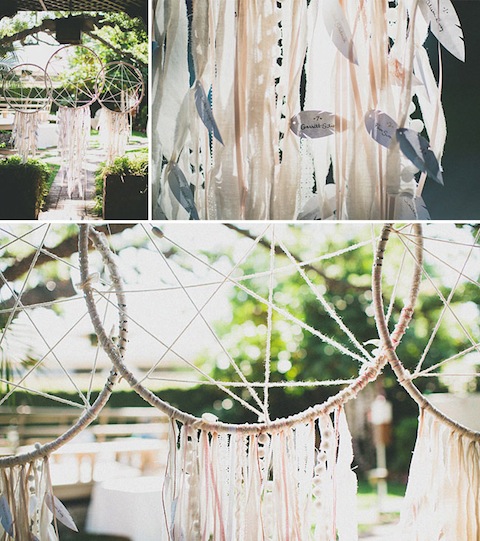
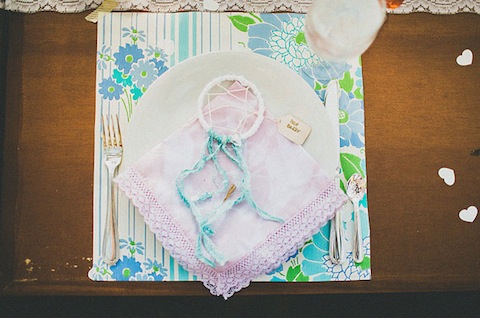
The dream catchers were a nice touch, adding a fun textural element to the place settings. We love the retro place mats, too!

Congratulations Stacy and Adam! To view more photos, head over to Green Wedding Shoes.

Photos by Studio Castillero

Sunday in Color

I love, love, love beautiful children's design, especially lovely French things, so needless to say I was super excited for the launch of my super fabulous friend Sonia's new shop, Sunday in Color.

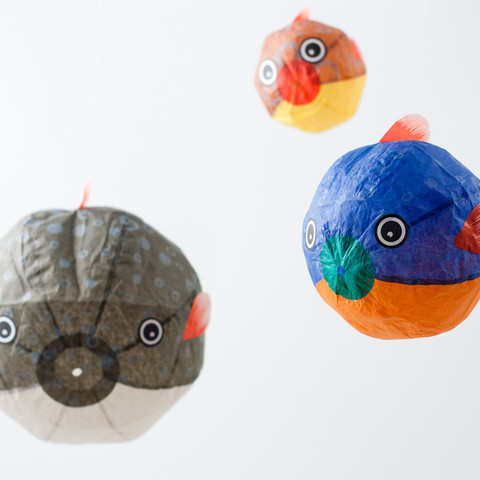
The site features collections of her favorite gorgeous toys, decor, and stationery from different countries - France, Thailand, Japan, Belgium, the Netherlands...how adorable are these Japanese globefish paper balloons?

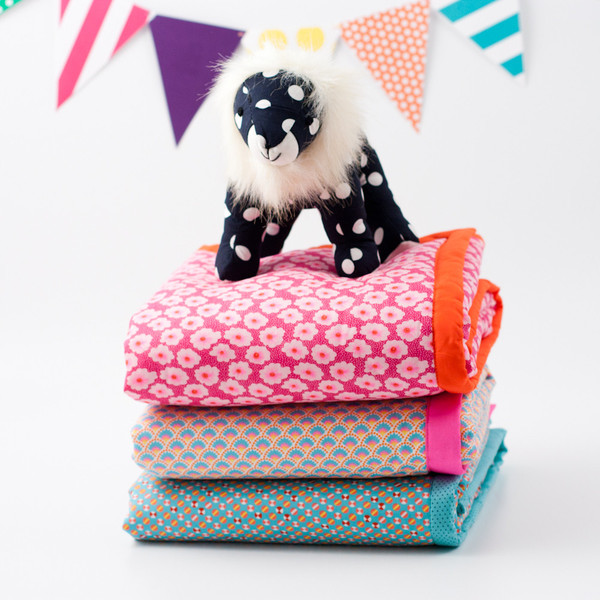
and this adorable little mouse in a box by the Danish lifestyle design company, Maileg? So sweet.

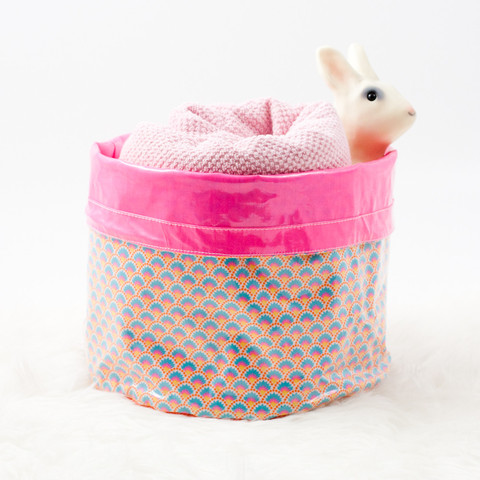
Or this basket by Petit Pan, one of my favorite shops in Paris - so excited to be able to buy some of their things here!

We're super excited to be able to offer our lovely readers a 15% discount on everything in the shop until October 31st.  Just use the coupon code "hellolucky" at checkout.

The Sweetest Day Giveaway!

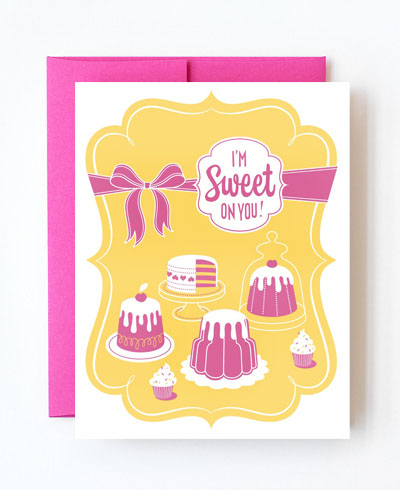
Today is the Sweetest Day! For those of you who are unfamiliar, the Sweetest Day is a holiday in which we are encouraged to do something kind or give something sweet to our loved ones or those who could use some love. It began in Cleveland, Ohio in 1922 when a kind gentleman and local candy company employee Herbert Birch Kingston wanted to give candy to the less fortunate people in his community. It's since spread nation wide and every third Saturday in October we take time to do something sweet for others. In celebration of this lovely day, we're giving away our letterpress greeting card Sweet On You! Leave a comment below telling us how you're celebrating the Sweetest Day and we'll send one lucky winner this card. The winner will be contacted on Tuesday, October 23rd. Good luck and Happy Sweetest Day! xo


Studio Craft Night!

We try to use our stock pile of crafting supplies as often as we can around here. And we love it when our employees stay after work to get some crafting done.

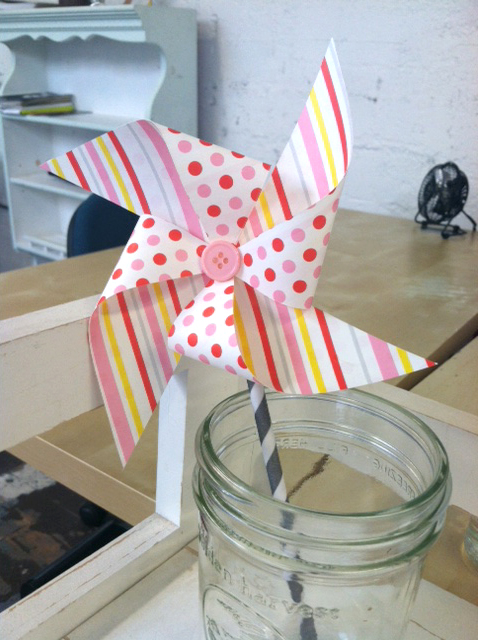
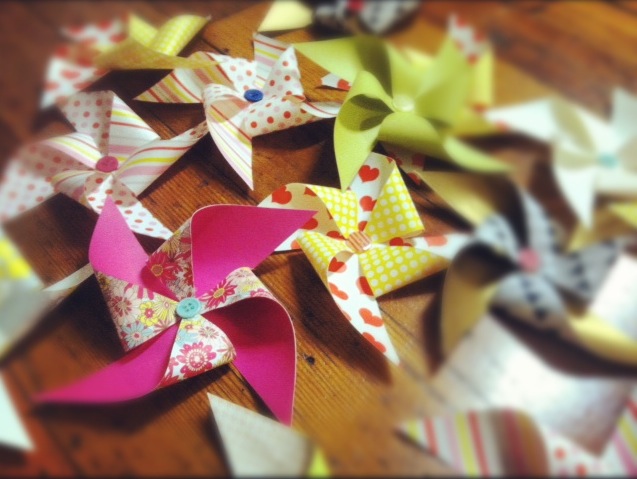
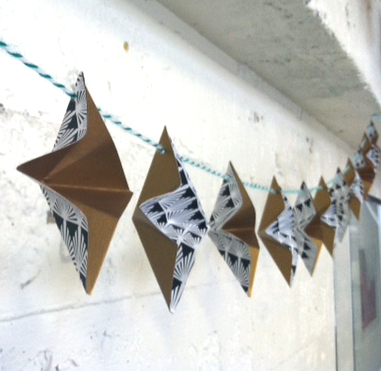
This week designers Shayna and Kelly made some amazing paper crafts to decorate our white walls. We're especially loving these paper pinwheels. Our team hot glued buttons to the centers for an extra pop of color. Cute! Want to try your own? Smock has a handy tutorial for making paper pinwheels with patterned paper. They make great table decor or aisle markers at a wedding, too. Match the patterned papers to your invites and you'll have a dream decor.


New! Letterpress Holiday Cards

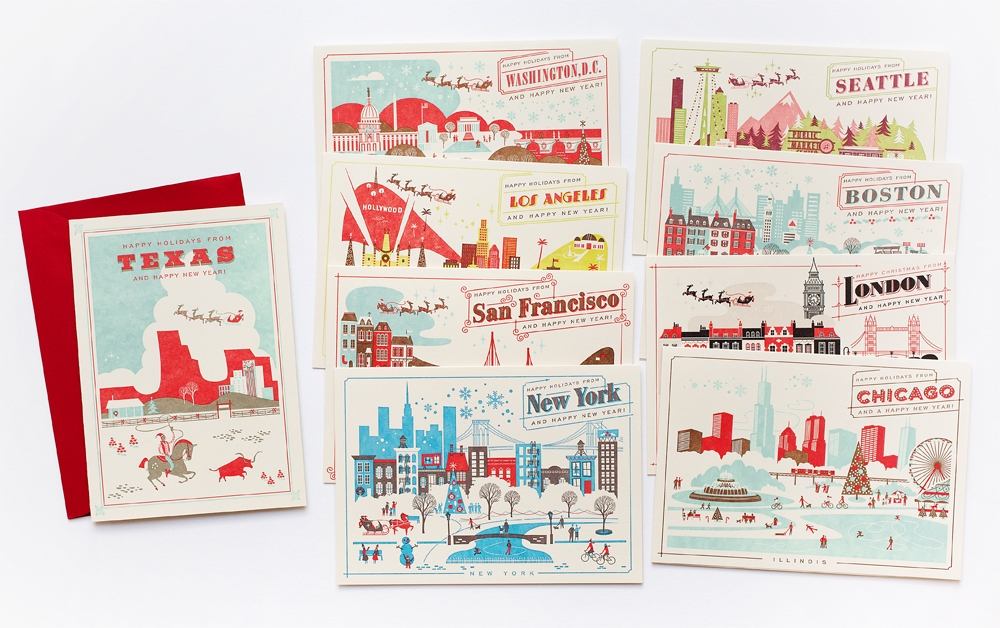
Way back in July we were busy printing our new letterpress holiday greeting cards and we're so excited to finally reveal them! Some of our most popular holiday cards have been from our visit series and we couldn't wait to add more cities to the collection this year. Happy Holidays from TexasWashington, D.C, and Seattle are the newest members to the letterpress card family, and thanks to the Lab Partners for their dedication and expert design skills, we're certain they will be a hit.

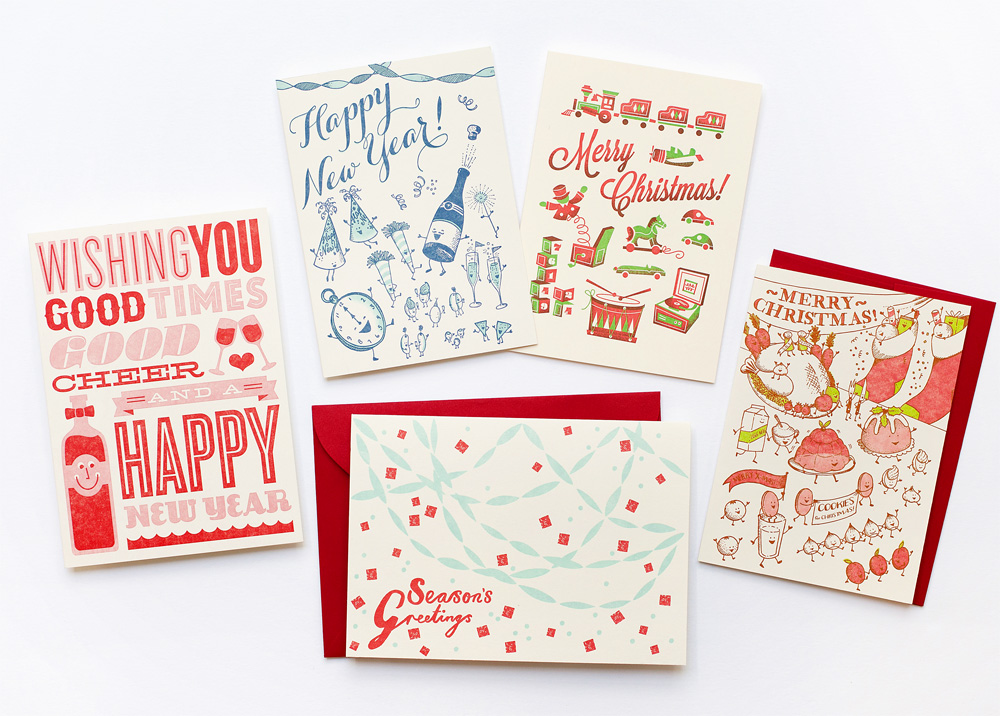
We also have the new Christmas ParadeNew Year's Eve, and Toys Under the Tree, photographed with some best sellers from last year (Good Times by Office of NaturePaper Chains by Debbie Powell). Click here to see all of our Holiday cards!

Photos by Edyta Szyszlo Photography

Inspired by: No Nostalgia Typeography Video

Agesandages - No Nostalgia from Philippe Tytgat on Vimeo. Is there a new genre brewing in the design world? It seems the art of chalk lettering has become quite the trend, so we're unofficially crowning this video the king of the unofficial genre "Chalkography." The music video for Agesandages called No Nostalgia has to be one of the most inspiring typography videos we've seen lately. French artist Philippe Tytgat hand lettered the lyrics to No Nostalgia making for a totally original and compelling visual story.

But don't take our word for it, watch and see for yourself!

Found via Molly Jacques Illustration

Real Wedding: Karen and Dan

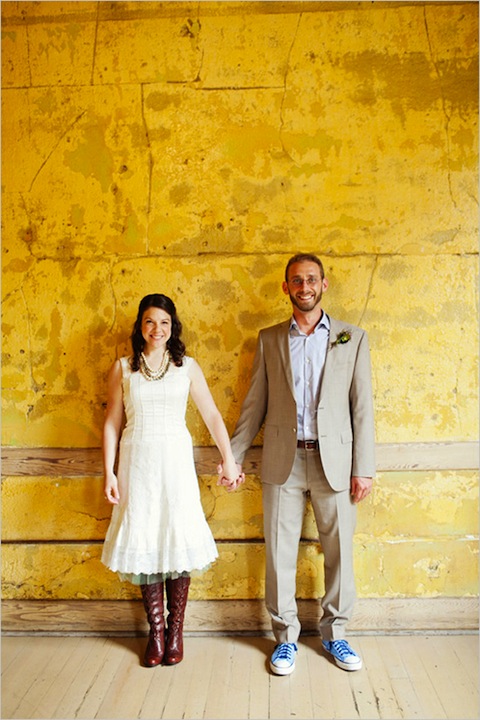
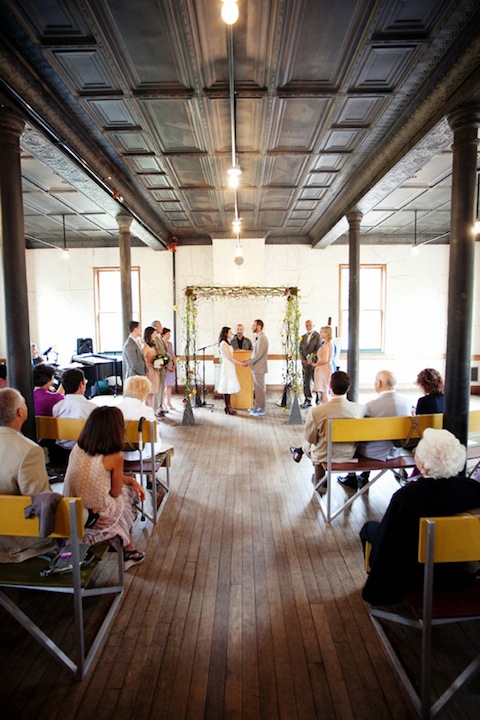
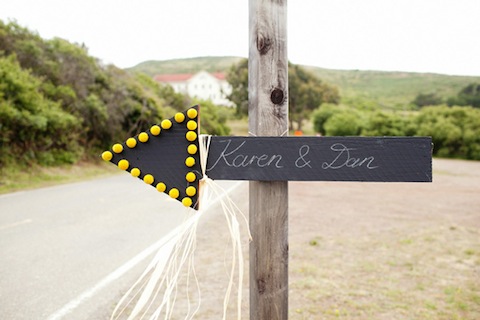
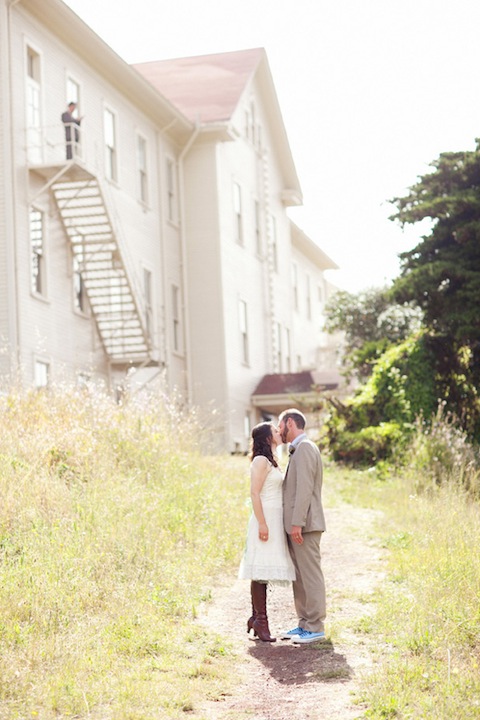
This wedding featured on Wedding Chicks last month keeps reminding us of how a wedding should be. It is simple but colorful, traditional but unique, and casual but exquisite. Karen and Dan's Marin Headlands wedding took place this summer at the Headlands Center for the Arts, creating a gorgeous and almost secluded setting for their big day. We're really liking the way the couple mixed modern elements with rustic accessories, like these amazing booths at the ceremony. The splashes of yellow popping up throughout their event kept things bright and fun.

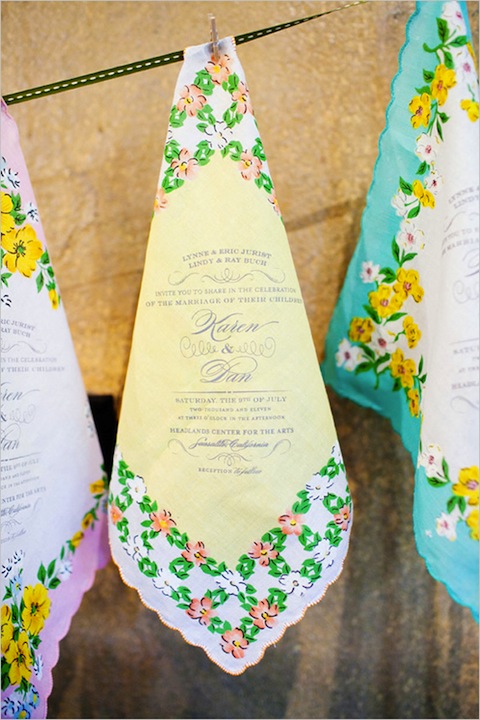
Lucky Luxe printed their vintage inspired handkerchief invitations, all in various color palettes.

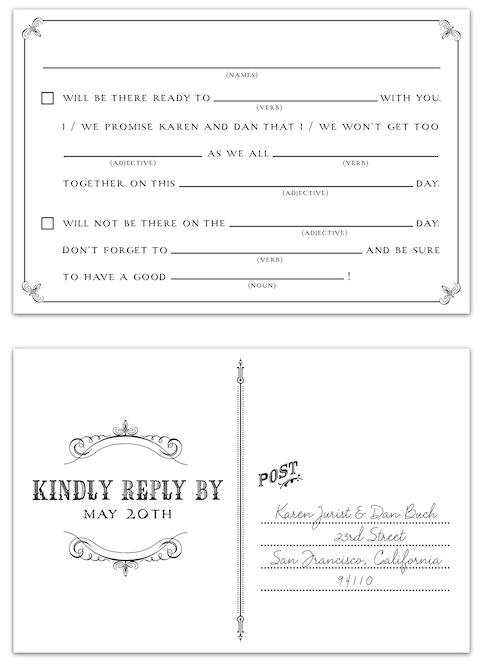
To keep guests and themselves amused, the couple wanted their RSVP cards in the form of a madlib, so we were thrilled they chose us to custom design the cards. What a great way to get geared up for a big party!

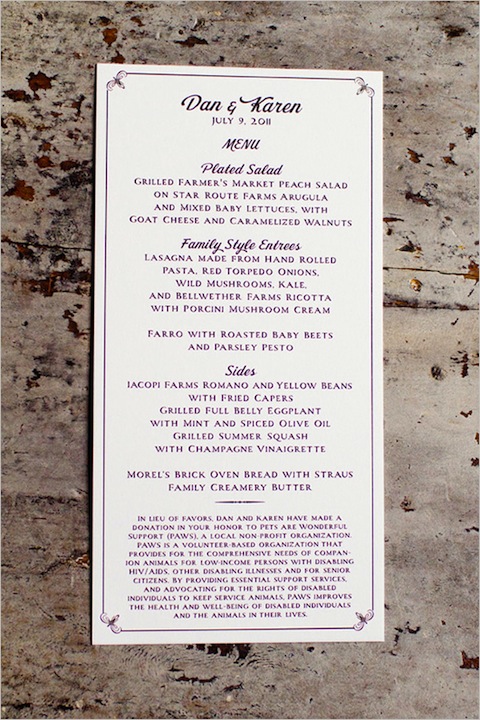
We also printed their menu cards, place cards, and food signage with a simple flourished border.

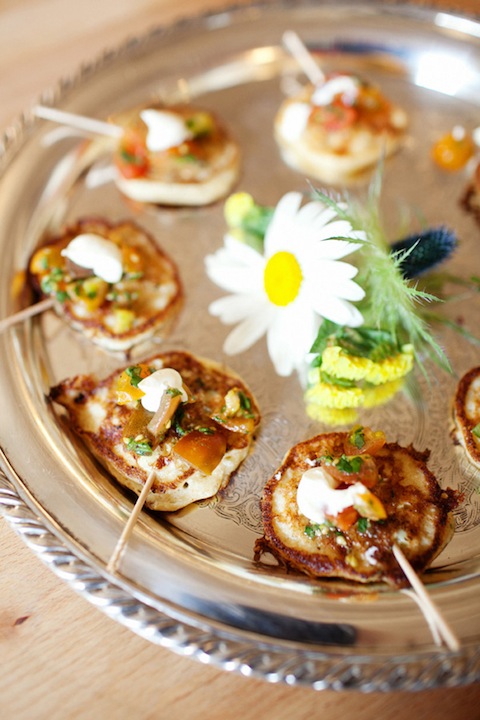
Such an incredible spread. The catering was provided by Katie Powers Catering and included some sentimental treats from the couple's past.
Sending a big congratulations to Karen and Dan! Many well wishes to you in your future as husband and wife.

Photos by Greg Slick Photography

Happy Halloween! + DIY Skull Cookie Cutters

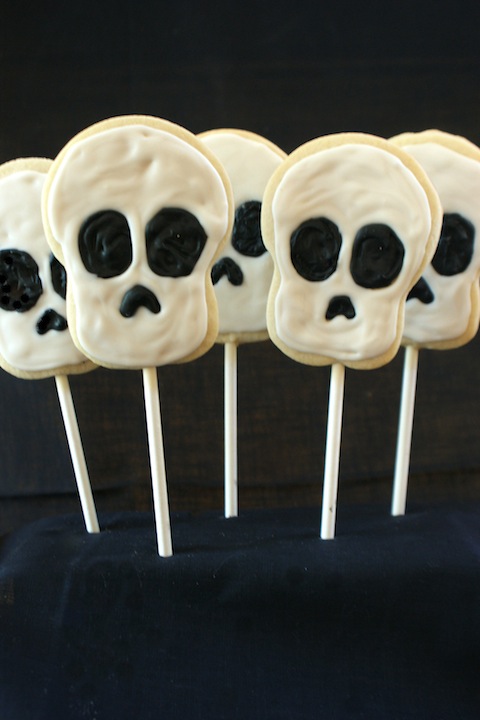
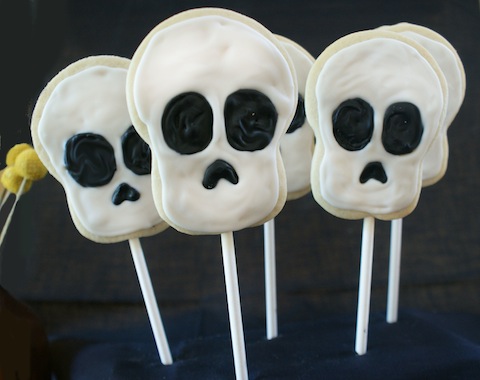
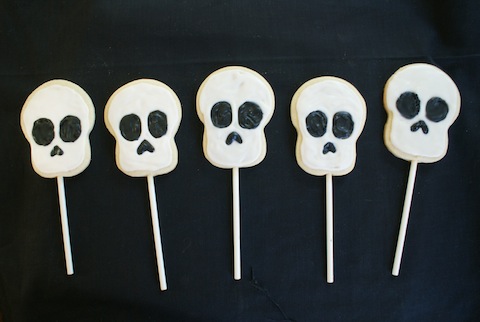
Are you getting excited for Halloween? We are! We had so much fun creating our DIY Sidewalk Skulls, we couldn't help but recreate them into edible cookie pops.

First we made DIY skull cookie cutters. All you need is a circular cookie cutter (about 4" in diameter) and pliers (optional). Simply pinch the sides with your fingers, or use pliers to create a more defined bend. Using this recipe from Sweetapolita, our sugar cookies were perfectly prepared and held our cookie pops with pride. You can customize your cookies to any color, or get creative to celebrate Dia de los Muertos (November 1st)!

Bake a batch and bring these to work or to Halloween parties! And let us know in the comments if you have any other go-to Halloween recipes you love making.

For more fabulous DIY ideas, visit our website here!

Best of Holiday - Top 10 designs!

In order to prepare for the 2012 holidays, we must look back on the fan favorites from years past. You may remember our launch of the Guest Designer Series last year, a mix of 16 talented designers that contributed their genius ideas to our 2011 collection. With their help, the collection was a great success and although some were more popular than others, we found there was a perfect design for everyone. We were delighted to learn that our most popular 2011 holiday design, Chevron, was actually released in 2010, and is still a top fave. With the brilliant minds of The Lab Partners, Debbie Powell, and Jacqui Lee in the top 10, we weren't surprised these made the list. You can still order any of these cards this year, but we have released a handful of fantastic new designs ready to send to your friends and family. Check out some of our newest 2012 customizable cards here.

1. Chevron, Designer: Hello!Lucky 2. Greetings from San Francisco, Designer: Lab Partners 3. Joyeux Noel (Red), Designer: Jacqui Lee 4. Good Cheer, Designer: Office of Nature 5. Crest, Designer: Morris and Essex 6. Greetings from New York, Designer: Lab Partners 7. Folk Tales, Designer: Morris and Essex 8. New York City Skyline, Designer: Hello!Lucky 9. Greetings from Chicago, Designer: Lab Partners 10. Paper Chains, Designer: Debbie Powell

Attention earlybirds: If you shop early you will receive 20% off your customizable holiday cards. Use the code EARLYHOLIDAY at checkout, expires 11/15. Shop now!

Halloween Craft Roundup

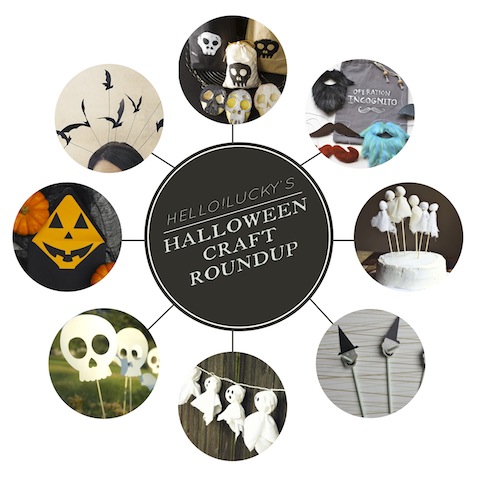
Witch hats, black cats, ghosts and gourds, all these things that represent Halloween make wonderful holiday decorations and crafts. This year we're overwhelmed with inspiration from around the web from sites like Pinterest and Craftgawker, so as Hallow's Eve draws nearer, we can easily keep track of our favorite DIYs. Our Halloween Craft Roundup has projects in multiple categories - from costume ideas to kids activities - and from quirky to sophisticated.

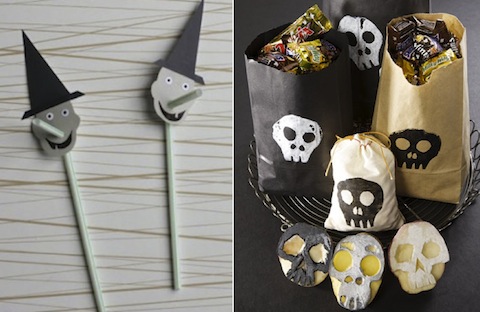
These easy and inexpensive kids craft ideas bring a little spook to your standard DIY. Straw toppers are super versatile and really simple to make. We love the idea of using the bendy straw as a nose. Props to Classic Play for coming up with a great idea for the kiddos. Next are these potato print candy bags by the ever-clever Martha Stewart. Again, this craft can be customized for any shape and it's totally suitable for children.

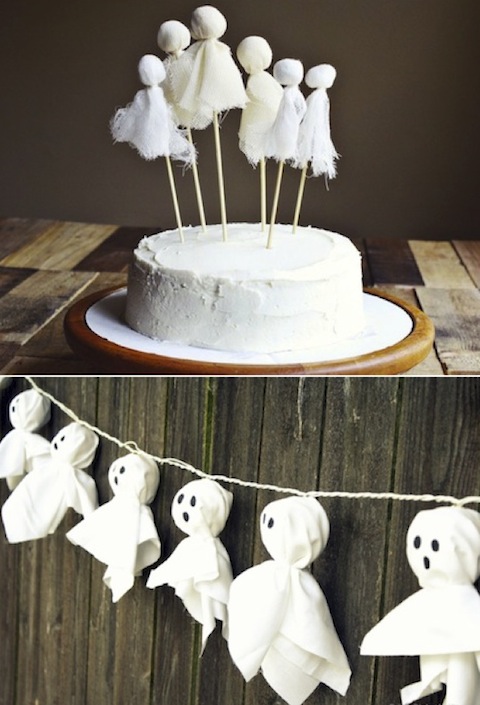
Grouping ghosts together keeps Halloween decor simple but with a subtle scare. This amazing ghostly cake by A Beautiful Mess is definitely going to make an appearance at our Halloween party. It's made with just cotton balls, cheese cloth, skewers and string (aside from the delicious looking layer cake). So simple and so pretty. Next is the playful ghost light garland by Design, Dining, and Diapers, made with cotton fabric, lantern lights, string, and black sharpie. Almost everyone has a set of string lights, so we are loving the quick and easy transformation into Halloween decor.

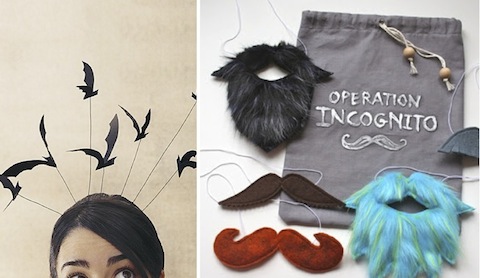
You may have noticed our obsession with Halloween costumes (see sketches for the boys this year), so it was hard to pick some favorites. This bat headband by Martha Stewart always comes to mind when thinking of quick adult costume ideas. Simple, spooky, and totally handmade. Just how we like it! Then there's the incredible Operation Incognito seen on mmmcrafts. You can buy the pdf patterns right here and in just a few quick stitches you'll be a whole new person.

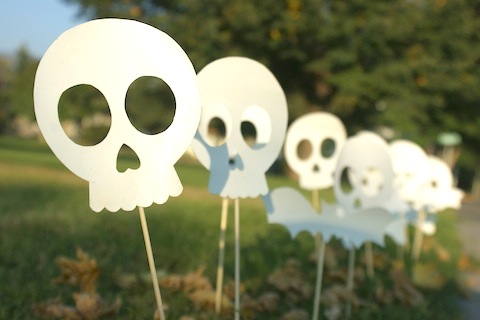
We couldn't help but include our DIY Sidewalk Skulls into the roundup. Check out the full instructions here!

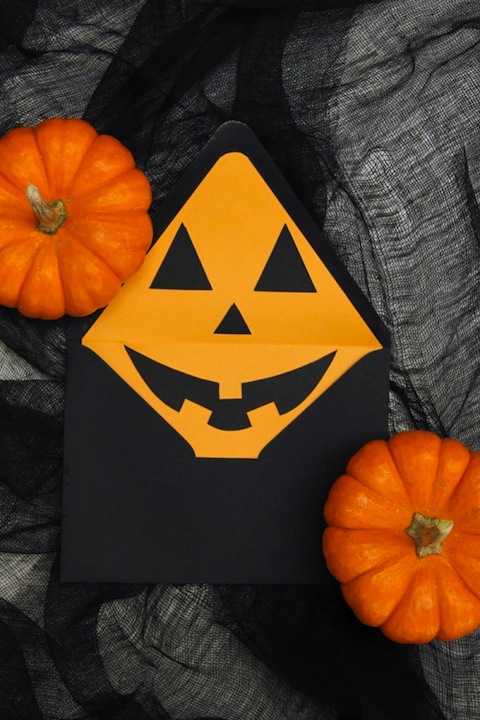
And last but not least, perhaps our most favorite DIY this season has to be these pumpkin envelope liners by Studio DIY. It's the perfect touch for sending out our free printable Halloween party invitation and is also easy to customize. We're blown away with all the talented people sharing their brilliant ideas. Halloween is just around the corner so get crafting today!

Western Editions Kickstarter

Hello all you letterpress lovers! We're super excited to welcome a new member of the San Francisco letterpress family, Western Editions. Started by two fabulous printmakers Erin and Taylor, Western Editions is a local print studio dedicated to providing public workshops and tutorials of the craft of letterpress, and they need your help. They have created a Kickstarter Project in hopes to raise money and support for their new endeavors, and even a dollar helps. If you live in the bay area and have an interest in learning letterpress, or just want to support young artists, send them some love. They've even got some amazing rewards in the mix. There are only 5 more days to donate so be sure to head over to their site now!
Donate to Western Editions Kickstarter project here!

Creative Bug "I made this" Contest

Our friends over at Creativebug have come up with a genius I Made This! Contest that we're certain our Hello!Lucky readers will enjoy. If you like crafting, and if you like Pinterest, then this contest is definitely up your alley. Creativebug is giving away an incredible list of prizes, from memberships to their online workshops, to complete kits of all your favorite projects. Our team is just one of many participants, so there are tons of ways you can get involved. Below is a full list of instructions and just a glimpse of what you can win, but head over to the Creativebug website for more info and terms. Be sure to share your ideas/comments on our blog or on Twitter and Facebook along the way.

To participate in this contest, you must first be following Creativebug on Pinterest, then create a Pinterest board that includes at least 5 projects you have made, or projects on Creativebug that you would like to make, plus an official contest pin from the Creativebug I made this! Contest Board at http://pinterest.com/creativebuginc/. Call your Pinterest board "I made this!" and then go to Creativebug's blog at http://blog.creativebug.com/i-made-this-contest/and enter the link to your Pinterest board and your email address so they can contact you and tell you when you WIN!

To increase your chances of winning, after you build your Pinterest board you can leave a comment on the Creativebug Blog with just your name and email address. You can also visit the blogs of all the Creativebug instructors, and leave a comment on their Creativebug contest posts. Each comment counts as one more entry! (Limit one comment per blog though.) Here's the list of my participating Creativebug pals:

Improv Sewing http://www.improvdiary.com

Rebecca Ringquist: http://www.drop-cloth.blogspot.com/

Jody Alexander: http://wishiwashistudio.blogspot.com

Liesl Gibson: http://oliverands.com/blog/

Jill Draper: http://jilldraperblogs.blogspot.com/

Cal Patch: http://hodgepodgefarm.net/

Rad Megan: http://radmegan.blogspot.com

Natalie Chanin: http://alabamachanin.com/journal/

Courtney Cerruti: http://www.papermusingsblog.blogspot.com/

Megumi Inouye: http://giftwrapbymegumi.blogspot.com/

Heather Ross: http://heatherross.squarespace.com/journal/

To read the full page o' rules, click here http://blog.creativebug.com/imadethis-terms, but in the meantime, start pinning!

Good luck everyone!

Harvest by Darling Clementine

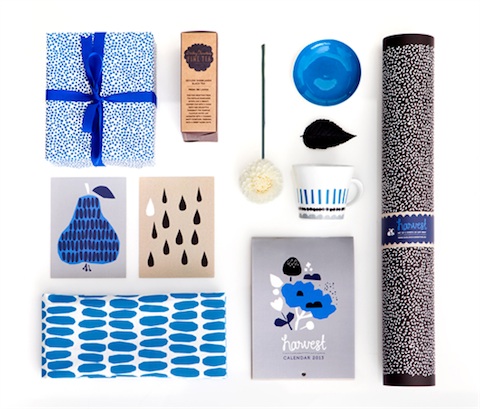
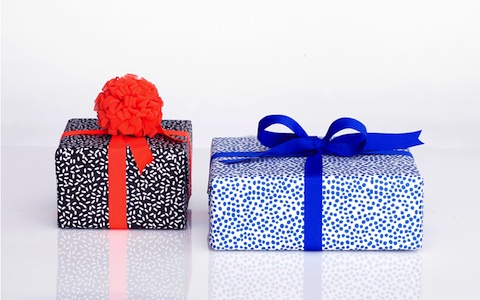
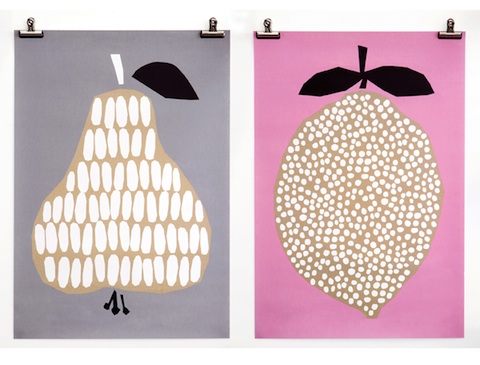
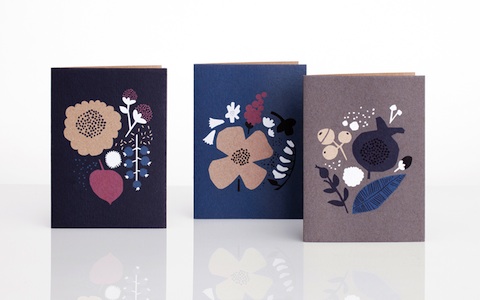
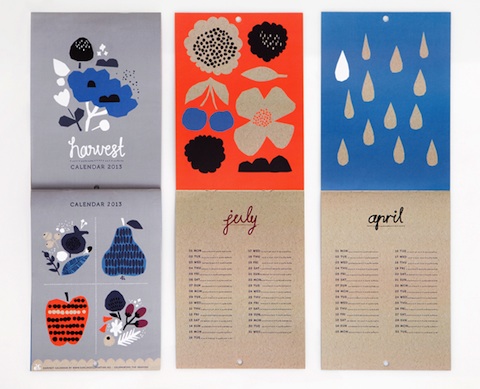
Has everyone been introduced to Darling Clementine's new collection Harvest? If not, we're delighted to do the honors. We've been huge fans of Darling Clementine since long before they agreed to be a guest designer for our 2011 Holiday Collection, and were thrilled when they wanted to work with our team. Harvest, a collection of prints, cards, gift wrap (and more!) is a perfect way to welcome the fall and winter seasons. The pairing of cool blues and grays with warm reds and pinks makes us melt with design envy. Check out the Harvest collection right here!

Set of 8 single greeting cards

Harvest gift wrap

Harvest poster

Set of 6 greeting cards

Harvest 2013 Calendar


Kendel and Brian's San Francisco Wedding

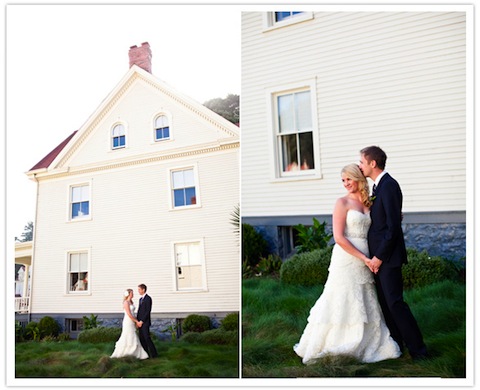
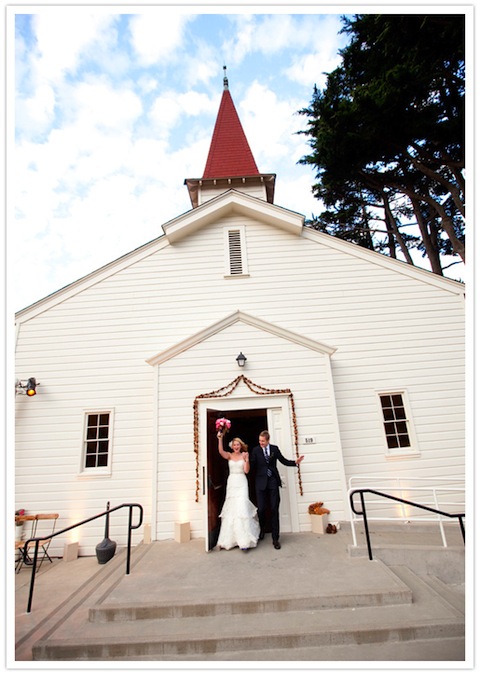
When we featured Kendel and Brian's wedding earlier this summer we were dying to see more. Their stunning San Francisco event blew us away with outstanding views, impeccable reception decor and modern camp theme. 100 Layer Cake saved the day because their story about Kendel and Brian's wedding brought back all the wonderful memories of the  spectacular wedding.

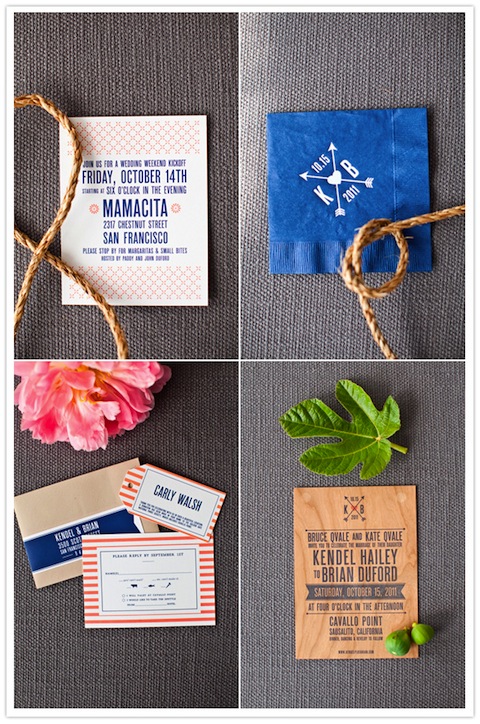
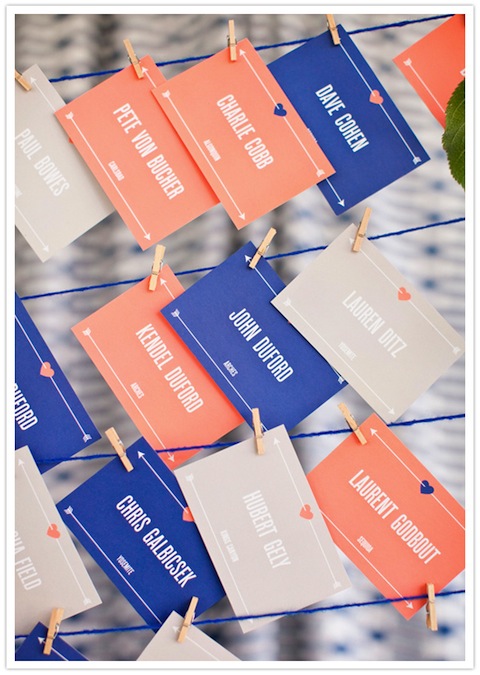
These close-ups of their custom designed stationery reveal more of the modern details. Kendel and Brian wanted a modern campground look mixed with a little rustic charm, so we printed their invitations on wood veneer and paired them with a papaya striped reply card.

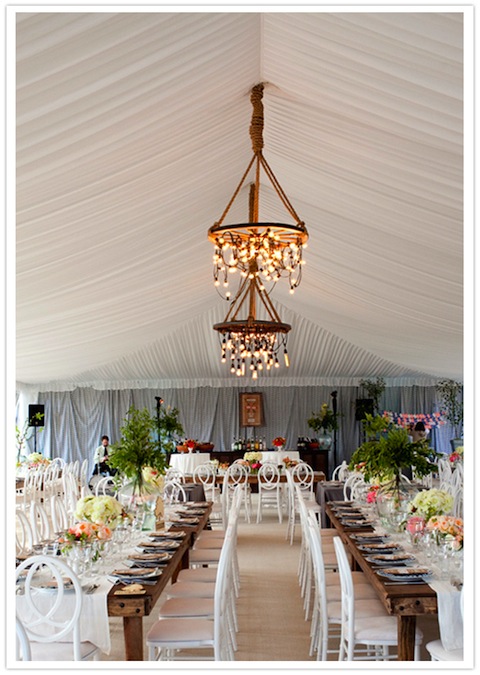
The team at Alison Events truly outdid themselves. This reception tent is breathtaking.

Their wedding suite was so popular we decided to offer it to all our customers. Hearts and Arrows can be customized to match your wedding colors and you can even request personalized place cards like the colorful cards shown above!

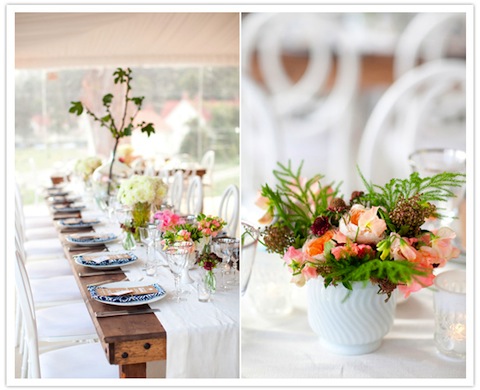
And what can we say about the floral arrangements by Brown Paper Design? Those bursting peach and fuchsia peonies scattered along the tables are pure perfection.
To see more beautiful photos, head over to 100 Layer Cake!

Photography by Jesse Leake Photography
Hello Weekend!

Happy friday friends! There's a whole lot happening in the bay area this weekend, from Fleet Week to Hardly Strictly Bluegress in Golden Gate Park. The weather is beautiful here right now and we're hoping it stays that way all weekend long.

Thanks to everyone who left comments on our Halloween post. The two winners are Malia and Colleen. You two will be hearing from us via email shortly.

Have a great weekend everyone!

A Most Curious Wedding Fair

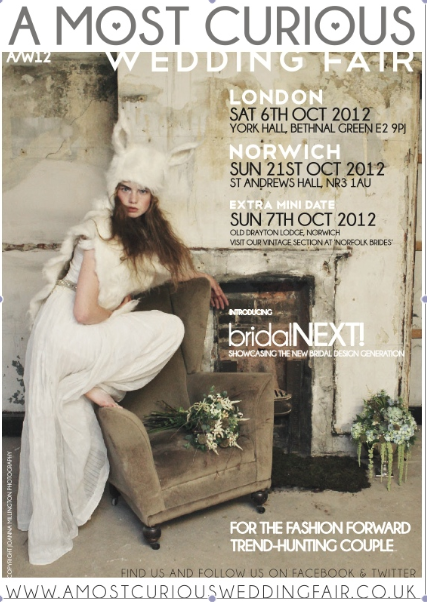
UK friends! This weekend our fabulous London team will be exhibiting at one of the most unique wedding fairs across the pond, A Most Curious Wedding Fair, billed as the wedding event for the not-so-blushing bride. We always love hearing about this event as it truly does showcase some of the most original and current wedding trends. If you are in the UK do stop by and say hello to Iain and Hamad who will be holding down the Hello!Lucky booth.

Most Curious Wedding Fair details: 6th October 2012 (London), 11am-5pm

York Hall, 5-15 Old Ford Road, London E2 9PJ Entry: £4

Creative Bug Event Photos

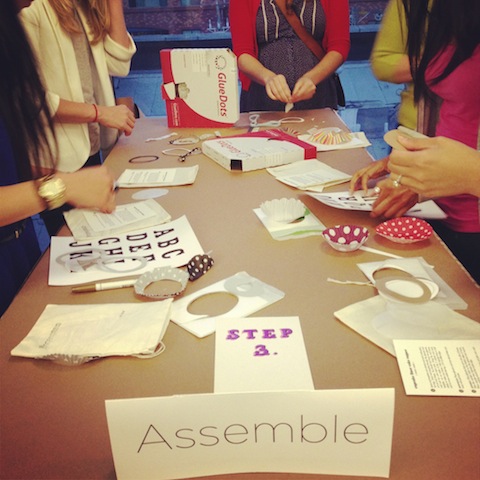
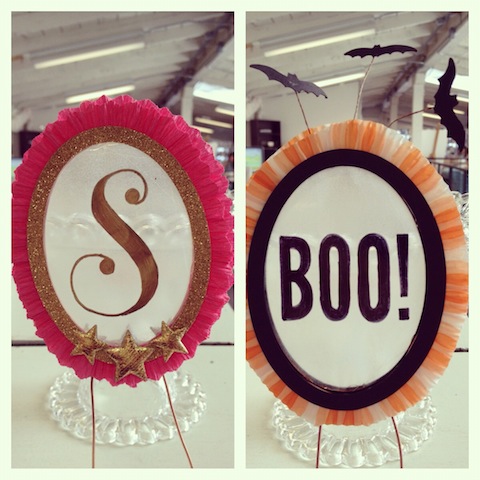
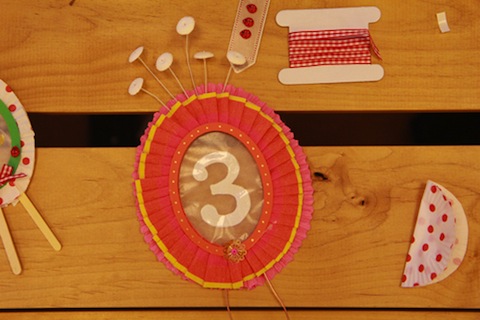
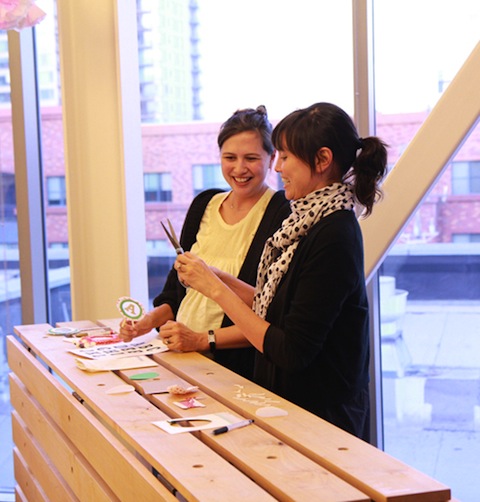
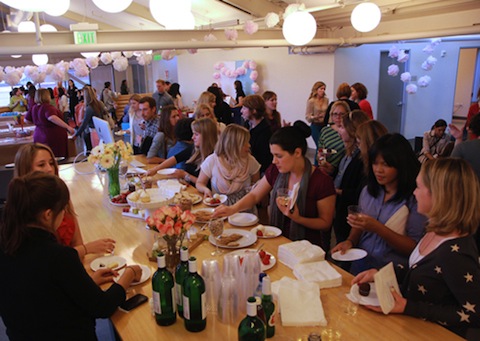
If you follow us on Instagram, then you know how great the turnout was at the Creative Bug Crafts, Cocktails & Cake-toppers event at Chronicle Books last week. There was a fantastic crowd of happy crafters and the handmade cake toppers were adorable. Eunice and Sabrina delivered a stellar performance, giving hands-on instructions for making these versatile decor items. We had a blast getting together with Creative Bug at Chronicle Books and want to extend a special thank you to all who were involved and all who came to enjoy the evening. Here are some of our favorite photos from the event. Don't worry if you missed it, because there is a great online workshop available at Creative Bug right here!