Writing a Mother's or Father's Day card feels like a loaded quest, because they did give us life after all. But fear not, we've got a few quick tips for expressing your gratitude in a way that speaks to you...
What to write in a Mother's Day card
Being a mom is no joke, and tougher than ever these days with more moms working and wearing ALL the hats. Here's a little secret: most moms harbor a nagging feeling they could have done better, so Sunday is the day to let her know that she's done good and to tell her you recognize all her efforts!
What do you do if your relationship is a little strained? Focus on the positive. We've all had our share of mama drama, but let's acknowledge that she's always given it her all and appreciate the ways you've grown and learned from her (celebrate the best and forget the rest!).
Is she a tiger mom? Let her know you're thankful for everything you learned under her roof (and are still learning!) under her rigorous tutelage. Is she a great listener? Let her know how much you appreciate being able to call her any time, rain or shine.
You can tip your hat to her for showing up for you day after day by encouraging her to take it easy today (maybe back that up with an incentive -- a bottle of wine or a gift certificate for some pampering!). Better yet, make her a card...
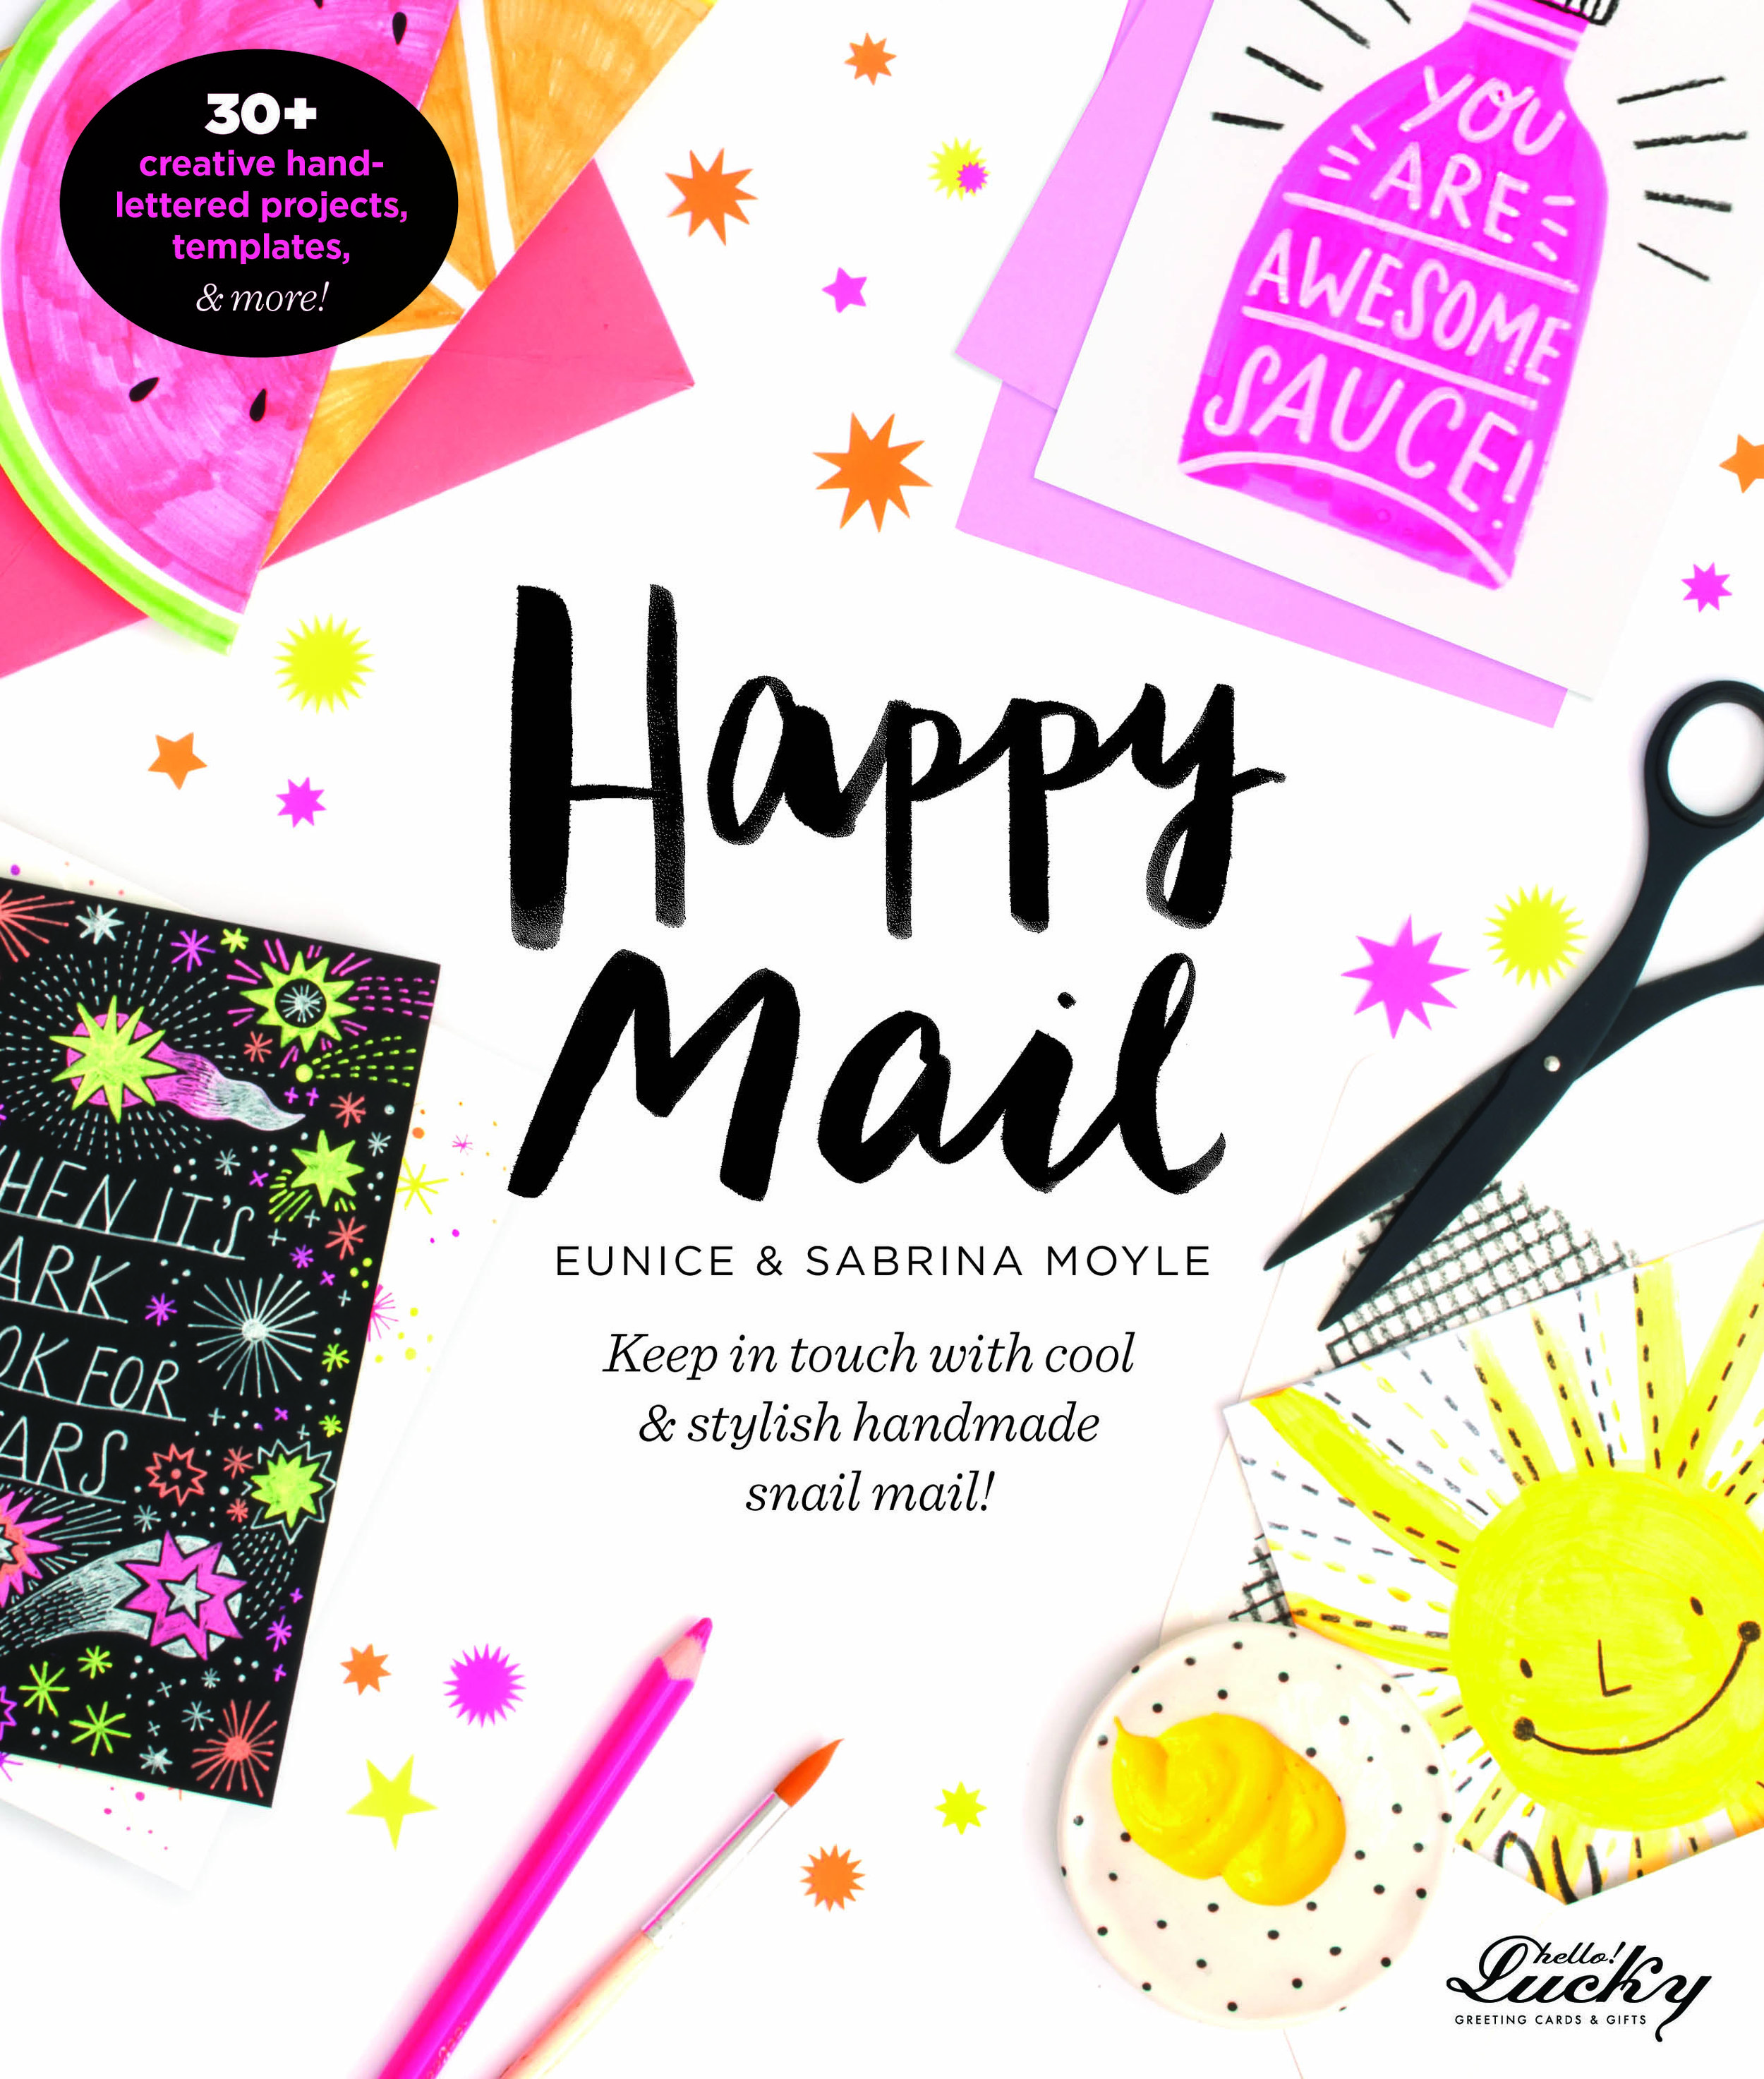
We've pulled one of our favorite projects from our new book, Happy Mail, pre-orders here and here, and coming to a book store near you.
DIY STEPS
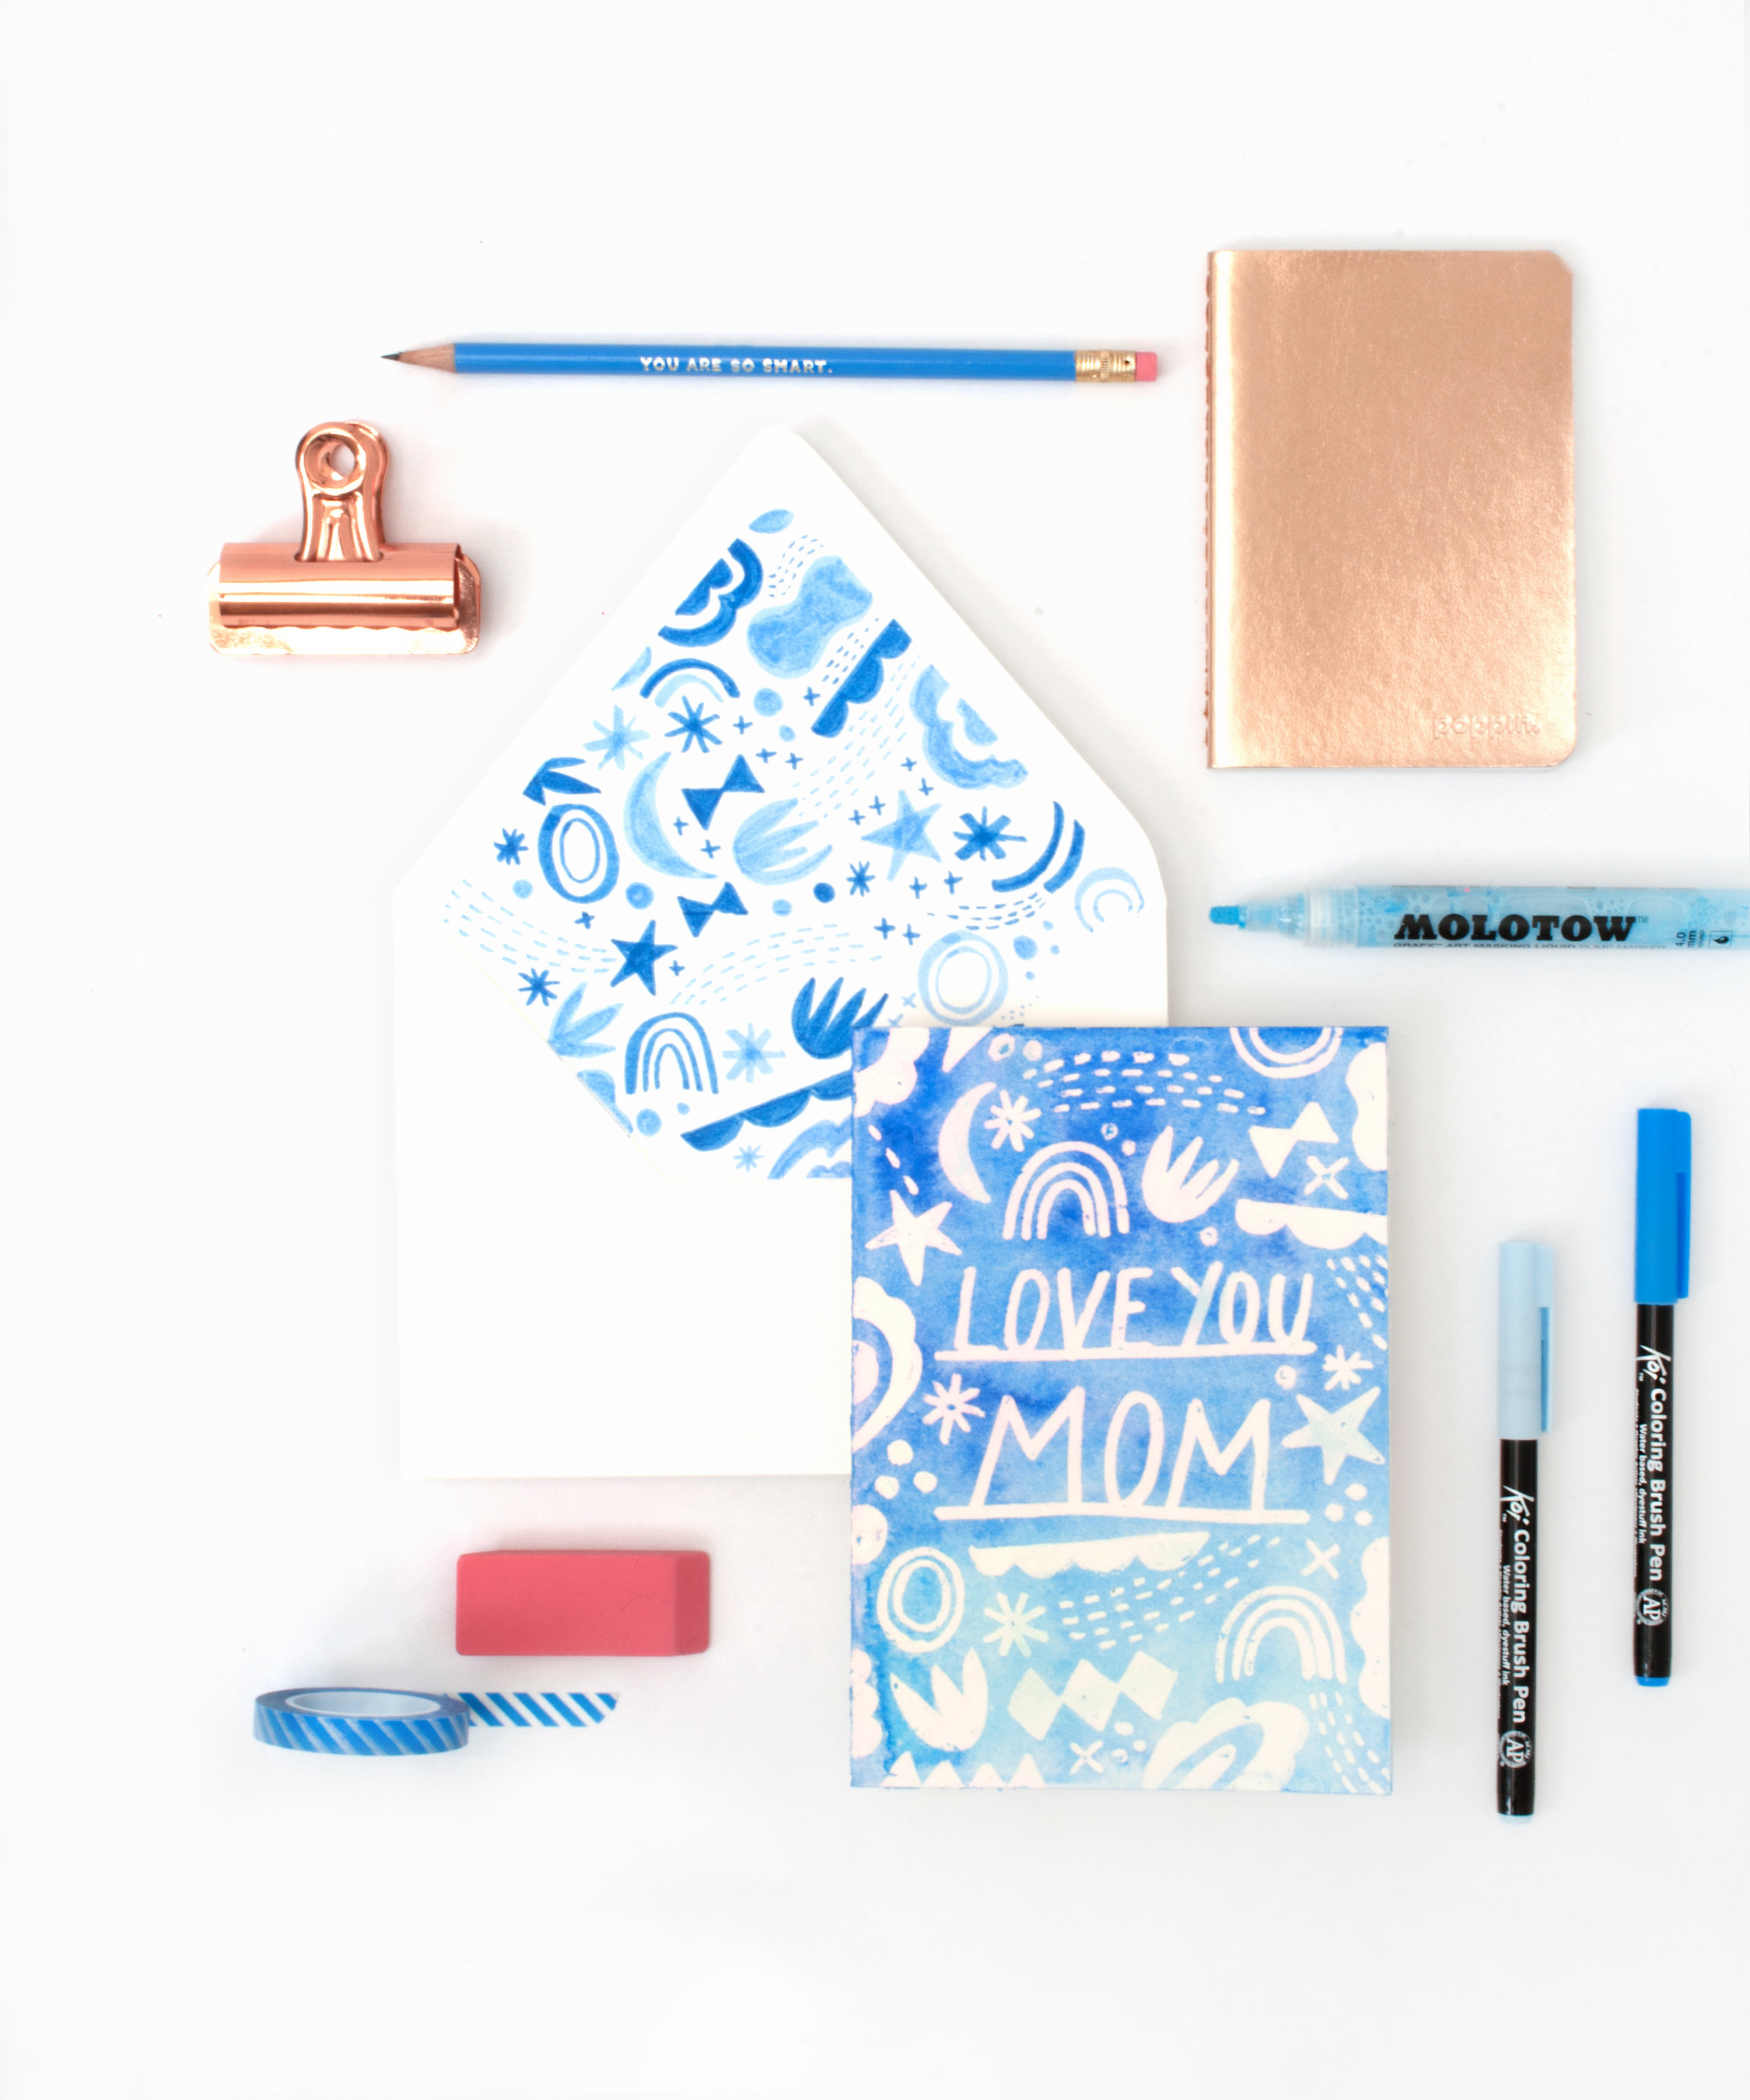
Nothing says I love you like a handmade card. For this project, we used one of our favorite tools, the Molotow Marker, to give it an airy feel that’s both polished and personal. Mom will love it!
Ideas to try: Floral doodles (Love you mom). Vegetable doodles (Mom, I eat my vegetables!). Anchor doodles (Mom, you’re my anchor).
Materials:
- 8.5” x 11” sheet of white cardstock (we recommend multi-media or hot press watercolor paper - a paper suitable for watercolor)
- 4.0 mm Molotow Grafx Art Masking Liquid Pump Marker
- Watercolors
- Container for water
- Brush
- Sakura Koi Coloring Brush Pen or other marker in matching colors
- White eraser (optional)
- Craft knife
- Cutting mat or magazine
- Ruler
- A7 white envelope
Card:
Make your card! Fold a piece of black cardstock in half and using a craft knife, ruler and cutting mat or magazine, cut the card down to 5” x 7”, folded.
Draw two parallel horizontal lines in the middle of your card with the Molotow Marker and the write the message along the two lines. No need to be rigid! Let the pen rule you. We encourage free handing it, but you can always draw it first in pencil (draw very lightly so that you can erase the pencil afterwards).
Doodle shapes around the type with the Molotow Marker. Allow to dry 5 or 10 minutes.
Paint over the entire front of the card with plain water. Using watercolors paint the card. We used two shades of blue to achieve an ombre effect.
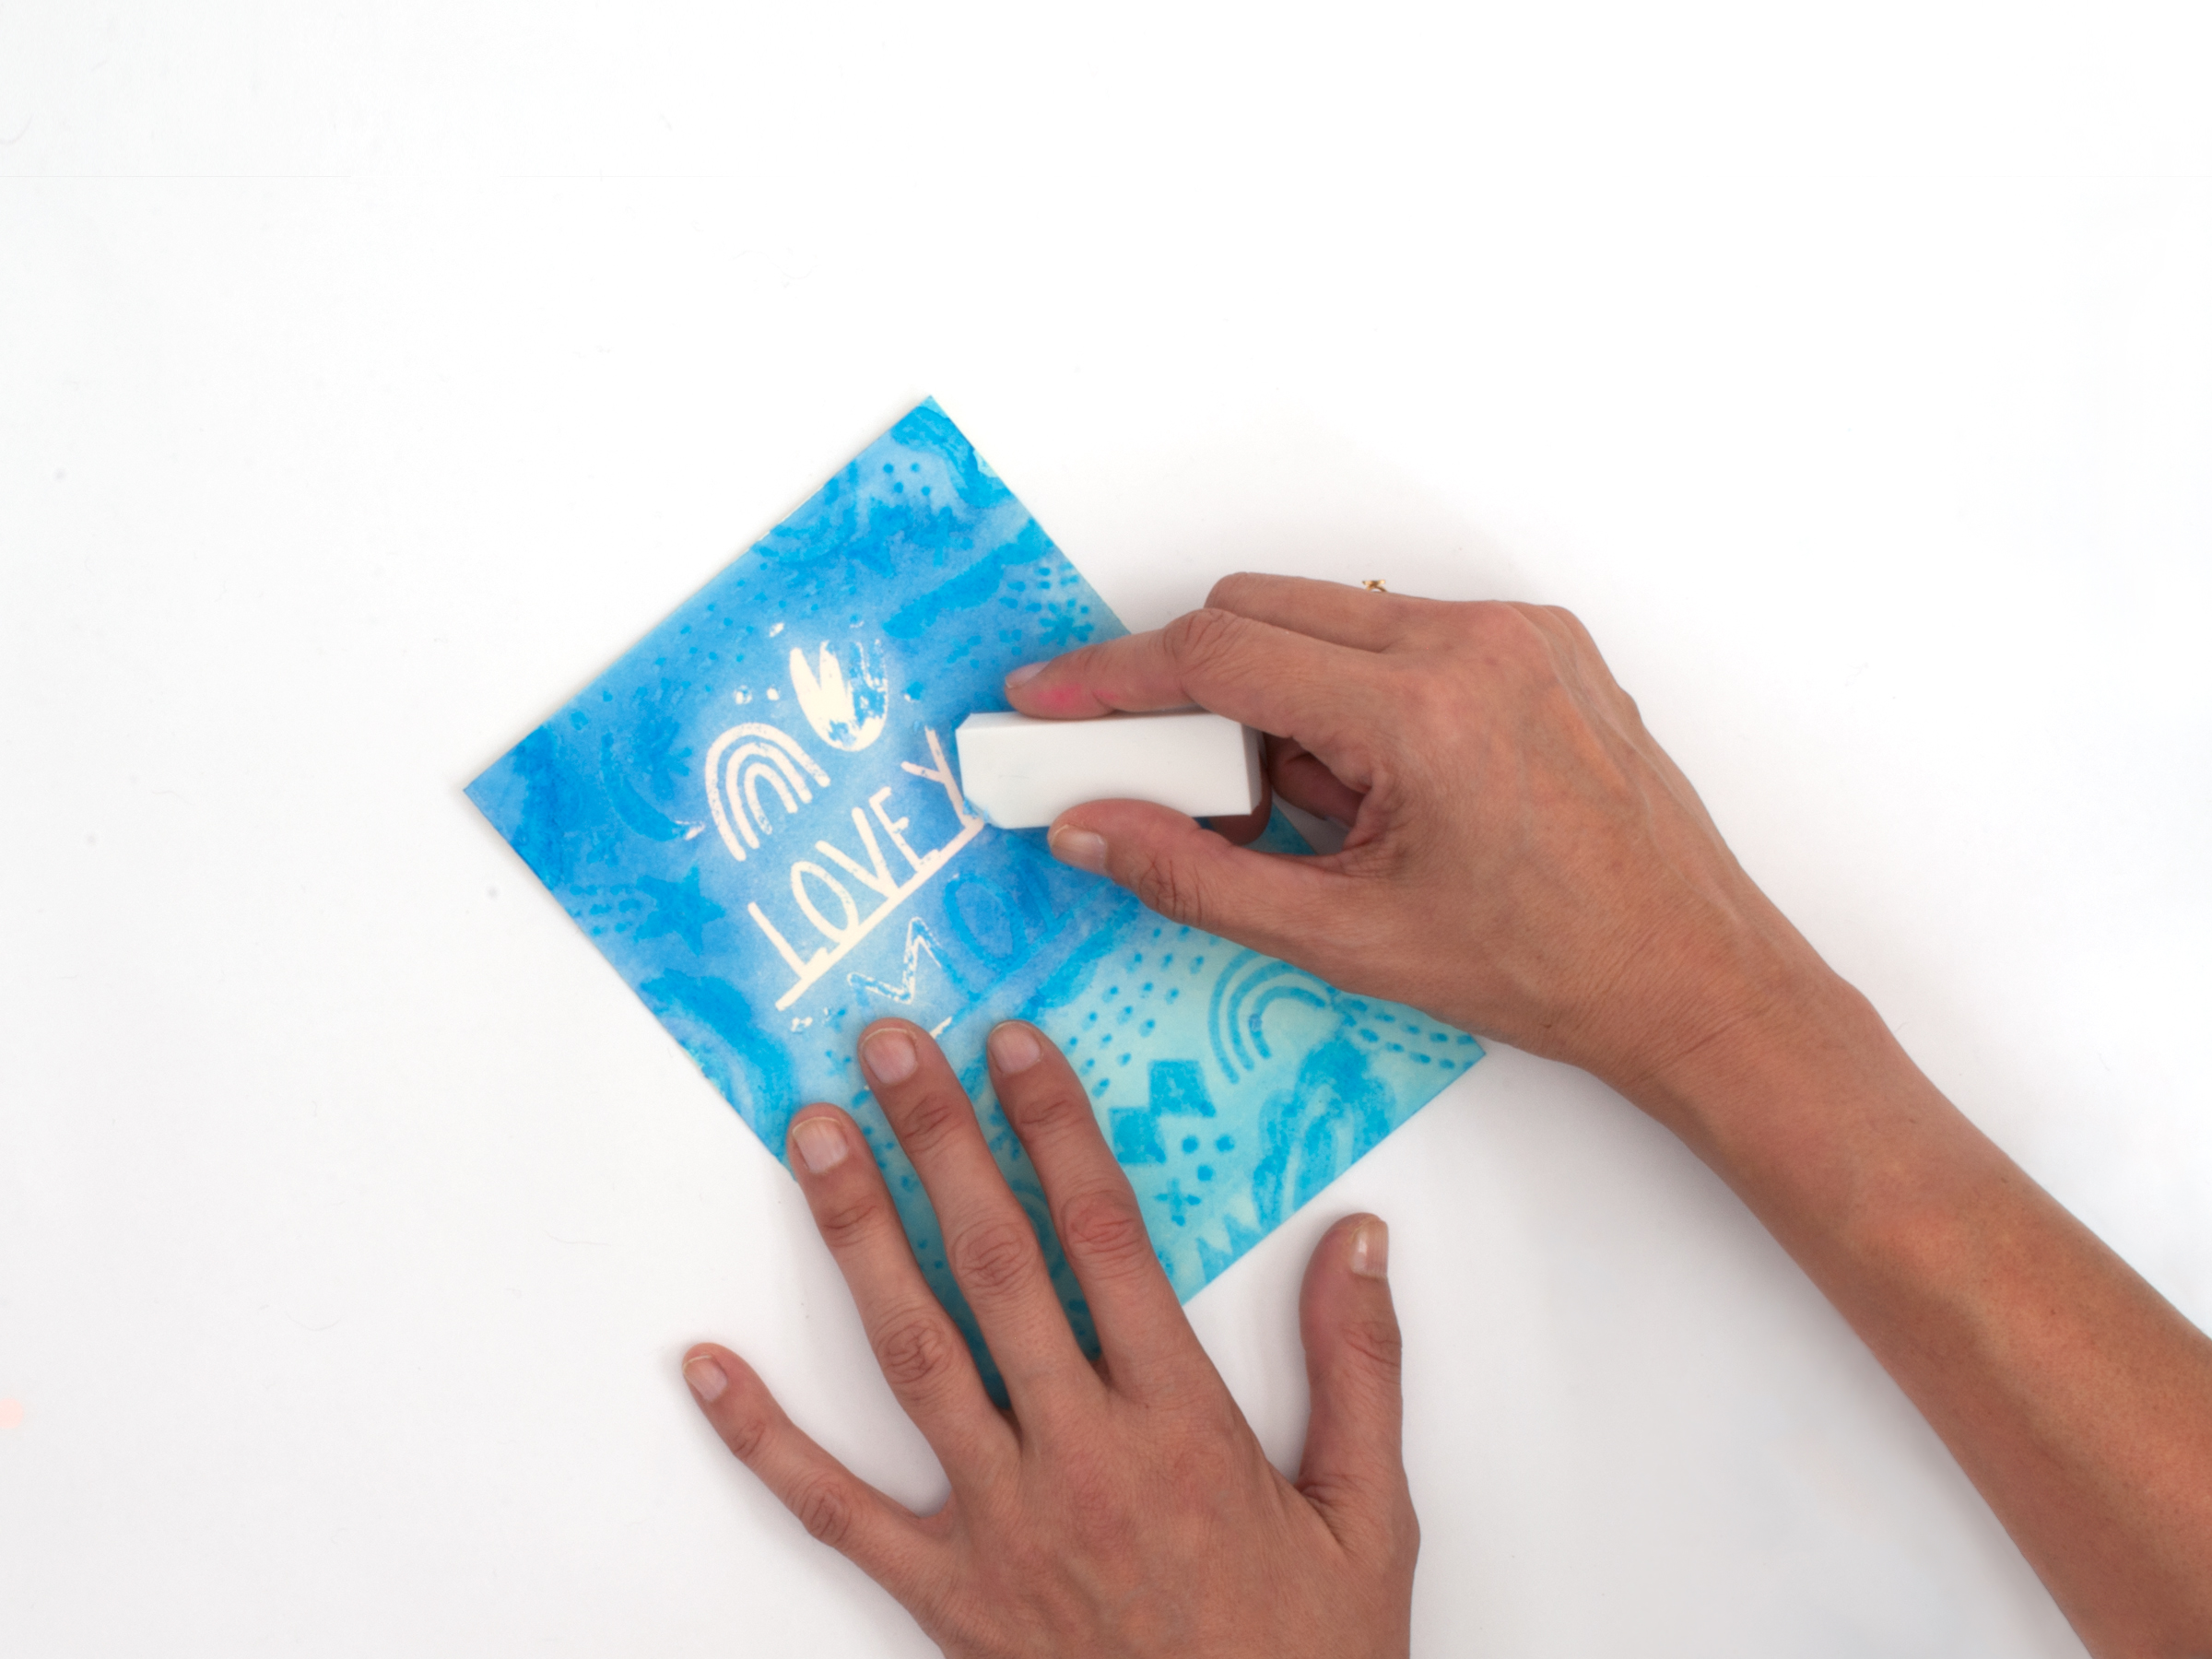
When the watercolor is almost but not completely dry, put the card under a stack of heavy books to make sure it dries flat.
When the card is completely dry, remove the masking fluid by rubbing it with your finger (pro tip: we found that it was faster and cleaner to use a fresh white eraser).
Envelope:
With markers (we used two shades of blue that mimicked the colors on the card) doodle a matching pattern on the inside of the envelope, cutting off the pattern along the glue line of the envelope to create the illusion of an envelope liner.


Learn how to make more projects like this by ordering the book! The book also includes bonus cards, self-mailing letters, and stickers at the back that are inspired by the projects.