
We got super into this animal envelope DIY by Mer Mag Blog. Super easy, cheap, & adorable. Stuff them with candy for the kids, or fill it with a card for your sweetie! Head to Mer Mag for the full tutorial!
Wild & Free: Vintage Map Envelope Liners
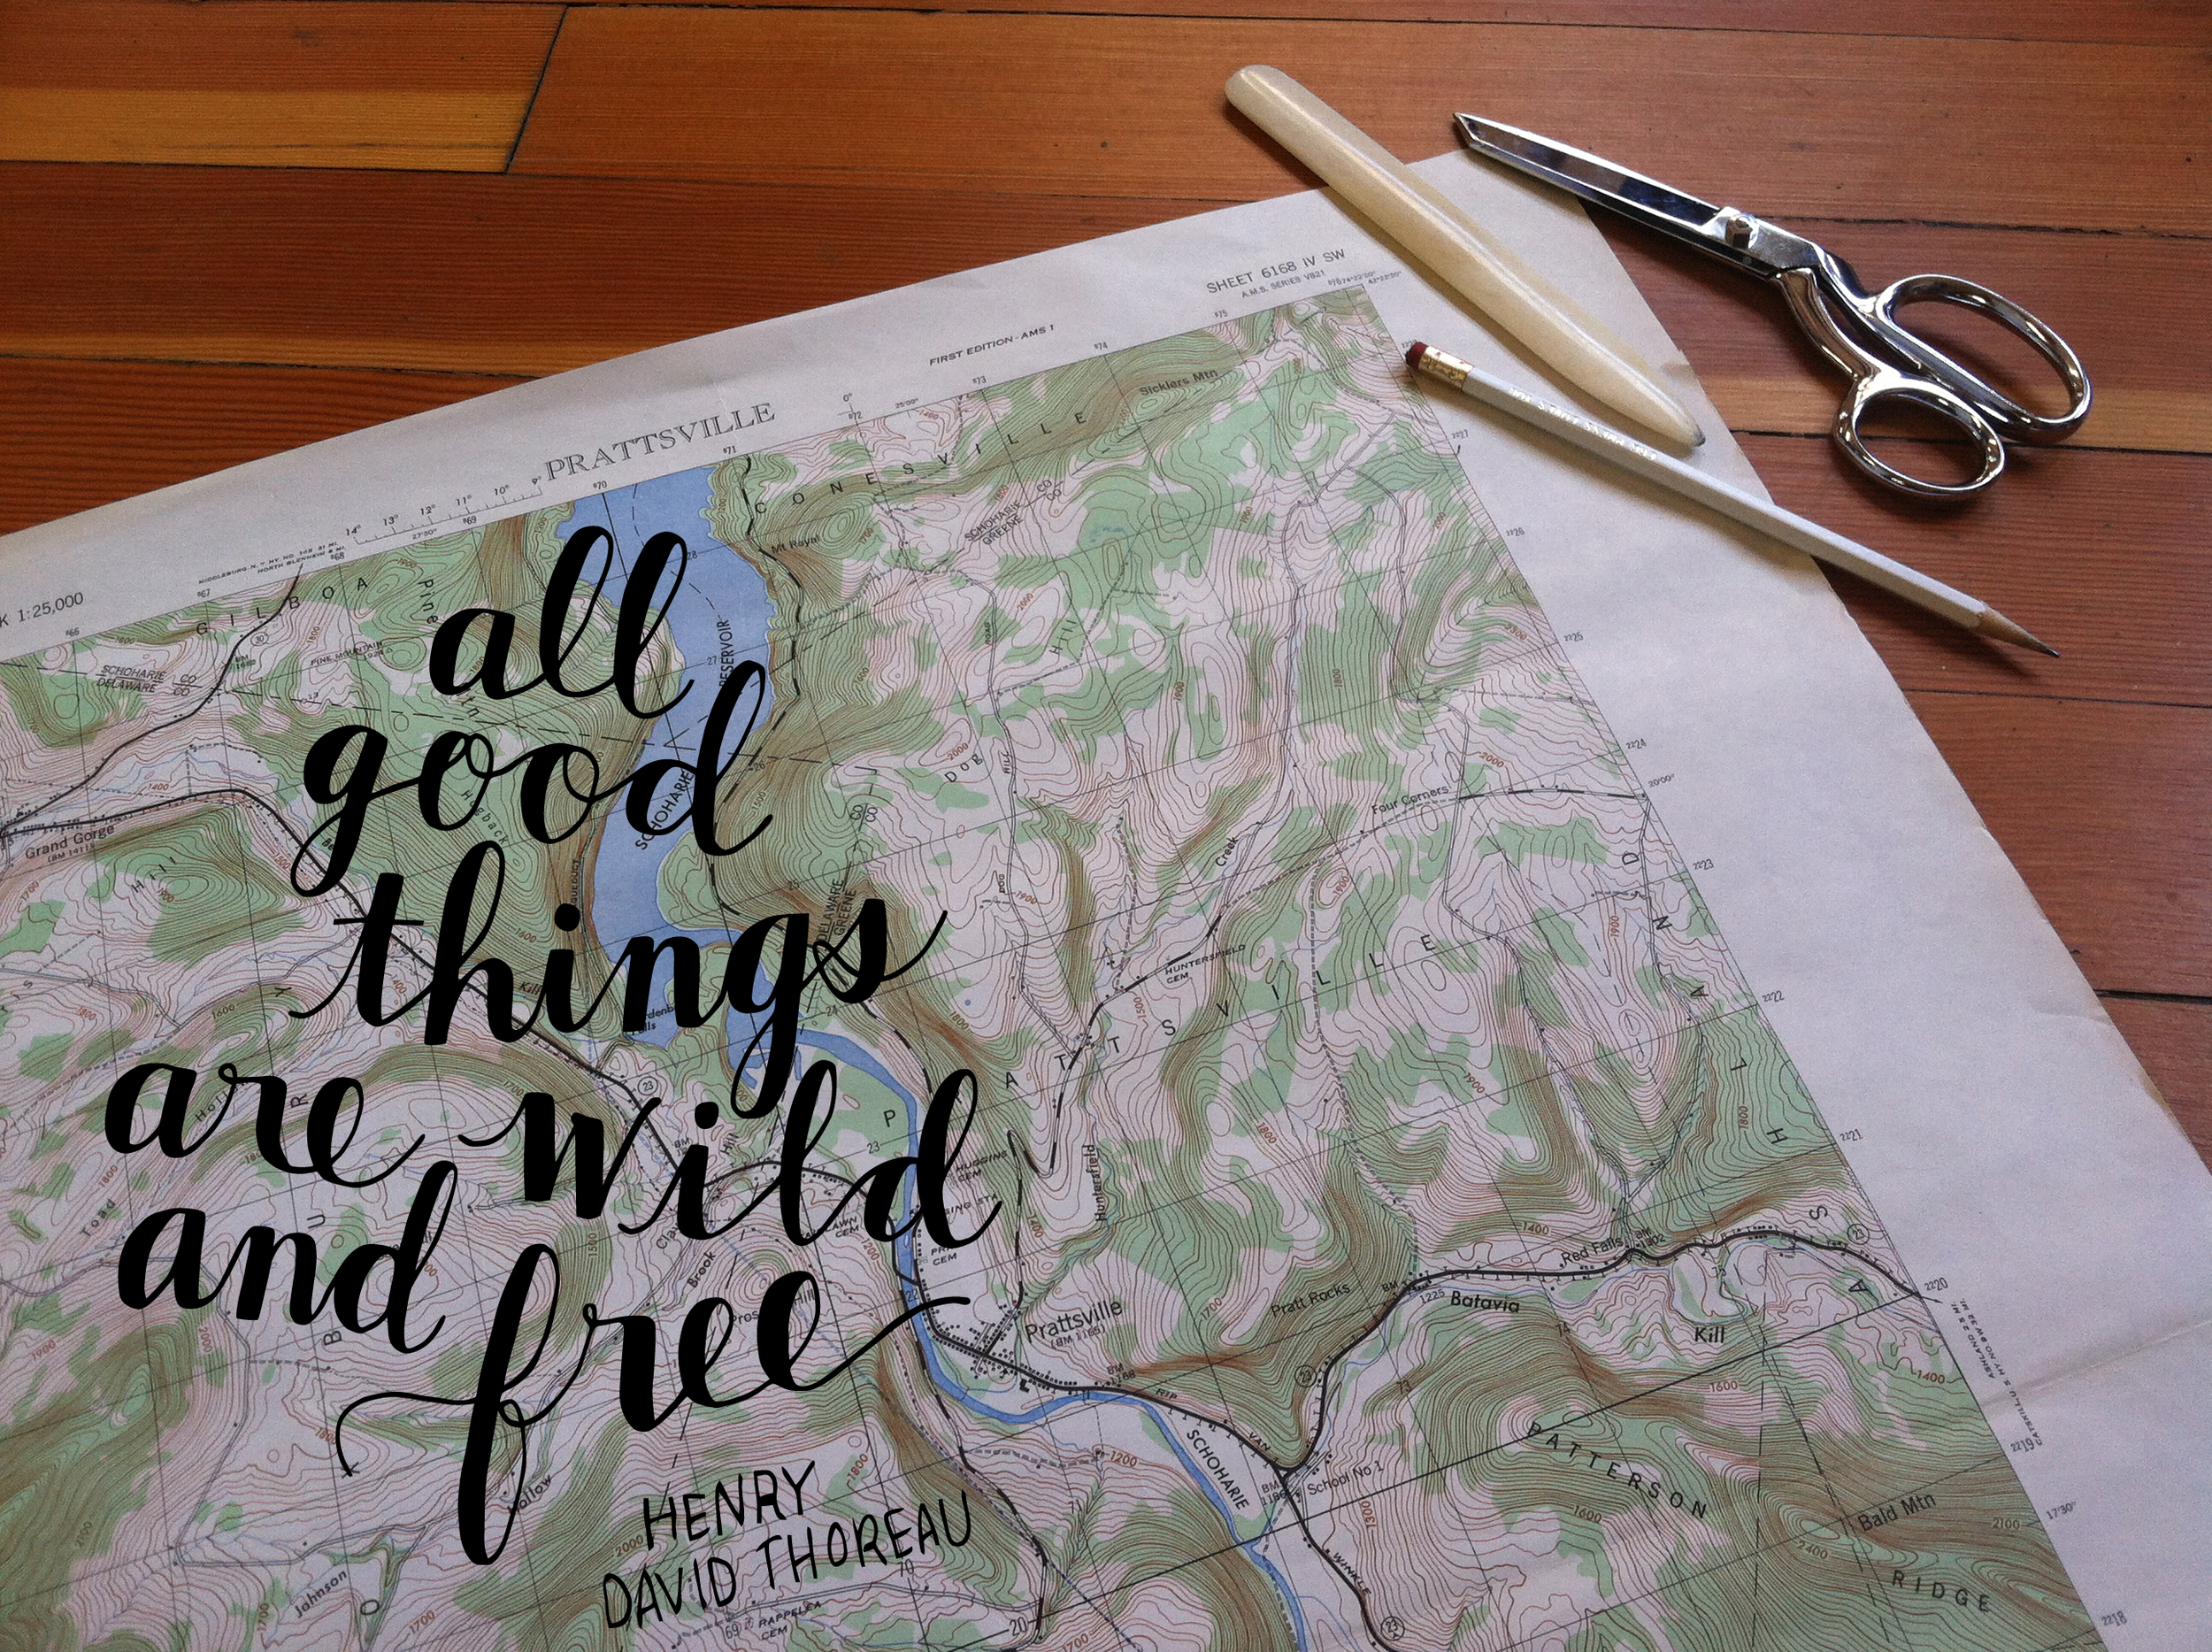
As summer comes to a close, we can't help but reflect on all the adventures that have filled our days for the past few months. In that spirit of adventure, we decided to put some old maps to good use and make envelope liners. Liners are a great way to utilize old magazine pages, scraps of gift wrap or calendars that have served their time.
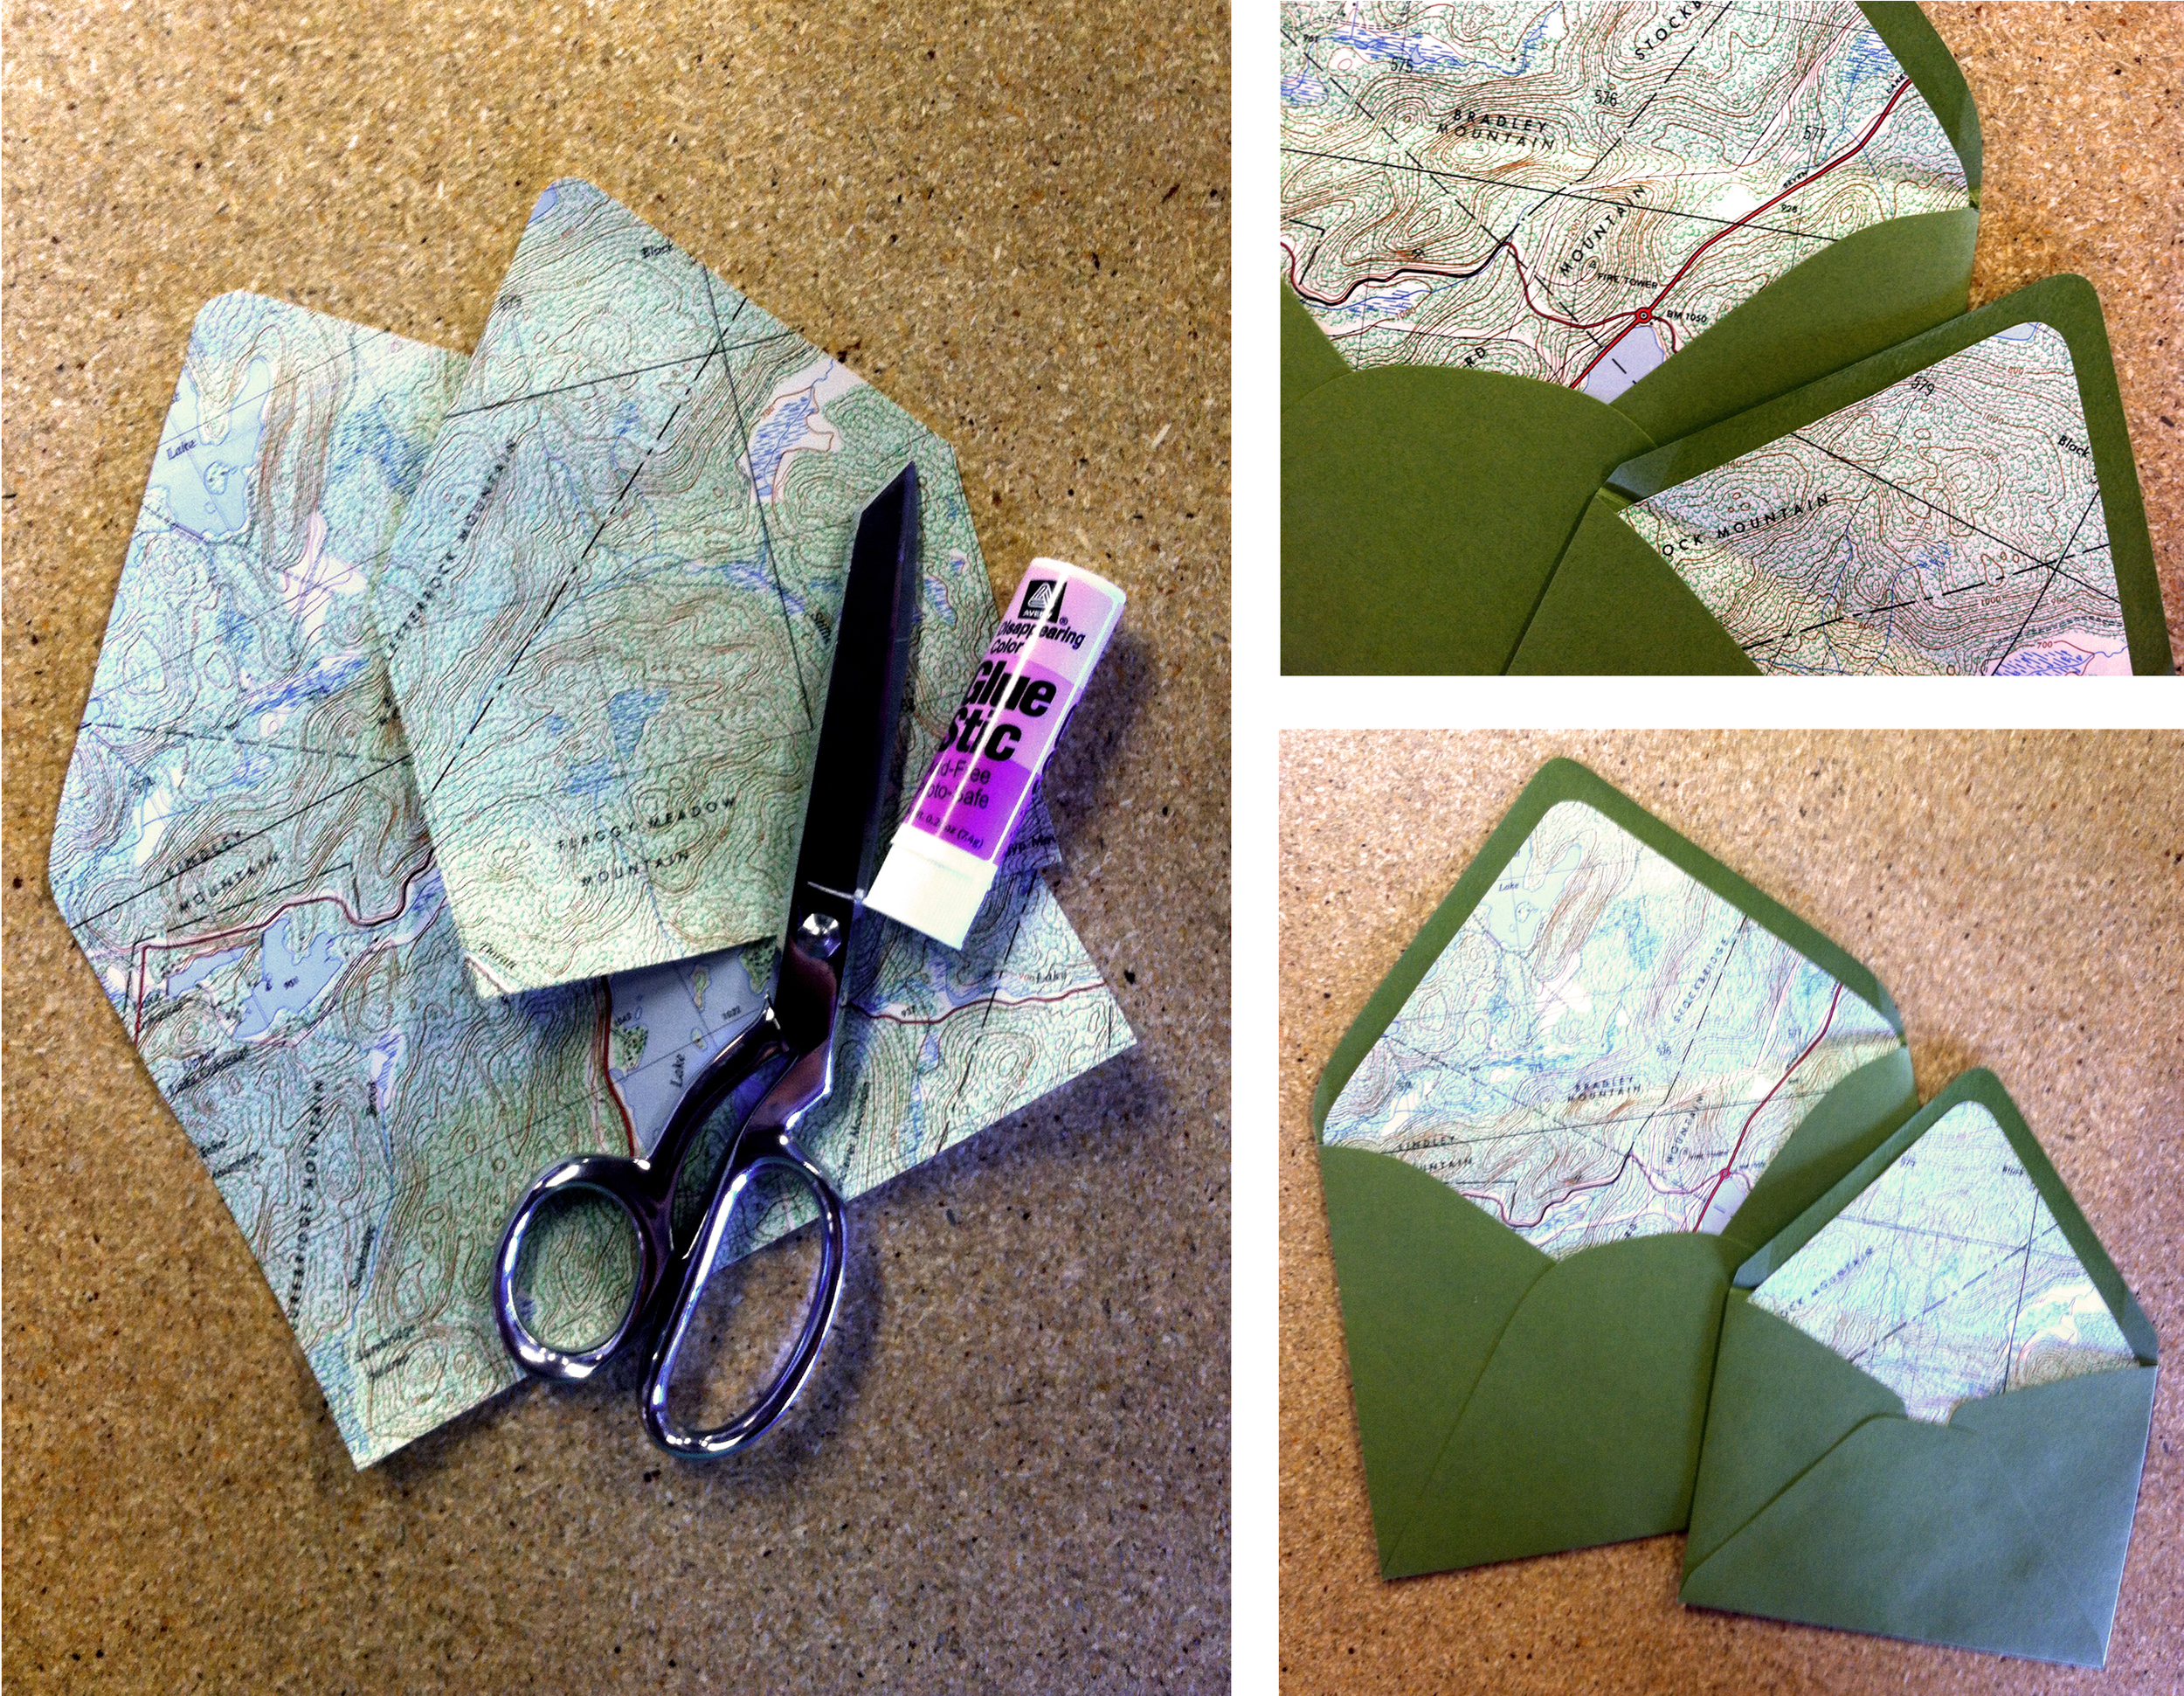
DIY Envelope Liners (Check out our handy how-to video!)
Supplies needed:
Envelopes Paper Templates Scissors Glue stick Bone folder
RitLab at the CJM!

Mark your calendars! This Thursday, December 13th Eunice and Sabrina are hosting a festive and crafty workshop at the Contemporary Jewish Museum. The CJM is known for their fabulous events and spectacular space, so we can't wait to get involved. We'll be offering one-of-a-kind letterpress goodies to design and decorate your very own paper frames. Along with our craft activity, you can tour their new exhibition The Radical Camera: New York's Photo League and get tickets to hear the soothing sounds of the Conspiracy of Beards. Tickets for the event are free for members, or $5 for visitors. The event is from 6-8pm at the Contemporary Jewish Museum, 736 Mission Street in San Francisco. For more information, follow this link. Hope to see you there!

(Photo by Leslie Beteta)
Creative Bug "I made this" Contest

Our friends over at Creativebug have come up with a genius I Made This! Contest that we're certain our Hello!Lucky readers will enjoy. If you like crafting, and if you like Pinterest, then this contest is definitely up your alley. Creativebug is giving away an incredible list of prizes, from memberships to their online workshops, to complete kits of all your favorite projects. Our team is just one of many participants, so there are tons of ways you can get involved. Below is a full list of instructions and just a glimpse of what you can win, but head over to the Creativebug website for more info and terms. Be sure to share your ideas/comments on our blog or on Twitter and Facebook along the way.


To participate in this contest, you must first be following Creativebug on Pinterest, then create a Pinterest board that includes at least 5 projects you have made, or projects on Creativebug that you would like to make, plus an official contest pin from the Creativebug I made this! Contest Board at http://pinterest.com/
To increase your chances of winning, after you build your Pinterest board you can leave a comment on the Creativebug Blog with just your name and email address. You can also visit the blogs of all the Creativebug instructors, and leave a comment on their Creativebug contest posts. Each comment counts as one more entry! (Limit one comment per blog though.) Here's the list of my participating Creativebug pals:
Improv Sewing http://www.improvdiary.com
Rebecca Ringquist: http://www.drop-cloth.
Jody Alexander: http://wishiwashistudio.
Liesl Gibson: http://oliverands.com/blog/
Jill Draper: http://jilldraperblogs.
Cal Patch: http://hodgepodgefarm.net/
Rad Megan: http://radmegan.blogspot.com
Natalie Chanin: http://alabamachanin.com/
Courtney Cerruti: http://www.papermusingsblog.
Megumi Inouye: http://giftwrapbymegumi.
Heather Ross: http://heatherross.
To read the full page o' rules, click here http://blog.creativebug.com/imadethis-terms , but in the meantime, start pinning!
Good luck everyone!
DIY Patterned Papers: Favors

We're feeling a lot of love for our new DIY Collection and one of our most exciting additions is the selection of patterned papers that match your favorite wedding suites. The papers, all 8.5 x 11" and printed on smooth, 80-lb text weight paper are the perfect way to add finishing touches on your big day, from paper drink flags to napkin rings. To add to our series of DIY wedding crafts, we're bringing you easy and adorable paper favors. These can also be doubled as place cards or escort tags!


These mini paper bags are the simplest way to provide favors for your guests, but there are many ways you can dress them up to match your decor. You can find them in various colors at your local craft supply store, and they come in large and small sizes. They make the perfect grab bag for a casual wedding filled with local treats or handmade gifts. Instructions below!

Mini cardboard boxes may be the most traditional wedding favors around, but they are as versatile as they are practical. We wrapped our patterned paper around them and secured with a label or ribbon to make them match. If you want to get extra crafty, you can even make a favor box out of the patterned paper! Use this favor box template to trace.

And last but not least are these easy tea bag tags. You can wrap them to almost any object, and they can be dressed up or dressed down with some fancy calligraphy or alphabet stamps. Use this favor tag template for easy tracing.

Paper Bags:
Materials: 3.5" x 2" x 6.75" Paper Bags, Patterned Paper, Glue, 1/8" Hole Punch, Ribbon or Twine, Scissors
How To: Cut your patterned paper into 2.5" x 3.5" rectangles. Insert your favor into the bag and fold the top 1.25" down toward the back. Fold your patterned paper in half (the long way - or hot dog style!) Apply some glue to the back side of your patterned paper and stick to both sides of the folded bag. Punch a hole 1.5" from both sides. Loop your ribbon or twine from the back and tie a square knot or bow. Cut the ends of the ribbon at 45 degree angles.
Adhesive Labels:
Materials: 3.5" x 2" x 6.75" Paper Bags, Patterned Paper, Glue, Label Paper, Washi Tape or Stickers
How To: Cut your patterned paper into 2.75" x 3.5" rectangles. Glue to your paper bag. Print a 2.25" x 3" label on label paper and stick on top of your patterned paper. Stuff with a favor and fold 1" from the top. Seal with washi tape or a sticker.
Mini Cardboard Box Wrap:
Materials: 3" x 3" x 2" Boxes, Patterned Paper, Glue or Double-Sided Tape, Label Paper or Ribbon
How To: Cut a 1" x 11" or 1.5" x 11" strip of patterned paper. Wrap around the box and secure with double sided tape or glue. Add a personalized label or piece of ribbon and tie.
Mini Paper Favor Box:
Materials: Patterned Paper, Pencil, Scissors, Glue, Template
How To: Cut out the template with scissors and trace onto the back of your patterned paper. Cut with scissors and fold in places of dotted lines. Apply glue on the two labeled tabs and fold pieces together so the "top" and "bottom" squares are in place.
Tea Bag Tag:
Materials: Patterned Paper, Scissors or Craft Knife, Pencil, Ruler, 1/8" Hole Punch
How To: On the back of your patterned paper, draw a 2" x 3.5" rectangle with a pencil and ruler. Cut out with scissors or craft knife. Cut 1/2" corners off the ends of one side. Punch a hole 1/2" from the top and 1" from the sides to center. Loop with ribbon or twine and tie to your favors! Use this handy template for easy tracing!
Shop all patterned papers here, and to view more paper DIY projects, visit our website!
Creativebug Video Shoot

Earlier this summer we were in and out of the Creativebug studios shooting four different craft video tutorials, the first of which debuts on their site today!

Creativebug is a new website dedicated to online art and craft instruction. They offer high quality video workshops on almost any topic - from pottery to bookbinding. They have some amazing crafty superstars in their lineup already and we're totally honored to have been asked to be instructors. Right now you can take classes from people like Diana Fayt, Natalie Chanin, Debbie Stoller, and others - check out the complete list of instructors here. They're constantly adding new videos and teachers to the site so be sure to check back often.

Our videos are focused on crafts to make for parties and can be adapted for any size event from a big wedding to a small birthday gathering. We had lots of fun shooting them and we hope you check them out! You can view our trailer and tutorials here.

Thanks to the amazing team at Creativebug for making the experience such a great one. We can't wait to shoot more!
Kayte Terry and Paper Made!

We're thrilled that one of our favorite artists and authors will be visiting the bay area this week for a stop on her book tour. Kayte Terry will be at the Contemporary Jewish Museum this Thursday, May 24th to lead one of the museum's Rit Lab events. At this Rit Lab Kayte will be leading people through some paper crafts from her new book Paper Made!

Just look at these adorable projects.

These fans would be perfect for summer weddings and programs.

Did we mention Kayte also works for Anthropologie and is responsible for some of those beautiful window displays you've no doubt stared at in wonder.
Meet Kayte, check out her new book, eat some cheese, and craft. Sounds like a perfect Thursday evening to us. Details and tickets can be found here.
Don't live in the Bay Area? Check out Kayte's schedule here to see if she'll be in your city soon.
Studio Shapshot: New Window Display

It's a beautiful day for a new window display! We decided to get crafty and enlarge our San Francisco Skyline into full-sized window art. Throughout the process we learned first hand that paper cutting is a true test of patience and craftsmanship. First, we drew the skyline on 3 full sheets of pool colored text weight paper. Then with a ruler and craft knife, carefully followed the lines revealing our cityscape.

The bridges were definitely the most difficult, but they are the most iconic!
 Double-sided tape did the trick - we hung the skyline so it greets the passers-by on Howard Street.

The final product! What do you think? We had so much fun paper cutting this skyline we also made an SFMade sign which Jon is holding here. Can you tell we're getting excited for our big event tomorrow?

Stewey's Knitted Coasters
 Do you have extra yarn laying around from unfinished craft projects? Take a tip from Stewey who turns his yarn scraps into colorful coasters for the cast of Hello!Lucky. Knitting is a bit daunting for Stewey, so to get practice and keep things manageable he whips out these small practice squares. It's a great way to use up extra yarn while preventing coffee and other drinks from making a mess on any pretty H!L stationery. And we love all the pops of color these sweet coasters bring to our desks!
Spring DIY: Paper Flower Wreath

Spring may be a time to get organized, but we think it's a great time to bust out the dusty craft bins and get creative! There's no better feeling than recycling something disposable and transforming it into something worth saving. We know you're left with all those leftover holiday cards and wrapping papers, so this is the perfect opportunity to put them to good use! This lovely wreath from our book Handmade Weddings (published by Chronicle Books) uses a variety of found papers, including patterned paper scraps, kraft paper, glassine, tracing paper, and graph paper. This colorful wreath is perfect as a welcome sign at a wedding or party, or to adorn your front door as a welcome sign for Spring!
Materials
Makes 1 wreath
• 15 to 20 sheets assorted scarp papers e.g., construction paper, kraft paper, graph paper, tissue paper
• 30 to 40 colorful 1/4-inch brads
• Four 18-inch pieces floral wire (optional)
• One roll floral tape (optional)
• 1/4 yard scrap fabric
• 18-inch cardboard or particleboard wreath form
• Paper clip (optional)
• 1 to 2 pieces scrap cardboard or foam core
• 1 sheet text-weight paper (optional)
Tools
• Paper Flower templates (available here)
• Pencil
• Scissors
• Small flower punches
• 1/8-inch hole punch
• Hot glue gun and glue sticks
• One 1 1/2-inch Styrofoam ball (optional)
• Inkjet printer, with extra ink cartridges (optional)
How to
1. Make your flowers.
For flat flowers: Cut out the Paper Flower templates. Trace them onto patterned scrap paper, and cut out with scissors. Fold the flowers along the center axis of the petals to add dimension. You can also fringe the petals or crinkle flowers made of tissue to add depth. Punch small flower shapes for the flower centers. Stack several flower designs on top of each other, and punch a hole in the center. Insert a brad into the center and flatten the ends. Repeat to make as many flowers as desired.
For cupped petal flowers: Cut out the Petal template. For each flower, trace the template four times onto graph paper or another text-weight paper. Cut the petals out. Slide a 6-inch length of floral wire into an unopened brad so that the brad grips firmly and the round end faces up. Fold the base of the petal into an M shape, position on the wire, and affix with a dab of hot glue. Place the next petal, and repeat until all four petals are in place. Wrap the petal bases with a strip of floral tape. Repeat to make as many flowers as desired.
For tissue paper flowers: For each flower, cut four 1 1/2-×-4-inch strips of tracing paper or tissue paper. Place a piece of tissue, long side facing you, on your work surface. Center the Styrofoam ball on the paper, wrap the long ends up, and twist the ends to hold them in place. Trim the twisted ends with scissors and remove the ball, creating a cupped petal. Repeat to create four petals per flower. Slide a 6-inch length of floral wire into an unopened brad so that the brad grips firmly and the round end faces up. Position a petal on the wire, and tape it in place with a strip of floral tape, wrapping it around the wire a few times. Place the next petal and repeat until all four petals are in place. Repeat to make as many flowers as desired.
2. Prepare your wreath form. Cut your fabric into 3-inch-wide strips. Hot glue one end of a strip to the wreath form, and wrap it around the wreath until you run out of fabric. Glue the fabric end down and continue with a new strip until the wreath is completely covered. Avoid covering the hole in the wreath (for hanging). If desired, flatten a paper clip into an S shape and insert it into the hole, to be used as a hook when you are ready to hang your wreath.
3. Attach your flowers. Arrange your flowers in a wreath shape on your work surface. When you are happy with their placement, begin hot-gluing them to the form. To create depth, cut out several 1/2-inch squares of cardboard or foam core and affix these to the wreath form before gluing a flower on top, so that these flowers are slightly raised.
4. Add a sign (optional). If desired, lay out a sign such as “Welcome!” or your names and wedding date using a wordprocessing program and printing on text-weight paper, or write the sign by hand. Attach to the wreath using a dab of hot glue.
For more fun DIY ideas, visit our website here!
Wedding DIY: Heart Shaped Programs

Add a sweet handmade element to your wedding with these heart shaped programs from our book Handmade Weddings published by Chronicle Books. These adorable programs double as fans for an outdoor summer wedding. They're also the perfect compliment to the Big Day wedding suite!
Materials
Makes 100 programs
• Two hundred twenty-two 8 1/2-×-11-inch sheets red card stock
• 100 wood fan handles
Tools
• Heart-Shaped Program template (available online here)
• Font: Strangelove Text
• Laser or inkjet printer, with extra ink cartridges
• Scissors
• Pencil
• Double-sided tape gun and extra tape (we recommend the 3M Scotch ATG 700 Transfer Tape Dispenser), or glue sticks
How to
1. Customize and print your programs. Customize your program text using the online template. Print 110 copies onto red card stock using a laser or inkjet printer (10 copies are for inevitable mistakes when cutting). Using scissors, cut each program into a heart shape, following the outline on the template and being careful to cut inside the line so the outline doesn’t show.
2. Assemble your programs. Place your hearts back-to-back. Try to pair up hearts that match each other as closely as possible, as there will be some inconsistencies due to the hand cutting. Once you are happy with your pairings, take the first two hearts and lay them side-by-side, right-sides down, on your work surface. Center a fan handle on one of the hearts, left to right, and position it vertically so that the top 6 inches of the handle lie inside the heart, and the bottom 3 inches lie outside of it, forming the handle. Dispense glue or double-sided tape on one side of the top 6 inches of the handle and press into place (figure 1). Dispense glue or double-sided tape along the heart-shaped areas of the same heart as well as the second side of the handle. Align the second heart, right-side up, over the glued side and press down firmly (figure 2). Repeat for all programs.
Variations
Paddle fans, as these types of fans are known, can be made in any shape—a circle, oval, square, rounded square, egg, leaf, or traditional fan shape (resembling a quarter circle). If you have a longer ceremony, you can print on both sides of the fan, adding a bit of decorative flourish along the borders.
Destination: Craftgawker

How fantastic is the website Craftgawker?! If you haven't visited the site yet, you must! Craftgawker is a visual web gallery of craft tutorials and DIY projects composed by user submissions. It's the ultimate destination for endless hands-on activities of all types, and we can't get enough. From perfect holiday how-to's to accessorizing your everyday wardrobe, you'll find yourself digging through closets and bins and busting out your scissors and glue! Above are some of our favorites, and are on the top our list for the holidays. Happy crafting!
From top left, clockwise: Gothic Ring, Wire Tree, Holly Pillow, Scarf Flats
Craft Bar Event at MOCFA

Tonight's Craft Bar event at The Museum of Craft and Folk Art is going to be a total blast! Every first Thursday of the month the MOCFA invites local Etsy artists to come participate in a craft night - complete with materials, tutorials, and beer! For just $10 you can go home with some adorable felted wool penguin buddies and handmade holiday cards! Artists Jackie Huang and Rigel Stuhmiller will be there offering hands-on help to all of you first timers. It's completely kid friendly so bring the family!

The event lasts from 6-8pm and is located at 51 Yerba Buena Lane in San Francisco. Don't miss it!
DIY Paper Quilt!

We can't believe this beautiful paper quilt was crafted entirely out of misprints and unsellable papers from Linda & Harriett's deliciously patterned calendars. Gorgeous and green!

We're always looking for new ways to use scraps of paper and old letterpress samples (too pretty to toss away!) and this just might be in the mix for our next craft night.
New Uses for Paint Swatches

If you haven't seen them scattered around design blogs yet, check out these paint swatch boxes from How About Orange! What a perfect wedding favor box!

You can customize them to match your wedding colors! Oh, the possibilities...

Take a peek at their other tutorial projects here.

Sewn paint swatches as napkin/silverware holders from Sew Many Ways. These would make for an adorable table setting.

If you're really up for a challenge, try this Paint Swatch Wall Decoration from Design*Sponge! It's sure to impress!
Happy crafting!