Real Wedding: Haley and James

This real wedding was introduced to us by our wholesale manager, Heather. She shared these images of her friends Haley and James' California wedding and we were immediately overcome with giddy wedding bliss. From all the perfect DIY details to the pure beauty of the bride and groom, this wedding is simply magical.

We must start off with the colorful photography by multi-talented Kate Miss. Her blog is a great source of inspiration so we were excited to hear she was the photographer at this wedding. Next, how about these amazing life sized tissue flowers? It sets the perfect backdrop for an already beautiful venue (Northstar in Tahoe, CA). Full instructions can be found over at Design Sponge.

One of our favorite details has to be the yarn wrapped vases that the bride and her bridesmaids made from our Handmade Weddings book. Since Haley and James' wedding day was all about color, they fit in nicely amongst the rest of the display.

Isn't this a good looking group of women? All the bridesmaids dresses are vintage. Love how the colors of the dresses coordinate with the decor!

The brides beautiful dress was custom made by San Francisco based designer Kajan Padraig. We love the delicate lace sleeves!

This is what weddings are all about. Having fun with your loved ones.

Thanks to Heather for sharing these photos and thanks to the bride and groom for representing our yarn wrapped vases! We truly love to see our projects come to life. For more photos, head over to Kate Miss' blog For Me, For You.

Photography by Kate Miss

DIY Patterned Papers: Favors

We're feeling a lot of love for our new DIY Collection and one of our most exciting additions is the selection of patterned papers that match your favorite wedding suites. The papers, all 8.5 x 11" and printed on smooth, 80-lb text weight paper are the perfect way to add finishing touches on your big day, from paper drink flags to napkin rings. To add to our series of DIY wedding crafts, we're bringing you easy and adorable paper favors.  These can also be doubled as place cards or escort tags!

These mini paper bags are the simplest way to provide favors for your guests, but there are many ways you can dress them up to match your decor. You can find them in various colors at your local craft supply store, and they come in large and small sizes. They make the perfect grab bag for a casual wedding filled with local treats or handmade gifts. Instructions below!

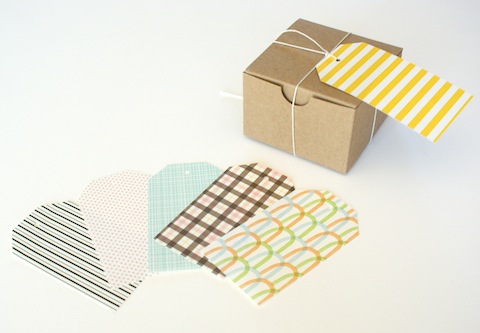
Mini cardboard boxes may be the most traditional wedding favors around, but they are as versatile as they are practical. We wrapped our patterned paper around them and secured with a label or ribbon to make them match. If you want to get extra crafty, you can even make a favor box out of the patterned paper! Use this favor box template to trace.

And last but not least are these easy tea bag tags. You can wrap them to almost any object, and they can be dressed up or dressed down with some fancy calligraphy or alphabet stamps. Use this favor tag template for easy tracing.

Paper Bags:

Materials: 3.5" x 2" x 6.75" Paper Bags, Patterned Paper, Glue, 1/8" Hole Punch, Ribbon or Twine, Scissors

How To: Cut your patterned paper into 2.5" x 3.5" rectangles. Insert your favor into the bag and fold the top 1.25" down toward the back. Fold your patterned paper in half (the long way - or hot dog style!) Apply some glue to the back side of your patterned paper and stick to both sides of the folded bag. Punch a hole 1.5" from both sides. Loop your ribbon or twine from the back and tie a square knot or bow. Cut the ends of the ribbon at 45 degree angles.

Adhesive Labels:

Materials: 3.5" x 2" x 6.75" Paper Bags, Patterned Paper, Glue, Label Paper, Washi Tape or Stickers

How To: Cut your patterned paper into 2.75" x 3.5" rectangles. Glue to your paper bag. Print a 2.25" x 3" label on label paper and stick on top of your patterned paper. Stuff with a favor and fold 1" from the top. Seal with washi tape or a sticker.

Mini Cardboard Box Wrap:

Materials: 3" x 3" x 2" Boxes, Patterned Paper, Glue or Double-Sided Tape, Label Paper or Ribbon

How To: Cut a 1" x 11" or 1.5" x 11" strip of patterned paper. Wrap around the box and secure with double sided tape or glue. Add a personalized label or piece of ribbon and tie.

Mini Paper Favor Box:

Materials: Patterned Paper, Pencil, Scissors, Glue, Template

How To: Cut out the template with scissors and trace onto the back of your patterned paper. Cut with scissors and fold in places of dotted lines. Apply glue on the two labeled tabs and fold pieces together so the "top" and "bottom" squares are in place.

Tea Bag Tag:

Materials: Patterned Paper, Scissors or Craft Knife, Pencil, Ruler, 1/8" Hole Punch

How To: On the back of your patterned paper, draw a 2" x 3.5" rectangle with a pencil and ruler. Cut out with scissors or craft knife. Cut 1/2" corners off the ends of one side. Punch a hole 1/2" from the top and 1" from the sides to center. Loop with ribbon or twine and tie to your favors! Use this handy template for easy tracing!

Shop all patterned papers here, and to view more paper DIY projects, visit our website!

DIY Patterned Papers: Envelope Liners

DIY Envelope Liners from Hello!Lucky on Vimeo.

Do you remember our How To Assemble Your Wedding Invitations video? Well we had so much fun making it we just had to come up with more. With the launch of our new DIY Collection this is the perfect time to debut the first in a series of DIY Paper Details stop-motion videos. All videos were styled, directed, and filmed right here in our San Francisco studio and we couldn't be more excited to share them with you! Today we have DIY Envelope Liners. Using our bulk patterned papers and envelope liner templates, you can add these easy and cheerful liners to your wedding invitations in no time. Watch the video for full instructions or see below!

Lined Envelopes

To save time, photocopy this template onto the back of each of your patterned paper sheets and cut out each envelope liner (skip to Step 4).  If you don’t have access to a photocopier, follow the steps below to create your own template to trace.

You’ll Need:

DIY Envelope Liner Template, Printer, 1 sheet cardstock, 8.5 x 11” (US) or A4 (UK), Ruler, Bone folder or a butter knife, Cutting mat or a magazine, Craft knife, Scissors, Pencil, Patterned paper (1 sheet per envelope), Envelopes, Glue Stick

How To:

1. Print out this template on cardstock. Make sure your printer is set to 100% (or, “no scaling”) to ensure that the template prints to scale. 2. Using a ruler, craft knife, and cutting mat, cut out the envelope liner template. Use scissors to trim the rounded end. Hold the template up to your envelope to make sure it’s the right size - envelope liners need to slip neatly into the envelope and should align with the envelope flap but not cover the glue. If needed, adjust the template using your printer’s scaling options. 3. With a pencil, trace the envelope liner template onto each sheet of patterned paper. 4. Using a ruler, craft knife, and cutting mat, cut out the envelope liner. Use scissors to trim the rounded end. 5. Fold the flap down to crease the envelope liner, approximately where it says “fold here” on the template. With the flap portion of the liner folded down, apply glue. Fold the envelope flap down and smooth to secure.

For more pretty paper projects, head over to the DIY section of our website, here!

DIY Card Stands

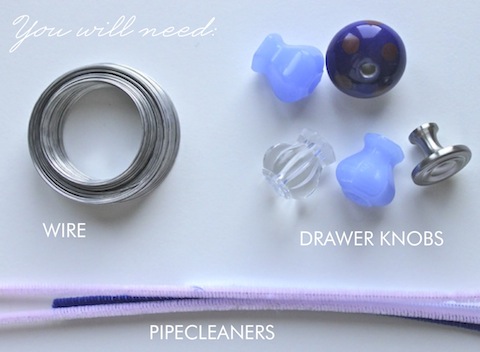
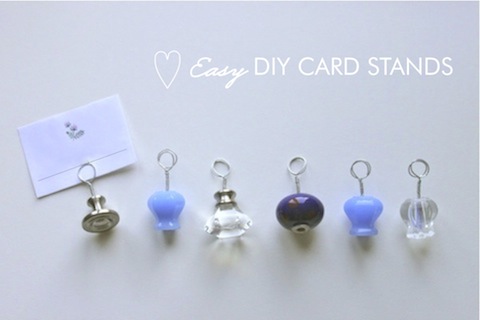
These super simple and easy to make card stands are the perfect pick-me-up to any table display. We love the quirky drawer knobs found at local antique shops or the ornate ones for sale at Anthropologie. You can even buy wooden knobs at your local hardware store and paint them any color you like! The possibilities are endless with these little fellows. We'd definitely use them as place card holders at a reception or dinner party, but they could also be used to prop photos on a mantle, keep to-do notes on a desk, or even hold up a new recipe in the kitchen. Full instructions below!

 Materials:

Used or new knobs preferably without set screws (browse your local antique shop for fun shapes and colors, or visit Anthropologie), wire (we used 20 gauge for better strength), pipecleaners (any color will do, but try to match the colors of your knobs), wire cutters or scissors and some craft glue - if necessary.

How To: 

Step 1. Remove the screws and any washers from the knobs.

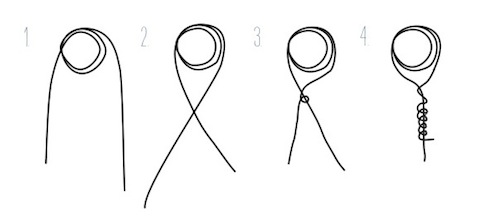
Step 2. Prepare your wire. Cut about 8" - 10" strips and fold at the center. Wrap the wire around your index finger twice creating a spiral loop.

Step 3. Cross both ends and spin to hold in place.

Step 4. Carefully wrap one end of the wire around the other side, leaving as little space as possible between each loop.

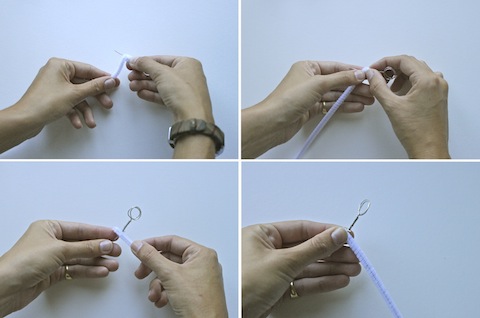
Step 5. Wrap your pipecleaner around the bottom part of your wire (underneath the hook). Cut off any remaining pipecleaner.

*The thickness of your pipecleaner will depend on the width of the hole in your knob

Step 6. Place the wire and pipecleaner inside the hole of the knob. It should fit pretty snug - if not, add more pipecleaner and a dab of craft glue to be sure.

Step 7. Insert place card between wire loops and display!


Visit our website for more fun DIY ideas!

Free Download: Table Numbers

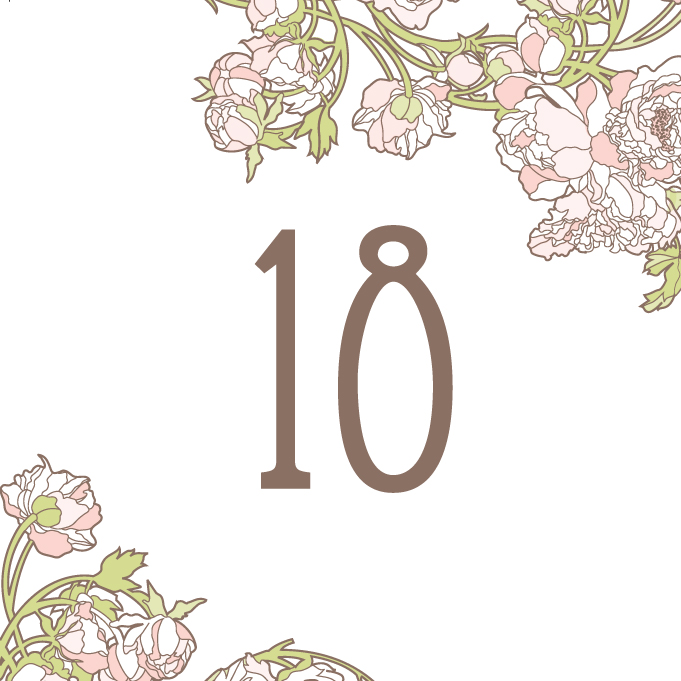
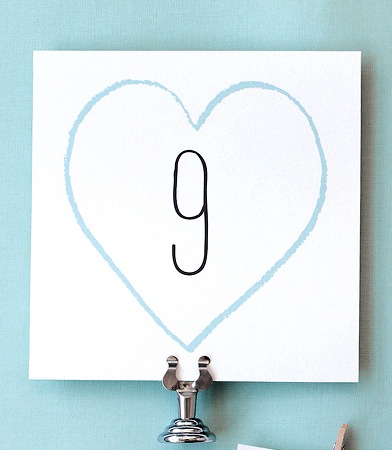
Last week we posted about all of the extras we can print and design for your wedding day. And today we're so excited to offer up some free downloadable templates to make your big day more special. We've created table number templates for three of our most popular suites -- Big Day, Nouveau Peonies, and San Francisco Skyline - and did we mention they are completely free?! All you need is paper, a printer, and scissors.

Just click on the style you'd like to print. Each PDF has 25 designed table numbers.

Download Big Day 

Download Nouveau Peonies

Download San Francisco Skyline 

We'd love to see photos if you use these templates. Email us or post them to our Facebook page.

Enjoy!

Inspired by: Meadow

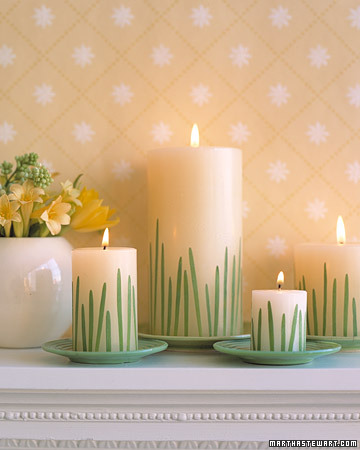
If you are looking for springtime wedding details, look no further! We've collected various projects and images of wedding decor and paper goods that will fit perfectly with the cheerful season about to bloom. The source for our inspiration is of course our Meadow wedding invitation designed for Hello!Lucky by EIEIO. The simple grassy illustration looks great in shades of green or yellow, and is a stunner letterpress printed. When browsing the Martha Stewart website for Easter craft ideas, we stumbled upon this adorable candle DIY and thought it would make a fantastic centerpiece at a Meadow inspired wedding. All it takes are some blades of grass, a strong adhesive, and some dollar store candles and you've got an inexpensive yet totally chic table display.

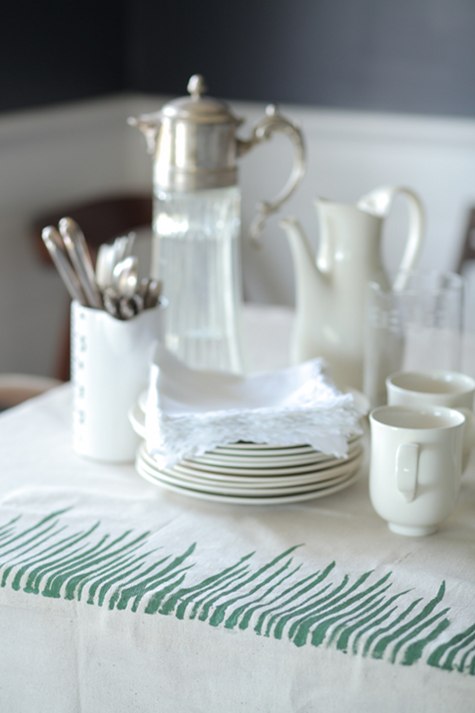
We also love these botanical stenciled tablecloths featured on Design*Sponge.

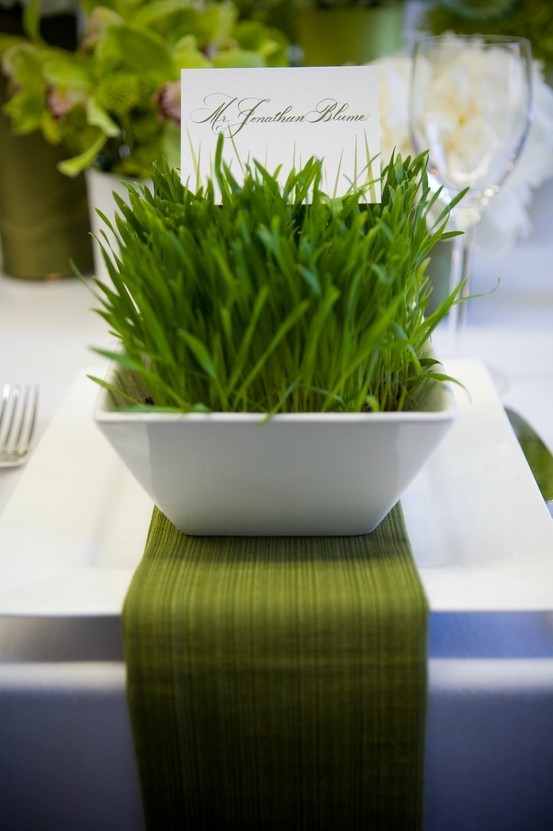
This wheat grass table setting with printed place cards makes for a classic and clean display. We found this one on Pinterest, among tons of other ideas!

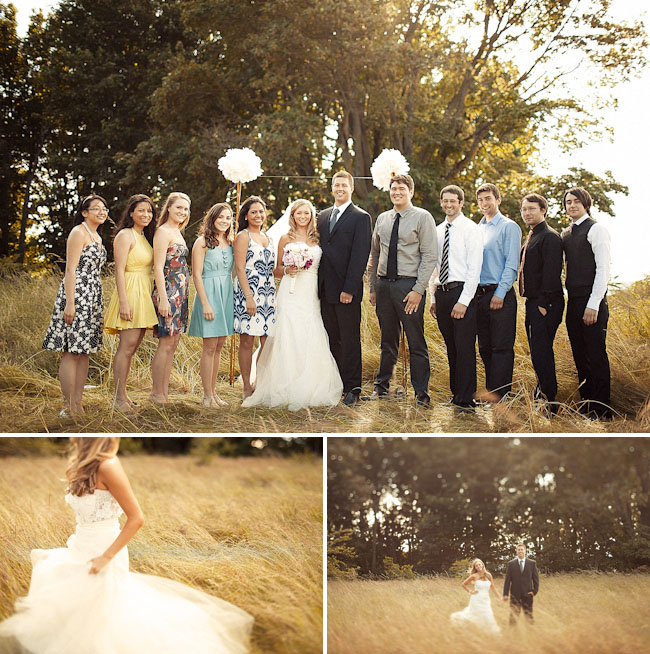
This wedding found on Green Wedding Shoes doesn't have tons of fancy decor, but the simple nature of the location still matches the theme perfectly.

Can't wait for spring to arrive! To view our Meadow wedding invitation, click here.

Crepe paper aisle markers

msw-DIY-crepepaperflowers

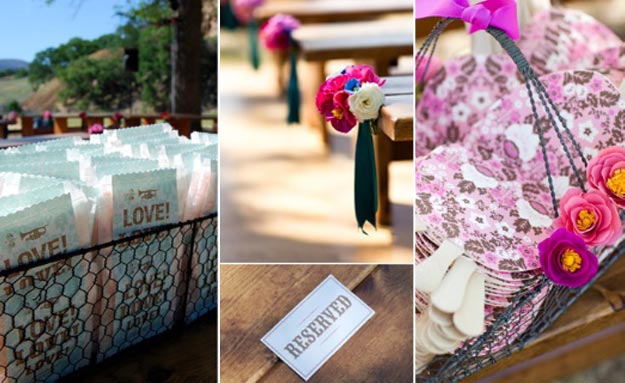
We were recently going through our archives and came across our DIY guide to crepe paper flower aisle markers from Eunice & Daniel's wedding. Crepe paper flowers have so many fabulous uses, that we thought you might like for us to re-post our instructions and templates here.  As always, the quality of the project is only as good as the materials you use - we recommend German crepe paper, and our favorite source is Castle in the Air!

fans

Basic Guide to Making Crepe Paper Flower Aisle Markers

The Grain of Crepe Paper The grain of crepe paper runs along the short side (following the creases). Generally, cut your petals so that they run with the grain of the paper so that they hold their form and can be stretched properly. That being said, sometimes you want a floppier response (for example, with some types of fringe for flower centers).

The grain direction is indicated on each template with arrows.

Making the Petals Note: Crepe paper flowers are very forgiving. Petal and leaf shapes do not need to be exact - the templates are a guide, but for the sake of speed you might consider cutting freehand, using the templates as a general guide to size and shape. Additionally, size the templates up or down, depending on the size of the flower you would like to create.

Paste the template onto a bit of card (cereal boxes or heavy weight card stock work well) and cut it out.

Never cut a single leaf or petal. Cut a few at a time. Cut a strip across the grain about 1/2" wider than the depth of the pattern you are using. Unfold the strip of crepe paper and, starting with the two ends together, refold three times for single crepe (you'll end up with eight thicknesses) or twice for duplex (4 thicknesses). Pin the template (with grain indication aligned to the grain of the paper) onto your paper and cut it out, cutting through all layers of the paper with sharp scissors.

Shaping the Petals

Fluting the Edges If you stretch the edge of the crepe paper, you will get a ruffled effect. Hold the edge of the petal between the thumbs and forefingers (your fingers will be close together, as you will be stretching several times along the edge of the petal) of both hands. Stretch the paper widthwise along the edge of the petal. Repeat as necessary.

Cupping to Shape Petals Hold either side of a petal with your thumbs and forefingers. Gradually stretch the entire width of the petal with both hands, using the thumbs to push into and cup the petal and the forefingers to stretch the paper away from the thumbs. This will give the petal a more dimensional shape - as you would see on a real rose petal. Experiment with cupping at the top, base or half way down.

Curling You can curl the crepe paper with the edge of a pair of scissors (as if you were curling ribbon) - drag the blade of the scissors along the grain to accomplish this.

Making Flower Centers

There are several techniques for making flower centers, depending on the look you are trying to achieve.

All flowers start with a ball center for something for the petals to attach to. Start with a small ball of scrap paper (size depends on the size of the flower you are making, but in general about the size of a spitball on up) and a square of crepe paper (around 1 1/2" or so - somewhat bigger for a larger flower). Apply a generous amount of white glue to one side (the wrong side, if there is one) of the crepe paper square). Bend the end of a piece of florist's wire, cut to your desired length.to form a small loop. Place the ball of paper at the end of the wire. Center the crepe paper square on the top of the ball, glue side down. Pull all four sides down to meet at the base of the ball and twist the paper around the wire stem.Cut a short (approx. 2") length of your 1/2" green strips (see Wrapping the Wire Stems) . Apply a bit of glue to the wrong side at one end. Attach to the base of the ball you have created at the end of your wire at wrap around the twisted base, straight around to begin with and then continuing down the wire at a slight diagonal. Continue past the base of the flower center for about 3/4". Cut the strip and apply glue to the inside of the end and attach securely to the florist's wire.

From here you can expand on the center by wrapping a strip of fringed paper or a calyx shape around the center (in the same way you attached the green strip) or adding sheath shapes cut from templates. To add sheath shapes, simply apply a bit of glue at the bottom of each sheath, and attach around the base of the center ball.

Fringing For a fringed center (as for a Poppy) cut the crepe paper into a strip across the grain at the required width. Stretch the strip fully for a fine fringe and less so for a coarse one. Fold the strip in half and cut with the grain, making the cuts as close together and as deep as necessary but always leaving 1/2" or more at the opposite end uncut.

Putting it all together To make a flower, first construct a flower center.

Pick a style of petal and attach your first petal by applying glue to the inside bottom edge and pressing it into place along the base of your flower center (the level at which you place the petal will determine how much of the center is showing. Attach the next petal so that it slightly overlaps the first. Continue this way until you are happy with the look of your flower.

With a little glue and a 1/2" strip of green crepe paper, wrap the base of the flower to cover any raw edges (see Wrapping the Wire Stems for technique).

Add some sheath shapes (optional) for a realistic base for your flower.

Wrapping the Wire Stems Additionally, have on hand 1/2" strips of green crepe paper cut across the grain. They should be strips long enough to wrap the length of your stems.

Stems are wrapped with these strips. Start the wrapping by putting a bit of glue over the flower base. Wrap the end of a strip around it 2 or 3 times very tightly. Then, with the long end of the strip in one hand and the wire in the other (held just above the winding strip), twirl the stem wire around and around while stretching the strip, guiding it diagonally and downward. When the end of the wire is reached, put a bit of glue on the end and continue to twist tightly. Cut off the end and affix with glue.

Note: In lieu of green crepe paper strips, you can also use green floral tape.

II. Crepe Paper Flower Aisle Markers

You'll need:

Crepe paper in various colors (for the flowers) that work with your palette and some crepe paper in green or floral tape for covering stems. Quantities depend on how many you are making, but one packet goes quite a long way. Duplex is my favorite (it is thicker and often two toned) for most flowers, but standard crepe paper works as well for a more delicate, unstructured flower. Mixing the two adds a nice depth.

  • Scissors
  • White glue
  • Glue brush
  • Florist's Wire
  • 1 1/2" - 2" ribbon - about 18" per marker (we used vintage velvet ribbon)

How to: Using the templates, make a large quantity of flowers (this is a great project to do with friends). You will need 10-15 flowers per marker, three large and a variety of medium and small sizes. We mixed and matched centers and petal styles as well as scaling the templates up and down to get a mix of flower sizes.

Start with three larger flowers. Twist the stems together, then fold the stems out to the left and right and twist to create two "arms" that will later be joined in a loop that will give structure to your arrangement. Angle the flowers to create a nice central focal point. Add more large and small flowers to your arrangement, twisting their stems around the two arms. Use small flowers to fill in any gaps. When you are happy with your arrangement, make a loop with the arms, twist the ends together, and flatten so that they are hidden behind the flowers. Don't worry about how the back looks - no one will see it.

Cut an 18" piece of ribbon and trim ends at a diagonal or in a dragon tongue shape to prevent fraying. Fold the ribbon in half to form an inverted "V" shape. Position the ribbon behind your crepe paper flowers and pierce a small finishing nail through the wires of the flowers and then through ribbon. Nail into the end of a bench (be sure to get your vendor's permission in advance).

If attaching to the back of a chair, we've a length of 2" ribbon through the wires at the back of your flowers and then through the railing on the back of the chair; tie off using a square knot.

Download the templates here.

Behind the scenes at our photo shoot

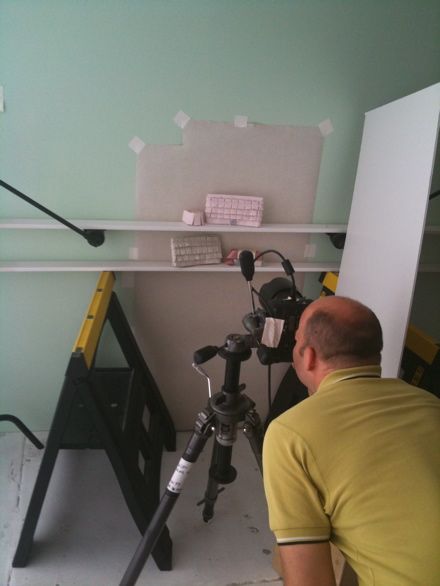
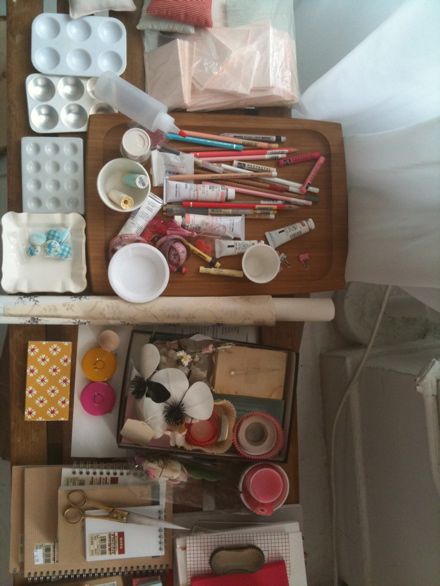
Joe De Leo Last month, we were in New York for a couple of weeks shoot our new DIY wedding book with co-author and stylist Shana Faust and photographer Joseph De Leo. It was an amazing and overwhelming experience, and has largely been responsible for the slow-down in blog posts!!
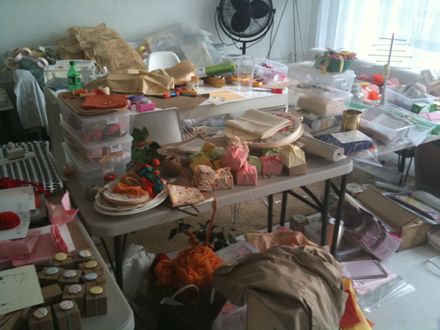
Photo Shoot 2

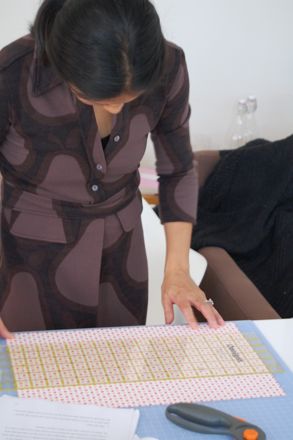
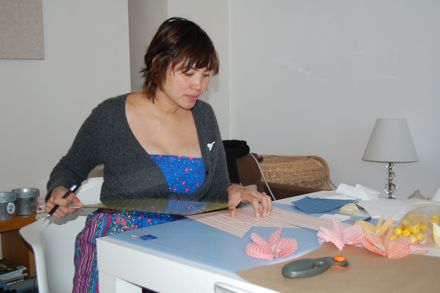
We spent a full 2 weeks crafting at Aloft Studio in mid-town - if you're wondering how much crafting goes into filling a book, look above! (Thanks to Kim and John for letting us turn the place upside down!)

Photo shoot 5Photo shoot 4Photo shoot 8

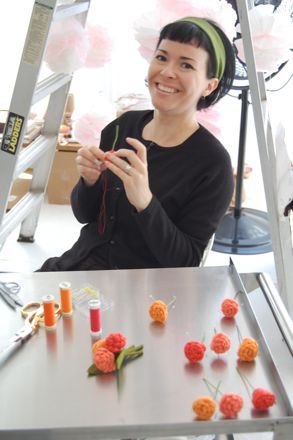
We were fortunate to have helpers - H!L's intrepid Chun Yee O'Neill and Tricia Roush of House of Nines Design - who crafted along side us every day!

Shana’s props

Shana brought tons of beautiful props for styling...

Photo shoot 6

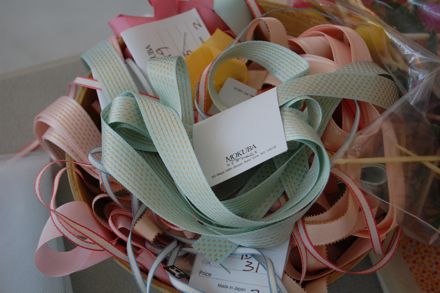
And we all brought piles and piles of crafting materials, like these pretty ribbons from Mokuba Ribbon, which we'd collected over the past year. Believe us, great crafting starts with great materials!

Photo shoot 7

It was an incredible experience! Can't wait to share the finished book with everyone!