Happy Mail Exclusive!

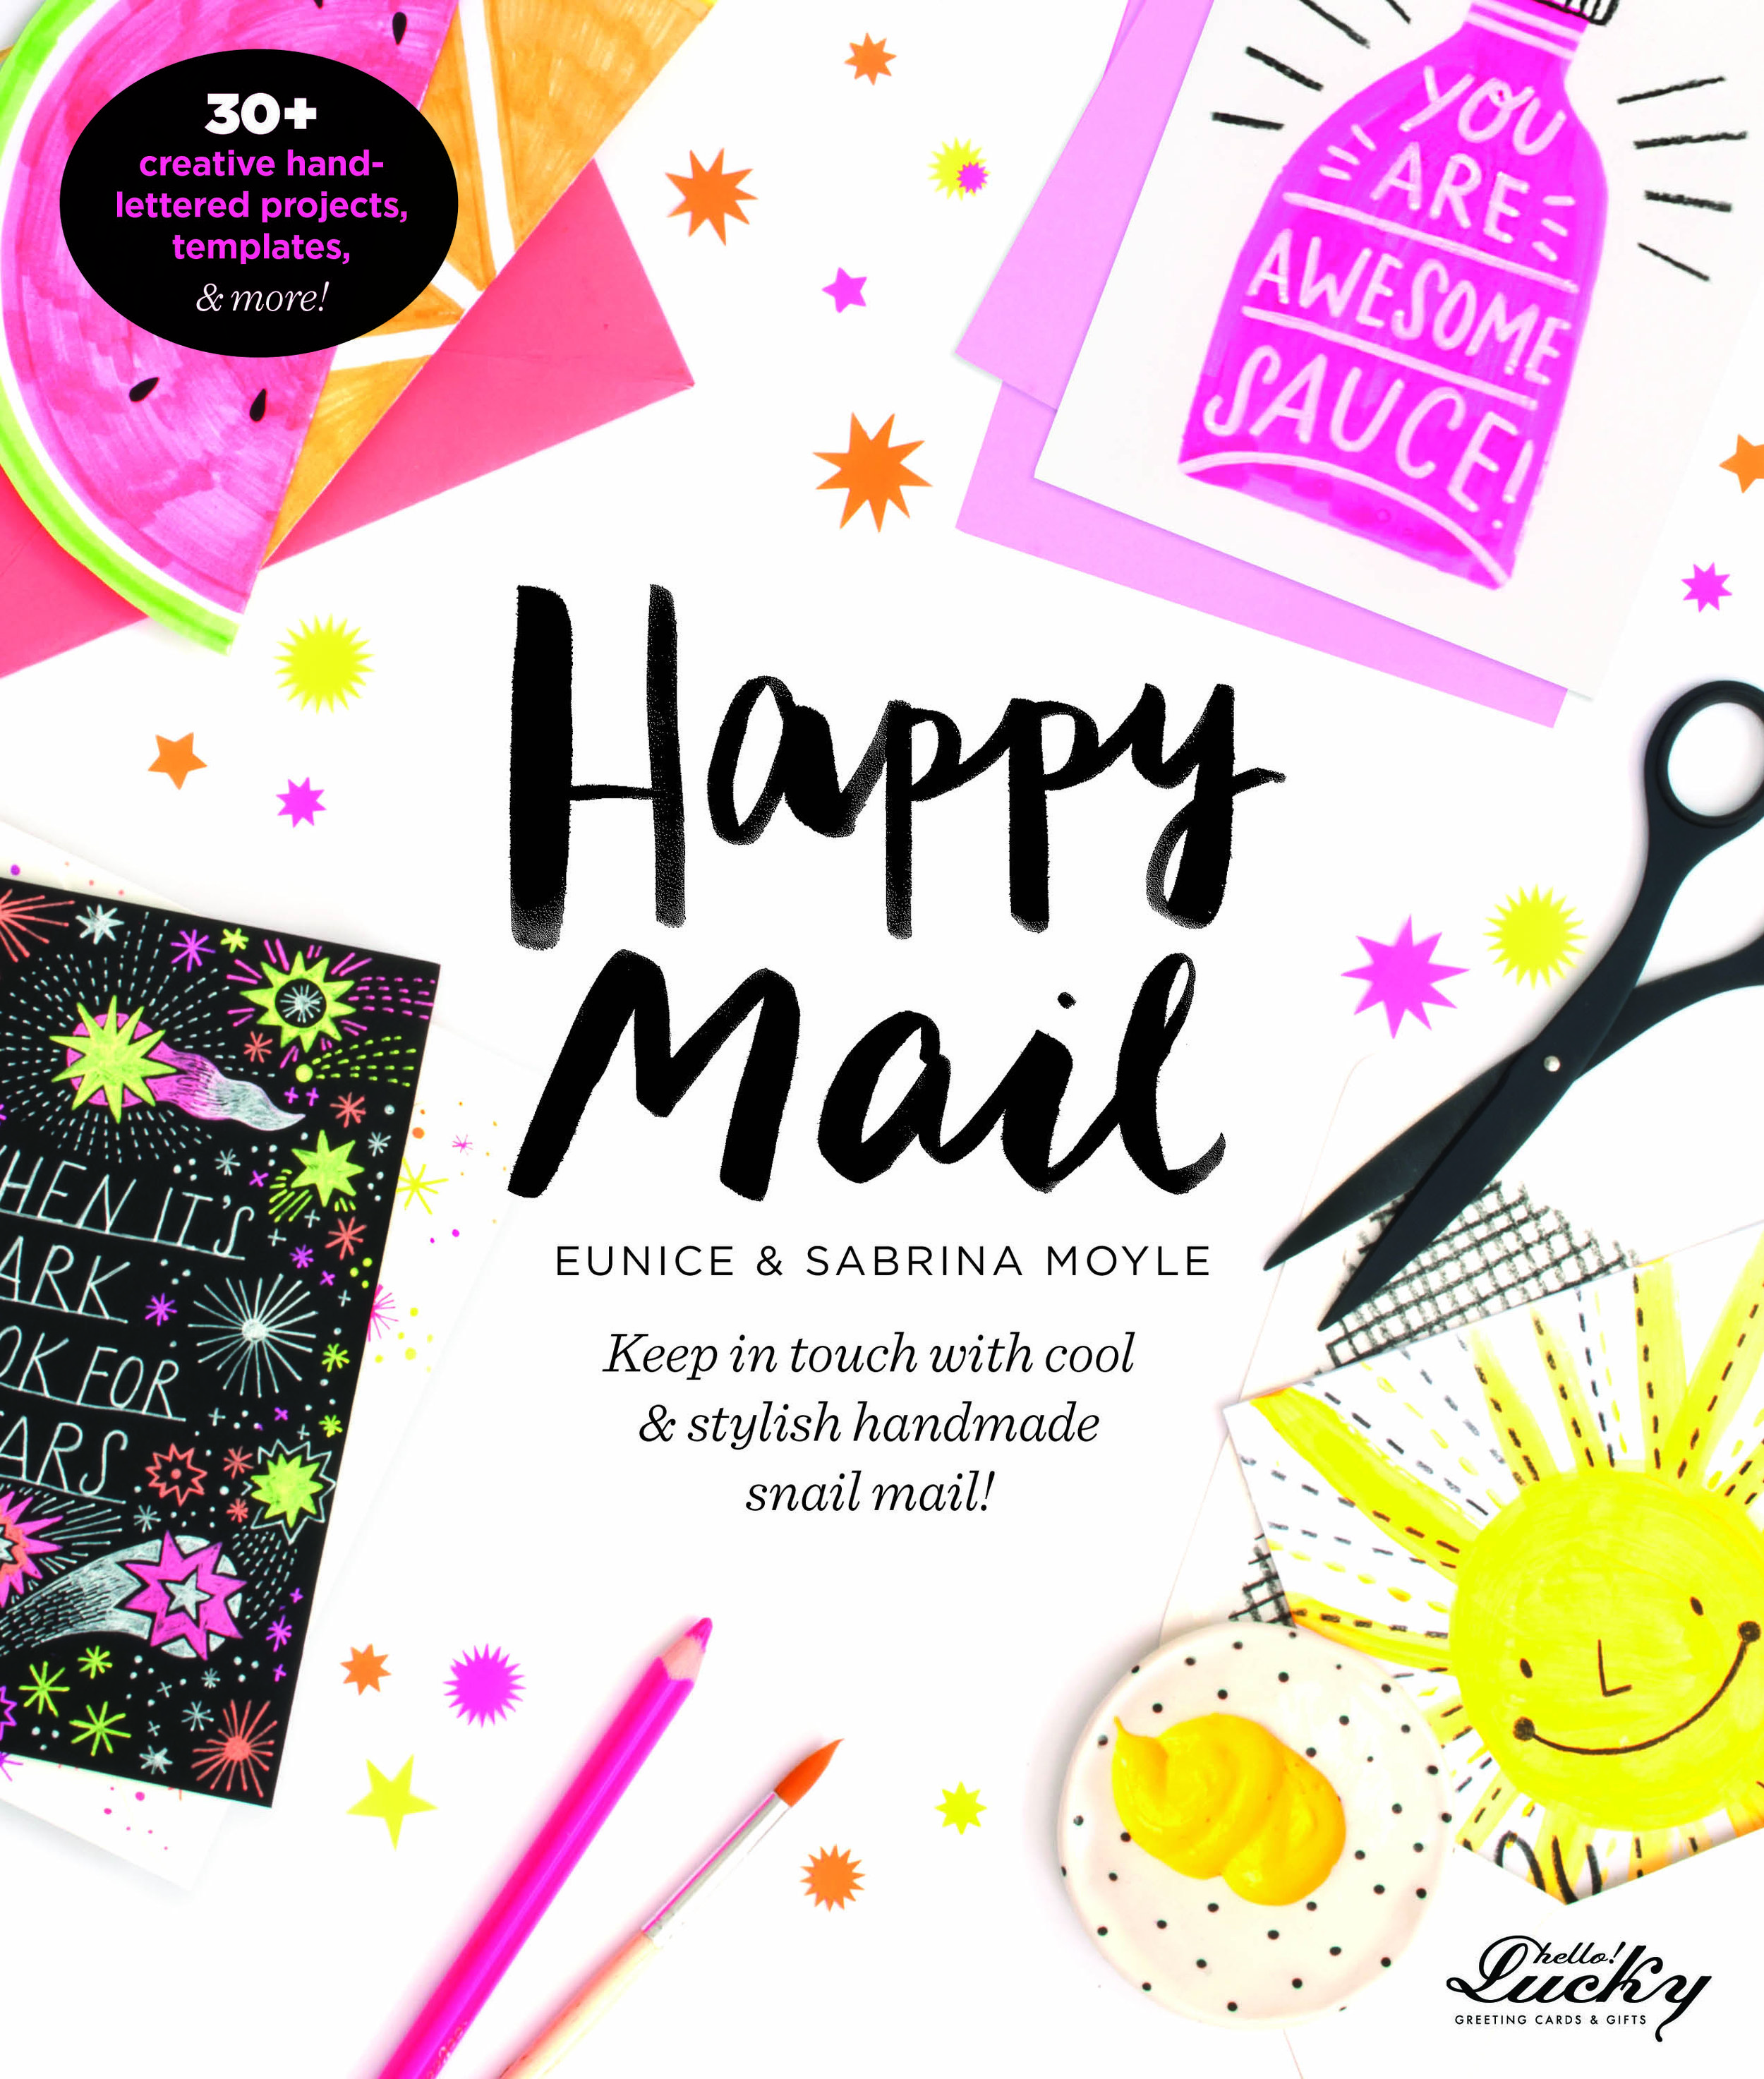
We are SO excited to announce our new book, Happy Mail, available in bookstores nation-wide this September! We're offering you the first glance and chance to order your own copy. The book is now available to preorder at your local bookstore or online here and here, order now and receive a pre-order gift package!  

It’s more than just writing, it’s an art! Hand-lettering is easy to dive into, even for new artists, and we're here to take your DIY projects to the next level!

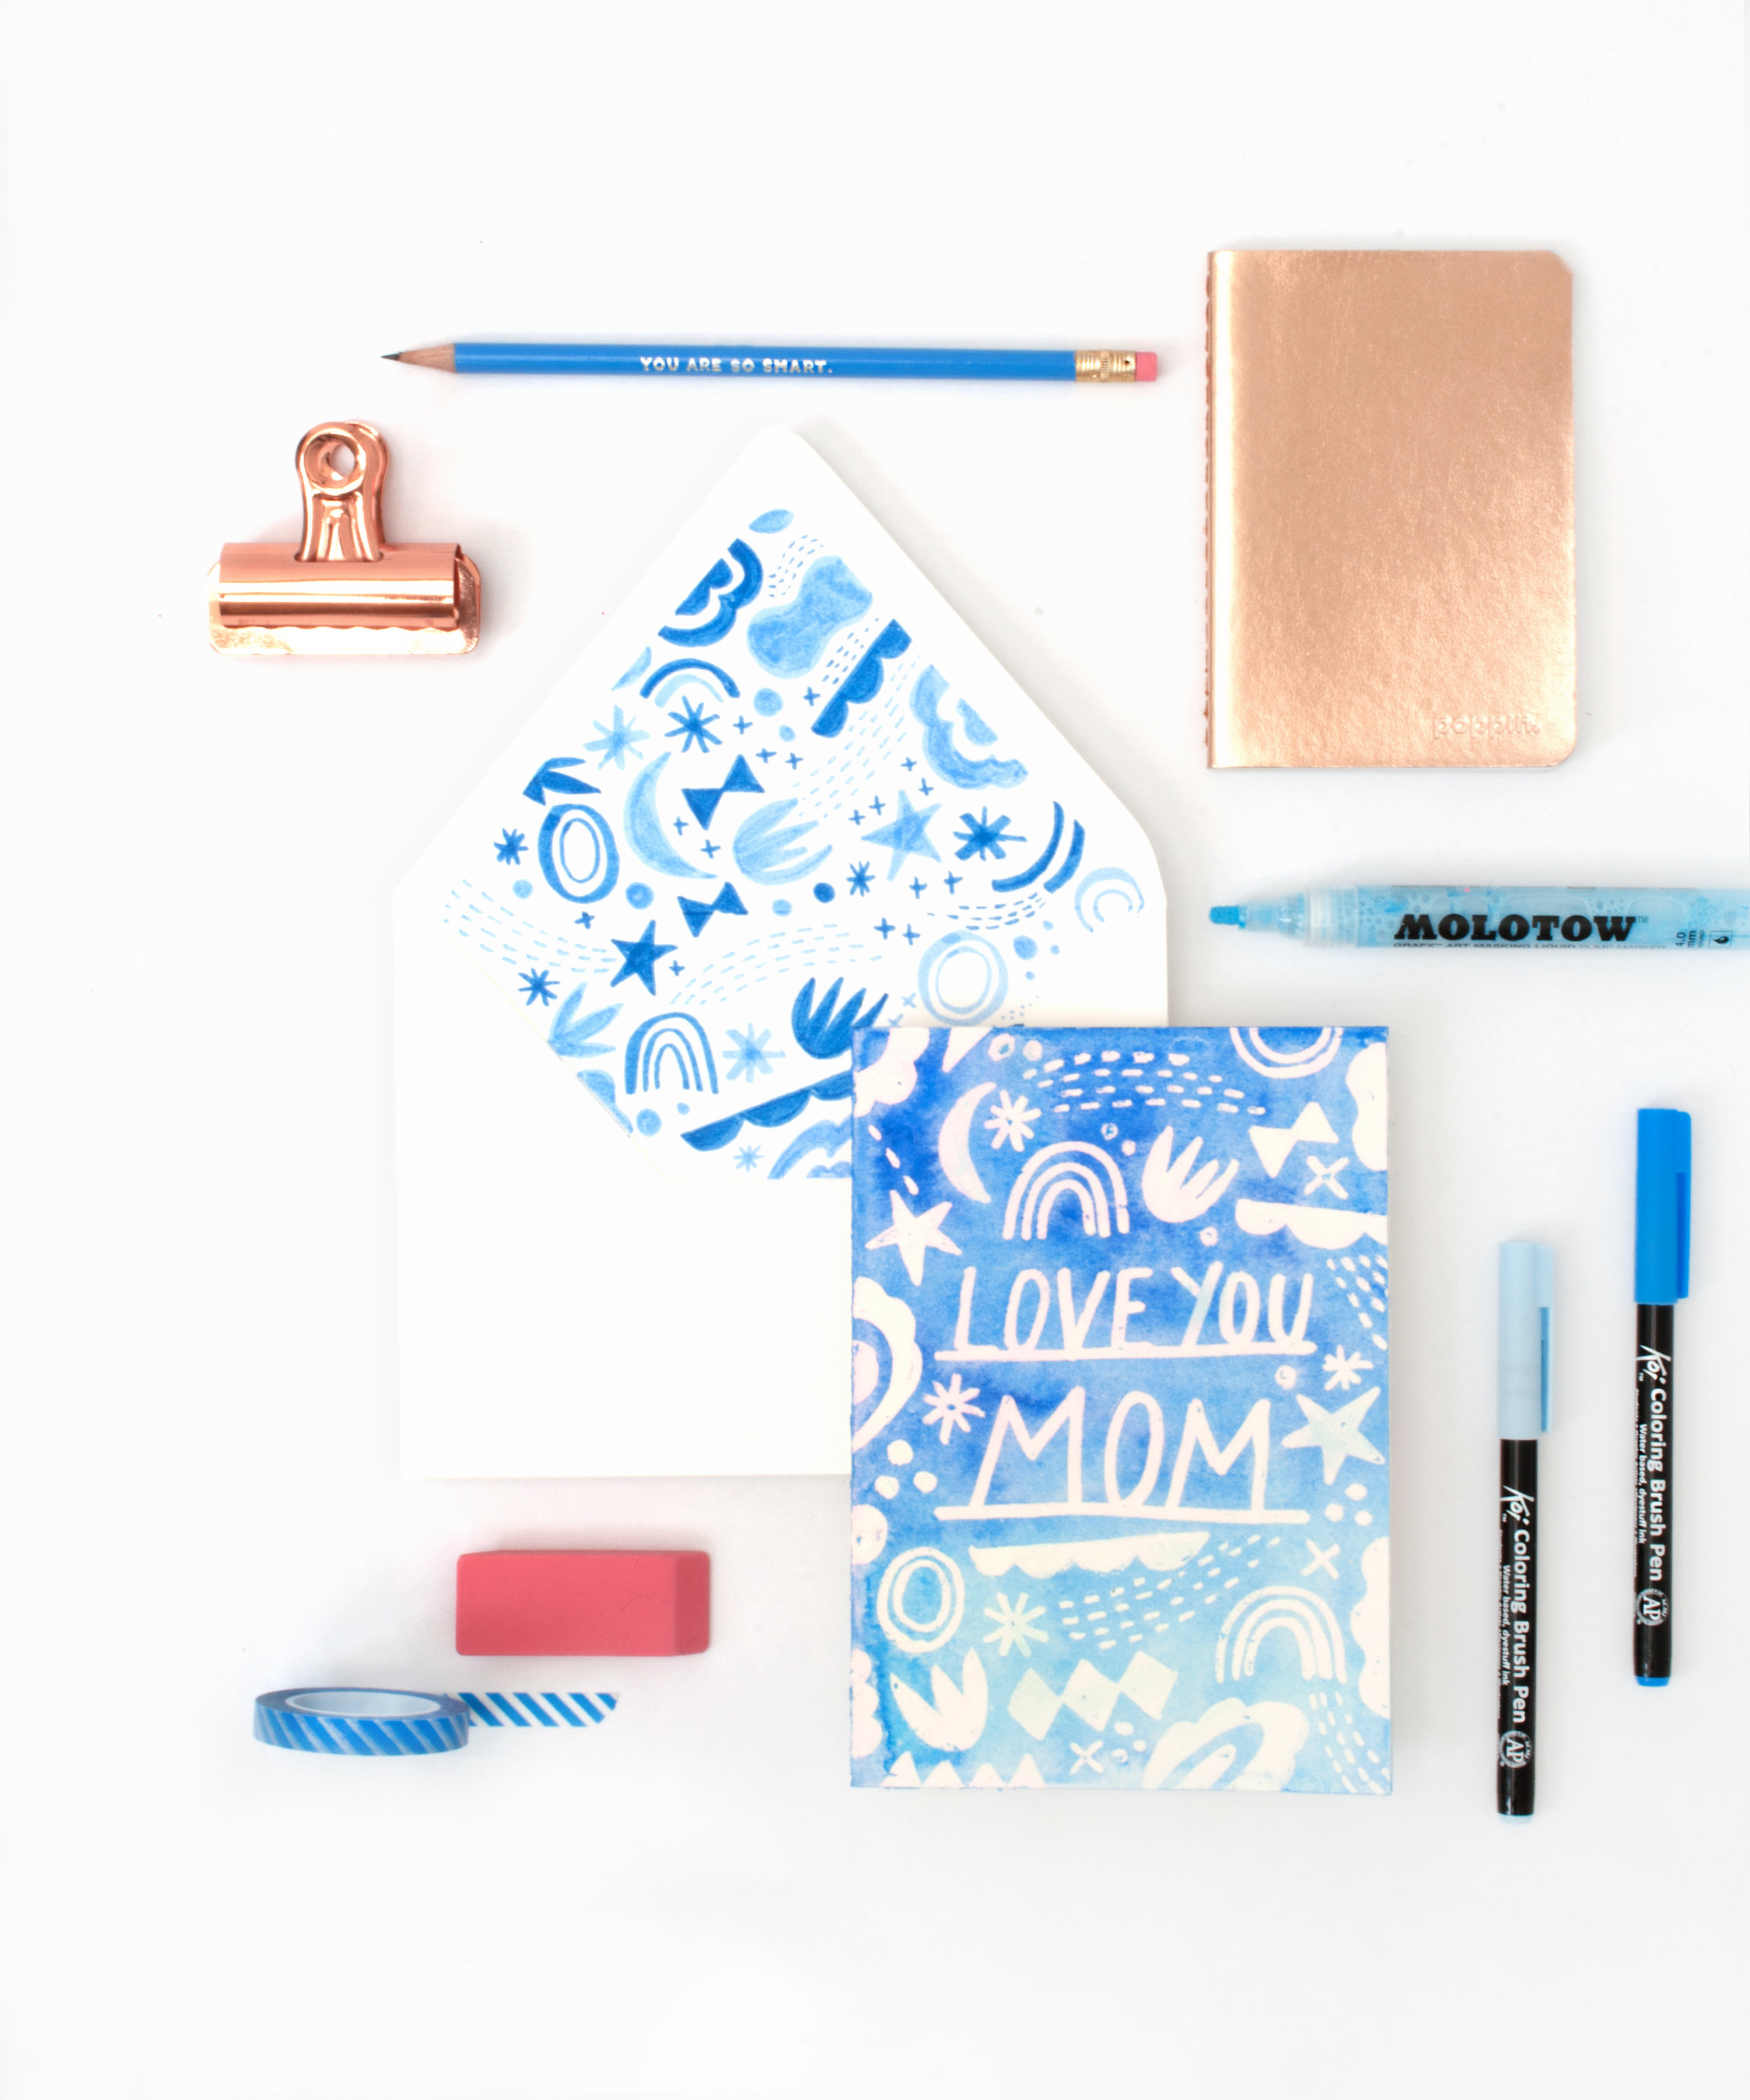
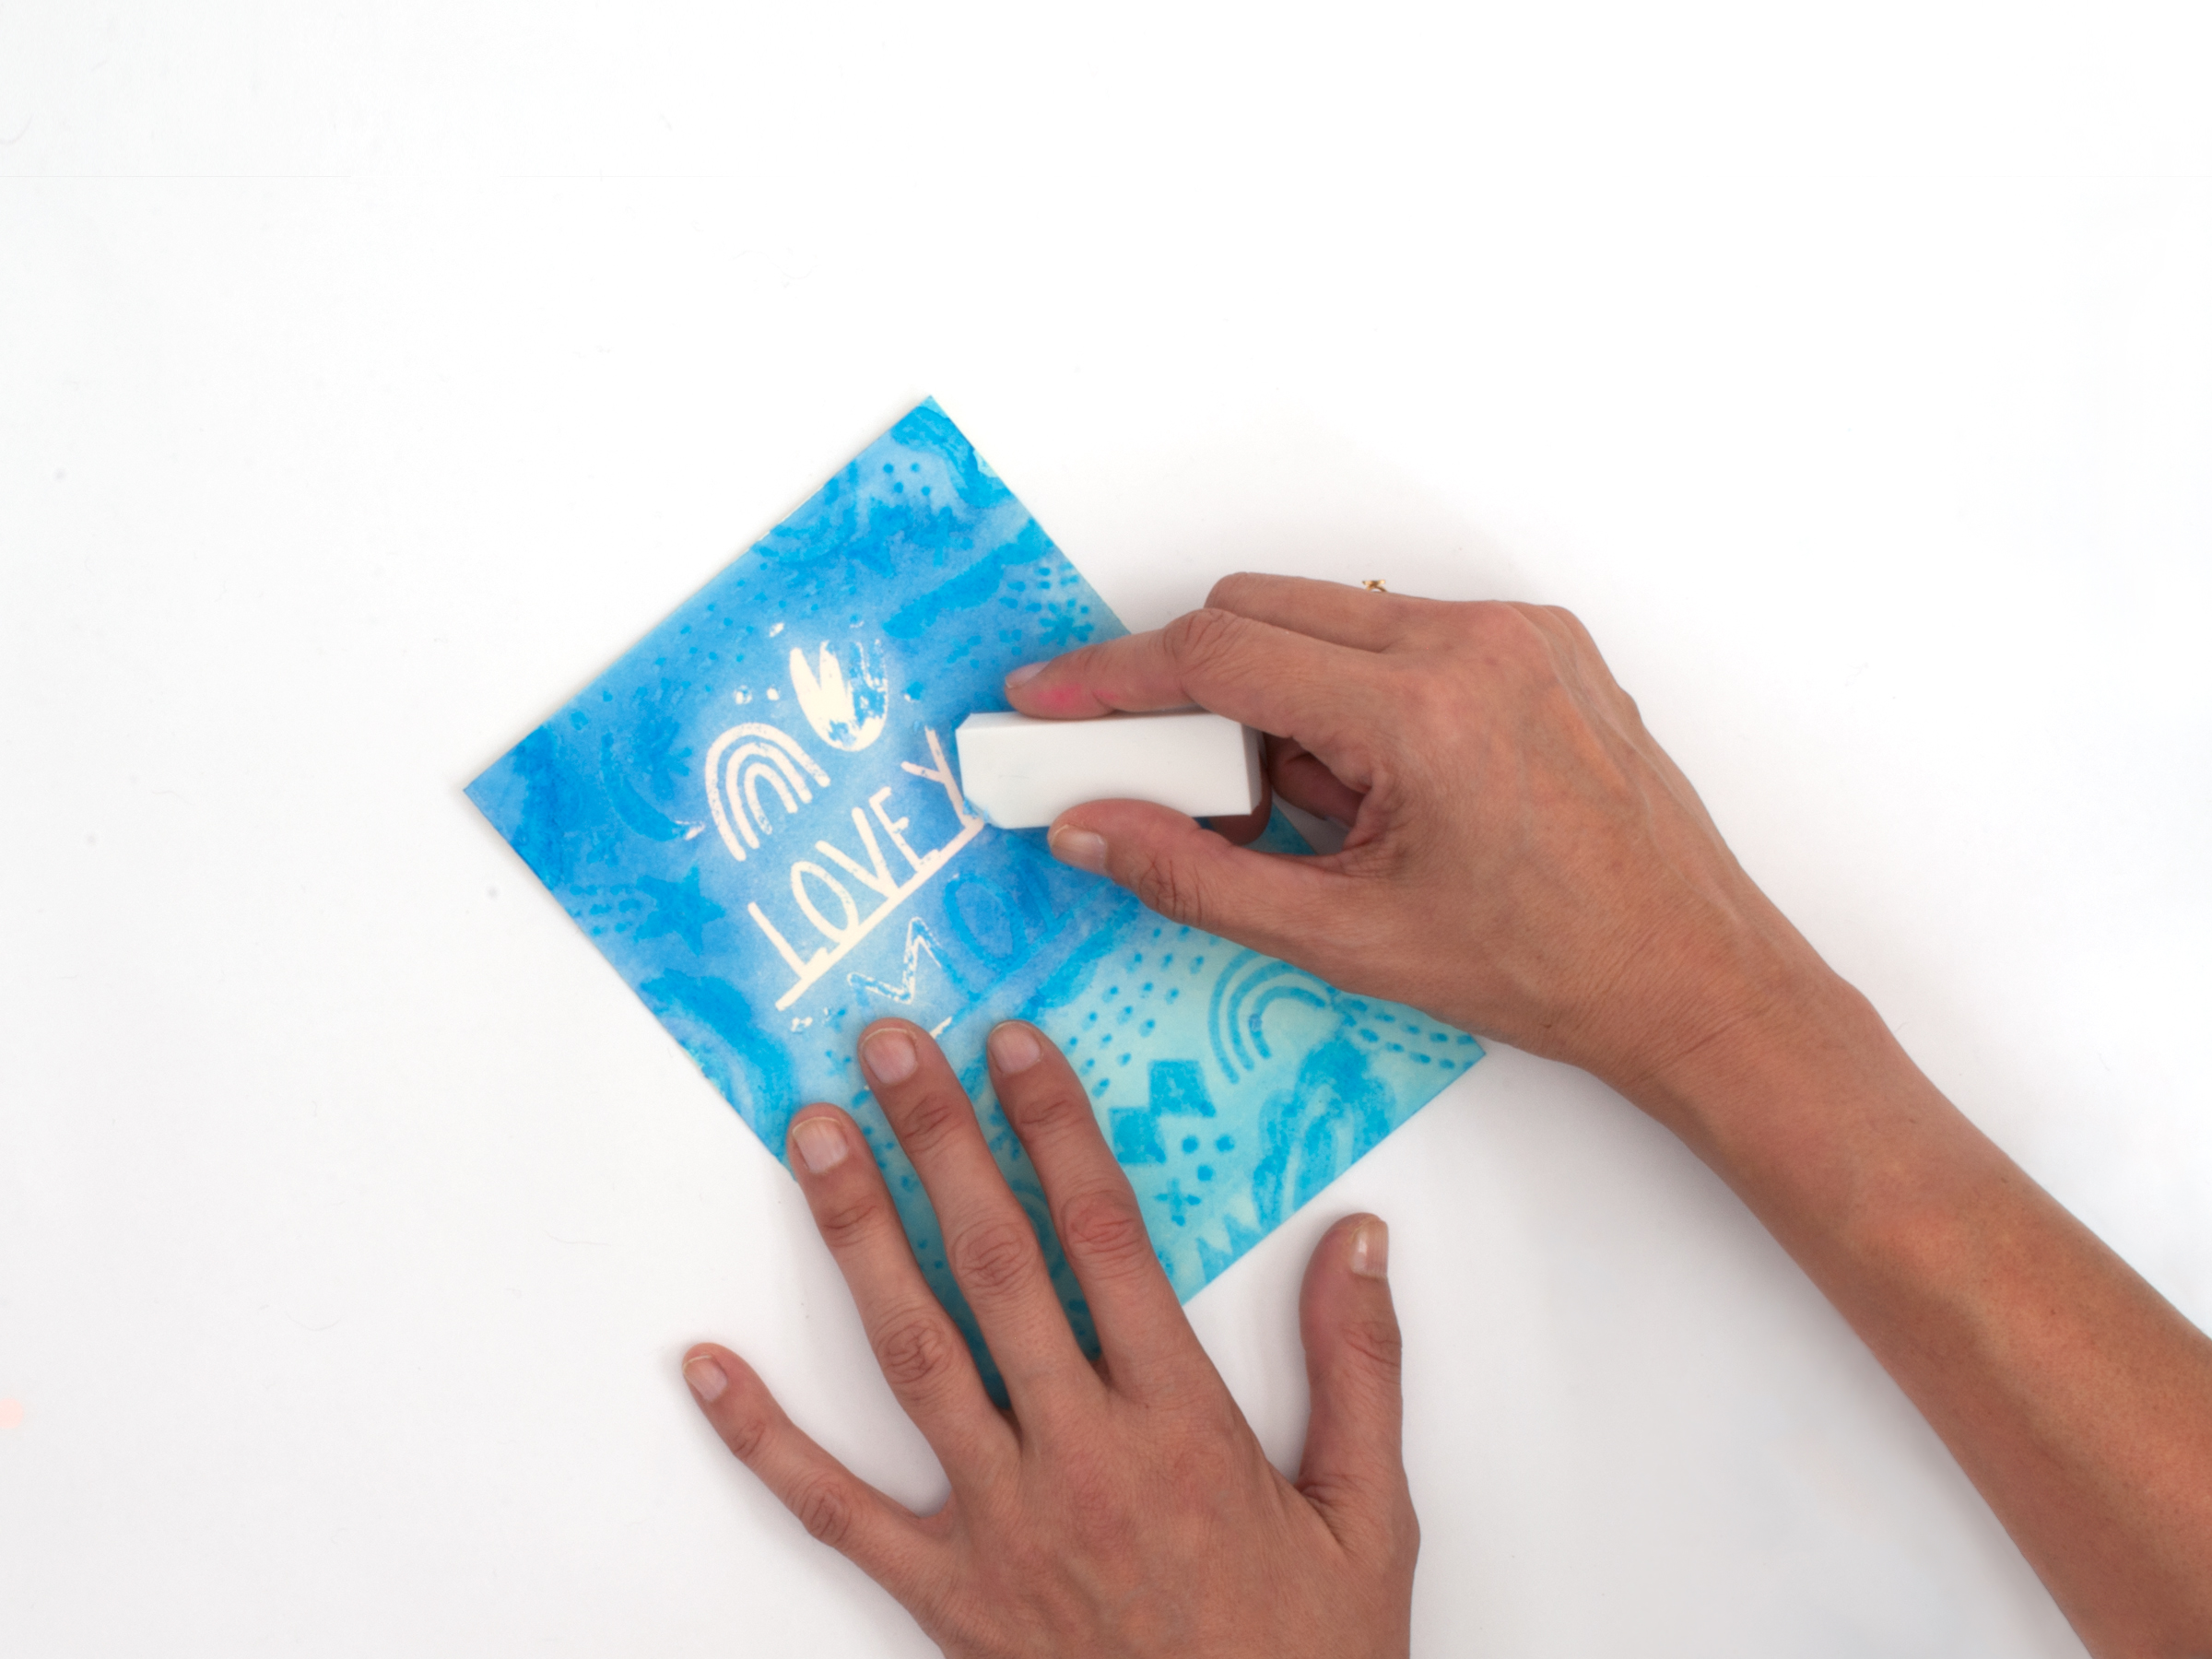
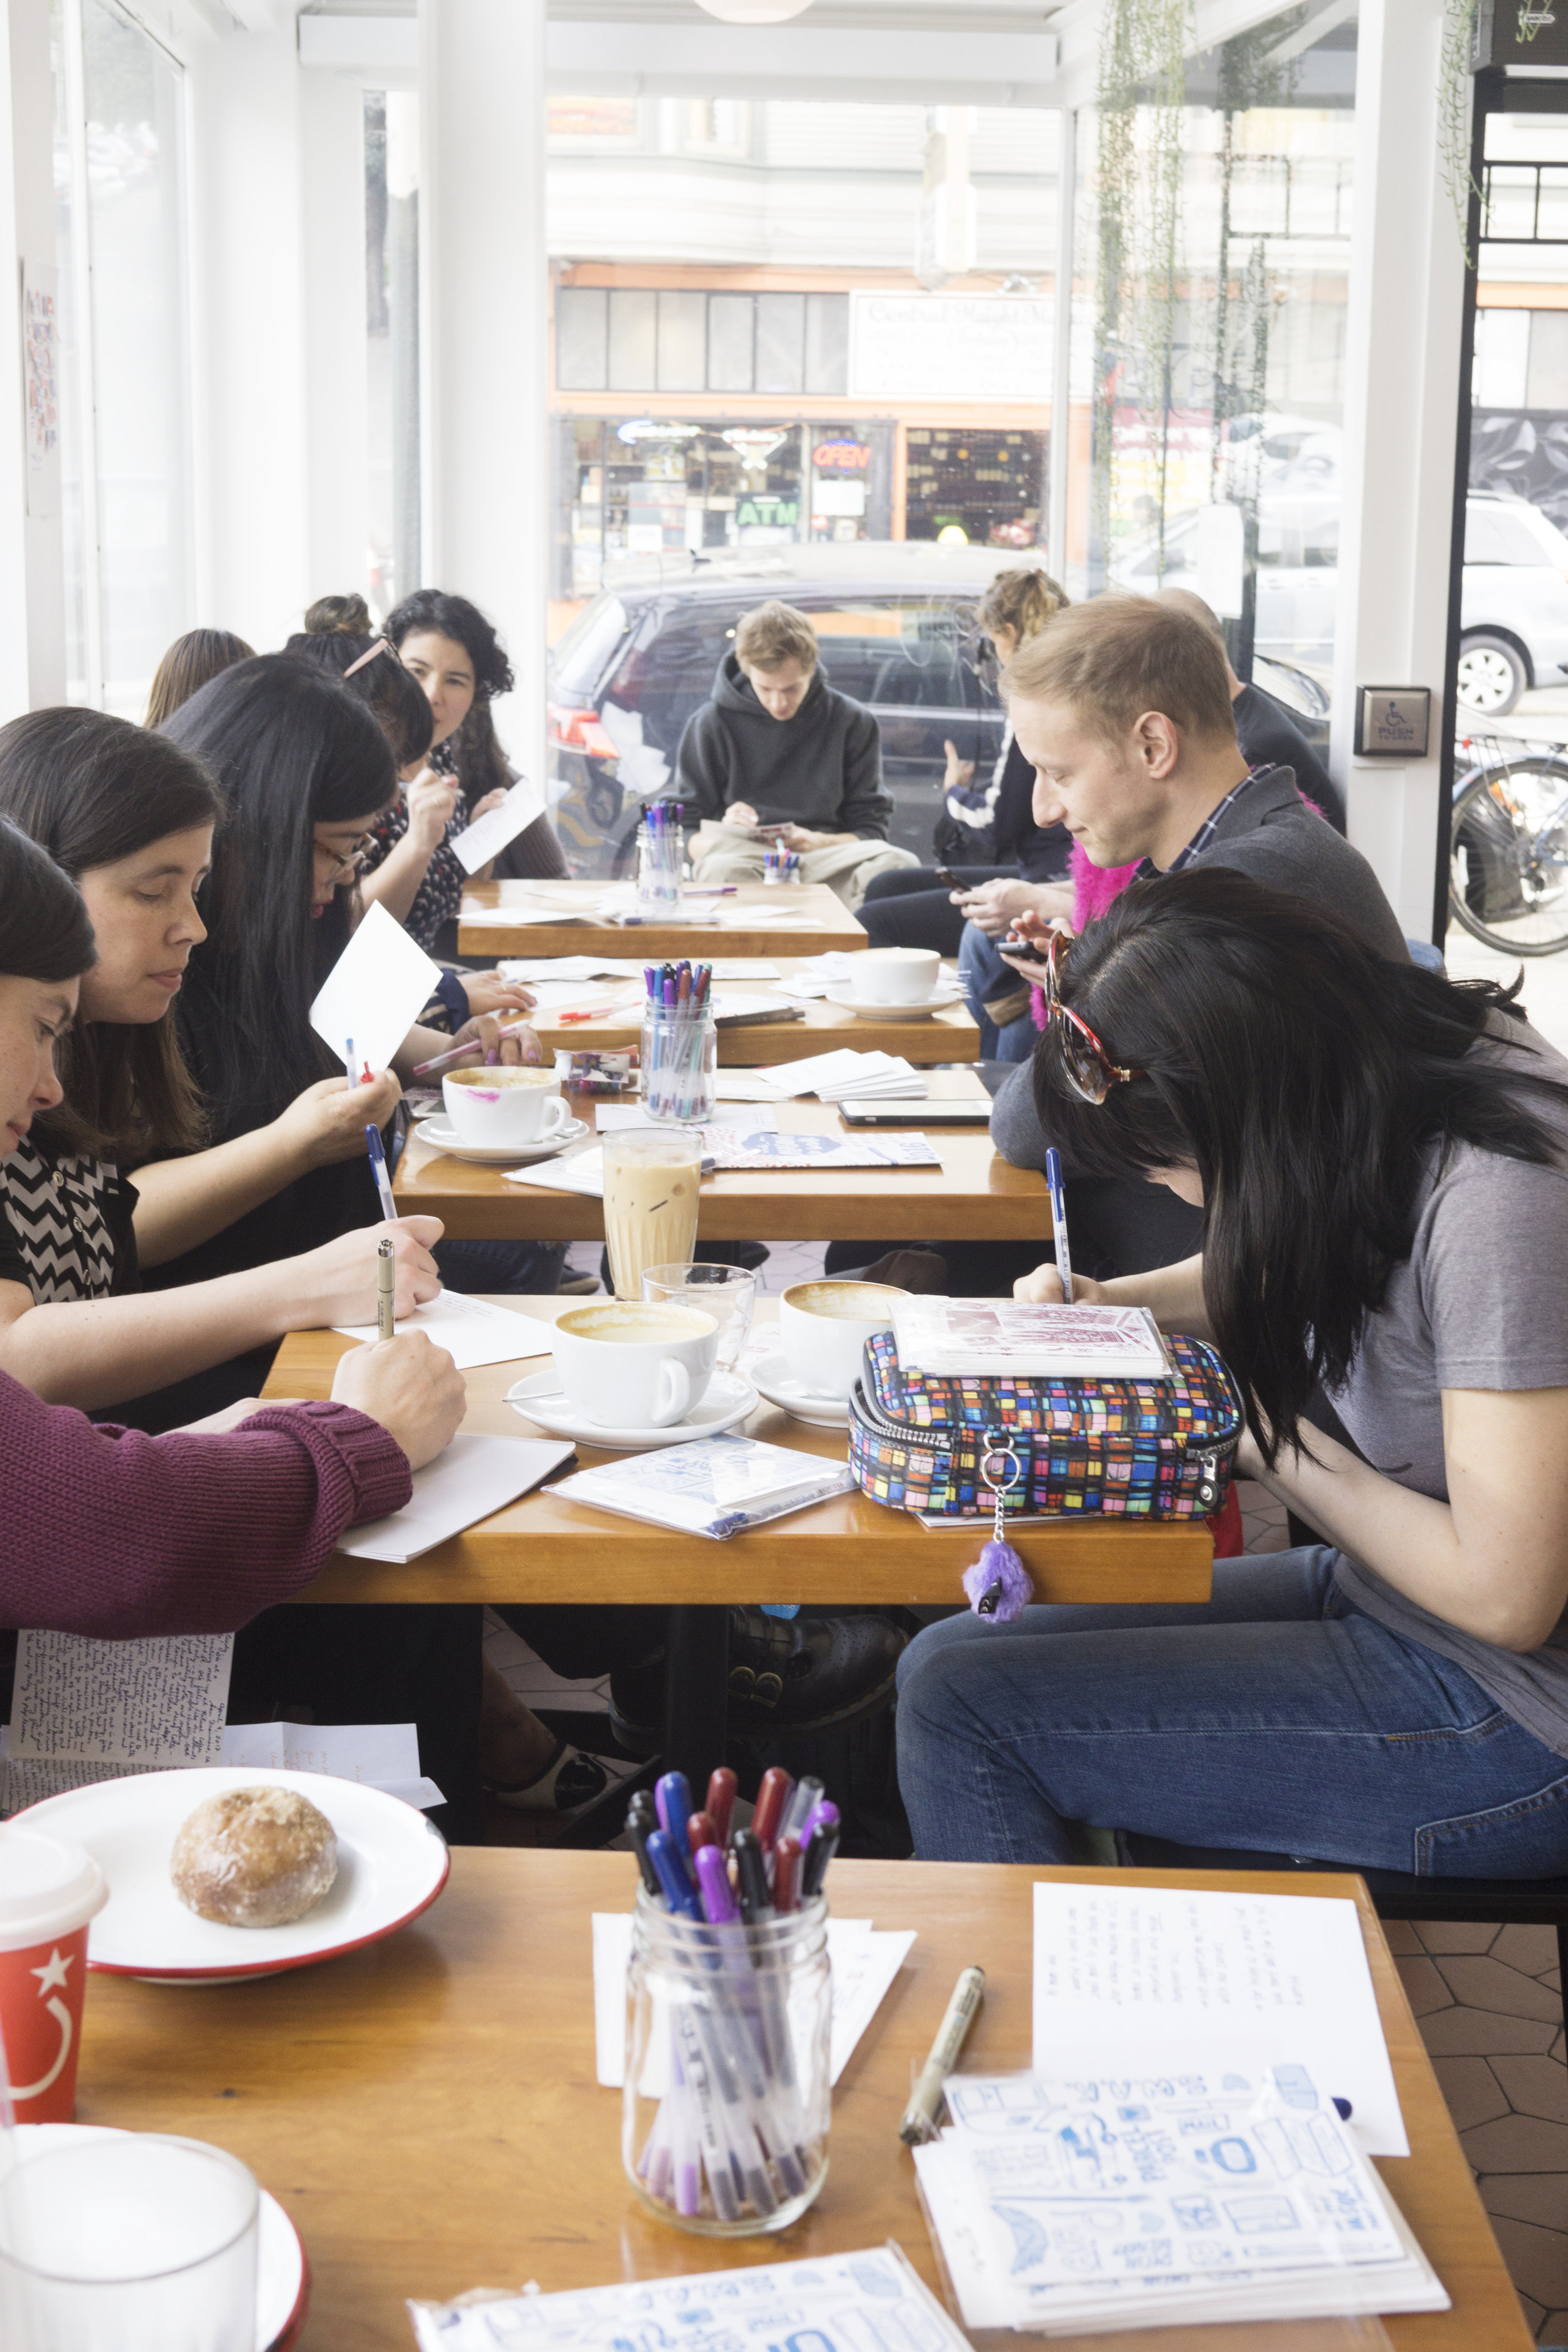
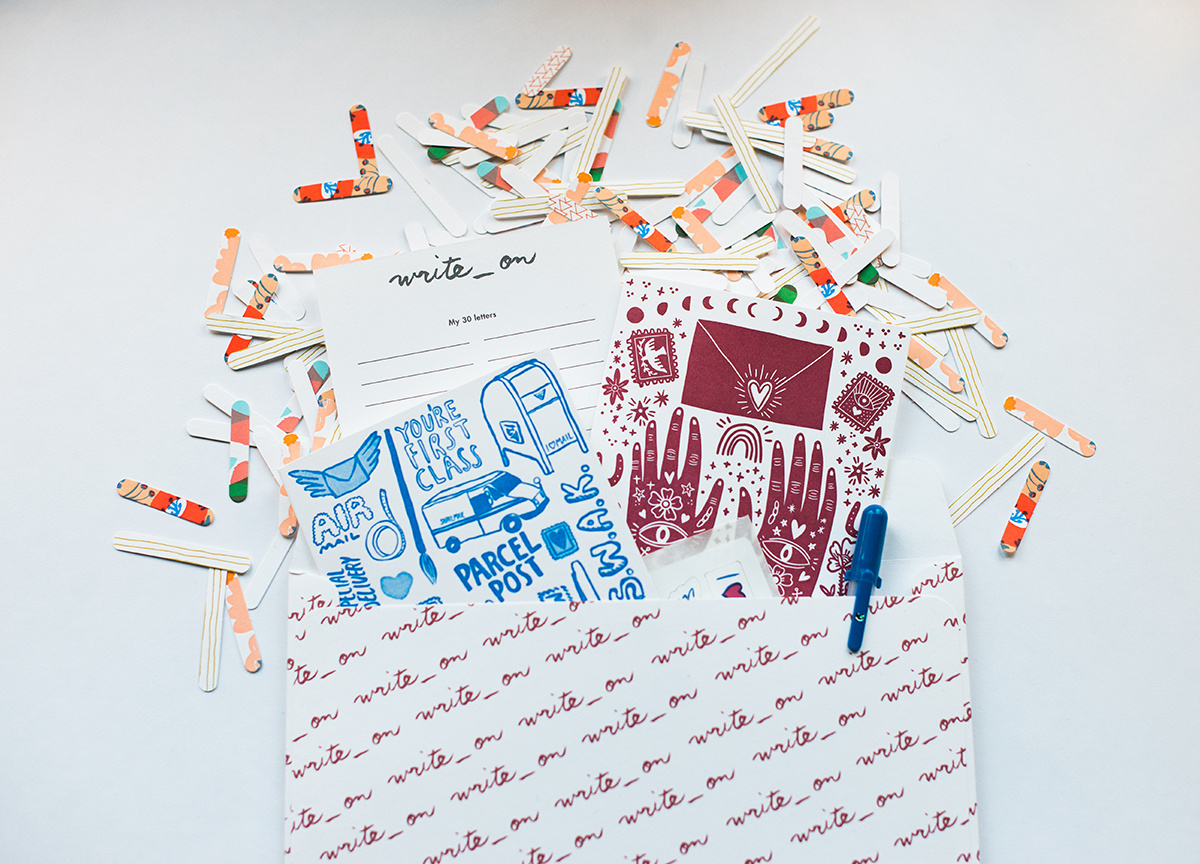
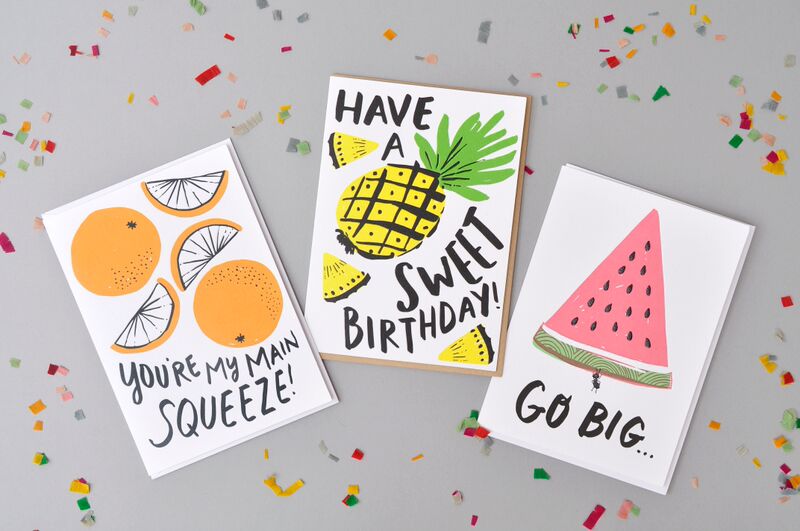
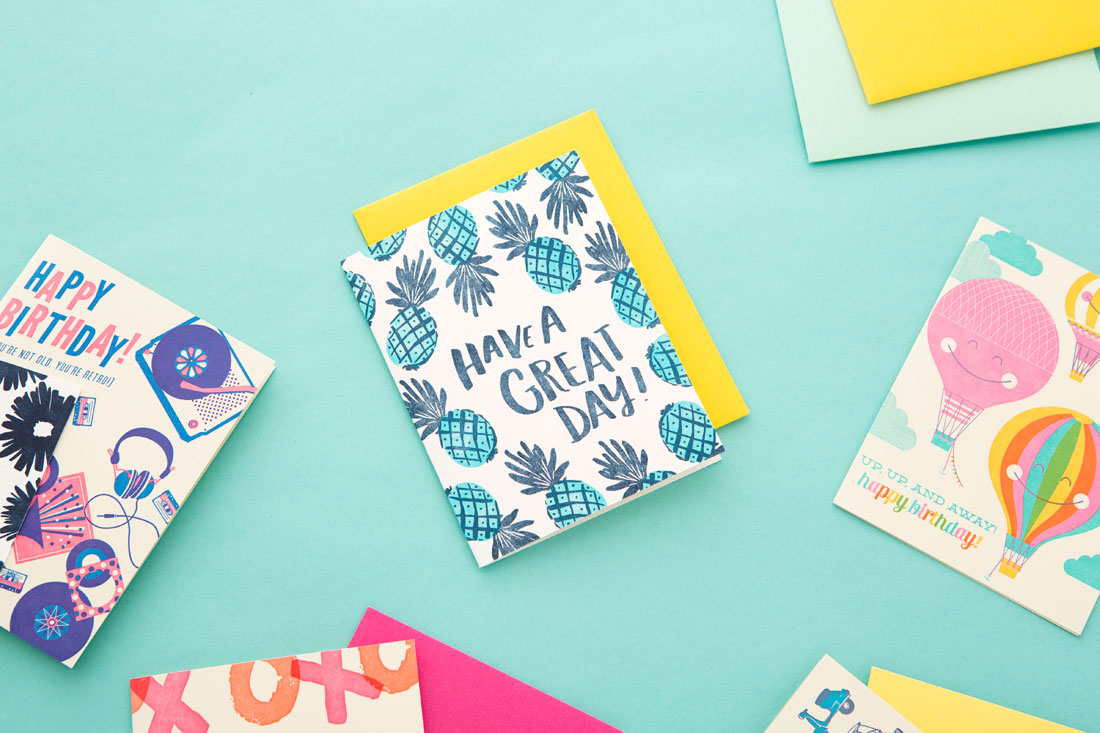
Learn the basics of how to create beautiful hand-lettering designs, and how to apply your hand-lettering skills to creating beautiful cards, stationery, envelopes, and more. Happy Mail introduces the basics of lettering techniques, specifically font styles and the basics of brush calligraphy, plus it features beautiful projects to learn and perfect by focusing on the art of hand-written letters and hand-lettered cards--- Check out our last blog post (link) for a feel for the projects you'll find throughout the book. 

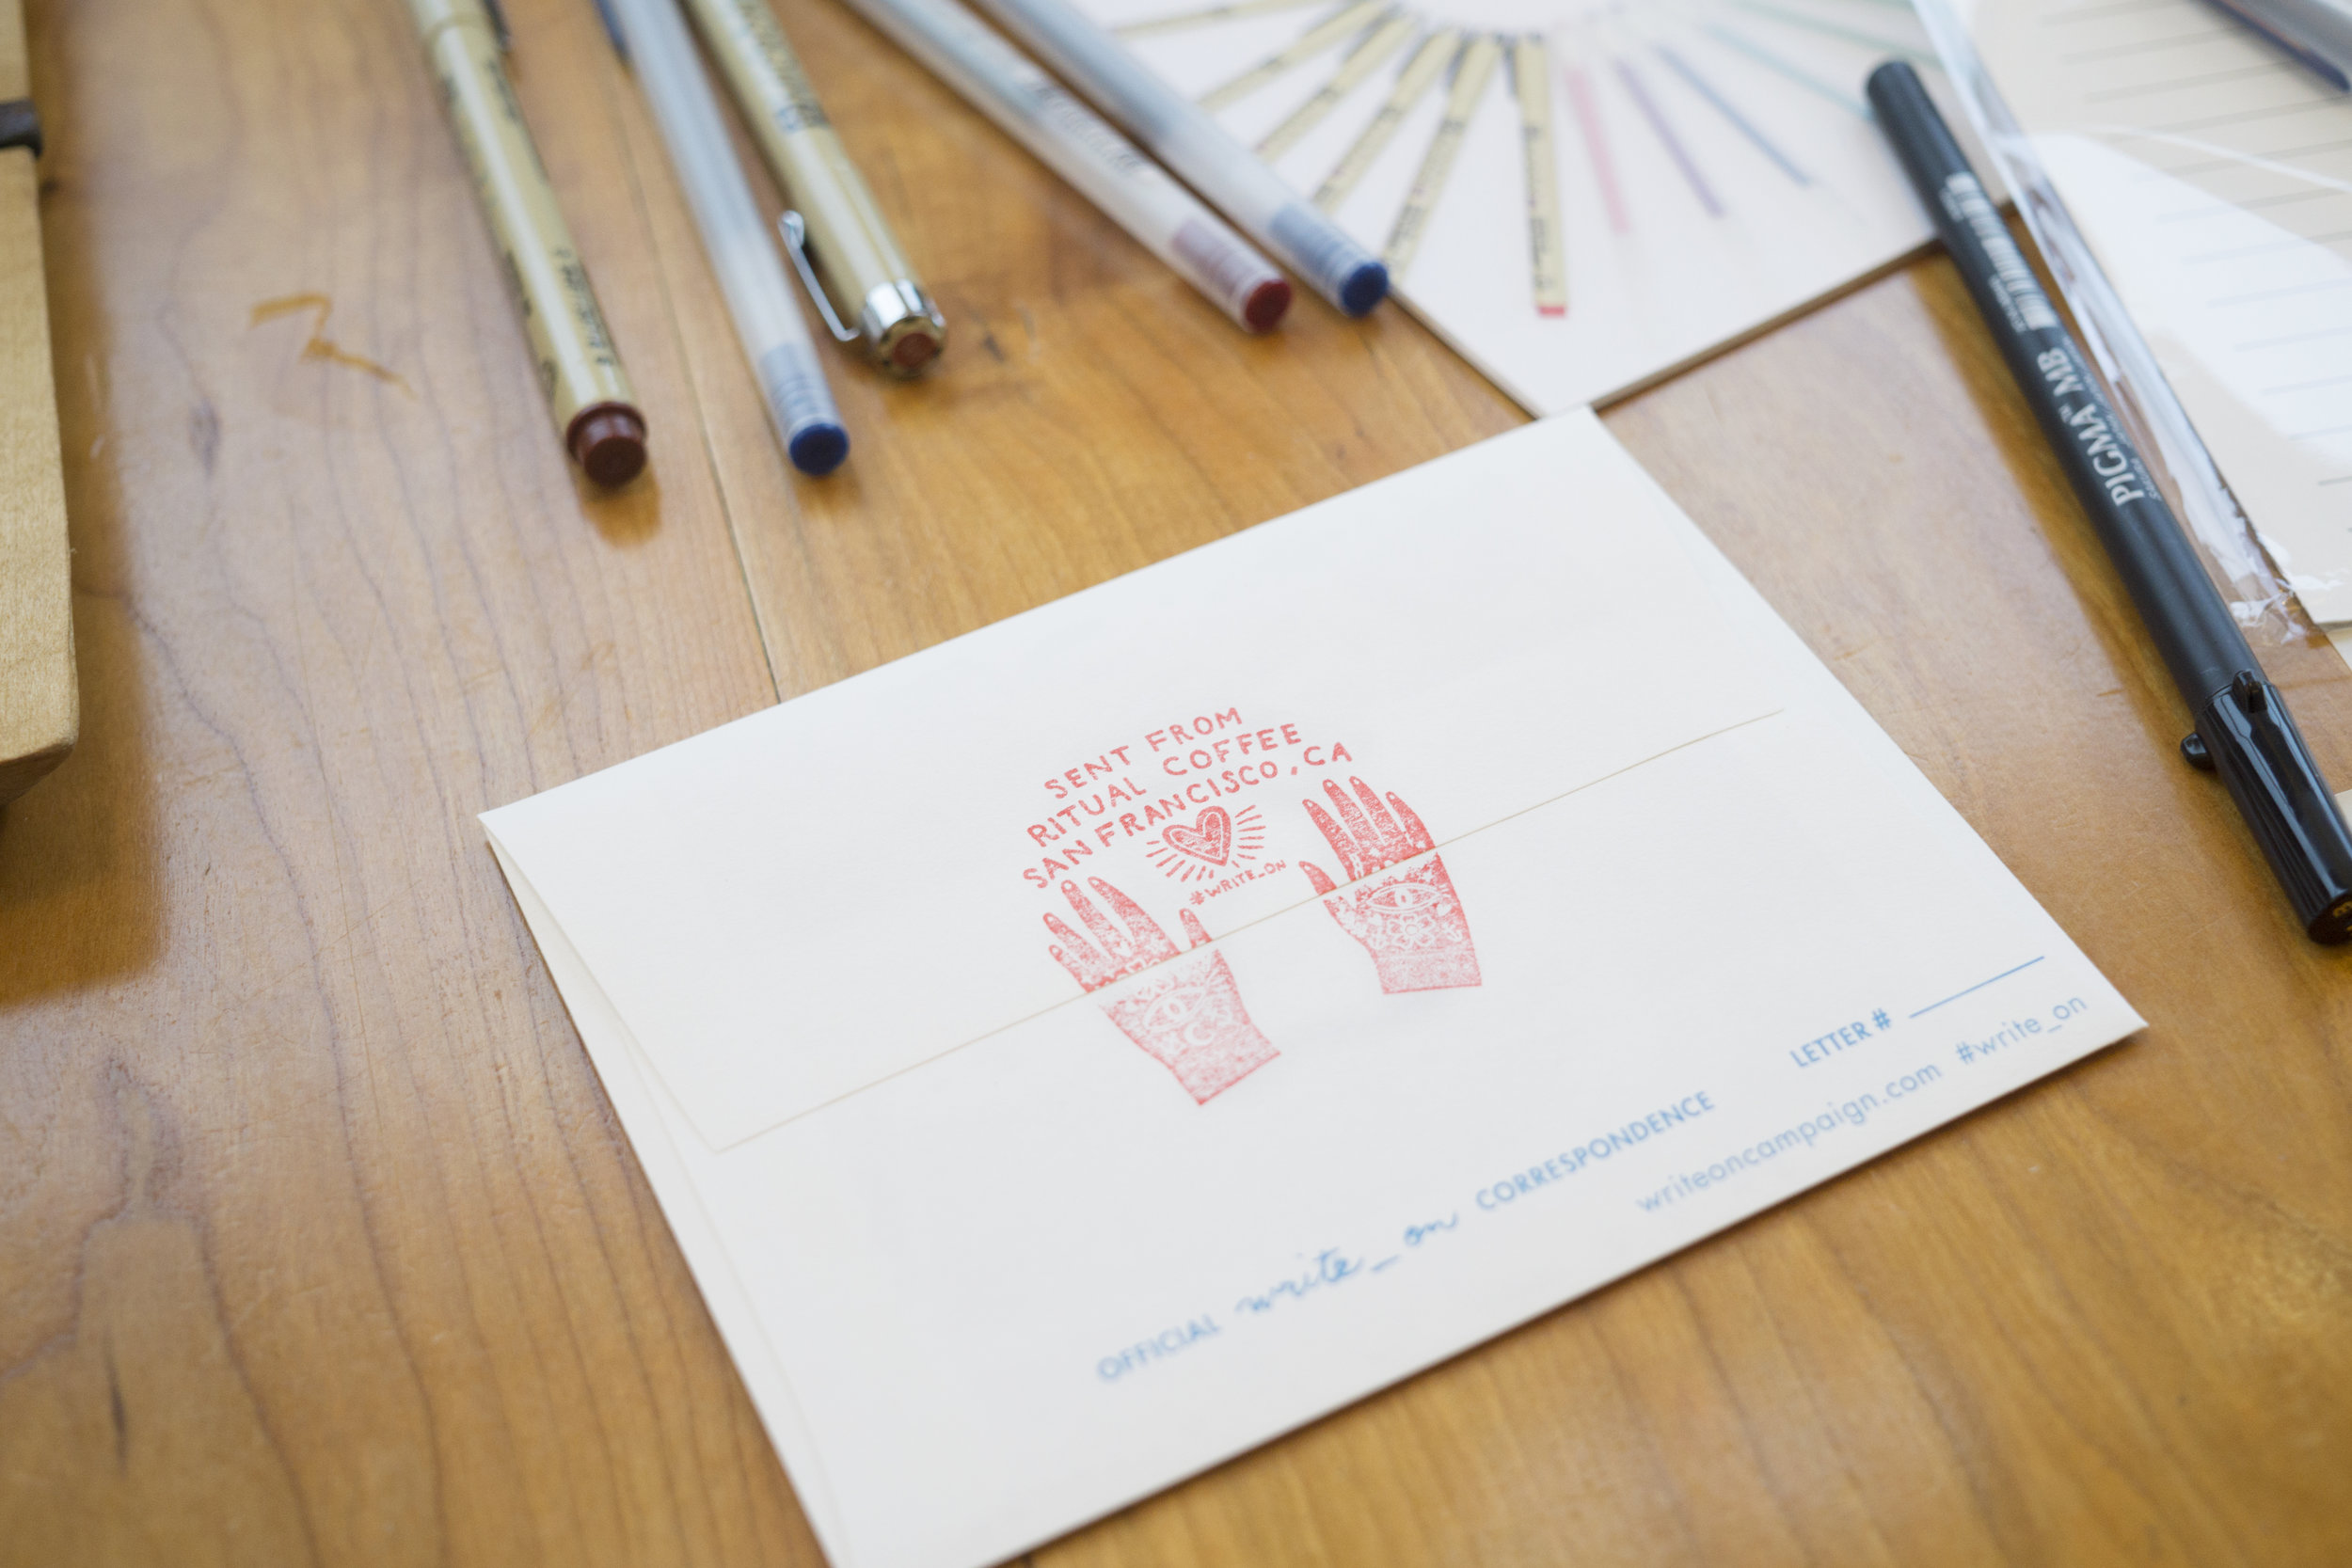
Perforated envelopes and stationery designs are also included as a fun bonus! Tear out, decorate, and mail your masterpieces to family and friends.

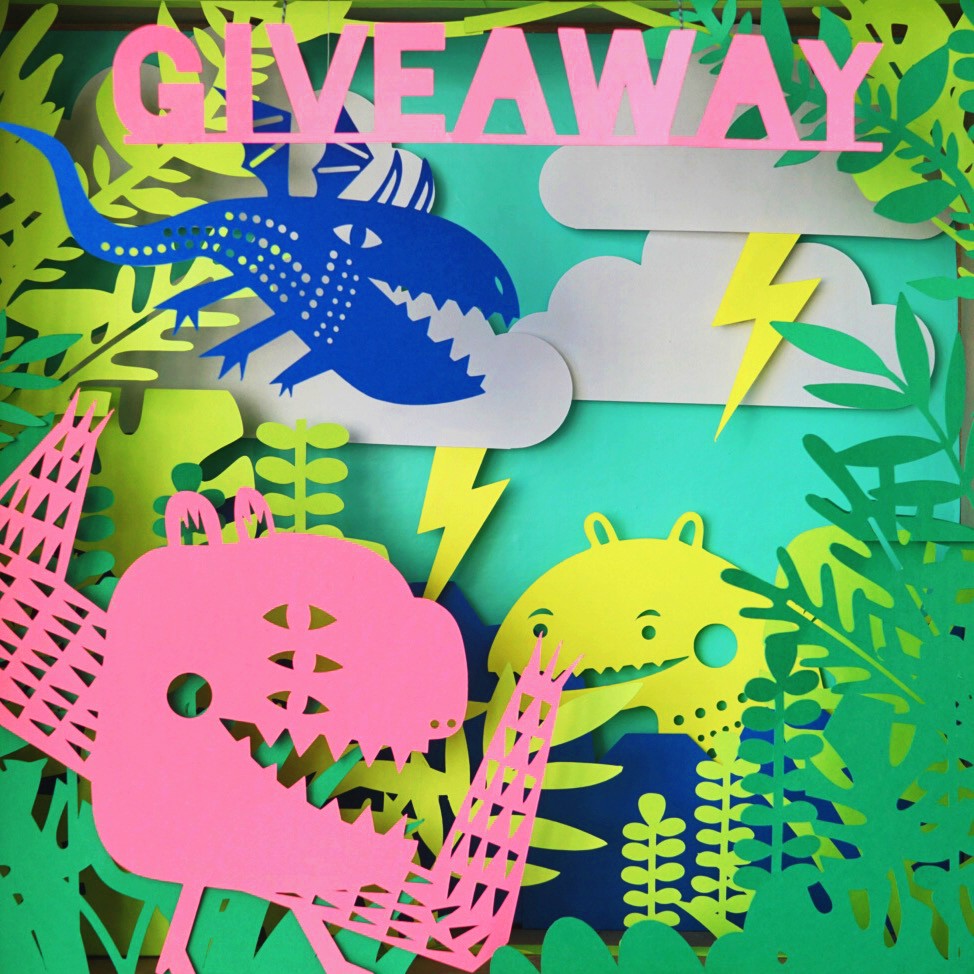
We’re offering a very special pre-order gift to the first 150 readers who pre-order a copy of Happy Mail. 

The pre-order gift package includes:

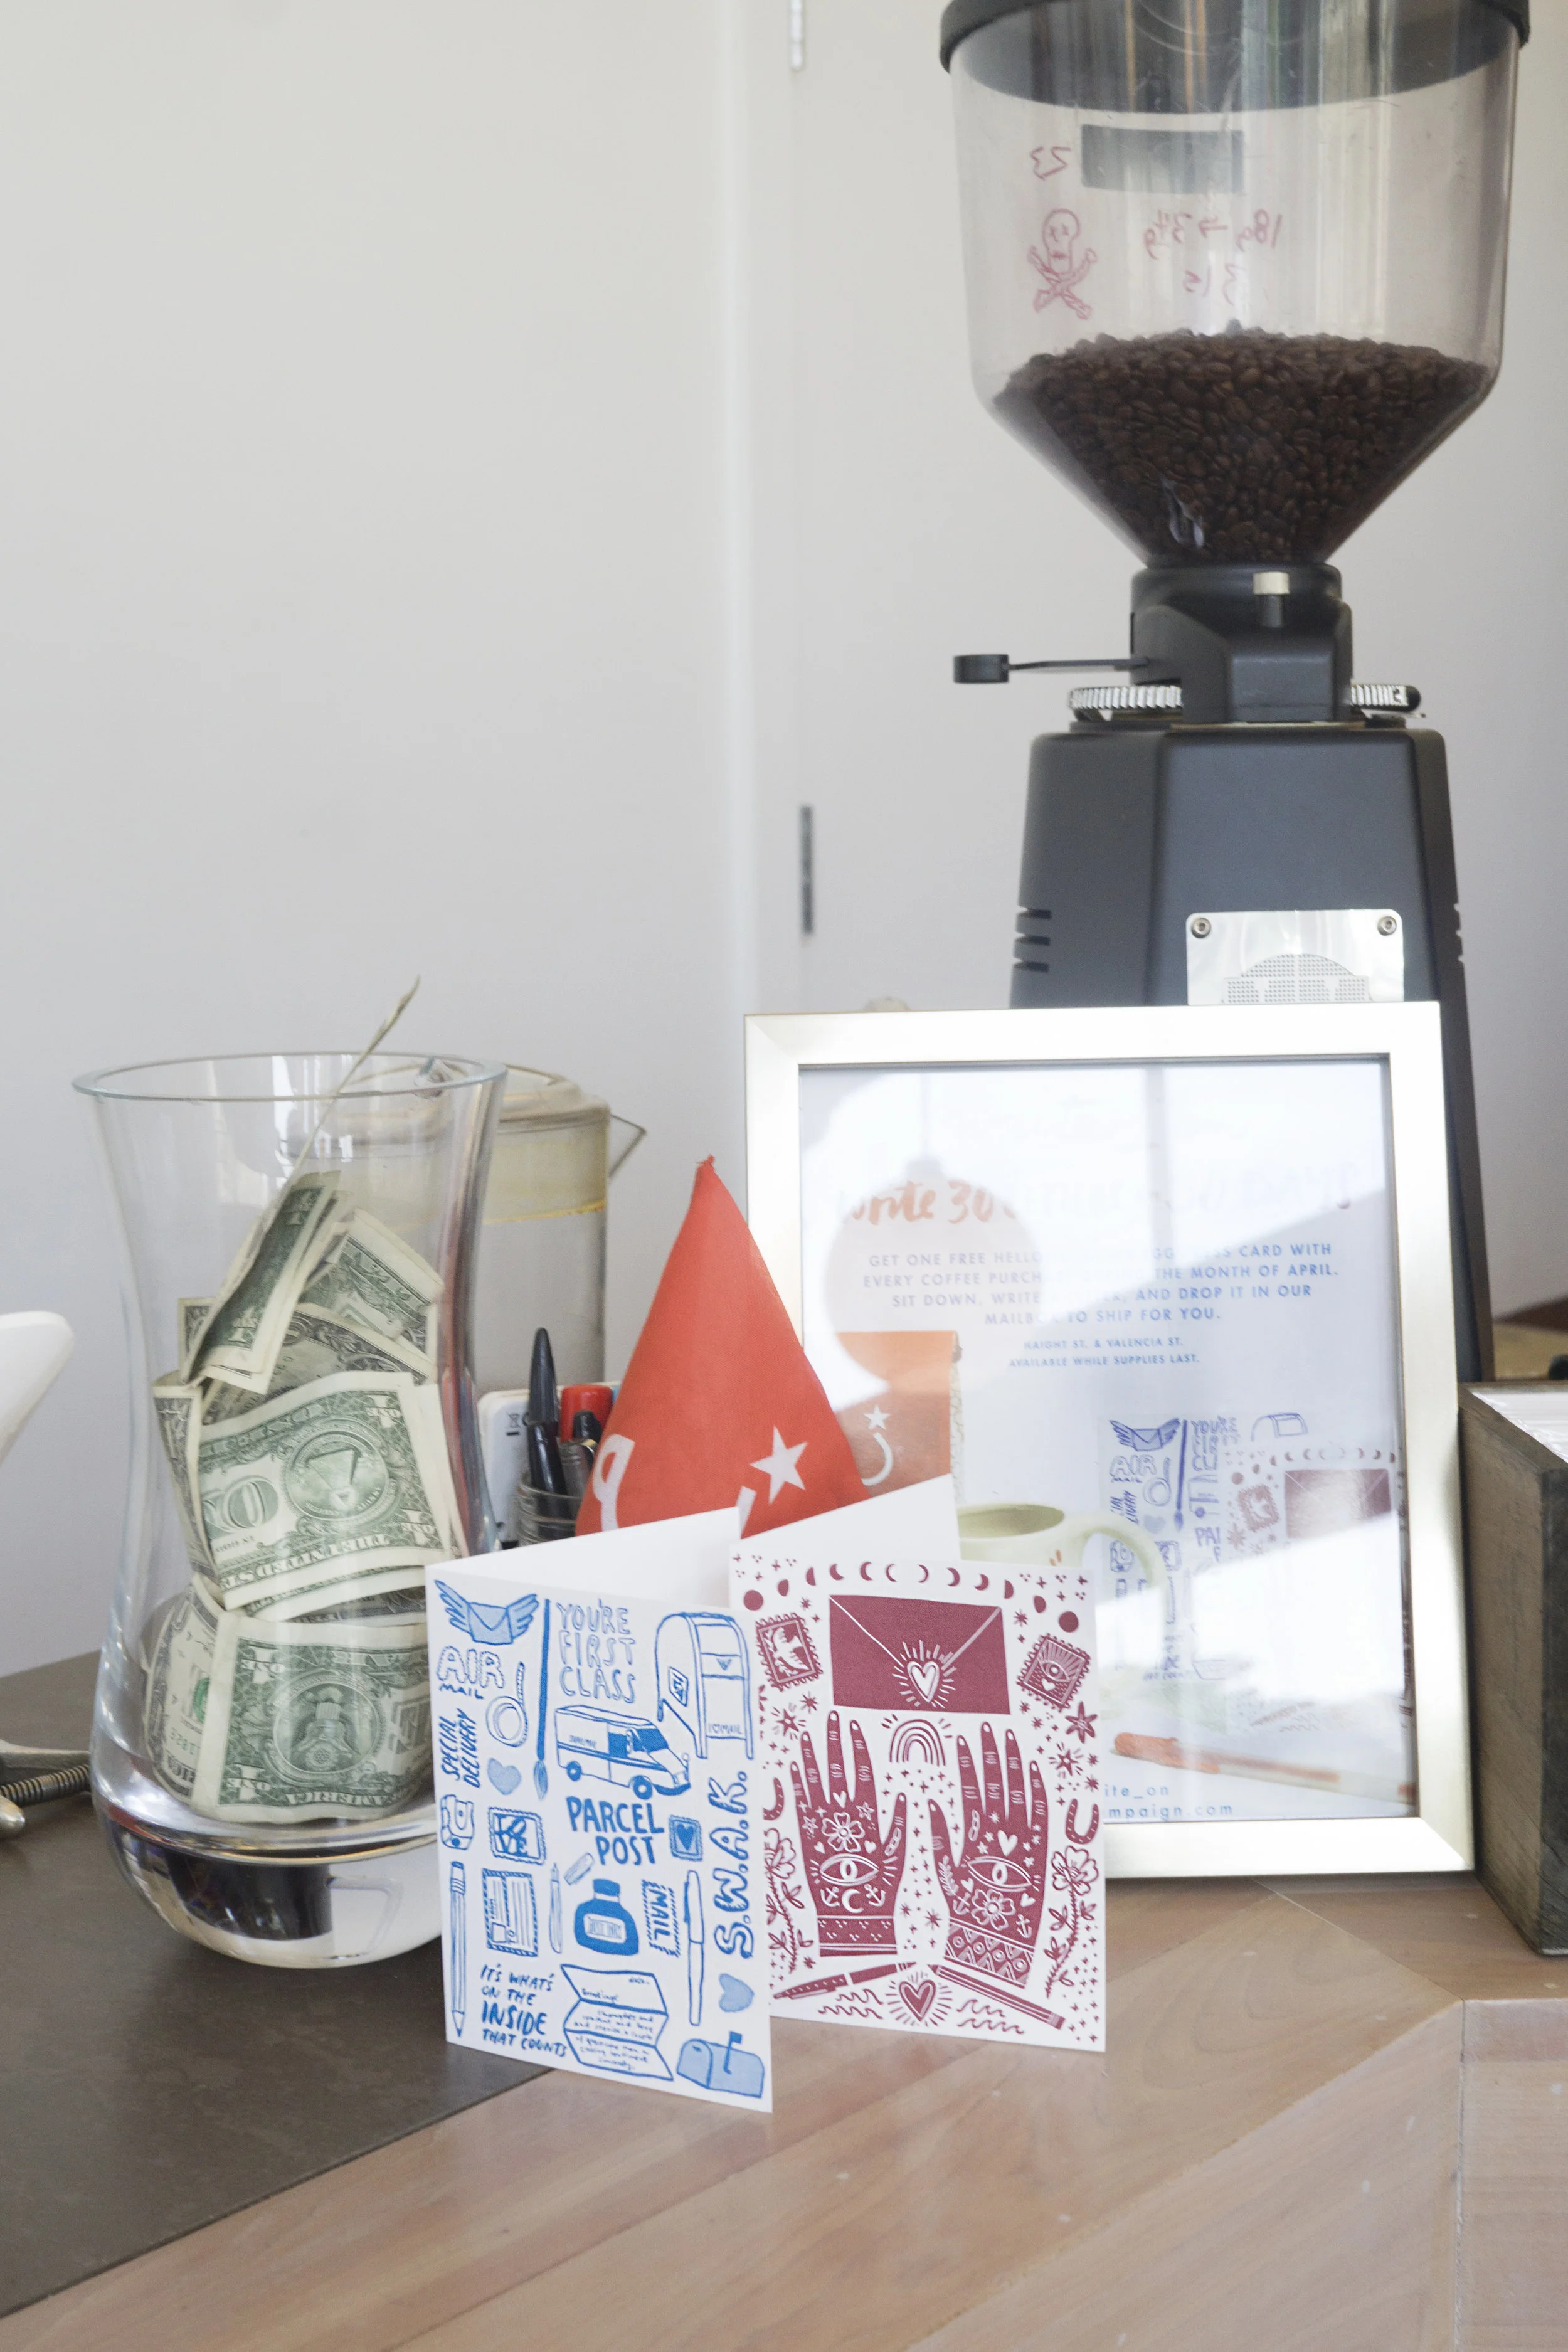
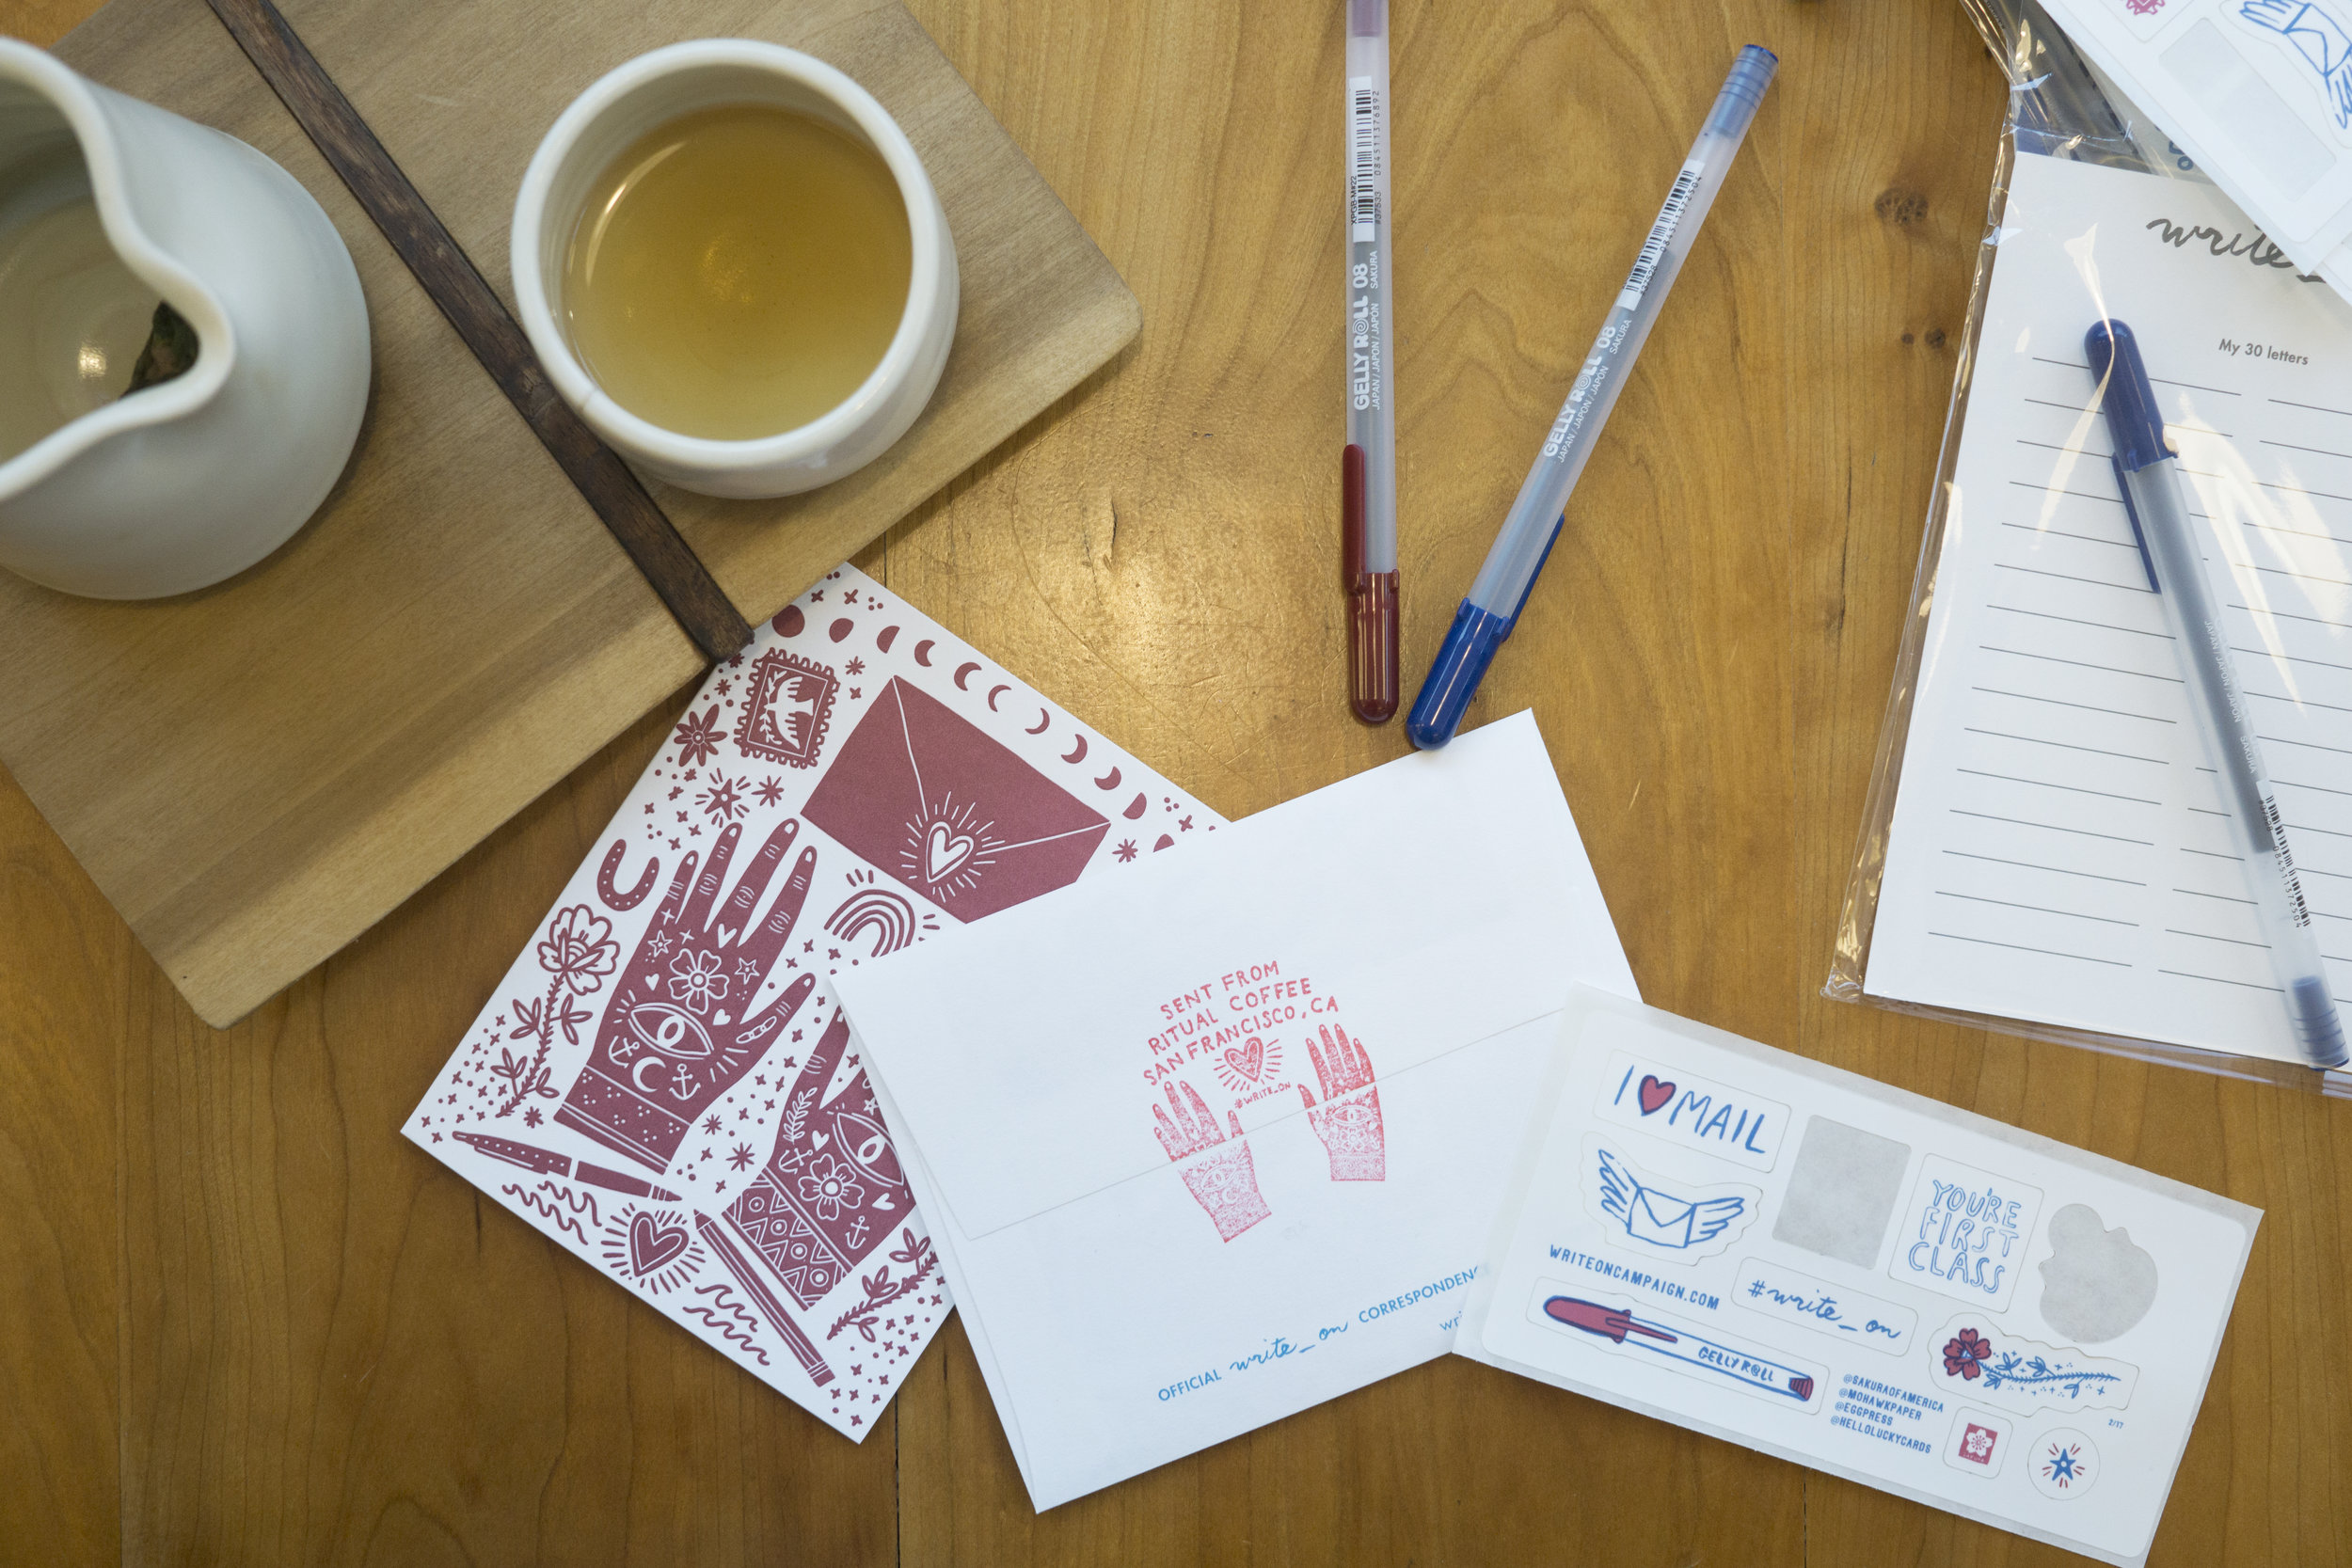
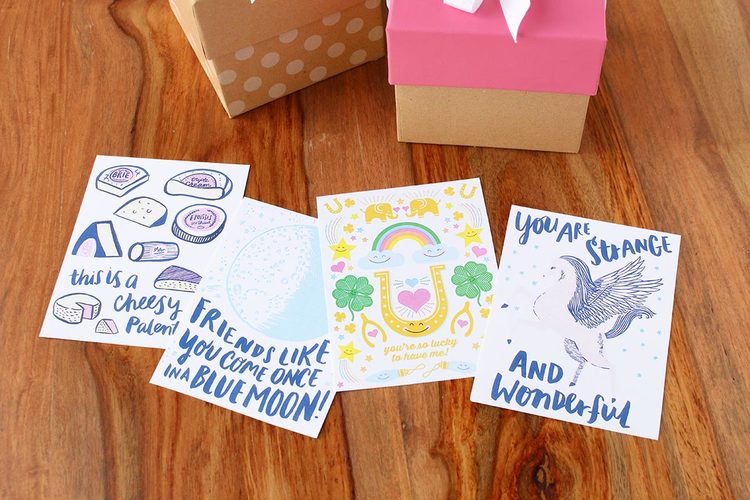
·         An exclusive Hello!Lucky premium color-in postcard – so you can send Happy Mail!

·         A Sakura Gelly Roll pen

·         Sakura stickers

Preorder Happy Mail at your local bookstore or online here and here, order now and receive a pre-order gift package!  

To get your Happy Mail pre-order gift, please submit your info here.

*Please note: Gift is available to the first 150 entrants with verified pre-order. Gift package will be shipped after June 1st. Open to US and Canada residents ONLY.

Mother's Day & Saying Thanks

Writing a Mother's or Father's Day card feels like a loaded quest, because they did give us life after all. But fear not, we've got a few quick tips for expressing your gratitude in a way that speaks to you...

What to write in a Mother's Day card

Being a mom is no joke, and tougher than ever these days with more moms working and wearing ALL the hats.  Here's a little secret: most moms harbor a nagging feeling they could have done better, so Sunday is the day to let her know that she's done good and to tell her you recognize all her efforts!

What do you do if your relationship is a little strained? Focus on the positive. We've all had our share of mama drama, but let's acknowledge that she's always given it her all and appreciate the ways you've grown and learned from her (celebrate the best and forget the rest!).

Is she a tiger mom?  Let her know you're thankful for everything you learned under her roof (and are still learning!) under her rigorous tutelage.  Is she a great listener? Let her know how much you appreciate being able to call her any time, rain or shine. 

You can tip your hat to her for showing up for you day after day by encouraging her to take it easy today (maybe back that up with an incentive -- a bottle of wine or a gift certificate for some pampering!). Better yet, make her a card...

We've pulled one of our favorite projects from our new book, Happy Mail, pre-orders here and here, and coming to a book store near you.

DIY STEPS

Nothing says I love you like a handmade card. For this project, we used one of our favorite tools, the Molotow Marker, to give it an airy feel that’s both polished and personal. Mom will love it!

Ideas to try:  Floral doodles (Love you mom). Vegetable doodles (Mom, I eat my vegetables!). Anchor doodles (Mom, you’re my anchor). 

Materials:

  • 8.5” x 11” sheet of white cardstock (we recommend multi-media or hot press watercolor paper - a paper suitable for watercolor)
  • 4.0 mm Molotow Grafx Art Masking Liquid Pump Marker
  • Watercolors
  • Container for water
  • Brush
  • Sakura Koi Coloring Brush Pen or other marker in matching colors
  • White eraser (optional)
  • Craft knife
  • Cutting mat or magazine
  • Ruler
  • A7 white envelope

Card:

  1. Make your card!  Fold a piece of black cardstock in half and using a craft knife, ruler and cutting mat or magazine, cut the card down to 5” x 7”, folded.

  2. Draw two parallel horizontal lines in the middle of your card with the Molotow Marker and the write the message along the two lines.  No need to be rigid! Let the pen rule you. We encourage free handing it, but you can always draw it first in pencil (draw very lightly so that you can erase the pencil afterwards).

  3. Doodle shapes around the type with the Molotow Marker.  Allow to dry 5 or 10 minutes.

  4. Paint over the entire front of the card with plain water.  Using watercolors paint the card.  We used two shades of blue to achieve an ombre effect.  

  5. When the watercolor is almost but not completely dry, put the card under a stack of heavy books to make sure it dries flat.

  6. When the card is completely dry, remove the masking fluid by rubbing it with your finger (pro tip: we found that it was faster and cleaner to use a fresh white eraser).

Envelope:

  1. With markers (we used two shades of blue that mimicked the colors on the card) doodle a matching pattern on the inside of the envelope, cutting off the pattern along the glue line of the envelope to create the illusion of an envelope liner.

Learn how to make more projects like this by ordering the book! The book also includes bonus cards, self-mailing letters, and stickers at the back that are inspired by the projects.

Preorder Happy Mail at your local bookstore or online here and here. First 150 pre-order are in for a treat! Stay tuned...

Write_On x Ritual

What better way to hone in on a letter-writing practice than to make it part of your daily ritual. We teamed up with Ritual Coffee, a San Francisco favorite, for a two-part letter-writing party for our Write_On Campaign in conjunction with National Letter-writing month. To really drive home the habit, we’re offering one card from our Write_On kit with every coffee purchase at Ritual Coffee on Haight St. and Valencia St. during the month of April. No excuses!

Last night was the first of the two events co-hosted by Ritual Coffee and we were so pleased with the response. We may be biased, but the coffee & card loving crowd might be our favorite! We gathered, we sipped, we wrote, and we’re doing it all over again on Thursday.


We hope you’ll join us for our second Write_On event at Ritual Coffee on Valencia St. Thursday April 6th, 6pm-8pm. We’ll be there passing out Write_On Kits and Sakura of America pens, and postage is provided for all your Write_On correspondence! It’s free & there’s no RSVP necessary- So come, bring your friends & address book, and write_on with us. More info here.

Special thanks to Ritual Coffee for co-hosting this Write_On event, to everyone who came out, and to our friends at Egg Press, Sakura of America, and Mohawk Paper for making Write_On possible.

Find out more about our second event at Ritual Coffee on Valencia Street below.

Getting Ready to Write_On!

April's around the corner and you know what that means -- Write_On!

We're so excited about this year's campaign. Write_On's community of letter-lovers continues to grow and we've personally noticed our letter-writing practice grow stronger and stronger over the past year, thanks to the habit-forming Write_On challenge!  Dashing off a thoughtful hand-written note comes more easily these days, and it feels great. 

Official 2017 Write_On kit

Official 2017 Write_On kit

To get ready for this year's Write_On challenge, we've been making lists of people to write to and stockpiling our favorite cards, pens and stamps.  Of course, we'll be using this year's signature Write_On kits (available here on a pay-what-you-like scale while supplies last!) and our new weekly bundles.

However, some of our favorite Write_On finds this year, featured on the Write_On Resources page, is this gorgeous new card kit by Rhea Abramson founder of NY Letter-Writing Society and Mail More Love, and the Send More Love vintage stamp shop (to name a few)! If you feel like you're running out of steam we encourage you to visit our resources page- no shortage of tools, inspiration, and community events there!

Mail More Love rubber stamp

Mail More Love rubber stamp

The kit itself includes 3 letterpress cards -- just enough to get you started -- but the kicker is that it it *also* includes a " / 30" rubber stamp so can number every piece of mail you send for the Write_On Challenge!   So satisfying!  

We hope you're as excited as we are for this year's challenge!  We look forward to joining you in April, and be sure to tag #Write_On so we can see what you're up to!

Let the mailing begin!

International Women's Day

it's International Women's Day, and we're taking the day off to support the importance of women's rights. 

We encourage you to take a stand with us by using this day to praise the women in your life, to shop local and at women and minority owned businesses, and to wear red in solidarity (or sport your Wild Feminist enamel pin if you have one!). 

To celebrate International Women's Day we created two free printable designs (download below) to print at home and color in. What better way to kick back and relax than to color in an empowering message? Coloring is proven to relieve stress and anxiety, improve self-esteem and self-awareness, and to promote a mindful and meditative state. More on that here.

If you're interested in more of our coloring and DIY projects, we're publishing a DIY book called Happy Mail and it's chock-ull of ideas and inspiration. The book is now available to pre-order through your local bookstore and available online here.

Hello!Lucky x Mixbook!

We couldn't be more excited about our new partnership with Mixbook! Bringing you fun & customizable Hello!Lucky designs that translate perfectly into wall calendars, and soon photo books! Our new Wild & Free calendar is now available through Mixbook, and this week we are offering a buy one get one free offer with code HLBOGO, OR enter to win a Wild & Free calendar for you AND two friends through our Instagram account - @helloluckycards. Makes for a fun Christmas gift too, just sayin'!

The Future is in Your Hands

We’re appalled by the headlines of today, and if there’s anything we’ve learned from the recent Brexit vote, it’s that showing up to take a stand effects tomorrow. Voter turnout has a major impact, in other words, your vote DOES count. We encourage you to not just hope for a better future, vote for one.

The Future is in Your Hands is an initiative to encourage young people to get out and vote.  Because equal rights, college access, and protecting our planet is our future. This next election will set the framework for our justice system for DECADES, and it’s literally in your hands.

Together let’s stand up, speak out, and demand change.

To get involved, share the above graphic on social media and follow us on Instagram, Twitter, and Facebook to receive regular updates. You can also enter our Instagram contest to receive a limited edition hand-carved & block printed sweatshirt, tote or T by tagging your friends.

MONSTROUS GIVEAWAY & FREE PRINTABLES!

GIVEAWAY

We’re gearing up for Halloween with one of our all time favorite craft tools. With the Silhouette America Portrait, you’ll have your own personal craft assistant. You be the designer and let the Silhouette table top cutting machine do the rest. Head to Instagram to enter the giveaway- @helloluckycards, @silhouetteamerica. Winner announced next Wednesday 10/13/14.

Don't be fooled by the Portrait's small footprint—it can cut over 100 materials including paper, cardstock, vinyl, chipboard, fabric, and more. We use it for just about every holiday, trade show, and craft fair, so safe to say it's a Hello!Lucky staple!

Because everyone is a WINNER in our book, we created free monster shadow puppet printables, just in time for Halloween! Don't have a Silhouette portrait? choose the PDF's below! For Silhouette products please choose DXF files.

FREE PRINTABLE MONSTER SHADOW PUPPET: DIY

  • Print out using your favorite construction paper palette using 8.5"x11".
  • If using an ink jet or laser printer, cut out with an exacto knife, hole punch, & cutting mat
  • Affix to a skewer with hot glue
  • Let the theatrics begin!

PRINTABLE DOWNLOADS

Spikey Monster PDF

Flying Monster PDF

Big Arm Monster PDF

Spikey Monster DXF

Flying Monster DXF

Happy crafting! 


Thinking Of You

It's National Thinking Of You week in the U.K., so we sat down and wrote a few notes to loved ones who have been on our minds lately. We're still working on forming the habit, so sometimes we need to be prompted to take time out of our day to write. The benefits of writing are proven to expand beyond that of the recipient, find out more about the psychological gains of writing here. We hope you'll join us in the Write_On movement this year!

Jungle Party!

Summer the perfect time for a jungle / tropical-themed fling. We gathered some of our favorite inspiration for a wild party!

Invitation design by Hello!Lucky for Paperless Post (additional invitation inspiration here)

More design inspiration by Hello!Lucky for Paperless Post

We love the idea of bold paper leaf and flowers for doorways or a fun photo booth backdrop - big and bold decorations transform the room into a tropical paradise.  Clockwise left to right: Archiportale, A Subtle Revelry, Oh Happy Day, Rock 'n' Roll Bride

DIY tiger pinata from Playful: Fun Projects to Make With + For Kids via MerMag  A palette of black and white with pops of neon or bright color is a fresh, modern take on the jungle theme.

Adorable tropical party hat ideas: clockwise from top: Oh Happy Day, Shoes Off Please, Oh Happy Day

Fabluous balloons from Oh Happy Day Party Shop

The perfect breezy tropical party cups from Oh Happy Day Party Shop

Try loose hand painted  black and white animal prints on favor bags or other party details.  Animal figures color blocked in neon and metallics make for fantastic table décor!  Top to bottom:  Oh So Beautiful Paper, the Good Machinery via FellowFellow

Wild animal parade table centerpieces via house of jade

My Sister, My Sidekick

Being sisters and co-owners of Hello!Lucky is tons of fun and makes some of the stress of running a small business a little more manageable -- as sisters, we can be totally honest with each other and our shared genes and upbringing mean that we tend to share the same work ethic and goals (not to mention a similarly juvenile sense of humor!).

Head on over to Say Yes blog to get the skinny on how we're different, what used to drive us crazy as kids, and what we admire most about each other.  

Are you in business with your sister? We'd love to hear your stories and comments!

Photo by Ashley Batz.

Interview on The Company You Keep Podcast

We recently had the pleasure of sitting down with the lovely Julia Hohne of Mrs. Vintage blog to talk about our evolving business for her fabulous new podcast, The Company You Keep, which highlights the experiences of small creative business owners.

We discuss everything from what inspired us to start our business, how we got our first order, how we established our distribution, our entry and exit from the custom wedding invitation market, our decision to collaborate with Egg Press in 2013 and shut down our SF studio,  and lots more!  You can listen on iTunes, or tune in here!

Please feel free to leave comments, questions, or feedback -- we'd love to continue the conversation with you!


Hello!Lucky + Recycled Paper Greetings at Target!

Today's the day! We launched the collection of glittery, fabulous offset printed cards we created with Recycled Paper Greetings, exclusively for Target!

We had so much fun getting creative with color, glitter, foil, and more!

Hello!Lucky for RPG Target 6.jpeg

Our cool collection of 64 cards will be at Target stores ALL SUMMER LONG!

Hello!Lucky for RPG Target 4.jpeg

Festive fruity fabulousness!

A little something shiny to make your day!

Thanks to the fabulous gals at Recycled Paper Greetings for bringing our collection to life!


Brit + Co's Week of Making and 20% off

We love the concept behind fellow San Francisco business Brit + Co, our go-to source for creative workshops and community.  In April, Eunice teamed up with them to teach an online Letterpress at Home class. Even sweeter? Brit + Co is offering 20% off all classes and DIY kits (discount taken at checkout, ends tonight at 11:59 PST) for its Week of Making!

This Brit + Co video pretty much sums up our view on creativity - we love it!

We're all creative, so go ahead and make something today!  Go, go! Yay!

Toy Organization + Free Printable

School's out for summer! Hello, toy organization!

You’ve just gotten home from a busy day and all paths forward are littered with toys. Your kids are ticking time bombs at this hour, so you can’t slow down. You pick your way through the landmines, but a misstep lands your heel on a plastic lizard. You yelp in pain, and in synchronized call-and-response, your kids start to wail.

Toy organization, anyone?

One of our Summer goals is to keep our kids'  toys organized and our sanity in check! Between Eunice and Sabrina, we have five kids under five -- a surefire recipe for toy disaster!  (“Please can I just move out of my house and into a FEMA trailer? Because it really is that bad most days.”).

We needed inspiration, so we chatted with San Francisco organization guru (and former elementary school teacher) Pam Parker, to collect some sanity-saving tips for toy organization. Our goal? Get our kids' toys organized in a consistent, aesthetically-pleasing manner that invites them to play, create, and put away!

Toy storage starts with getting the right containers -- ideally ones that are beautiful and functional.  Here are some of our favorites:

Sources:

1. Land of Nod, 2. West Elm, 3. Serena and Lily, 4. Schoolhouse Electric, 5. Ikea, 6. Ikea

Once your toys are contained, you need useful and beautiful toy storage labels, ideally with images that make them legible to pre-readers. We put our creative caps on and whipped out these free downloads that you can print at home. We recommend printing the labels on 8.5” x 11”  glossy paper, trimming them, and inserting them into a plastic photo insert sleeve so you can easily swap them out as your storage needs change.

Tips for organizing your toys (kudos to Julia Morgenstern, author of Organizing from the Inside Out, from which this is adapted):

1.  Sort:  Sort like with like (e.g. dolls with dolls, blocks with blocks, Legos with legos; novelty items with novelty items; it's okay to have a miscellaneous bin / category). Our labels give you some popular categories to get you going.

2.  Purge:  Purge any toy that hasn't been played with in the last 6 months, as well as any with broken or missing pieces. A great place to donate toys: http://www.stuffedanimalsforemergencies.org/

3.  Assess:  Assess which toys you / your children actually want to keep, and which could be put away for a rainy day or donated to someone who really needs it. Involve them in the process by asking them to set aside one toy that they want to give away to a child who is needs more toys to play with. Keep it in a garage or storage area for 1 week just in case; if they don't ask for it, then get rid of it!

4.  Contain:  Contain each type of toy in a "just right"-sized bin -- it should neither be too large or too small. Use the size of the bin as a natural limit to what is contained in it -- if the bin starts becoming to small to contain its contents, it might be a signal that it's time to purge...or upgrade to a larger bin if necessary. Use our lovely labels to make it easy for pre-literate kids to help themselves to what they want and put away their toys when they're done.

5.  Maintain:  Once your system in set-up, keep it up, and enlist your kids to do the same.

Get your free printables here!

And now, go put a Sponge Bob bandaid on that heel wound!

Happy organizing!